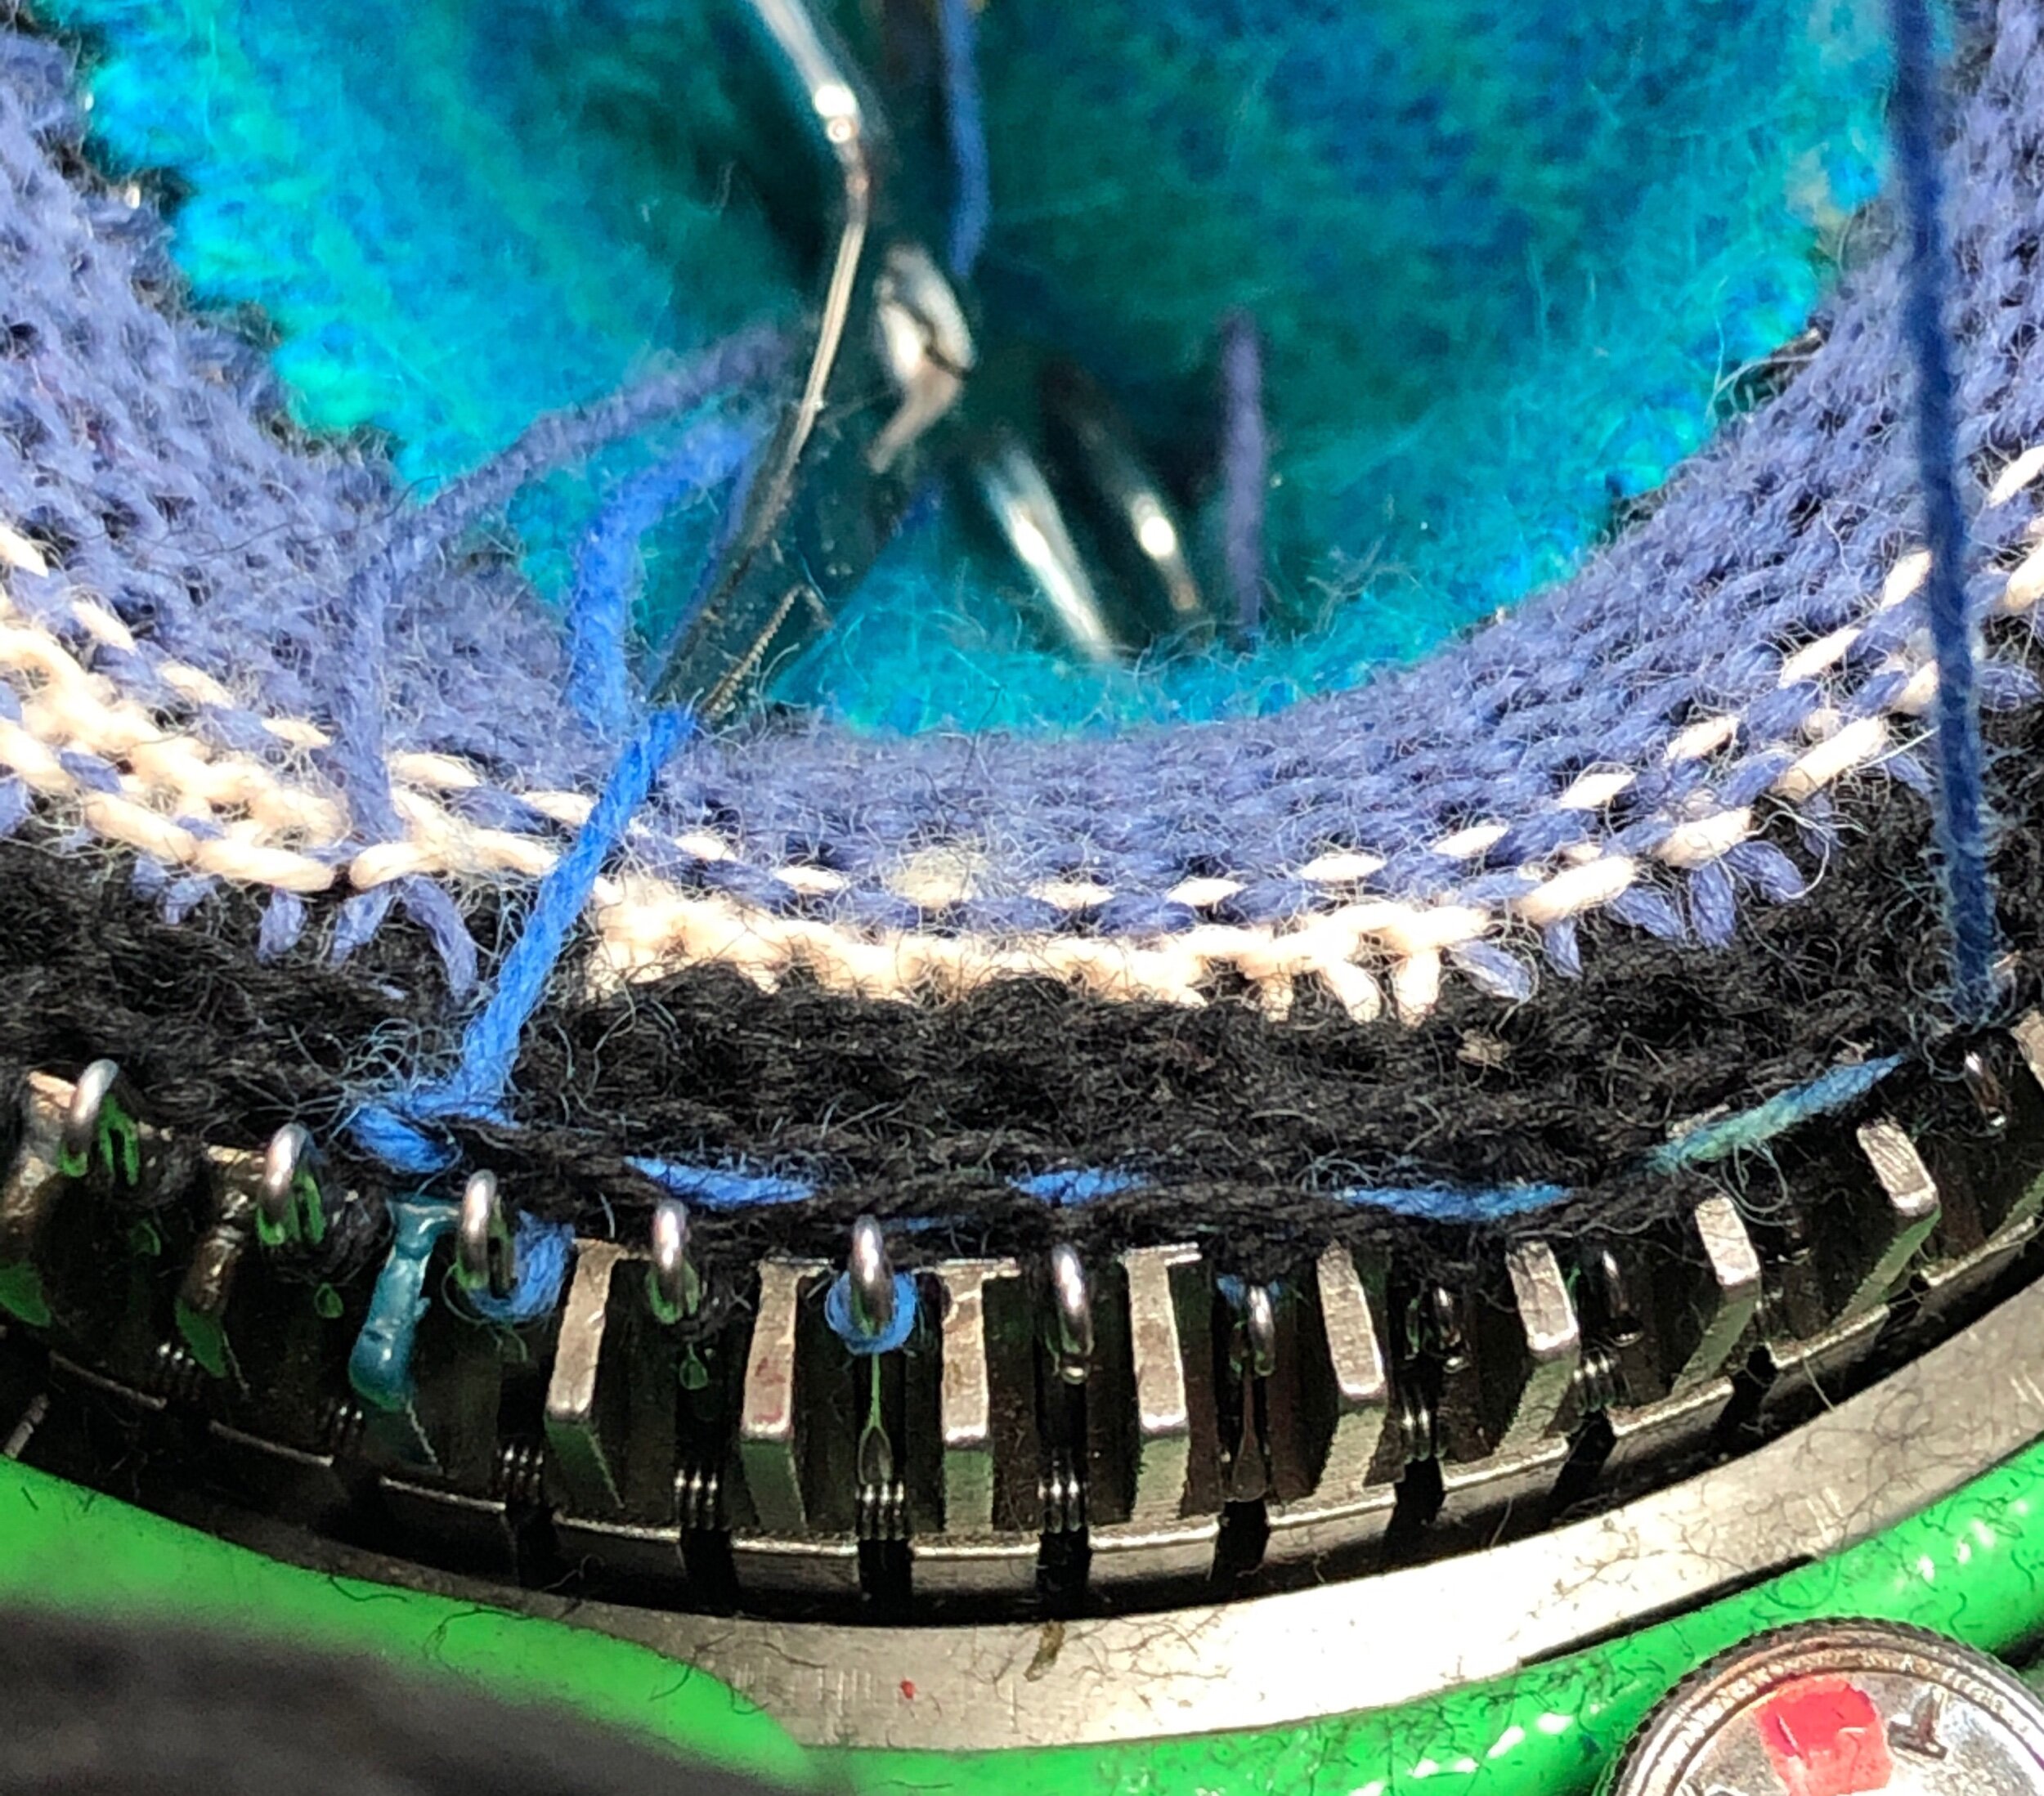
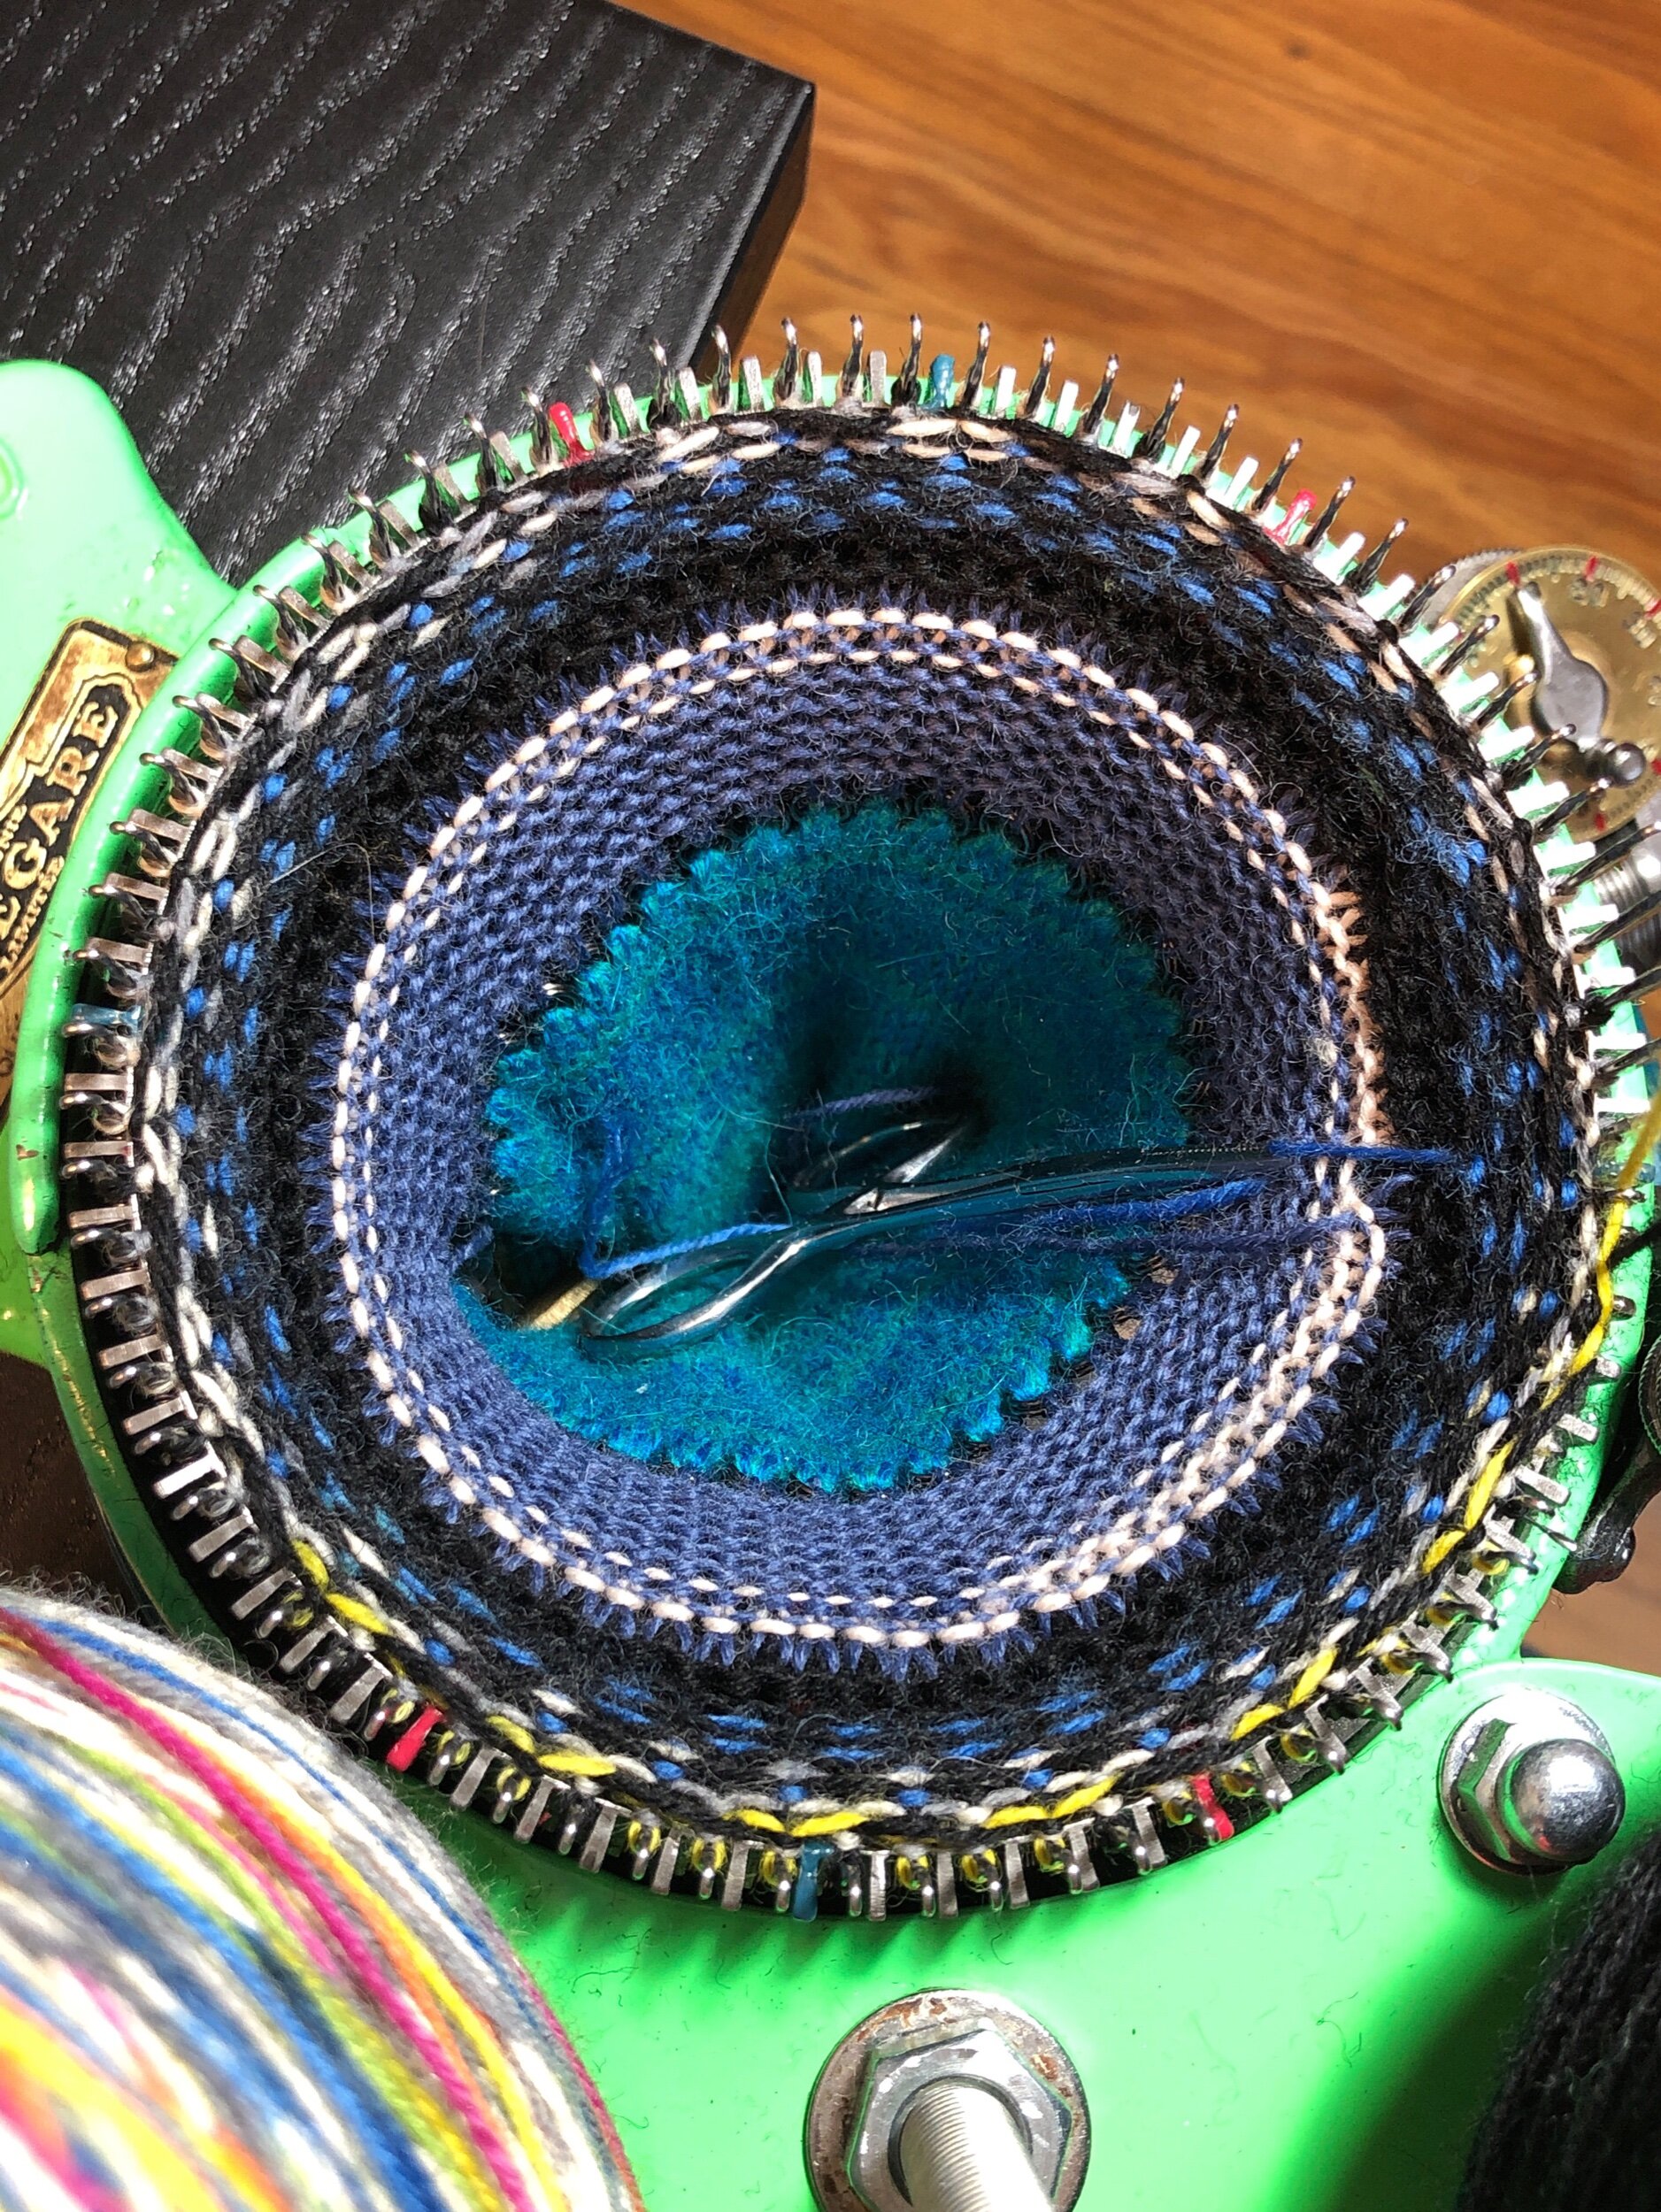
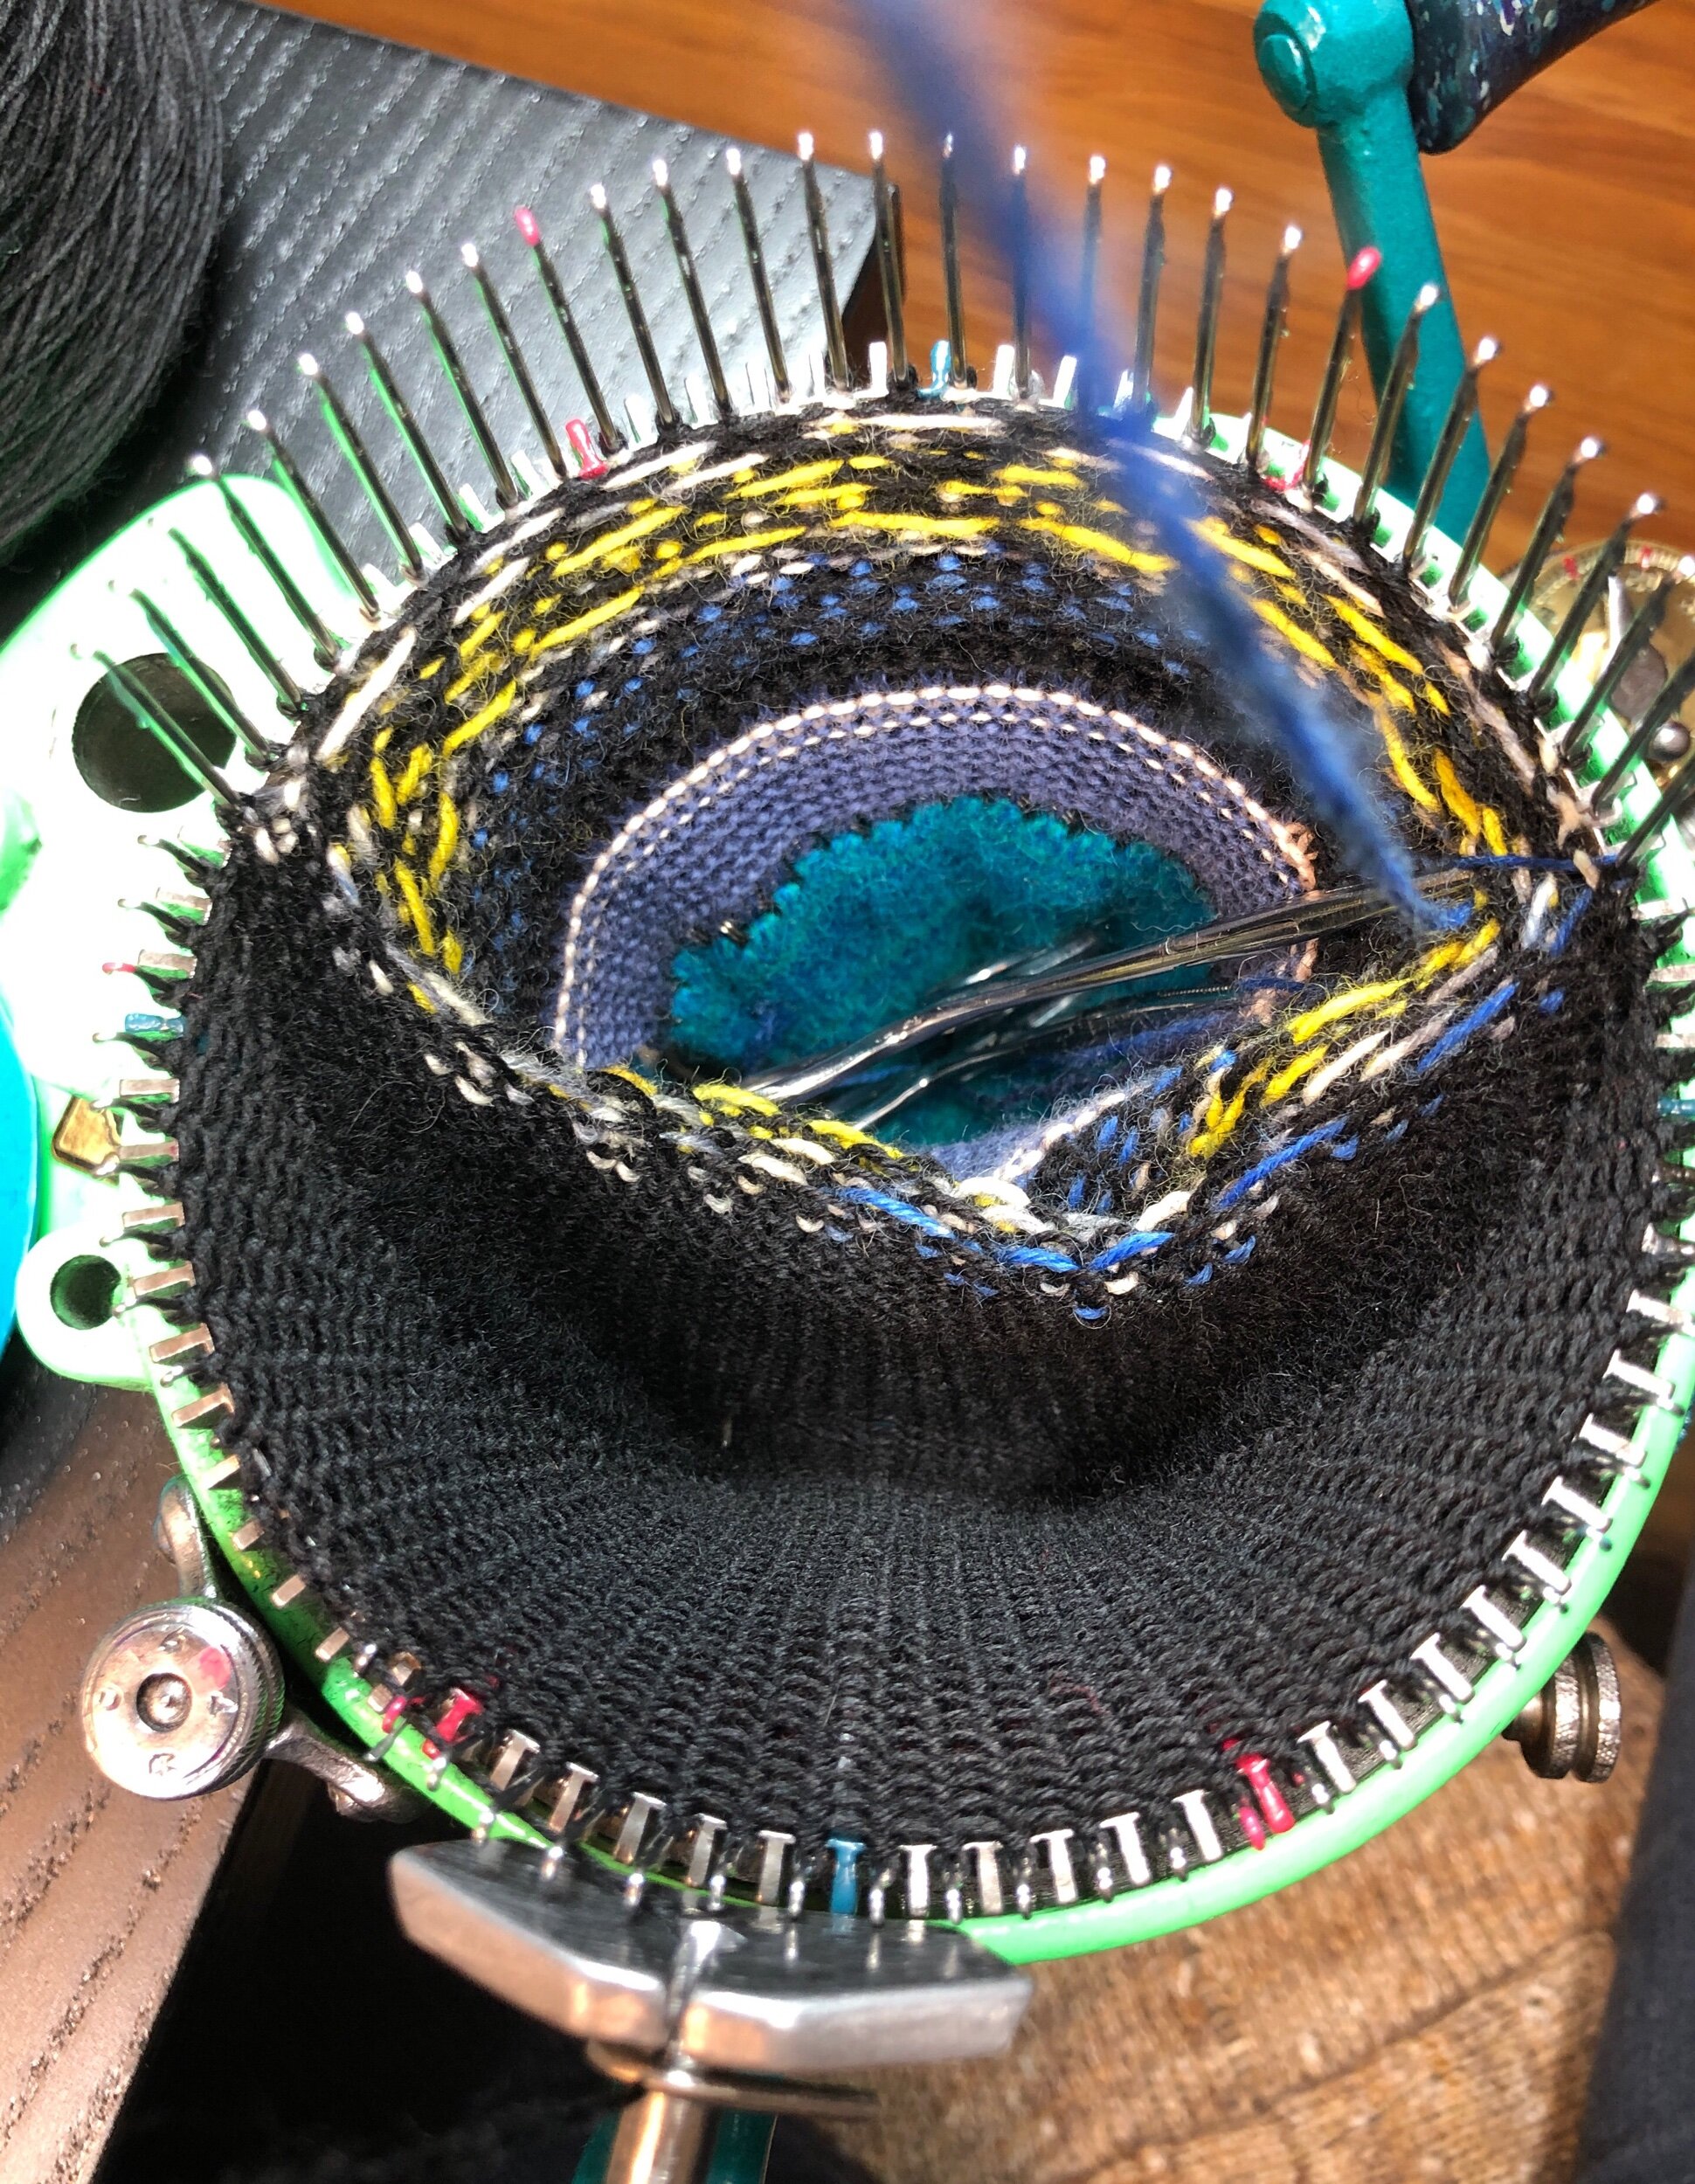
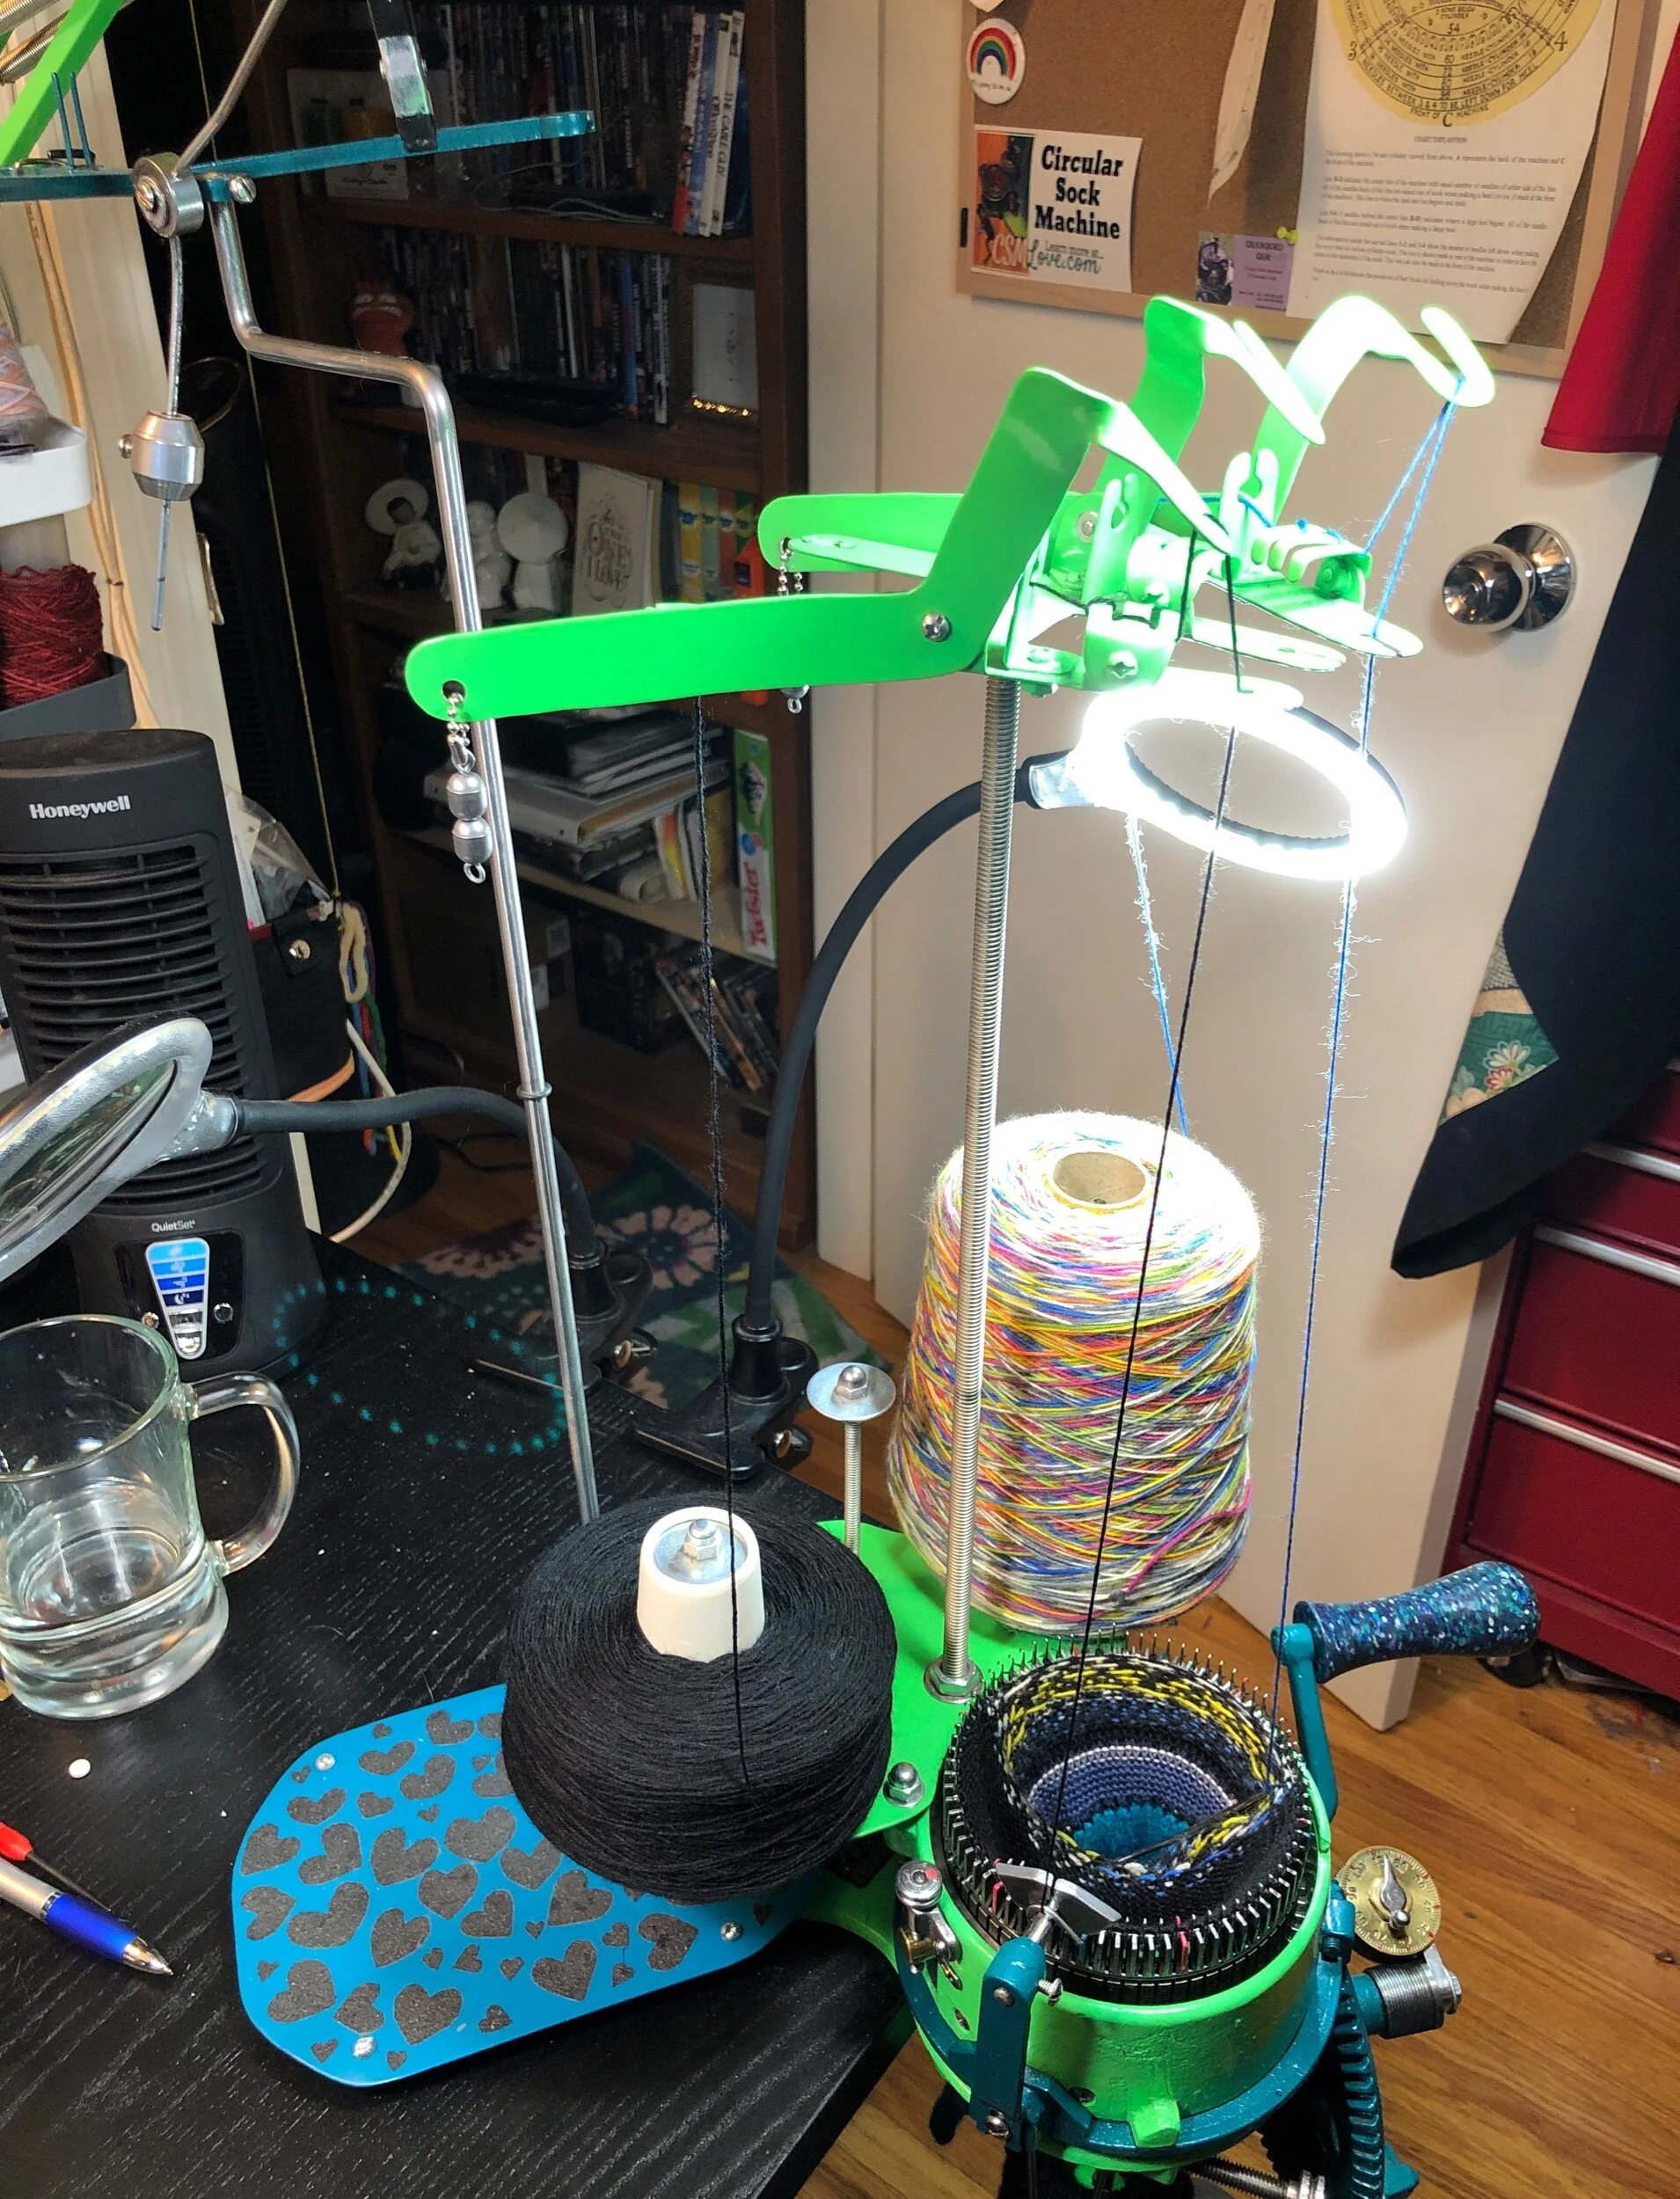
2021 Nov 30 - CSM Weights

What kind and how heavy are weights?

For more info see Supplies I like

Stem weights/weight stack

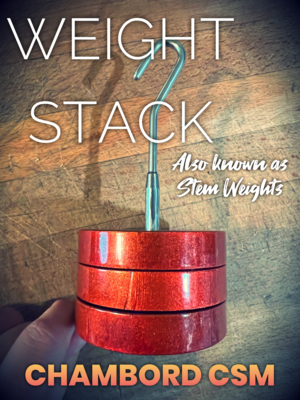
Dave Lord’s Chambord CSM “Set of Main Weights CHA224” as shown on the left are a total weight of 1663grams or 3.6lbs. These style weights hang under the machine usually from a buckle.

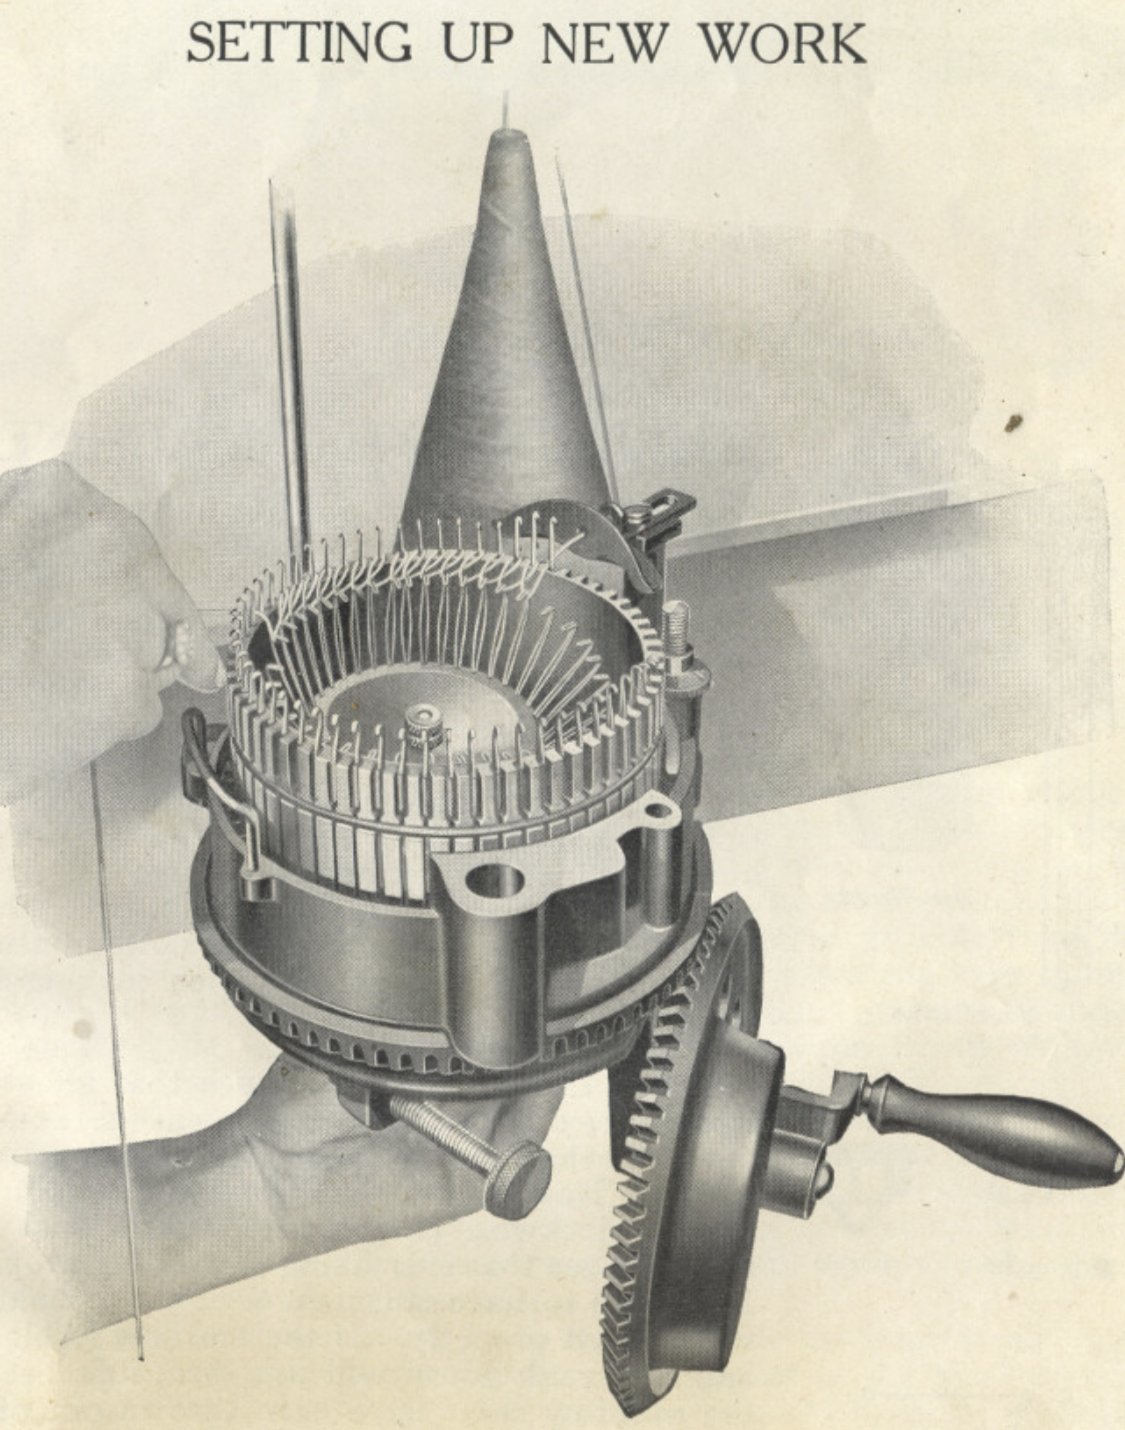
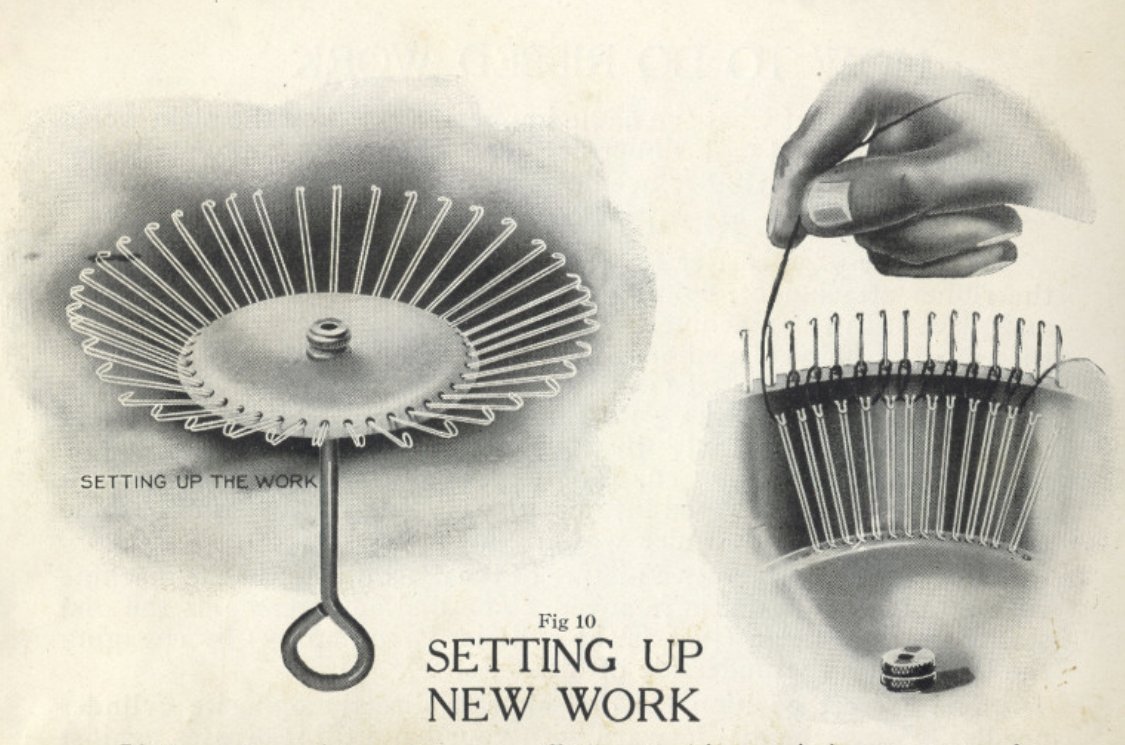
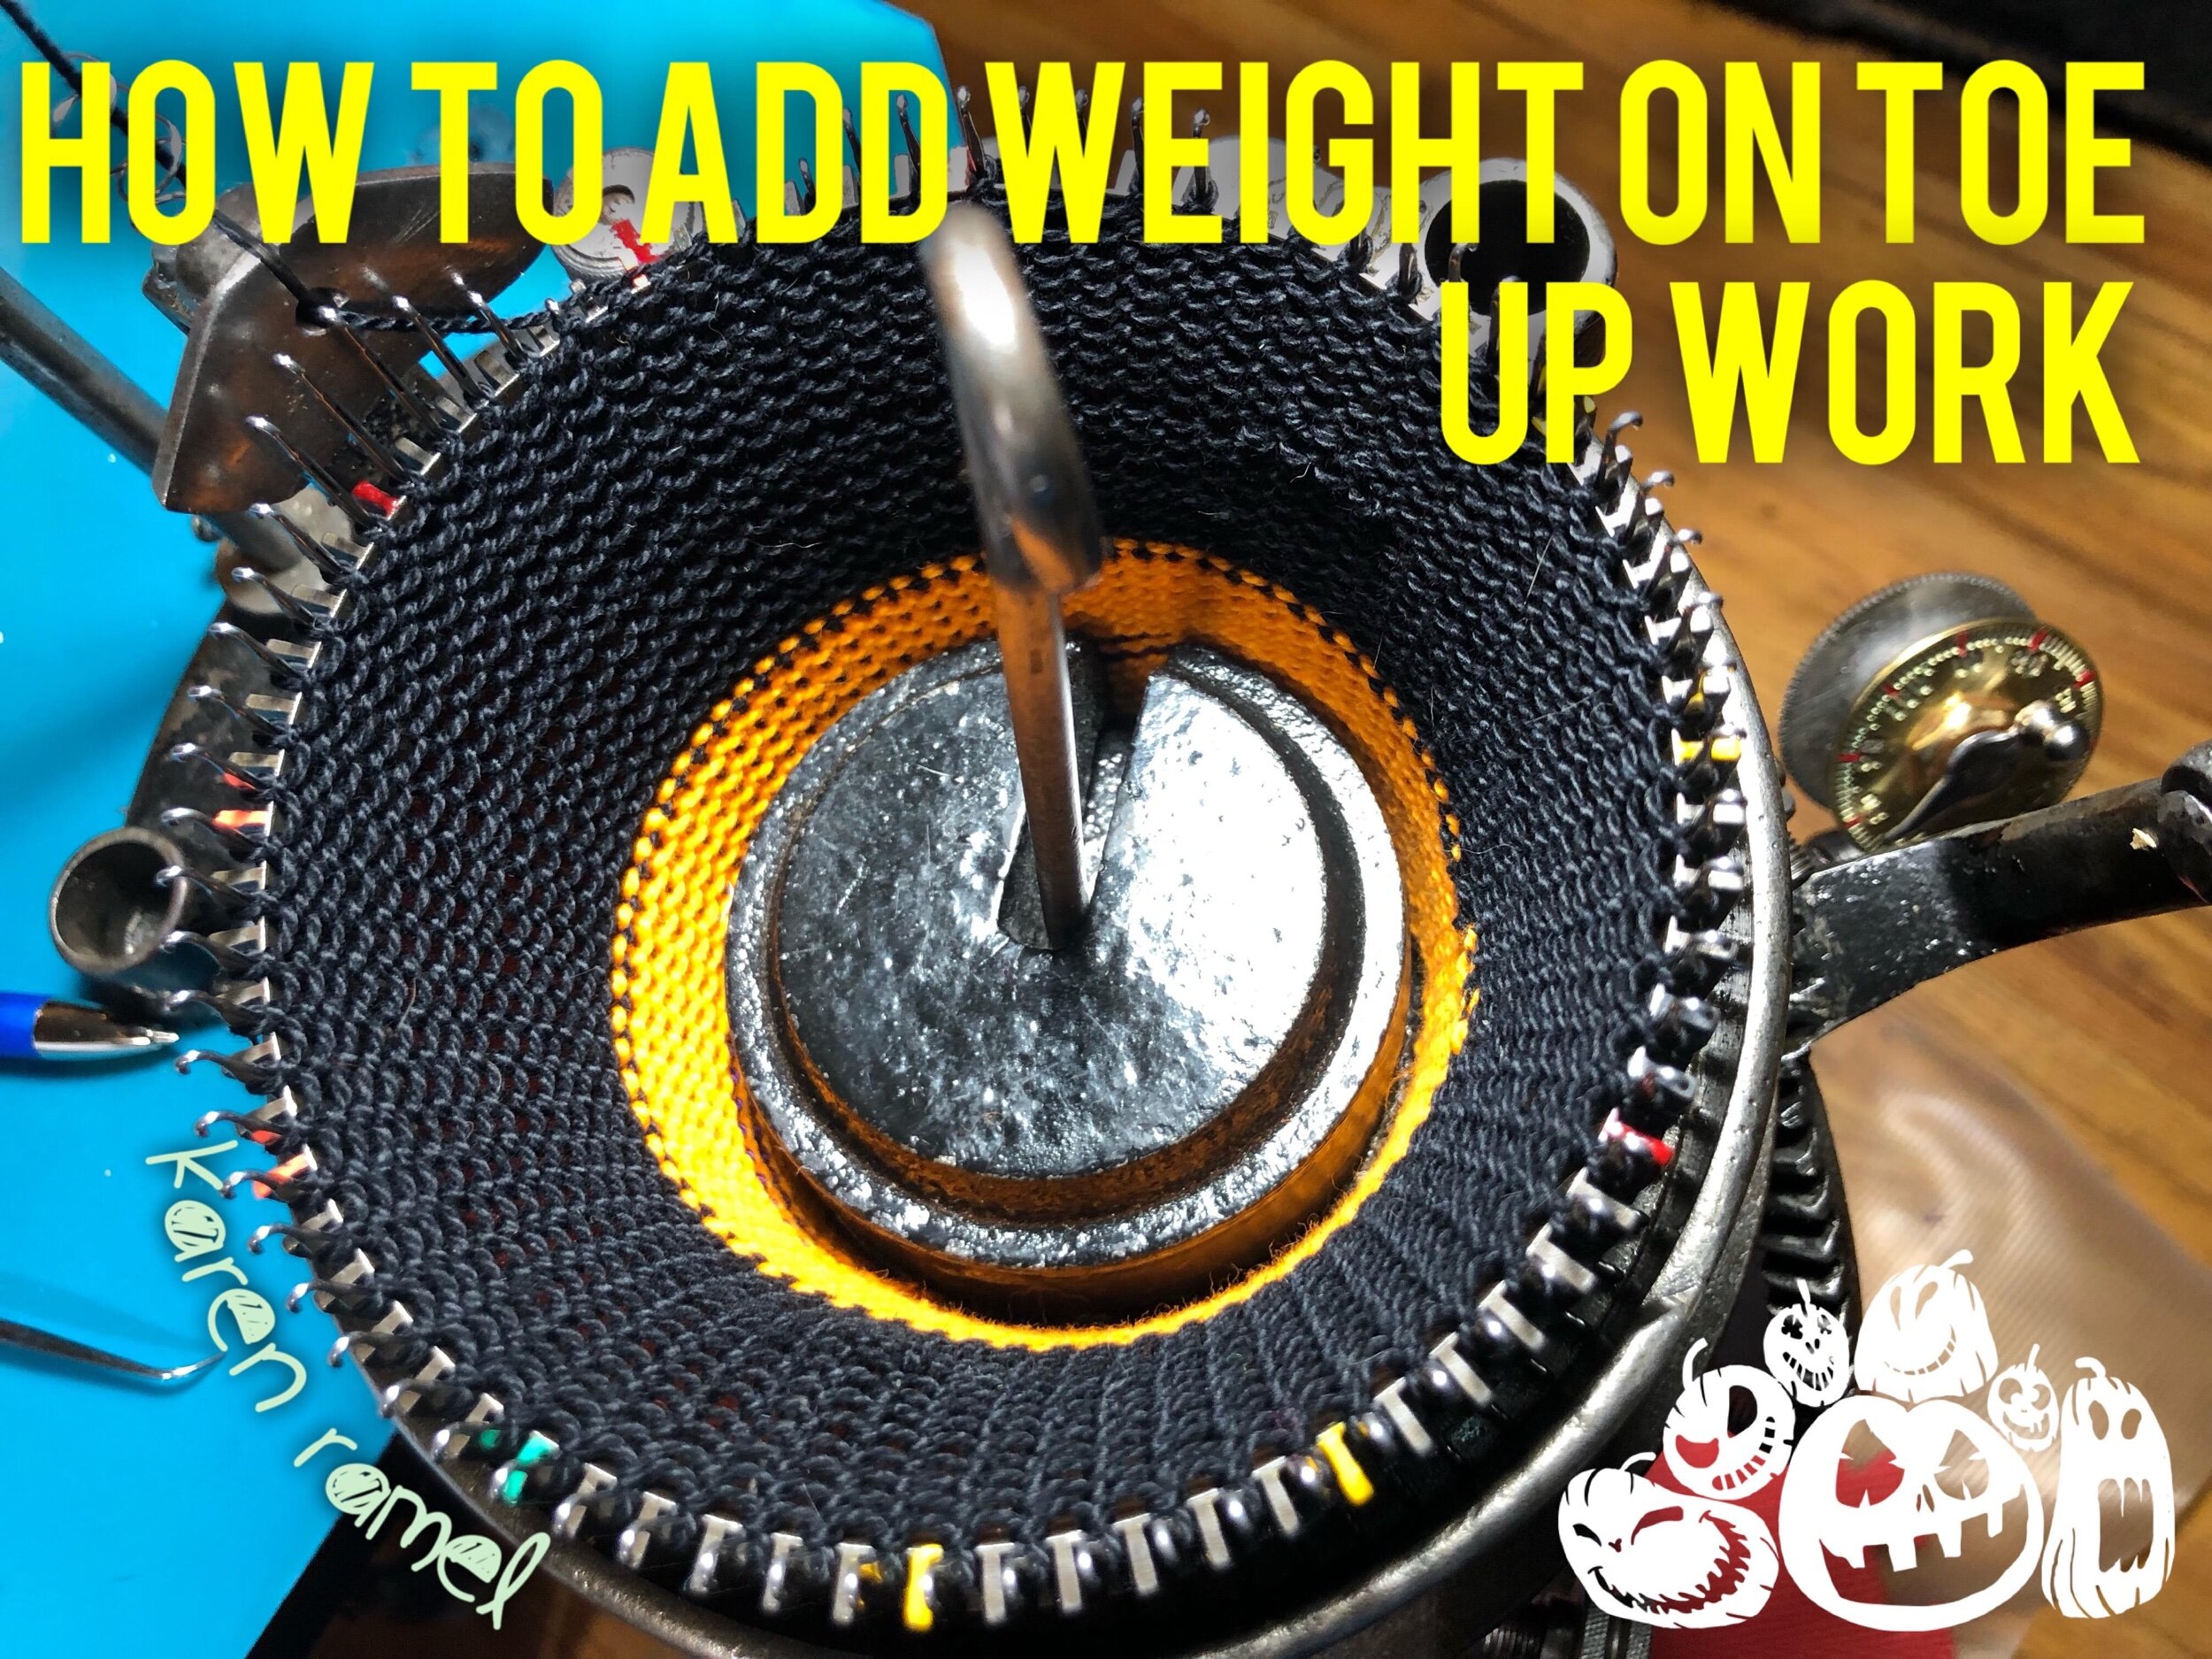
ABOVE: Shown here on the left is a vintage version of the weight stack shown with a pulley style top. I’ve included a detailed image on how it was used - it’s used for the TOE - not as a standard full machine weight. On the right the same V Hook was used for the Heel/Toe but with a regular stem weight as shown.

BELOW: My vintage Legare 400 came with two weight stacks which included pucks of two different thickness and weight (to be used above on the right). With todays fiber and method we use what is shown below. Having a fully weighted stem weight now seems excessive for the Heel/Toe.


Soft Weights

These can be used on Toe Up or Cuff Down Socks.

The lovely Dean & Bean 3D printed machines suggest using soft weights placed on the inside of the cylinder. A soft weight is basically a weighted bean bag style of weight. There are many videos on making soft weights - google search “CSM soft weights”. See their contact info on the NEW CSM Machines page.

PRO: a benefit to having weight(s) placed on the inside of the cylinder (instead of under the machine) is that the clearance under the machine doesn’t have to be as big.

CON: Weights need to be completely centred and ensure during use that they’re not snagging or being hung up on the inside of the cylinder itself. Also the soft weights are bulky so working a toe up sock with a soft weight on the inside means you don’t have the clearance on the inside of the cylinder to add the ribber (if you wanted to start rubbing on the sock there).

My personal preferred weights remain the stem weights/weight stack using a buckle.


Heel and Toe weights


The Chambord CSM SweetSpot V Hook and Weight

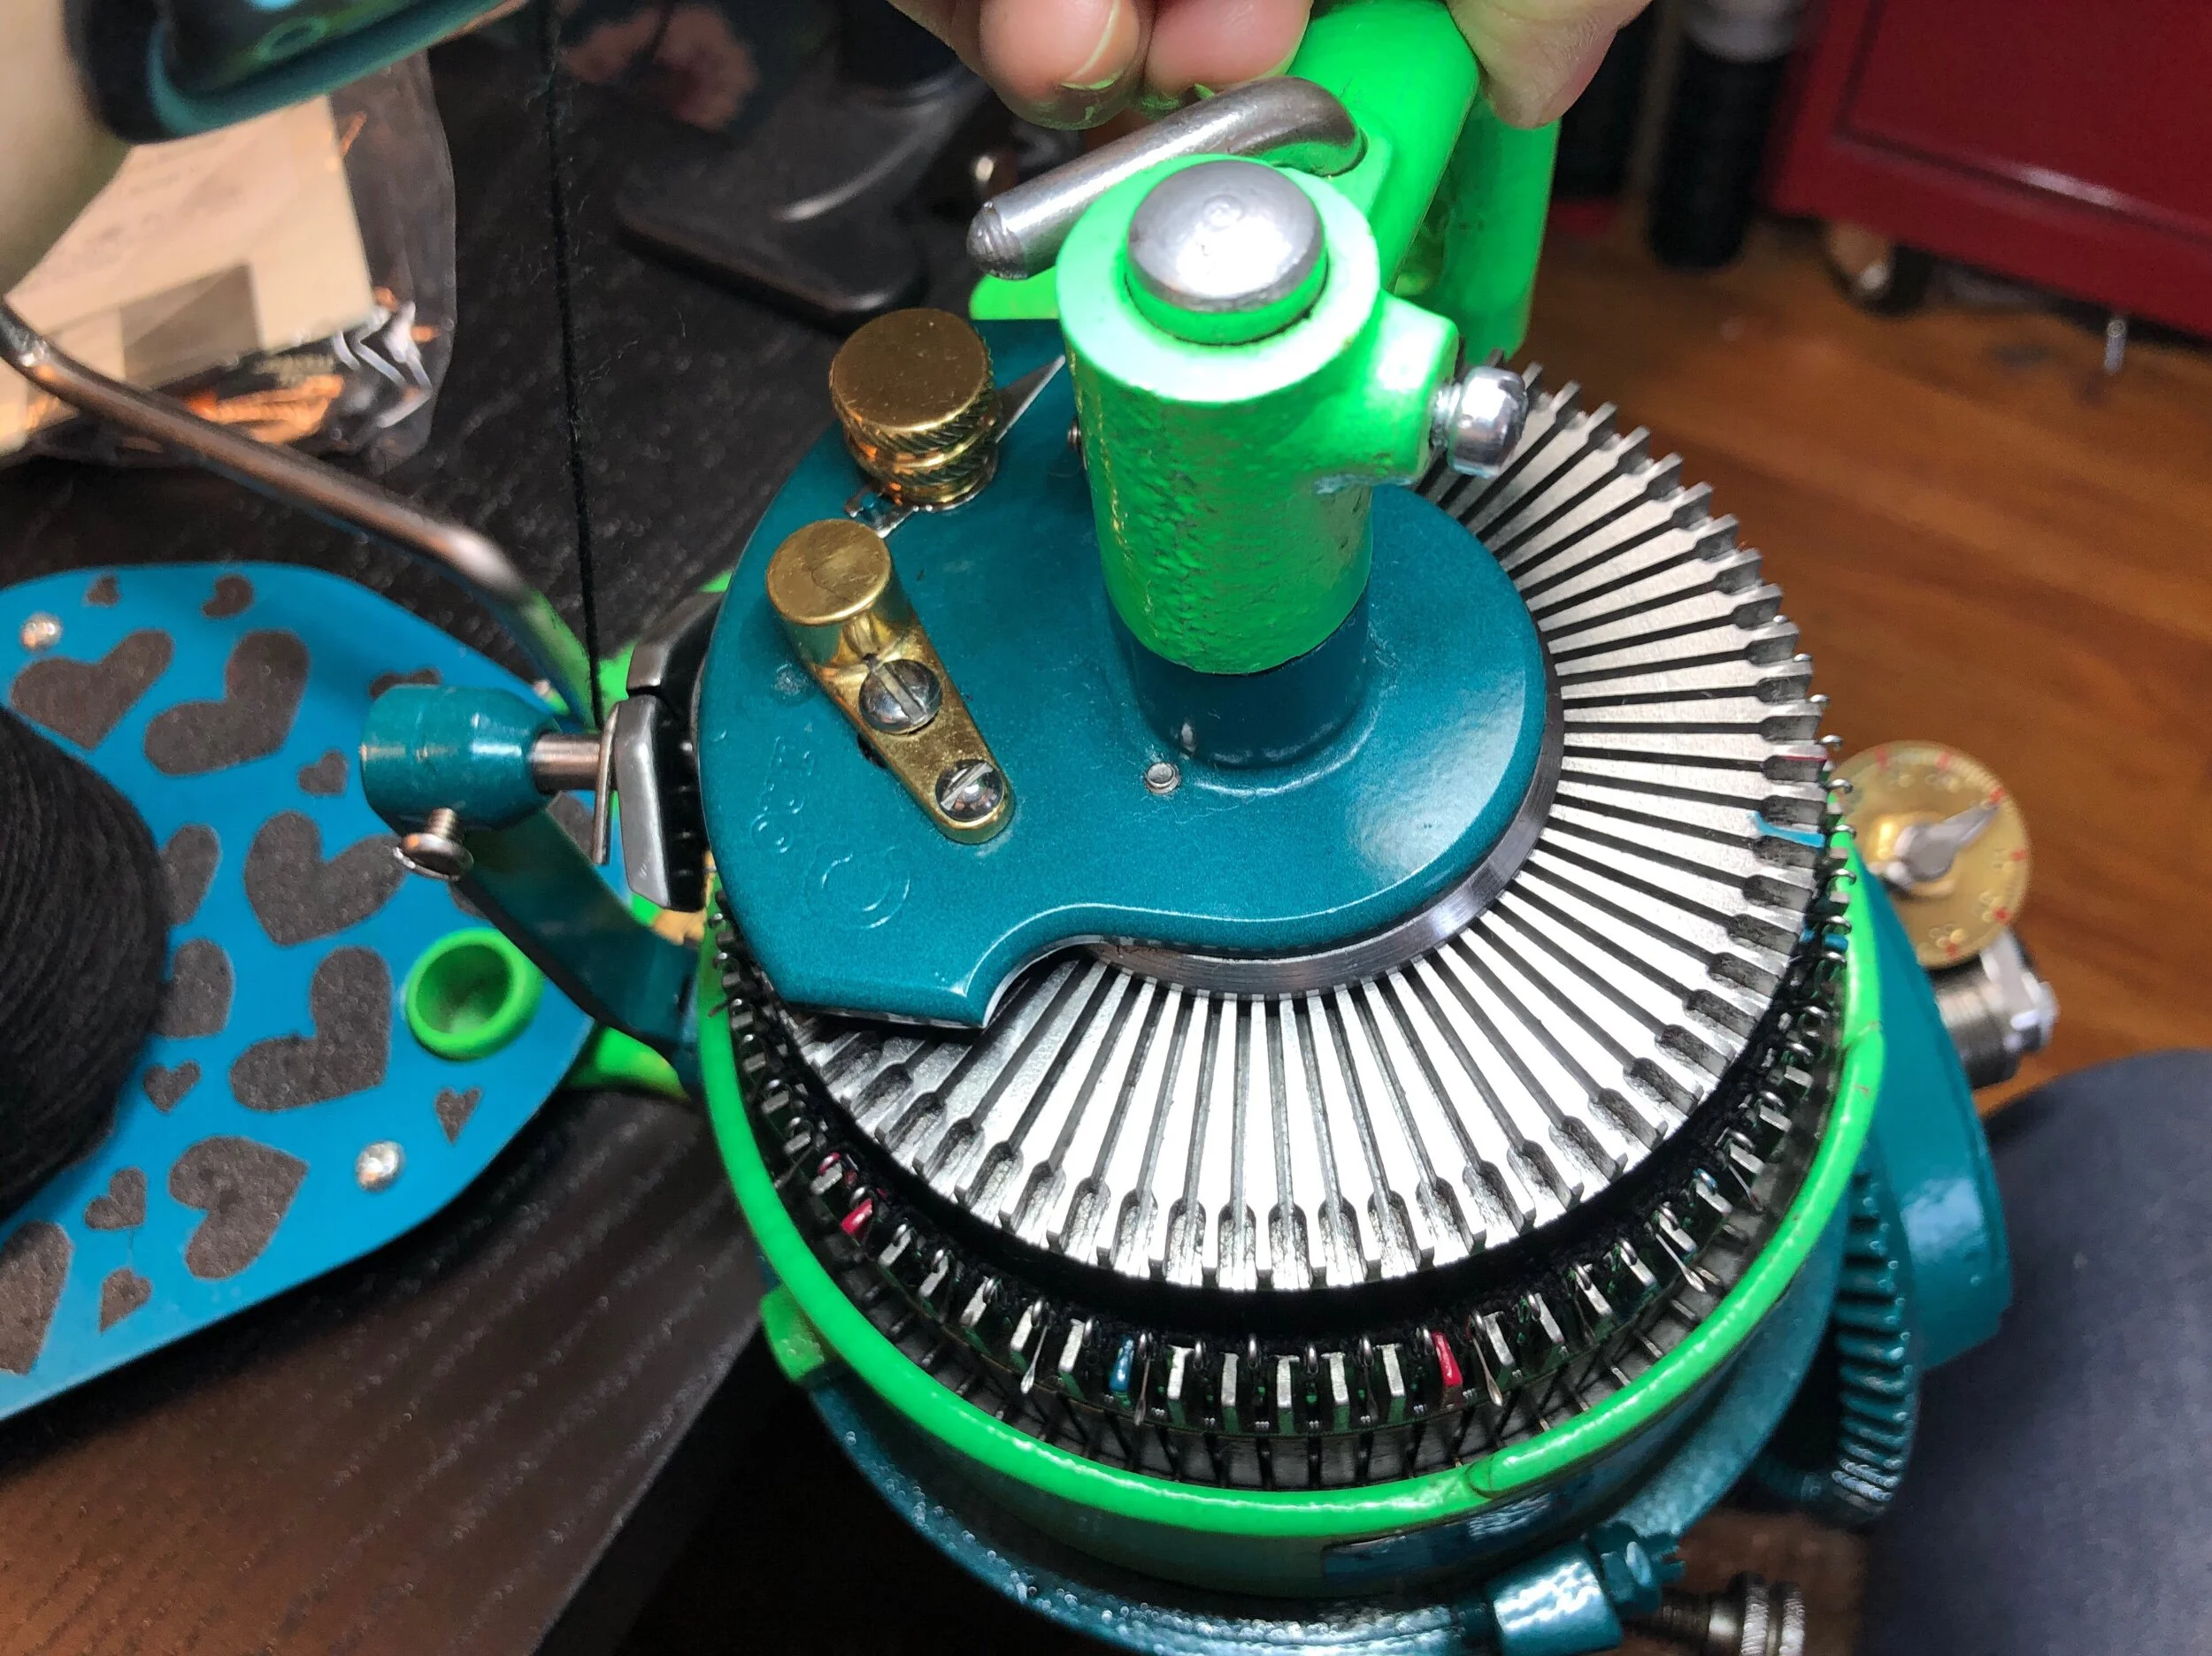
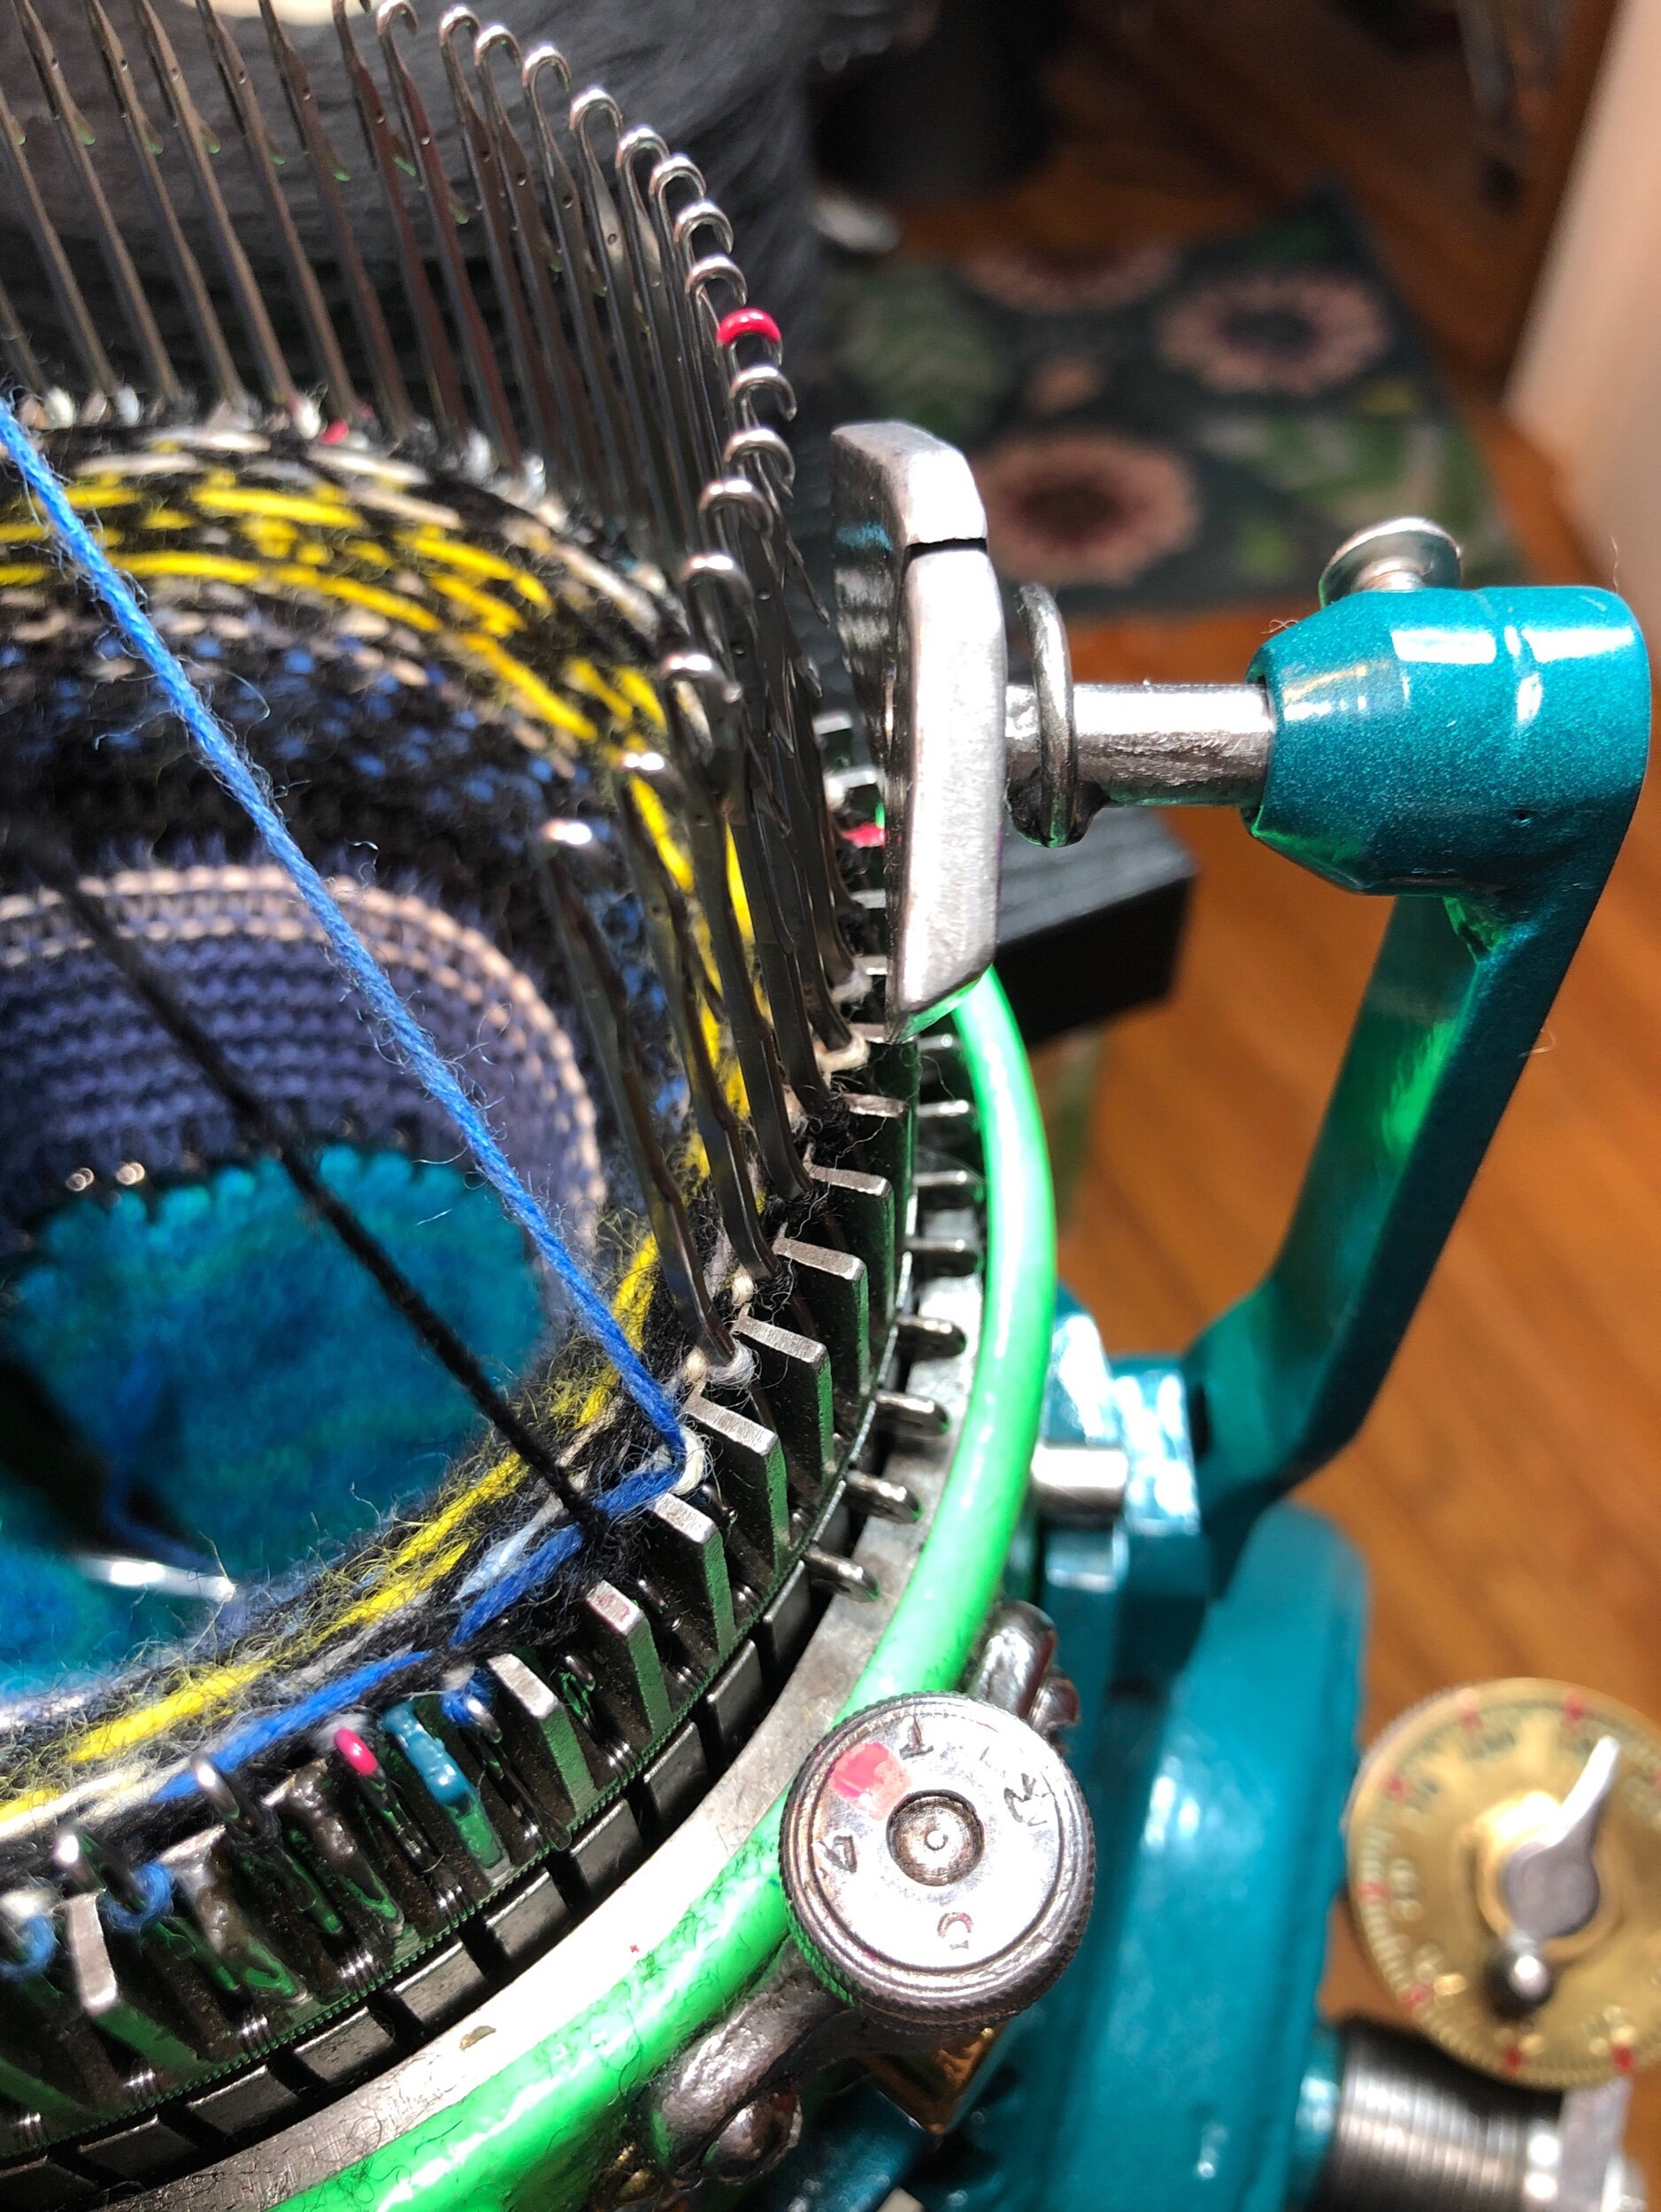
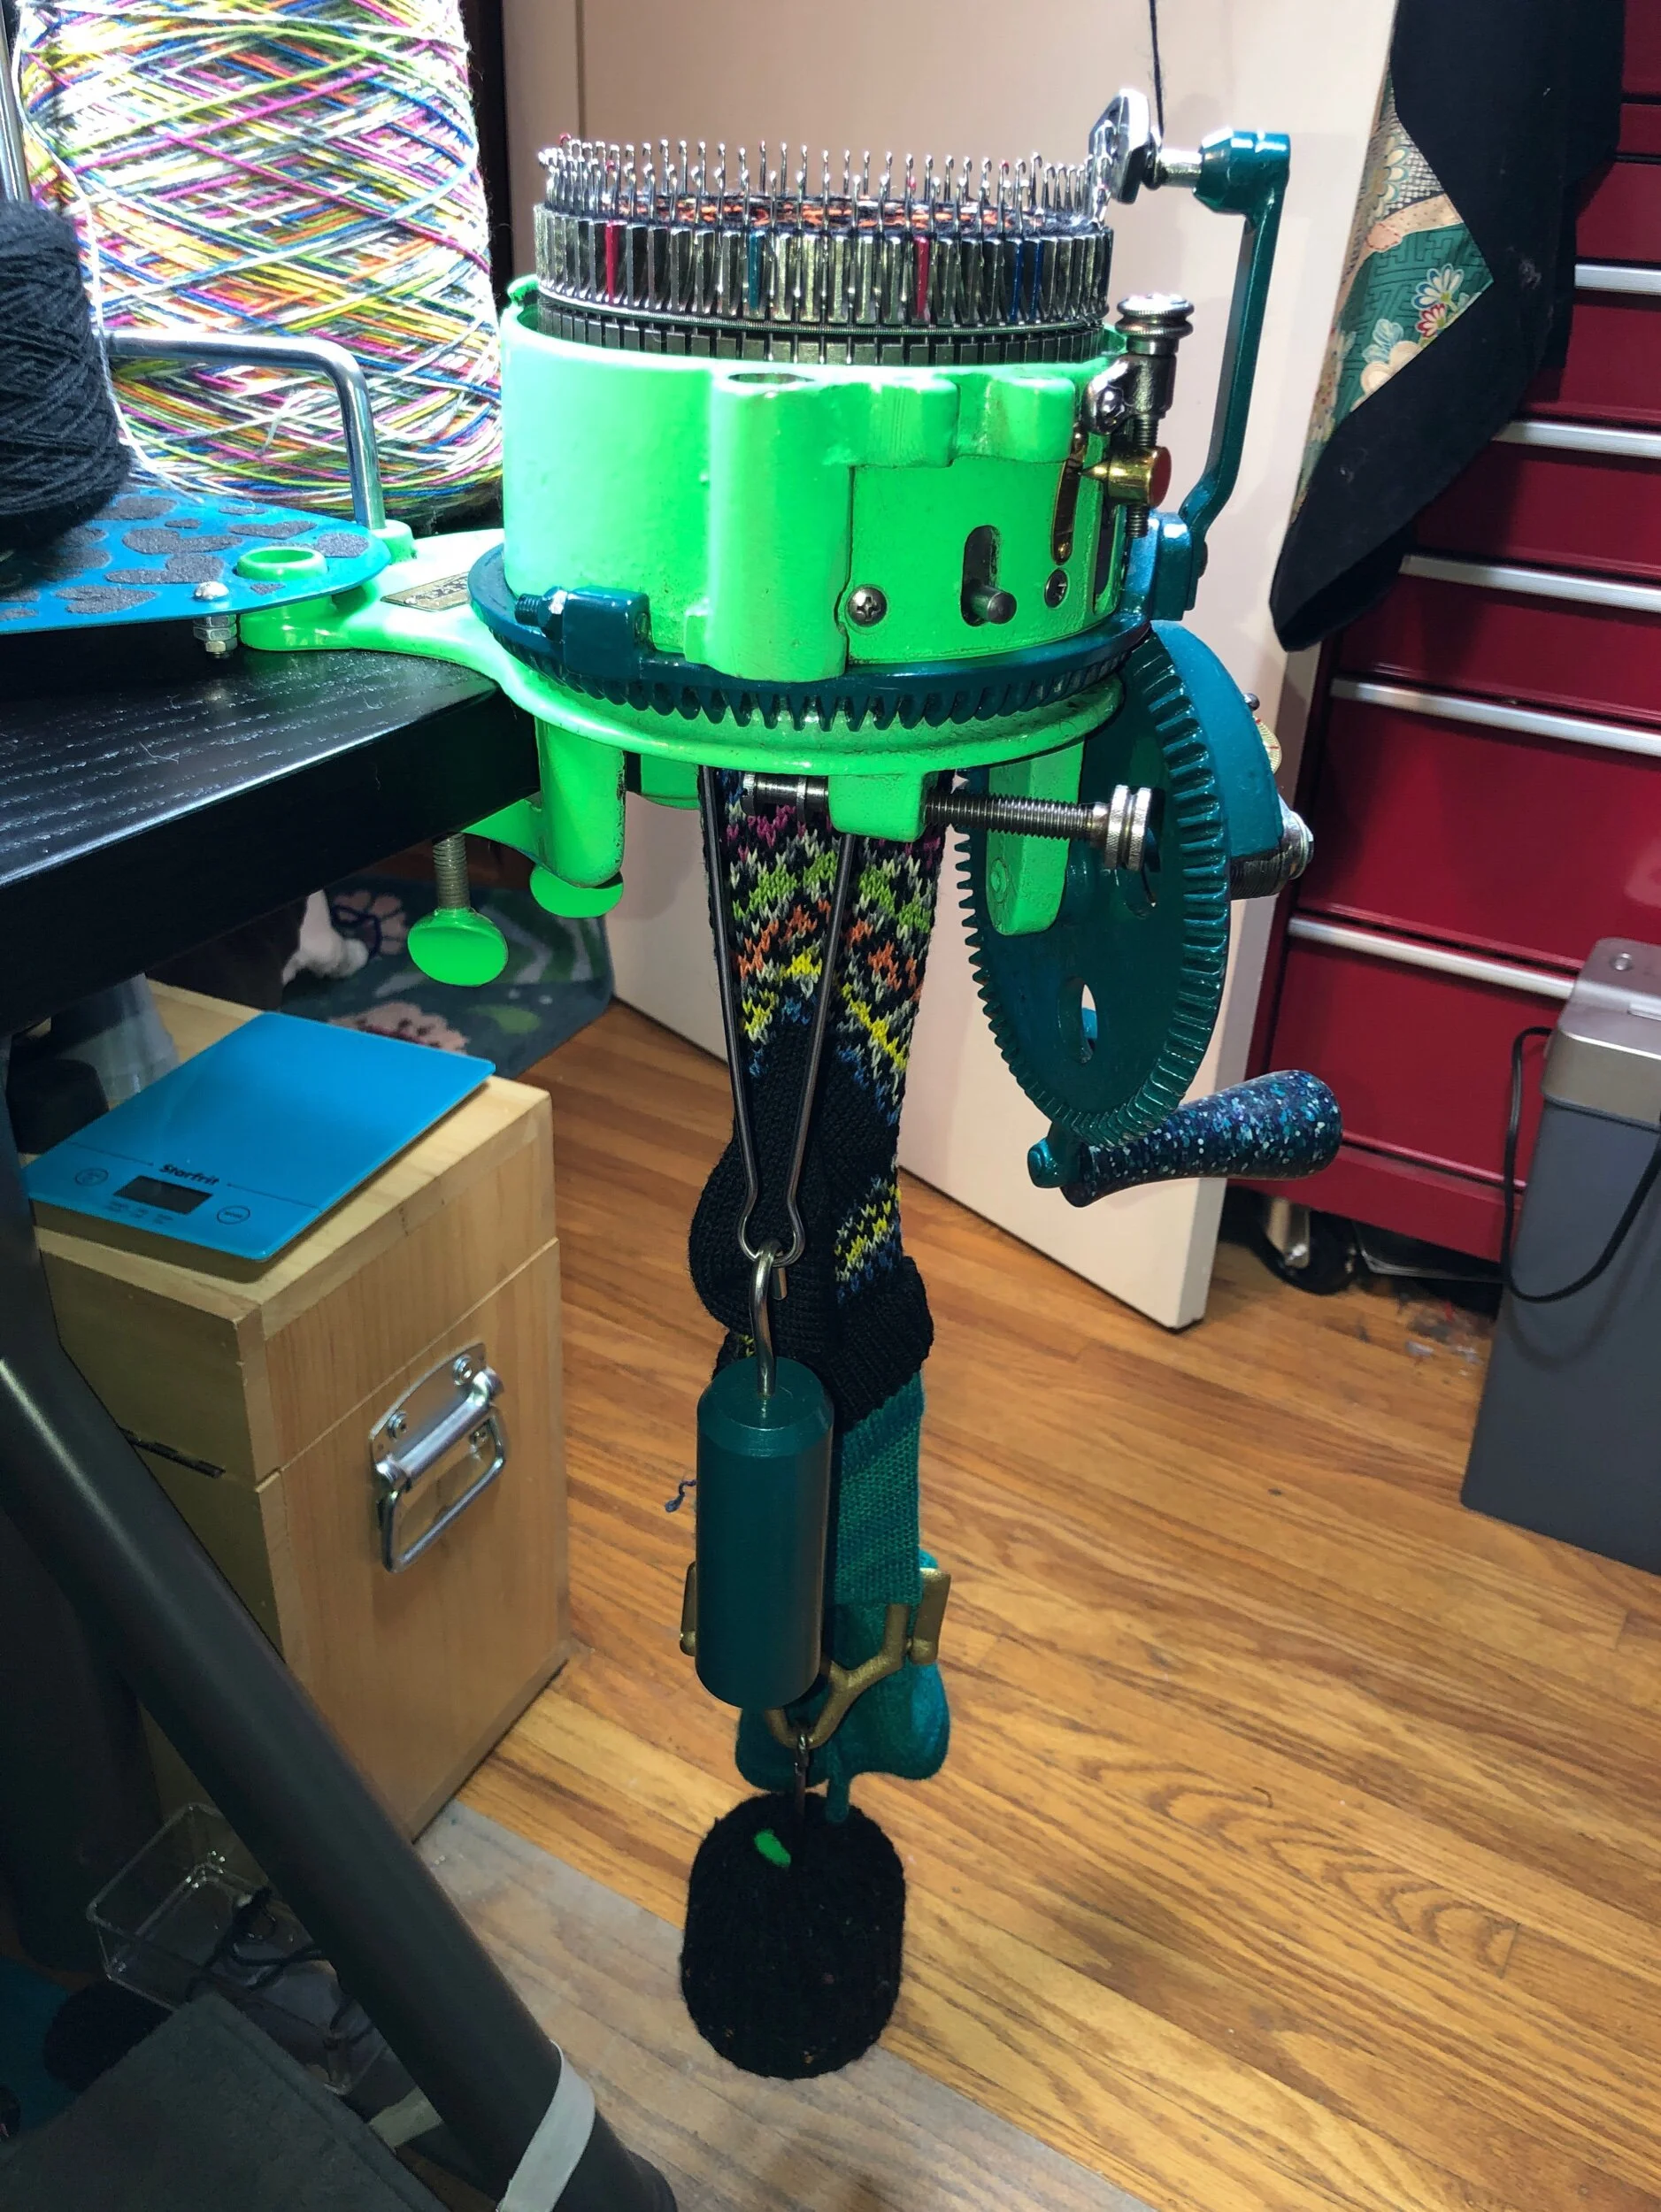
The modern and upgraded V Hook Heel/Toe system is used under the machine. The V Hook is applied and the weight hung. The weight itself is 1002grams=2.2lbs

This is my preferred system See how they’re used or order one yourself by checking out my info page on Chambord CSM and contacting them via email to order.

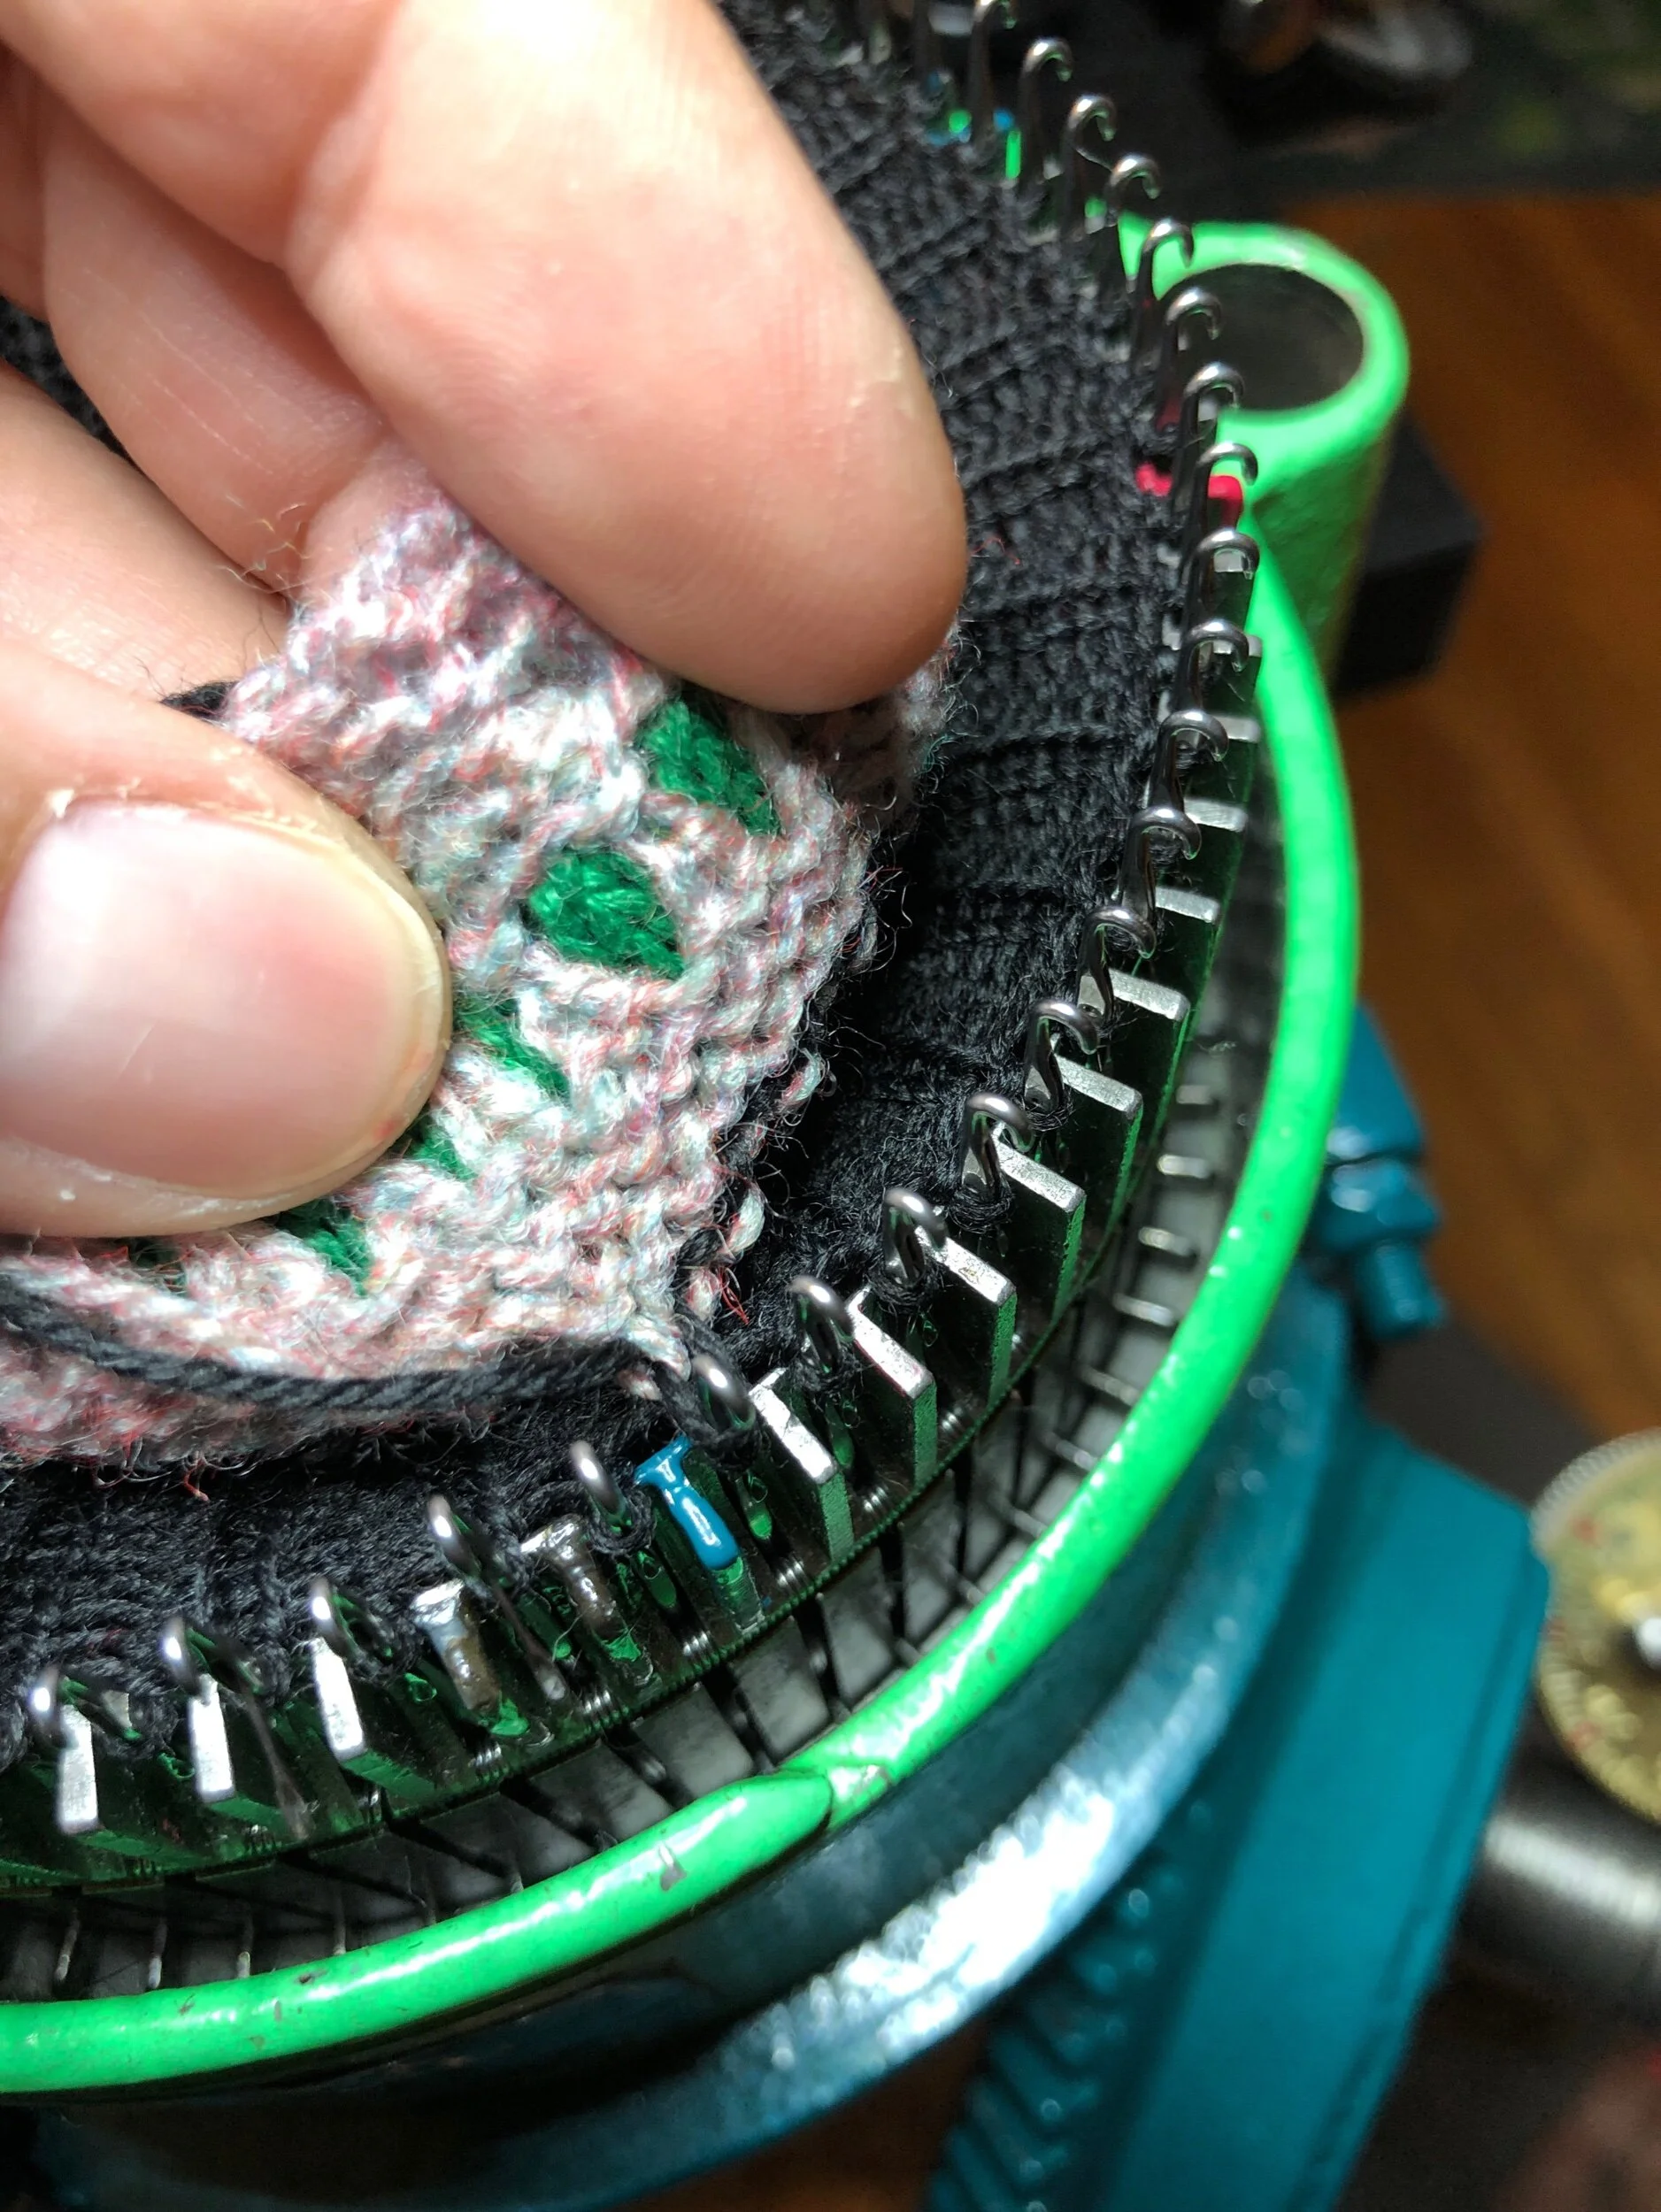
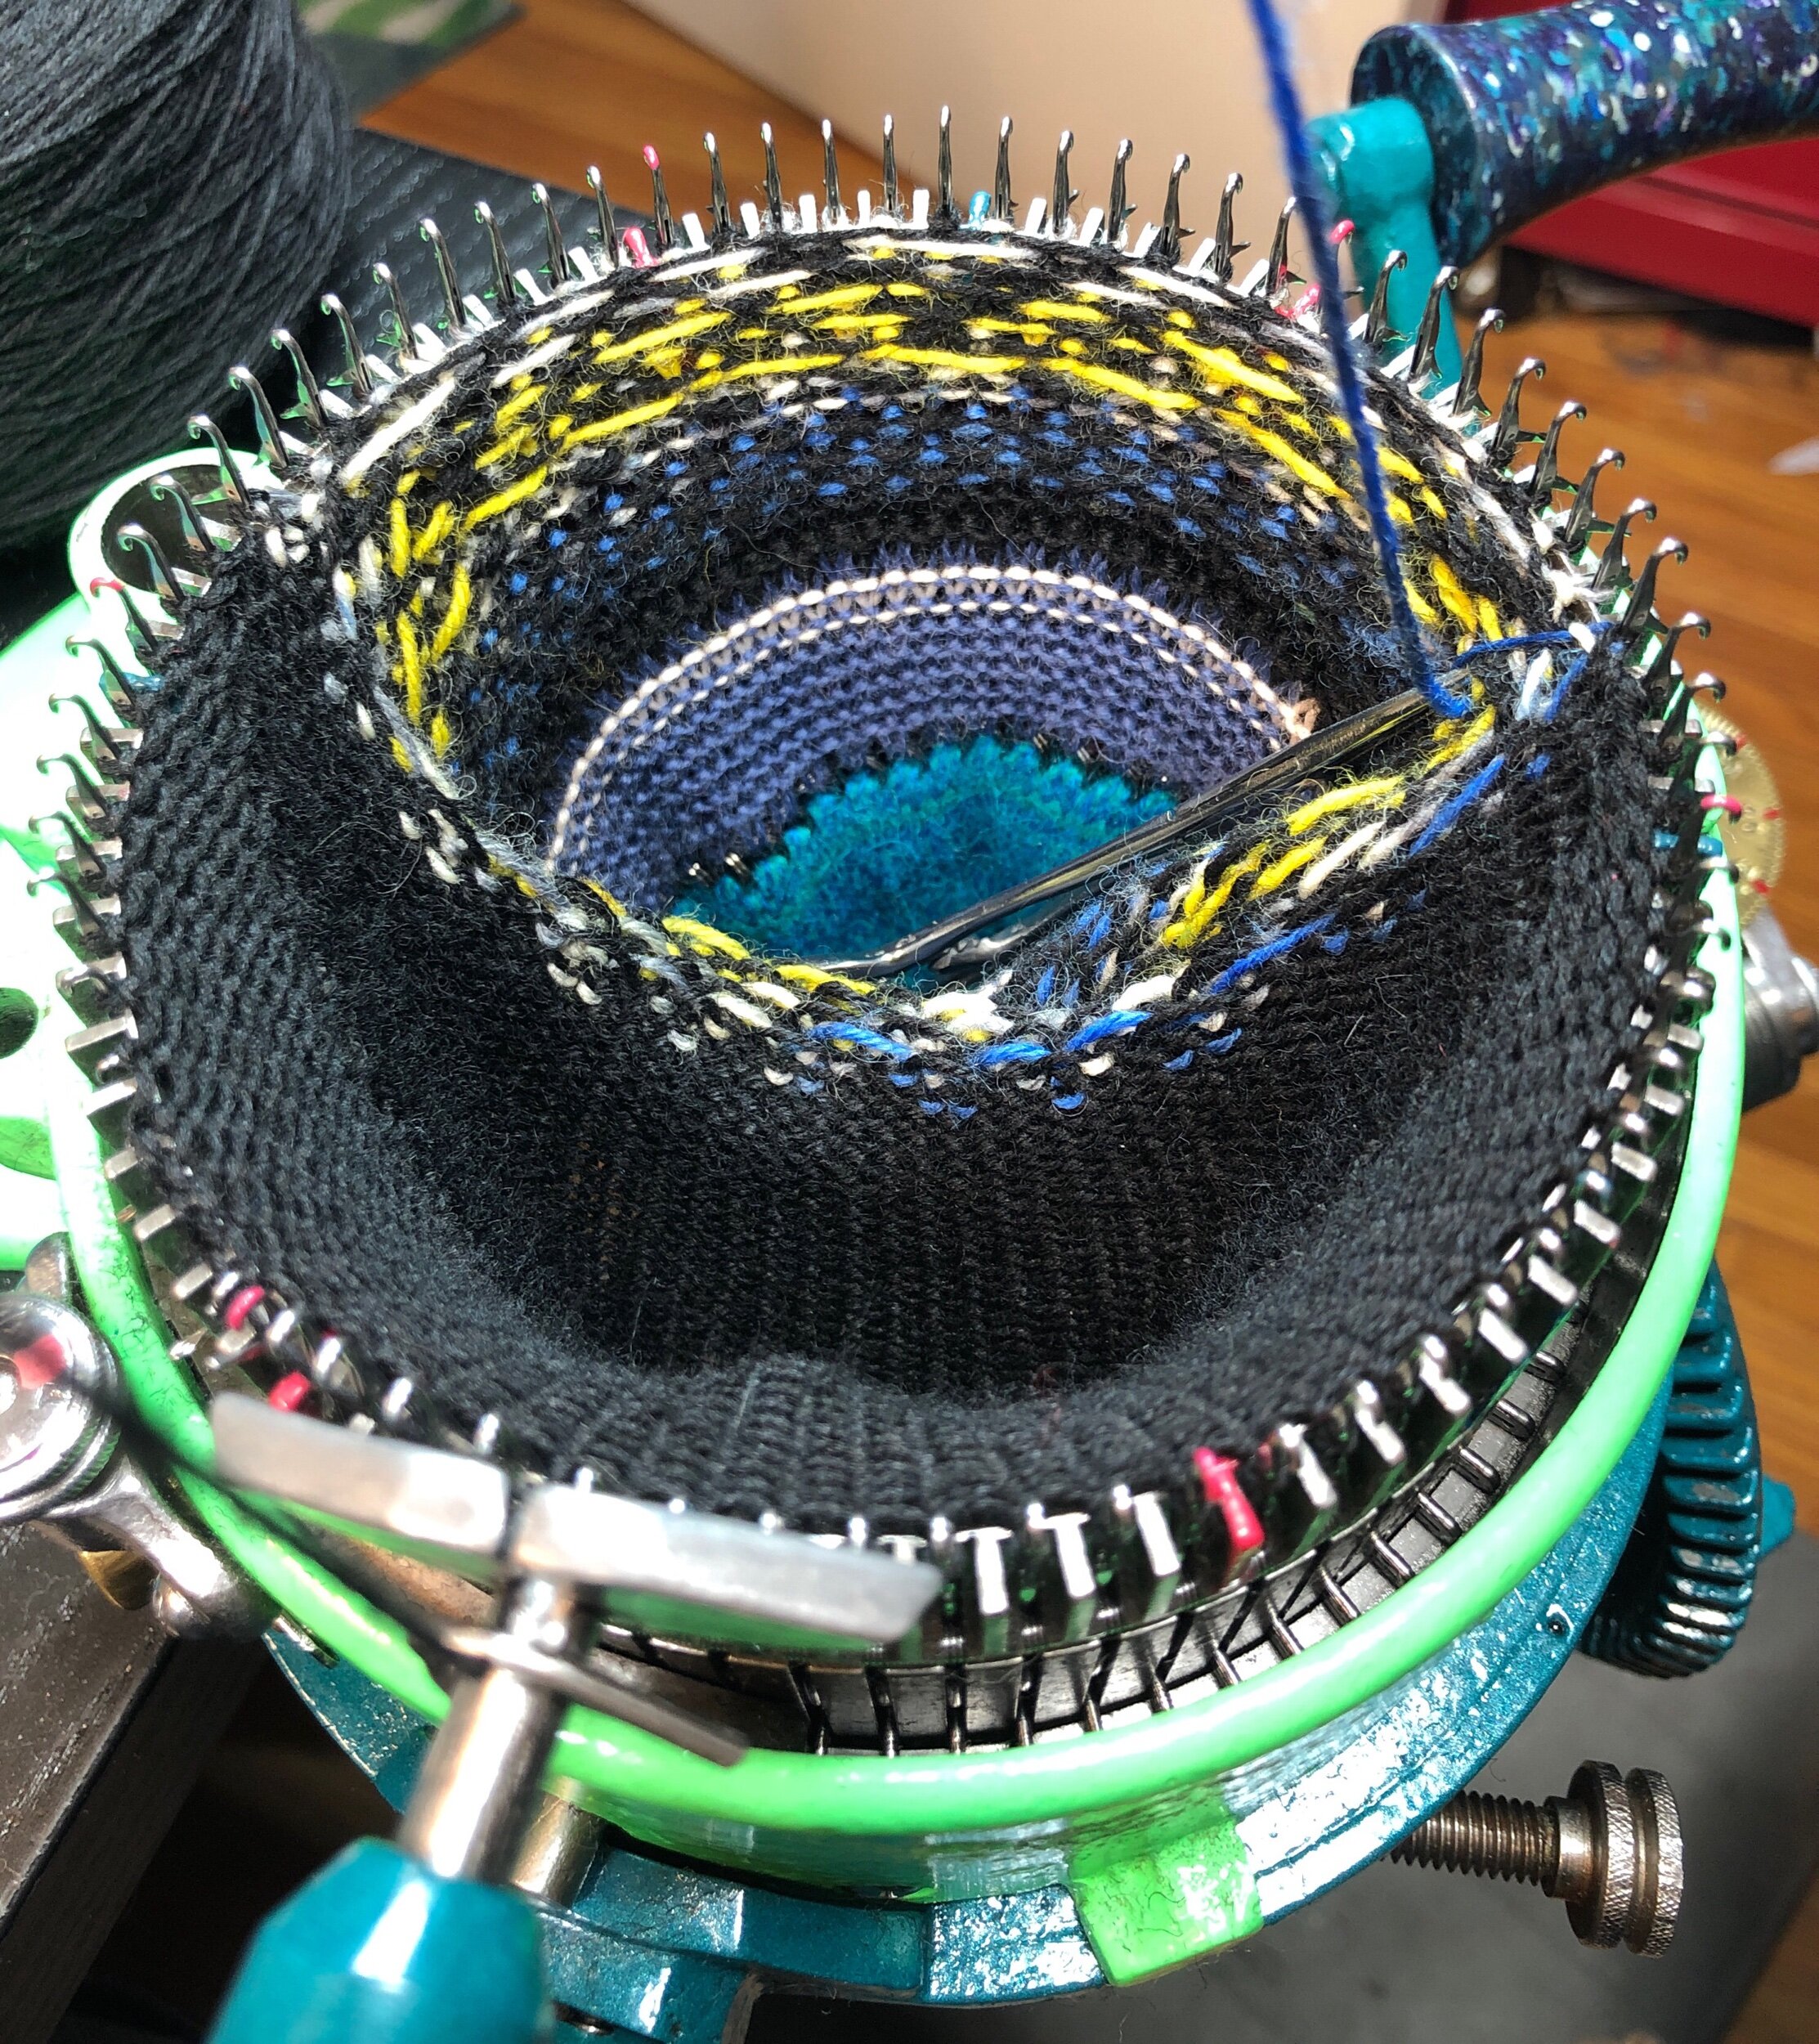
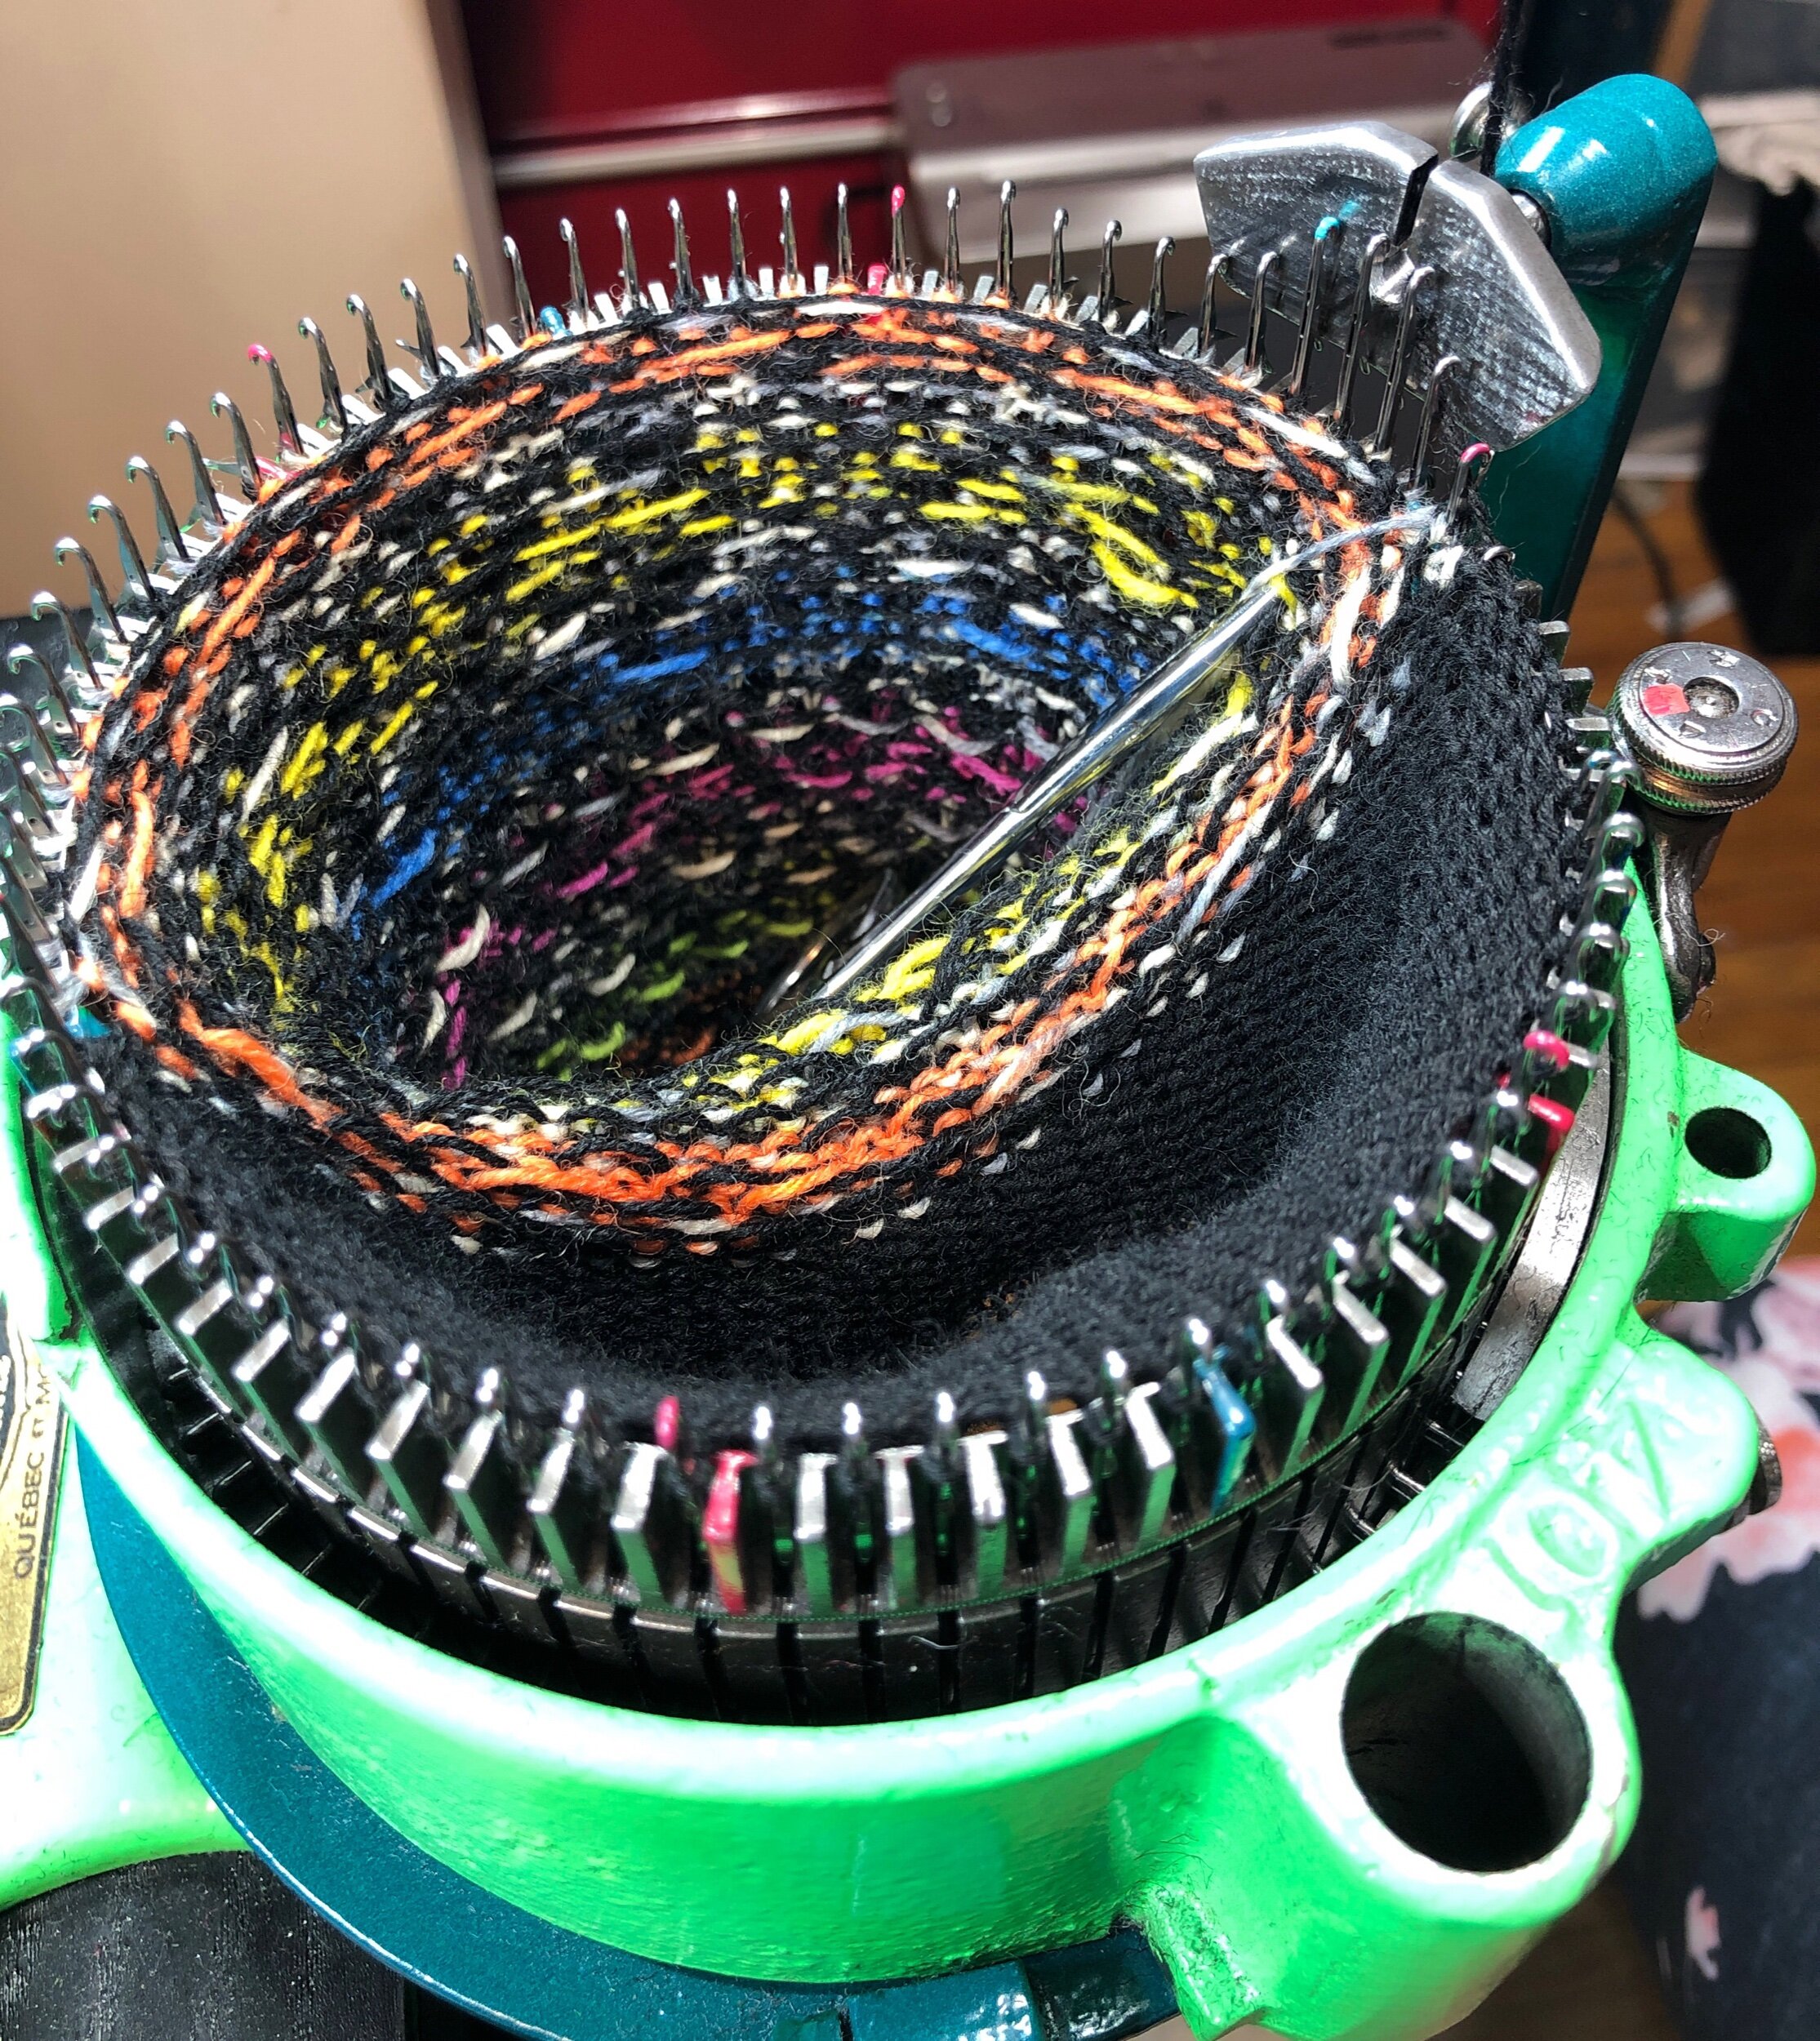
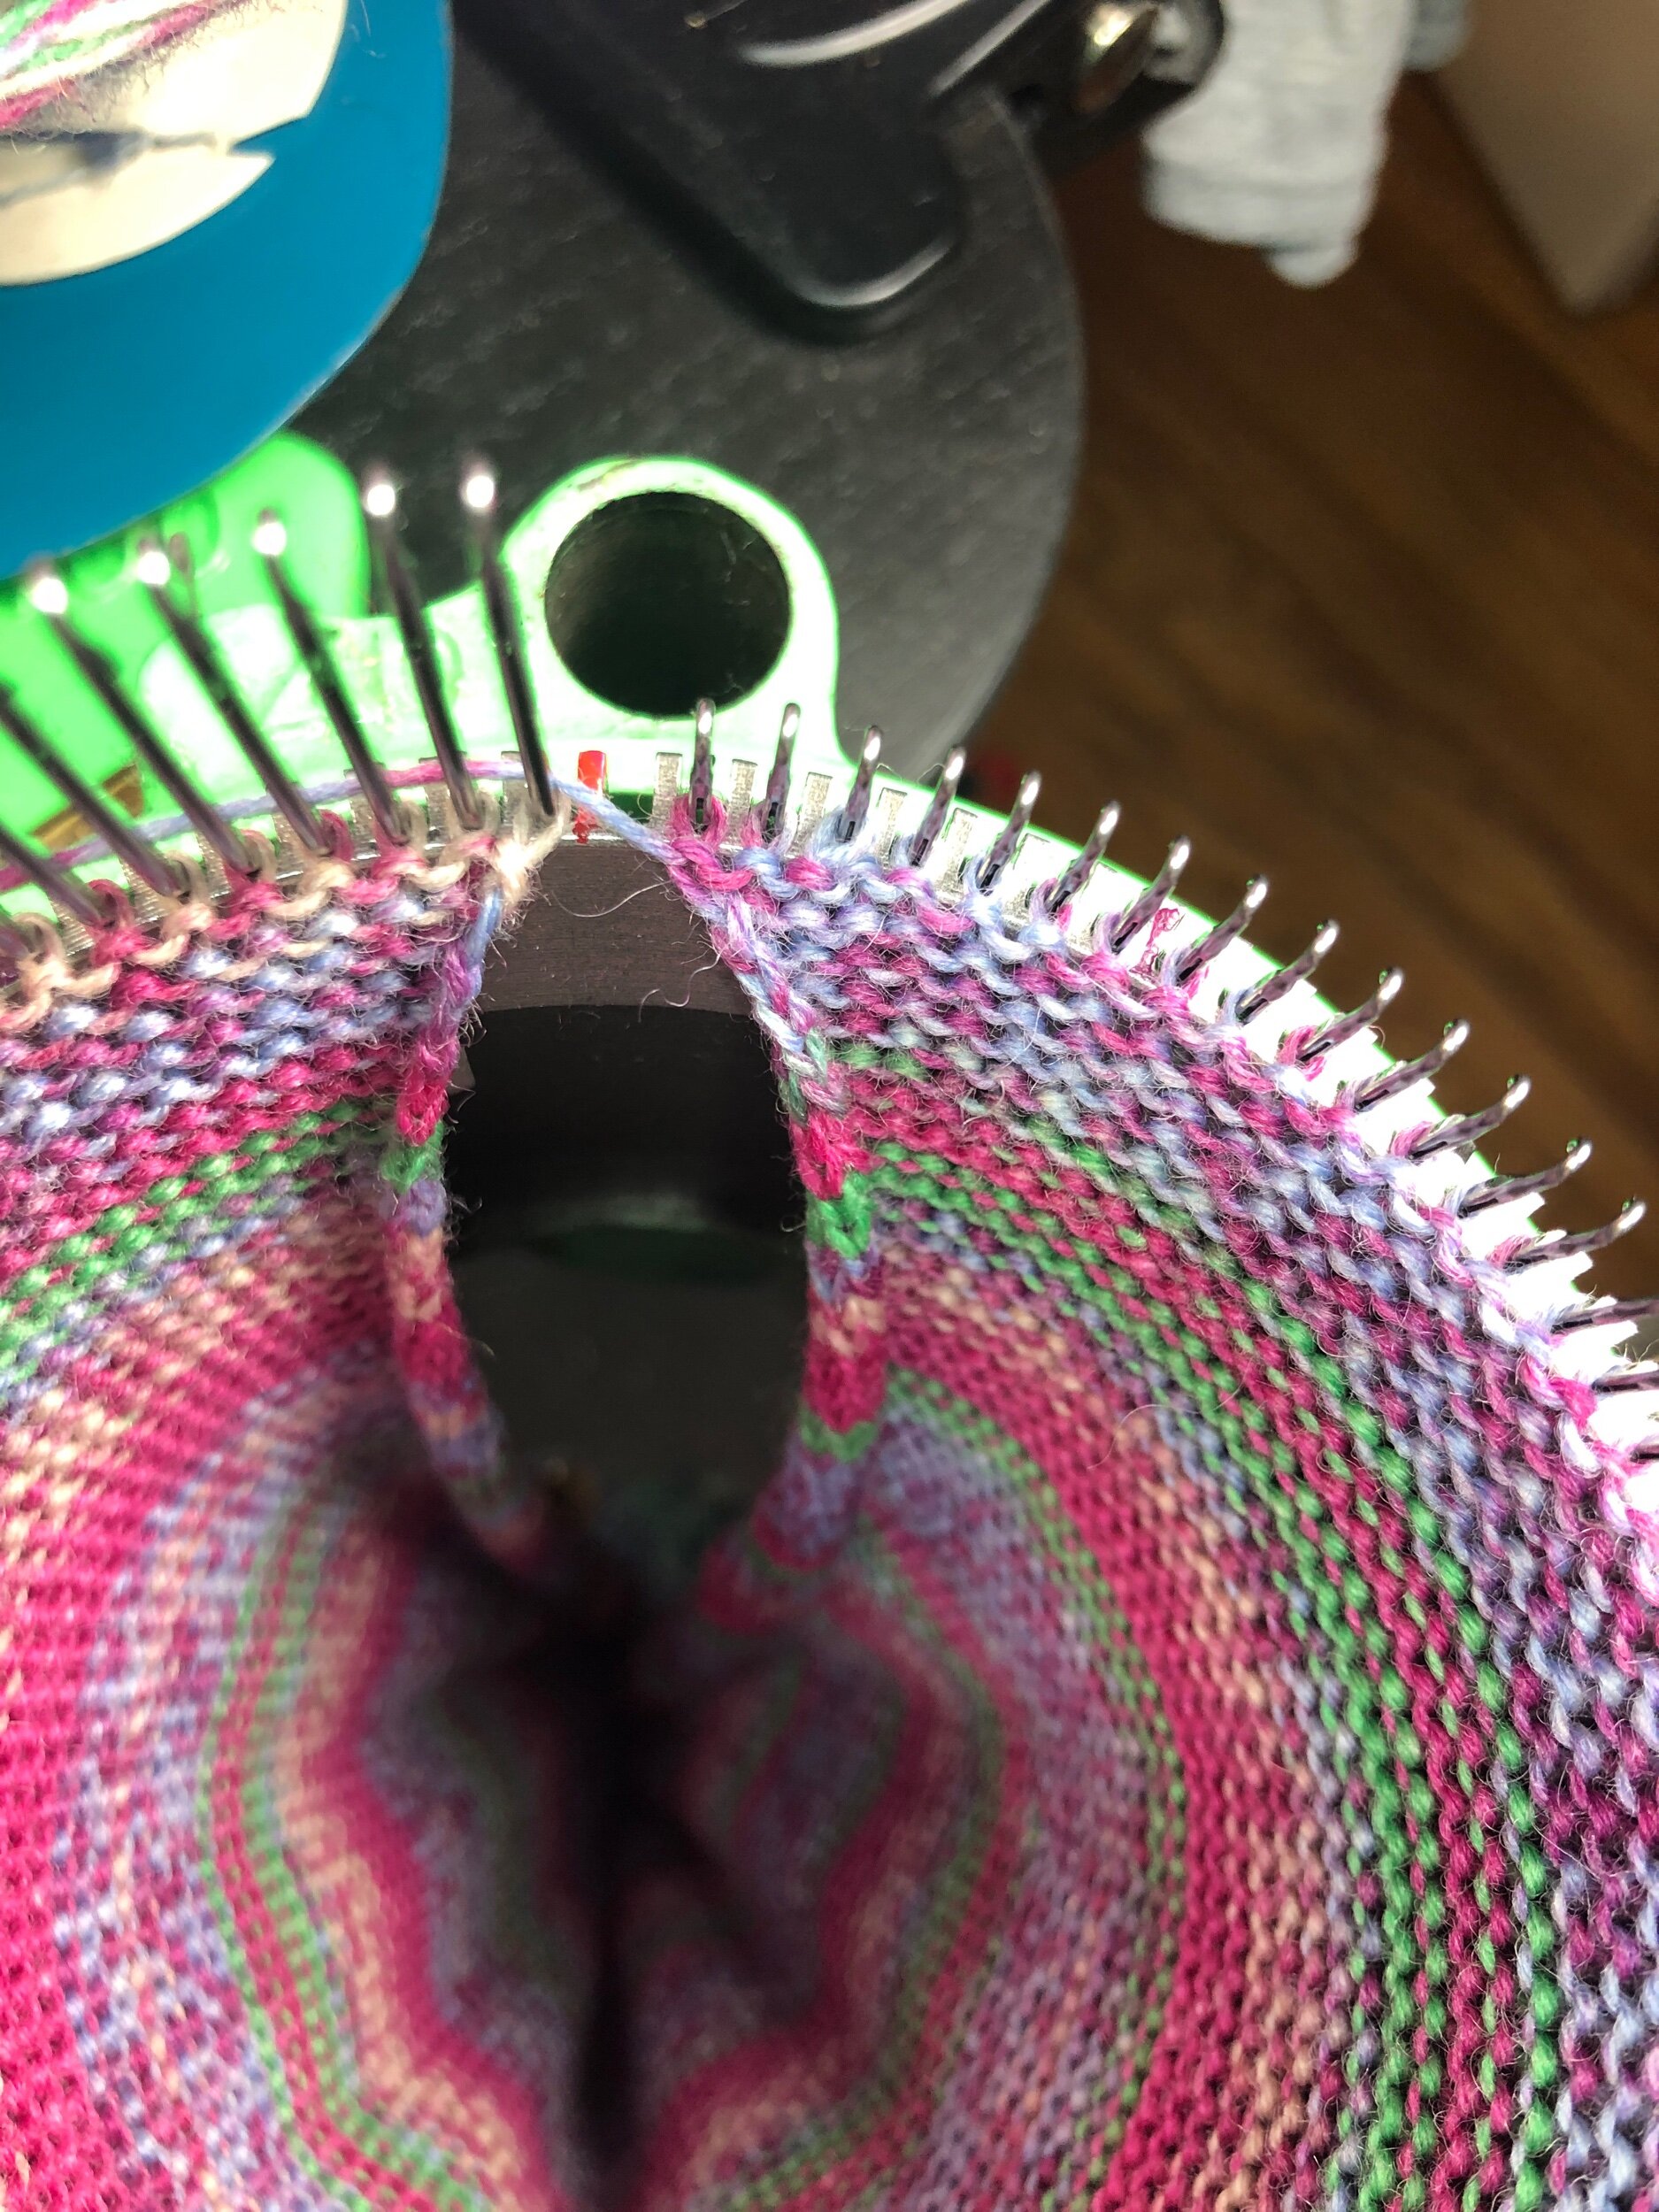
See the picture at the top of this page for how it looks with this weight in use.

The newer company Dean & Bean created a TOE UP weight they call the V-Hook (not to be confused with the vintage V-Hook weight). A Toe-Up weight can only be used if using a cast on bonnet that has a closed bottom section (or ring) or if having cast on, one is working a Toe up sock. See further down this page for a visual example of that weight system.


Heel Forks

Generally a three piece system used to add specific weight to the project at specific parts (like making a heel or toe). Each weight is about a pound each.

Personally these are great but more pieces to manage means more work with more items meaning less room to apply under the machine. Before using the V Hook and Weight mentioned above, I created these which made them easier to place with their minimum hook design and easy way to tell which way the hooks are without needing to see them. See more cool Ideas and Upgrades.


This next section isn’t about the amount of weight but rather how one can add weight in this specific scenario/project.

Toe Up Weights or Weight Systems

Next let’s review some cool ways to add weight to a Toe Up project allowing for easy ribber clearance install (for when we want to add the ribber on your sock after the toe).

The benefit of a hard shaped weight placed inside the machine (like a soft weight) is that it generally won’t get caught up on the inside of the machine.

However having weight applied from UNDER the Toe Up Sock seems to be the BEST way in my opinion. Here are some examples and ways to do that. Vintage Circular Sock Machines came with a reverse umbrella like item named the “Start Up Device” which was used to cast on. There are modern reproductions of that start up sold even now from some suppliers. (Click on any smaller image to view full size).

See my Jan 12, 2020 instagram post

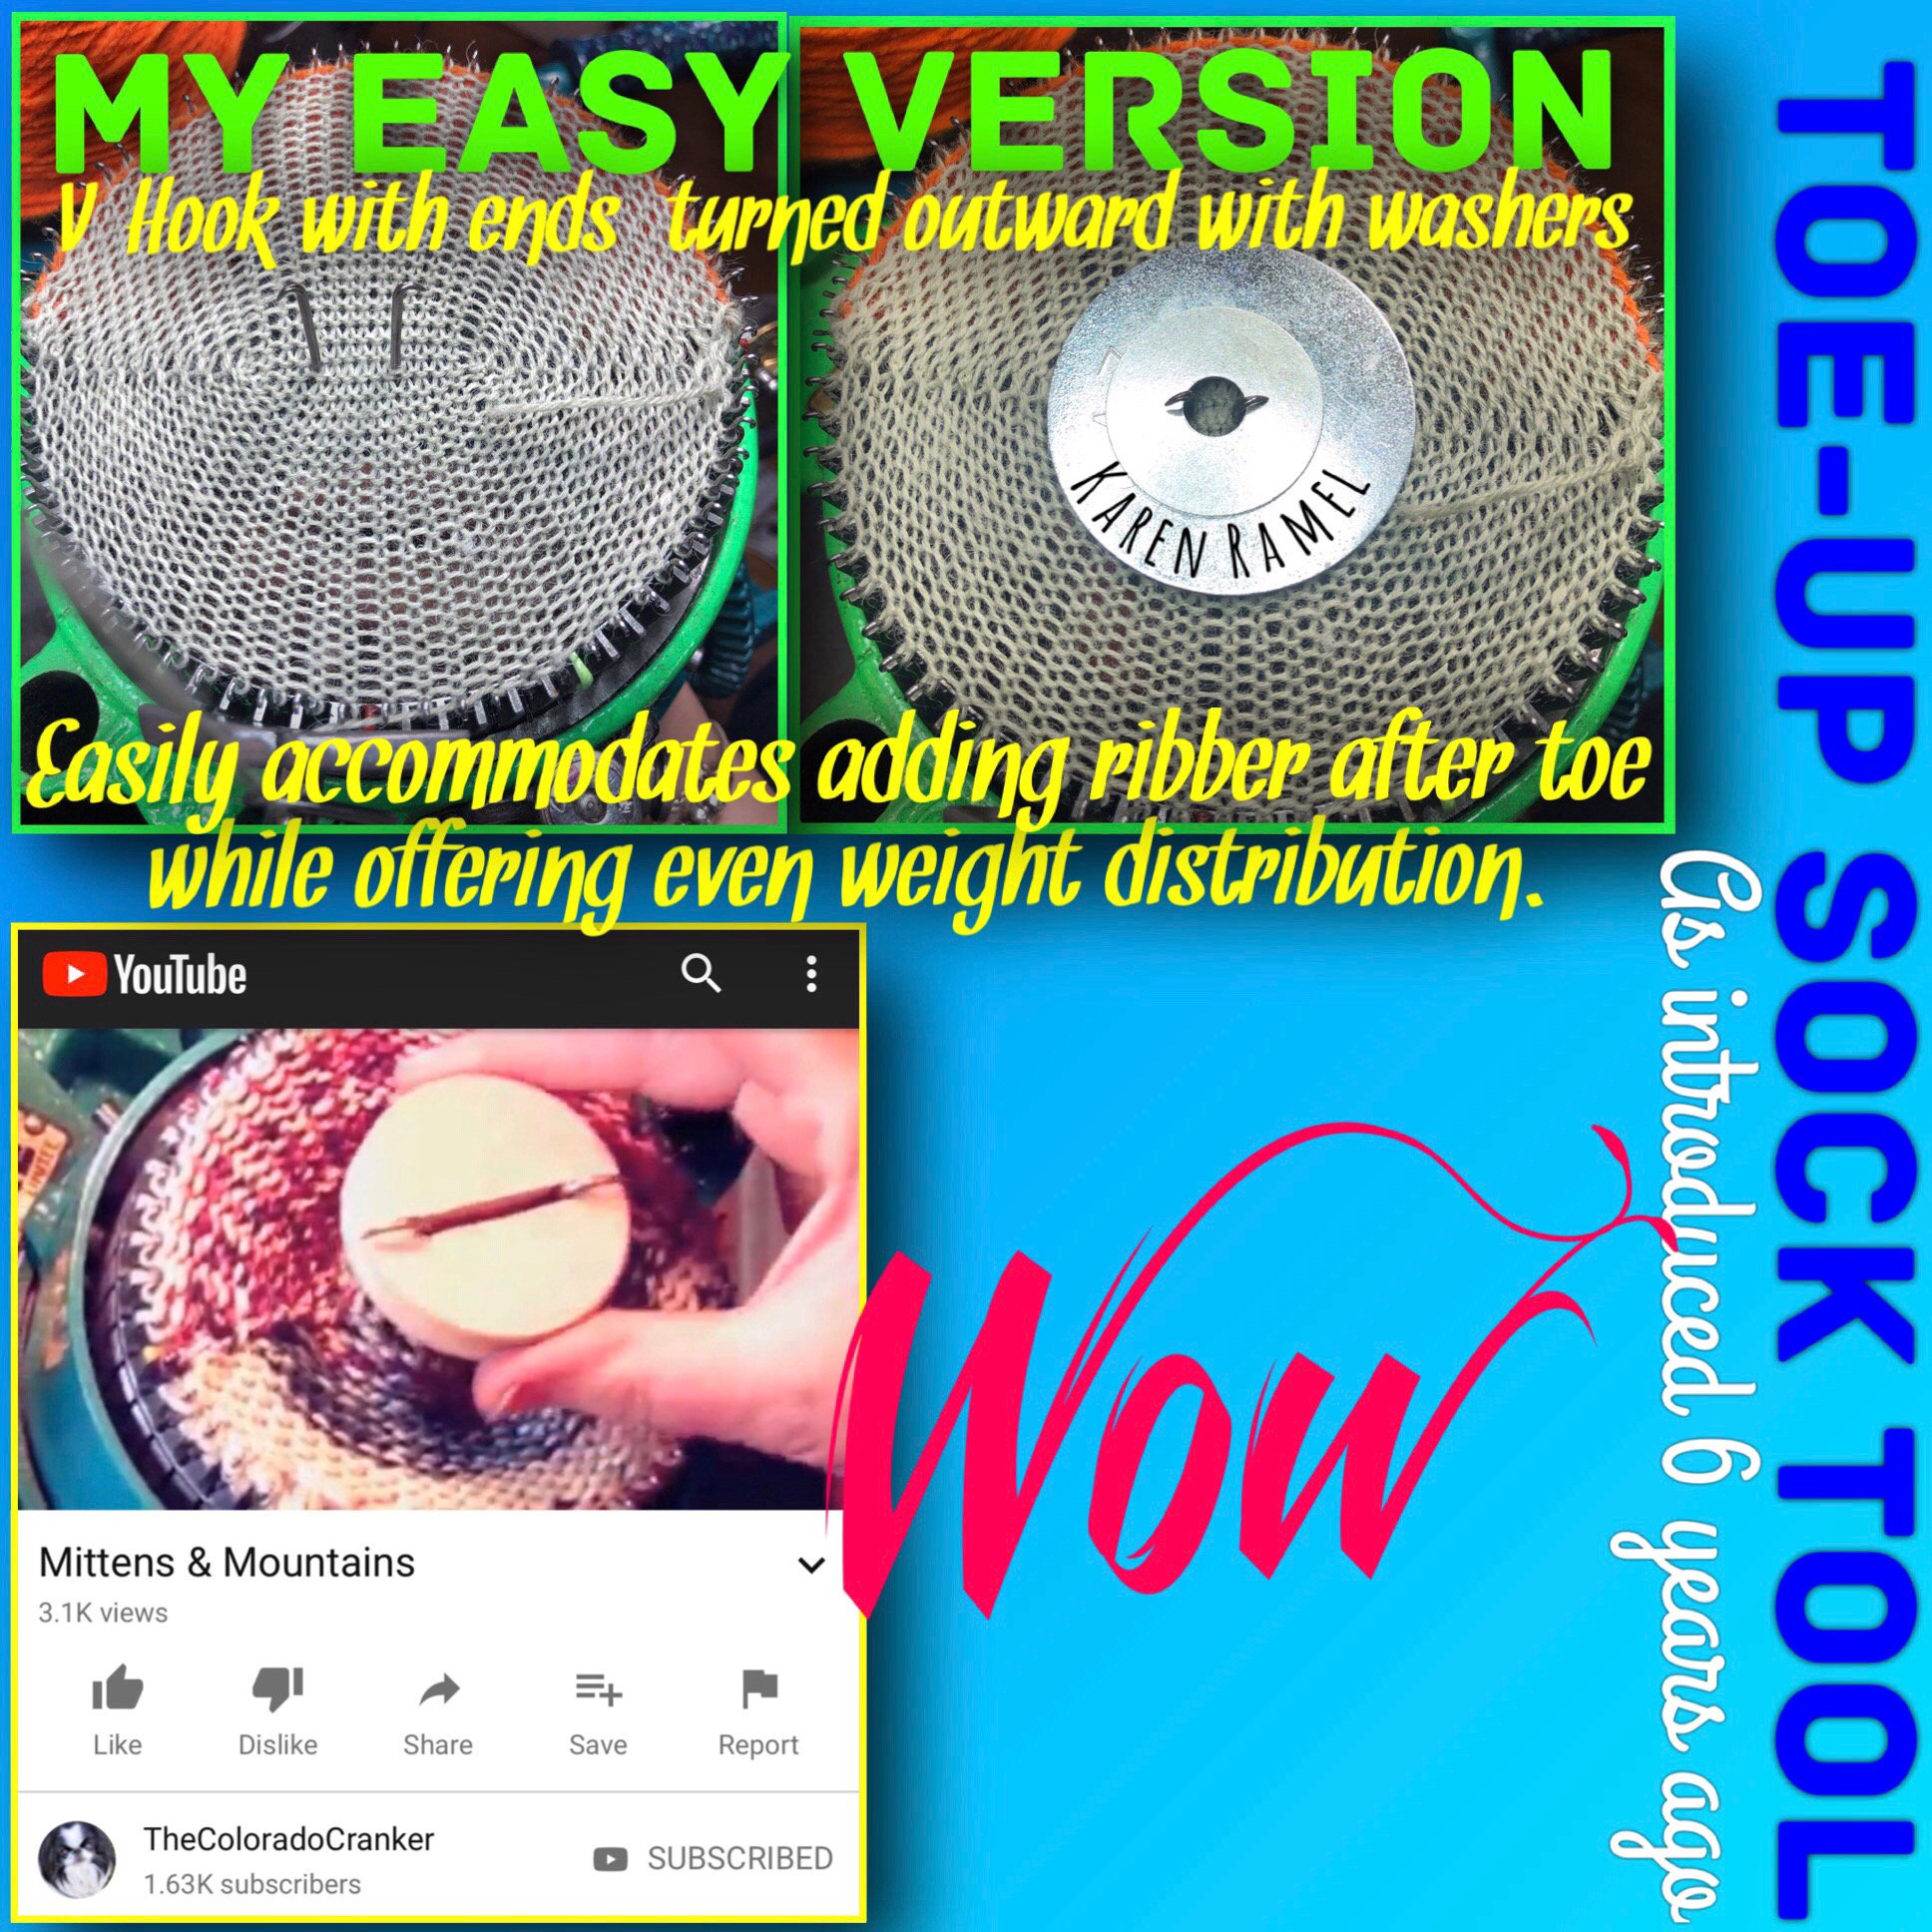
I then noted a wood disk version (the wood disk from a piggy bank project) in a video and decided to create my own metal version which was lower and more minimal in the project. For more Ideas and Upgrades. The above image shows the video screen shot and my initial version. I then asked the lovely Dave Lord of Chambord CSM to create a metal version (shown on the right).

The benefit of hanging weight like this is you can add your Ribber immediately and rib up the foot without having to worry about the bulky weight on the inside of the machine of which the ribber would fight for space with.

Dean and Bean fairly recently modelled their version after the fact. With their closed bottom cast on bonnets, this style of weight can offer under project downward weight that won’t get hindered on the inside of the cylinder. This style wright offers an easy toe up weight (after cast on and having worked the toe) allowing for easy clearance if wanting to then add a ribber for a ribbed sock

See other useful images and links: My Ideas and Upgrades | Supplies I Like


SEE ALL BLOG ENTRIES ON THE BLOG INDEX PAGE | Follow us on a variety of social sites see TAPLINK | Interested in Circular Sock Machines? See the CSM START Menu first page. | Seek something specific? Checkout the Index page.


2021 Oct 16 - The difference the Tension Dial setting makes

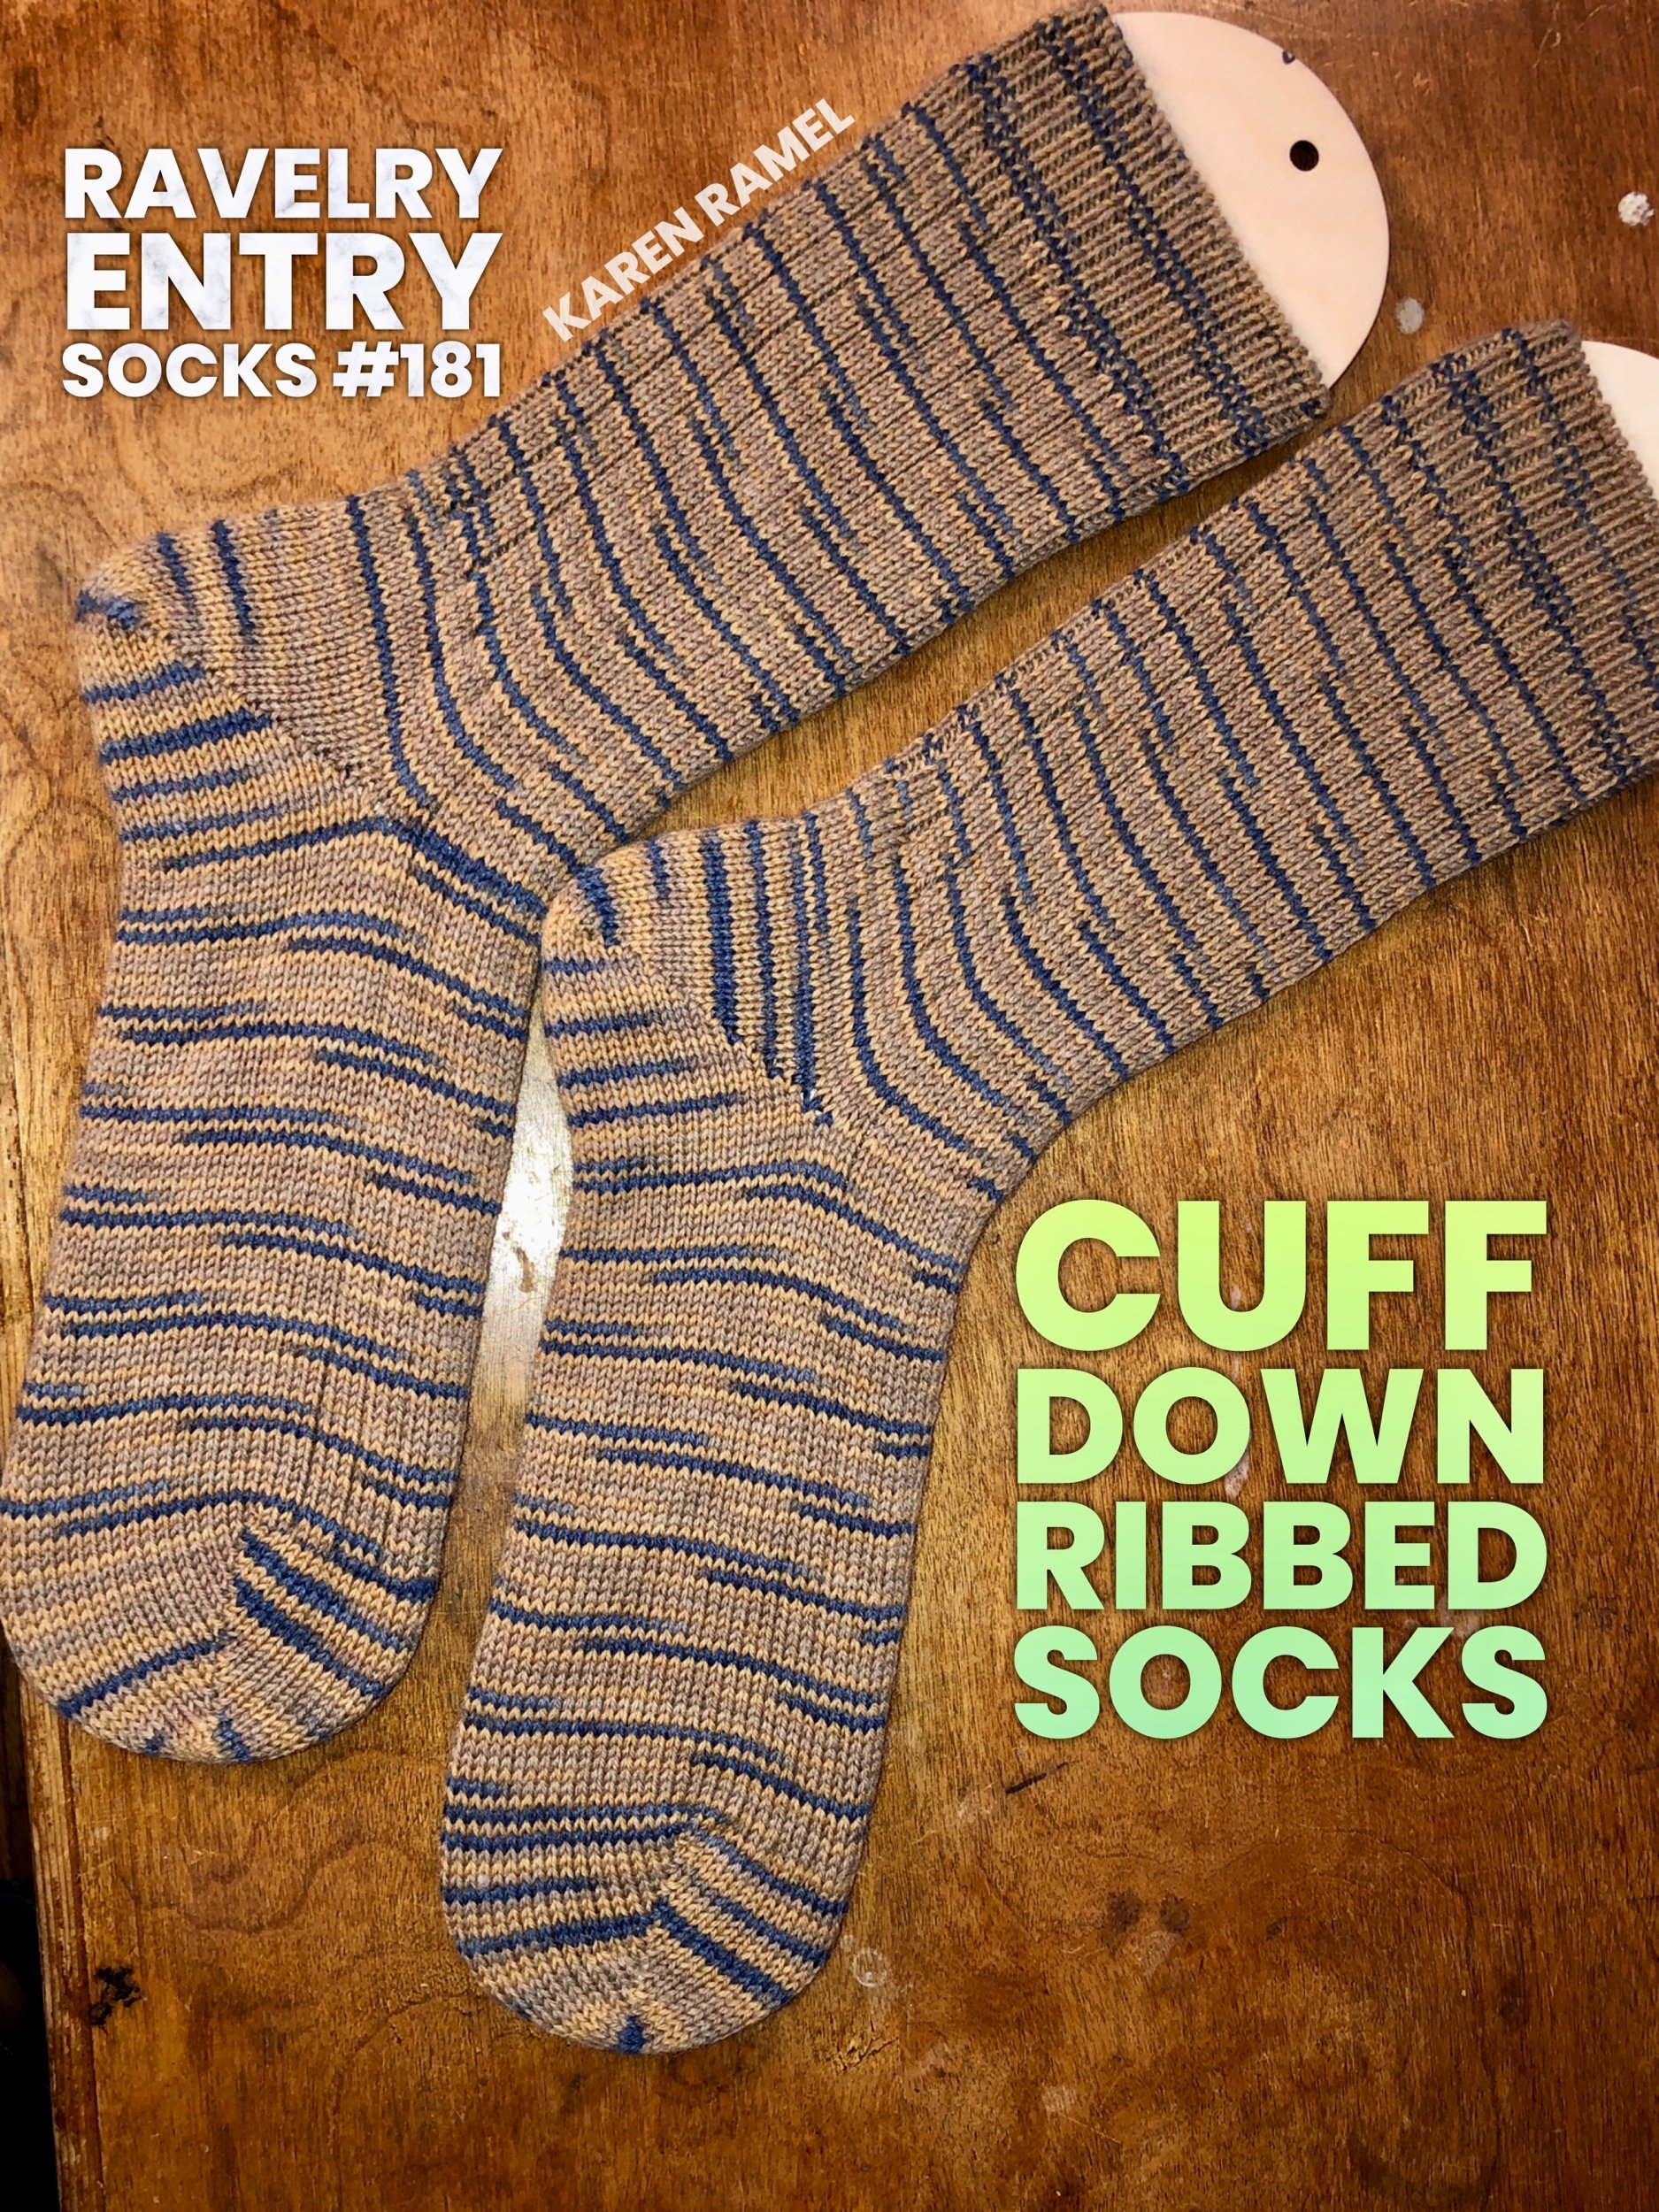
The experiment: Using a new Chambord CSM Accuknitter (a closed Cam machine similar to the vintage Legare), a 72 needle slot cylinder and a 72 needle slot ribber Pro-Series dial, I created five identical pairs of Cuff Down Ribbed socks where the only variable was the slight change in the Tension Dial setting (half a turn). Sizing for me is always done after sock wash and hanging to dry. For more on what a Tension Dial is see CSM Start-CSM3.

So let’s review the details.

The exciting results: each identical pair of socks were ONE size bigger with only the half turn of the dial being the change (with this yarn, this cylinder and ribber and this machine with its CAMS).

Cuff to heel lengthening? Also observed on each sock was the measurement from the heel seam to the top of the cuff, generally with each half dial turn, the sock increased in a measured way from cuff top to heel seam apex by 0.5cm (photos showing cm and inches for the T4.5 pair are shown)

Correct foot self striping patterning? It’s interesting to see how the self striping misbehaved on the heel spring applied foot segments of the socks using 2.5, 3 and 3.5 dial turns but rights itself on the 4 and more dial turn socks. Without running this experiment on another color-way there’s no way to verify if this is what always happens using the same properties followed here.

Diameter? As I have no current way to measure how much more stretchy in diameter these socks are (other than shoving my foot into each for a non-scientific result), I have noted that my theory on how the diameter stretch did seem more comfortable, possibly noted over time and many washings as a more comfortable pair (but only to a point). I was surprised at how each pair worked up and looked at each dial turn as in the past I ONLY ever worked at two dial turns and assumed anything more would be too floppy - not necessarily true.

Why is working with Tension Dial settings is helpful
If you ONLY have 100 grams of sock yarn, knowing how much less (or more) yarn is approximately used by simply tightening or loosening tension stitches can help.

Common requests include how many rows a certain sized sock requires… machine settings, yarn properties and sock design tell us that any way you look at it expect to take notes and adjust as needed.

This experiment shows that I was able to create socks easily from a US Women’s 6-10/Men’s 5-9 using the exact same row numbers and basic method and still used less than 100 grams of sock yarn for each pair.

A CONSIDERATION: In the past a swatch perhaps using all the Tension Dial sizes was recommended, BUT I recommend considering making yourself BASELINE SOCKS in your most average sock yarn with just the Tension Dial changes, washing/drying and sizing. Then going forward you can use that sock and those settings with that same style yarn to determine how many more rows or less to make the size sock you wish. :)


Ravelry #182 - T2.5 - 82g - 6W/5M
Ravelry #178 - T3 - 82g - 7W/6M
Ravelry #179 - T3.5 - 86g - 8W/7M
Ravelry #180 - T4 - 87g - 9W/8M
Ravelry #181 - T4.5 - 91g - 10W/9M

REFERENCE:

  • Socks shown with a number are referring to their Ravelry project for anyone wanting to see that project on Ravelry.

  • T refers to the TENSION DIAL with its number of dial turns from the tightest setting with the yarn on the machine.

  • Numbers shown with a ‘g’ indicate weight in grams of yarn used for those socks**

  • The “W” and “M” numbers refer to the confirmed sock sizes for Women/Men.

  • Gauge of Stitches and Rows on each finished sock are noted _R/_S

Note: **I don’t have a secondary way to verify project yarn usage by weight but the rest of the findings have been verified multiple ways. (I am not 100% that the food scale is perfect)

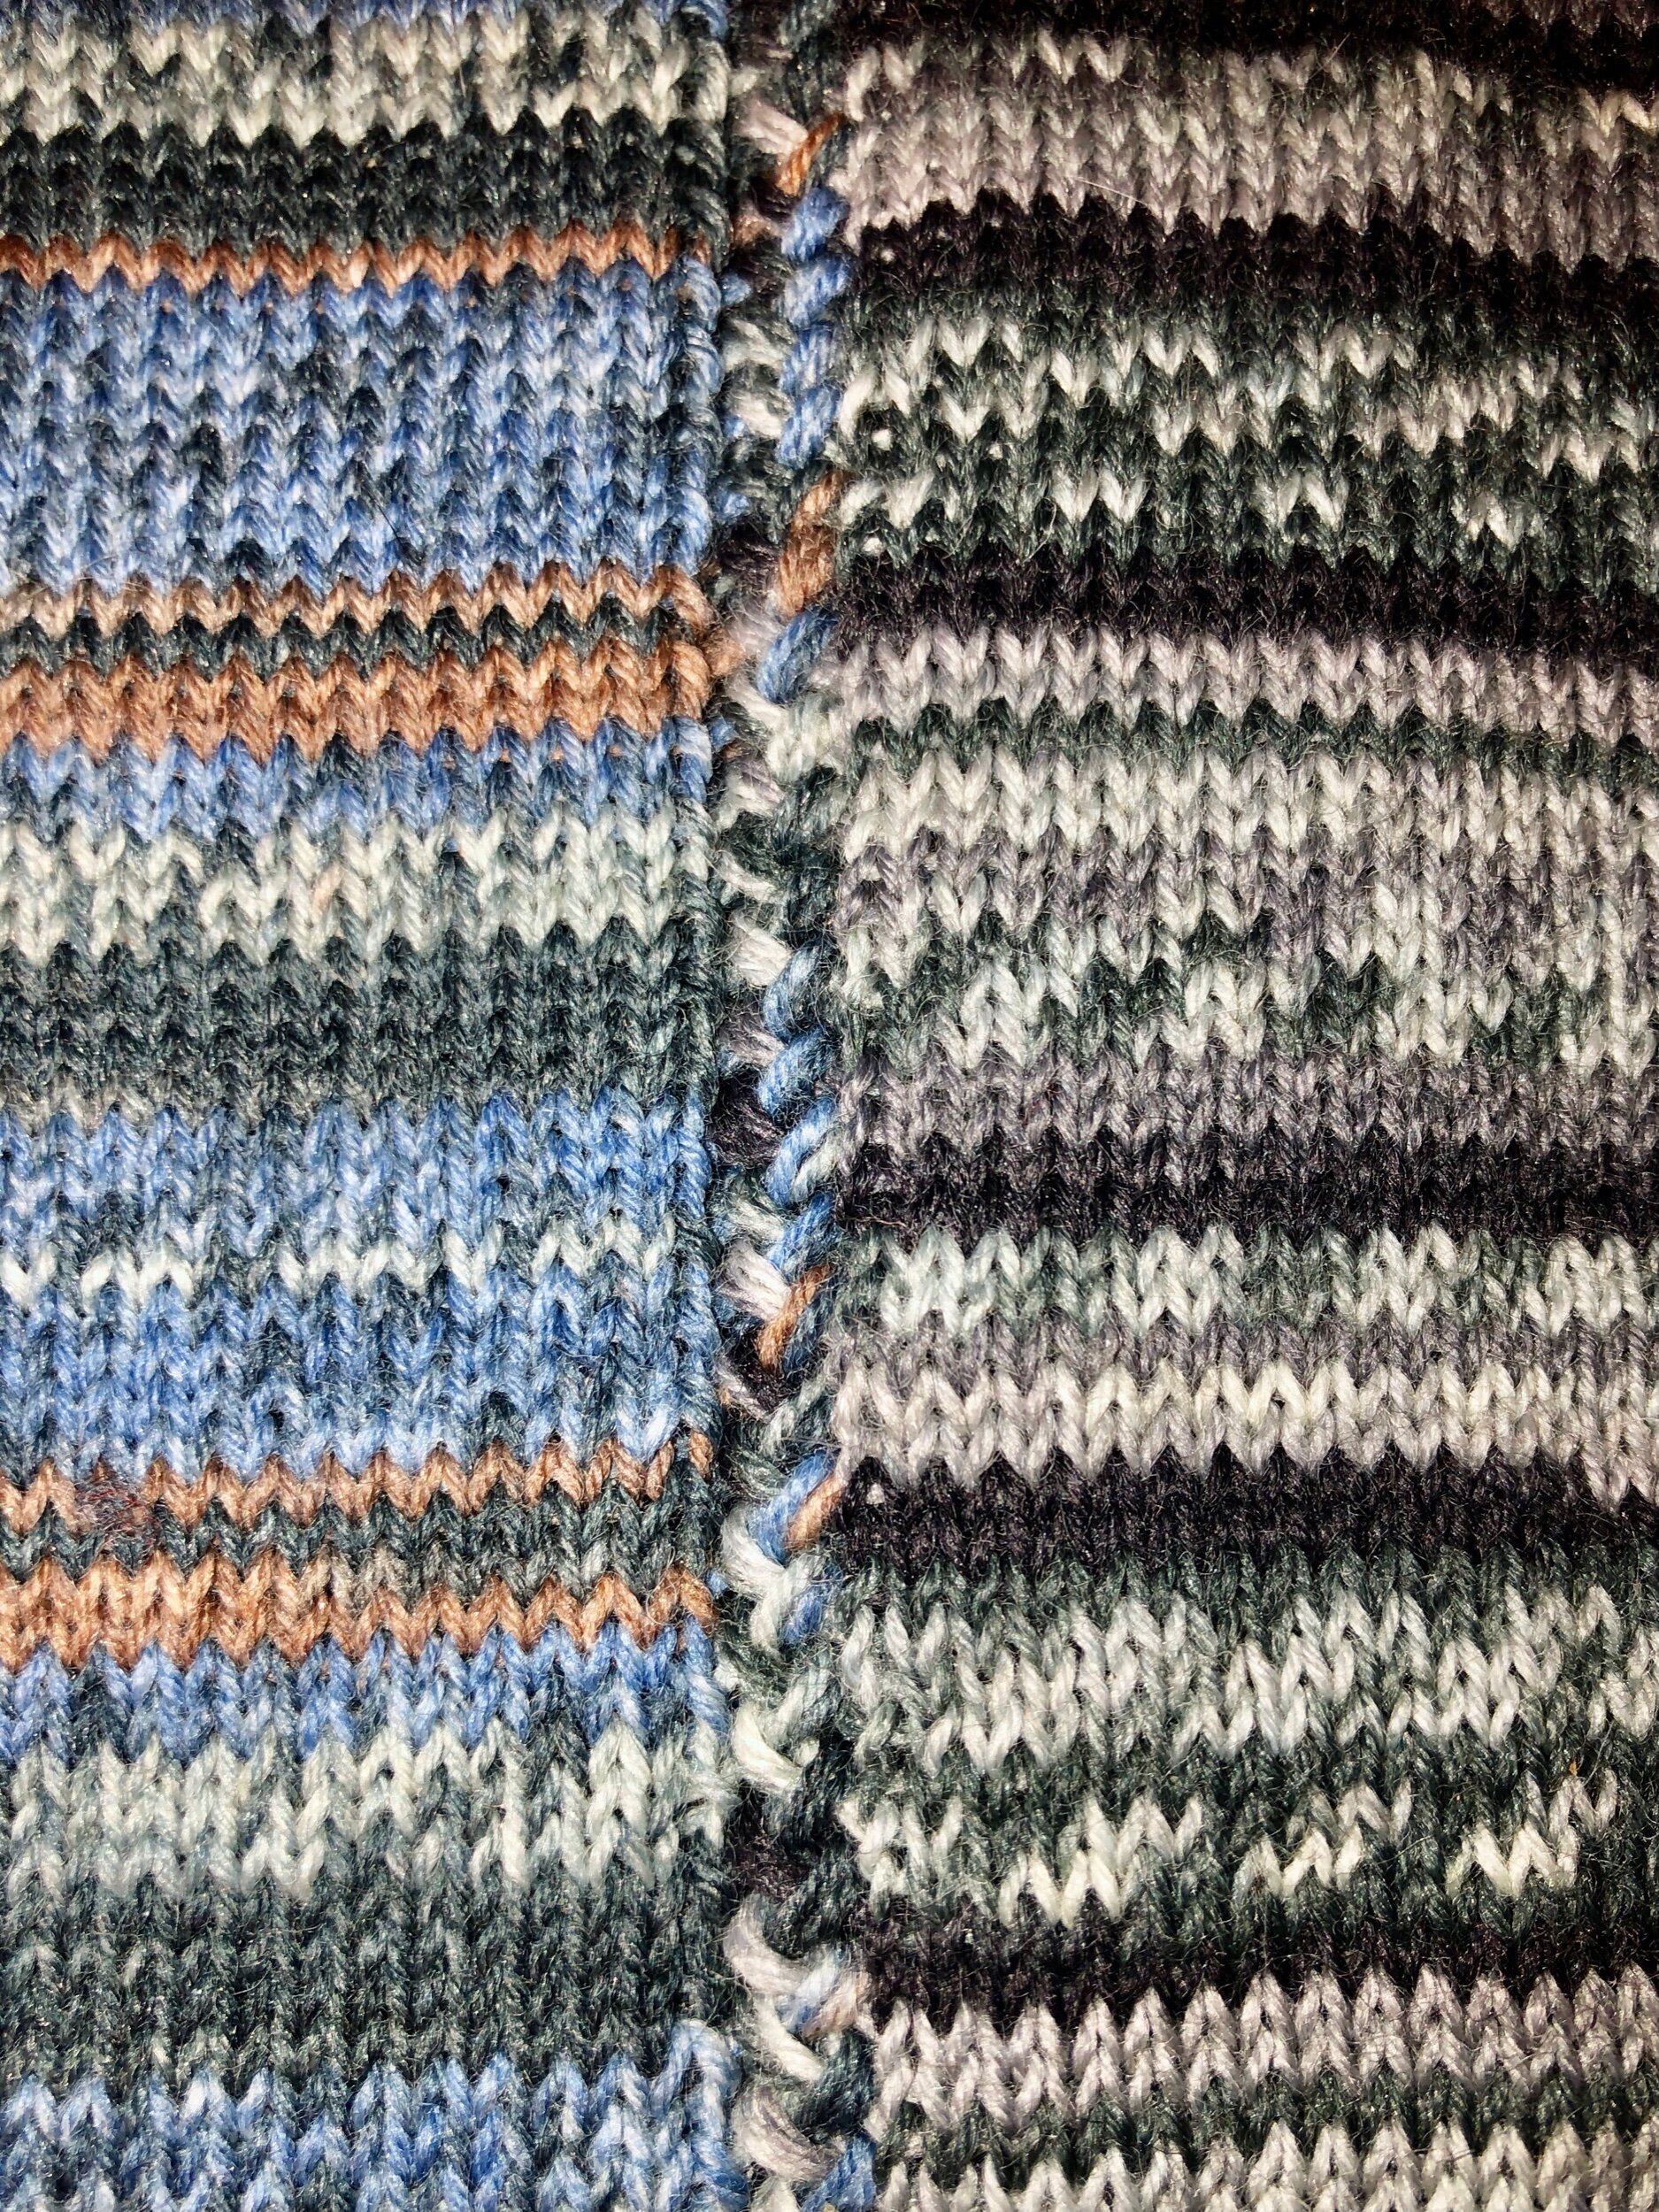
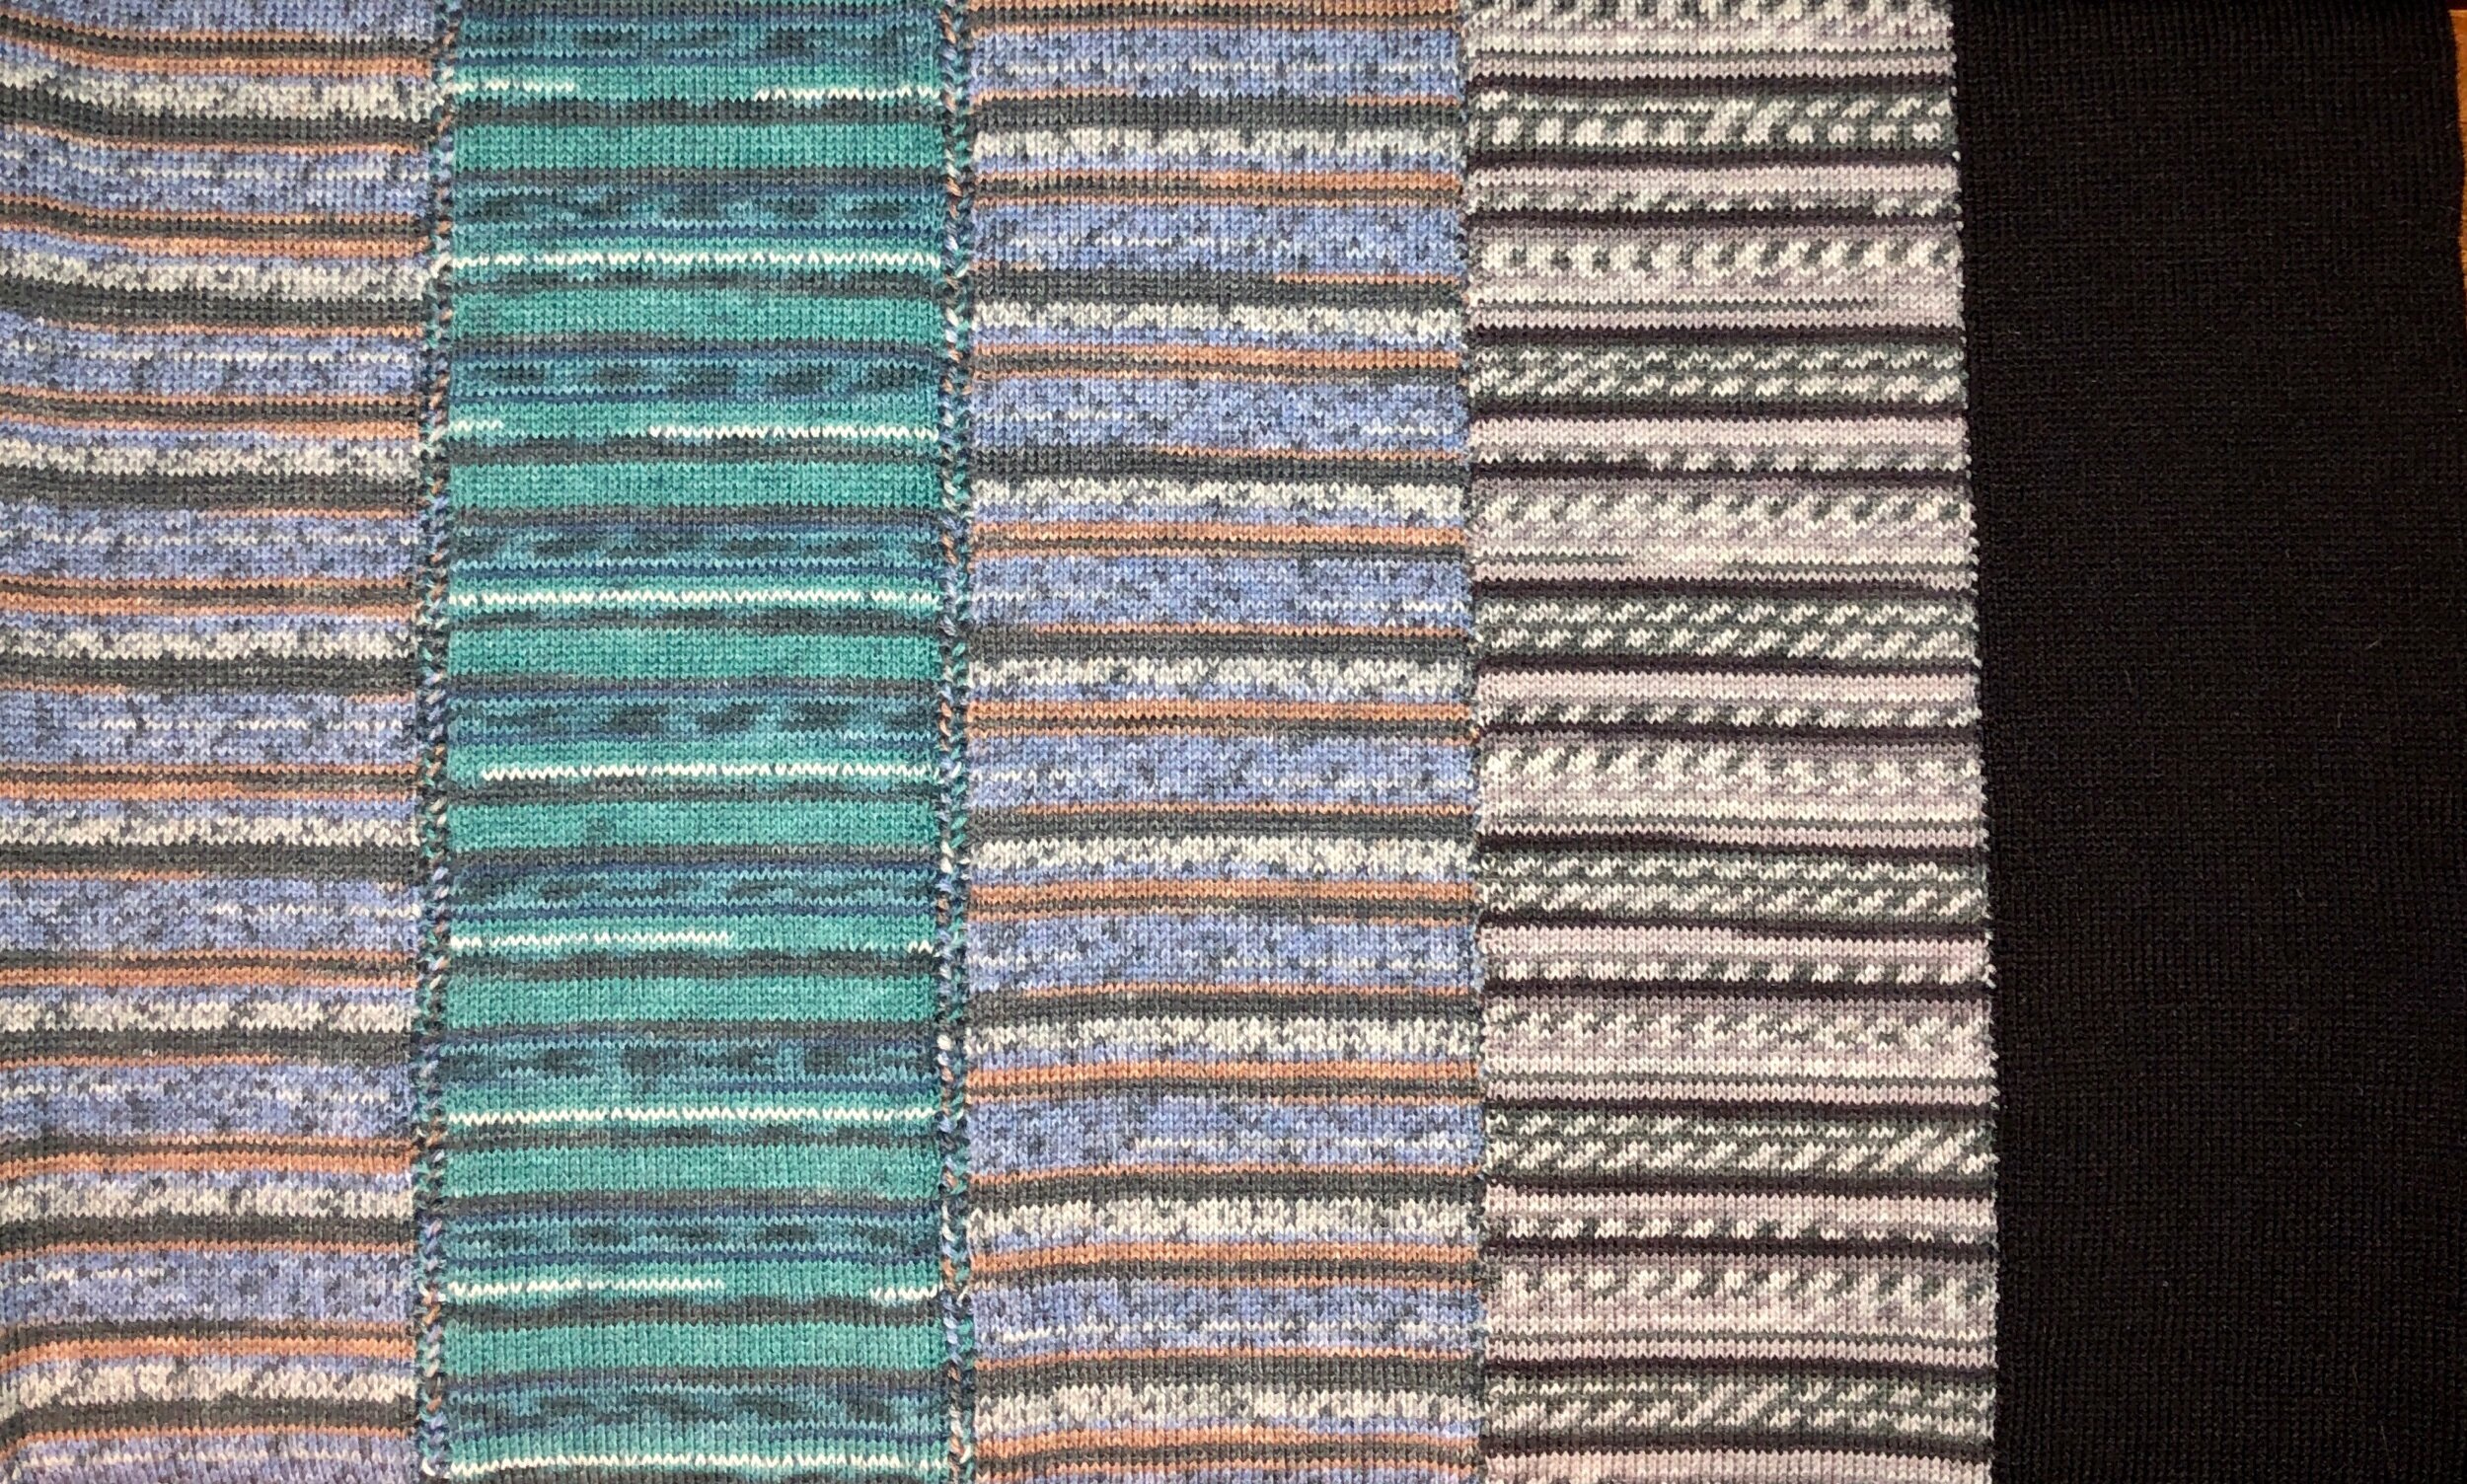
Click on any image on this page to view a larger version. Note these socks have the 2.5 dial turned sock on the far right, proceeding half a dial turn on each single sock shown to the final sock on the very left at 4.5 dial turns.

Note all socks had the Heel Spring in use for the Anchor Yarn Tail Technique, SELVAGE/Welt and segments from the Heel to Toe.


A NOTE ON TENSION DIALS AND CAMS: Although my experiment was run on my closed CAM Chambord AccuKnitter - which is very similar to a vintage Legare - (the tension dial is shown on the upper right), EVERY machine has something you turn to adjust how tight or loose stitches are. As a side note, open CAM machines like vintage or modern Gearharts and Autoknitters, their Tension Dial often can be adjusted much tighter or looser than can actually be knitted.

This means my machine and dial turns might not be the same as your machine (even if the same make/model) HOWEVER when you work YOUR socks on your setup, yarn and settings, consider that simply turning the tension dial one way or the other might also translate a size increase on YOUR sock (when using exact all else).

Experiment!

To be successful in making socks on a CSM you have to be able to know how to set it in a way you can reproduce. A stitch range any CSM can work depends on its V-Cam design. See the MISC menu for the MISC CAMS. Some people use a digital caliper to determine settings - I find using dial turns more reliable

Summary of techniques covered in these socks

METHOD DETAILS ON EACH PAIR:
Cuff Down Ribbed Sock summary: Heel Spring: My Anchor Yarn Tail Technique then still with Heel Spring: Selvage/Welt 1 row in work, 2 rows out of work, 1 row, Heel Spring removed: 20 1x1 rows on the cuff, 60 1x3 rows on the leg, 10 pre-heel rows, Heel Spring from here to end: no-wrap heel, 60 row foot, no-wrap toe. For free pattern, video and specific techniques see my PATTERNS AND VIDEOS menu on the homepage.

(Patterns &) Sock Videos | (Pattern &) Non-Sock Videos


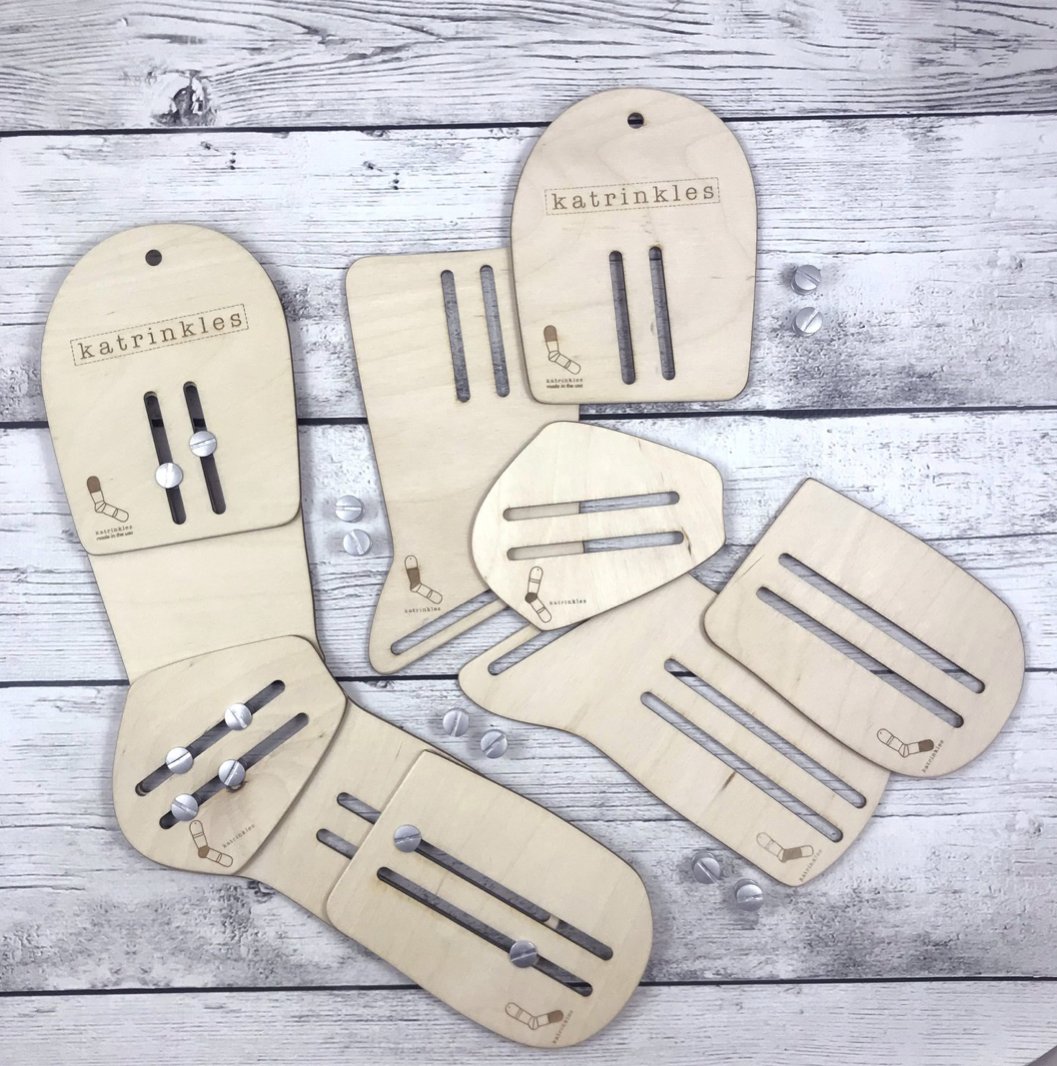
Where can you get the Katrinkles Adjustable Sock Blockers that you can add your own equivalent size labels? See SOCK BLOCKING AND SIZING on my SUPPLIES I LIKE page.


Where can you get information on how to CAST ON with your CSM? See my CAST ON page under my CSM LEARNING menu on the first page.


SEE ALL BLOG ENTRIES ON THE BLOG INDEX PAGE | Follow us on a variety of social sites see TAPLINK | Interested in Circular Sock Machines? See the CSM START Menu first page. | Seek something specific? Checkout the Index page.


2021 July 27 - Chambord CSM AccuKnitter

Presenting the lovely: The Chambord CSM AccuKnitter

Shade: Copper Medallion

Ordered with a 72 needle slot cylinder and a Pro-Series Equal Slot Ribber Dial (same number of slots as the cylinder)

I requested:

-SweetSpot V Hook and Weight
-For the English style counterweight upgraded Heel Spring
-For additional extra screws and nuts
-For a stubby screwdriver

When our name came up on the waitlist we were thrilled to pieces. This machine is manufactured by Chambord CSM and is a modern, perfectly balanced version the the vintage Legare 400 machine. With all the machines I’ve worked on, this is one of the very smoothest working CSM. We are absolutely in love with this machine. Thank you Dave and Kathy!

Shareable link: https://youtu.be/bxJt47_mzpI


SEE ALL BLOG ENTRIES ON THE BLOG INDEX PAGE | Follow us on a variety of social sites see TAPLINK | Interested in Circular Sock Machines? See the CSM START Menu first page. | Seek something specific? Checkout the Index page.


2021 Jun 24 - HongKongKnitBox Weaver Electric Cone Winder

The quick review: at now over $600 Canadian (October 2023) there are better winders out there for much less

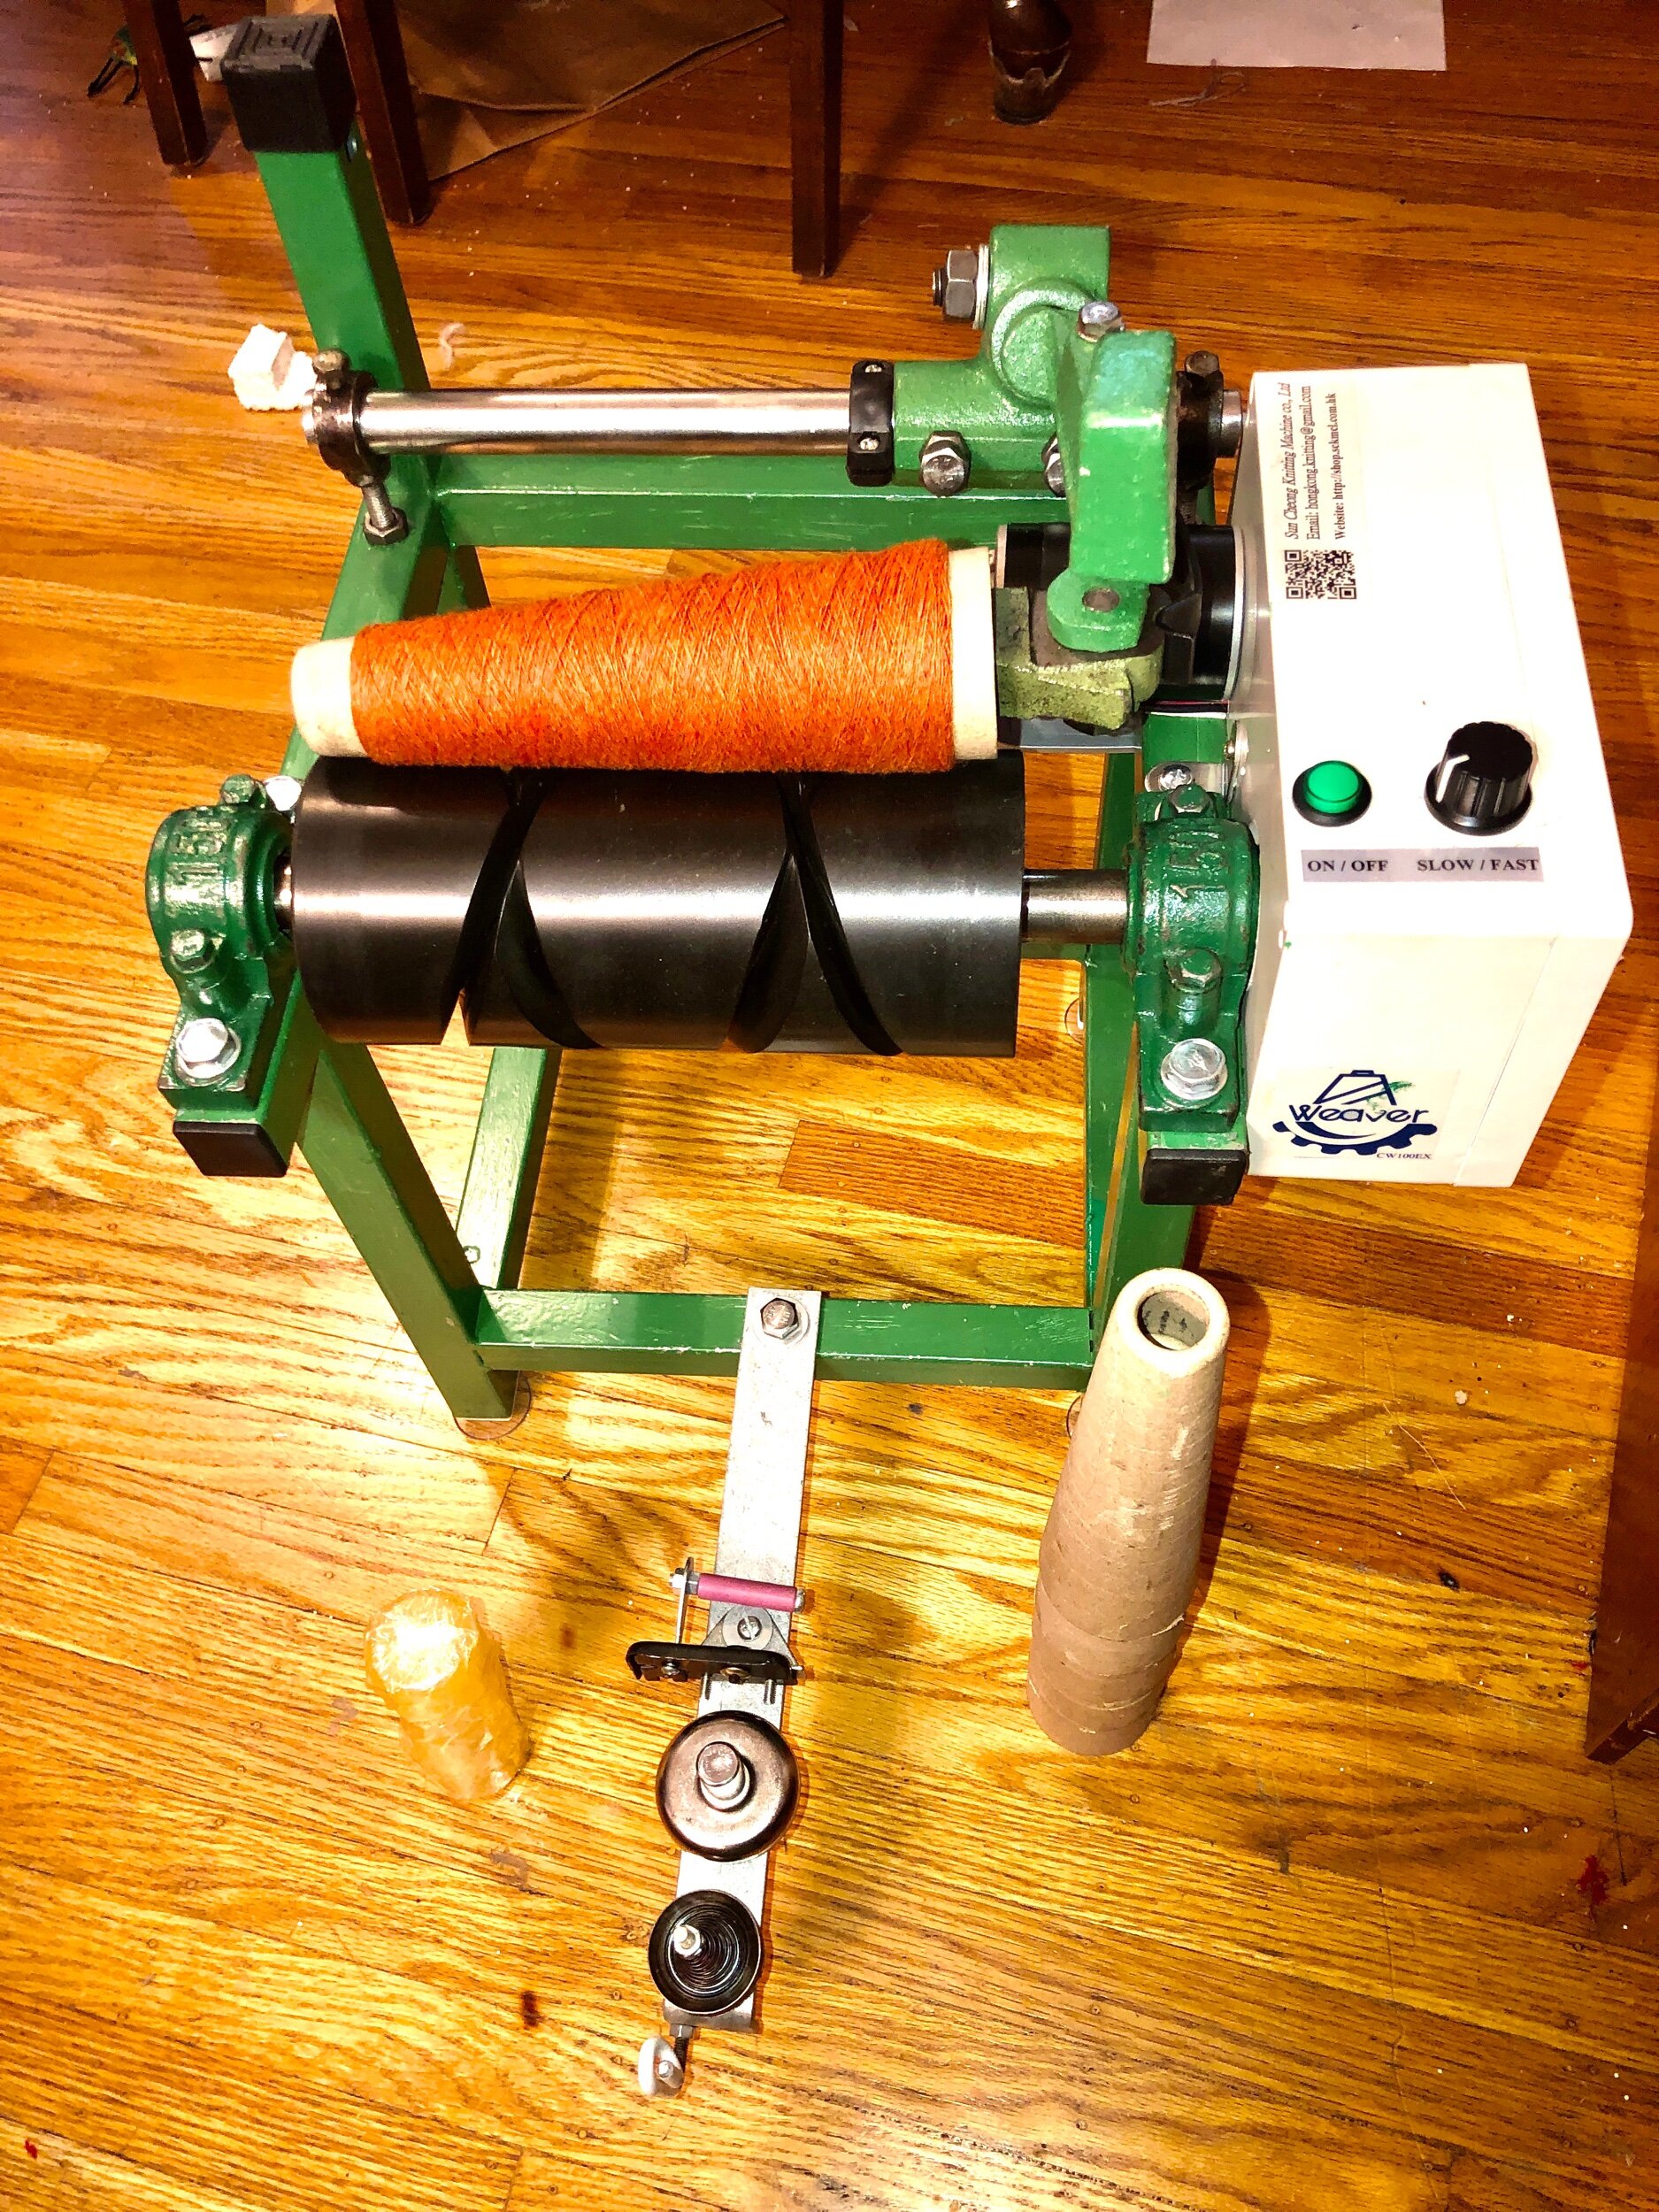
PROS: I bought this winder April 2021 for CAD$348+$200 shipping. Spindle upgrades allow for different cones to be used. I used this with the already owned Erlbacher cardboard cones (17.145cm (6 3/4″) high with a 6.668cm (2 5/8″) diameter base) - these are the B cones and spindle

CONS: Since purchasing the simple version April 2021 I now note the base cost before shipping is CAD$600+. Seller is based in Hong Kong and ships the winder using the slowest service (ordered April 2nd - arrived poorly packed and slightly damaged June 23rd). Barrel has poor friction on cones so there is slippage on winding until properly started. Winder is bulky and heavy. Knot “detector” doesn’t stop machine when encountered and components can easily shred yarn fiber. Seller ships winder up to three weeks after order.

The detailed info: My new HongKongKnitBox Weaver Electric Cone Winder arrived yesterday June 23 on the slow boat from Hong Kong. The CW100EX model without “Twister” or counter. (Ordered April 1 through Etsy) for CAD$398+$220 shipping.

I had bought an extra belt for the motor and the B spindle so I can use my stock of inexpensive Erlbacher cardboard cones.

The box arrived beat up but only one machine foot was damaged (usable as is but a new foot is was promised to be on the way). I love the machine. It’s a quiet and well constructed machine with real metal parts and connections instead of the formed plastic parts some winders have. The paint job isn’t great - which is odd for what you pay for the device. Find more info on this winder on my website YARN WINDERS page.

The seller is Sunny Choi. Should you wish the full machine with upper swift (they call it a twister) it’s CAD585.29

This machine is very adjustable so if you find your drum not being fully utilized then adjust yarn feed, tension and arm/spindle connection to drum and/or realigning drum on its mount.

Arriving without instructions, I determined that the unusual shaped piece that came with is a weight added to the spindle arm

I ordered with the machine the spindle needed to use my preferred cone. I didn’t expect to also receive the original spindle and five cones so that’s a nice surprise. Also included are some wax circles should one want to wax while winding (I don’t use wax myself).

Regarding the spindle….

Changing out the current spindle to the preferred B version is easy with the removal of a bolt and it’s washer. I then swapped out the spindle, oiled the bar the spindle sits on, and added the B spindle. Adjust the bolt (yellow arrow) to adjust cone alignment and contact to the drum.

I found simply reinstalling the washer and the bolt that the bolt kept getting loose with the use of the winder. I then determined that the washer was contacting the spinning cardboard cone and causing the bolt to undo and to cause drag on the winder. I removed the washer and instead installed a tension washer which is the same diameter as the bar the spindle mounts onto (red arrow).

Ensure the spindle freely spins.


Prolong spindle rubbery guide…

This might not be necessary but to prolong the shape and life of the rubberized spindle contact by always either keeping a empty cone on the spindle of the spindle is resting on the drum or lift the spindle arm if not covered with cone.


Is your yarn not travelling all the paths on the drum?

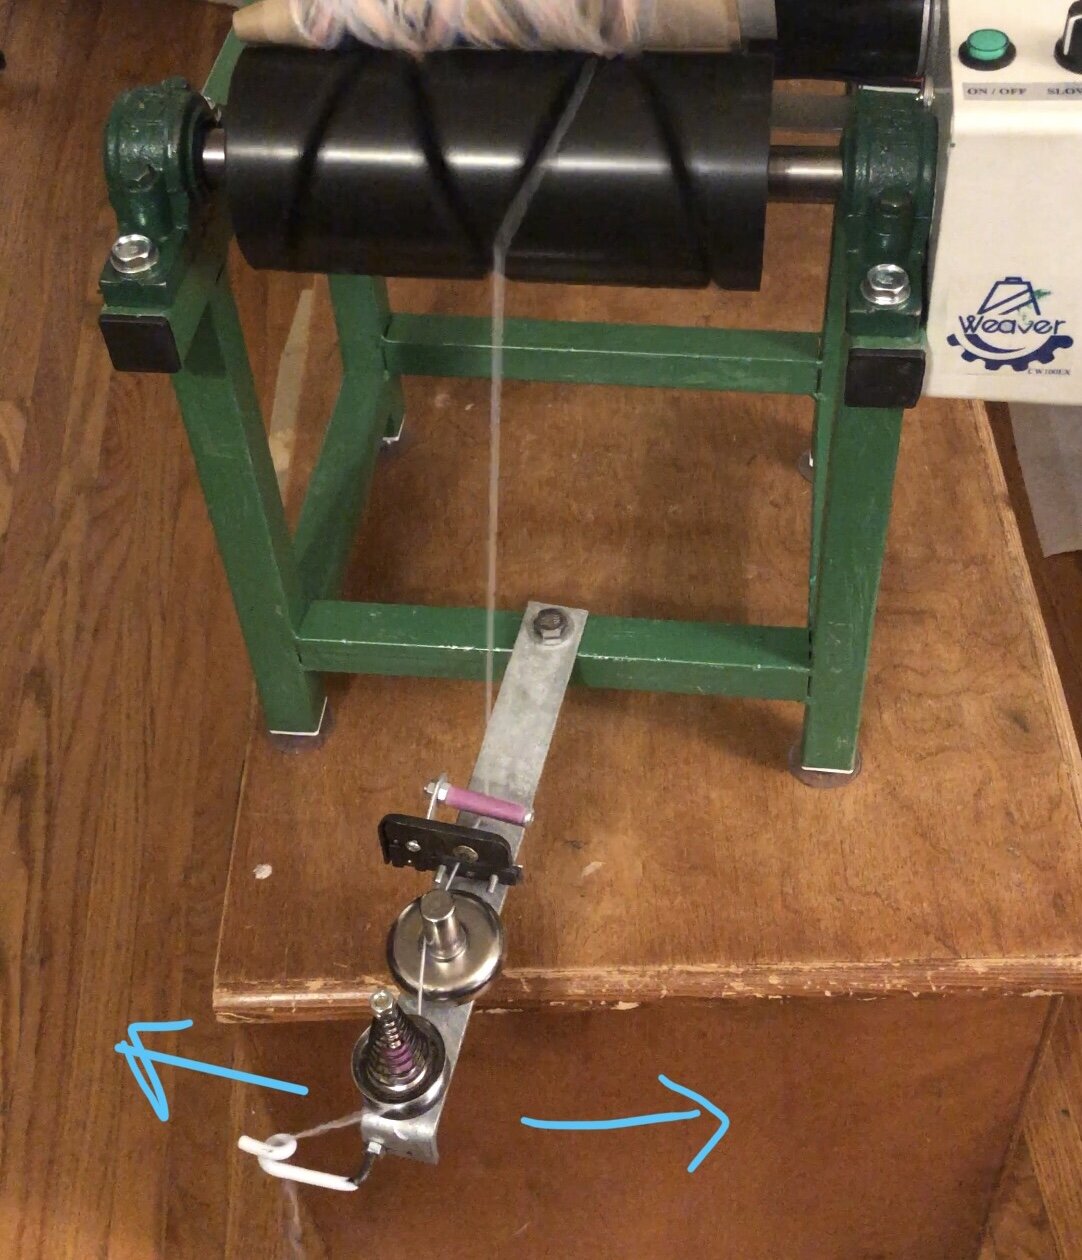
Check that your yarn isn’t snagged incorrectly at any point on the yarn tensioner between the drum and yarn source on the floor or twister (swift). I found slightly angling the bar that the tensioning parts are on better encouraged yarn to the full paths on the drum. Just slightly move to the left or right direction as needed where not travelling.


Oiling or maintenance?

The spindle and the bar the drum is attached to is what rotates on a ballbearing circular piece like those found in a skateboard wheel. It’s important these are well lubricated to reduce drag and encourage rotation. Consider using the same lubricant as skateboard wheels.


Is your wound yarn not centered on the cone?

The drum has two Hex/Alex key screws holding the drum to the bar that spins via the belt from the motor. Simply undo the two screws on the drum, realign and re-tighten the screws.


Are you hearing a off loud noise once and awhile within the electric box?

Stop immediately - the notched drive belt is probably slipping. To correct I removed the four screws holding the cover and going very slow as needed, verify the noise as belt slipping. Unplug machine. Then using an Hex/Allen Key loosen the left belt attachment pulley and very slightly move towards you then verify still fuctions by manually turning so belt moves then retighten Allen/Hex Key screw. By slightly moving that part you tighten the belt while still allowing the belt to easily sit on the pulley grooves.


Threading the machine

It might not be correct but with discussion with Donna who also has this winder she’s determined that the yarn path comes from the drum to under the purple part which has a left and right guide to keep the yarn in contact there. It then comes through the part I will call the knot detective (I need to further investigate whether this part damages the yarn.

If you don’t wind too fast the machine will stop with knot encounter but it’s important to watch the machine to adjust as needed.

I have found now with testing that it’s sharp here and because of this has broken the yarn in three different points on the cone. (See image).

The path then comes to the left of the wax stand then the right on the tensioner between the two metal disks of which I’ve loosed the tension to the loosest setting. I’m unsure at this time if I find that loose enough or whether I will change this part for easier tension. From there the yarn path goes through a wire guide and to your source or installed swift (on a nearby countertop or the twister attachment on the machine above).

The Over Knot system - I’ve dismantled this part from the machine and am smoothing the contacts. This is a brilliant and simple component that actually is more complex than it appears. This piece offers an adjustable gate which is kept in place by a tightened screw which can adjust the clearance through the slot. While winding, if not going too fast, anything wider (like a knot) that tried to pass would stop temporarily at this point. It worked for me once but mostly initially cut my yarn (hence the smoothing). Once connections are better I will reassemble and reattach this.

IMG_6510.jpeg

Smoother component knot tested!


IMG_6509.jpeg

The wax holder…

I’ve removed the wax holder from the tension area as I don’t intend to use wax.


IMG_6519.jpeg

Okay so I don’t understand why the winder is symmetrical when alignment of the drum and cone are not - why is the tension feed from the yarn source mounted in the middle of the machine? It doesn’t feed from there to the middle of the drum. Personally I also found the metal bar holding the tension components to be big and cumbersome and in actual danger of being damaged during storage due to the width it needs with that bar in place. This didn’t NEED to happen but was my preference so I built something more space saving.


Still not a fan of the pyramid style sewing machine tension device so I tried not using it.

Note that I’ve hidden the original extra large hole for the original tension bar under one of the right brackets.


The shortened shareable URL is https://tinyurl.com/HKKweaverwinder


SEE ALL BLOG ENTRIES ON THE BLOG INDEX PAGE | Follow us on a variety of social sites see TAPLINK | Interested in Circular Sock Machines? See the CSM START Menu first page. | Seek something specific? Checkout the Index page.


2021 Jun 22 - Downsizing Dental Pillows

Creating something you need from a csm. At my dental workplace we use dollarstore U-shaped styrofoam ball filled neck pillows to help improve chair comfort. Our office unlike many has a washer/dryer. With each use I toss the used pillow in a netbag and it’s cold washed and air dried. We have to wash after each use (of course) because they’re bigger than our headrest covers. Of all the tasks I juggle  at work this is a hassle. So. I’ve brought the clean and much abused bean bag style neck pillows home and yesterday used my sewing machine to divide each pillow into two halves. Today I cranked 900 rows of red acrylic and using an approximate length created to nicer looking reinforced pillows. :)
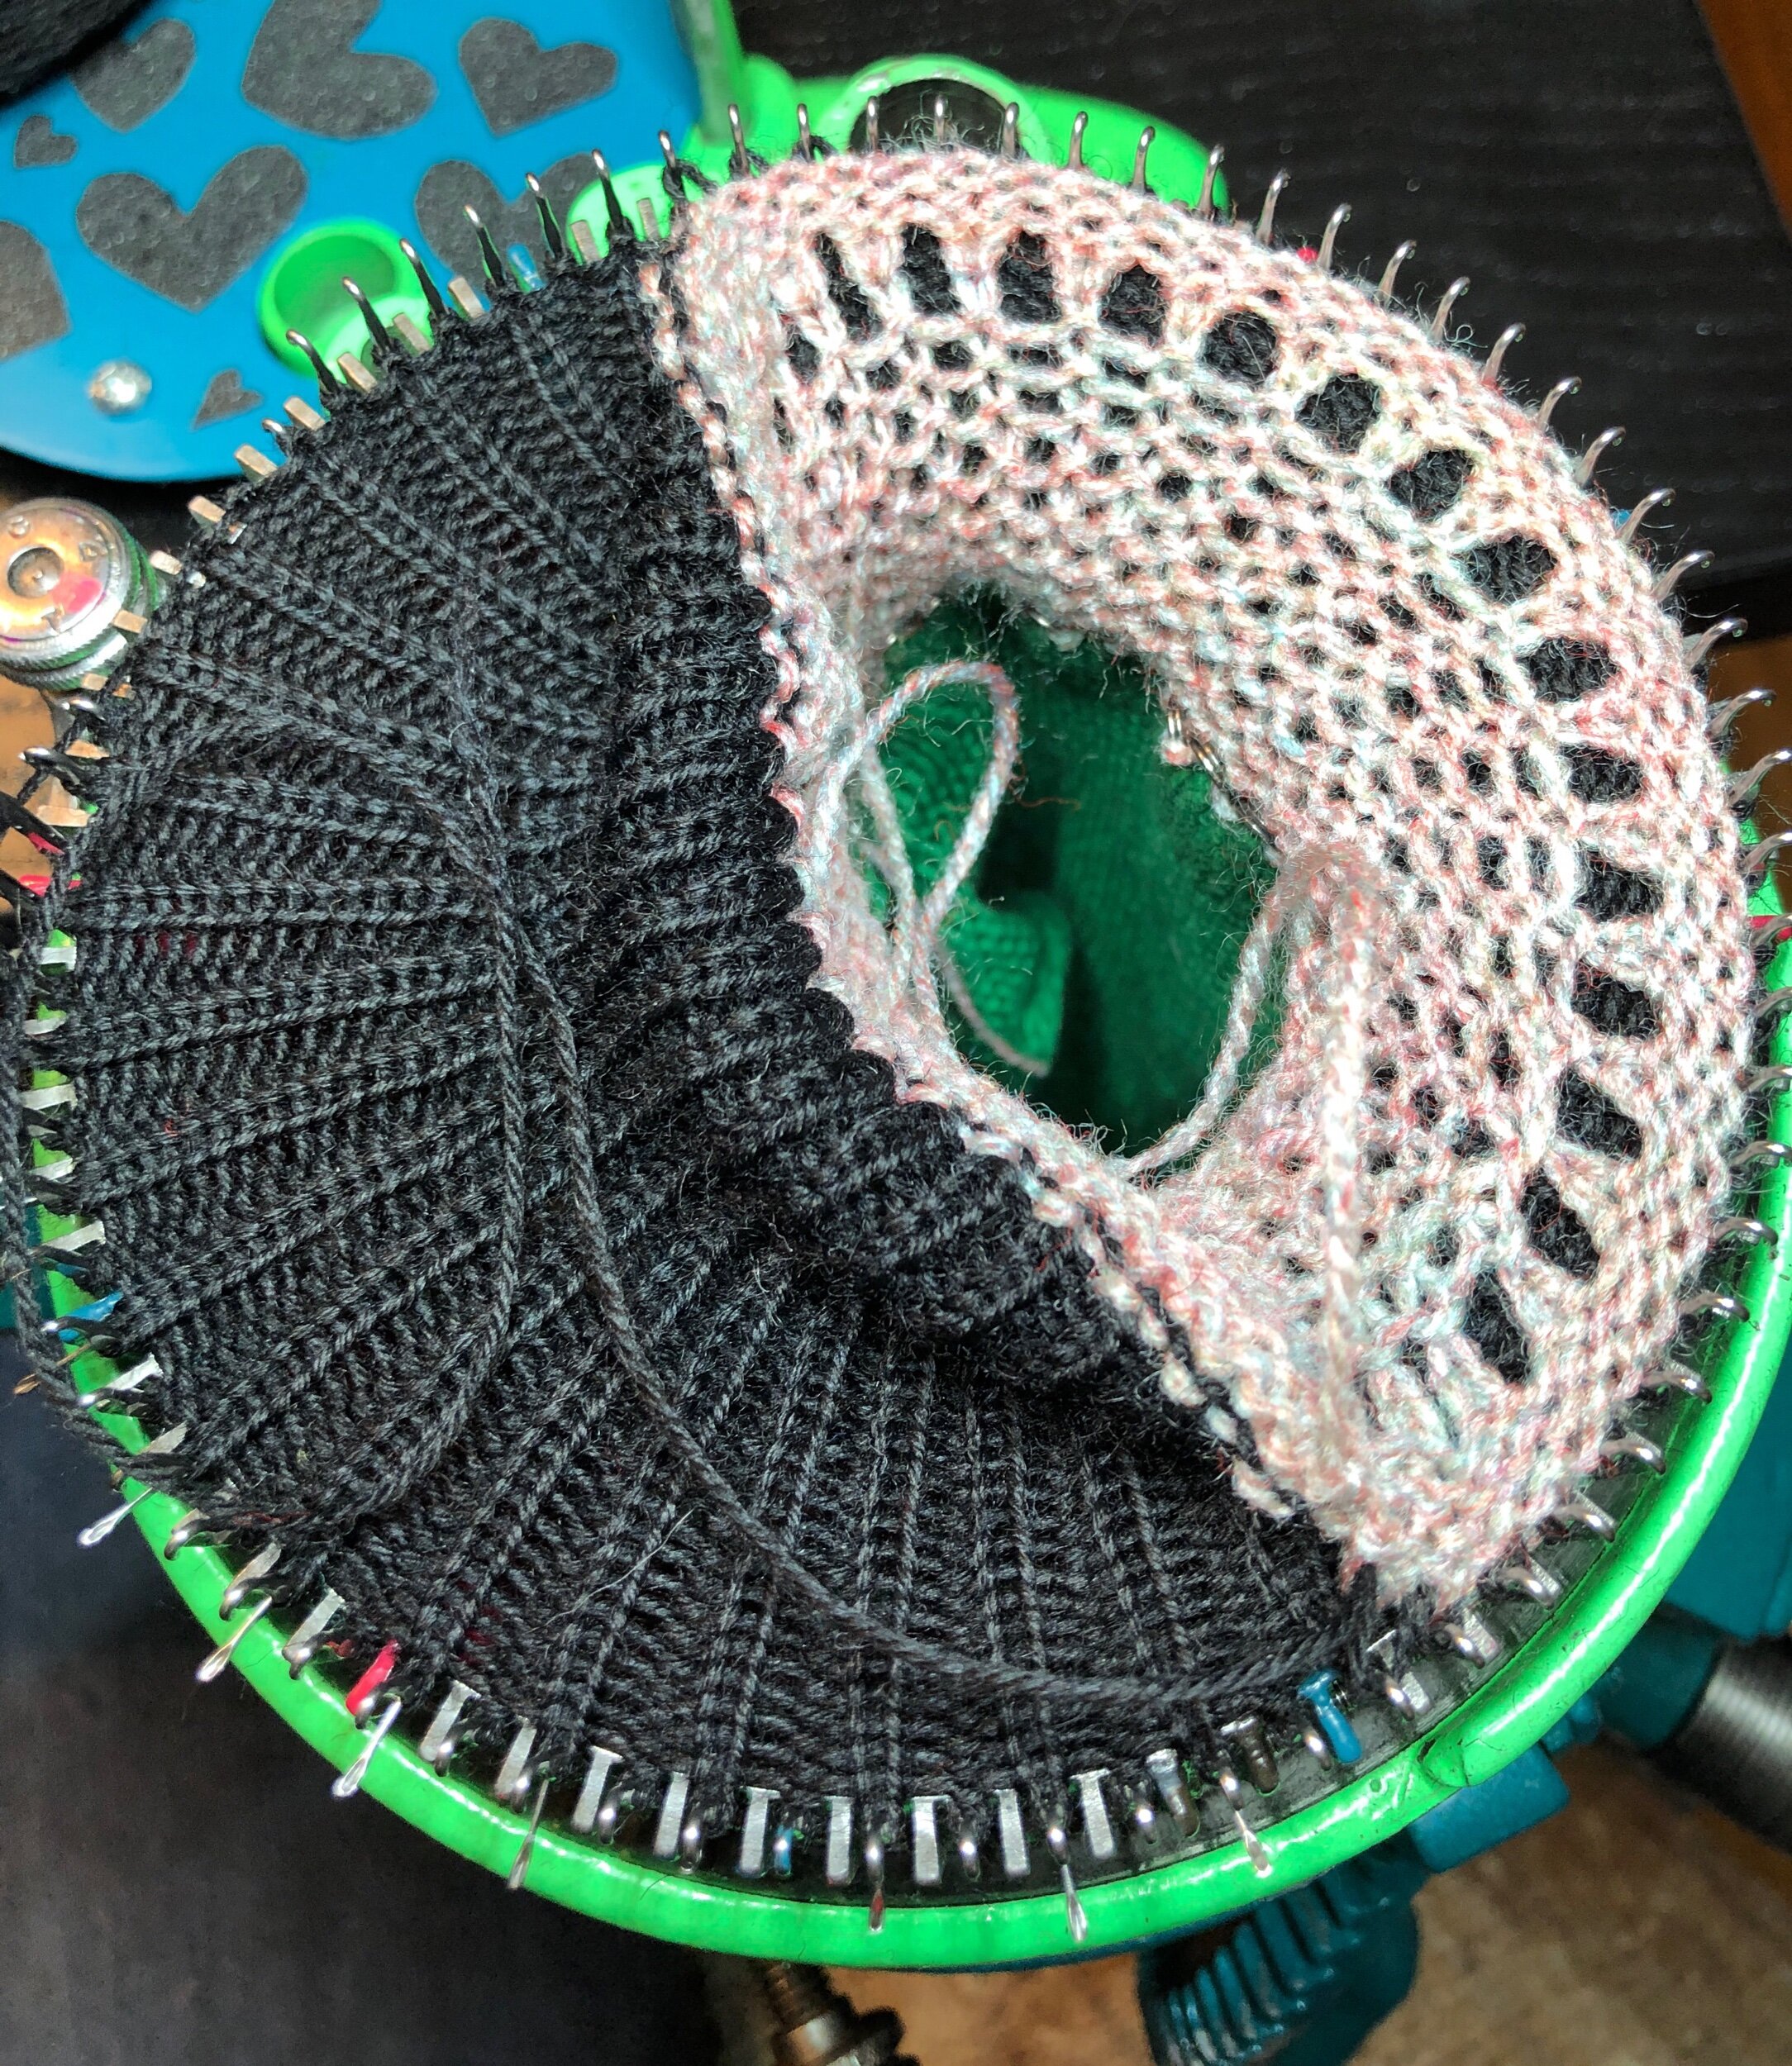
I will make some less firm as well. Using what you have.

Instagram post


SEE ALL BLOG ENTRIES ON THE BLOG INDEX PAGE | Follow us on a variety of social sites see TAPLINK | Interested in Circular Sock Machines? See the CSM START Menu first page. | Seek something specific? Checkout the Index page.


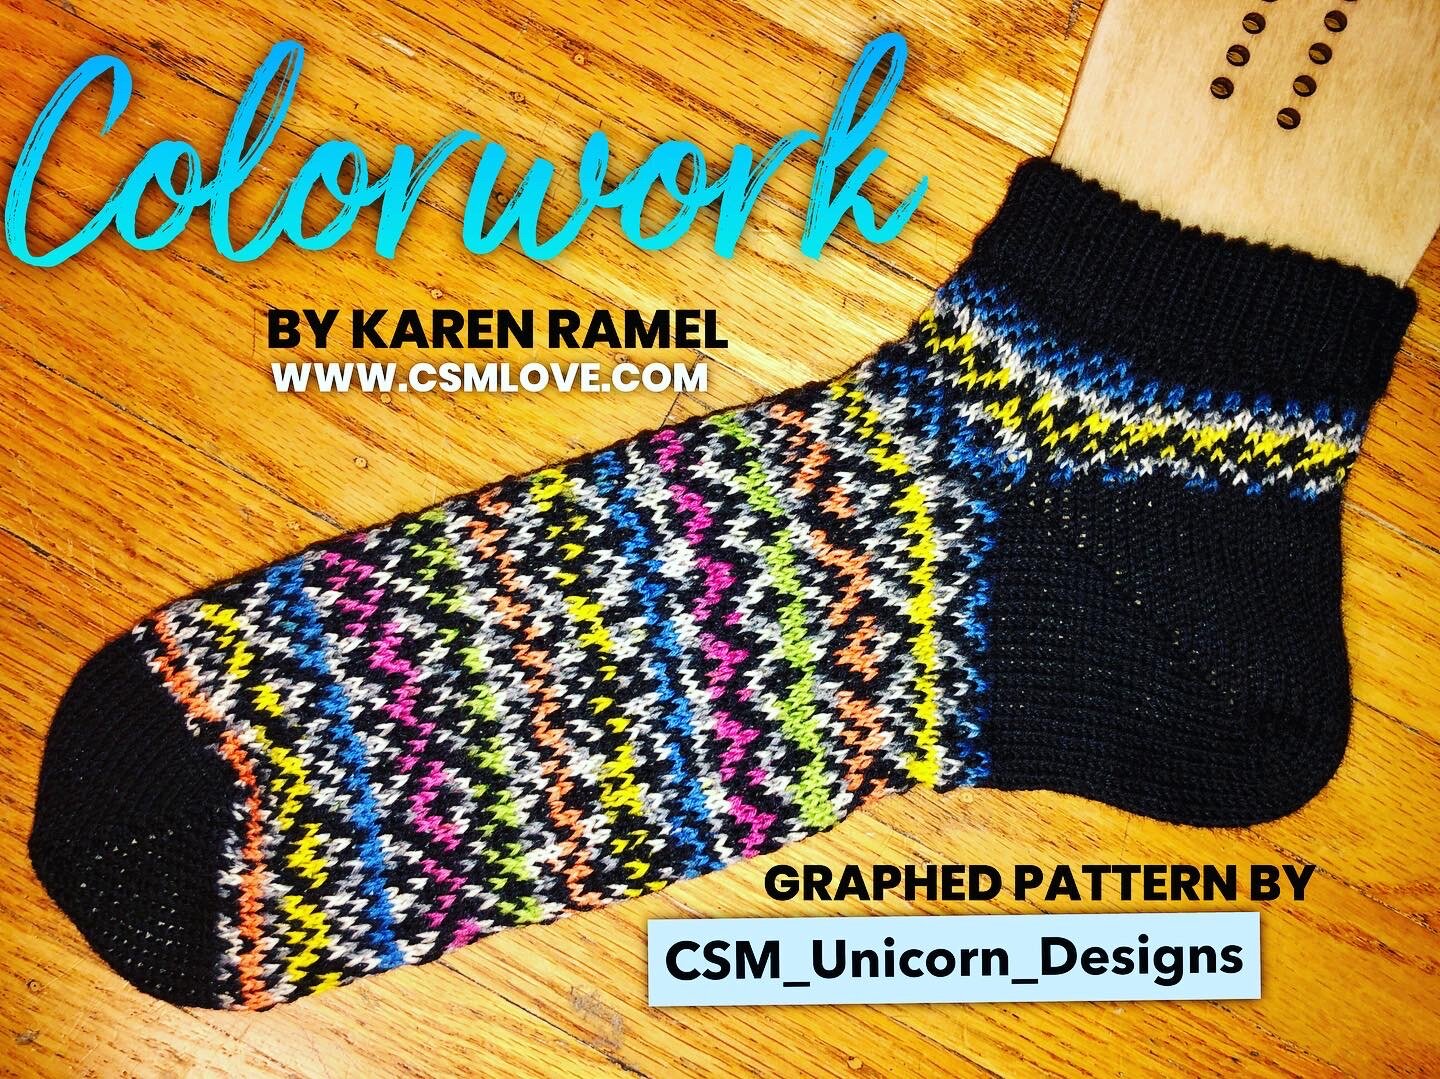
2021 Jun 9 - First Mini-Mast Project (Colorwork)

First the videos that this project inspired… (these videos are also listed on my TECHNIQUES page. For more information on accessories which help make colorwork easier see the SUPPLIES I LIKE page.

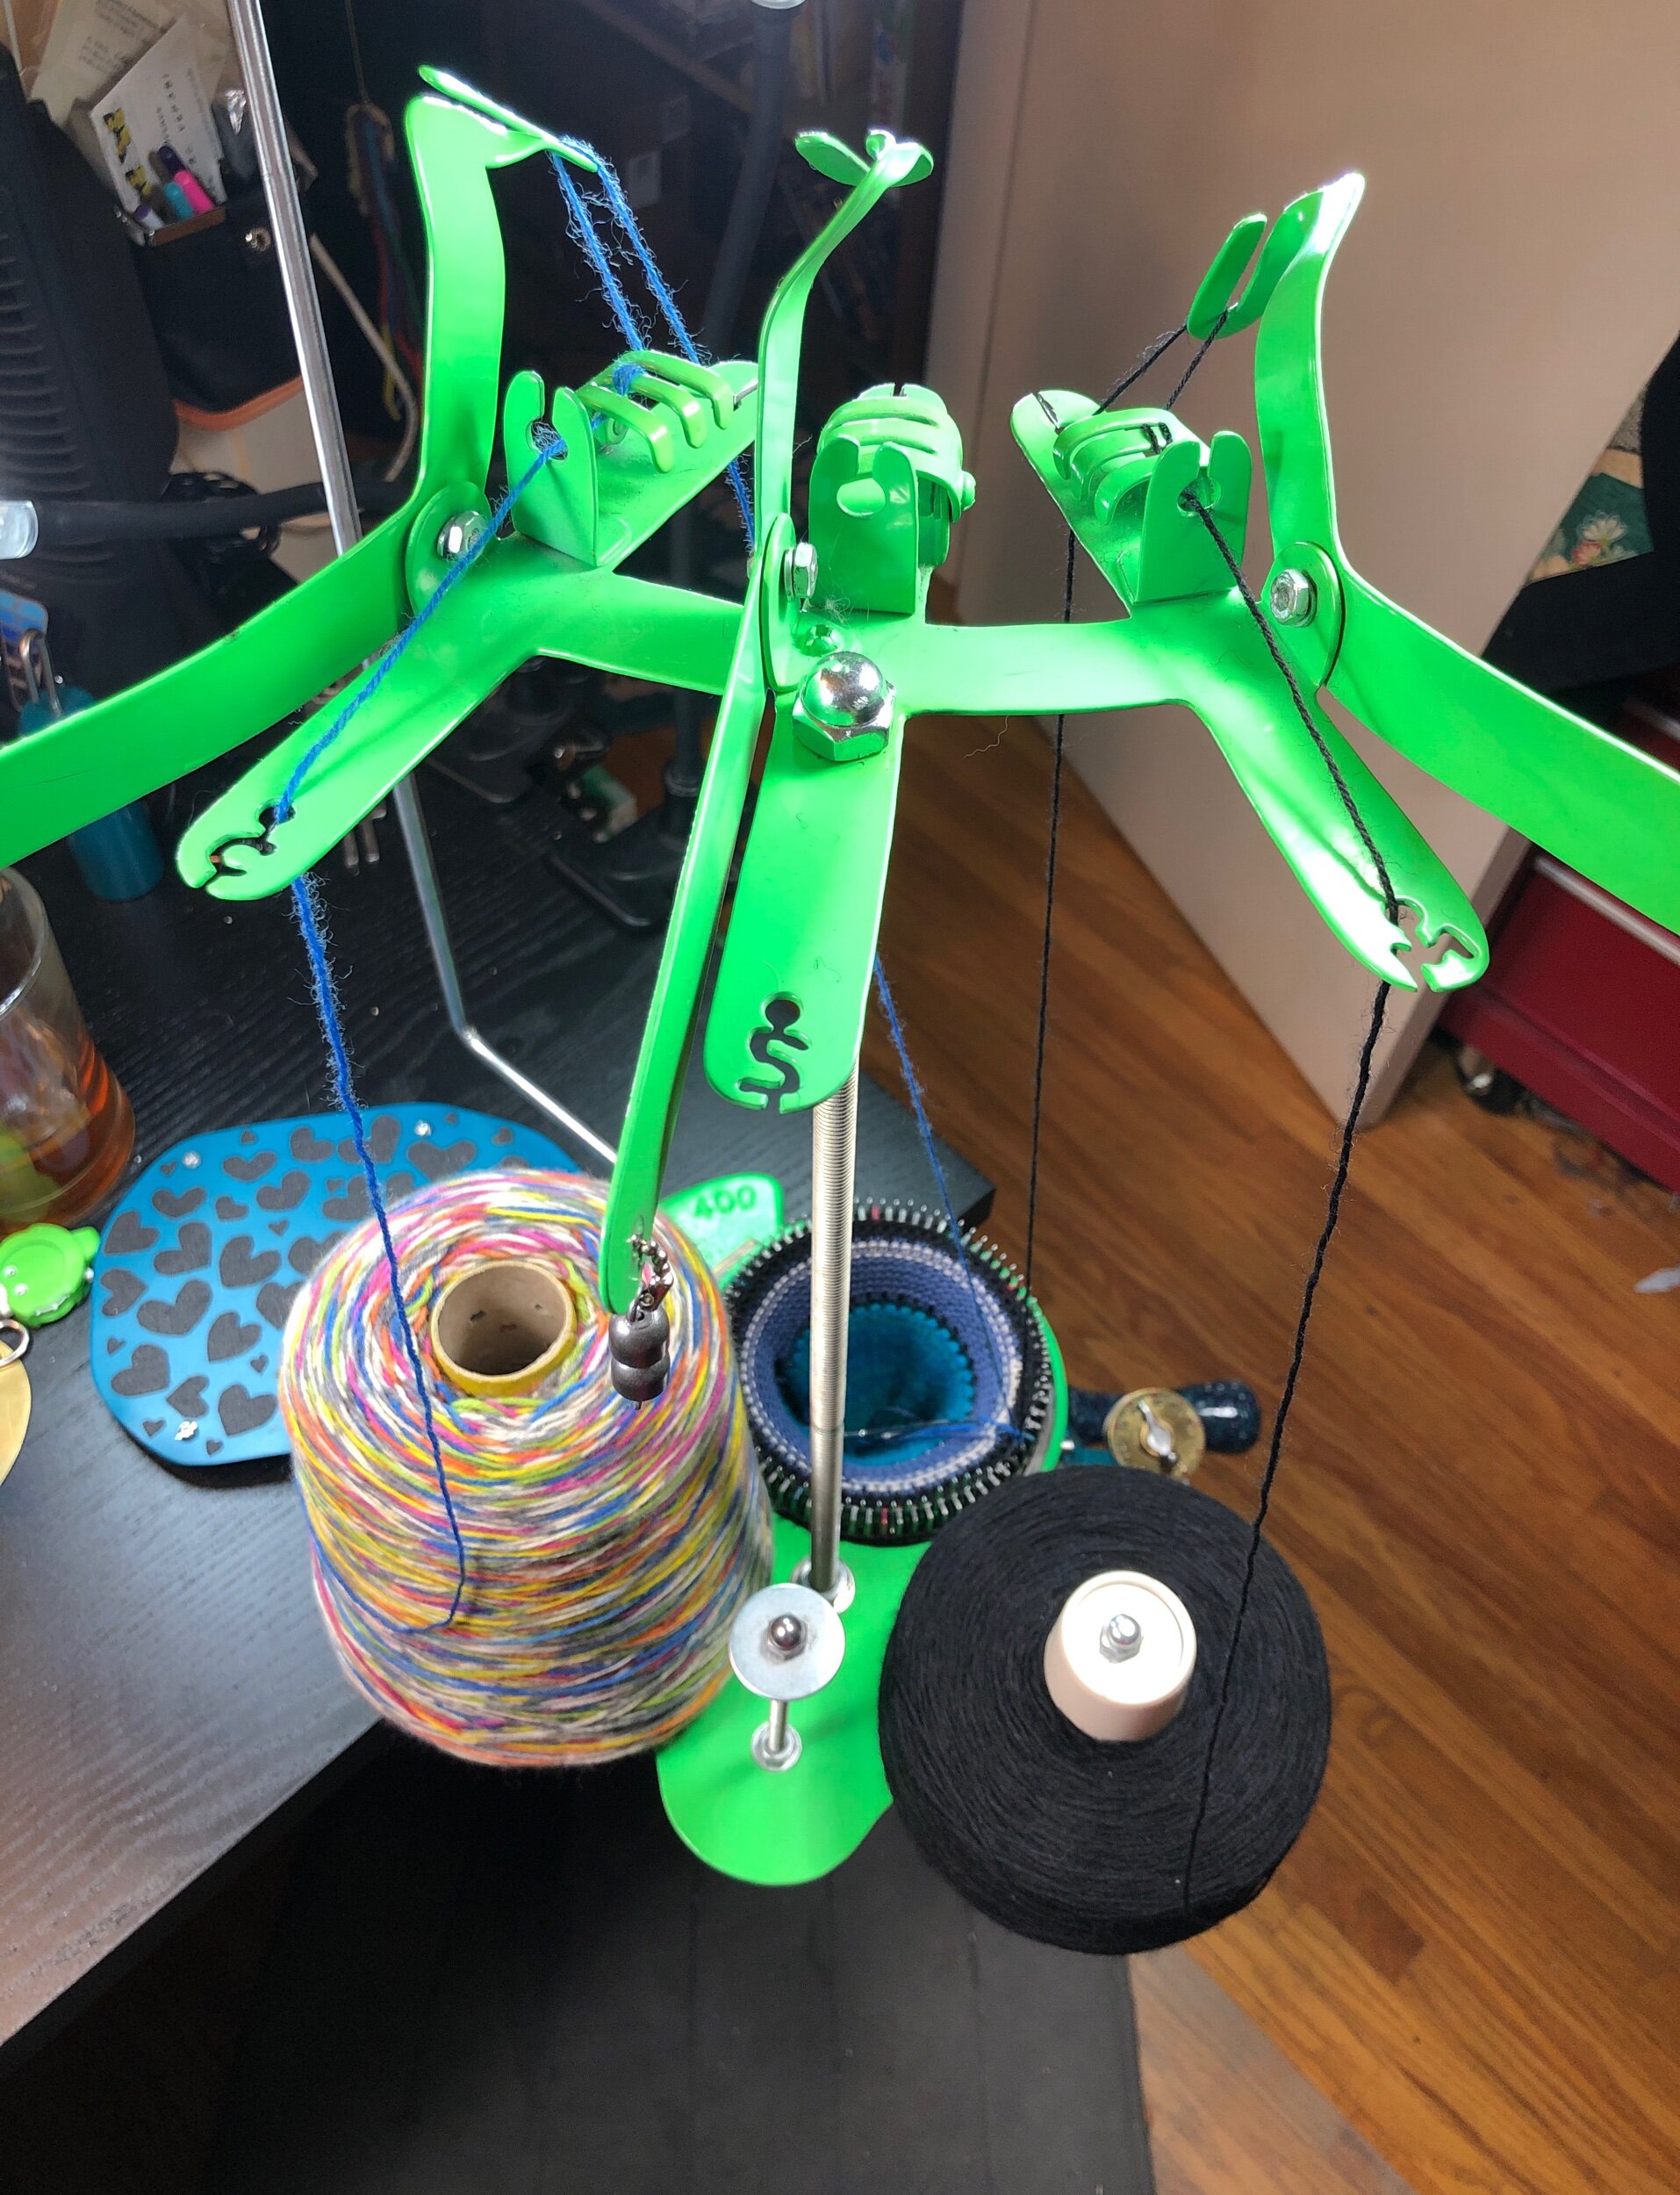
November 2018 using two models I saw online out of metal components and input from my CSM friend Heidi, in my small apartment with a dremel, I created a metal Mini-Mast which would work on my Legare 400. See the blog post.

The wonderful Dave Lord of Chambord CSM powder coat painted it Nov 2020 to match my machine and to protect the metal from metal tarnishing. Somehow I never got around to trying it out until now. :)

I thought I would share this project on Ravelry as a sock project and on here as a blog entry.

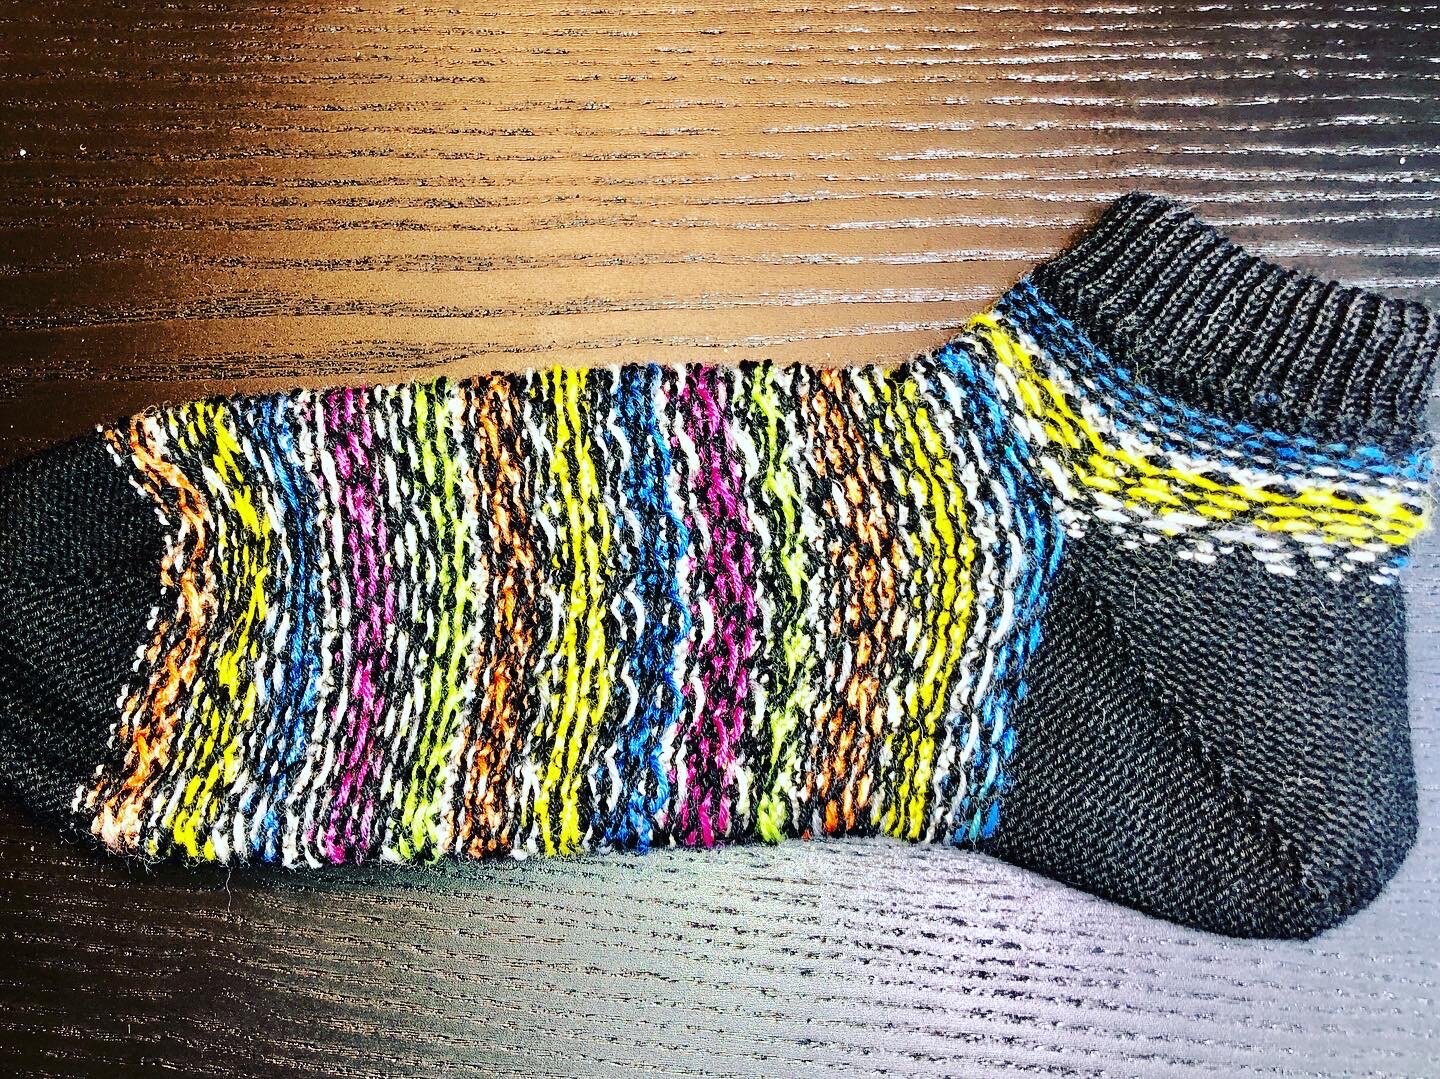
Ravelry Sock Project #168 | See the Ravelry entry for yarn and pattern info (pattern info to come later)

I started this project using a intense 60 needle graphed pattern. I didn’t do any test knitting ahead of time I just started. :) Maybe don’t do that. Test the technique prior to trying. After starting my ribbed cuff hung hem Shortie sock I worked two rows of black yarn then worked through maybe 15 intense colorwork rows. Then I noticed I lost my place in the sequence and felt I accidentally did the row below the one I meant to be on. Then I noted how loose the first 5-9 rows were. It’s actually kind of hard to determine how your doing from the Purl side you work on. I felt I needed to restart after 3 days of work. I took a photo of the sock off the machine - looked better than I’d hoped. It inspired me to do a quick video - CSM: Quick colorwork tip


But it wasn’t right so I started again. I got 8 rows into the intense graph and was presented with a graphed pattern we both liked more. Darn. That inspired me to do another video - CSM: Quick CSM Legare Unknitting

I then deleted all the prior pattern sock images after spending way too much time manually undoing all that work - it would have been all the faster to restart for sure - but I’m stubborn. I won. :)

Between project start and this moment I’ve also extended the height of my DIY mini-mast from 11” to 16” to better accommodate taller cones not considered when I built my mini-mast. I also installed reinforcement to my new sit/stand CSM/computer desk for better easier to move lighting. Oh and I had a birthday. :)

Now back at it.


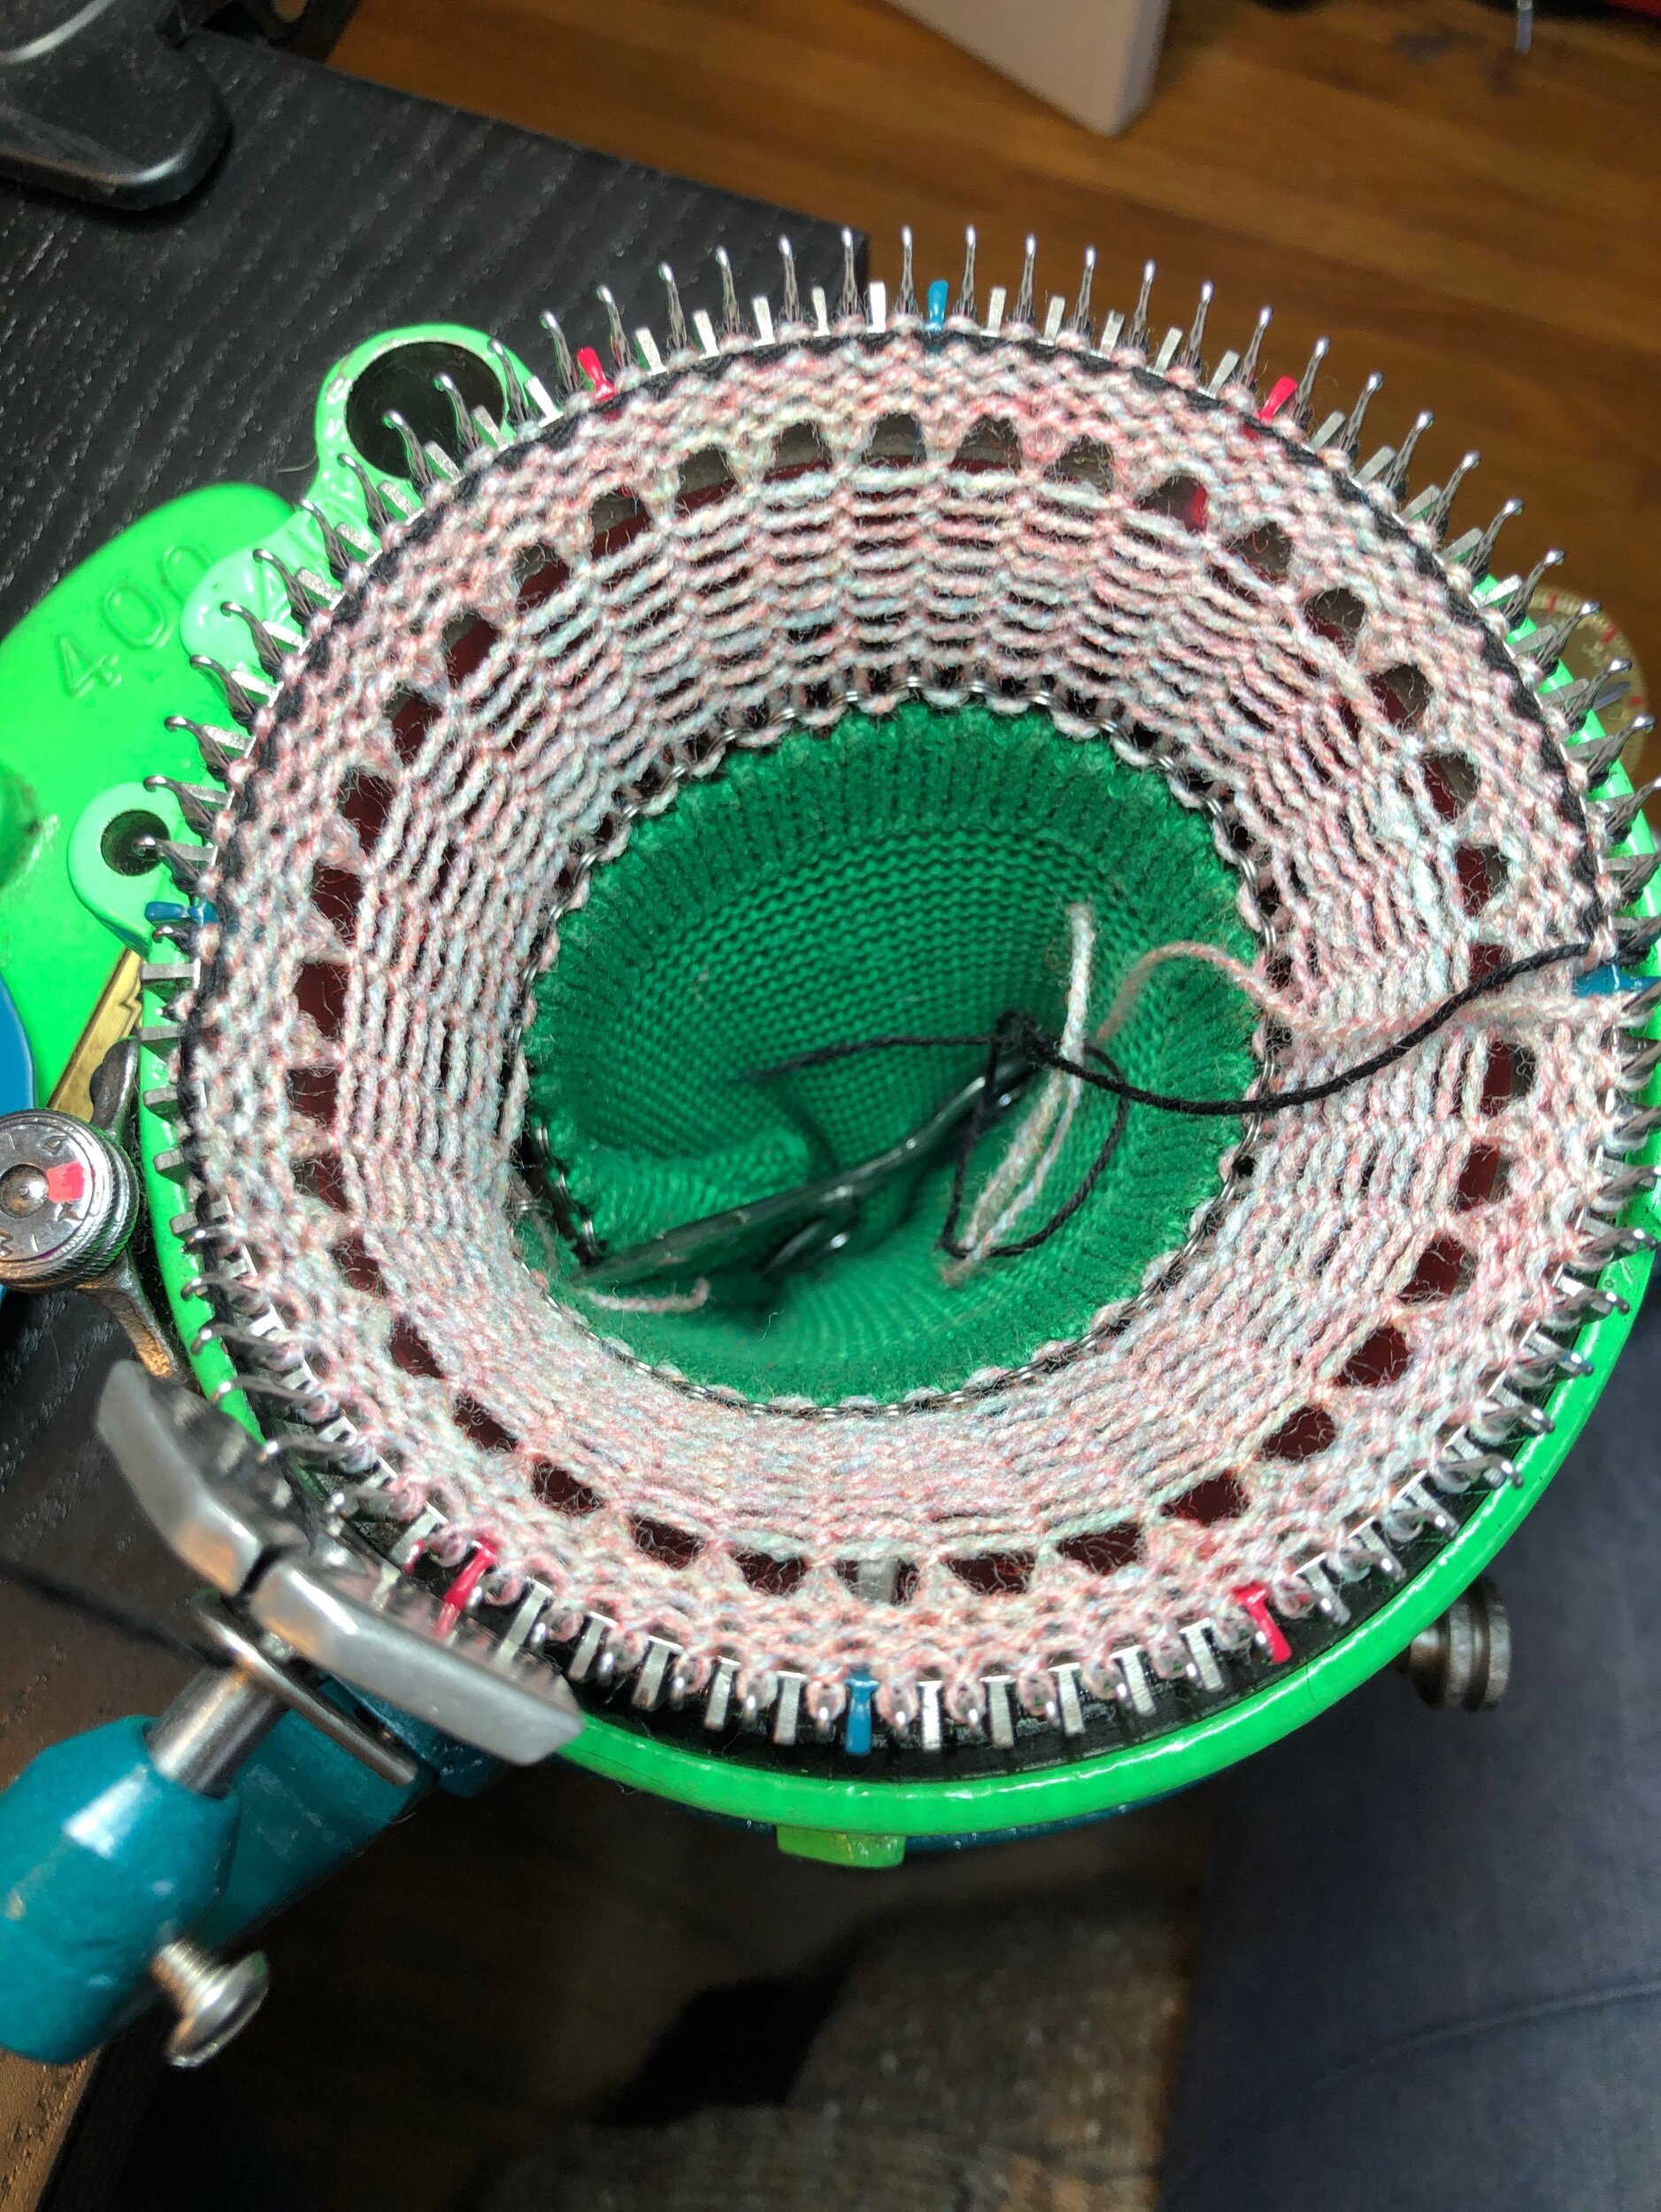
Photos show machine cast on and scrap, sock started, ribber added, cuff made, ribber removed, hung hem, two rows of black yarn, clipped yarn tail of second color.

Now photos of the colorwork start.

Now back to the colorwork after the heel. (The foot)

Now finished the colorwork, create a single color toe

Instagram posts: ONE | TWO | THREE | FOUR | FIVE | SIX | SEVEN | EIGHT | NINE | TEN |


WANT A 3D PRINTED MINI-MAST? HE MAY ONLY HAVE THOSE THAT WORK ON AN ERLBACHER MACHINE. CONTACT TURTLE MADE on ETSY - My understanding is that it was made by DAVID KETTMAN - LEMONT, ILLINOIS - USA


SEE ALL BLOG ENTRIES ON THE BLOG INDEX PAGE | Follow us on a variety of social sites see TAPLINK | Interested in Circular Sock Machines? See the CSM START Menu first page. | Seek something specific? Checkout the Index page.


2021 Apr 11 - Dropped Stitch - Easy Fix

First covered in my Cuff Down Ribber Sock video and written pattern posted on MY SOCK YOUTUBE VIDEOS page, I “Park” (remove) my ribber before starting the Heel of my cuff down socks (and remove it completely again before working the Toe). With the ribber removed we can easily confirm no dropped stitches and fix any that occurred (if they occurred) during those non-ribber installed times.

To protect live stitches from falling off the needles while fixing dropped stitches it had been suggested to add elastics to the needles prior to working. The elastics save the fabric from lifting off the needles and becoming undone.

To stop needles from snagging on the knitting when you raise and lay the knitting on top, one can lay a piece of plastic on the needles to prevent snagging.

Regarding the two images above: A Cuff Down Ribbed Sock was worked to the end of the segment just before the Heel (we call it the Pre-Heel) and the Ribber is removed from the machine after the ribber needles were “Parked”. The Ribber was then removed from the machine and the ribber needles each still holding their ribbed stitch, laid on the inside of the cylinder knitting to keep the ribber needles clear from collision while the next segment will be worked - the Heel. However this time upon removal we note a single stitch dropped. The red arrows show the dropped stitch.

Adding something to lock the cylinder needle stitches to their needles is a great way to ensure nothing drops during stitch repair or re-latching. Elastics are simple and were proposed at an event in the past however now I use the red item shown below. See ALL THE INFO (on elastics and this full technique) by viewing the full sock video and/or just the 6 minute technique video.

The LIVE STITCH NEEDLE LOCK - an alternative to elastics

I recently came up with an elastic alternative as I’m often losing elastics (or they break). I created the D.I.Y.: LIVE STITCH NEEDLE LOCK (Version 3.0) - Recycling a unused red lid of the perfect diameter, I trimmed it to cover half the cylinder needles on my 72 needle slot cylinder. It clips gently in place and can have knitting easily laid on top during re-latching of any dropped stitch as it protects against snagging the hooks. I strongly suggest making yourself one if you can find a lid with the perfect diameter and have a dremel to shape the plastic.

Exploring alternatives My version 1.0 involved the modification of a DVD re-writeable plastic lid that comes with 50 piece new blank DVD’s stack but I found the plastic brittle, unreliable and thin. Version 2.0 involved trimming down a slightly too small lid which would be held down onto the lowered cylinder needles kind of like ortho ‘headgear’ stays on with elastics (I fondly nicknamed it wishbone as its thin narrow curved shape looked bone-like). Finally I came up with this Version 3.0 which I live the best due to its simplicity and lack of hooks or elastics while being robust.

For other ideas and upgrades including a reference to this red lid container used here please see MY IDEAS AND UPGRADES page.

For MORE help with DROPPED STITCHES see that category on my TECHNIQUES page found under the menu “My Patterns and Videos”

INSTAGRAM: Post 1 |


SEE ALL BLOG ENTRIES ON THE BLOG INDEX PAGE | Follow us on a variety of social sites see TAPLINK | Interested in Circular Sock Machines? See the CSM START Menu first page. | Seek something specific? Checkout the Index page.


2021 Mar 6 - Yarn Thickness on the CSM

An often asked question is how thick can the yarn be that will work on a CSM?

One way to answer that is to first consider how wide the needle cylinder slot actually are on the cylinder you intend to be using on your machine.

Know that a cylinder that has a high cylinder slot count (ie. 72) will have much more needles to accommodate on the same circle as a cylinder with perhaps almost half as many (i.e. 40 needle slots). See these two cylinder images as example.

Technically the lower slot count cylinder might have slightly wider slots however there is still a maximum width to that slot in order to correctly direct the cylinder needle and keep it within its channel.

The NEXT POINT is the properties to the fiber you’ve chosen to use on your machine.

I myself use fingering and light fingering sock weight yarn on my machine without issues, however I have met persons who use home spun wool on their machines, sometimes using the 60 needle slot cylinders as an example.

Personally if I have heavier yarn I would use a lower slot count, use mock rib perhaps and consider whether the fiber will pass doubled into the slot with the cylinder needle during use.

MORE INFO TO BE ADDED TO THIS POST.


SEE ALL BLOG ENTRIES ON THE BLOG INDEX PAGE | Follow us on a variety of social sites see TAPLINK | Interested in Circular Sock Machines? See the CSM START Menu first page. | Seek something specific? Checkout the Index page.


2021 Feb 19 - Katrinkles Adjustable Sock Blockers

New update July 2022 - See the video - the link is https://youtu.be/hgxe7YvMRHk


IMG_2248.jpeg

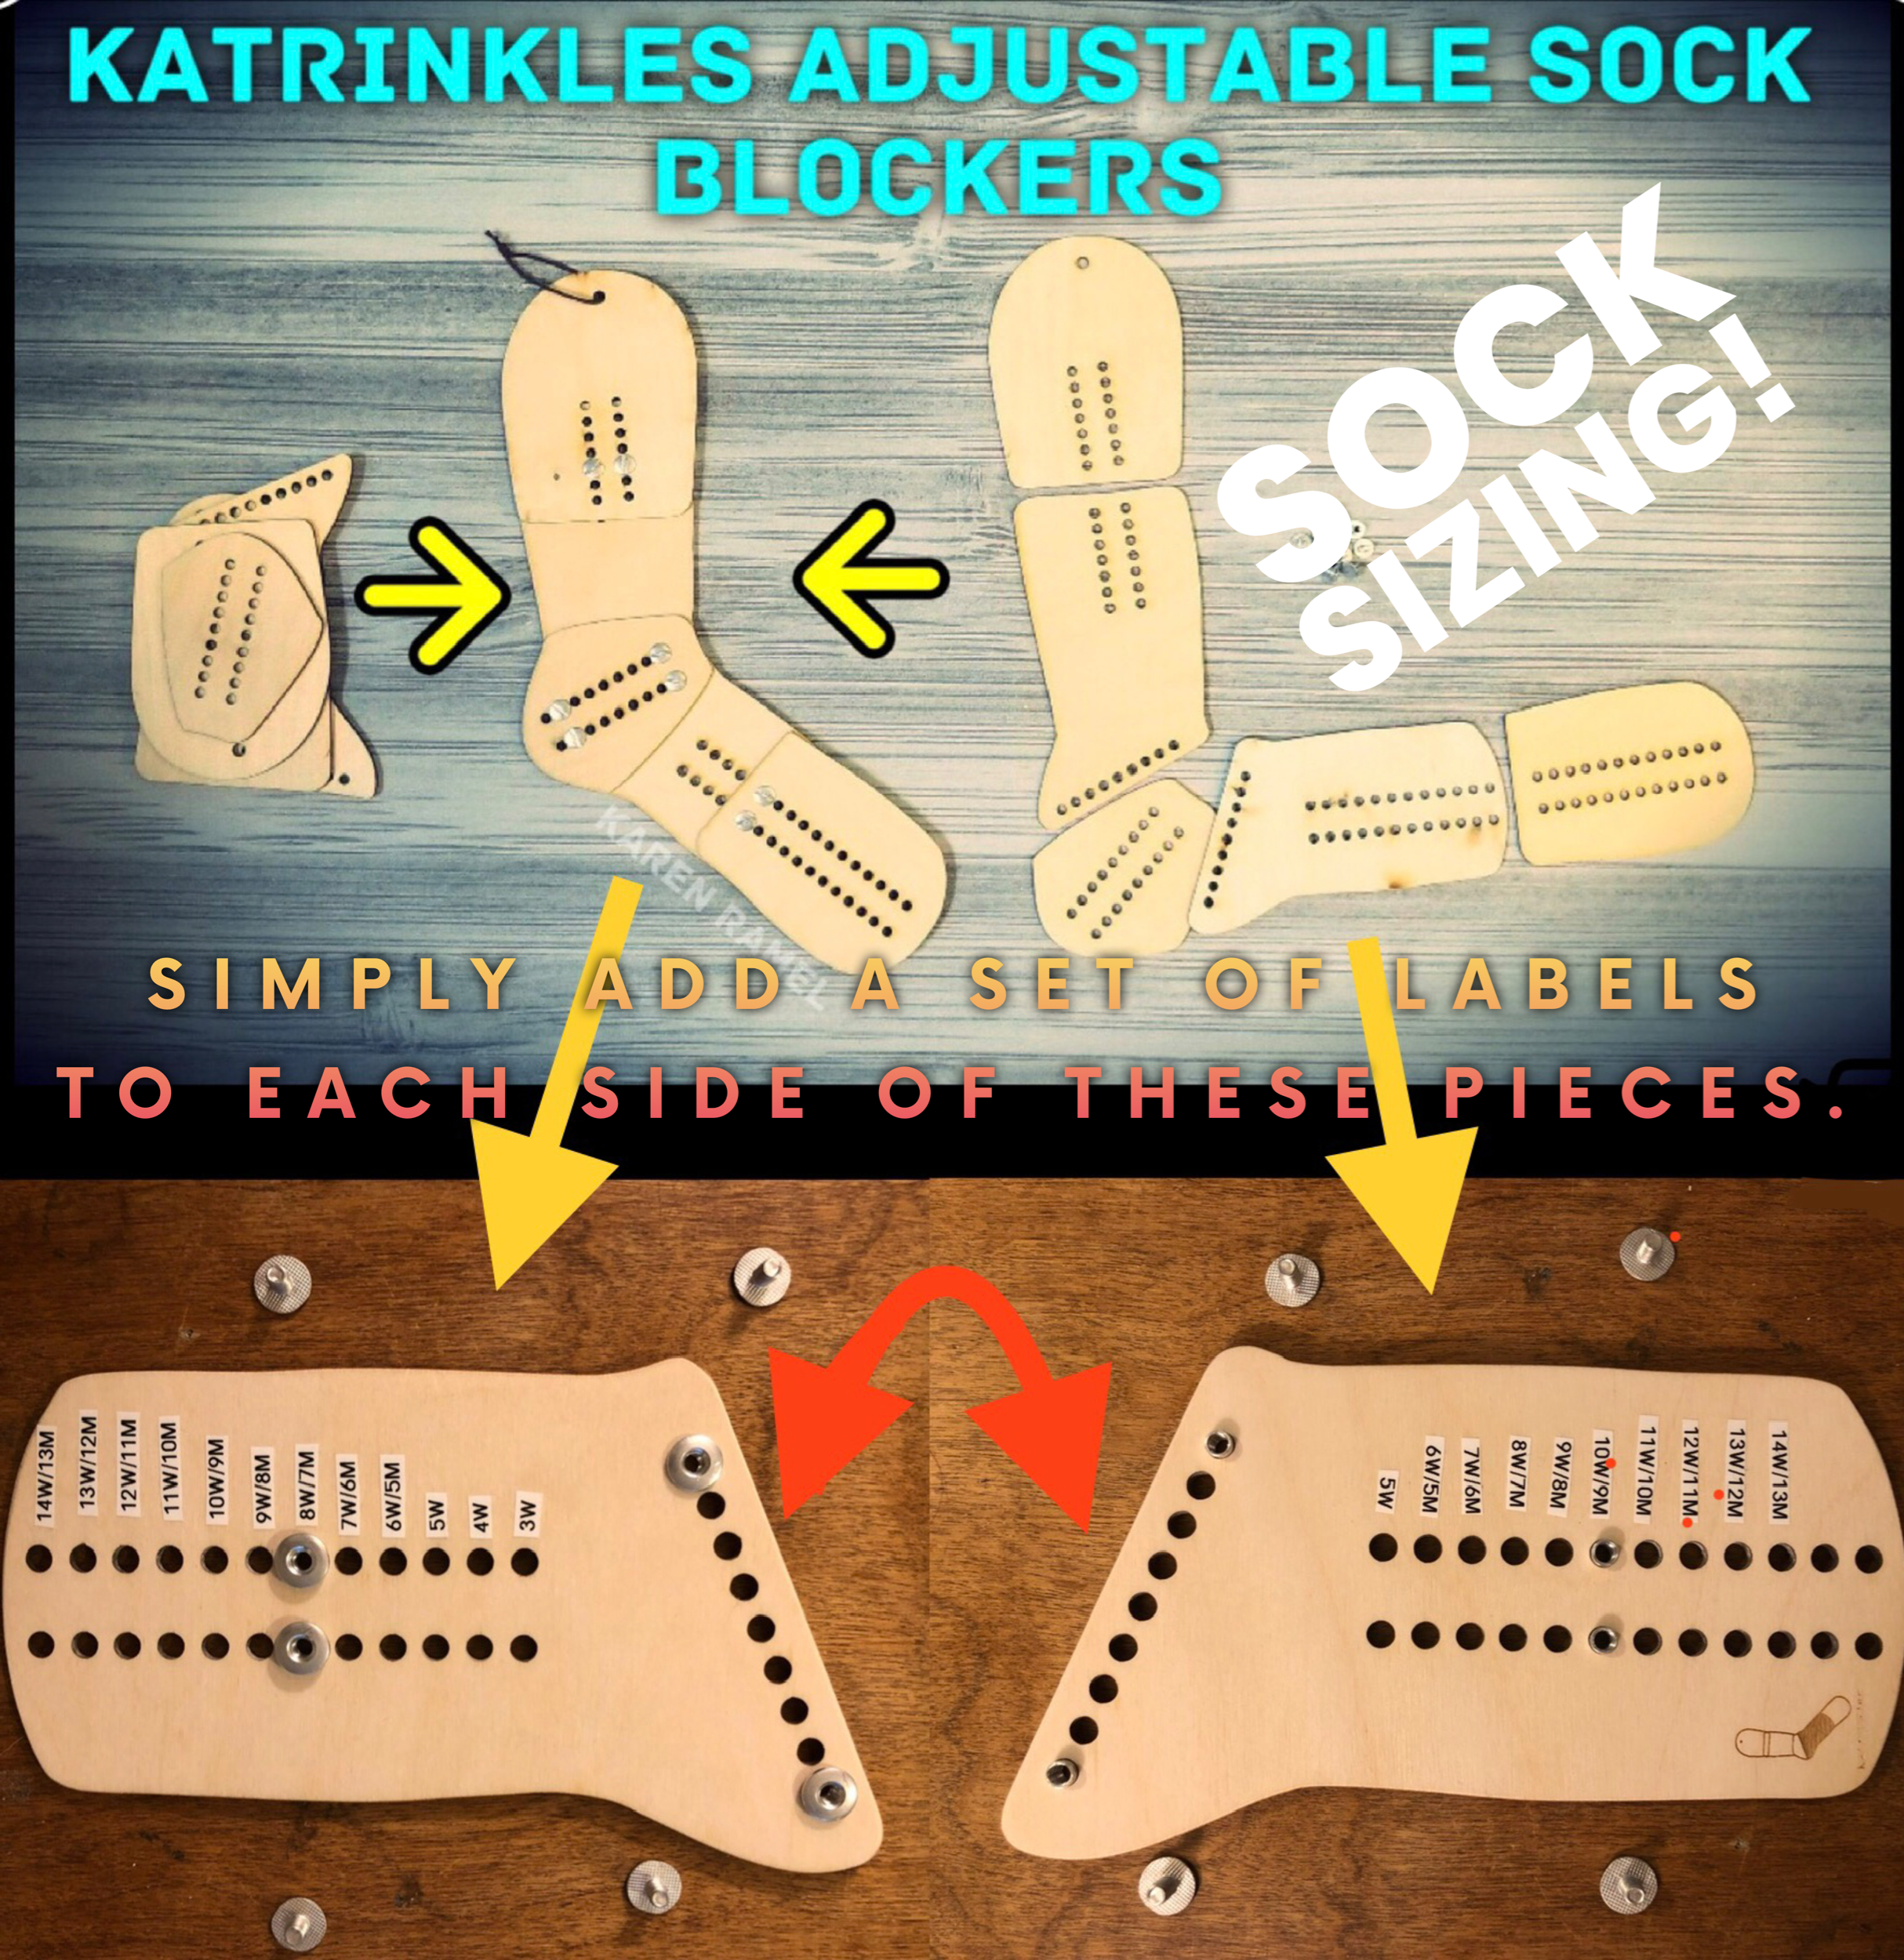
FEB 2021 original post: As an alternative to the Adustable DIY upgraded Sock Block and Size I wrote about in my March 5 2020 blog entry, I decided to try these ETSY sock blockers. Sold and shipped dismantled, these offer adjustable length leg and foot. https://etsy.me/35kHJDY

UPDATE: by adding labels as noted below you won’t need any size rulers to size determine as the katrinkles adjustable adult sock blockers assemble to the size to confirm finished sock will fit that size. INSTAGRAM url https://www.instagram.com/p/CUyriNxl_xr/

More updated info on the SUPPLIES I LIKE page URL https://www.csmlove.com/supplies-i-like

IMG_2249.jpeg

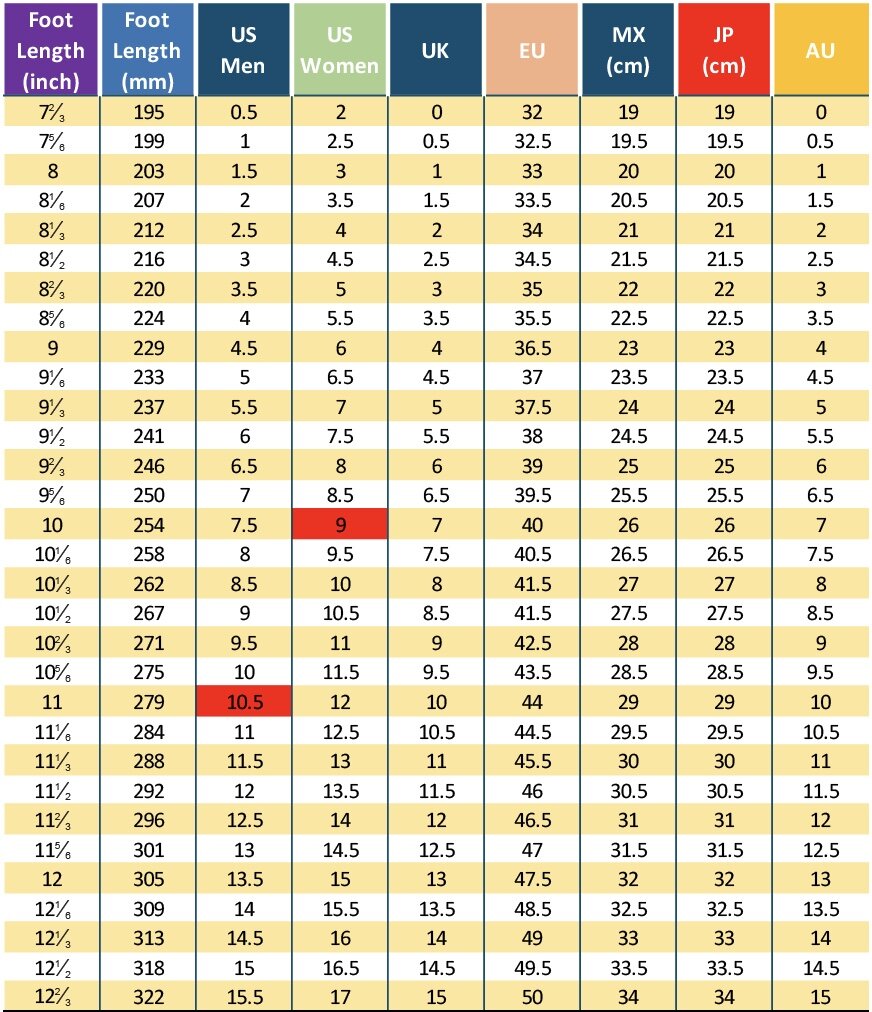
Used with a reliable sizing chart and you’re ready to conquer any sock size you prefer to make.
I prefer these free charts (mentioned in the prior blog entry noted above).
| Men’s | Women’s | Children |

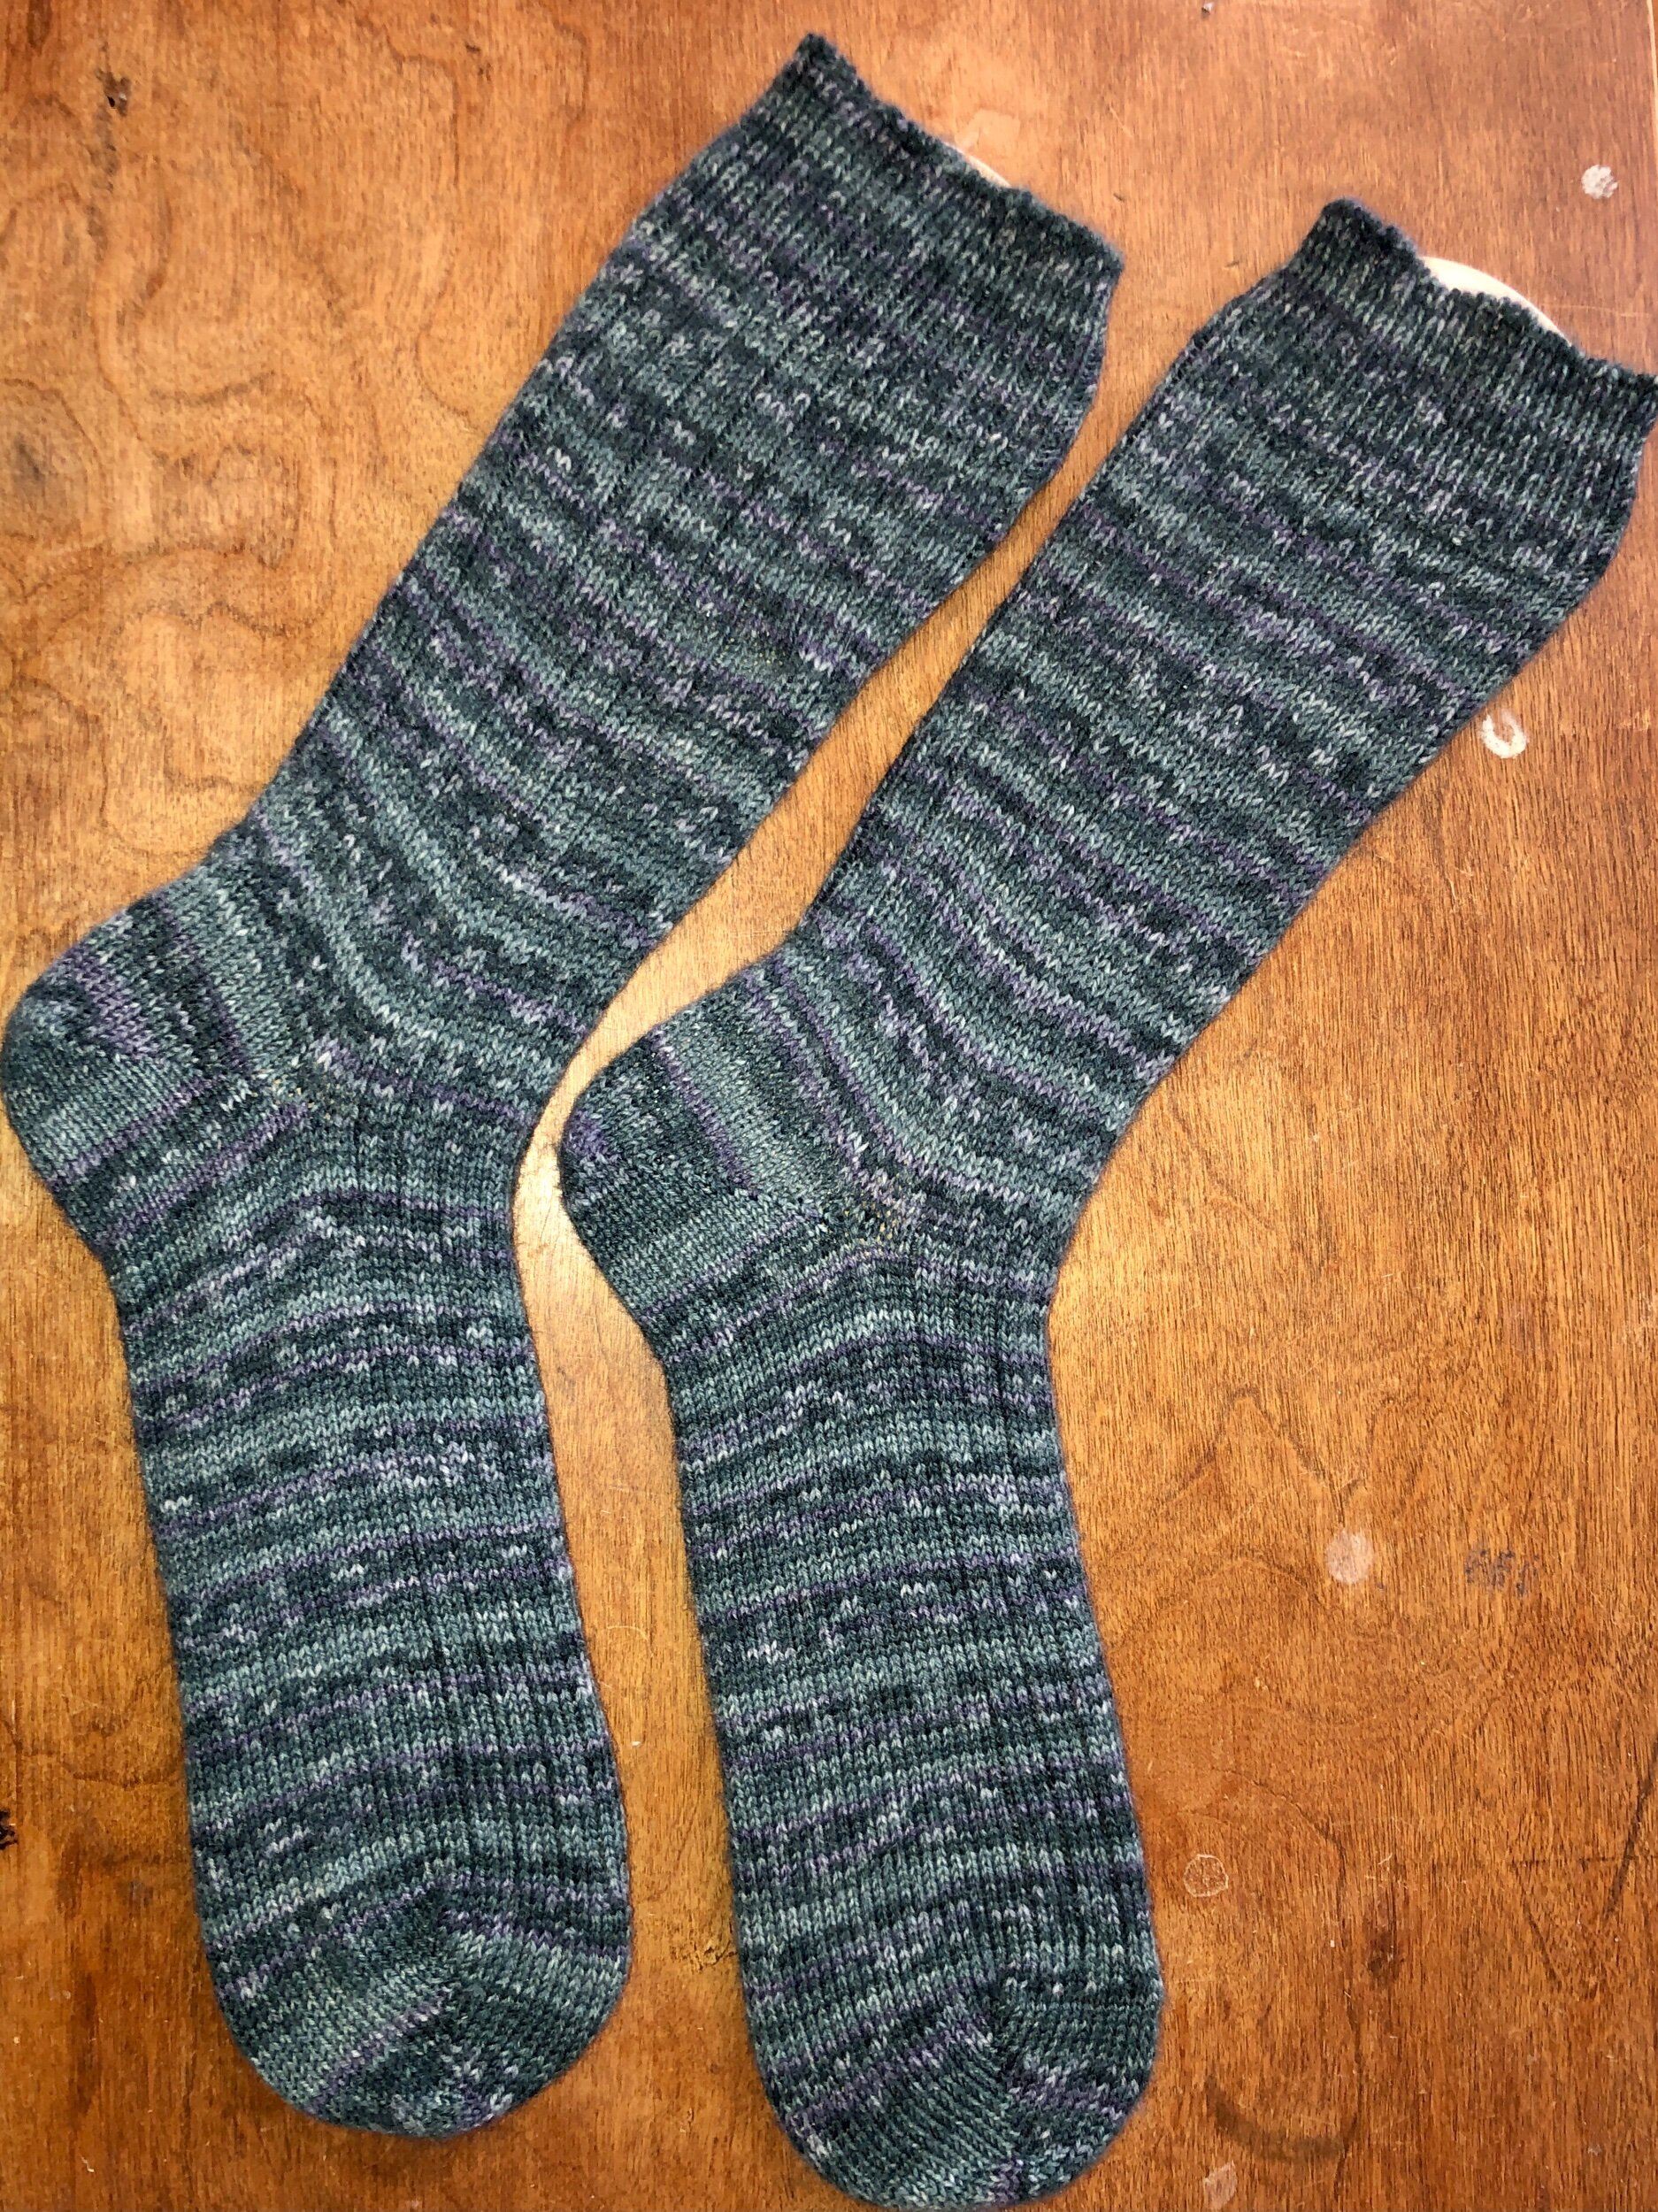
Just check out these confirmed sized 11 men’s socks (after finishing these they rested and then were washed in a net bag in the washing machine on cold then hung to dry).

IMG_2243.jpeg
IMG_3641.jpeg

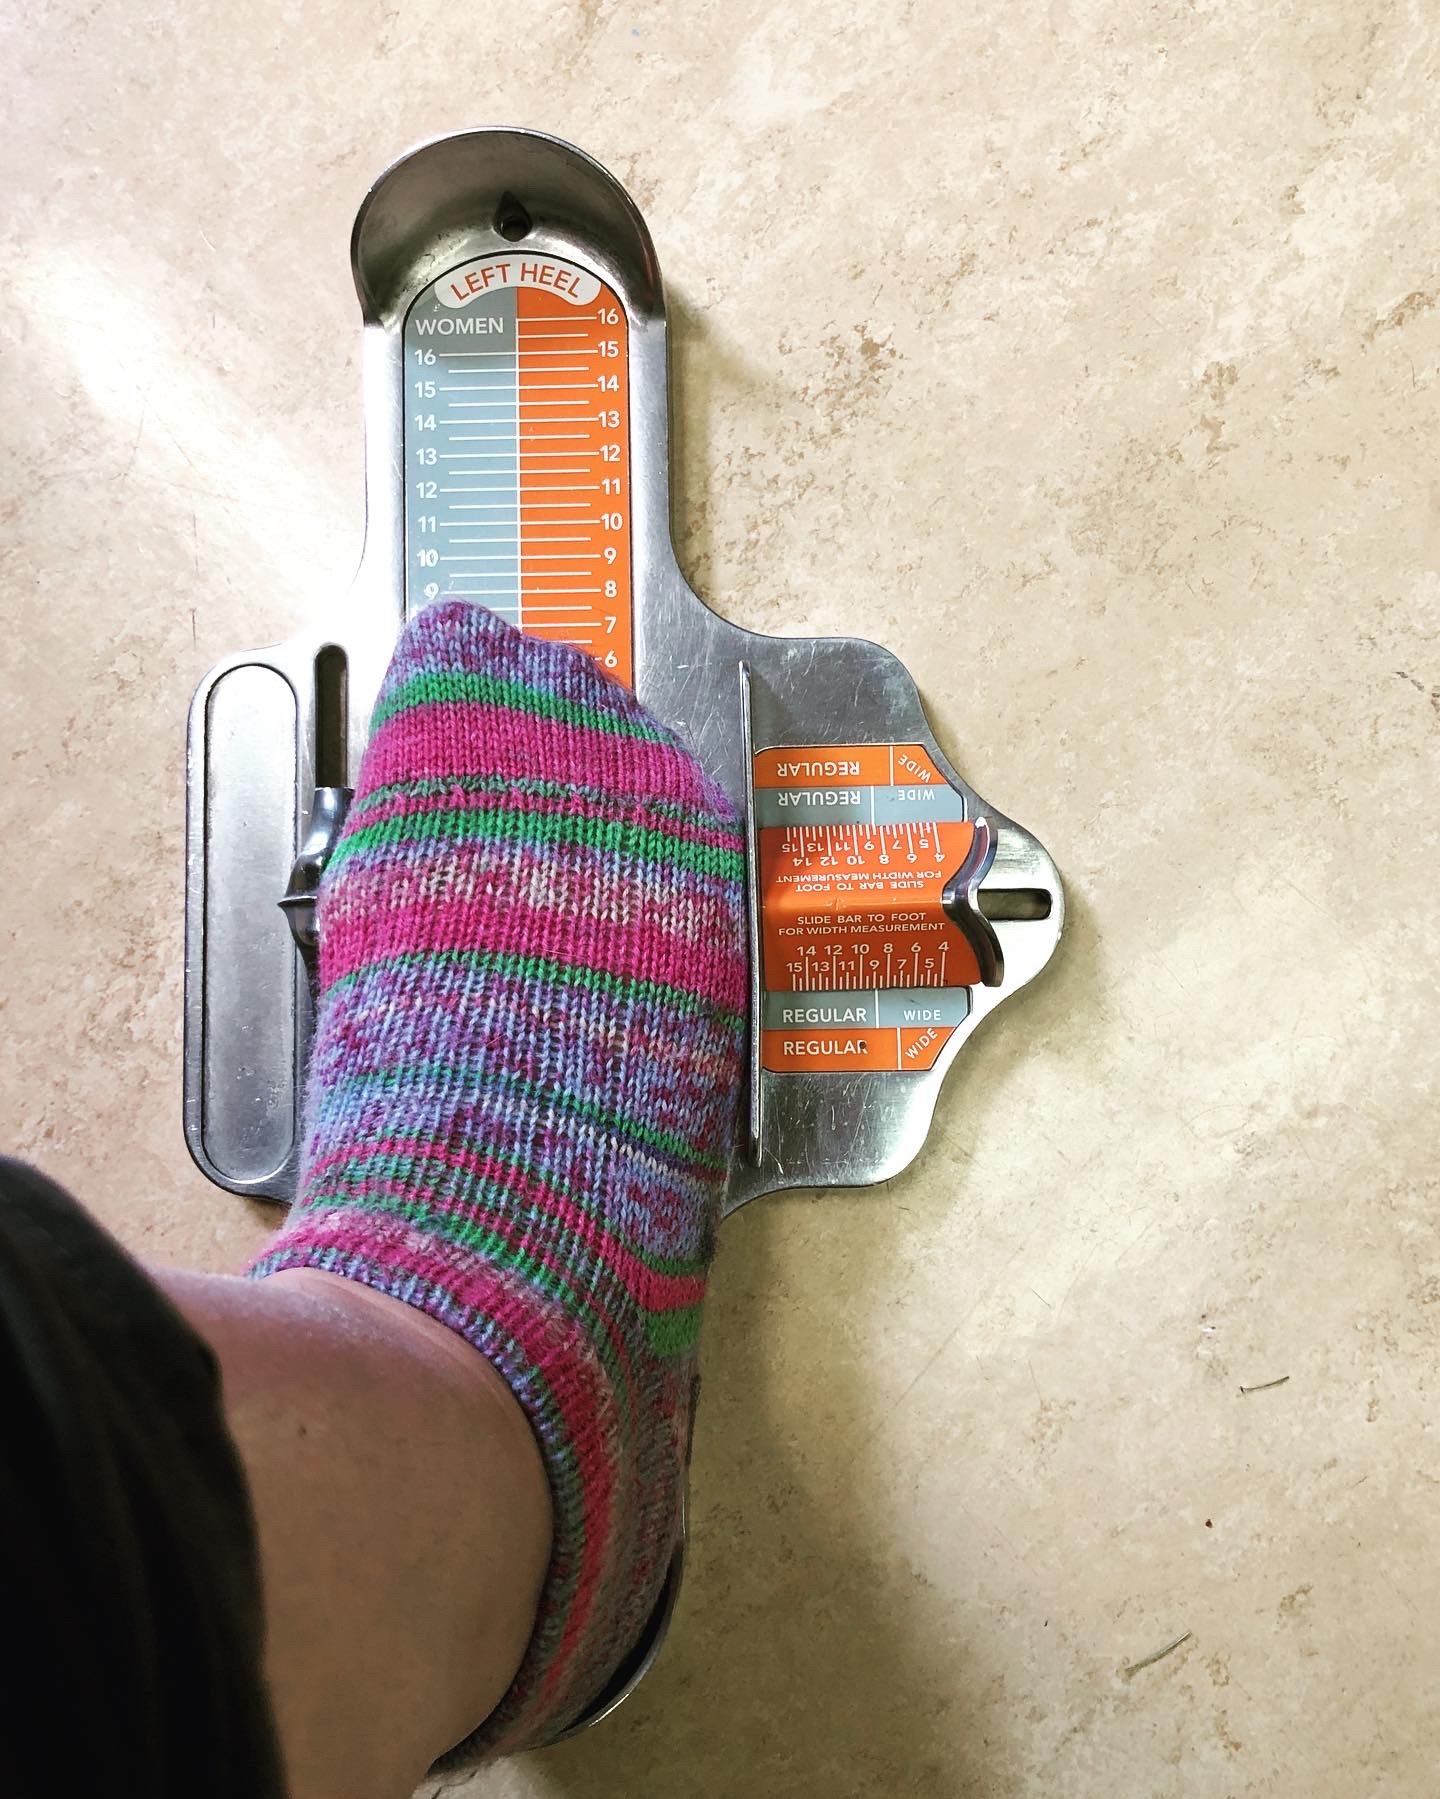
Exploring these adjustable sock blockers with their adjustable foot lengths, I’ve noticed using different charts (like that shown above) that depending on how long the foot portion is extended it seems to go up one US female sock size by each position. I’ve labelled the blockers to make it easier to adjust and use. With the blocker adjusted I size confirm finished washed/dried CSM socks - seems to work great. I’ve used charts to determine equivalent men’s foot sizes and will double check all once my recently purchased a men/women Brannock foot sizer arrives.

A clarity note: As I’m using centimetres as a base measurement and womens US sizes in cm (which is easier for me), it turns out these blockers step up one cm on each foot length adjustment (and match Women’s shoe sizes in cm easily) and these foot lengths when checked against my preferred ruler style chart and the second chart shown on this page work perfectly to size - until the Brannock device arrives. ;)

Knowing what foot length the blocker adjusts to by women’s US sizes allow me to use that as a reference to men’s US sizes and therefore any other country sizing too.

2024 update:

Katrinkles have revised the design on their sock blockers. Now they have less holes but offer a sliding adjustment - which still works!


SEE ALL BLOG ENTRIES ON THE BLOG INDEX PAGE | Follow us on a variety of social sites see TAPLINK | Interested in Circular Sock Machines? See the CSM START Menu first page. | Seek something specific? Checkout the Index page.


2021 Feb 13 - Make Your Own Cast On Bonnet

Presenting a new step by step how to video on making your own Cast On Bonnet - an easy new CSM user project! FOR MORE INFO SEE OUR CAST ON PAGE

Video has a strong audio - you may wish to turn the volume down. All you need for this project is a working CSM ready to knit, something to cast on with, scrap and project yarn, and a darning needle to do your off machine bind off once finished. Cylinder specific means that this bonnet is made on the only cylinder it will be used on (Unlike a Universal Bonnet). We will review the project we will make, you will cast on using your preferred method (see CASTING ON below for more info if needed or skip to near the end of the video where we show how to use the newly made bonnet to cast on with). Pattern summary: a twenty row hung hem, a specified body length worked, a row of picot (two stitches on one needle, one needle empty then repeat), work 10 final rows of project yarn, switch to scrap yarn and then take the project off the machine. I will show you how to bind off, how to remove your cast on and end scrap yarn and then demonstrate how to use it to cast on. Have a question? Check my website index for quick lookup by category at https://www.csmlove.com/index

CASTING ON: Examples and demo of different cast on methods can be found at https://www.csmlove.com/csm-video-hotlist

Want to upgrade your bonnet idea by adding 6mm split rings? Here’s the video on how to add the rings when doing the picot: https://youtu.be/0XvYsTkjn1A

Want to instead make my universal flat bonnet (with or without the 6mm split rings?) see how here: https://youtu.be/Ii3NfRO_PKA

Just want to view the bind off? See my Easy single pass off machine bind off video: https://youtu.be/iPcoOI1Lriw

Just want to view the removal of the scrap yarn see: https://youtu.be/GlWiGXU4gzY

Feel free to view a variety of CSM info on my website https://www.csmlove.com/

Prefer to instead just BUY a Universal Bonnet? See https://www.csmlove.com/universalbonnets


SEE ALL BLOG ENTRIES ON THE BLOG INDEX PAGE | Follow us on a variety of social sites see TAPLINK | Interested in Circular Sock Machines? See the CSM START Menu first page. | Seek something specific? Checkout the Index page.


2020 Dec 10 - Ribber Dials

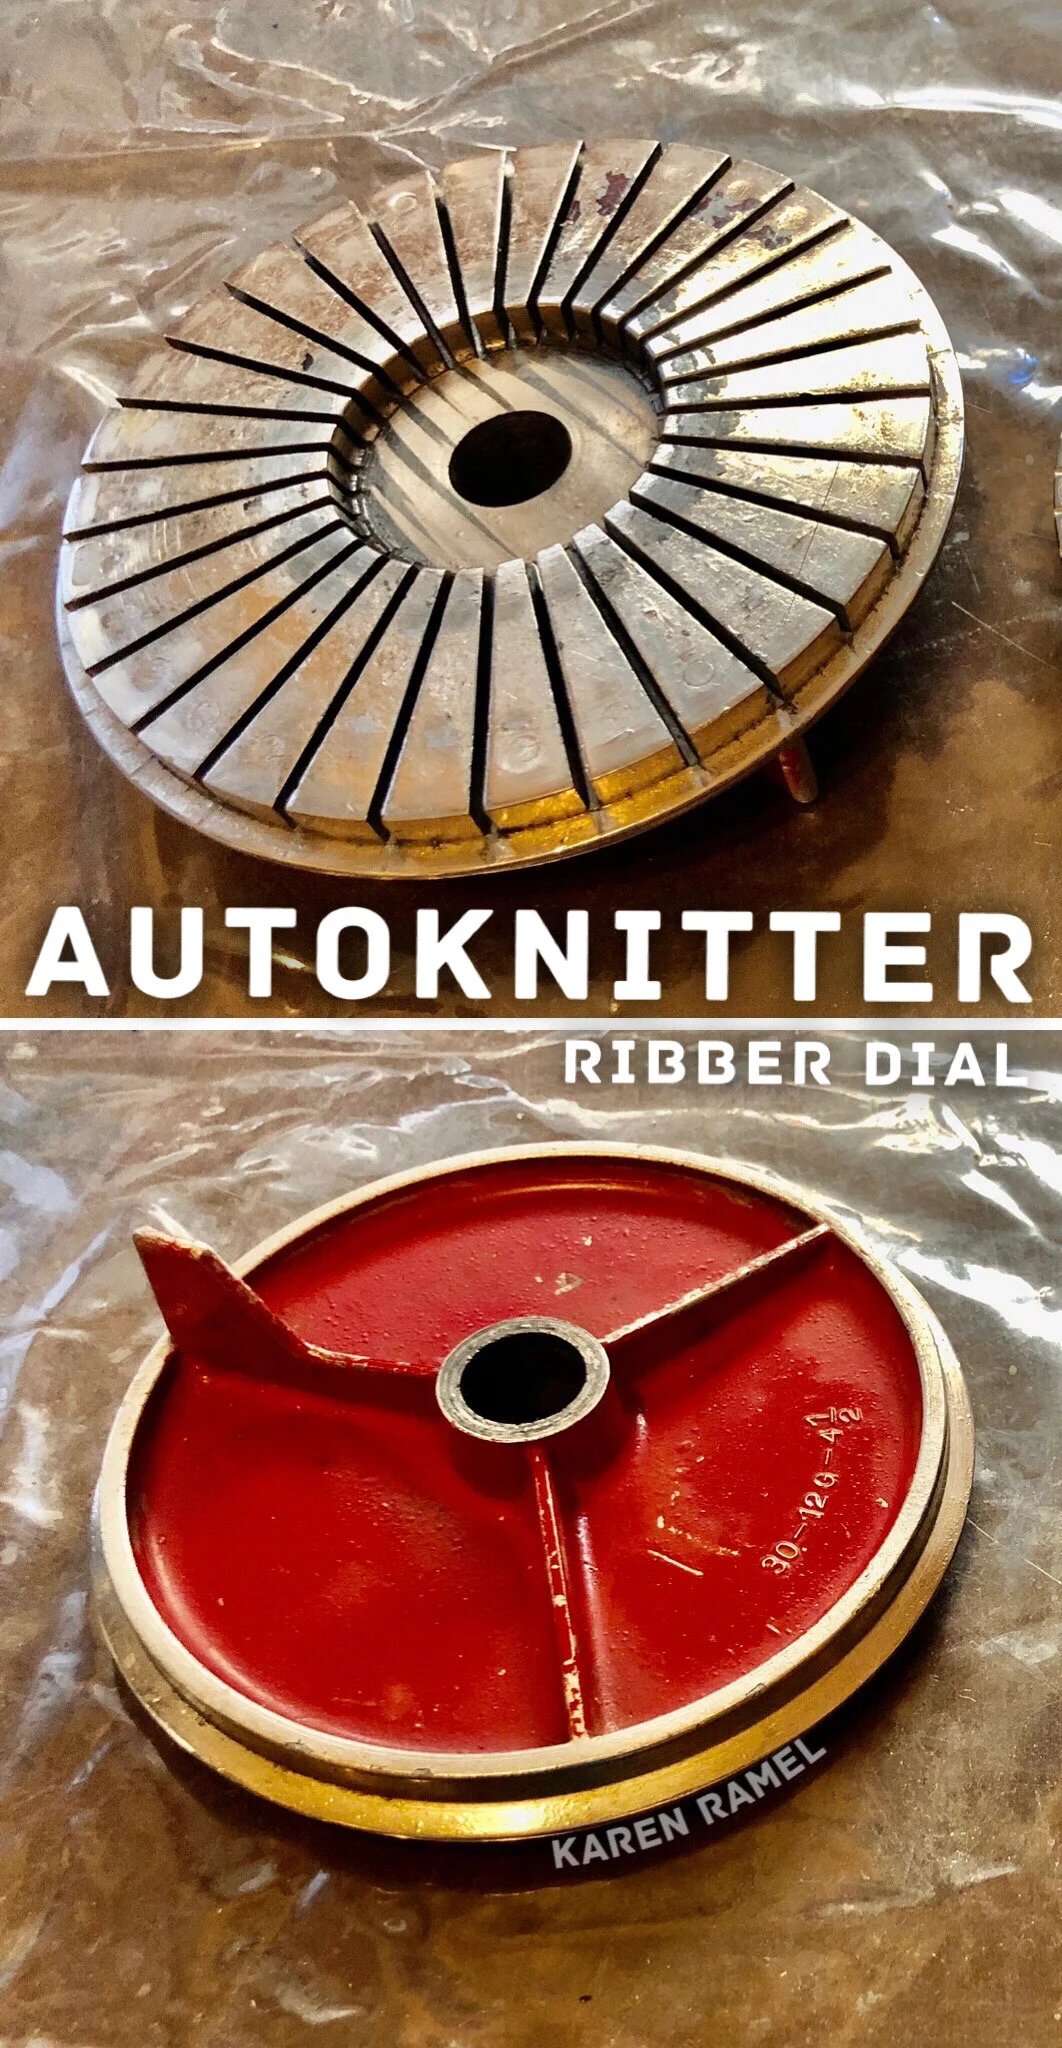
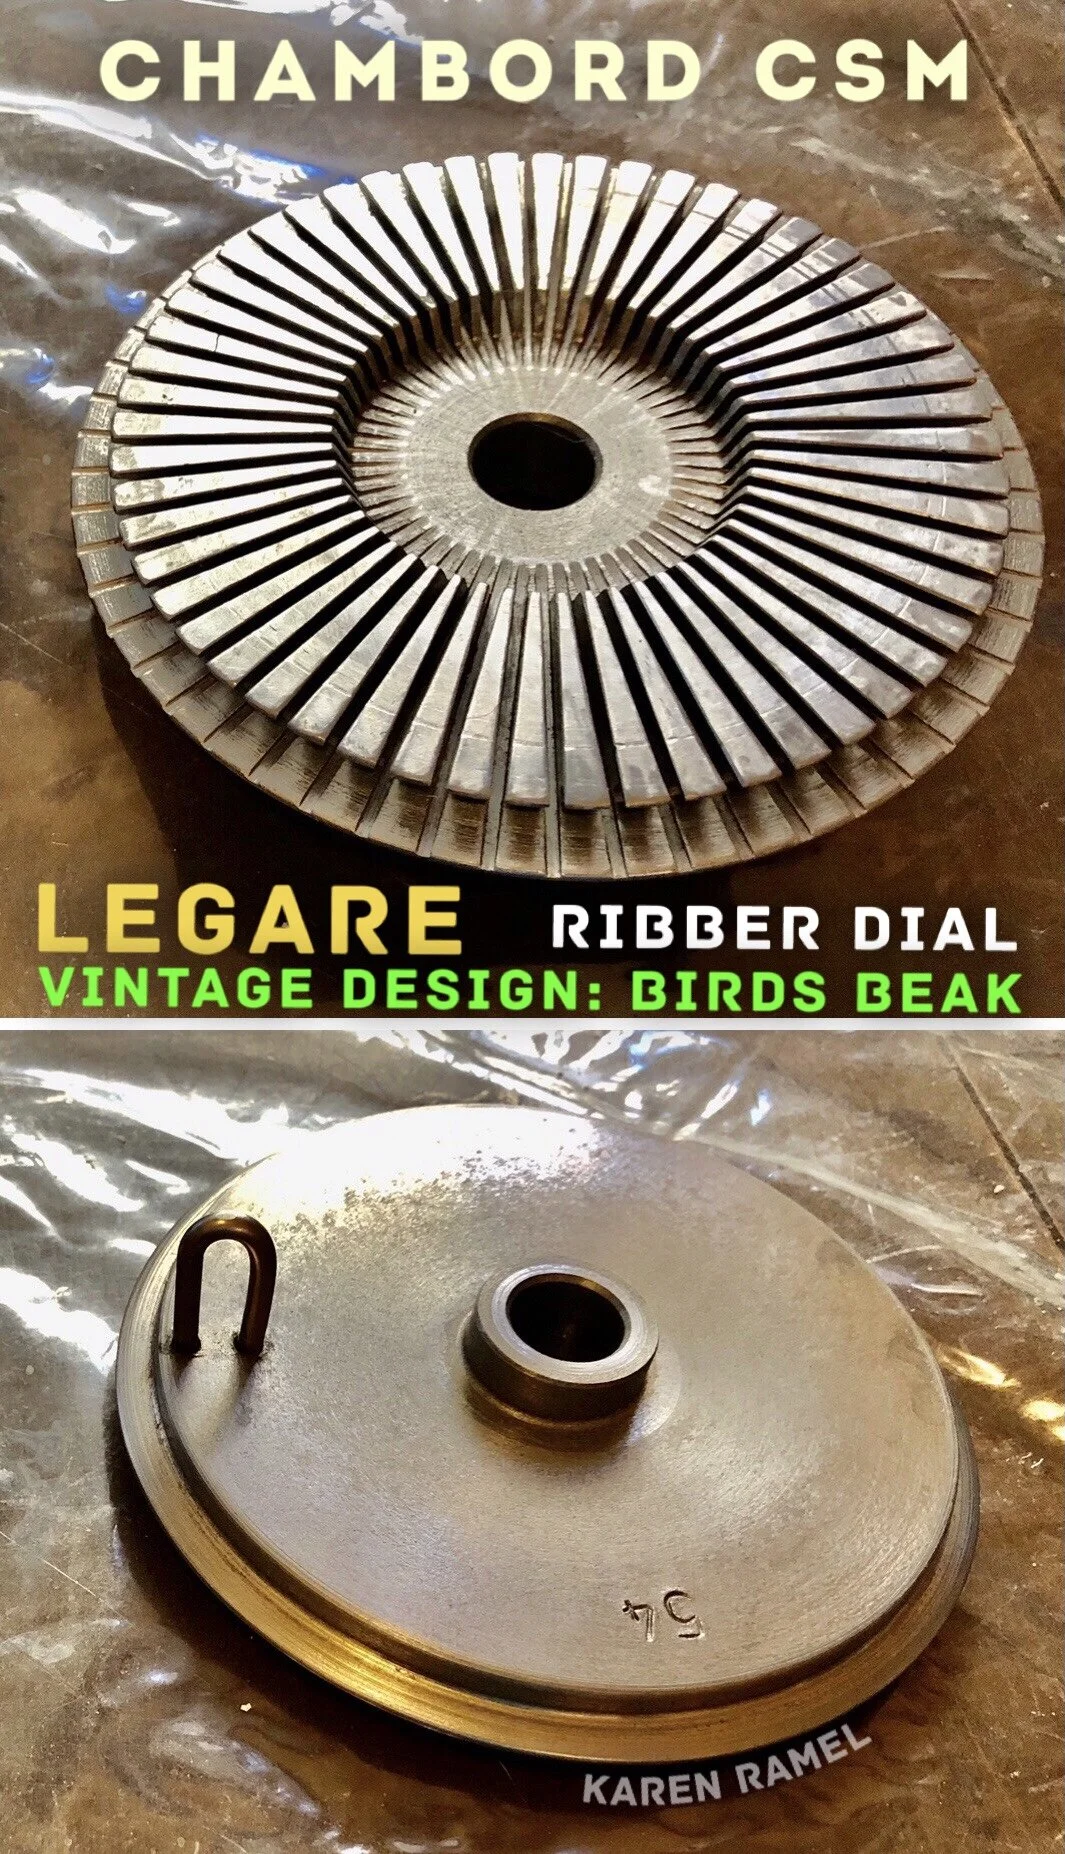
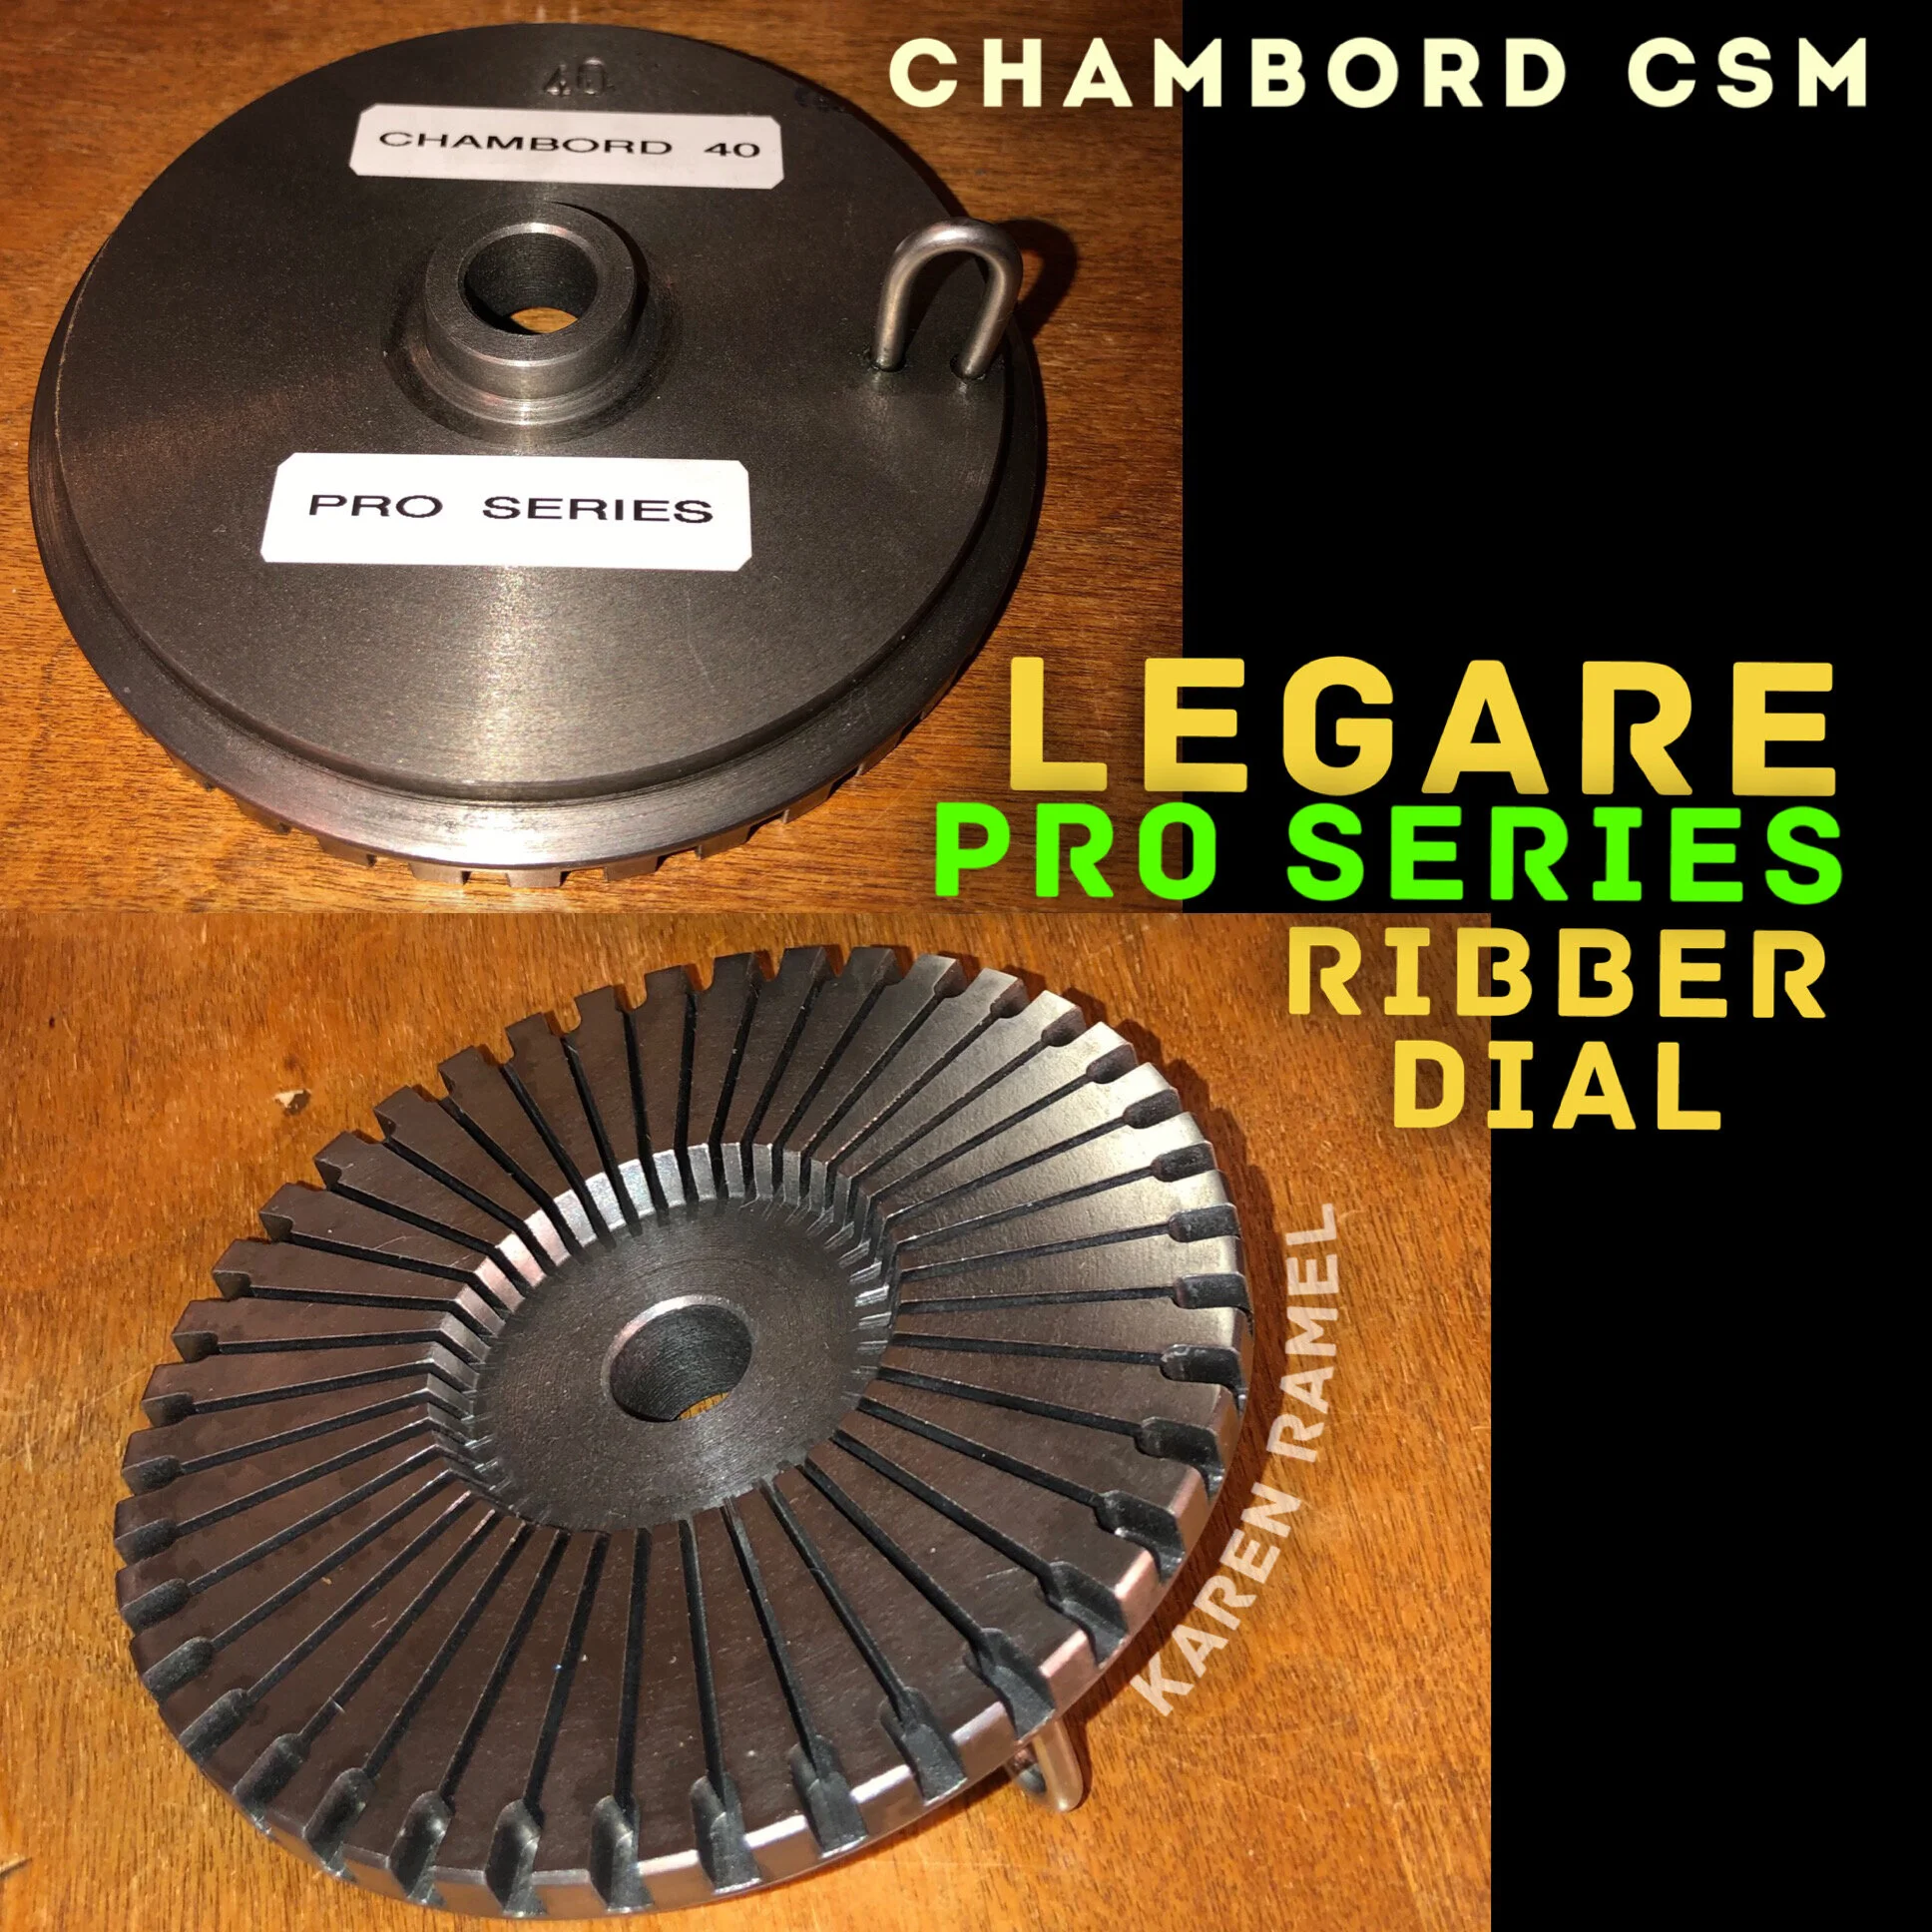
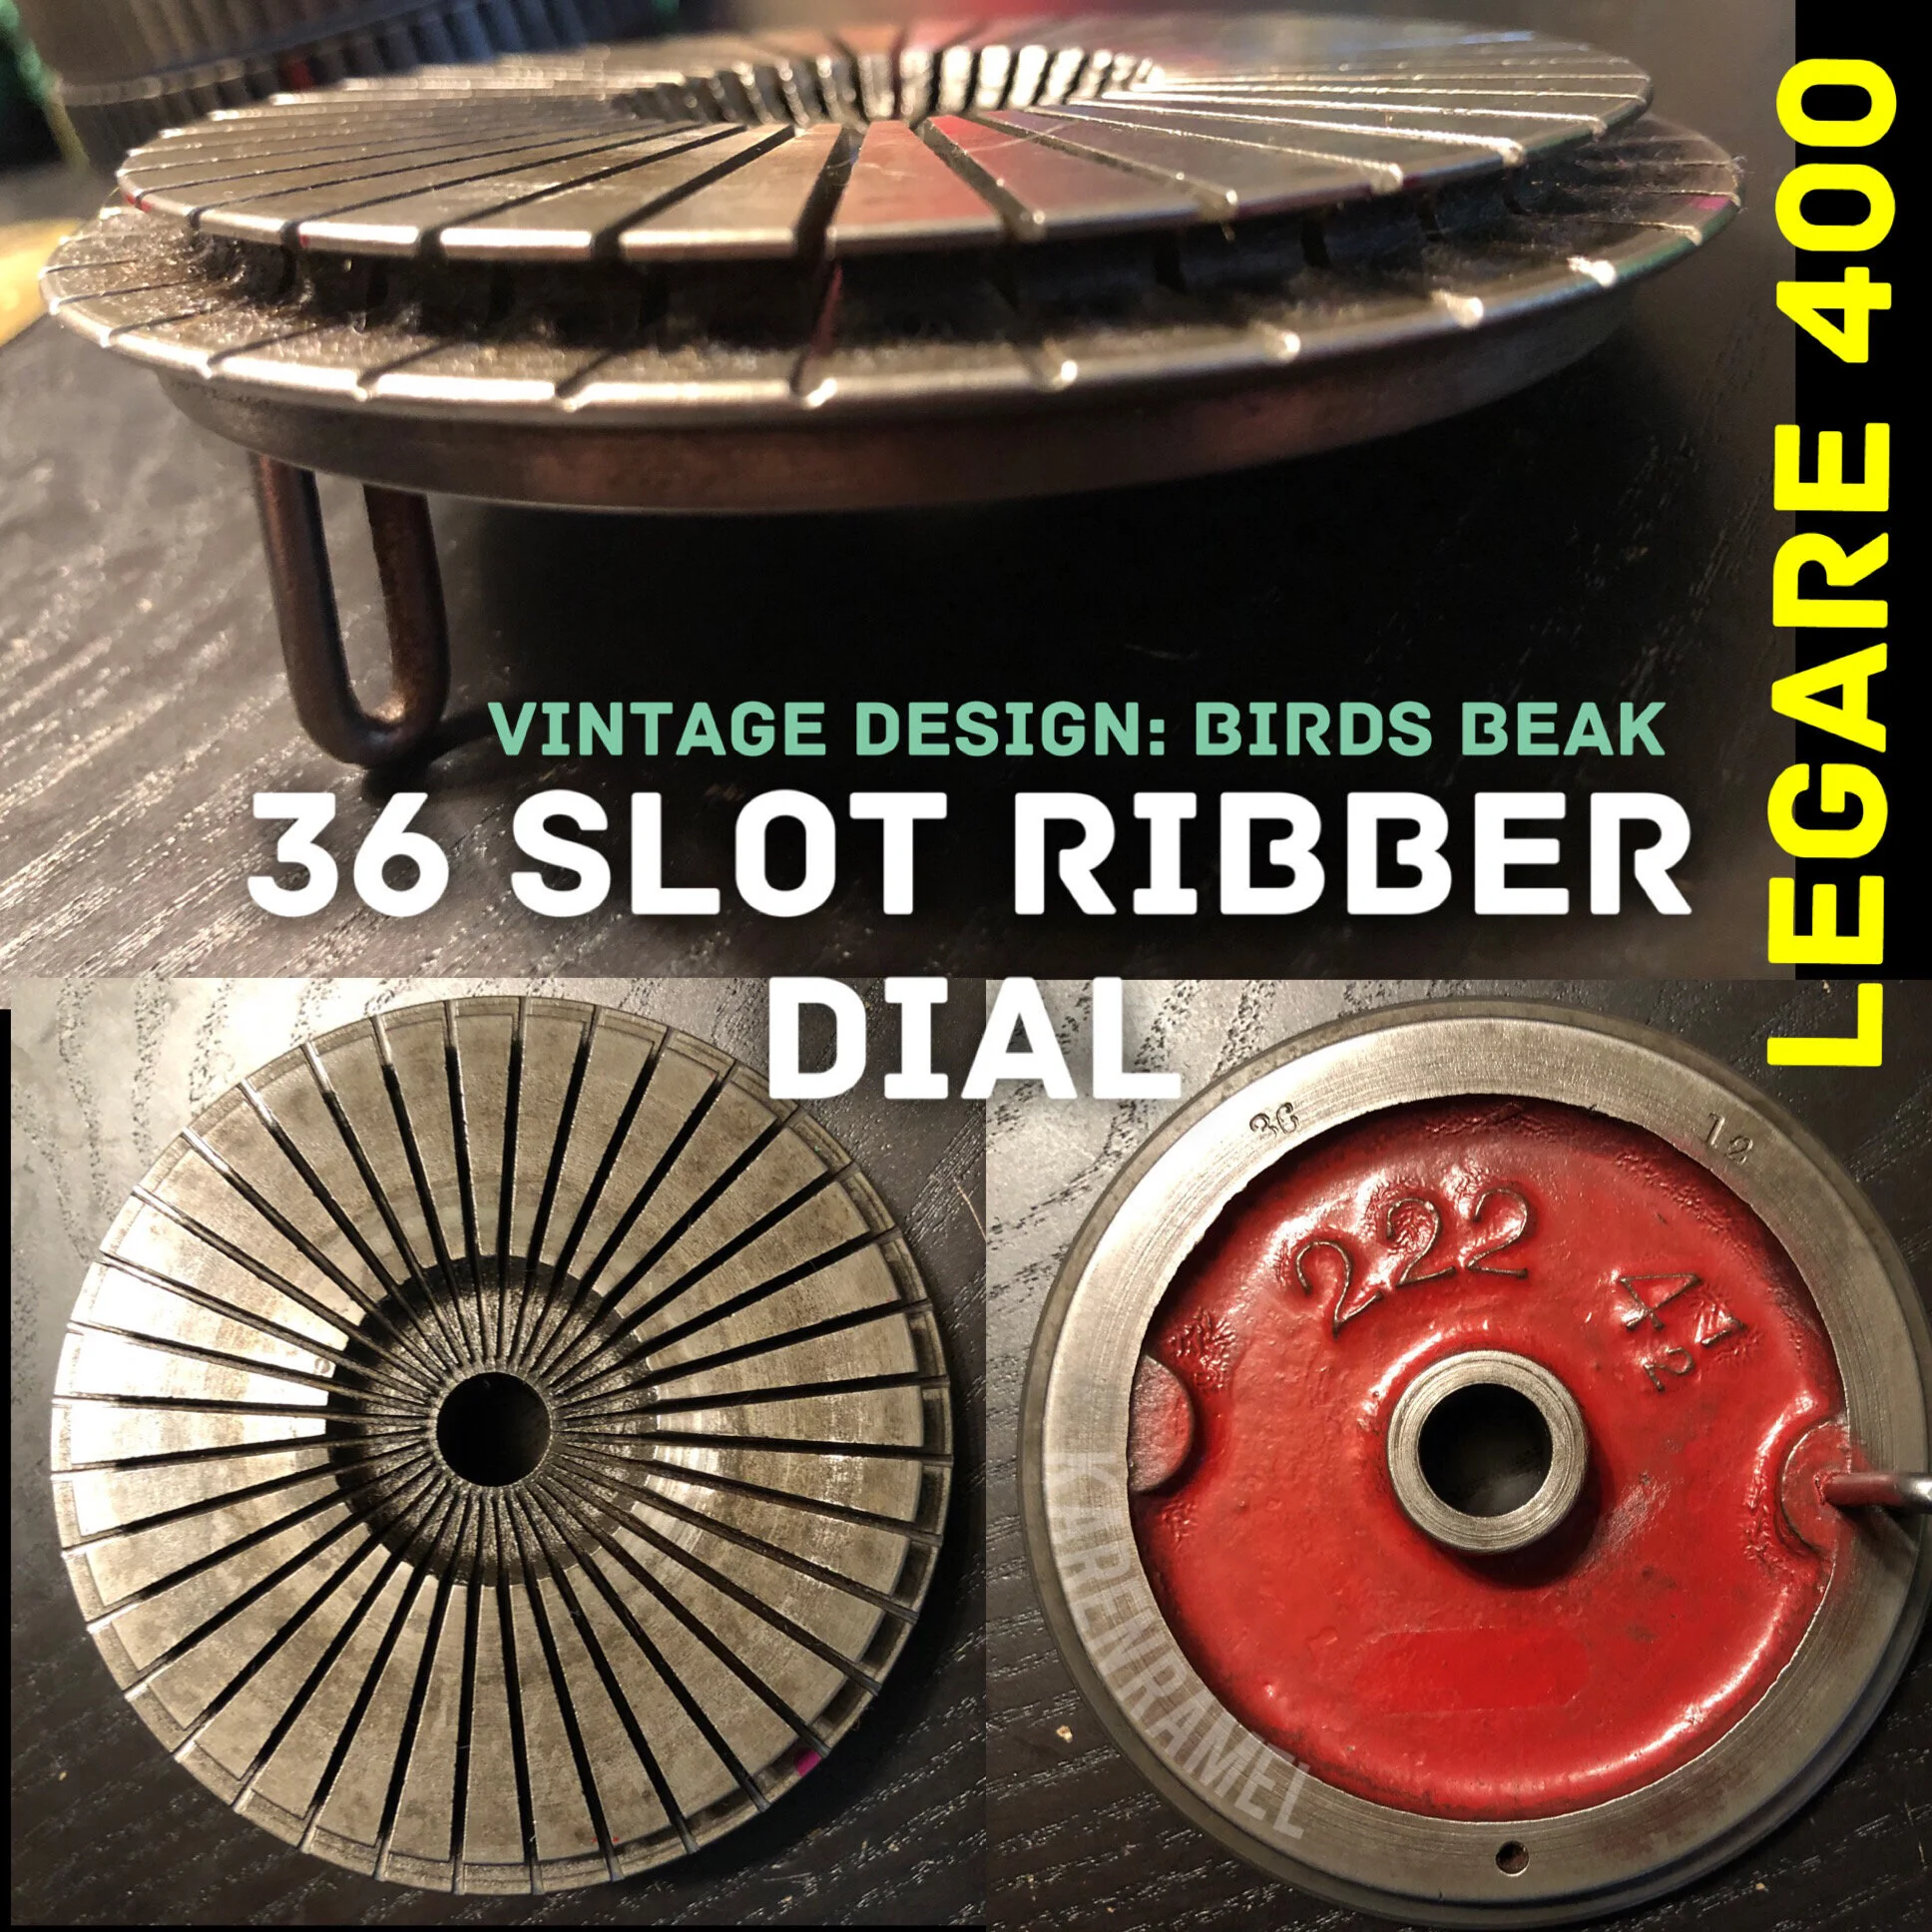
Autoknitter ribber dials have a narrower ribber post hole so to use on a Legare a Legare needs an “adapter ribber post” sold by nzak and chambord csm. A vintage autoknitter cylinder would work on a Legare but the cylinder screw holes are misaligned. More info to come.


SEE ALL BLOG ENTRIES ON THE BLOG INDEX PAGE | Follow us on a variety of social sites see TAPLINK | Interested in Circular Sock Machines? See the CSM START Menu first page. | Seek something specific? Checkout the Index page.


2020 Nov 17 - CSM Blanket 1.0

Update: Nov 25, 2020 - The CSM blanket 1.0 is done!

In the next day or so it will be wrapped, boxed and mailed out for the awesome gift it is. Now onto socks! Want more info? Project yarn info and more can be found on Ravelry also see below for this yarn adventure.

Want to share this blog post? Use this shortcut url: https://tinyurl.com/csmblanket1


The details from Nov 17, 2020 - I’ve decided to attempt my first CSM built blanket. After much thought and internet searching I decided on creating “worked in the round” tubes on my 96 needle slot cylinder. This version will be a classic straight forward tube version of an ideal size to be used on the sofa. This will be the Christmas 2020 gift to my boyfriend’s parents with whom we won’t be able to visit for Christmas due to CoVid. (They live almost 5 hours via car from us).

This blanket will be joined on its side(s) by dropping stitch(es) and using a crochet hook to alternate between the bars of both tubes held parallel for the join. I was excited to find this method online - it creates a sort of ‘braided’ look, is two-sided and wonderful from either side and is very simple to do. The method I found used only ONE dropped stitch from each tube, however after testing this, I chose to drop TWO dropped stitches on each tube for the join to create a more pronounced ‘braid’.

Crochet with Miranda YouTube Video Part 1, Part 2

To help me decide how big to make this blanket I first searched blanket dimensions as defined by the internet. I then approximately decided how many rows to create on the first tube, and as I was working that first tube on the CSM, measured how long it was getting, deciding upon a tube of 700 rows. In retrospect I could have easily knocked off 200 rows.

The project outline:

  • Each tube begins and ends with a generous 15-30 rows of scrap with the project yarn starting at the 3 o’clock position on the CSM.

  • On the very first row worked of each tube I stitch marked the stitches on both sides of the 3 and 9 o’clock positions (each are 46 stitches apart).

  • Although I could drop the stitches needed later for joining while the tube is on the machine, I chose to do so AFTERWARDS to reduce edge stitch migration and to allow for any design changes on the go.

  • Final design: 9 tubes wide consisting of 3 green tubes and 2 of each other color used. I hope to have the top and bottom blanket edges look the same as the edge of the outside left and right edges of the blanket by kitchenering the open tube ends.

DETAILS: Tubes worked up on the 96 needle slot cylinder resulted in a resting tube width slightly over 5 inches wide. I determined that a tube of 700 rows resulted in a tube of approximately 57 inches long. I preferred to have different tubes side by side over having same yarn tubes joined in succession. There are MANY ways to finish this blanket - I am simply choosing the method I have. :)

PRO: Fast to work up. Join is pretty from both blanket sides. Join is easy. Blanket feels amazing to use and I feel shows the love for the recipients.

CON: Blanket weight increases quickly due to tube not a single thickness. Closing the open tubes is harder for me on the knit side than the purl side. I could have made this easier by closing at least ONE end from the inside prior to joining it.

Below is the sample I worked up to test the join - this is just a sample using scrap and extra leftover sock yarn and does not show the actual blanket colors.

F408576E-0332-48D3-9CAB-39DB123E5369.jpeg

LEFT IMAGE: Two dropped stitch join. RIGHT IMAGE: One dropped stitch join. Decided to do TWO dropped stitch join.

WHY DID I CHOOSE TO DROP STITCHES VERUS SIMPLY REMOVING NEEDLES DURING TUBE CREATING?
I created these tubes without any needles removed so that when the drop stitch done manually later allows there to be plenty of yarn in the drop stitch to do the join. If the dropped stitch row has minimal yarn to join then the ‘braided’ look of this join wouldn’t be as robust (why I dropped two stitches over one).

Its ideal to work the tube with as many needles as that cylinder uses to allow the knitted fabric to be as wide as possible (wider tubes mean less tubes needing to be worked). However it is still possible in a future blanket to remove needles in larger quantities to I feel the next blanket version I will instead of making the finished tube with the scrap yarn I will maybe instead not work some needles into it so perhaps on the 96 cylinder I will instead use all of those needles except for maybe three or four uneven number at the halfway point on both sides of the cylinder then make the tube. The benefit to that would be that I wouldn’t have to worry about dropping the stitches before joining them later. Negative to that is that it would then make a very narrow bit of yarn (the bars) - why one would need to remove more than one needle on each halfway point when making tubes.

I’ve now finished blanket construction of the 9 tubes. The blanket is currently 48”x54”

IMG_0814.jpeg

Now we address the open ended tubes one tube at a time. I felt to proceed I needed to remove the scrap yarn so to do this I am using a 2.5mm circular sock needle to pickup the live stitches as I removed the scrap. I undid half the tube to ensure the yarn tail was in the correct position in order to approach the technique I will use to close the tube.

I really liked the idea of a smooth or rolled edge fabric on each blanket edge (like the left and right sides) however after kitchenering the first twice panels on the far right l decided to use the chain stitch closure instead (see part two of the seaming method above).

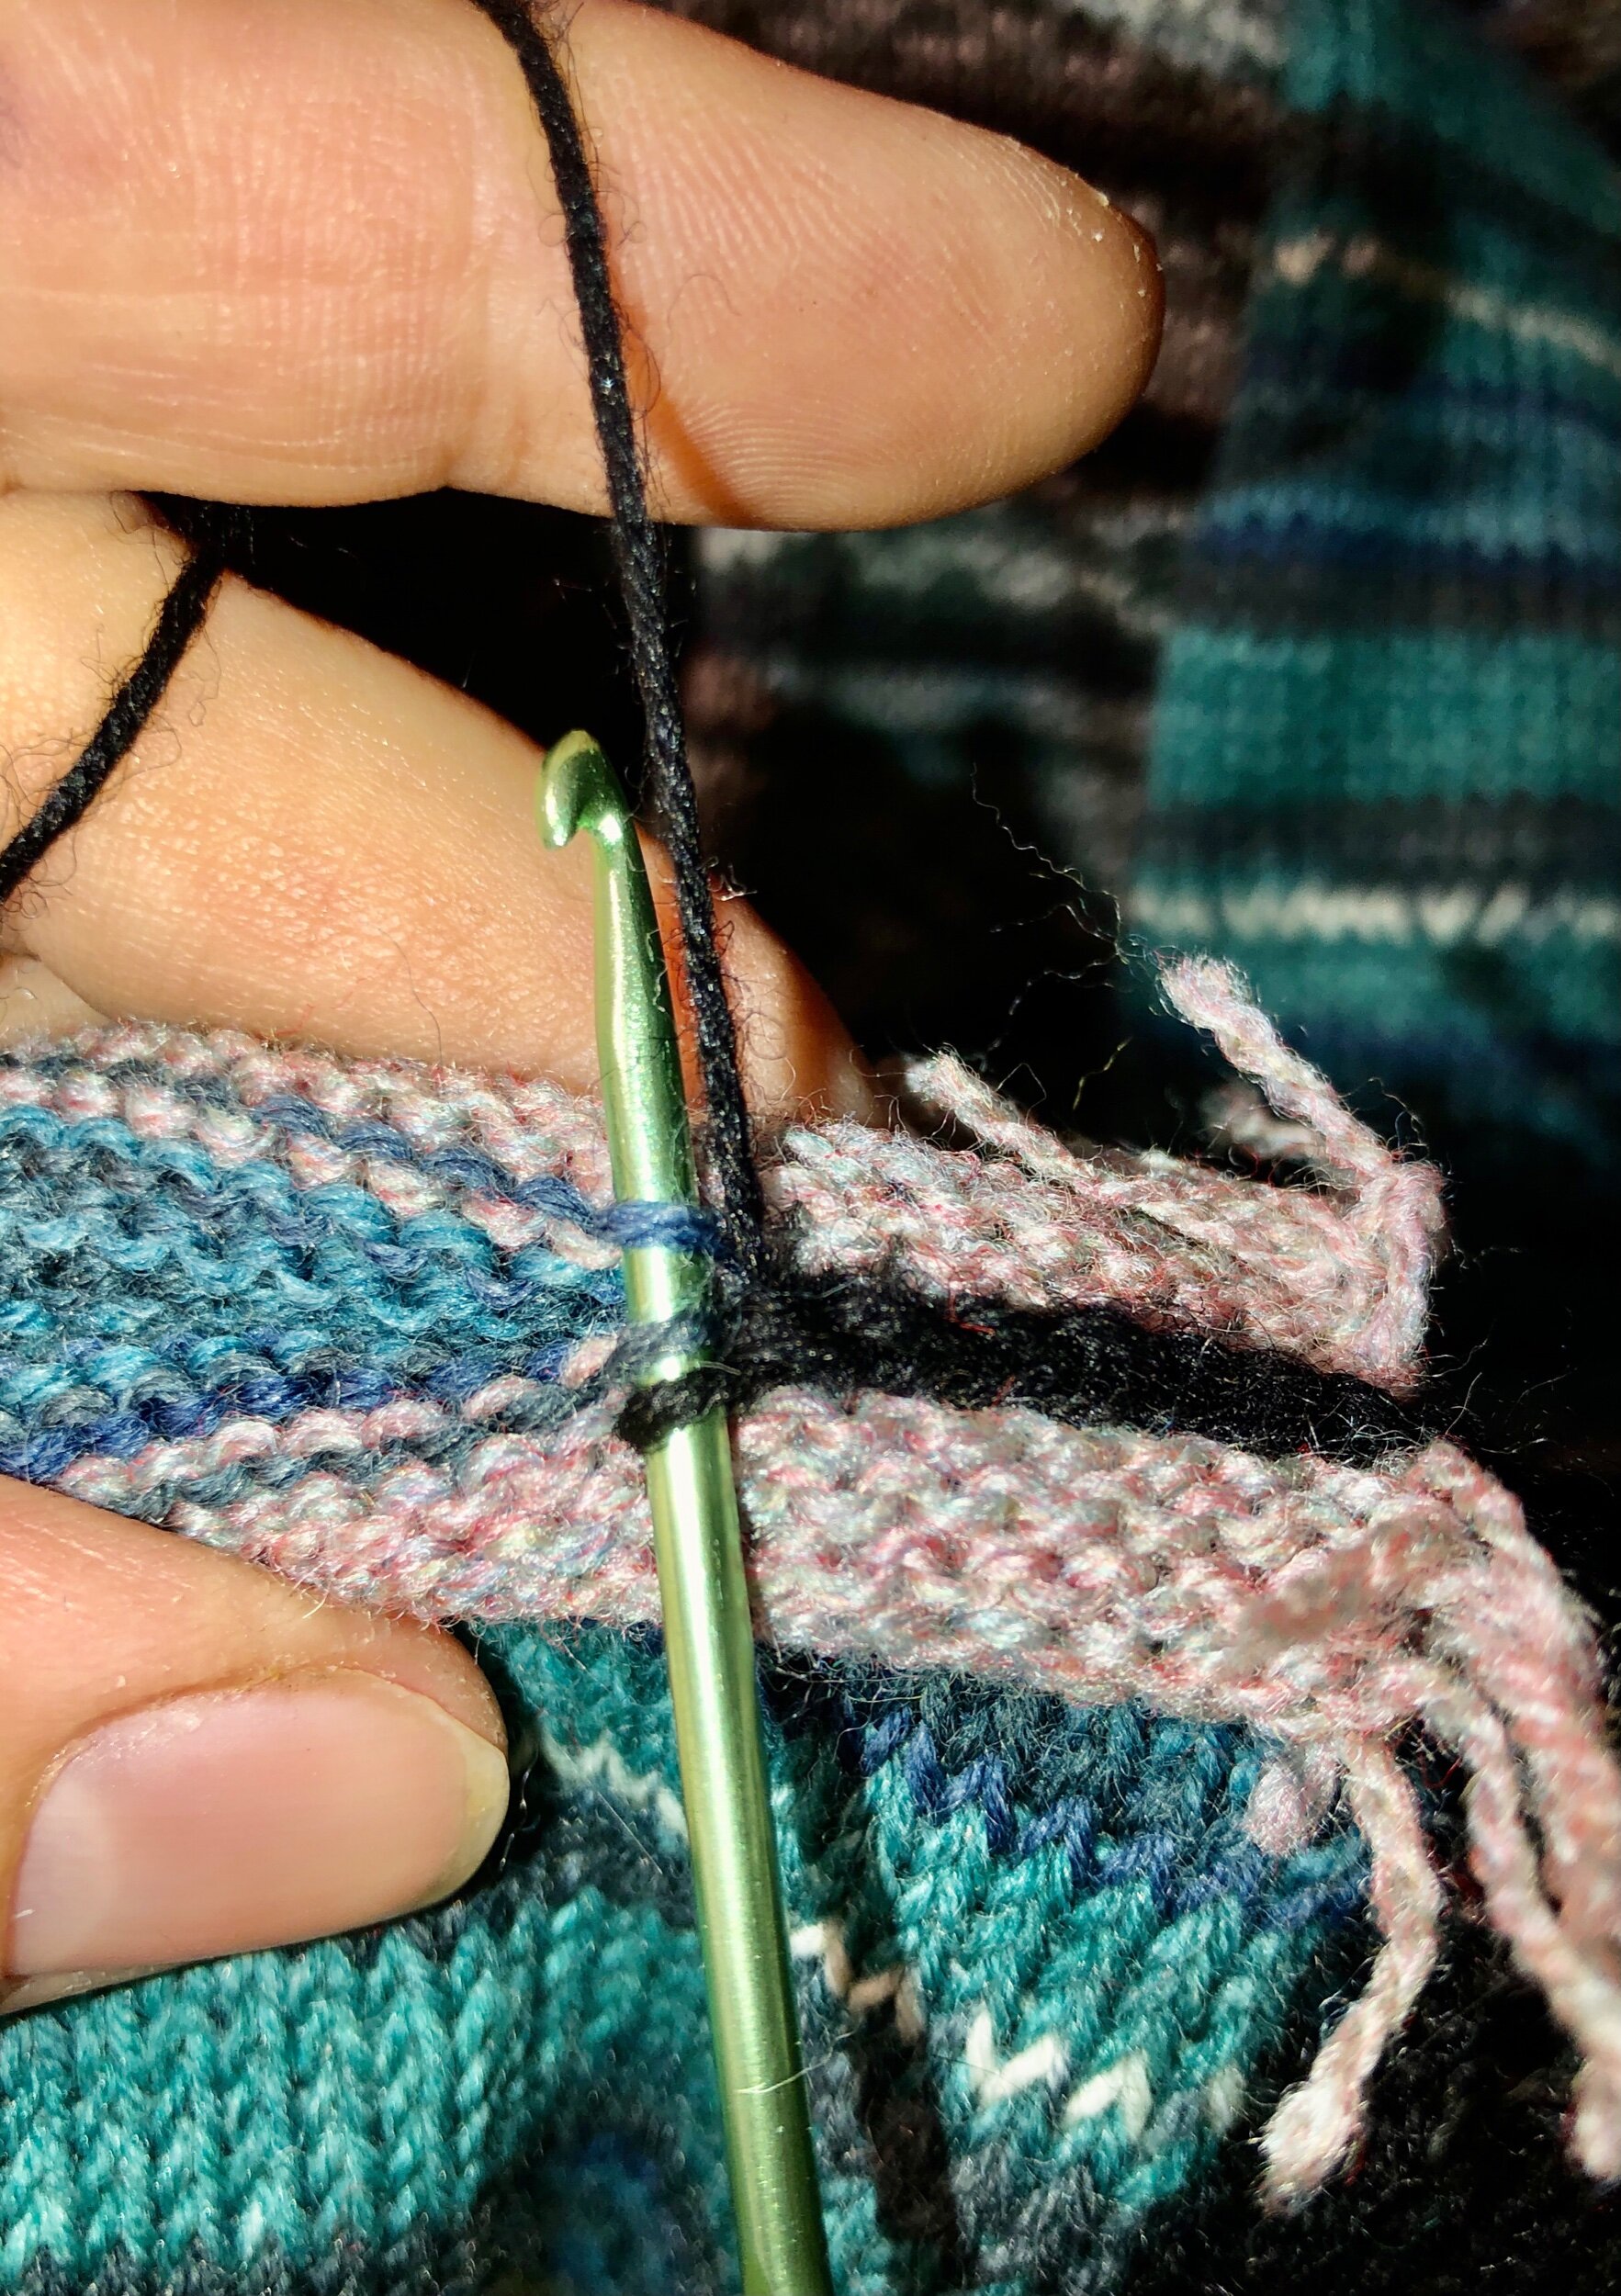
The bonus to using the crochet hook (3.25mm) is one doesn’t need to prep the live stitches - just catch them and cut the scrap as you go.

After working all the way across on one end I then chose to leave this edging just on the top (and later bottom) edge of the blanket (not the sides). To add further decoration I started this pattern which I repeated: single crochet, single crochet, double, double, in one stitch three treble crochets, double, double, single crochet, single crochet.

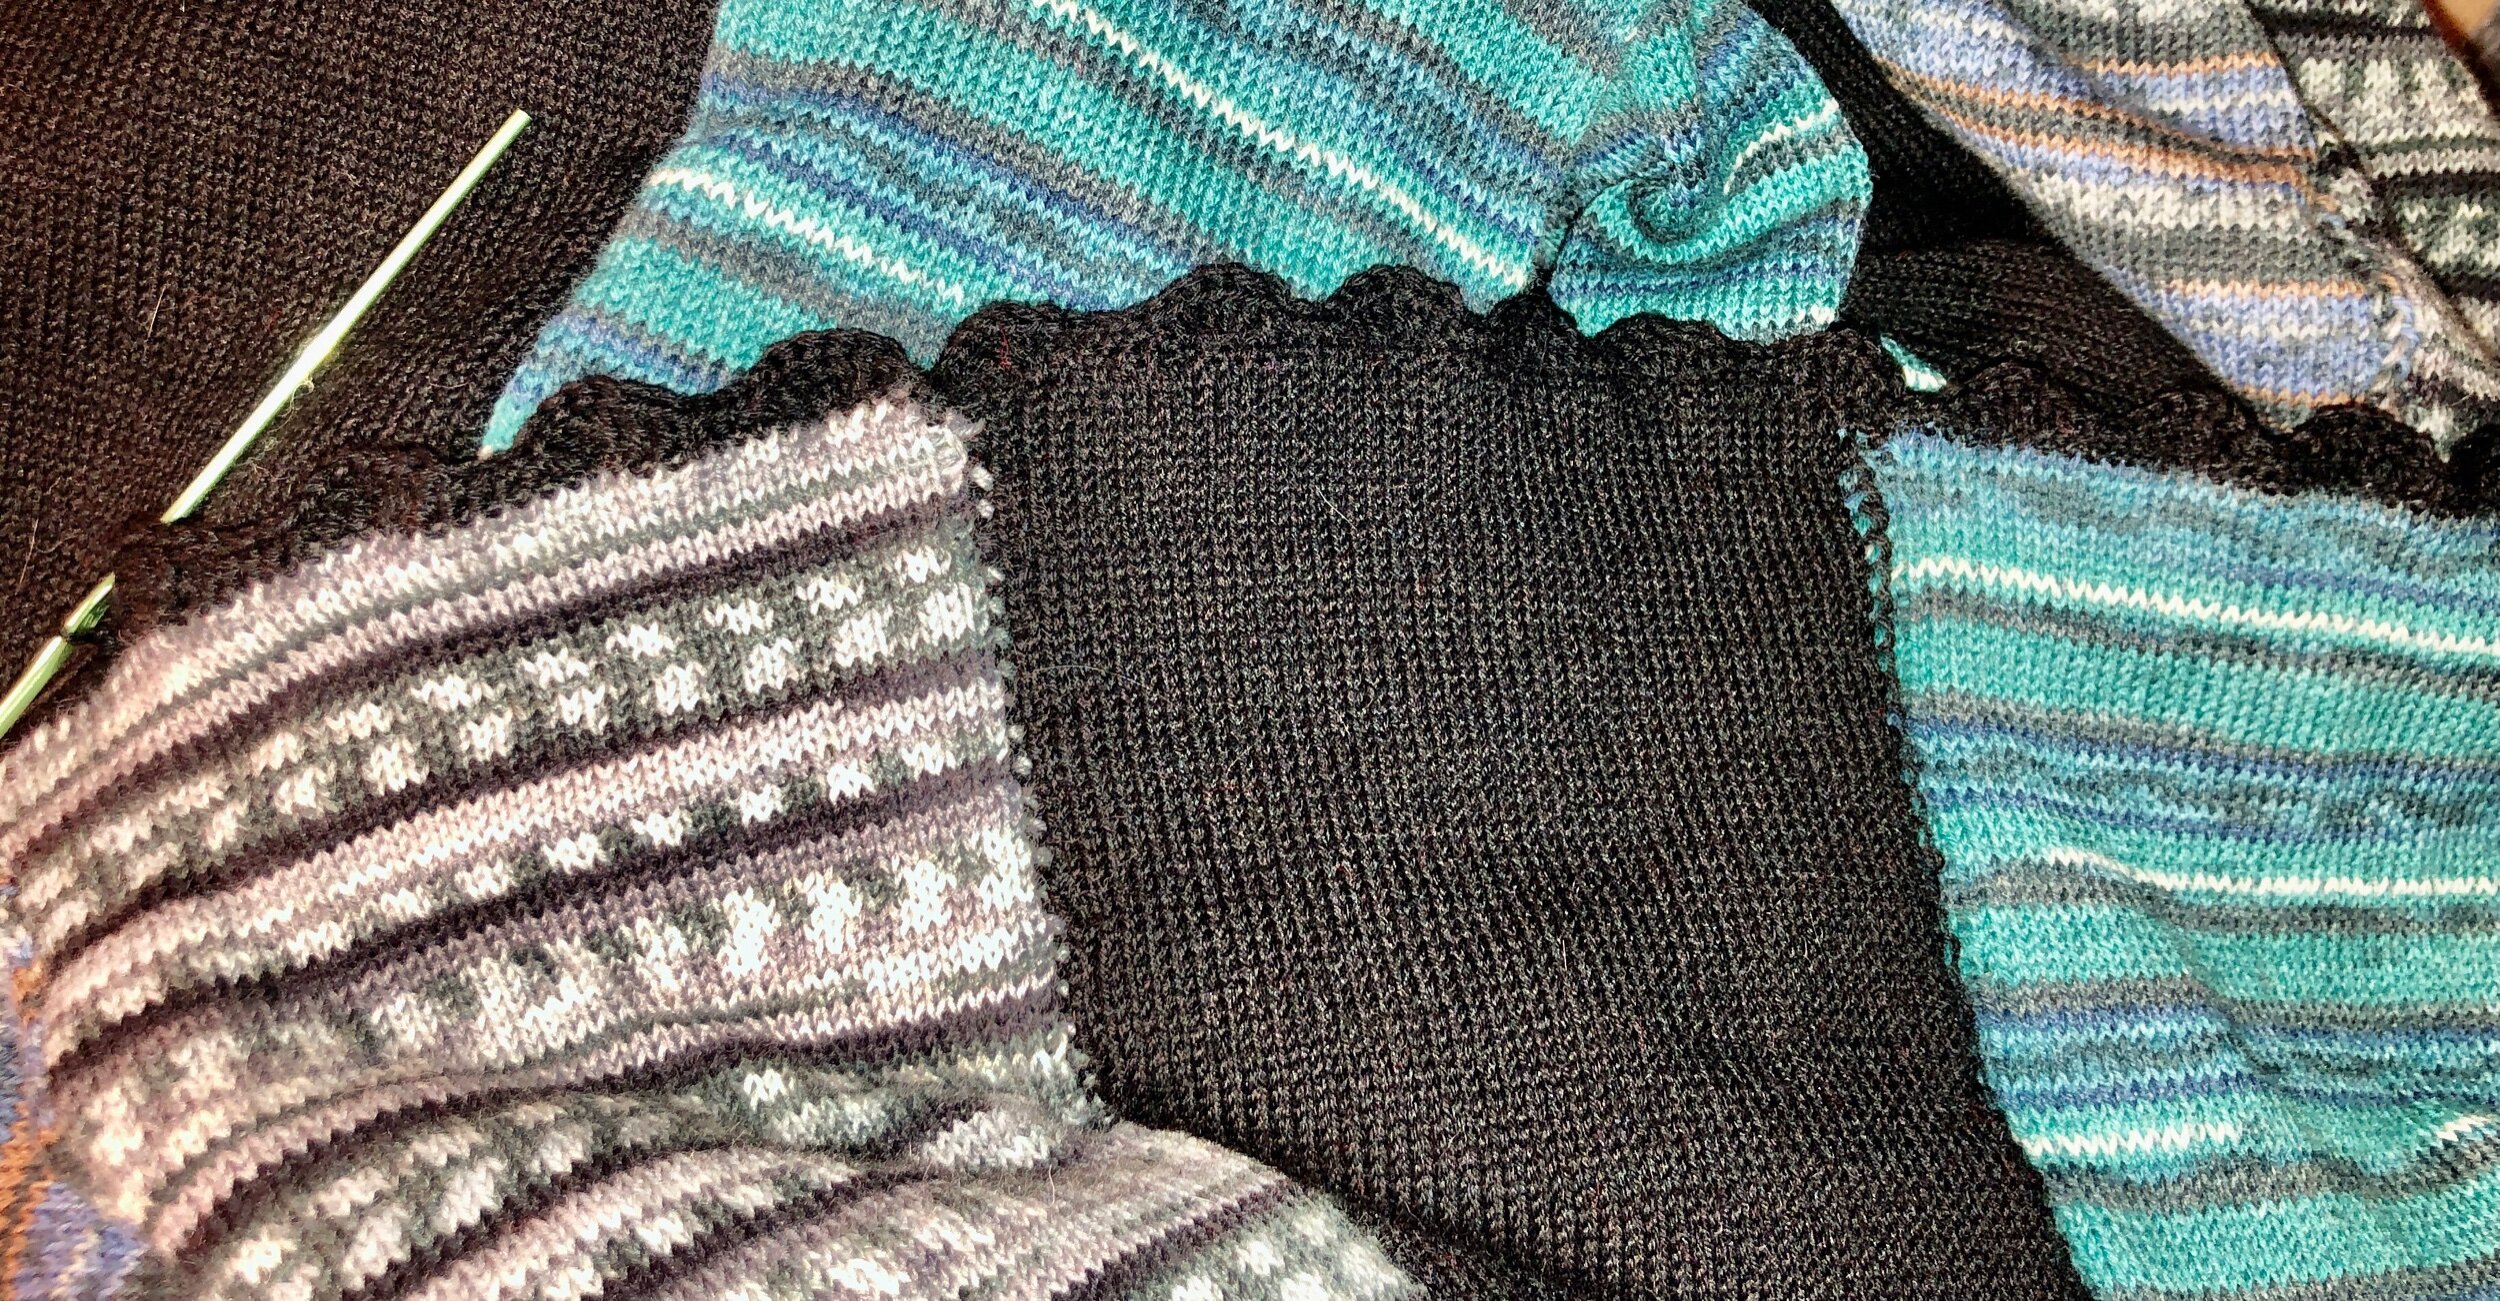
I’m now done one complete end of the blanket, seamed with a crochet single crochet stitch with a decorative second row in a wavy pattern. I’ve just begun the other end of the blanket and completed one of the nine remaining tubes to seam. Using the crochet hook to capture the live ends is way faster and a nice flat edge. Running a decorative second row looks great and helps balance and bridge the joined tubes.


November 25, 2020 - This blanket ended up weighing just over 4lbs (1905grams) - due to its size and double sided tube construction. I feel this is still a manageable size and weight to still be able to be machine washed and dried however the next version will be made flat not in the round, or if in the round, using a lacy pattern to reduce yarn weight. 


It’s lovely on ones lap when watching TV for a cozy hug. I’m looking forward to gifting it. 


SEE ALL BLOG ENTRIES ON THE BLOG INDEX PAGE | Follow us on a variety of social sites see TAPLINK | Interested in Circular Sock Machines? See the CSM START Menu first page. | Seek something specific? Checkout the Index page.


2020 Nov 14 - CSM Sweater 2.0

Today we further delve into creating a CSM Sweater :) (See our first version here)

We are continuing with the largest slot numbered cylinder on my Legare 400 - although knitting can be done on ANY cylinder - the smaller the slot count, the more the segments to hand seam. Future plans include showing other cylinder built sweaters, potentially including the different seams into design elements.

Today’s approach will be to create a better sleeve seam at the shoulder, only put slip stitch edges on the neckline (edges where no seams will be joined) and will slightly change the front neckline of the sweater. Potential idea on the waist segment currently is to create a narrow strip that can be mock ribbed perhaps with one side slip stitch edged and the other to be joined on the bottom edge of the sweater - acting like a mock ribbed segment.

Panels on the 96, depending on fiber used, work up to approximately 12” wide.

Sleeves at their widest point will be where they contact the sweater from the neck to the armpit thus I feel I will need two panels worked at less than 96 stitches wide - perhaps at 2 inches less on each width, shaped to accommodate slanted join on sweater join and as worked towards the elbow, reduced in width about 6 inches over the segment for a gradual reduction in the pieces.

We’ve finished the waist to the armpit/neckline. Yarn carrier on the right waiting at 10 o’clock we will now decrease the sleeve side on each row by one needle. Method: third needle from sleeve side edge at 12 is added to fourth needle. Third empty needle removed and now first and second needles are moved both to the right. This allows for a seamable edge and “hidden” decrease sleeve seam later. (Photo).

Now we will address the midline side where we plan the neck line. Without moving the yarn carrier after dealing with the sleeve side decrease. Lower the last 6 needles on the midline side. Move fifth stitch to sixth needle. Move third stitch to fourth needle. Remove empty needles and shuffle all remaining needles over two positions away from 12 o’clock. (Photo) Be sure to raise the left four lowered needles and align the yarn back to the correct path so that row one of this first changed row can occur correctly. I then added landmark green stitch markers to help align pieces later with these pattern changes.

I then worked the first row R to L and stopped the carrier at 3pm.

Now to work same midline neck decrease and same sleeve side decrease. Before working row 2 we need to setup the midline edge with the slip stitch first stitch so lift the first needle on the midline side. Now work L to R.

Repeating decreases (2 on left, 1 on right) until 9 empty slots on R and 18 on L before stitches. Now to switch to single deceases on midline Left. (Photo).

Continue until down to 4 needles in work.

IMG_0703.jpeg

Now make the other front panel with edges reversed when it comes to the decrease. After this we will seam the front two panels to determine the correct back panel shaping.

IMG_0707.jpeg

SEE ALL BLOG ENTRIES ON THE BLOG INDEX PAGE | Follow us on a variety of social sites see TAPLINK | Interested in Circular Sock Machines? See the CSM START Menu first page. | Seek something specific? Checkout the Index page.


2020 Nov 1 - CSM Sweater 1.0

Today I continued working on a new project I started last night - a CSM Sweater.

I consider this first version (until design decided upon after much testing) a version 1 prototype of an adult sized CSM sweater. Stay tuned. :)

IMG_0367.JPG

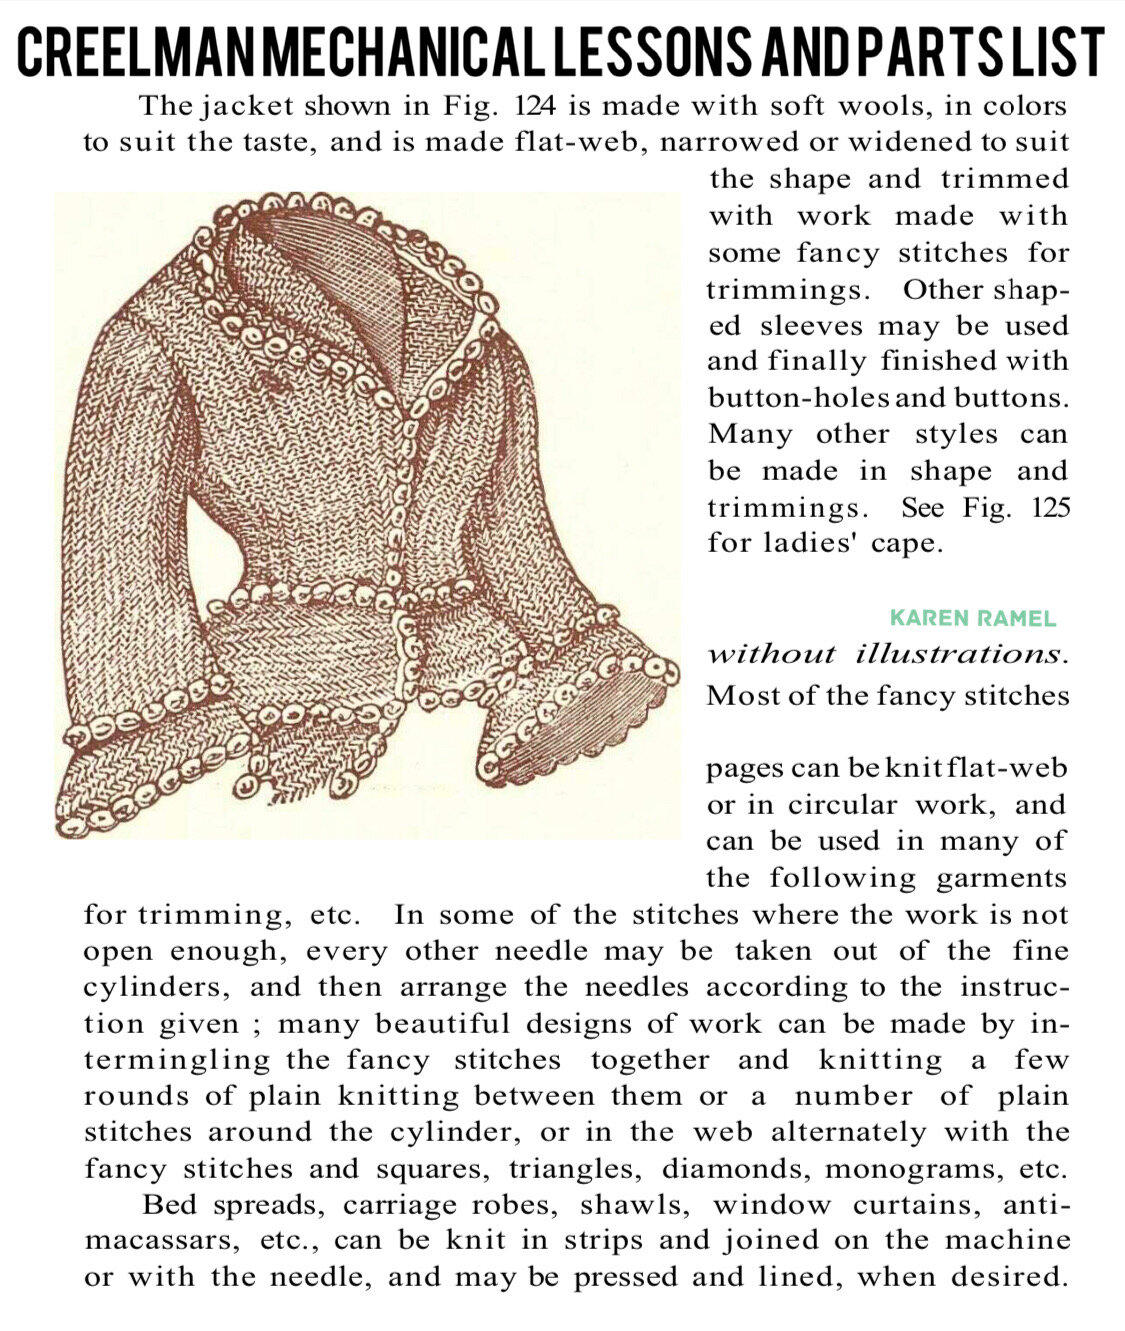
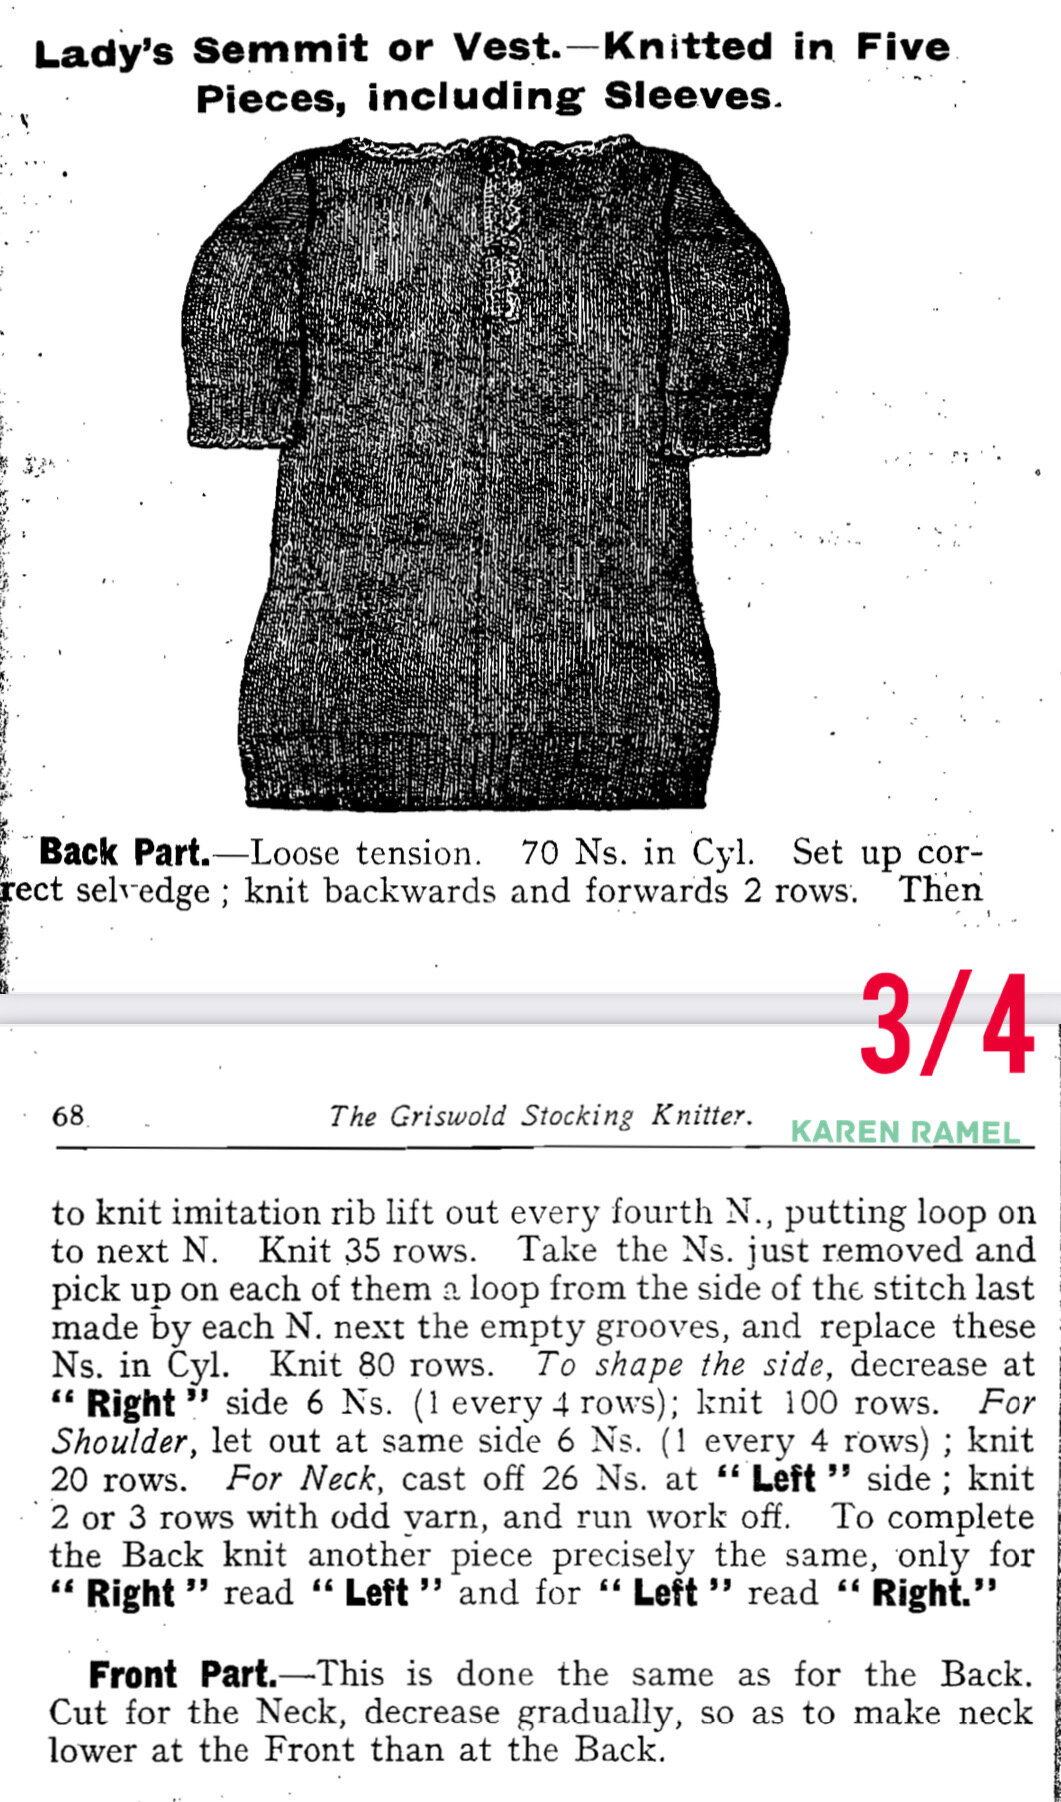
I was inspired by some of the old CSM manuals showing clothing examples but no real directions. I feel a big part of a sweater is its design so I started by selecting a shirt I like from my own wardrobe, then measuring and testing gauge. Once I decided on an approach I began using sock weight acrylic coned yarn.

REFERENCES: INSTAGRAM REF1, REF2, REF3

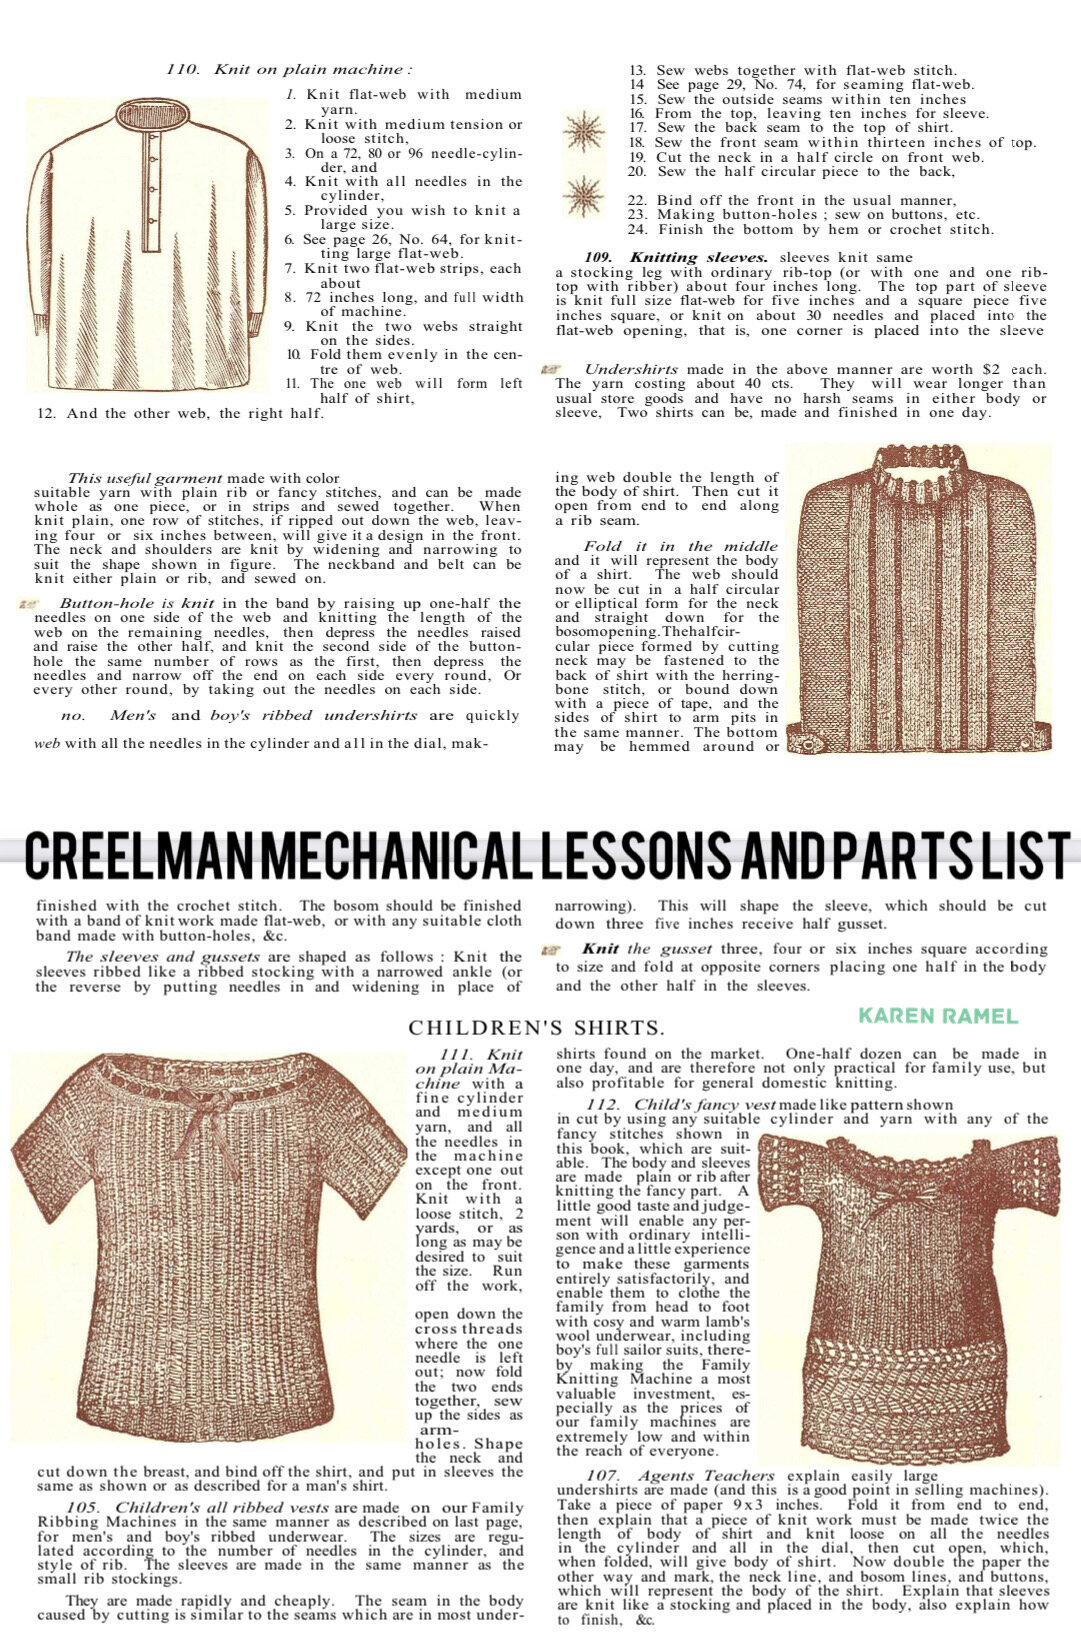
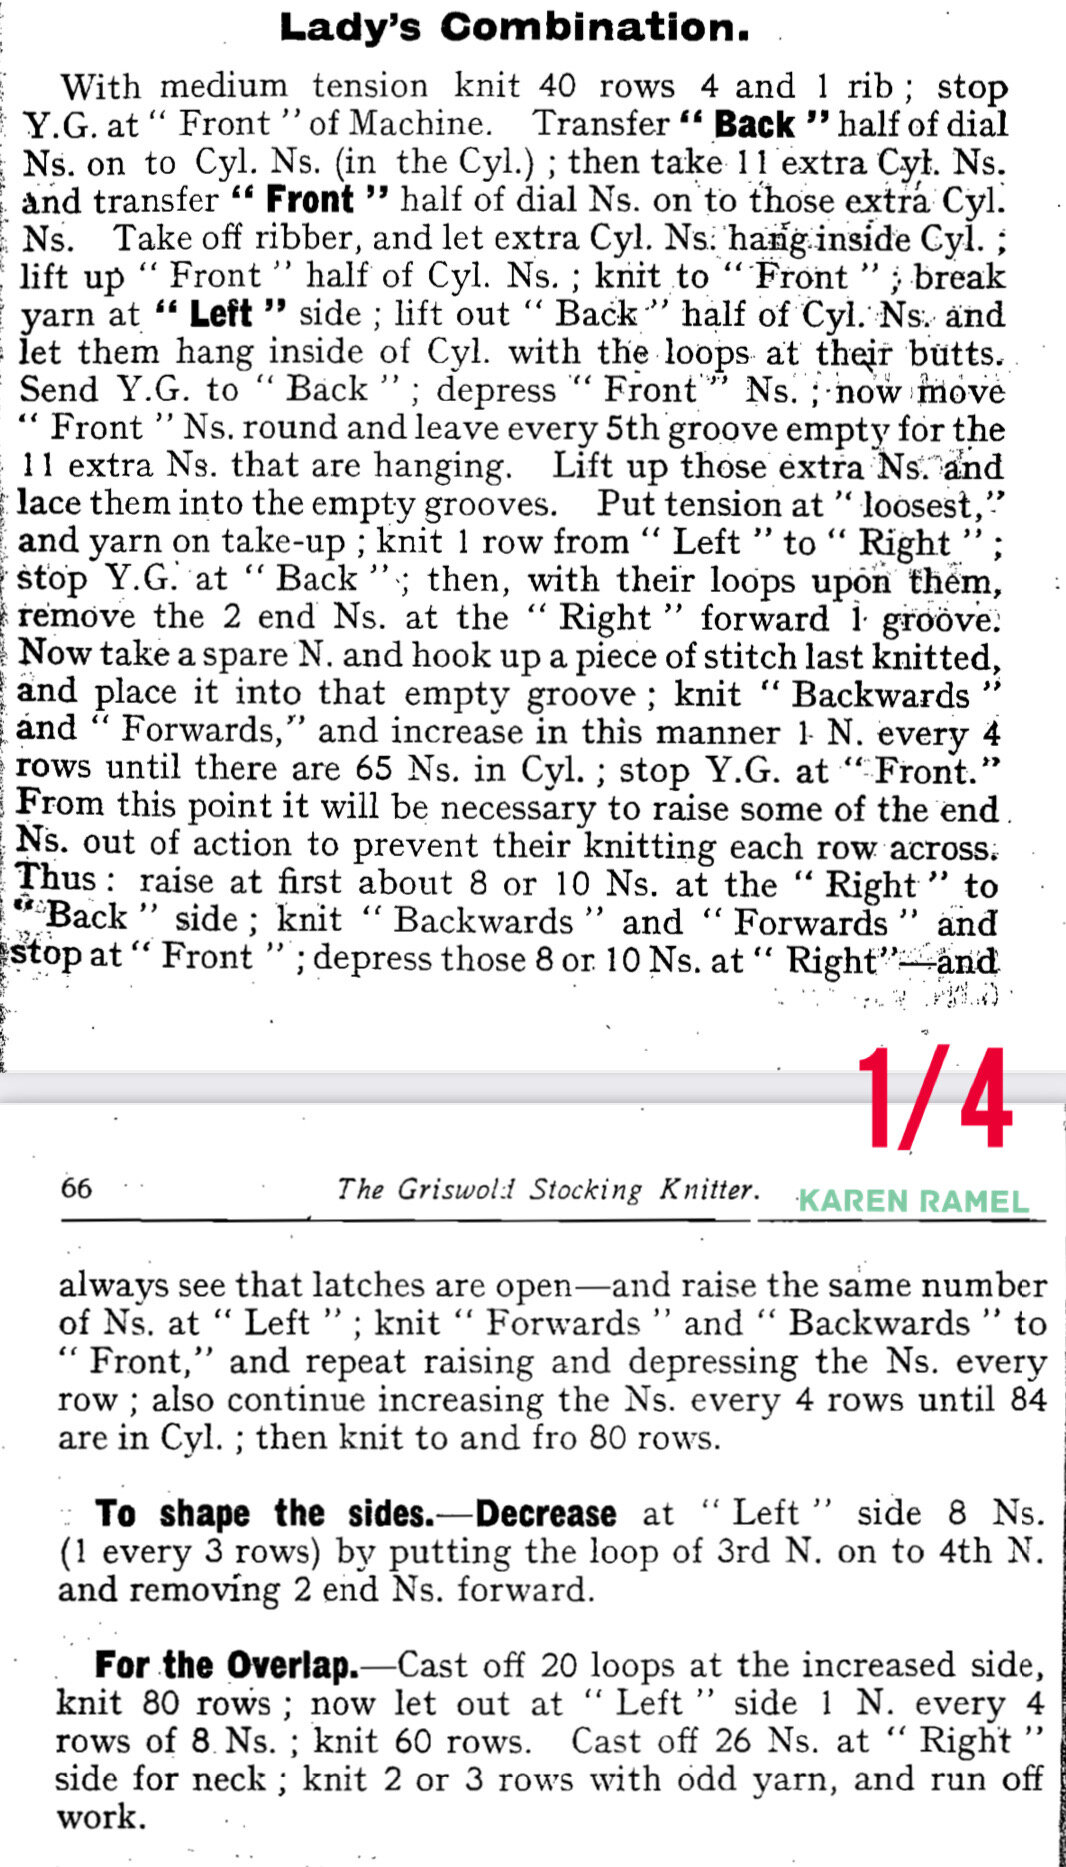
MANUALS: Autoknitter manual | Creelman Mechanical Lessons and Parts List | Dundas | The Griswold Sock Knitter |

Tips and Tricks with working flat…

I have only ever followed top down hand knit patterns in the past so to help with a shape for a sweater I went into my closet and chose a top. I then scrutinized how I could approach this on the CSM, choosing to use my highest slot count 96 needle slot count cylinder on my Legare 400.

I created a front right panel from vertical midline to my right side, working flat after casting on, I started with scrap I then worked one row and on the return threaded in the yarn tail. Then I finished the row securing the yarn tail. I then hung the first row on the current needles as a selvage that would lock in the live first row stitches. The panel was worked from the waist up with slip stitch edges to above the bust where I then decreased one needle at a time to the 3pm halfway hash mark on my cylinder. I then worked a 3 inch narrowest section which would be up to the shoulder and then started increasing one needle at a time until all again were in work. I measured before, during and after, placing metal stitch markers at each segment and double markers at the top of the shoulder. As I worked the back right (still joined to the front) panel I compared the segments approximately.

Details and measurements: The front panel is 279 rows, as is the back totalling each panel at 558 rows (52” long). The narrowest segment is 96-24 wide with the narrowest segment spanning 3” with the decrease being one needle at a time until 24 needles were removed (I used the same technique but in reverse to do the increases). The rows per inch gauge is 12 with each segment at their widest - 96 needles wide (12”).

Lessions learned:

-don’t work increases or decreases on the edge if that edge will be joined with another bit of knitting. Instead hide increases or decreases a couple needles from the end (easy).

-*don’t work the slip stitch edge on any edge that will be sewn to another piece of fabric as it doesn’t easily offer a easy to use edge to seam (as easy as a regular straight forward edge)
later found a seaming method from the knit side which worked regardless to whether the edge stitch is slipped or not.
-disregard the point noted directly above - when researching knitted fabric joins I read that joining a regular edge is easier and nicer - an issue if all my edges are slip stitched - however the method I used works regardless.

-working a prototype with an acrylic cone yarn is easy to knit but creates panels that roll up. I could low temperature barrier iron the acrylic to relax the fabric but perhaps not at this time

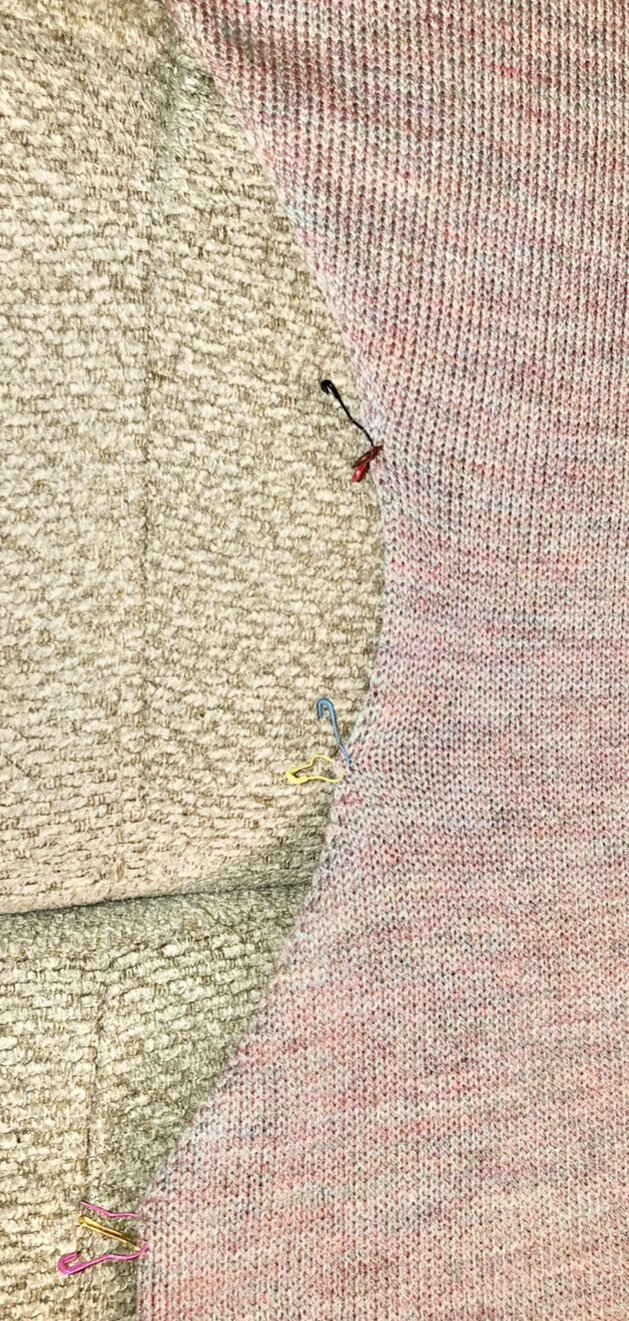
Today I laid out the two panels for measuring and photos (see below). Tonight I pinned the panels together partially from bust to halfway to the waist and “tried” the sweater neck opening to see if it would fit over my head. Success! I then started seaming the panels using this method.

Findings: I slip stitched every edge (I worked flat. With the increases I worked the row then hung the horizontal bar between the last two needles on a new needle. Then on the return pass, raised the new needle to make it the next slip stitch row. When I did homework on seaming one video suggested not making a slip stitch edge on the edge that will be seamed to another (which I worried) but then further review found the method I used had no issues with that edge. It also suggested not putting the add or decrease on the edge for easier seaming. Edge increase/decreases were of no issue for me tho.

Because of how I built the panel the front of the sweater the stitches are going from the waist to the neck however on the back of the sweater the stitches are going from the neck to the waist so they’re upside down which isn’t 100% a problem but may prove an issue if doing a decorative stitch. To create the sweater with the stitches all going the same way one can easily just build the back panels separate from the waist up to the shoulder.

See the updated YouTube video list “Joining Knitted Fabric edges”

IMG_0435.jpeg
IMG_0441.jpeg

Tonight I seamed the front and back panels and pinned the outside seams to get a feel for the fit.

IMG_0452.jpeg

When I was making these panels I had some issue trying to keep track of what row number I was on. I’ve ordered a couple things to be able perhaps to better count each flat worked row as my own installed row counter only counts complete rows.

I’ve now closed the sides of the sweater and now need to even out the four panels were they end at the waist. I’ve turned it inside out and will unravel to an even row all the way around and then determine what to do next.

I think I’ve learned my lesson whenever I am working on a flat piece that will be connected to another flat piece I will definitely not do the slip stitch edge as it was very easy to not be exactly parallel when seeming. When I joined all the panels and then trimmed so all the waist edges were even, I found that I had slightly joined the front vertical midline seam 9 stitches ahead of the neighbor front panel - which I feel wouldn’t have happened if the seamed edges were regular. Even with care somewhere during the busy to waist seam, one stitch here or there was missed - something not noted until attempting to level out the waist seam.

Now to decide what to do on the waist seam. All waist edge live stitches are temporarily on two knitting needle size “0”(2mm) circular needles.

IMG_0475.jpeg

I’ve decided to hand knit the waistband in ribbing by switching to a slightly bigger needles (the 2.5mm) than the first used size “0” (2mm) initially used.

Why I chose not to use the machine for the waist segment: Most ribbers only work going forward (not reverse) so working flat is only possible without a ribber. If I wanted a machine segment it would need to be a ribbed tube - I don’t want a tube and I would prefer not to steek (cut the tube). 🙂

I could work a narrow strip without the ribber and manually reverse the stitches in a 2 row knit 2 row Purl with a slip stitch edge and then attach. It’s a contemplation-although slow it might be a faster way. Perhaps a future option. 

IMG_0548.jpeg
IMG_0550.jpeg
IMG_0553.jpeg
IMG_0652.jpeg

I installed a contact style row counter (from Erlbacher Gearhart) which works when working flat or in the round on the CSM. I installed it non-conventionally to allow my continued flat work to be done at the 12 o’clock position. For more info see my ROW COUNTERS page.

2020 Oct 26 - Cleaning a CSM

I often get questions on how to clean a CSM. My first response is please send me a photo of your machine (so that I can better address what they might be asking in the term of “clean”).

I feel ANYONE can ‘clean’ their machine, certainly with an organized approach anything is possible however here are some resources which might make your cleaning session easier. :)

If your machine simply has a fibre build up, its best to remove the debris in a way that ideally won’t scratch or damage any finish/paint. Please note that you should be checking your machine for fibre buildup, depending on use, on some kind of regular basis.

For great tools and supplies please see SUPPLIES I LIKE (Cleaning the CSM)

The cylinder shown on the right is one from an Auto Knitter. The owner of this machine did not know she was supposed to clean (or oil) her machine and had used it for many, many years to make tubes for off machine after-thought heels/toes. For more info on those kinds of socks please see CSM PATTERNS AND MORE. The fibre you are seeing on the outside lower end of the cylinder is EVERYWHERE including the slots so you can imagine how compact the buildup was. What you see is a before photo of the cylinder and an “in-progress” fibre removal without real tools over the space of my lunchtime.

Ok so you have a machine and you are interested in removing the years of dirt/grease.

It is my opinion that when one first gets a machine, one should take the time to learn the part names and how they assemble. By taking that time you gain familiarity and confidence in your machine. How does one go about that? Please see CSM START - this reviews many essential points that all CSM owners should be aware of.

So you checked out the CSM START page and are back, supplies in hand with oil and everything.


The photos below are from J. Whiteside’s Legare she recently received. (Thanks again).

The machine as you can see isn’t outwardly covered in fibre and seems only slightly oil/dirty - however the slots and crevices might be another thing all together. Once familiar with your machine, lay out old towels on a flat surface and systemically dismantle your machine. Consider taking photos - including a photo of how the cams appear once the cylinder is removed and set aside. Need a refresher? See the AUTO KNITTER VIDEO


I do NOT recommend removing the Tension screw or its mount - this is the screw like part you turn to change the stitch size from tighter to looser (it moves the V cam up and down).

Don’t dismantle this tension dial or its screws

IMG_0272.jpeg

After removing cylinder screws and cylinder and setting aside on the old towel, take the time to note the surfaces of the metal, note any cracks, uneven surfaces etc. I suggest dismantling and laying out all the parts prior starting with the good quality grease busting dish soap and toothbrushes.

Plan to gently scrub the metal with your toothbrush and soap, rinse and dry the part to reduce non-painted metal oxidizing. Once dry please wipe unpainted (and even painted) surfaces with a little oil to keep the metal happy. Consider how when one uses a cast iron frying pan one must not wash and let it be - but actually recoat with oil to protect the metal.

DRYING: You can safely use a hairdryer to speed metal drying and/or put the wet parts on a tea towel on a baking sheet in a oven with an extremely low heat setting. Monitor. Treat as if cleaning a cast iron frying pan*


With the Legare and similar CLOSED CAM systems you certainly CAN remove the two left and two right screws holding the lower left and right cams to the inside of the cam shell (shell of the machine) but BEFORE you do take a photo on how its aligned and ENSURE you keep the screws in the as you removed them so you know which goes where. Note that there are no ledges that needles can get jammed on.

SEE RIGHT PHOTO - For ease of reference note how the lower left and right parts kind of look like two pigs kissing. Each you see has two screws (applied from the outside). Note where the parts meet under the V cam, that they are flush (even). Inside here are Left and Right Up Throw Cams - parts with pegs that are triggered on the outside of the shell by the part the ramp segment that the yarn carrier installs onto. When reinstalling ensure you put the correct parts in the right place and don’t over tighten these four screws as they still need the Up Throw Cam parts to be able to move freely up and down.


Regardless to having an AUTO KNITTER or a LEGARE (or something similar) - how to re-assemble the main components is the same - as is the alignment/install of the yarn carrier attachment to the machine. Please refer again to the AUTO KNITTER VIDEO for ease and clarity.


INSTAGRAM: REF1, REF2, REF3, REF4,


This page is a work in progress and will be worked on further once I have more time.


SEE ALL BLOG ENTRIES ON THE BLOG INDEX PAGE | Follow us on a variety of social sites see TAPLINK | Interested in Circular Sock Machines? See the CSM START Menu first page. | Seek something specific? Checkout the Index page.


2020 Oct 24 - CSKMS Event - Universal Bonnet Donation

SUNDAY OCT 25, 2020 - EDIT: When I was asked if I wanted to donate a Universal Bonnet to the door prizes at an upcoming virtual CSM event, I gladly offered 5 Universal Cast On Bonnets :) Names were drawn by the event host during the saturday Oct 24th event and all five will be mailed out to their recipients tomorrow Monday Oct 26, 2020. See the INSTAGRAM POST.

Today I joined in (watching) the virtual CSKMS.org zoom event 8am-2pm Vancouver, BC Canada time

2020 Oct 24 - CSKMS Virtual Annual Meeting

IMG_5221.JPG

2020 Annual Meeting

THE CIRCULAR KNITTING MACHINE SOCIETY
INVITES YOU
TO OUR INAUGURAL
VIRTUAL ANNUAL EVENT

SATURDAY, OCTOBER 24, 2020
11 AM-5 PM EDT

(8AM-2PM VANCOUVER, BC TIME)

 (IN CASE OF ZOOM OUTAGE, THE MEETING WILL BE HELD SUNDAY, OCTOBER 25, 2020 SAME TIME)

State of the Society Discussion, Meet your Board, Demonstrations, a Game, Prizes, More Prizes, and
an incredible GRAND PRIZE!

Please join us for our virtual annual meeting!

SCHEDULE FOR THE DAY:

  • Rich McGeheran will be the Master of Ceremonies for the day.

  • Find Out What’s happening with the Society and Meet the Board Members.  

  • Demonstrations from Christine Smith, Jamie Mayfield, Mary Hawkins, Rosalyn Keys

  • Trivia by Kathy Roletter and Michelle Siegenthaler

  • Grand Prize Drawing

PRIZES: Door prizes will be randomly awarded throughout the day!  You won’t believe the incredible items that will be drawn for! Lots and lots of commercial and indy-dyed yarn,  books, tools and more will be awarded! Check out the prize donors here! Our Grand Prize is  $2,000 towards the purchase of a CSM! Fine Print for Grand Prize

Please note – Pre-registration is required to be eligible for prizes. The Grand Prize winner must be in the Zoom meeting when the prize is announced. If the named winner does not come forward, another winner will be drawn. Info from the CSKMS.org Website

2020 Annual CSKMS Meeting Schedule
Times given below are approximate

11:00 AM EDT – Zoom meeting opens – Greetings from President Judy Weller, welcome and overall state of the society. Introduce the MC – Rich McGeheran.

11:10 AM EDT– Presentation – Mary Hawkins from Frameworks Knitters Museum – Tour of the Griswold Room, Q & A

12:00 PM EDT – Vice President – Michelle Seigenthaler, introduction and elections updates.

12.10 PM EDT – Past President, Kathy Roletter, introduction, and Certification program updates

12:15 PM EDT – Trivia – Kathy & Michelle, Trivia Game.

1:00 PM EDT – Treasure report, Sheryl Campbell

1:05 PM EDT – Secretary, outgoing, Candy Terry updates and introduction as a new member at large. 

1:10 PM EDT – Kim Kieffer- Secretary nominee introduction

1:15 PM EDT – Member at Large, Jamie Mayfield, introduction and demo

1:45 PM EDT – Jamie Mayfield Demo – Christmas Ornament designed by Jenny Deters and Q & A

2:00 PM EDT – Web master, Rich McGeheran – introduction and web updates.

2:10 PM EDT – Rosalyn Keys Demo – Hexies and Q & A

3:00 PM EDT – Member at large, Dorinda Balanecki, introduction

3:10 PM EDT – Christine Smith Demo – Double Mitt Twist and Q & A

4:00 PM EDT – Newsletter Editor, Zoe Cohen – introduction and update

4:05 PM EDT – Membership, Erica Rowe – introduction and membership update Q & A

4:10 PM EDT – Member at Large nominee Kathleen Ducharme, introduction

4:15 PM EDT – Rich McGeheran kicking off show and tell workstation –  Followed by Show and share member photos

5:00 PM EDT – Judy Weller President Grand Prize drawing

Schedule reference


SEE ALL BLOG ENTRIES ON THE BLOG INDEX PAGE | Follow us on a variety of social sites see TAPLINK | Interested in Circular Sock Machines? See the CSM START Menu first page. | Seek something specific? Checkout the Index page.


2020 Oct 11 - Video: Toe Up Mock Rib Shortie Sock

Today I present the results of last week’s recording and a week of edits…

Introducing a new Toe Up method that I call the TRINE Toe Up - without changing the stitch tension one can successfully work a Toe Up sock when using this method. Today I worked this new method into a Toe Up version of my Cuff Down Mock Rib Shortie Sock shared in July 2020. This is the SAME sock but worked from the TOE UP, featuring an OFF MACHINE manual HUNG HEM.

Trine refers to the THREE easy segments of this pattern - the PRE-TOE, TOE and POST-TOE.

This video reviews the innovative TRINE (THREE) Toe segments of this sock, reviews how to make these yourself and also how to finish them afterward. Tested successfully on a 54 and a 72 slot cylinder. The great thing about ANY CLEAR CSM VIDEO is that you can easily plug and play with your preferred sock segments - by following this special Toe Up you could then choose to work the complete pattern and choose to do a different cuff.

Silent Video: https://youtu.be/ONk79SHu0Cs

Written pattern https://www.csmlove.com/s/csm_tu_mockribhhss1.pdf

Written pattern on Ravelry https://ravel.me/csm-toe-up-mock-rib-hh-shortie-sock

Find this and other sock videos on my website: https://www.csmlove.com/my-youtube-sock-videos

Ravelry Socks #127 https://ravel.me/karenramel/s1ct7

Ravelry Socks #128 https://ravel.me/karenramel/s1ct72

BLOG: July 25/20 Video: Cuff Down Mock Rib Socks |


SEE ALL BLOG ENTRIES ON THE BLOG INDEX PAGE | Follow us on a variety of social sites see TAPLINK | Interested in Circular Sock Machines? See the CSM START Menu first page. | Seek something specific? Checkout the Index page.


2020 Oct 3 - Video Recording and Editing

THINGS I USE:

-iPhone 13 pro max with 512gb of onboard storage (running IOS 15.2.1 most recent)
-iPad 5th generation with 128gb of onboard storage (running IOS 14.0.1)
-Desk clamp iPad/iPhone holder
-Tripod
-Two adjustable Ikea bell lights
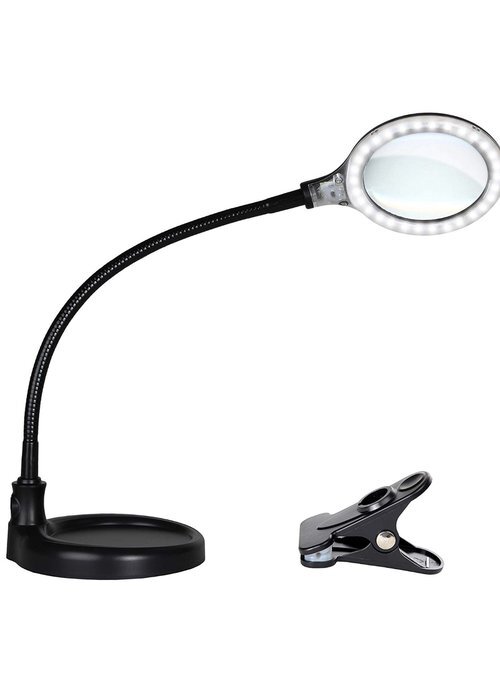
-Two Brightech Ring Lights (one situated over the machine with the lens out, the other beside and often unused with the lens in for close-ups as needed)
-IOS SPLICE application which is now a paid annually application.

I’ve had a few requests recently on what I use to record the videos I create.

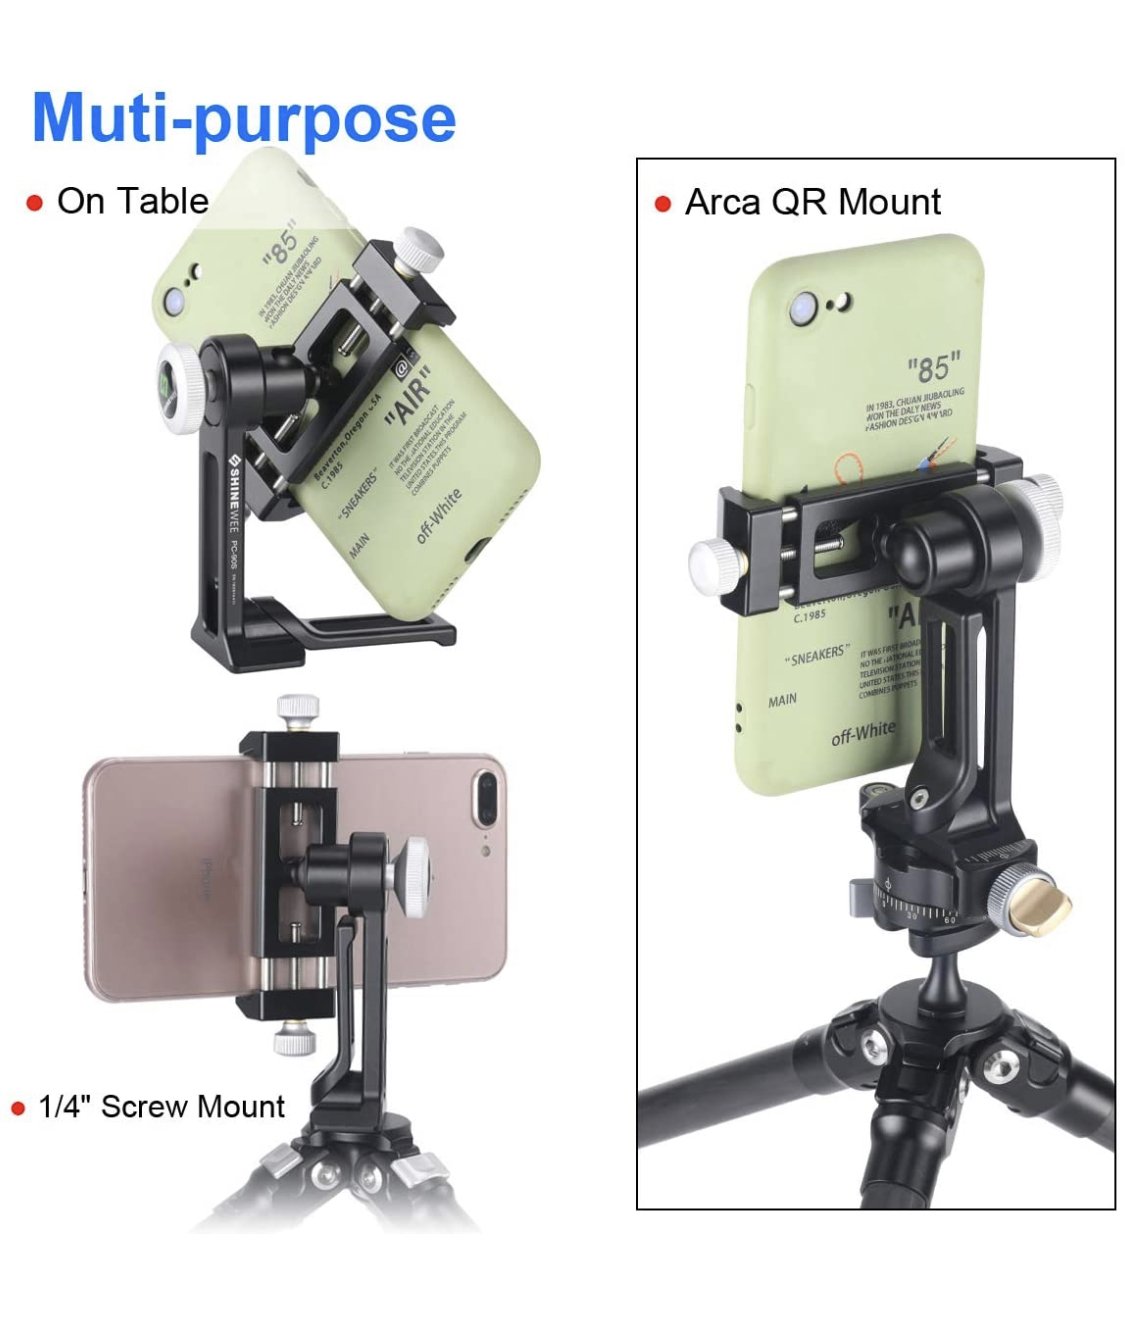
Basic clamp holder - ipad/mobile phone

I realized pretty quick in 2018 when I basically started using my vintage Legare 400, that something would be needed to hold my iPhone if I wanted to take clear and stable videos. (I started with an iPhone 8+ with 256gb storage purchased in 2017 although upgraded around Xmas 2021).

IMG_1075.jpeg

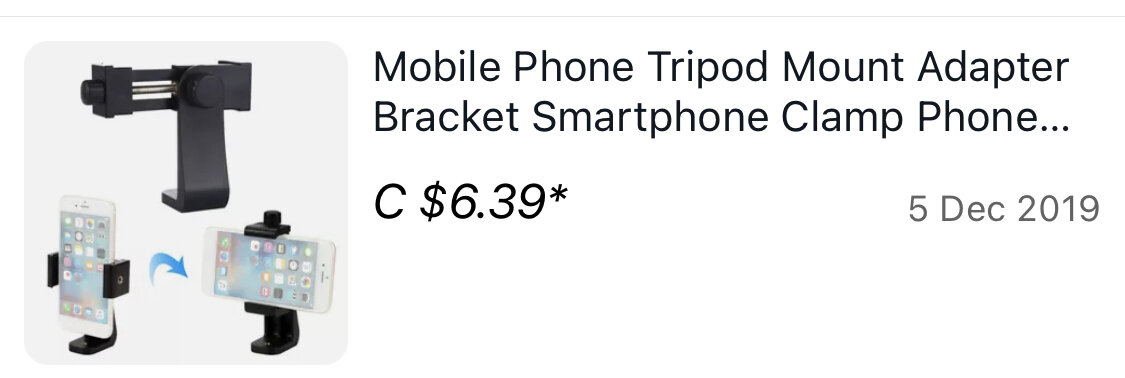
Initially I bought a clampable, bendable ipad holder and then bought an adapter so that I may add my iphone to this mount. This is a great entry level way to be hands free however if clamped to the same table a CSM is clamped to, will jiggle frustratingly once you start using the CSM. One approach was to clamp the mount to a nearby chair and to bring that chair near to the machine. This works nicely. I use this mount with my ipad in its heavy duty protective ipad case at public demos when wanting to demo a video or two while demonstrating my machine. I ensure to securely also connect the ipad to something stable so that someone doesn’t get the idea to grab and run - just in case.

I then, with the help of my boyfriend, looked into a more versatile solution, a floor free standing tripod stand with boom style arm. Purchased also with a iphone adapter this is what I have used since Dec 2019. I’ve since found the easiest video access is to setup the boom on my left as I set at my computer desk area. With two adjustable bell lights and two ring lights (although I usually just use the one ring light over the machine) - I find this provides enough options for zooming in and enough light to pretty much record anything.

As I use an iPhone I’ve found using the IOS application SPLICE to be a perfect solution - as of 2020 it now is a paid program - I pay a yearly fee for the least cost.

This is what I do when I record. I setup my tripod with lights etc and record while I work on my CSM. I’ve found the best alignment for me is to have the tripod on the right side of my machine behind and to the side with the arm bringing it closer. I add a weight to the far tripod to help counterbalance it. I always record with my iPhone wall adapter plugged in with an extra long power cord for reliable recording. To record I can use the generic iOS video application but sometimes prefer to use the application that allows me to pause recording (which the standard iOS application doesn’t do). I believe it’s called MoviePro.

I edit any images with a paid font added photo applications (text art and my older font candy+) on my iphone and transfer all supporting images over to my ipad via AirDrop.

Often the space I’m recording in is being shared by my boyfriend playing computer games not far away so I prefer to record silent videos however due to upgrades to splice I am considering overdubbing (record silent and then on a version of the project, record the sound).

Due to file sizes in the past I had issues where I couldn’t AirDrop my iphone files to my ipad. And because when you edit files in SPLICE you still can’t delete them from your device until the final exported video is done, and during export your device (iphone) will be unavailable for any use for up to an hour and sometimes longer, transferring all to my ipad makes more sense.

Sometimes when the final file is being exported from SPLICE it fails (rarely but it means relaunching the export of all your changes and takes a lot of time while it’s exporting. I usually modify and adjust a couple times so I export more than once - each file cannot be deleted if it’s being used for the next process in the application so while I’ve gone way overboard with device storage, one does need room to play.

When I have a product I like I either upload it to YouTube from my iPad, my iPhone or push it to the desktop computer to speed up that part

Once uploading has finished I add a screen shot I prefer to be shown as the display image and then download a backup to my computer as it’s a smaller file. I am now looking into creating YouTube chapters for segments easy to navigate to in the video and adding correct text to close captioning to help me hose viewers who are hearing disabled.

This is what I do

2023 - I have ordered attachments for the tripod to accommodate the MagSafe feature some mobile phones have to make using/recording videos easier.


SEE ALL BLOG ENTRIES ON THE BLOG INDEX PAGE | Follow us on a variety of social sites see TAPLINK | Interested in Circular Sock Machines? See the CSM START Menu first page. | Seek something specific? Checkout the Index page.


2020 Sep 13 - Knitted Tube Donation

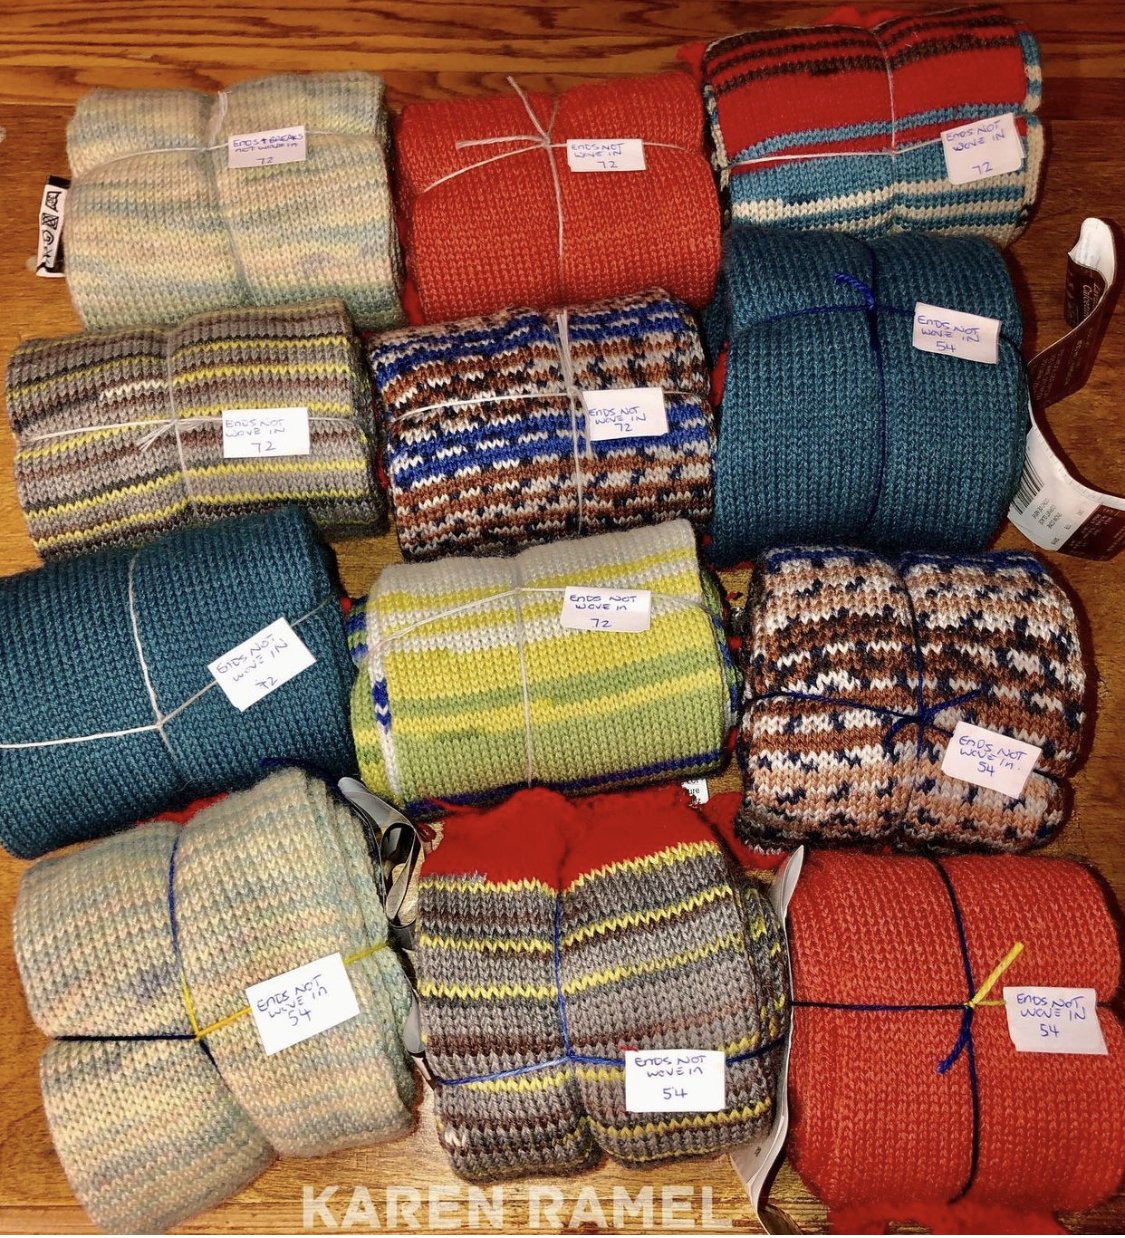
This afternoon Wyatt and I are on a mini-adventure over to the awesome @baaadannas knit shop in Vancouver to drop off 12 knitted tubes (5 done on the 54 needle stitch cylinder and 7 done on the 72 stitch cylinder). These will be used by volunteers to knit cuffs, heels and toes. All these tubes were cranked up last night and this morning in order to drop off before they close today at 2pm.

Want more info on where these will go?

See https://baaadannas.com/2020/09/10/give-back-sunday-update-and-call-for-volunteers/

MY INSTAGRAM POST


SEE ALL BLOG ENTRIES ON THE BLOG INDEX PAGE | Follow us on a variety of social sites see TAPLINK | Interested in Circular Sock Machines? See the CSM START Menu first page. | Seek something specific? Checkout the Index page.


2020 Sept 1 - Sock Swap by Lisa Beer

IMG_9497.jpeg

Sept 29/20 My sock swap parcel was delivered. It turns out the awesome Maxine Westdorp made my socks - a lovely mock rib cuff down using Lions Brand Sock Ease yarn. She went over and above by also including a tube knitting for sock donation and even a skein of yarn for me to do what I wish! Wow! Thank you!


IMG_8883_Original.jpeg

Today over lunch I will be heading over to the post office to mail the size 7 women’s socks I’ve made and washed for J. Lugert. Yay! Once they’ve arrived at their destination I will update this with a photo of the socks. :)


Virtual International Event:

Circular Sock Machine Knitters 2.0 September 2020

Persons with all skill levels asked to make a pair of socks in any style/color for their sock recipient in the size stated. Socks are to be in the mail between Sept 1-15 (no later than the 15th).


Welcome to Circular Sock Machine Knitters 2.0 September 2020 sock swap. All abilities and all countries are welcome to join in. To participate please message me, Lisa Beer, with the following information:- Your Name and address. The size of socks you would like to receive. If you are willing to post internationally. Please let me also know if you have any allergies to wool etc. The type and colour of the socks will be up to you to choose to make and a surprise to the recipient. The swap will run from 1 September with an aim to be sending socks out by the 15th. I will send your swap information on the 1st. If the swap is successful I will look into doing another at the end of the year, possibly a Christmas decoration. Any queries please contact me. Thanks Lisa

Facebook reference | Lisa Beer Facebook Profile |


SEE ALL BLOG ENTRIES ON THE BLOG INDEX PAGE | Follow us on a variety of social sites see TAPLINK | Interested in Circular Sock Machines? See the CSM START Menu first page. | Seek something specific? Checkout the Index page.