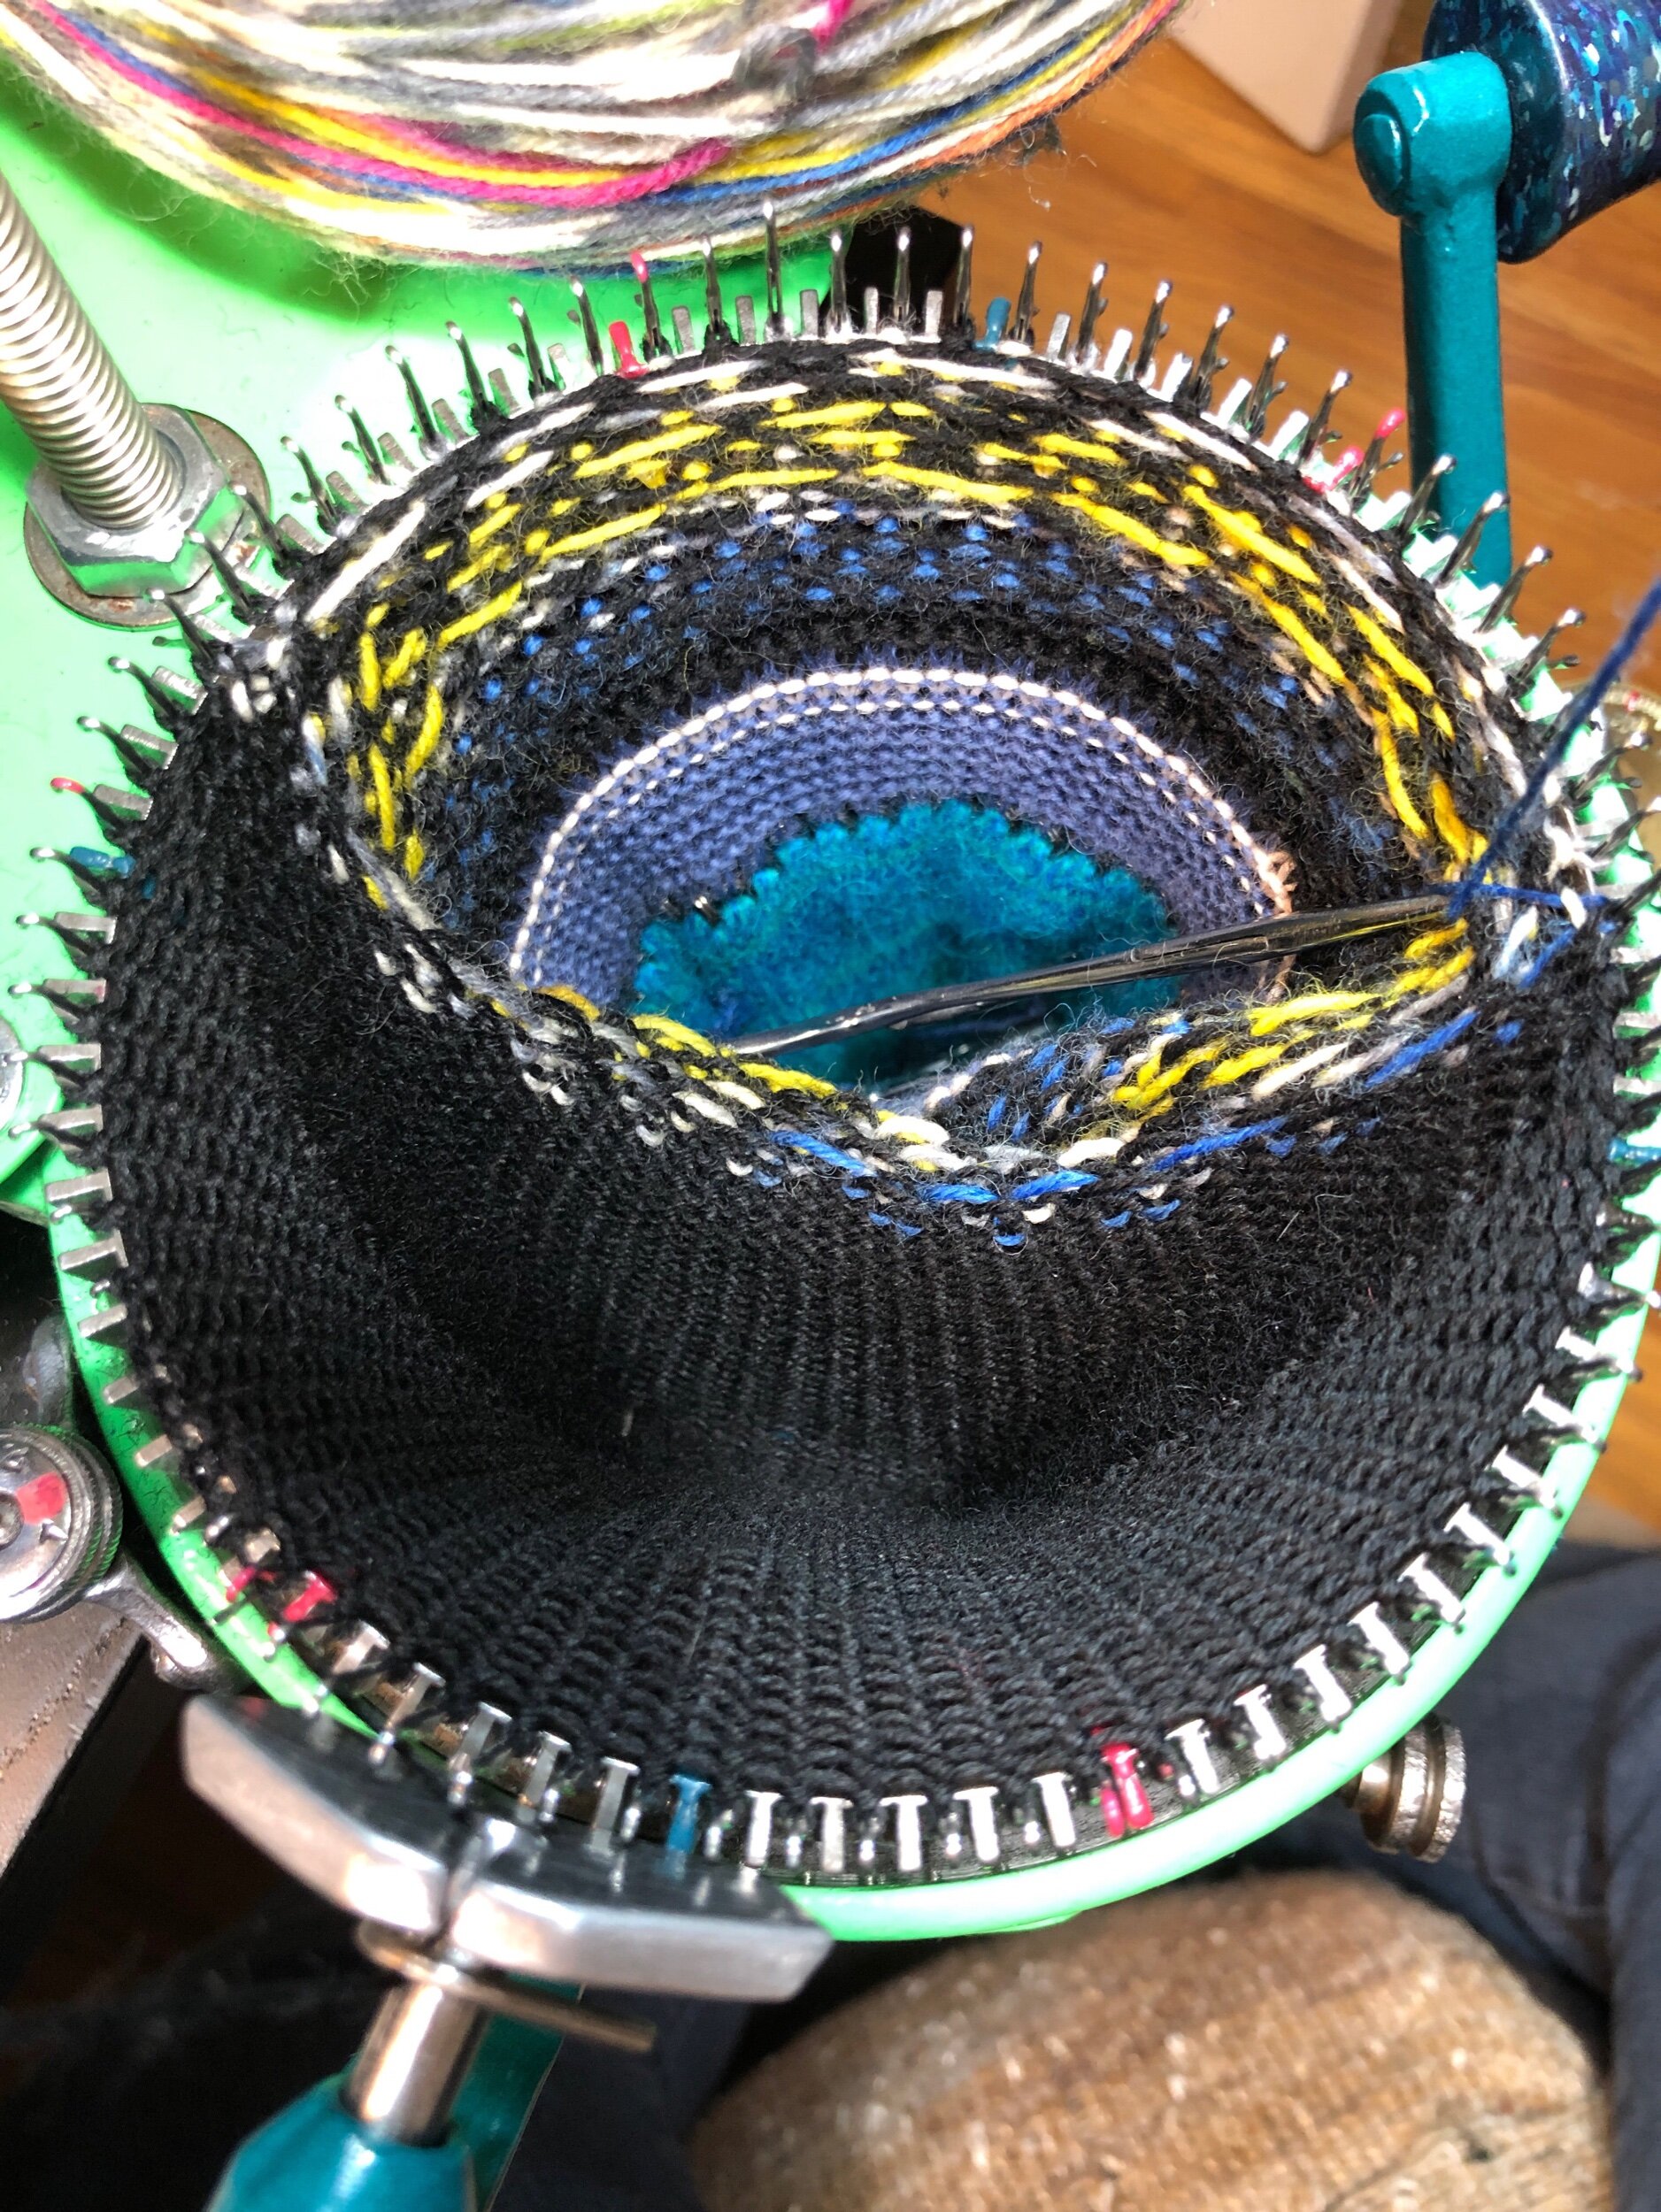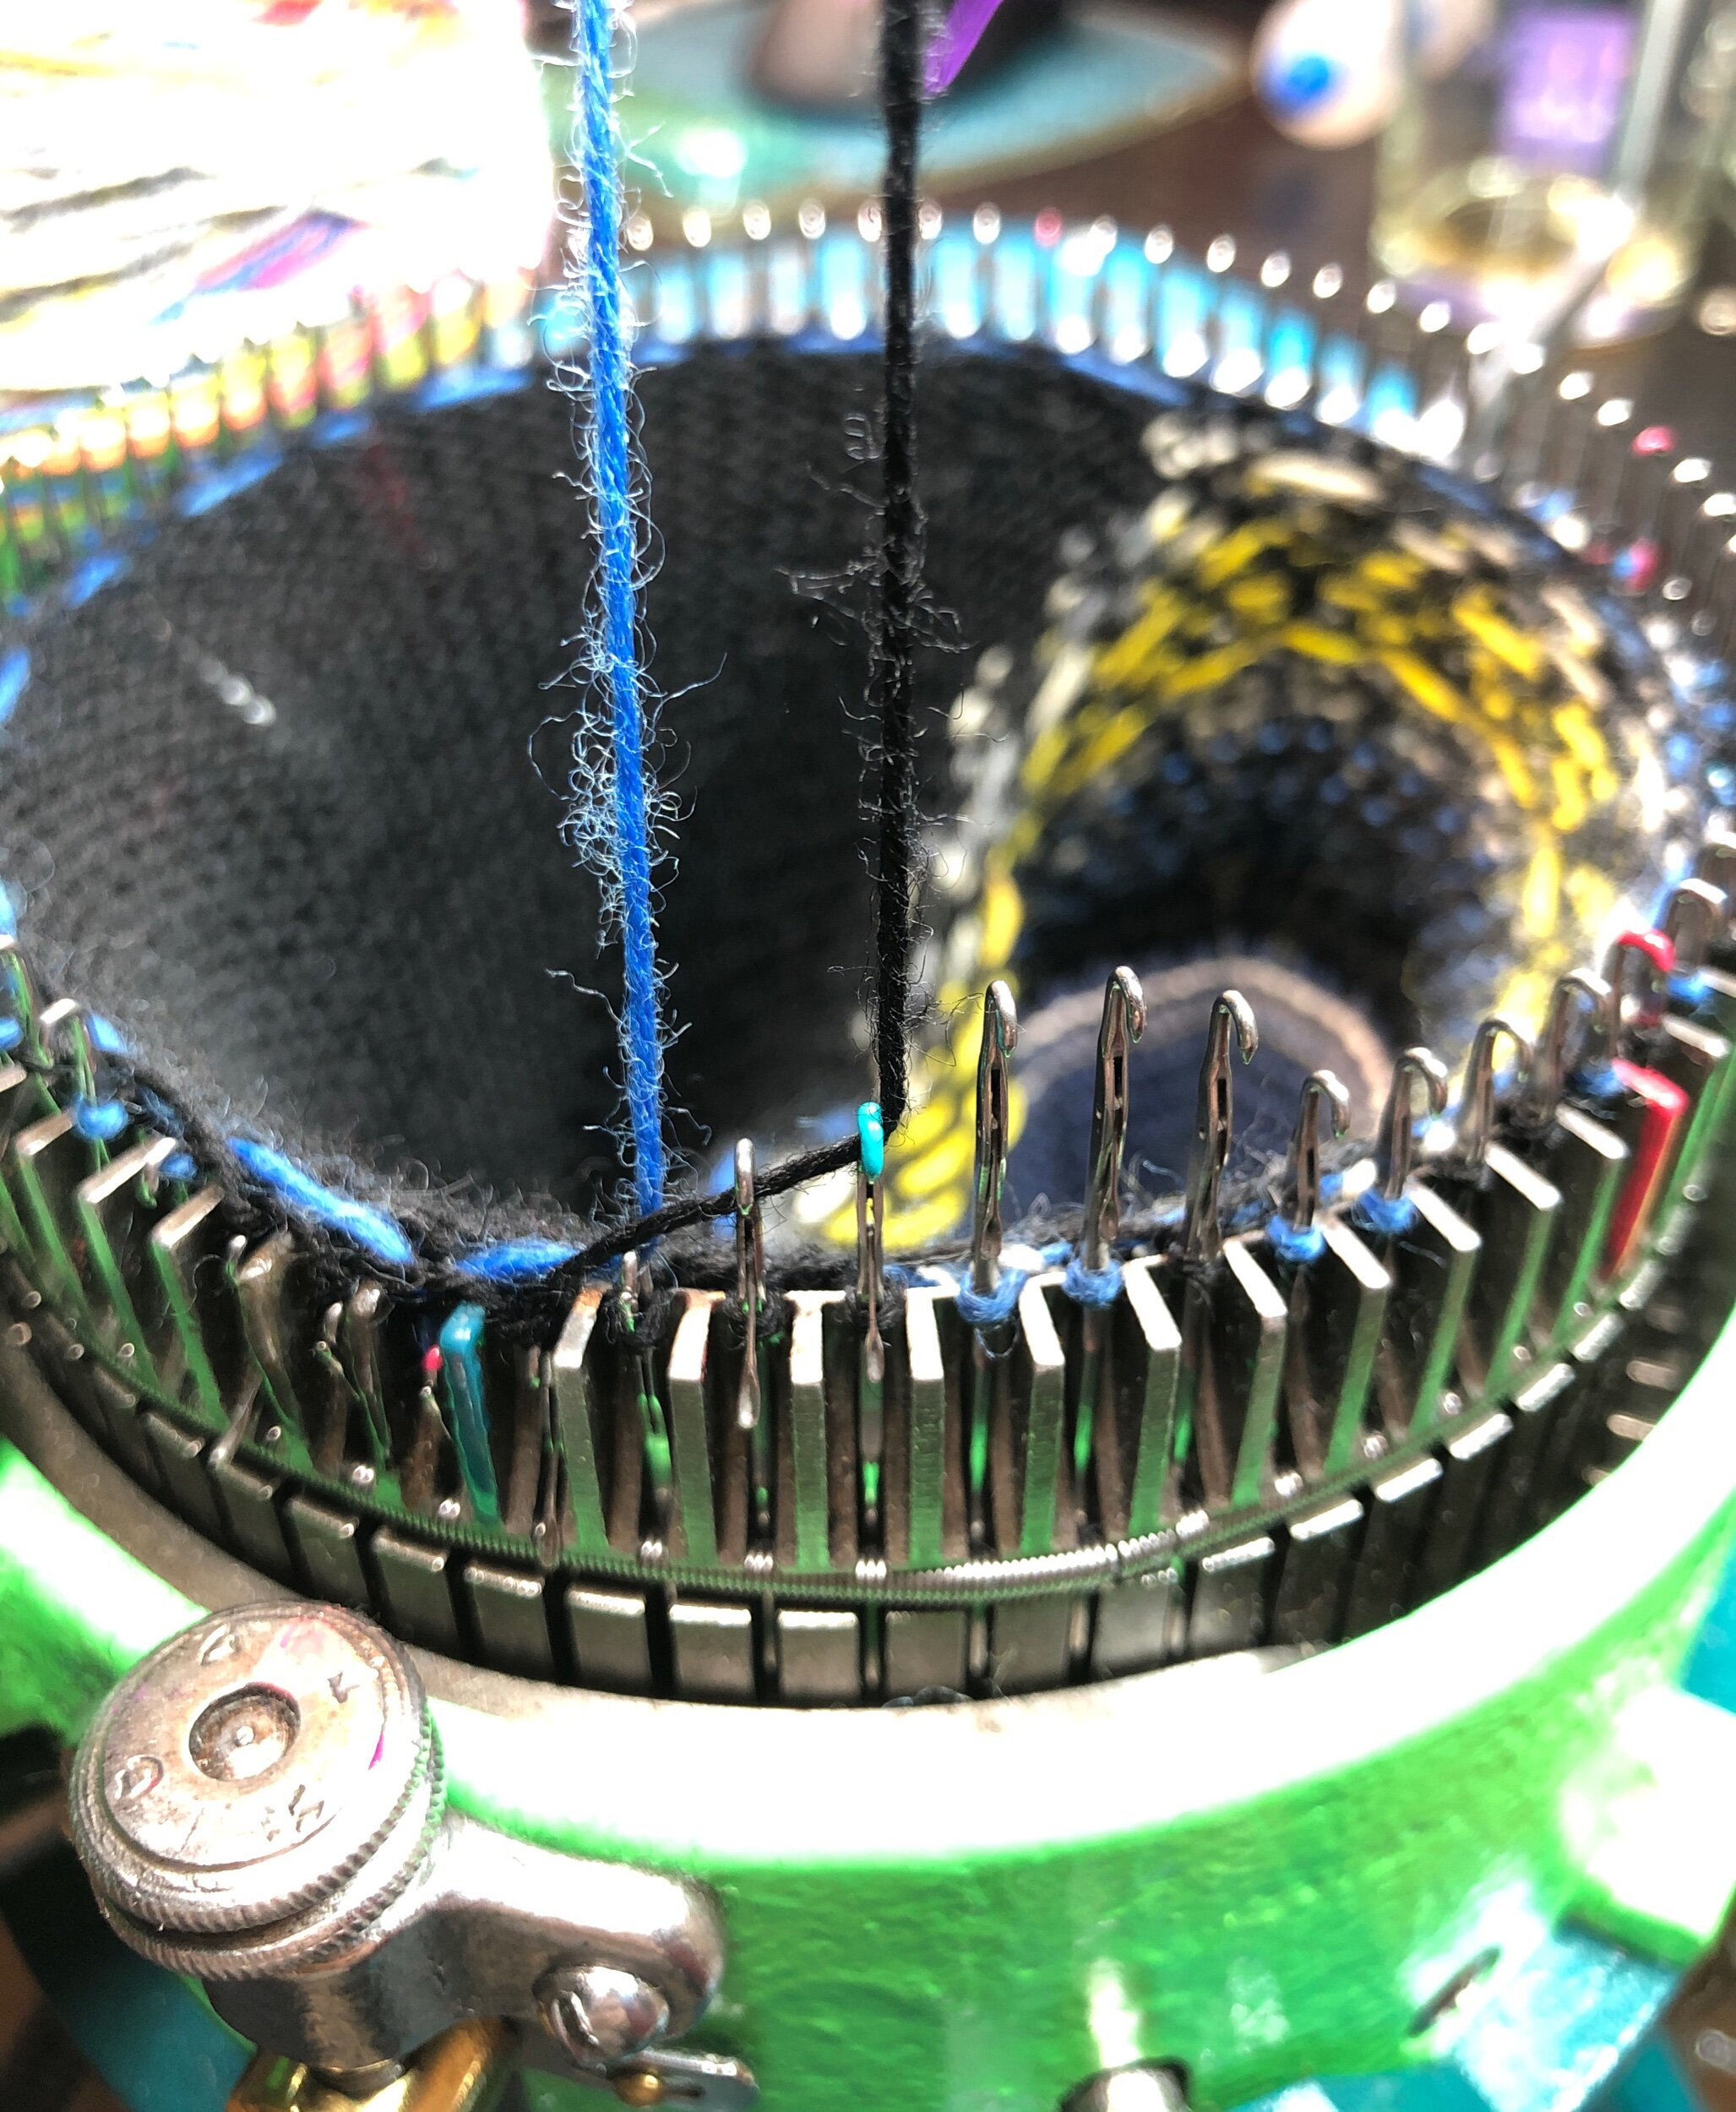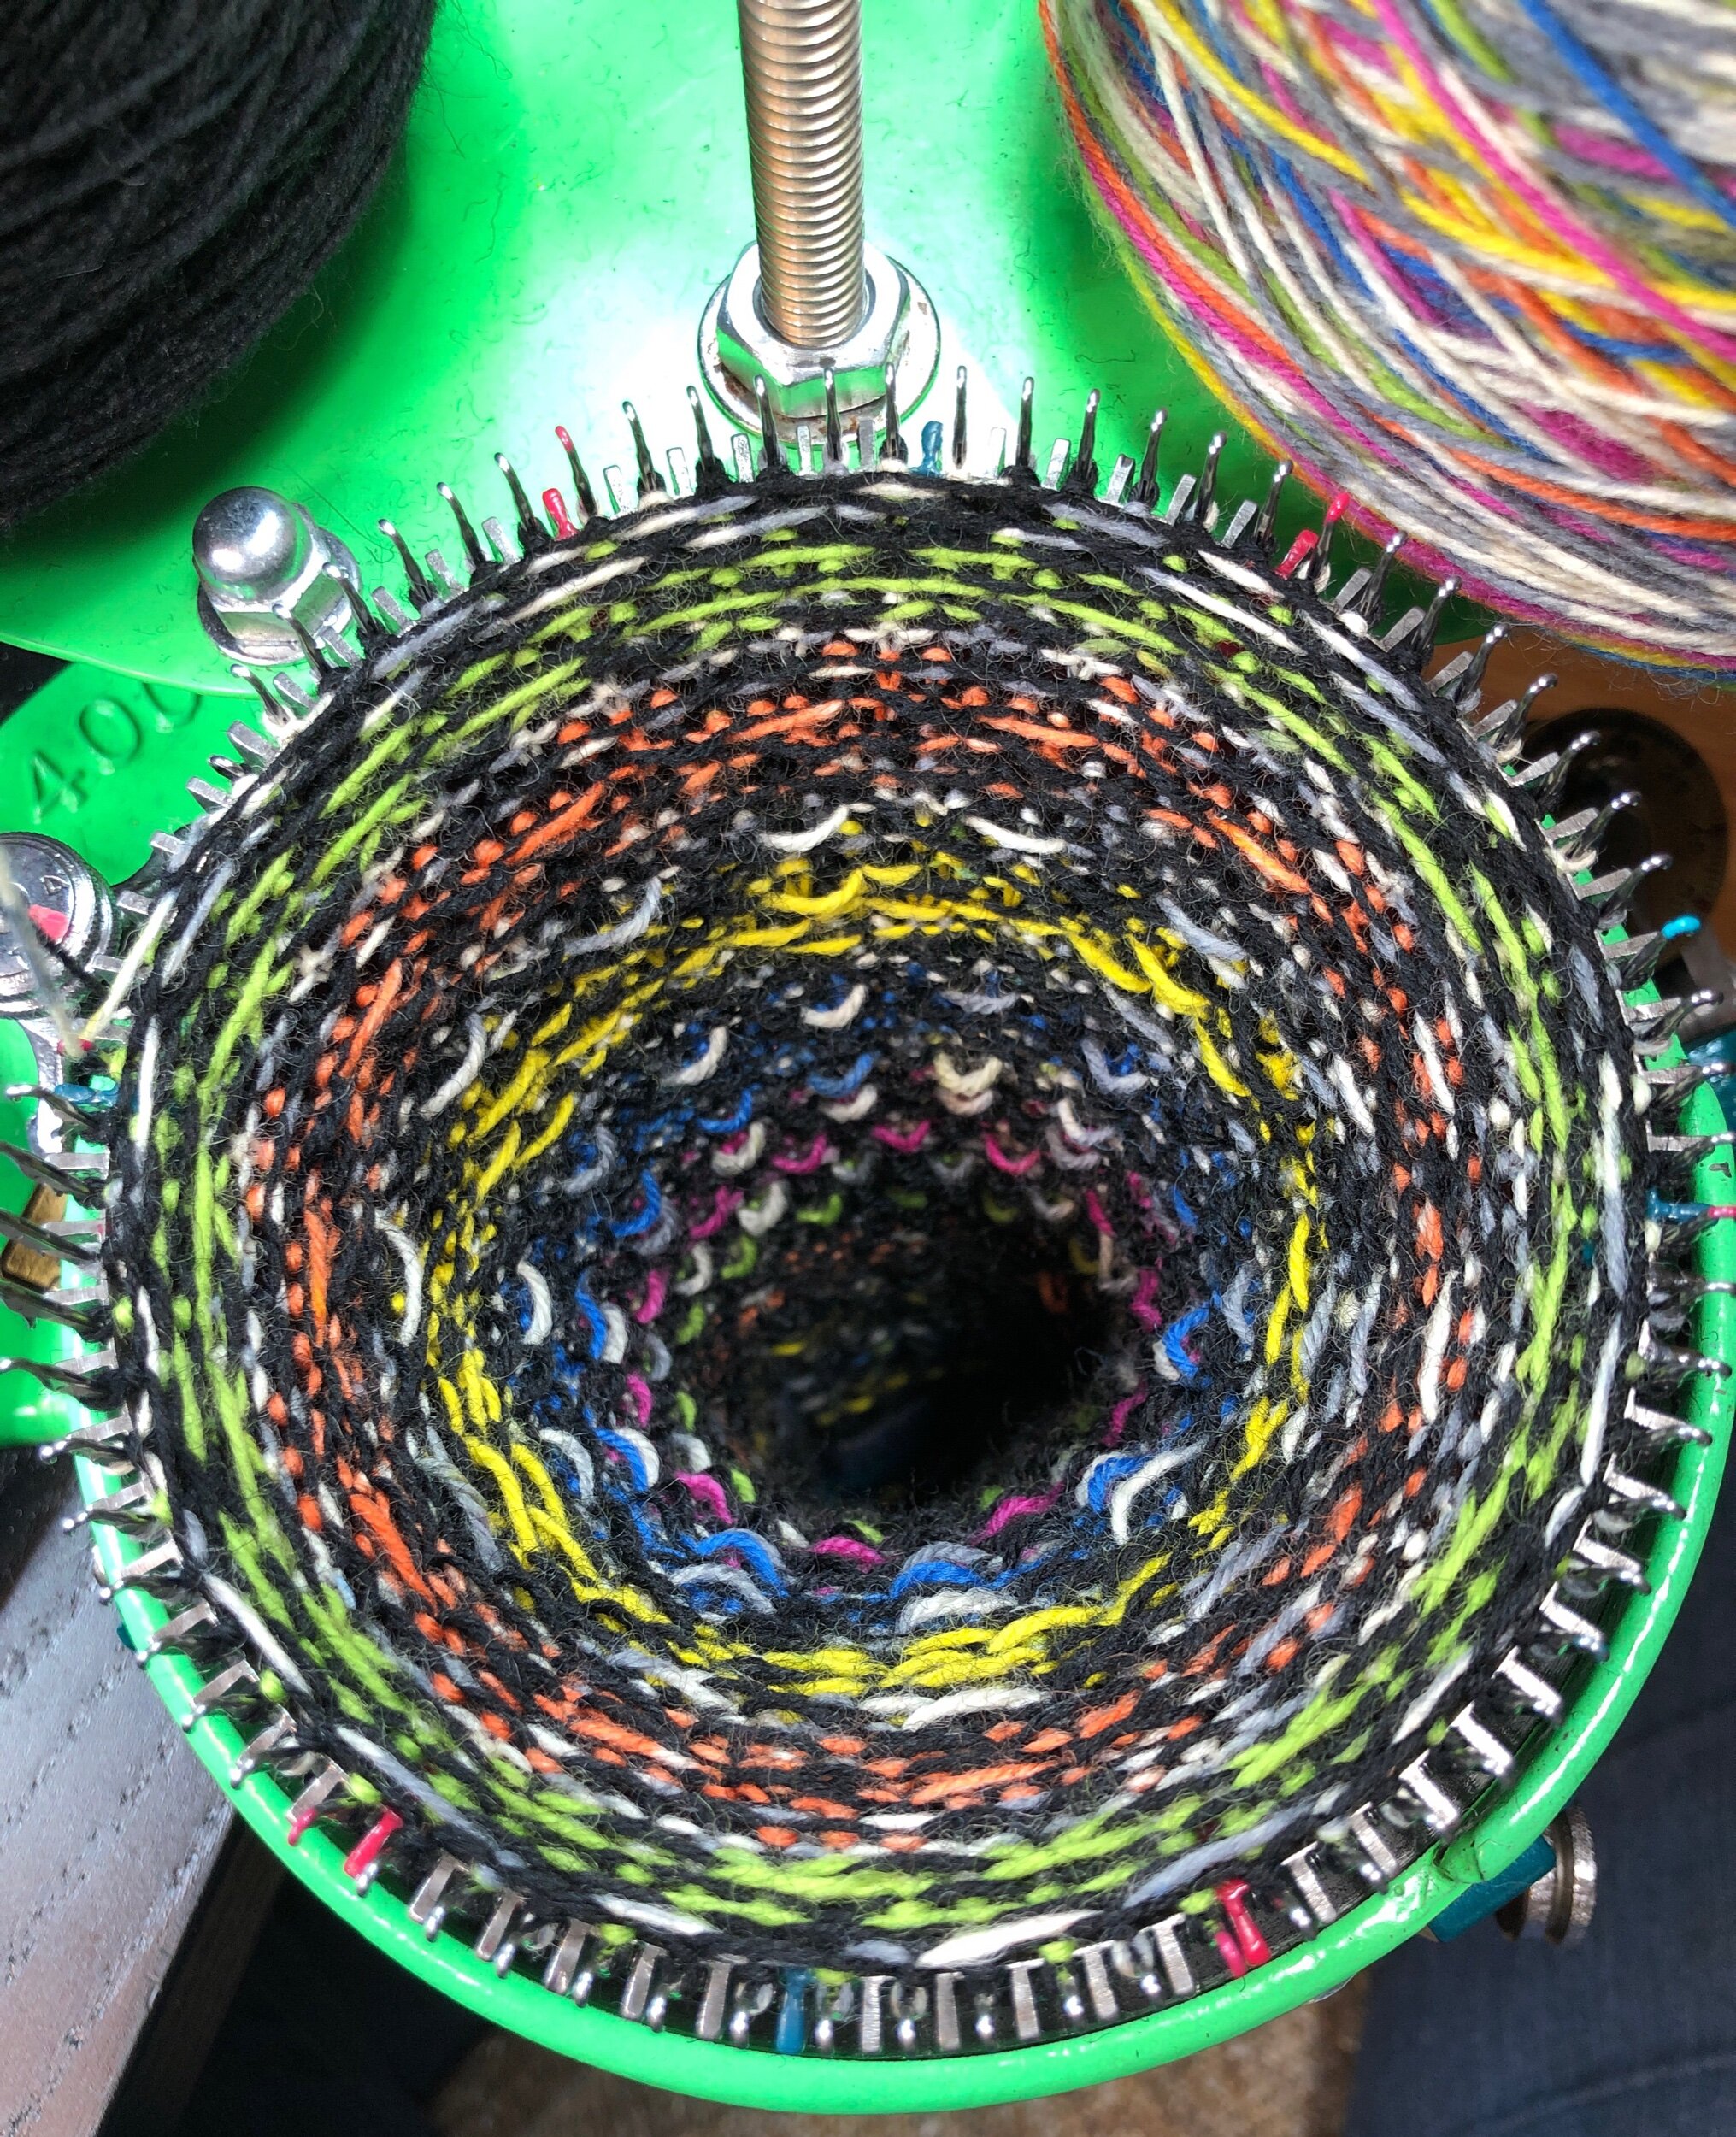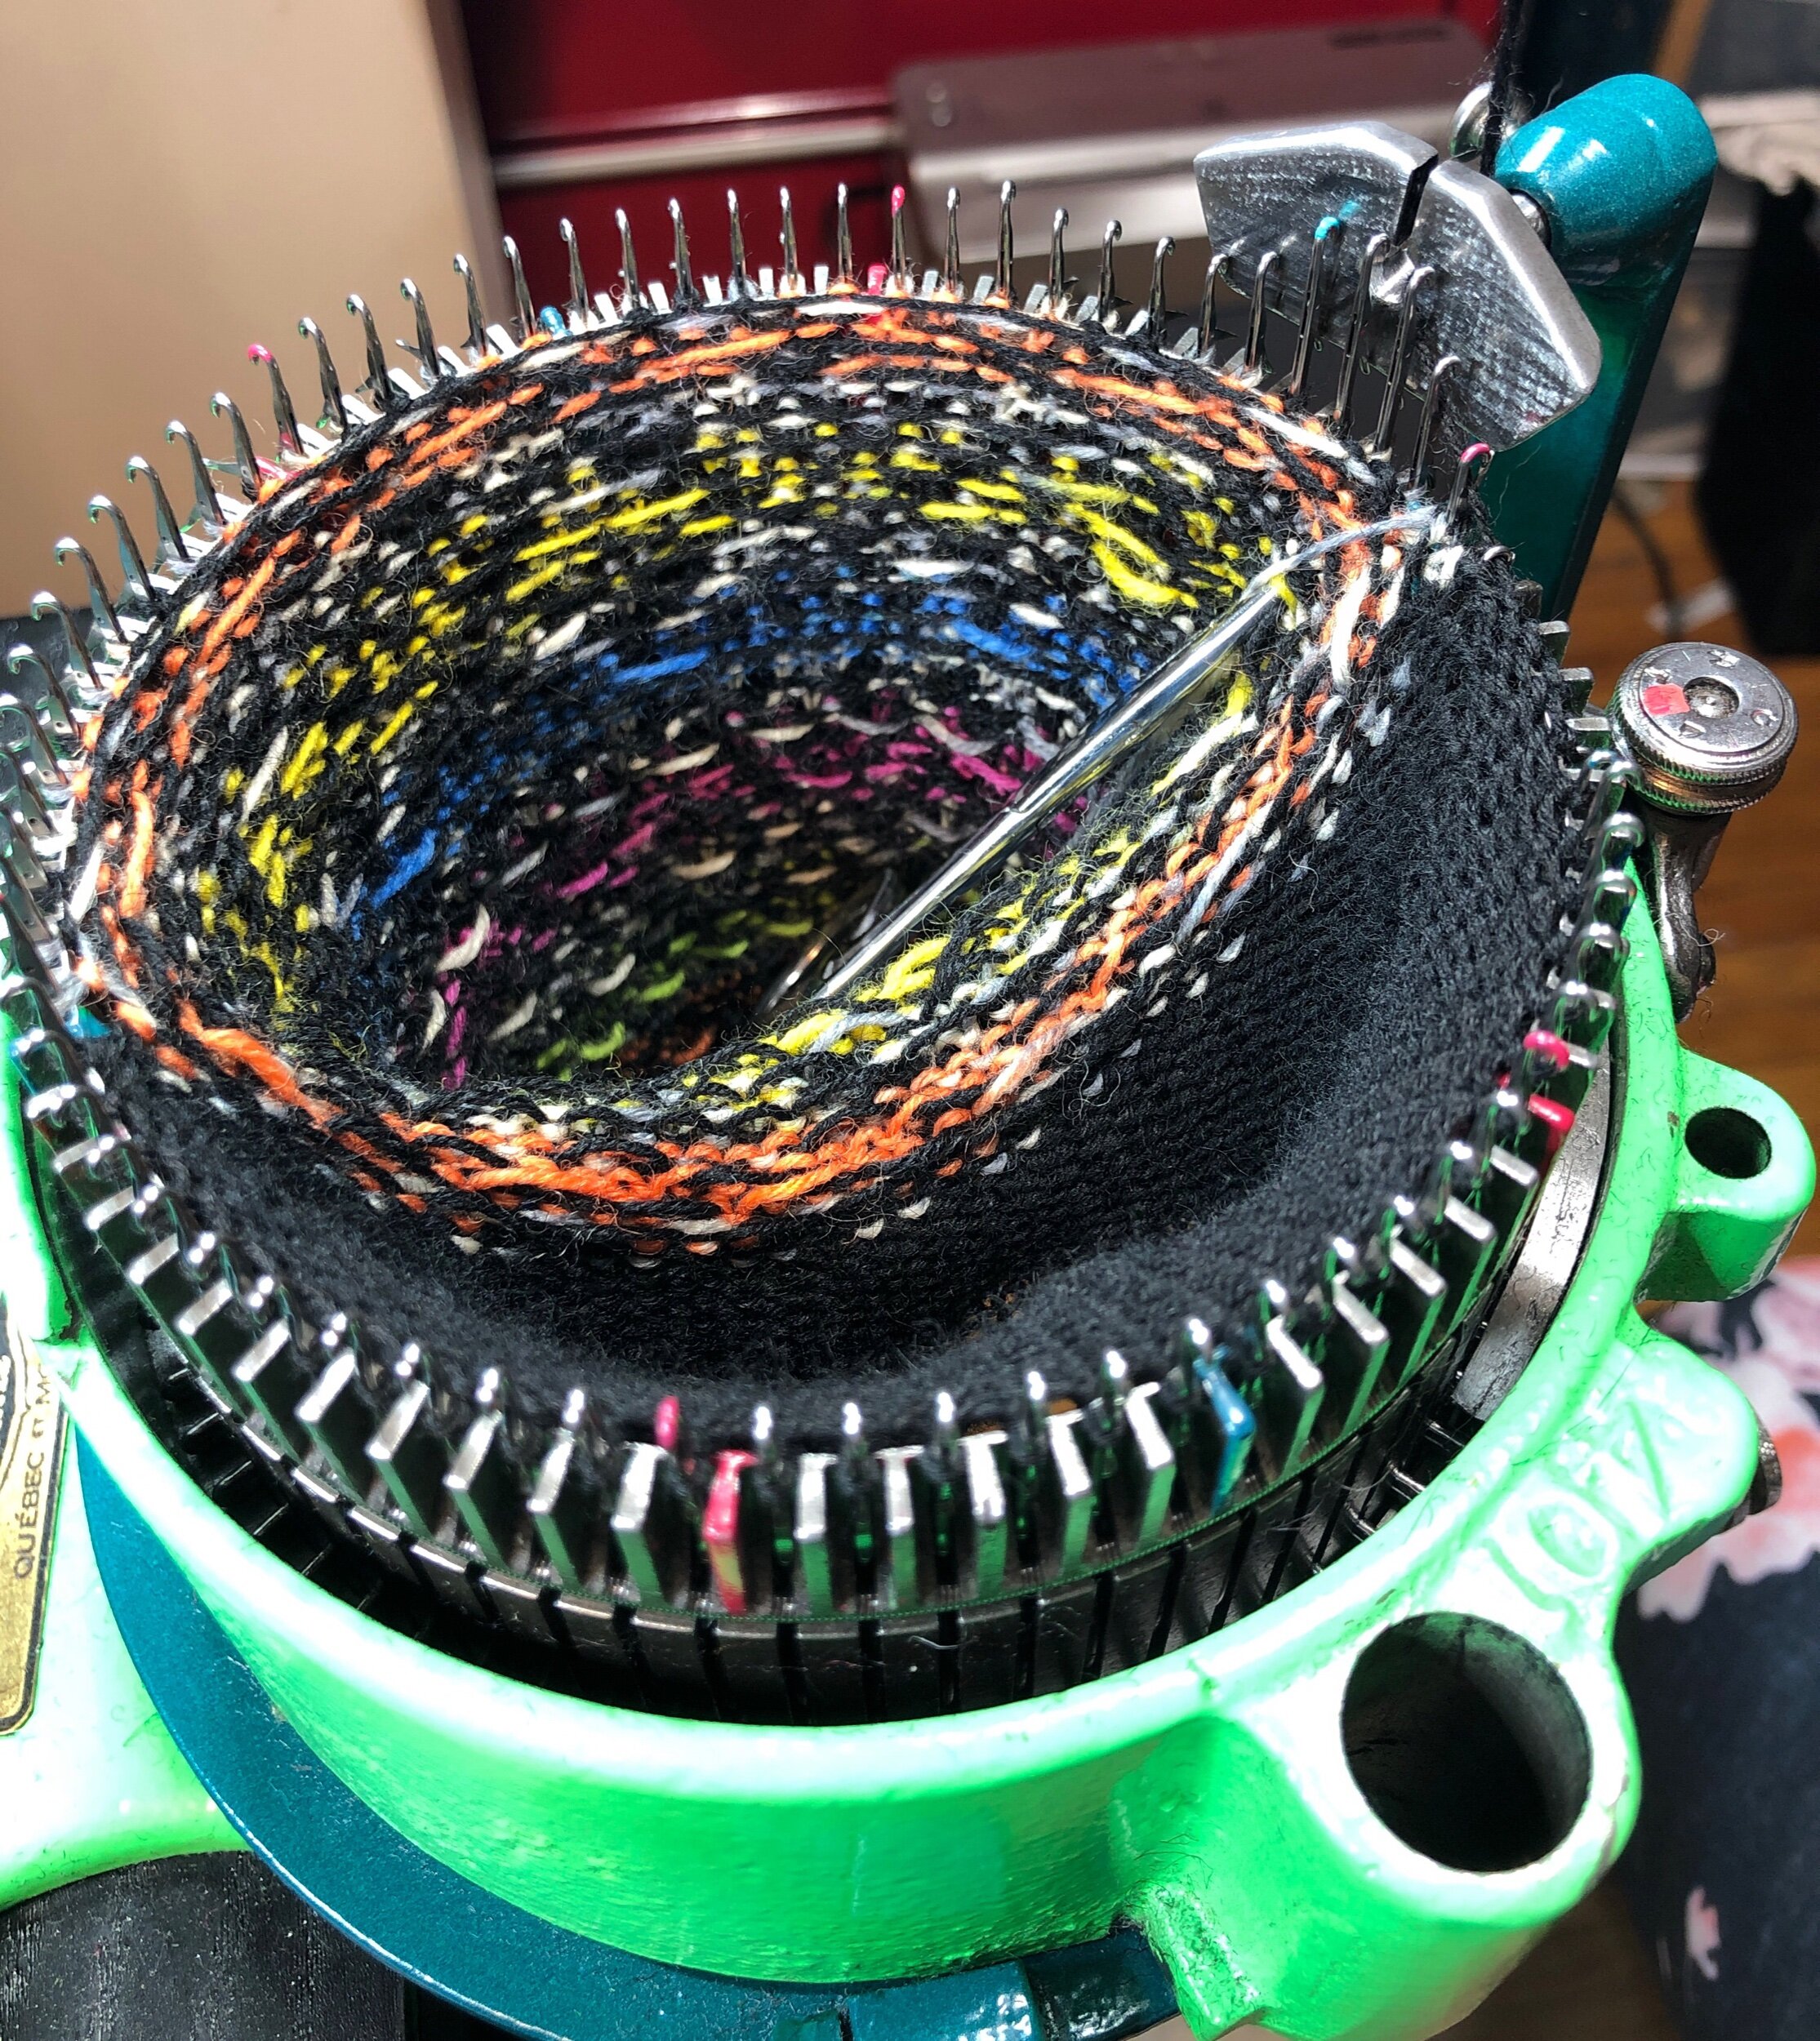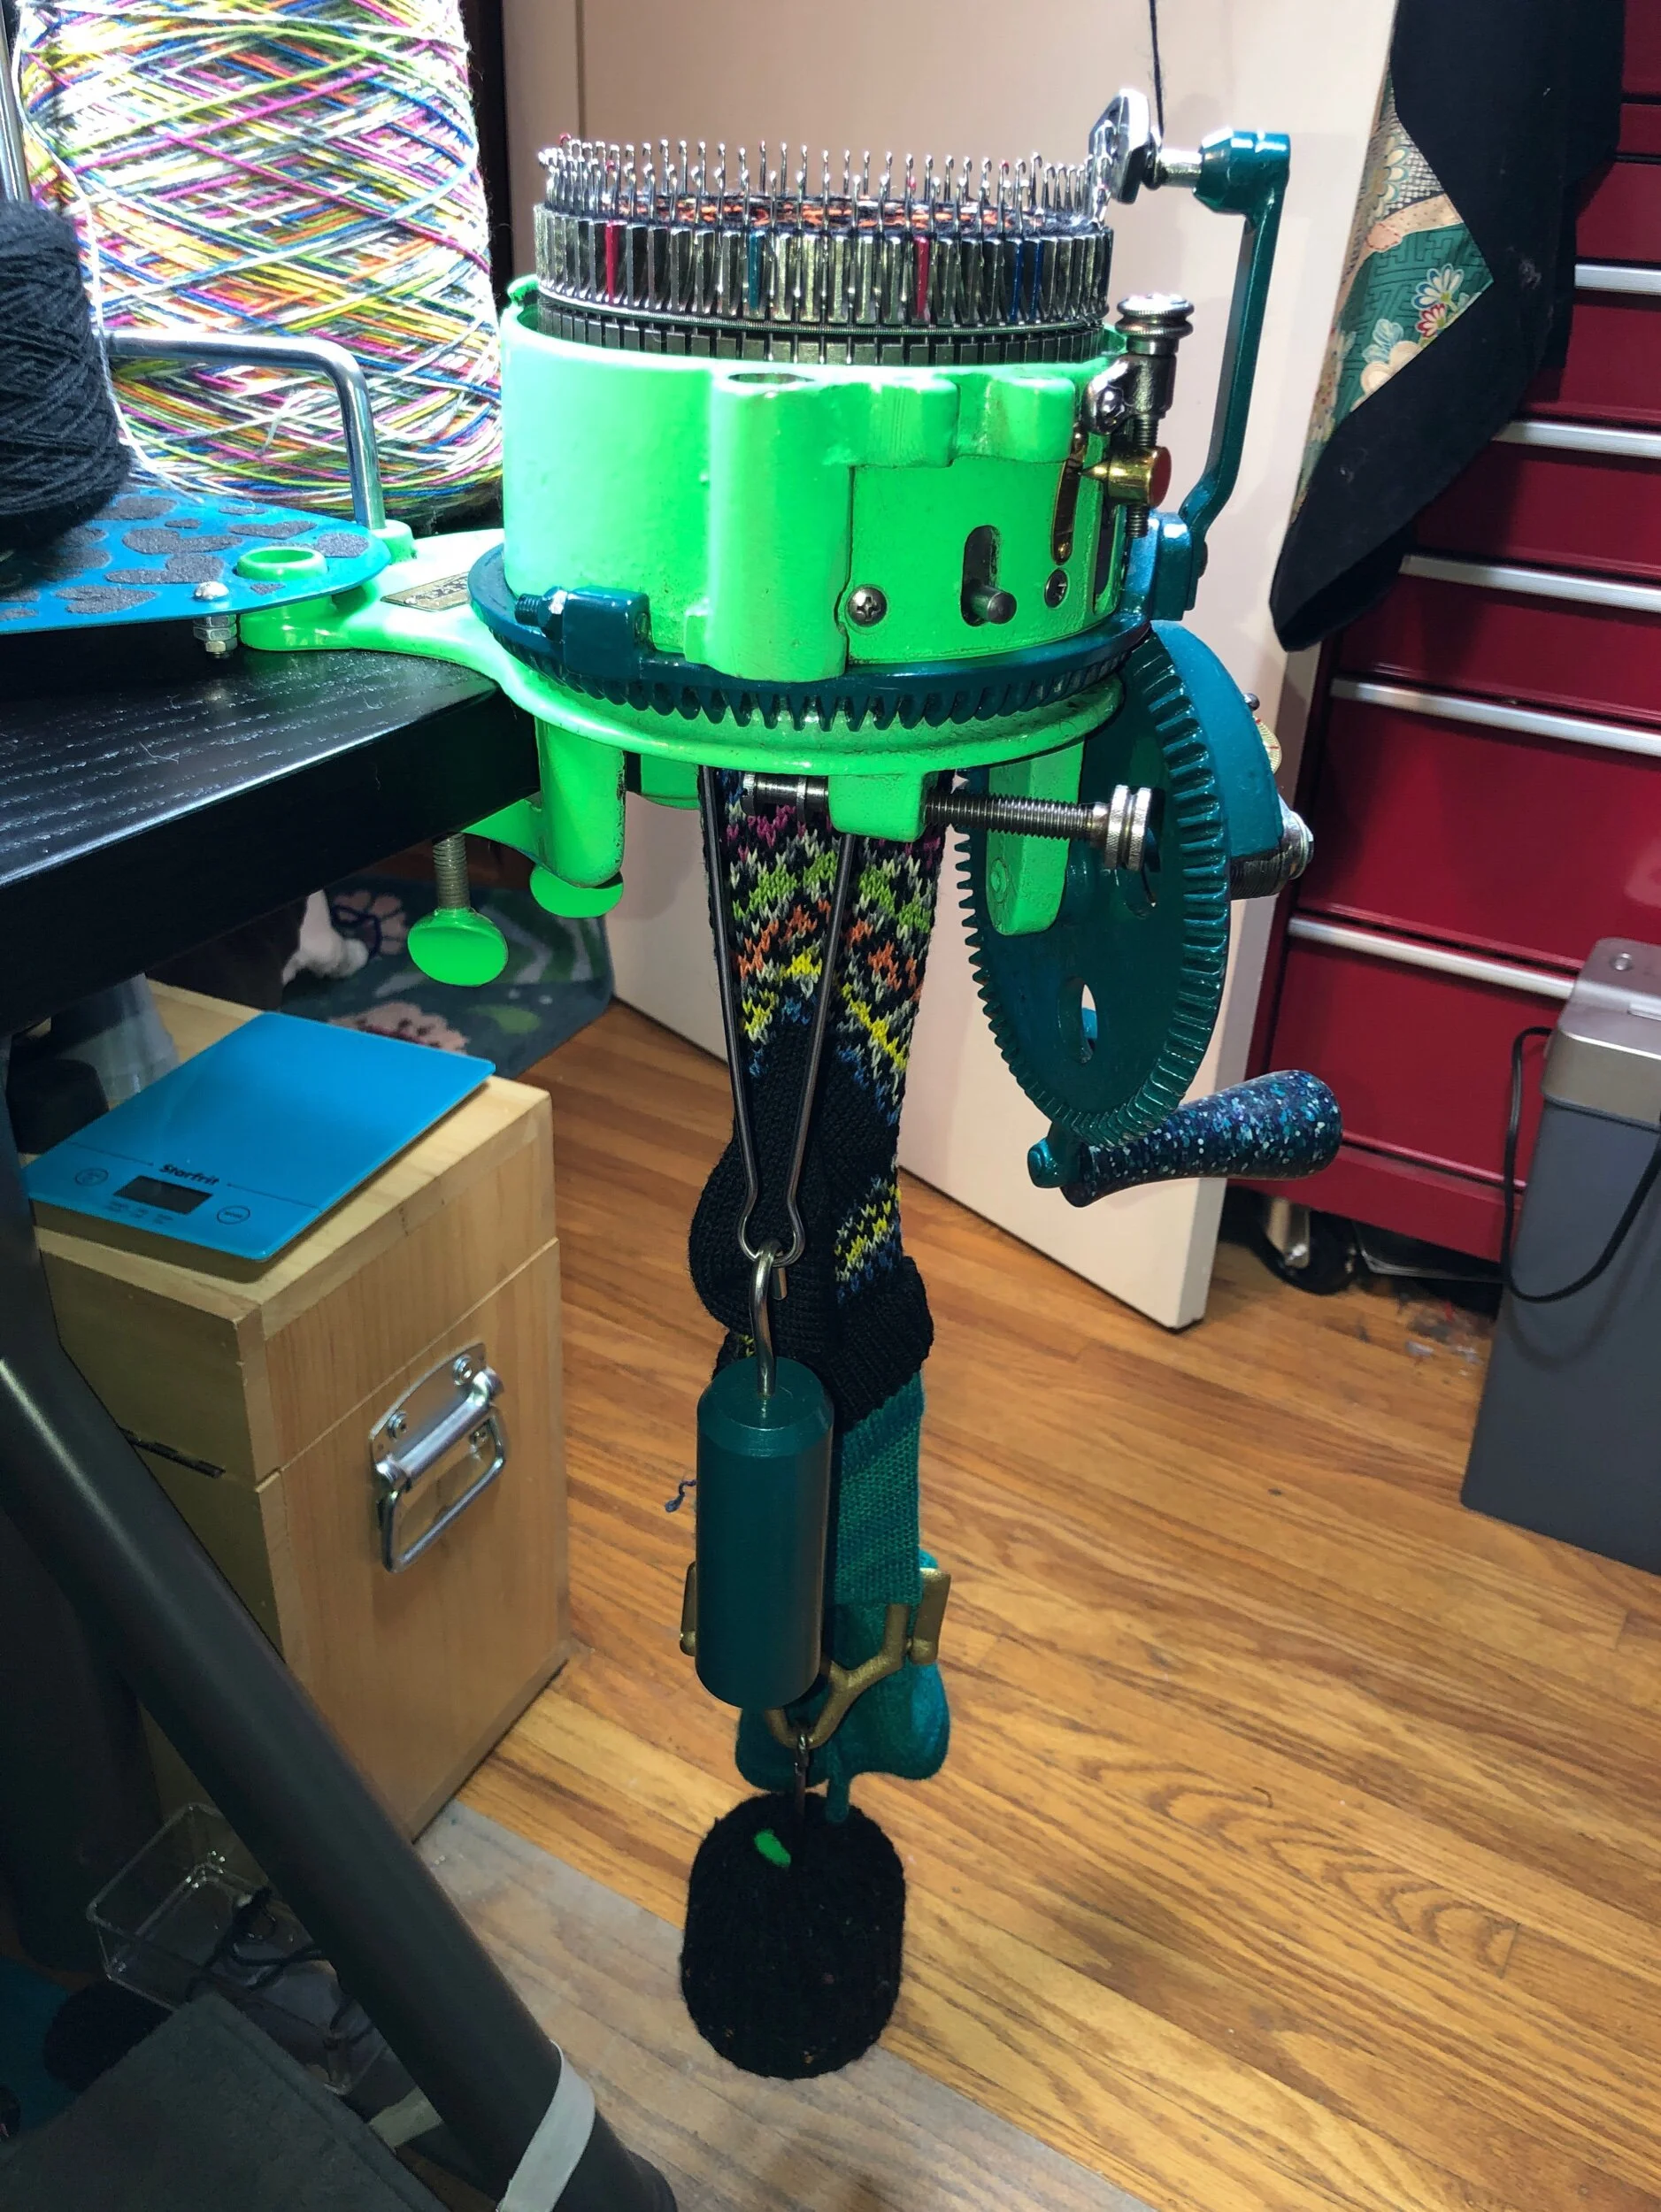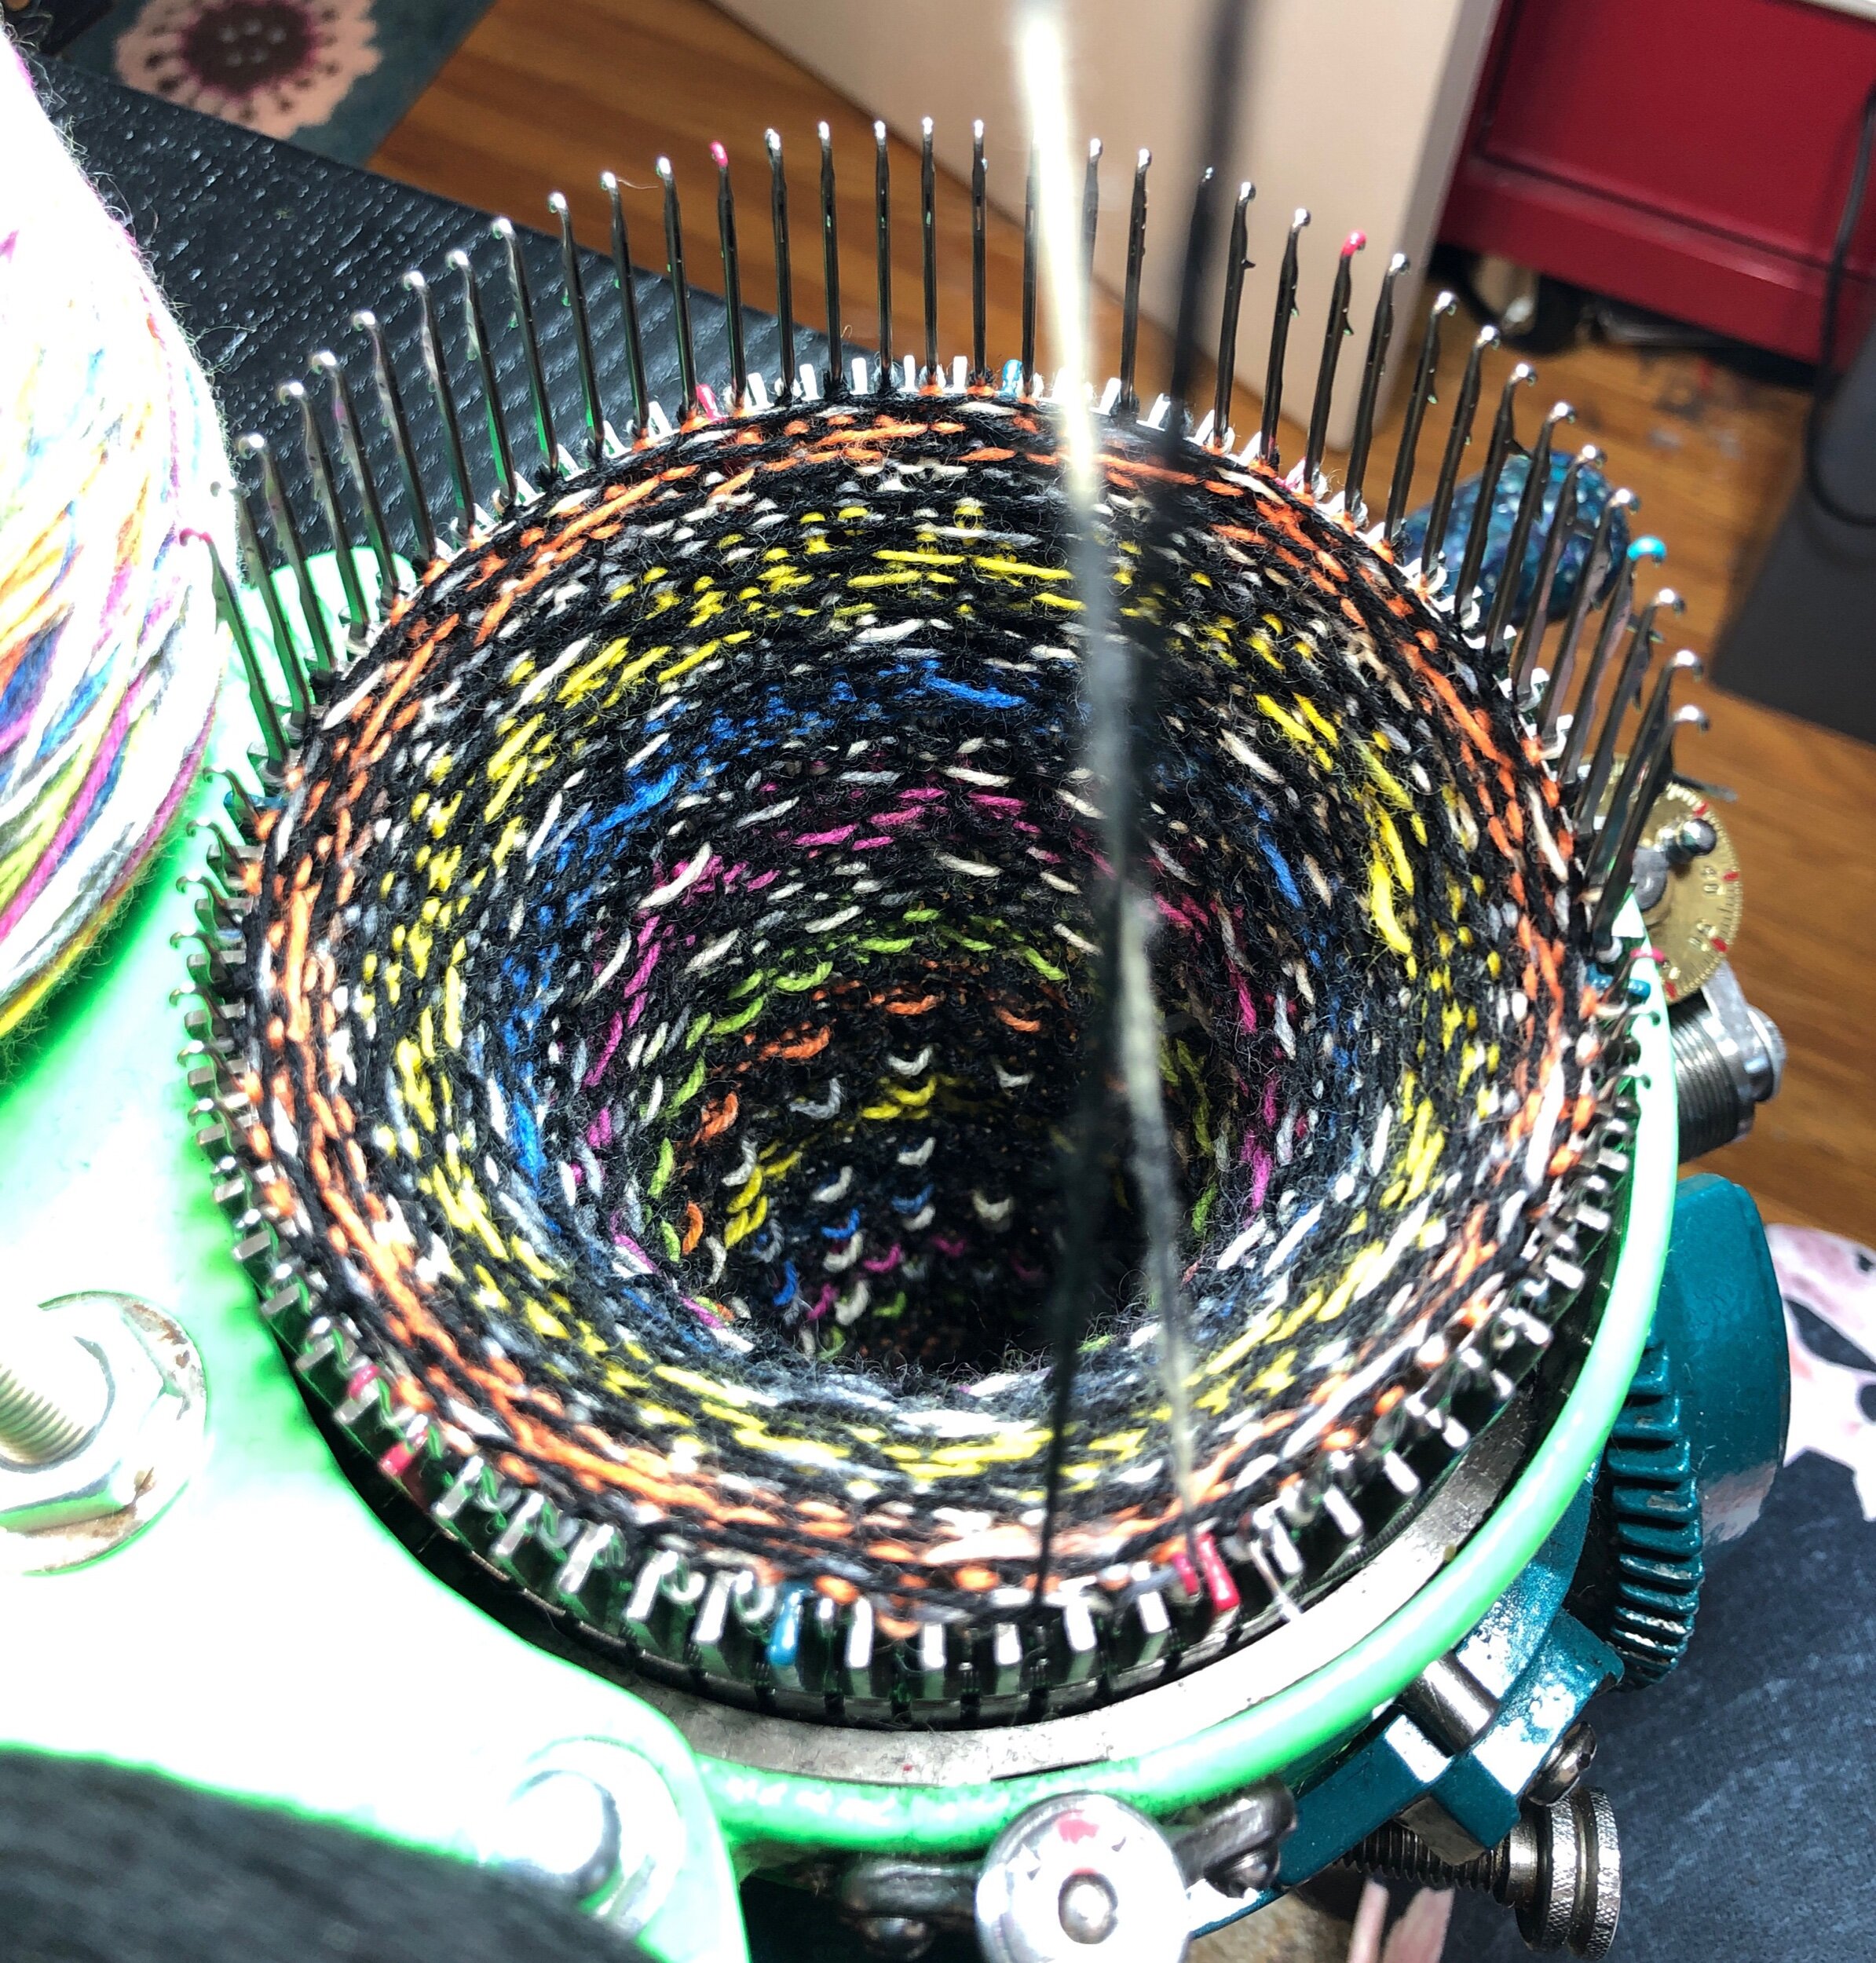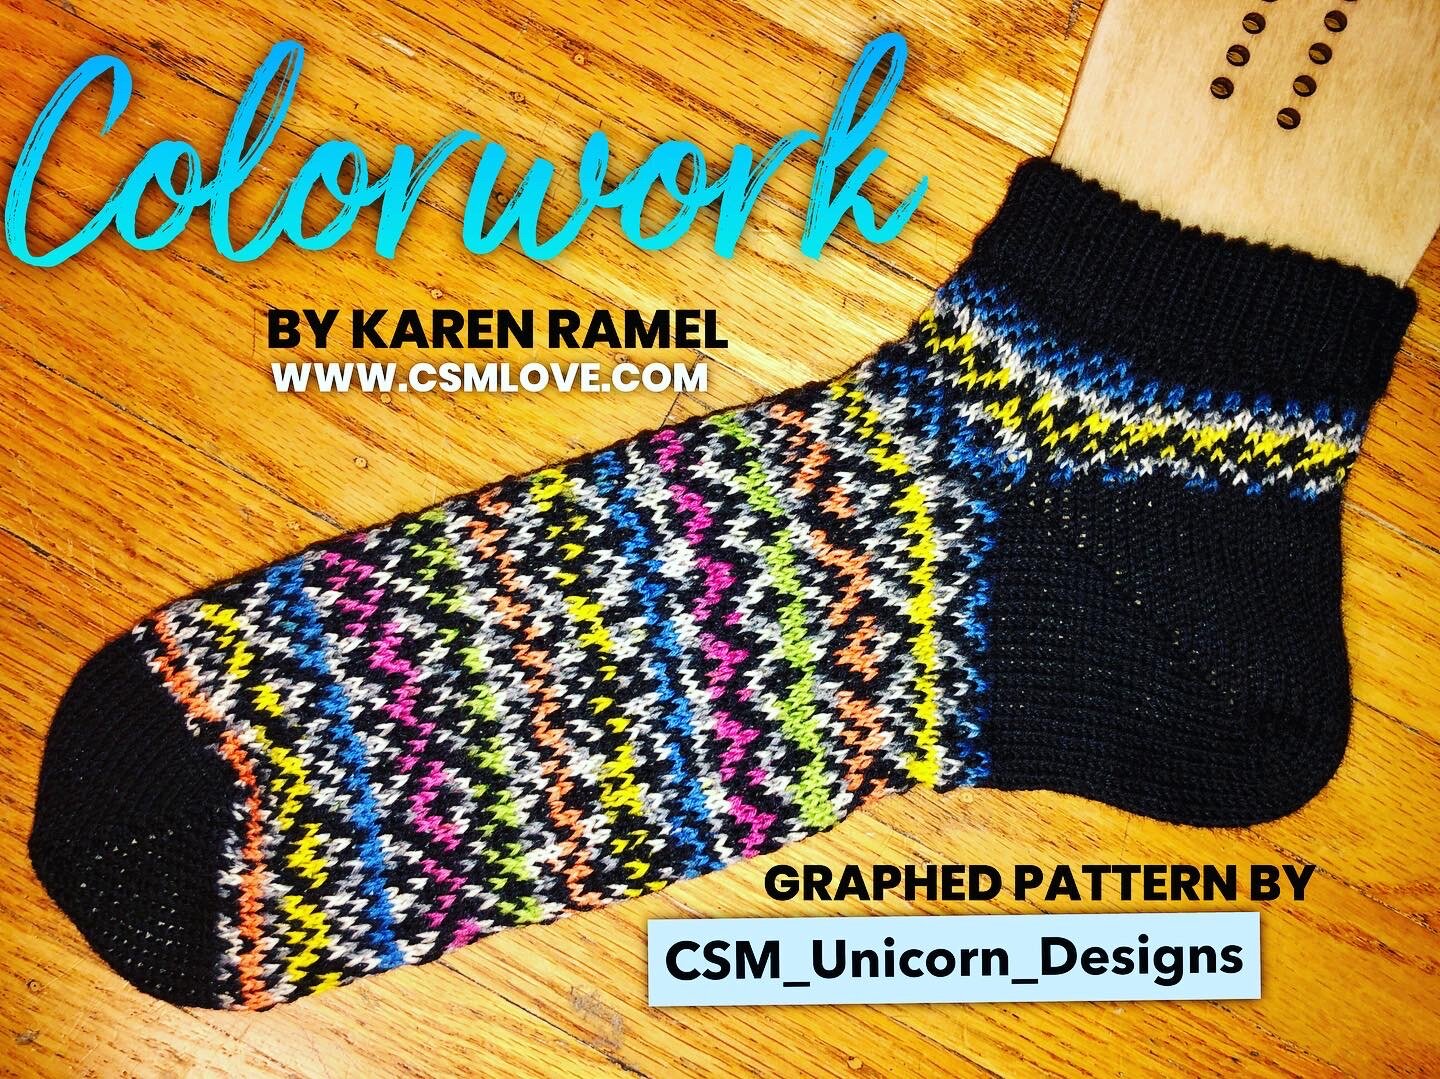
First the videos that this project inspired… (these videos are also listed on my TECHNIQUES page. For more information on accessories which help make colorwork easier see the SUPPLIES I LIKE page.
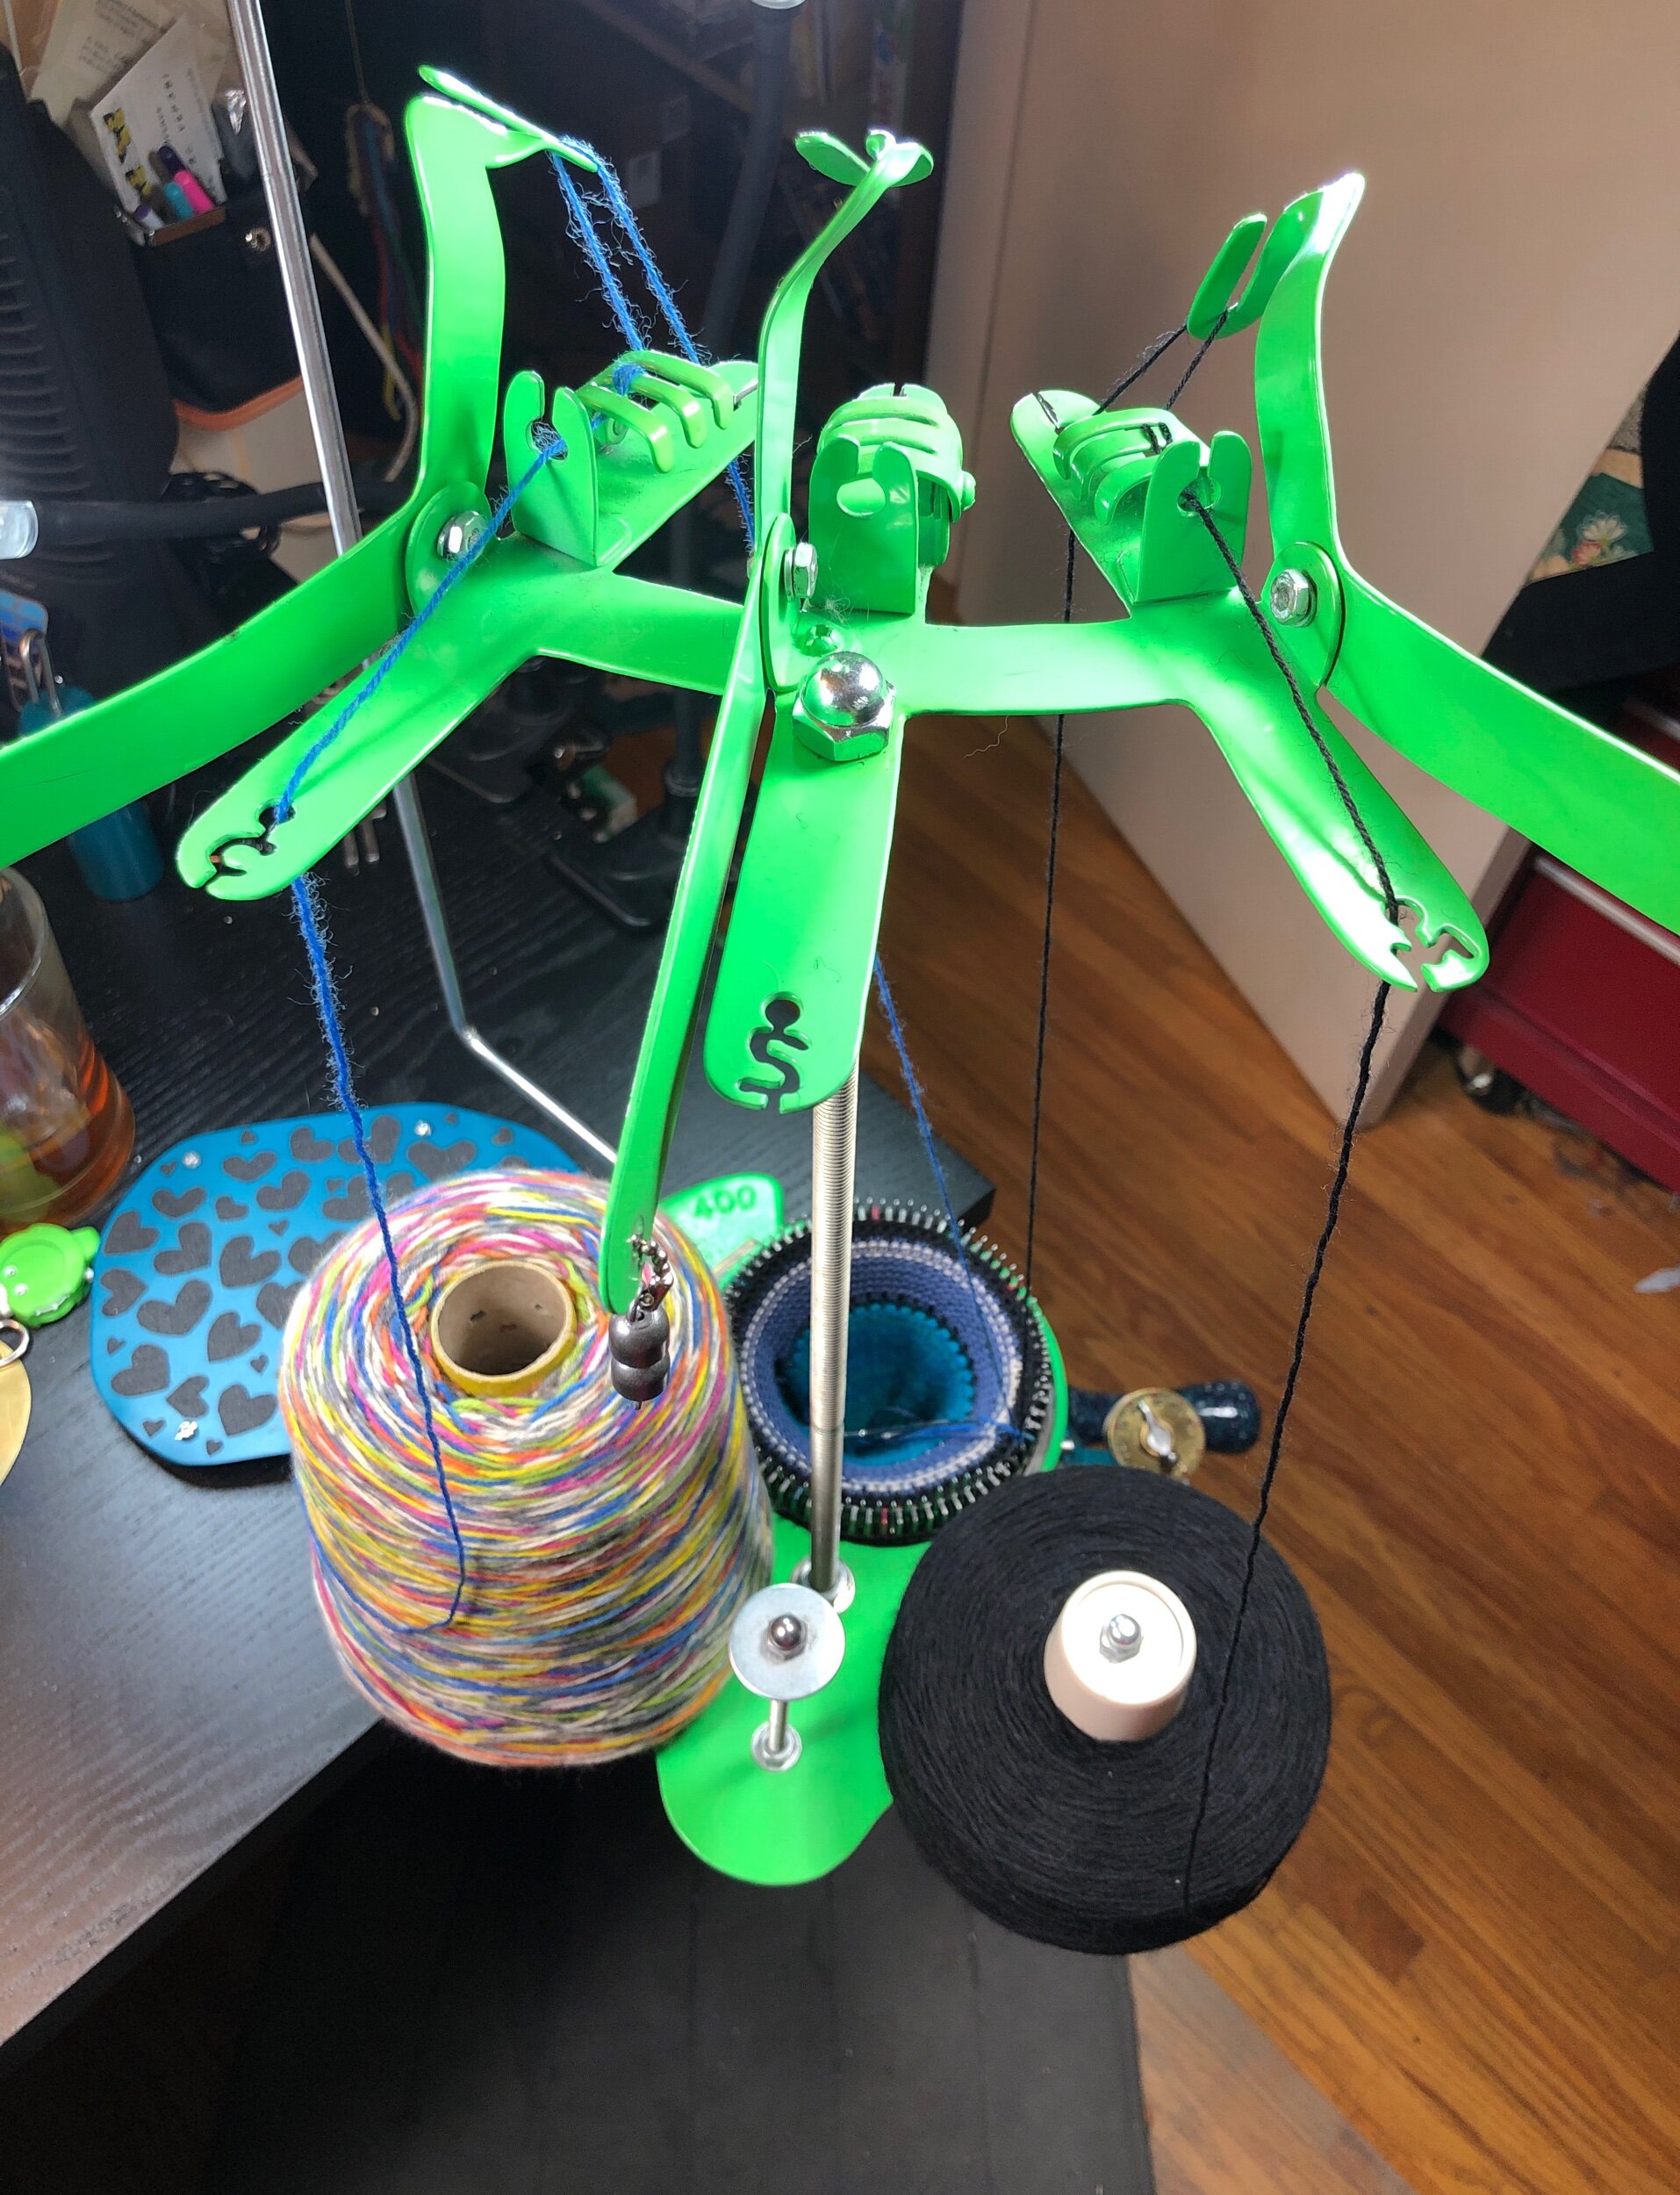
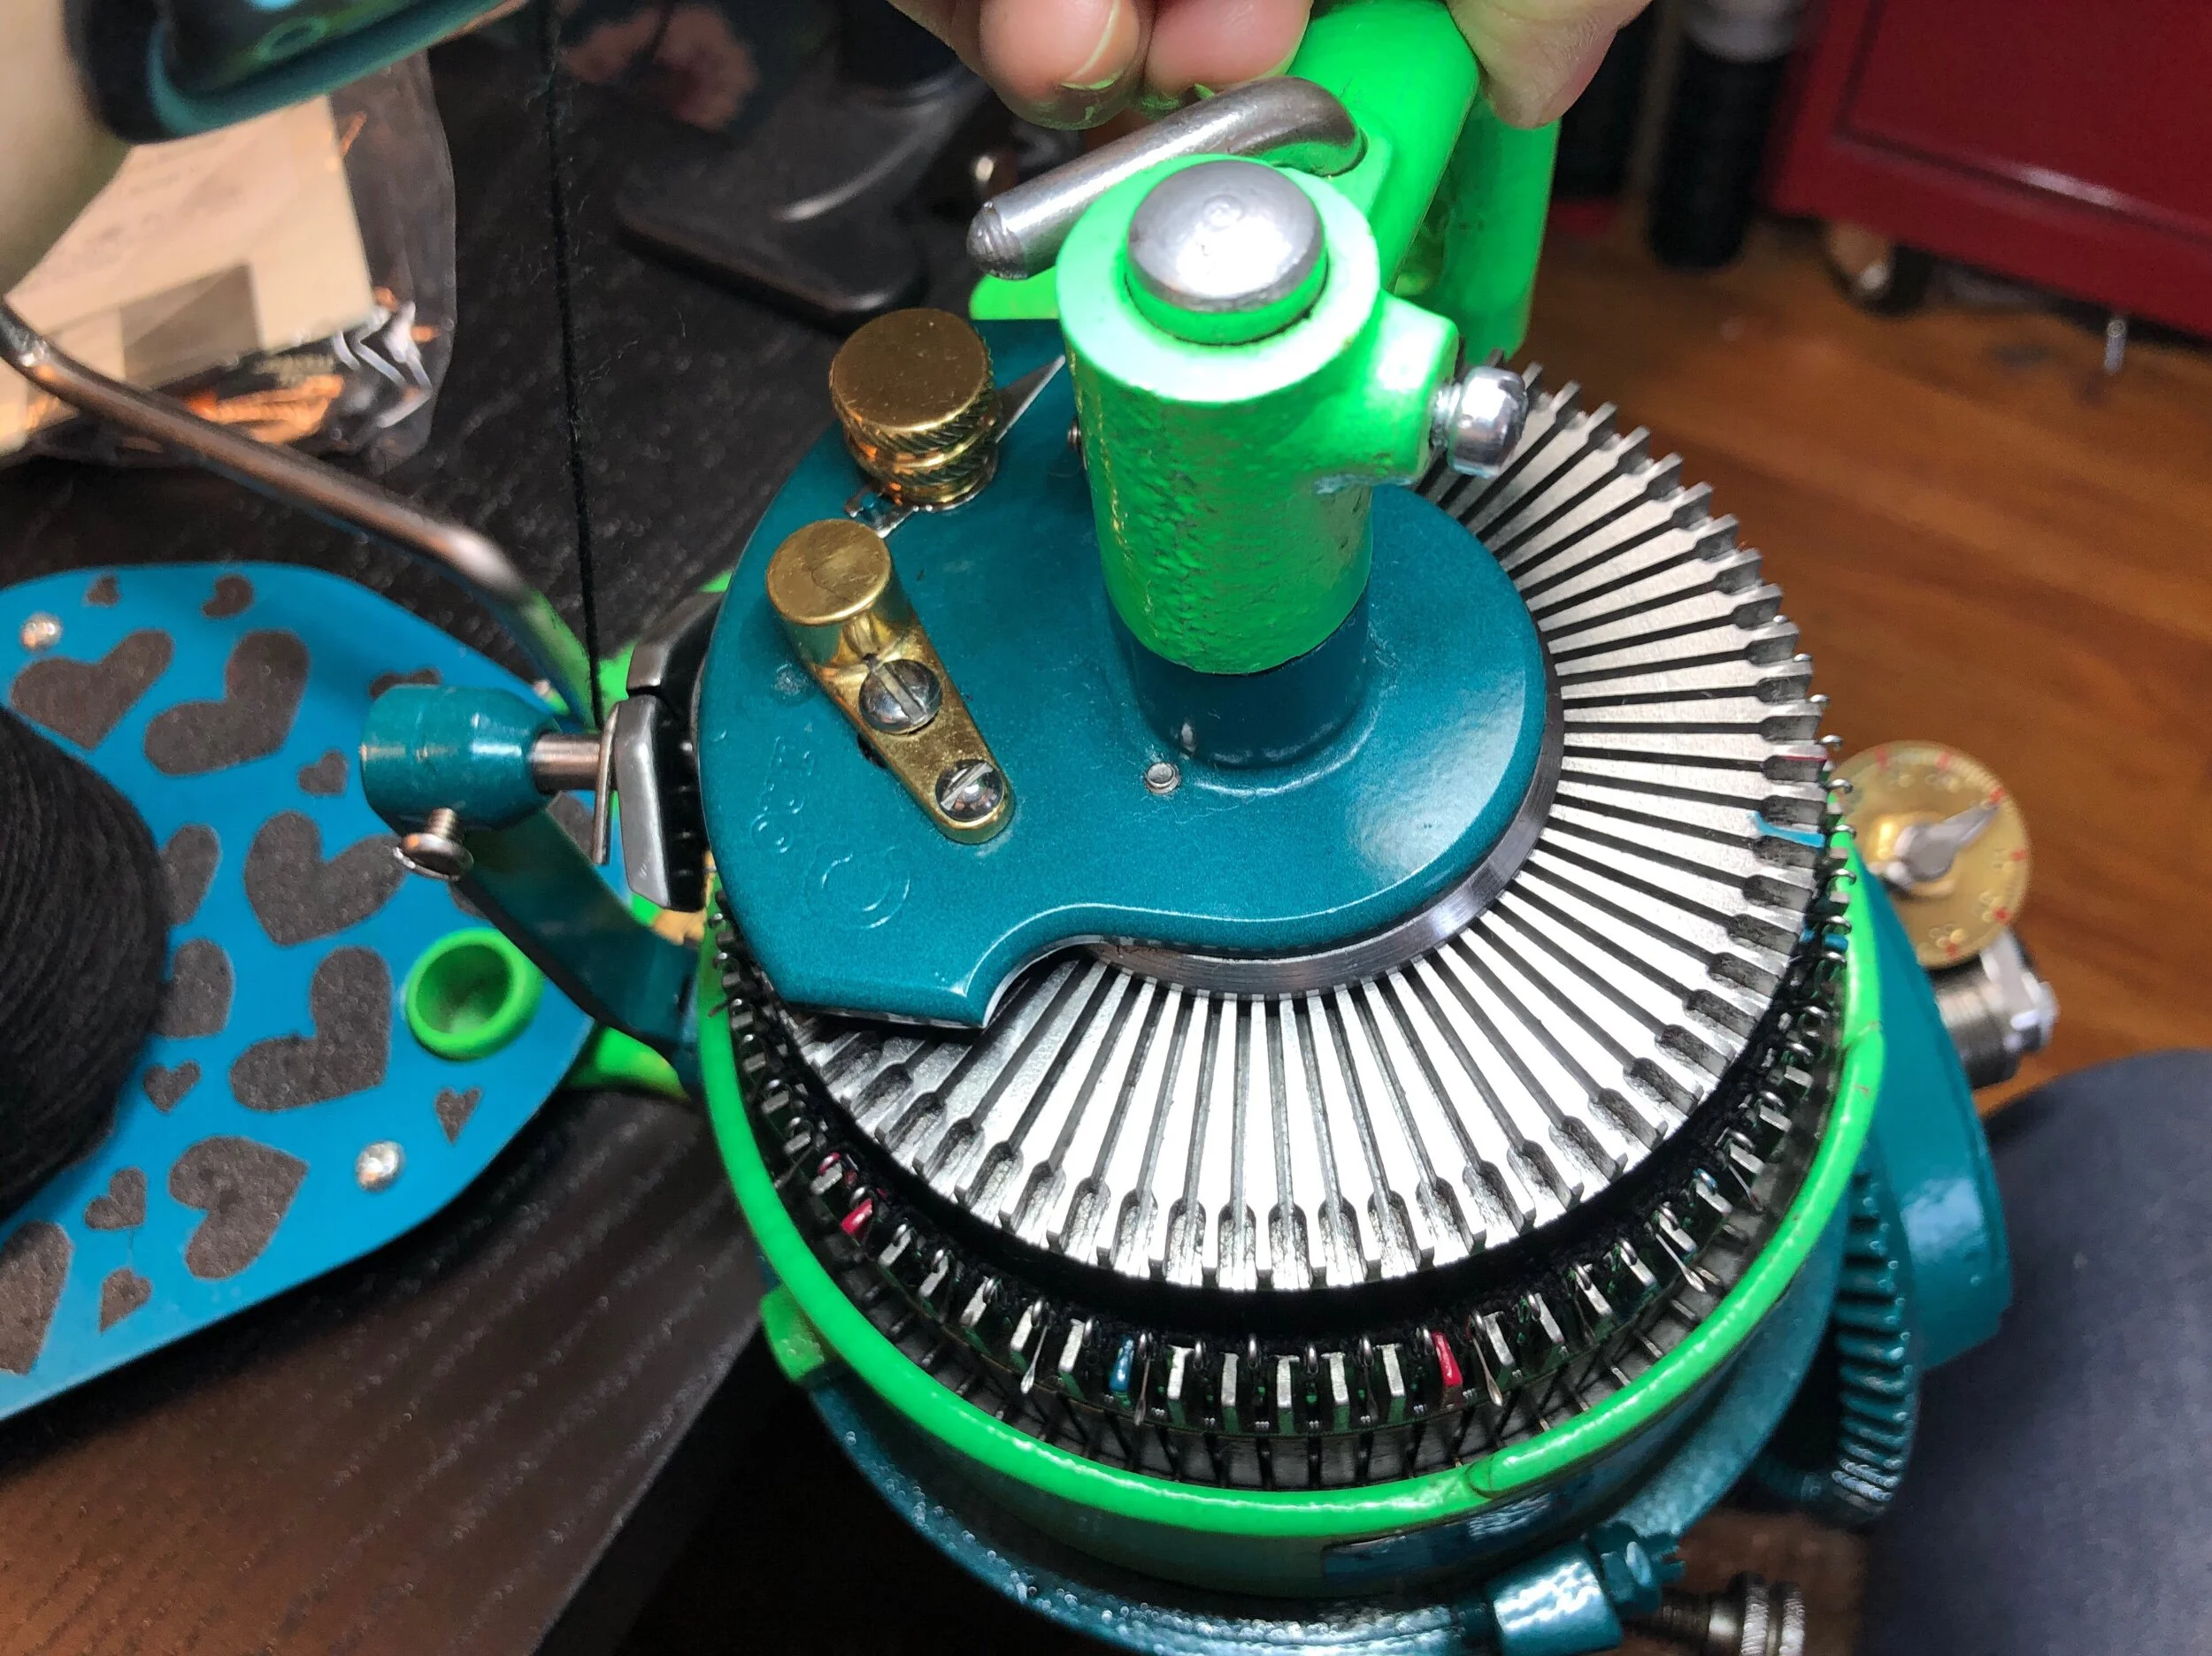
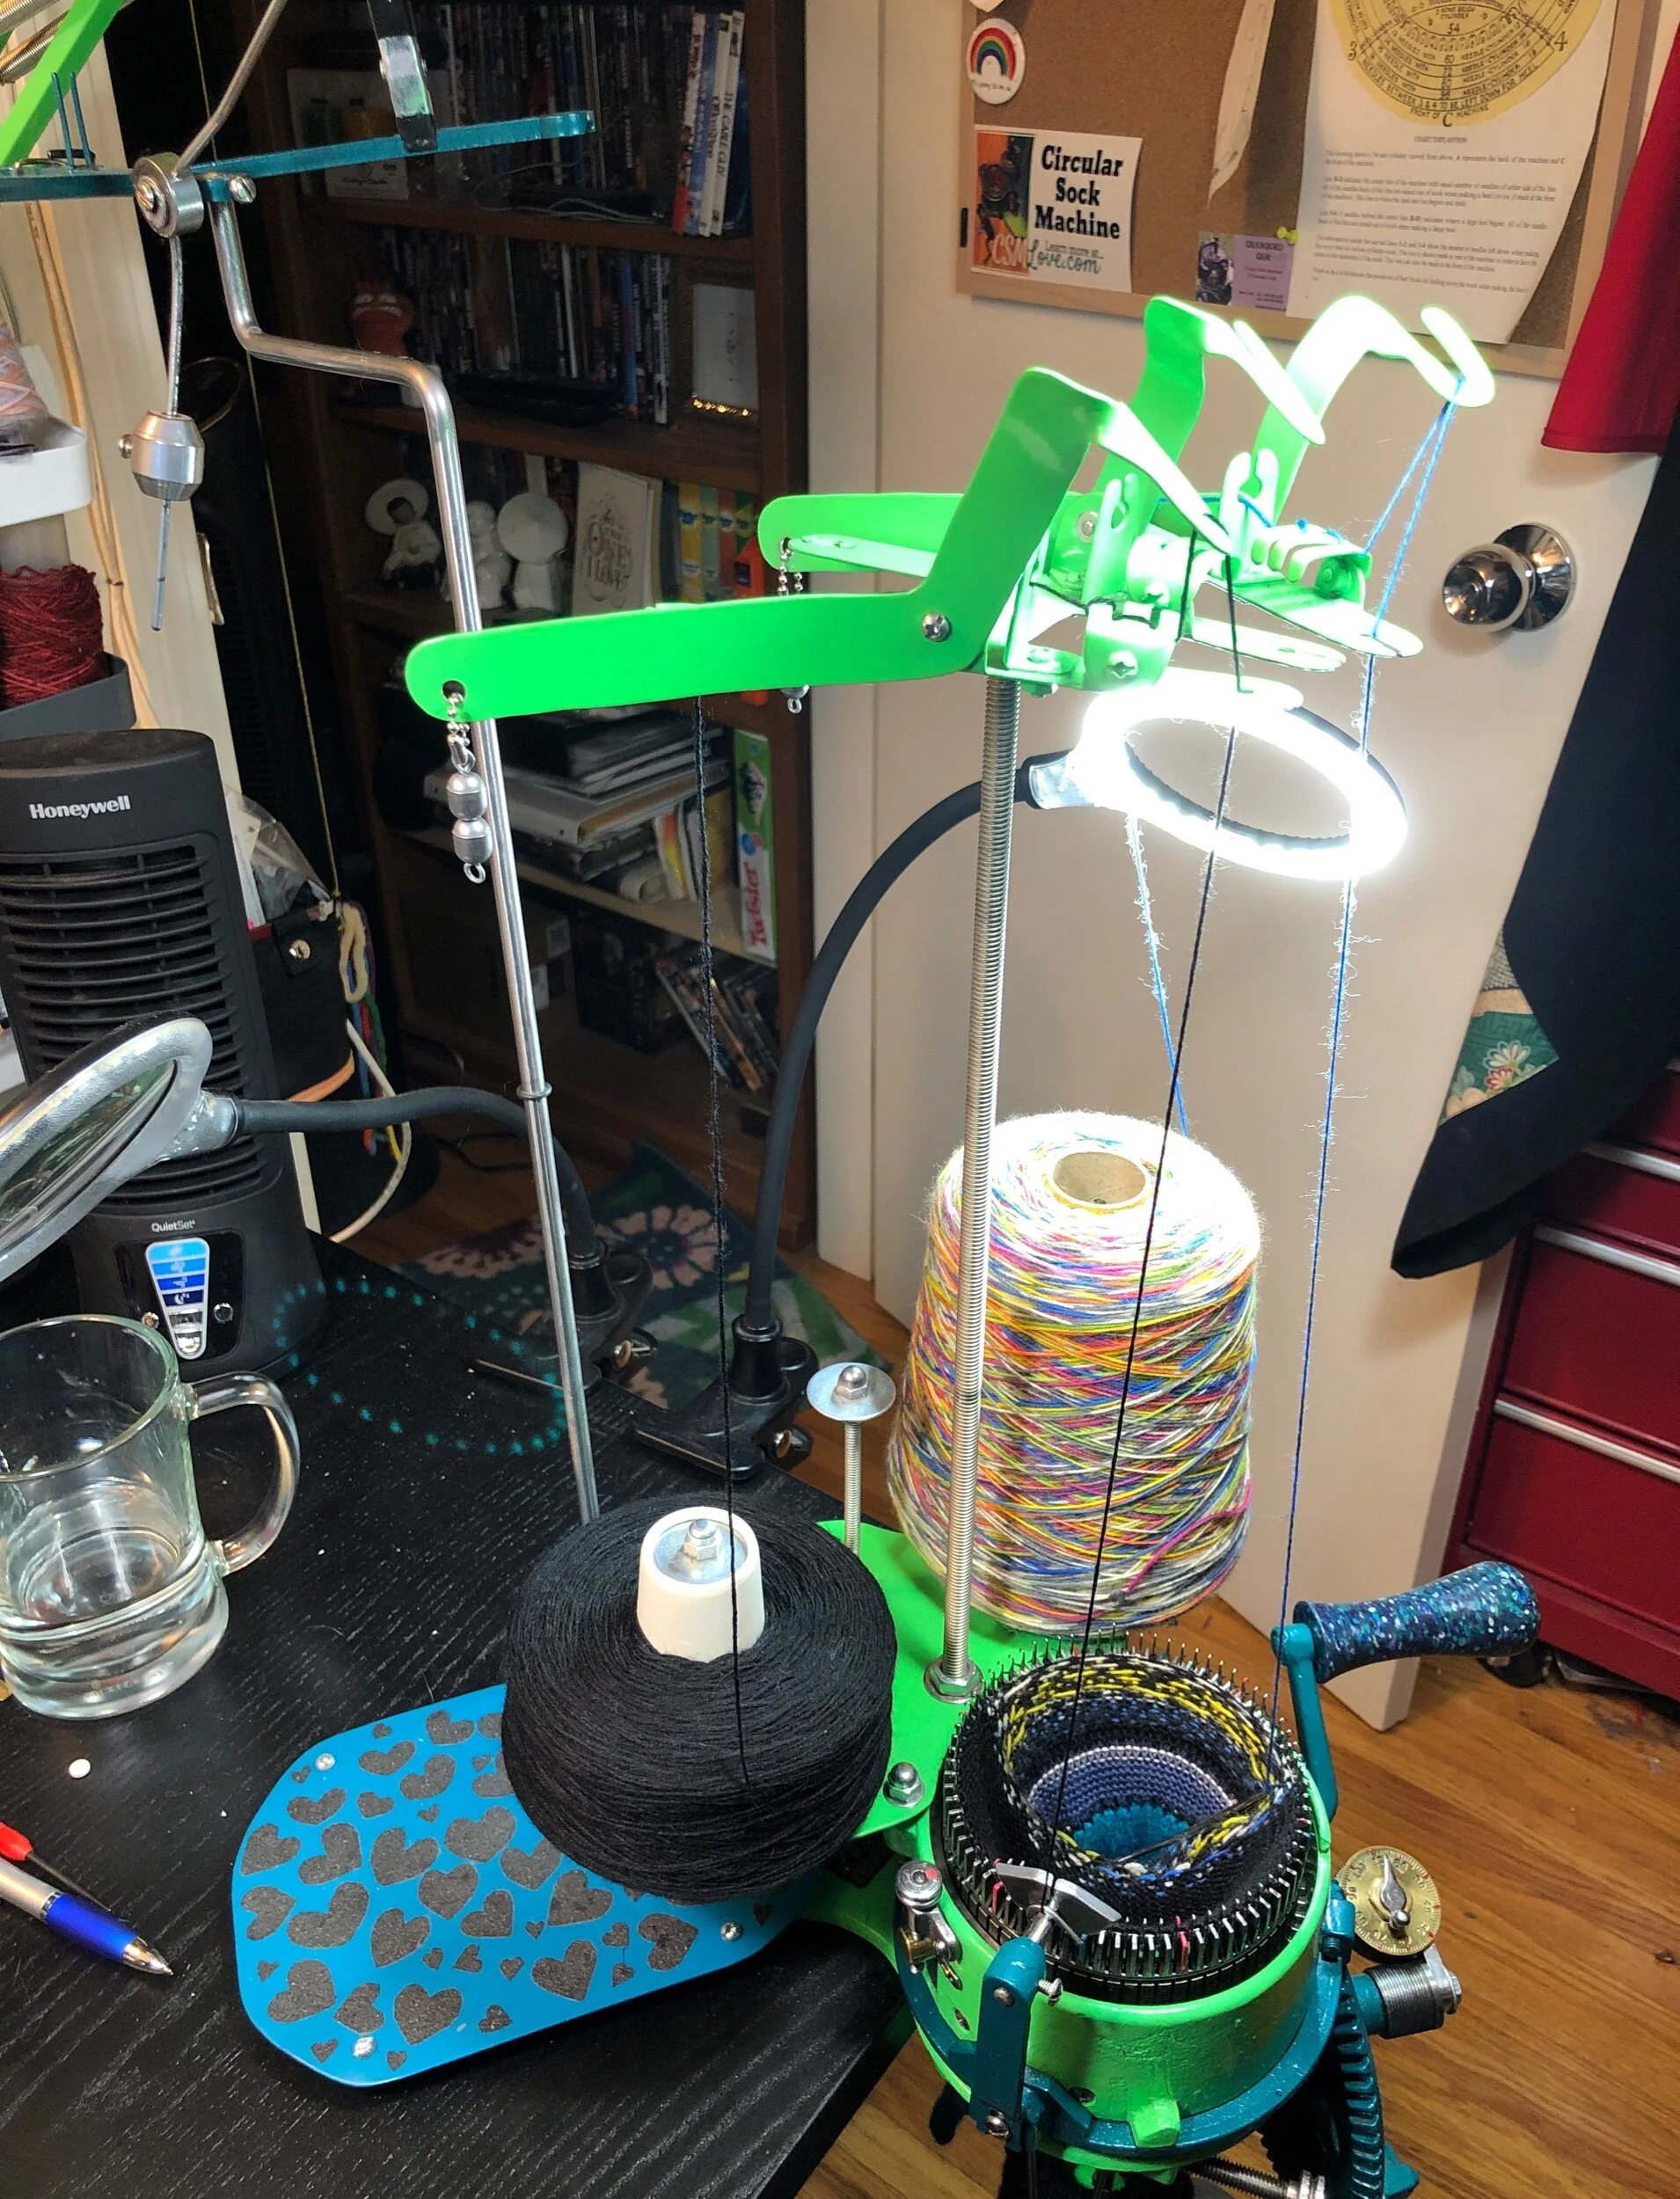
November 2018 using two models I saw online out of metal components and input from my CSM friend Heidi, in my small apartment with a dremel, I created a metal Mini-Mast which would work on my Legare 400. See the blog post.
The wonderful Dave Lord of Chambord CSM powder coat painted it Nov 2020 to match my machine and to protect the metal from metal tarnishing. Somehow I never got around to trying it out until now. :)
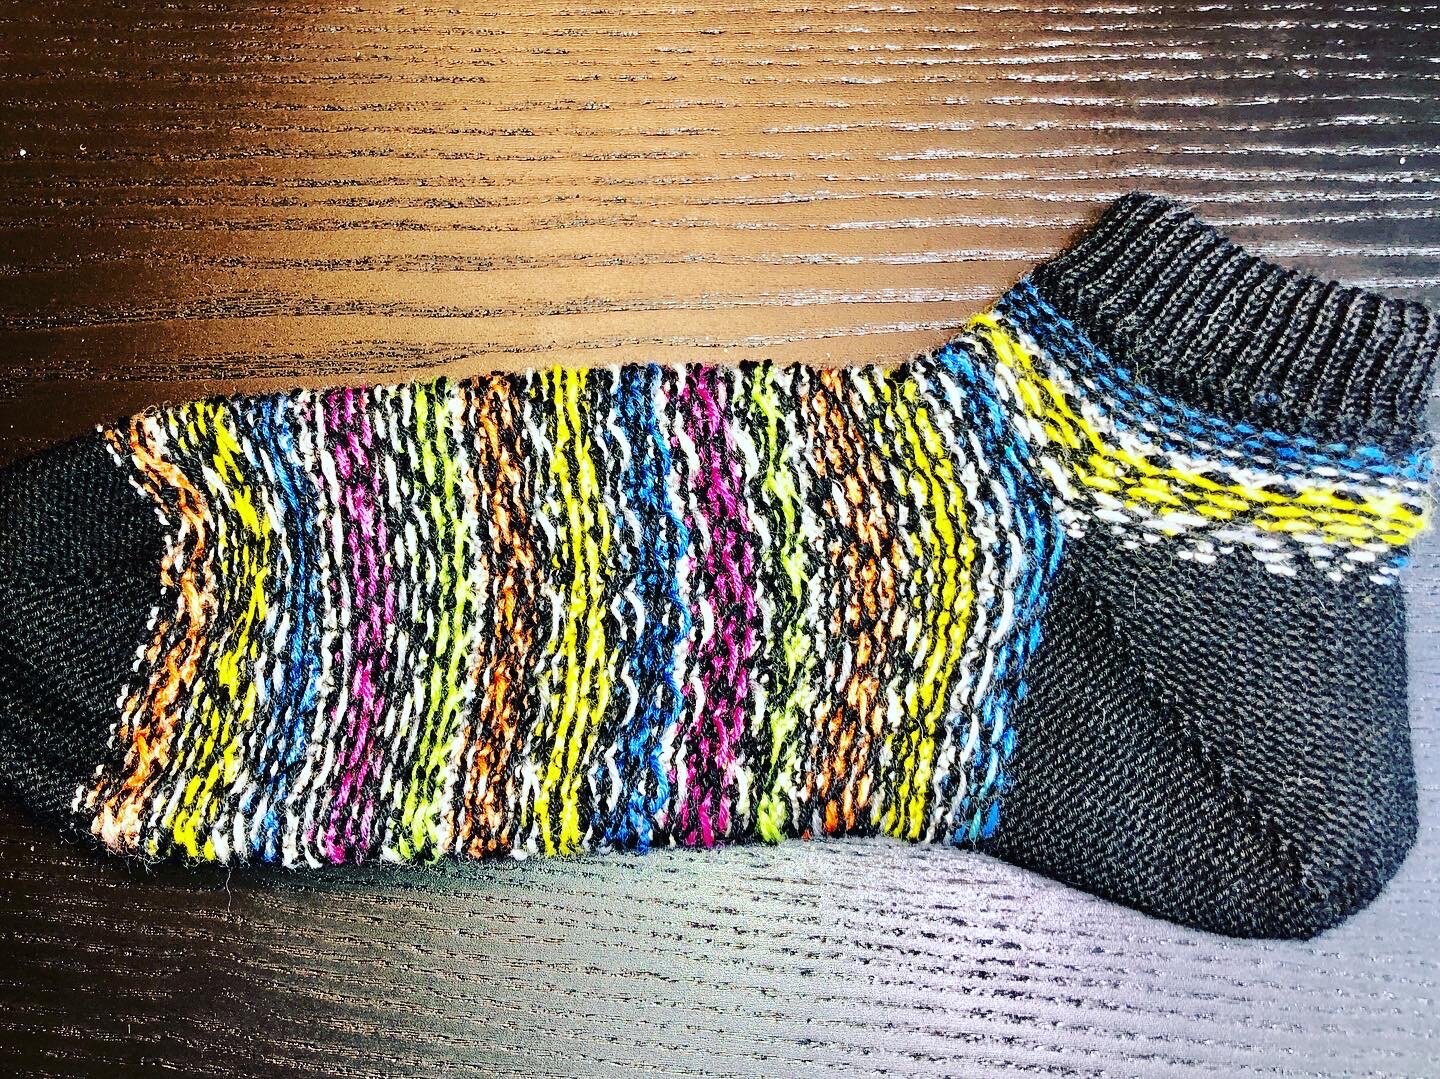
I thought I would share this project on Ravelry as a sock project and on here as a blog entry.
Ravelry Sock Project #168 | See the Ravelry entry for yarn and pattern info (pattern info to come later)
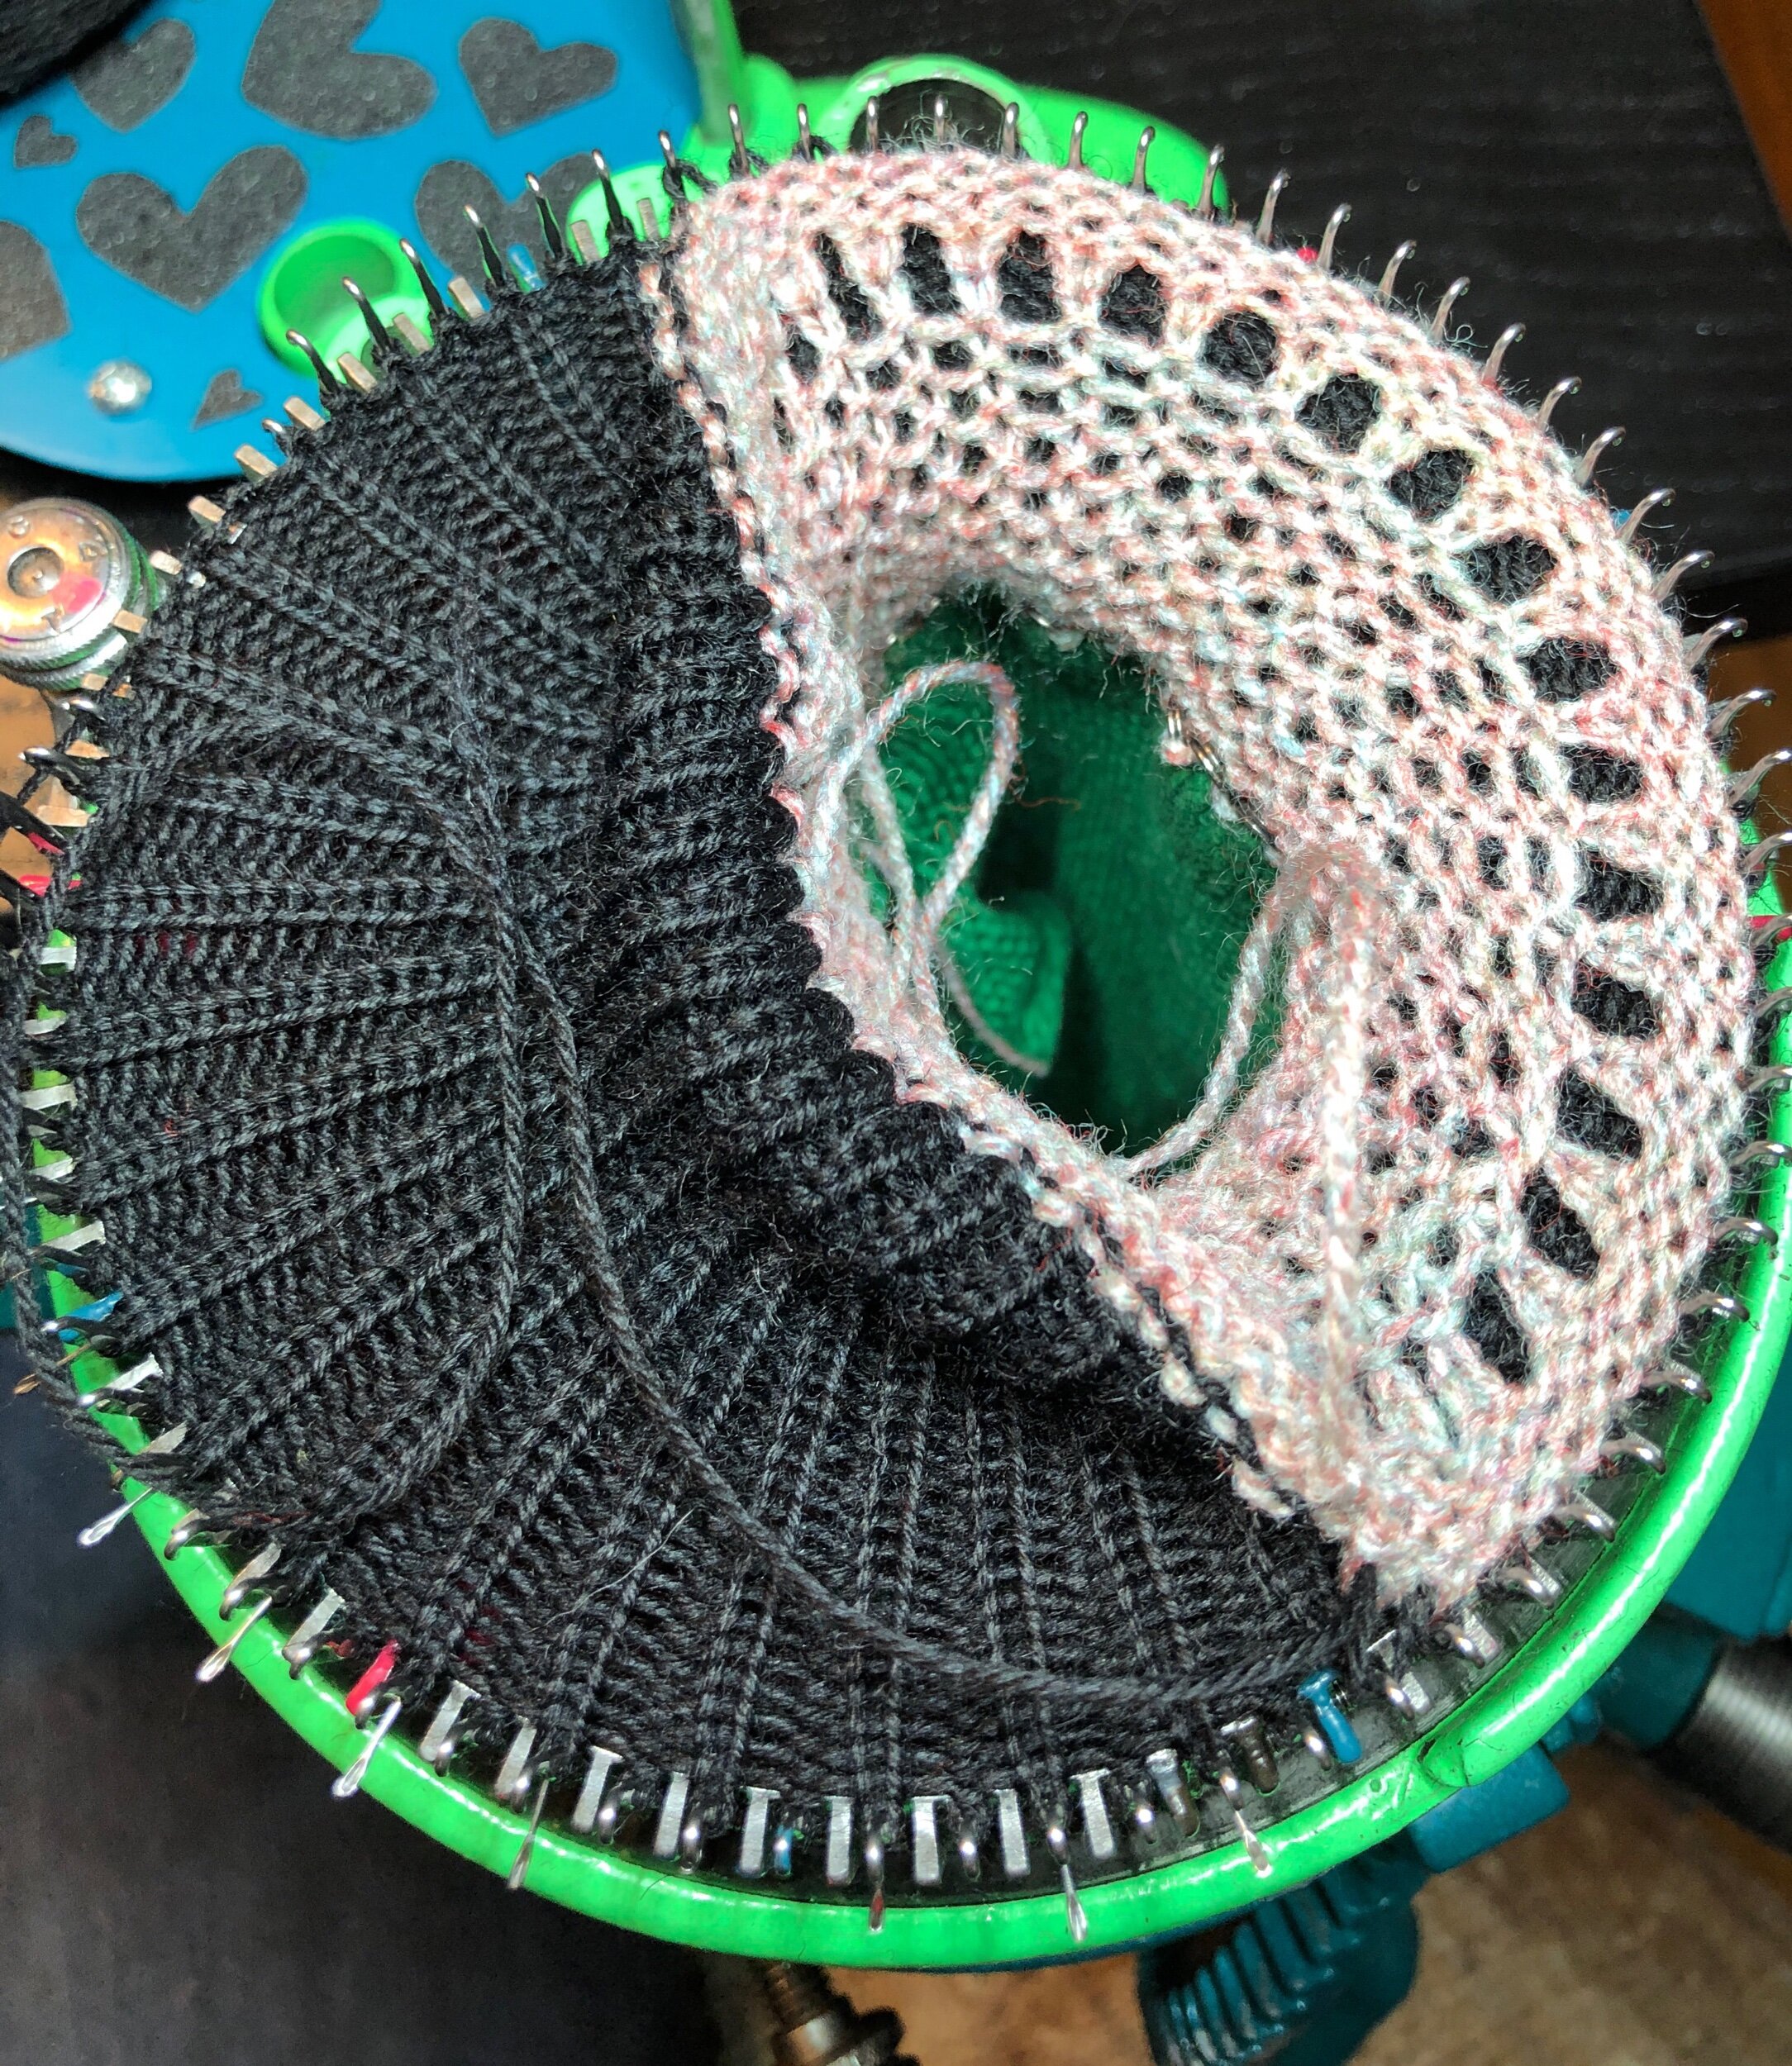
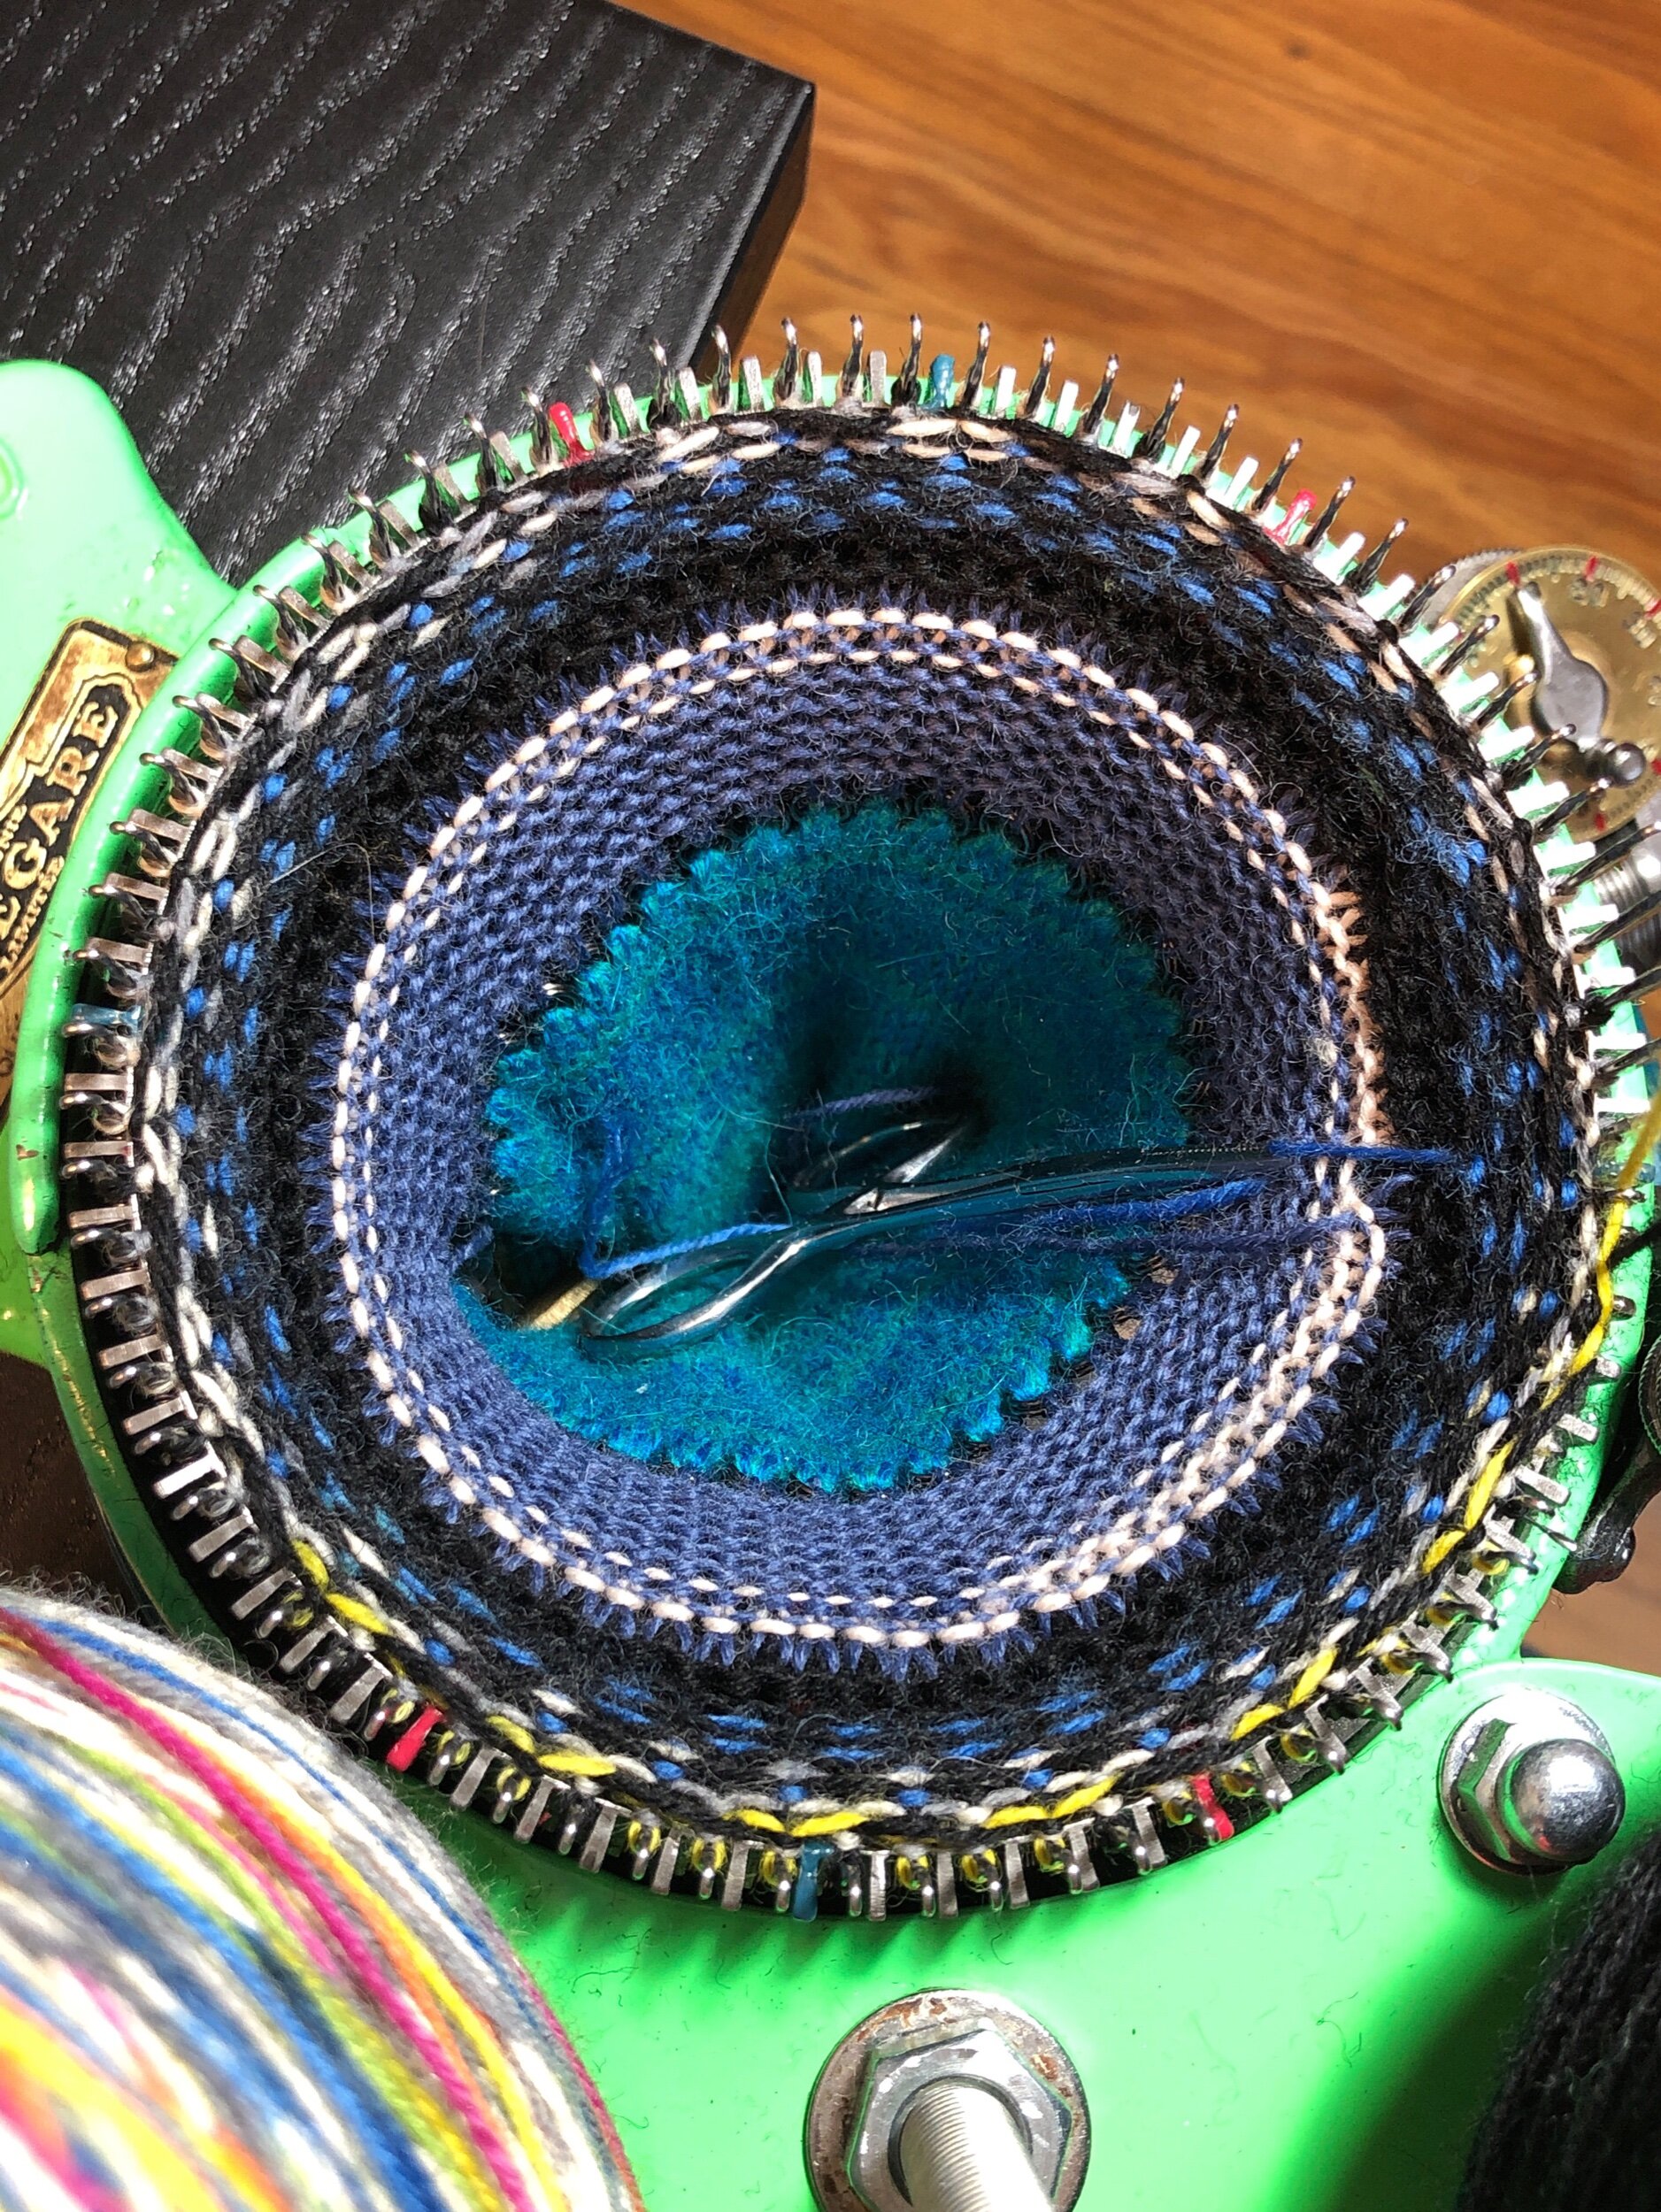
I started this project using a intense 60 needle graphed pattern. I didn’t do any test knitting ahead of time I just started. :) Maybe don’t do that. Test the technique prior to trying. After starting my ribbed cuff hung hem Shortie sock I worked two rows of black yarn then worked through maybe 15 intense colorwork rows. Then I noticed I lost my place in the sequence and felt I accidentally did the row below the one I meant to be on. Then I noted how loose the first 5-9 rows were. It’s actually kind of hard to determine how your doing from the Purl side you work on. I felt I needed to restart after 3 days of work. I took a photo of the sock off the machine - looked better than I’d hoped. It inspired me to do a quick video - CSM: Quick colorwork tip
But it wasn’t right so I started again. I got 8 rows into the intense graph and was presented with a graphed pattern we both liked more. Darn. That inspired me to do another video - CSM: Quick CSM Legare Unknitting
I then deleted all the prior pattern sock images after spending way too much time manually undoing all that work - it would have been all the faster to restart for sure - but I’m stubborn. I won. :)
Between project start and this moment I’ve also extended the height of my DIY mini-mast from 11” to 16” to better accommodate taller cones not considered when I built my mini-mast. I also installed reinforcement to my new sit/stand CSM/computer desk for better easier to move lighting. Oh and I had a birthday. :)
Now back at it.
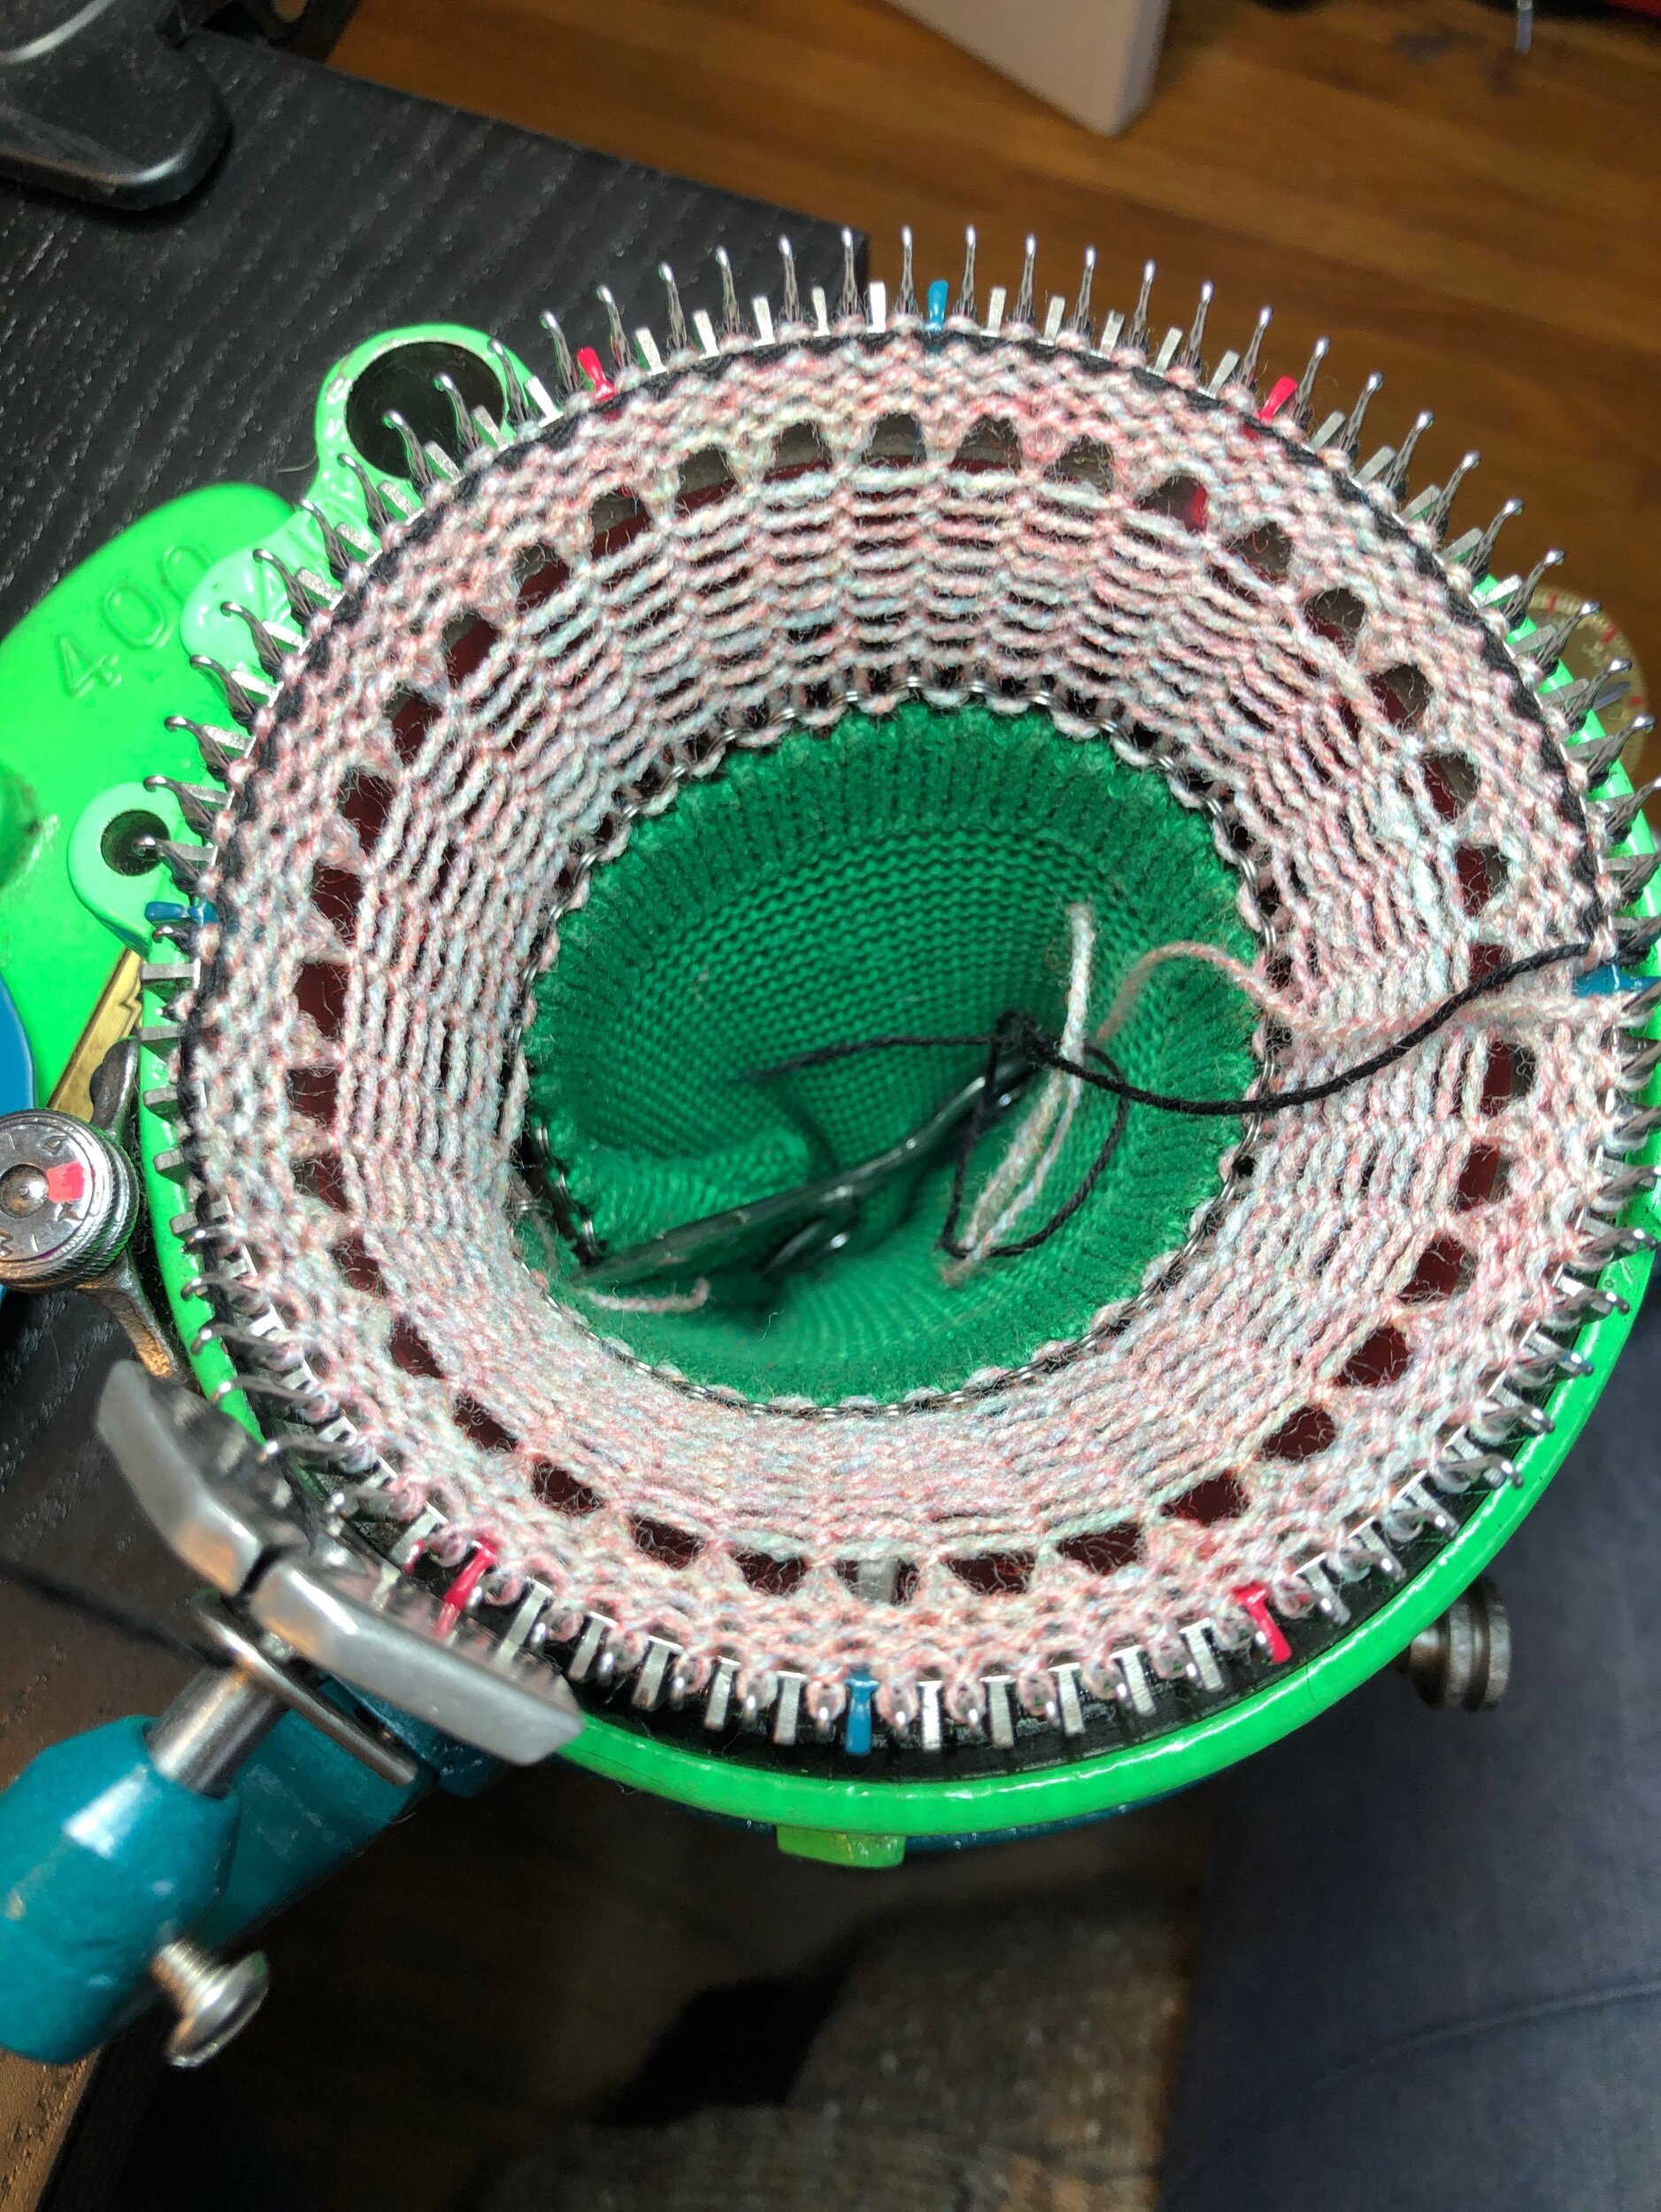
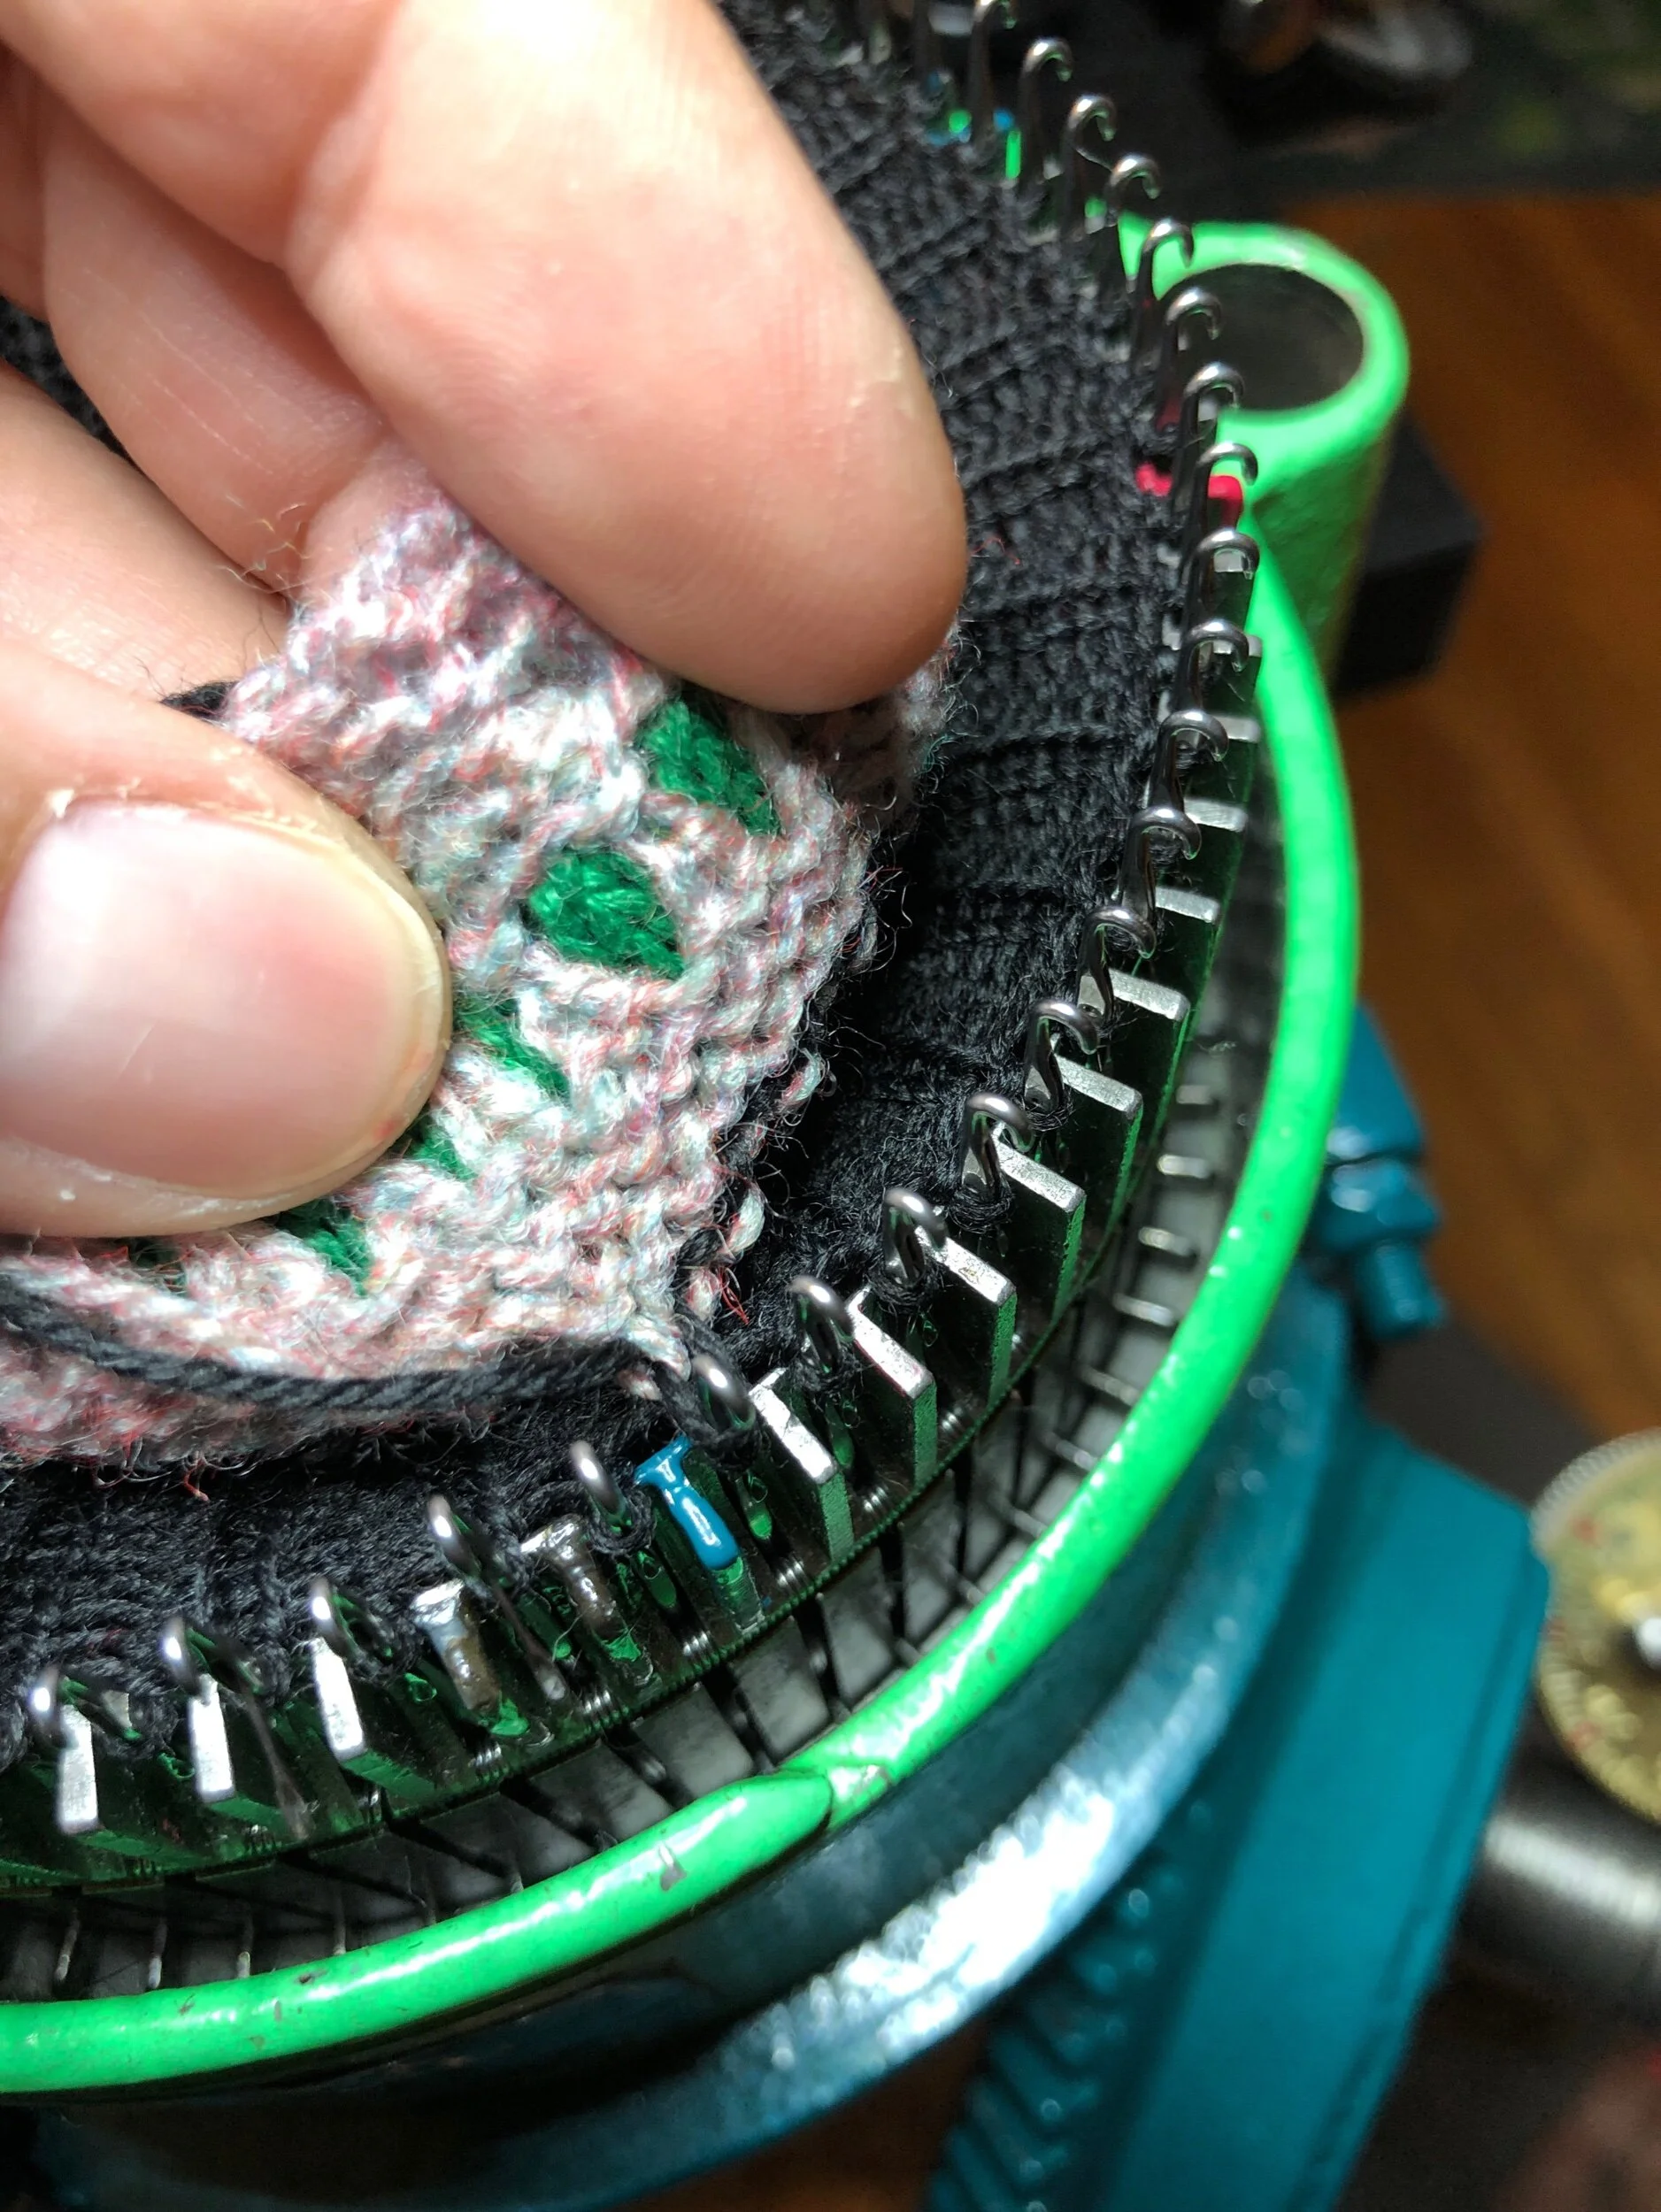
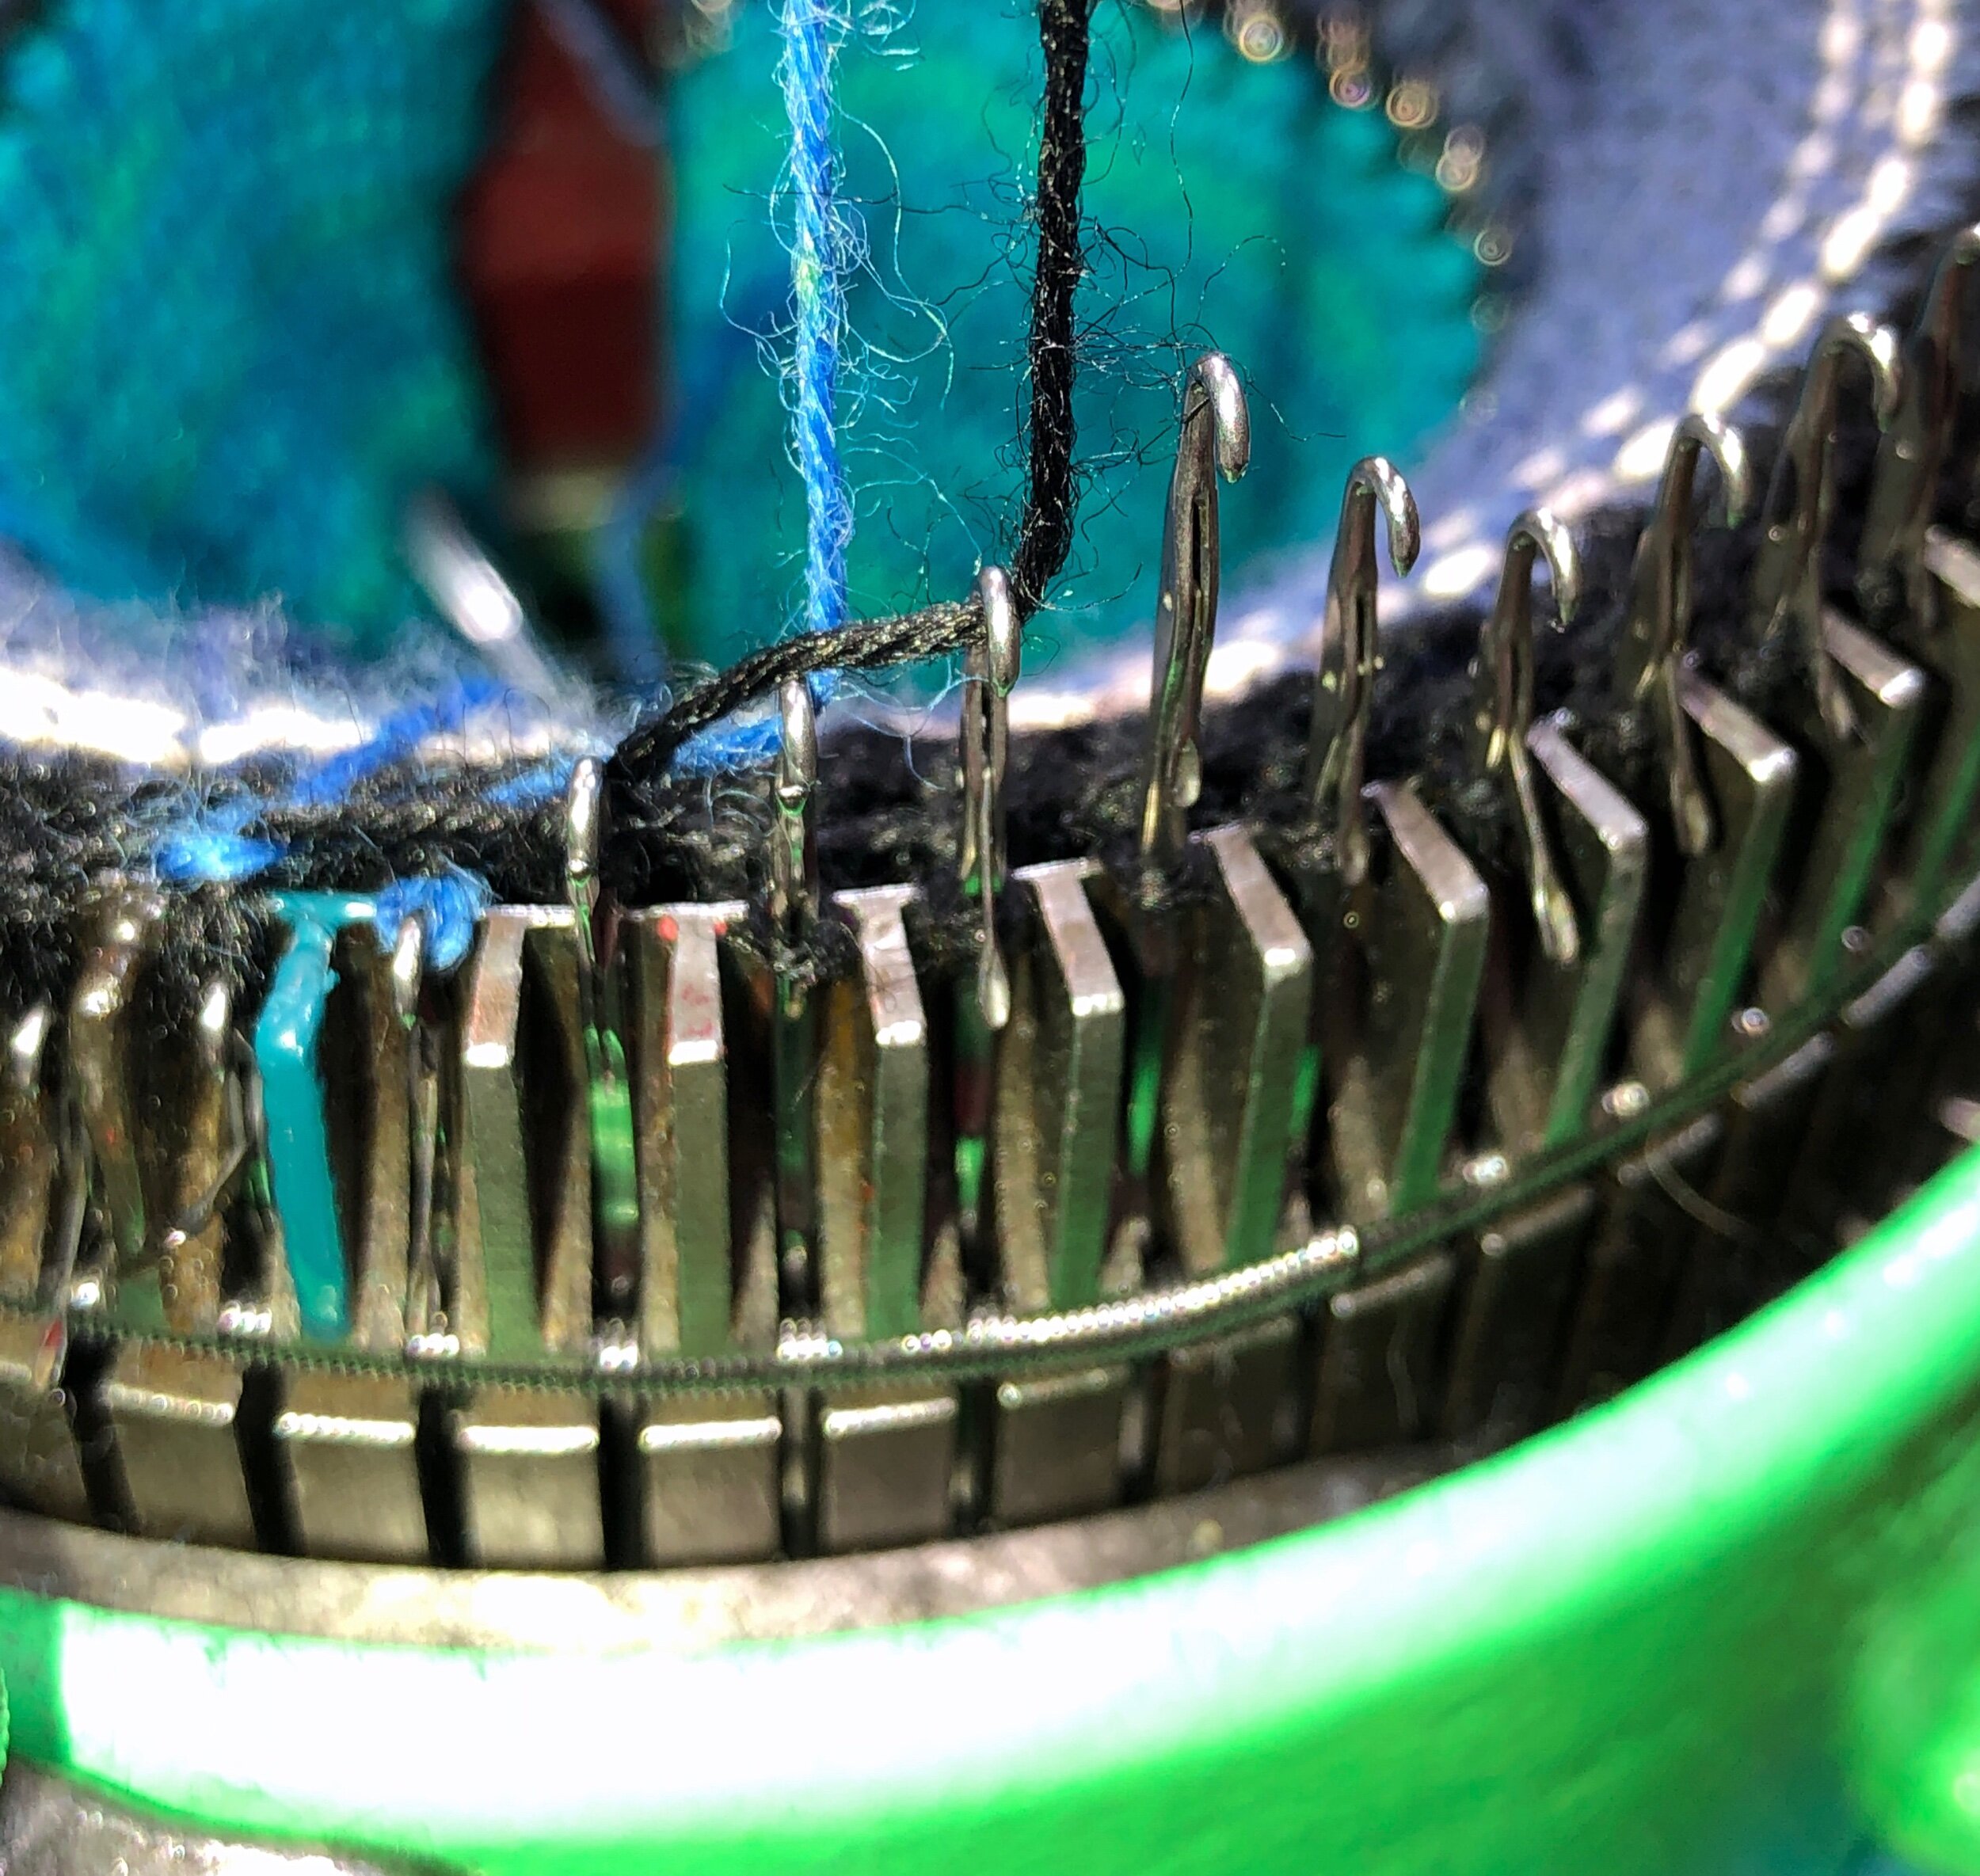
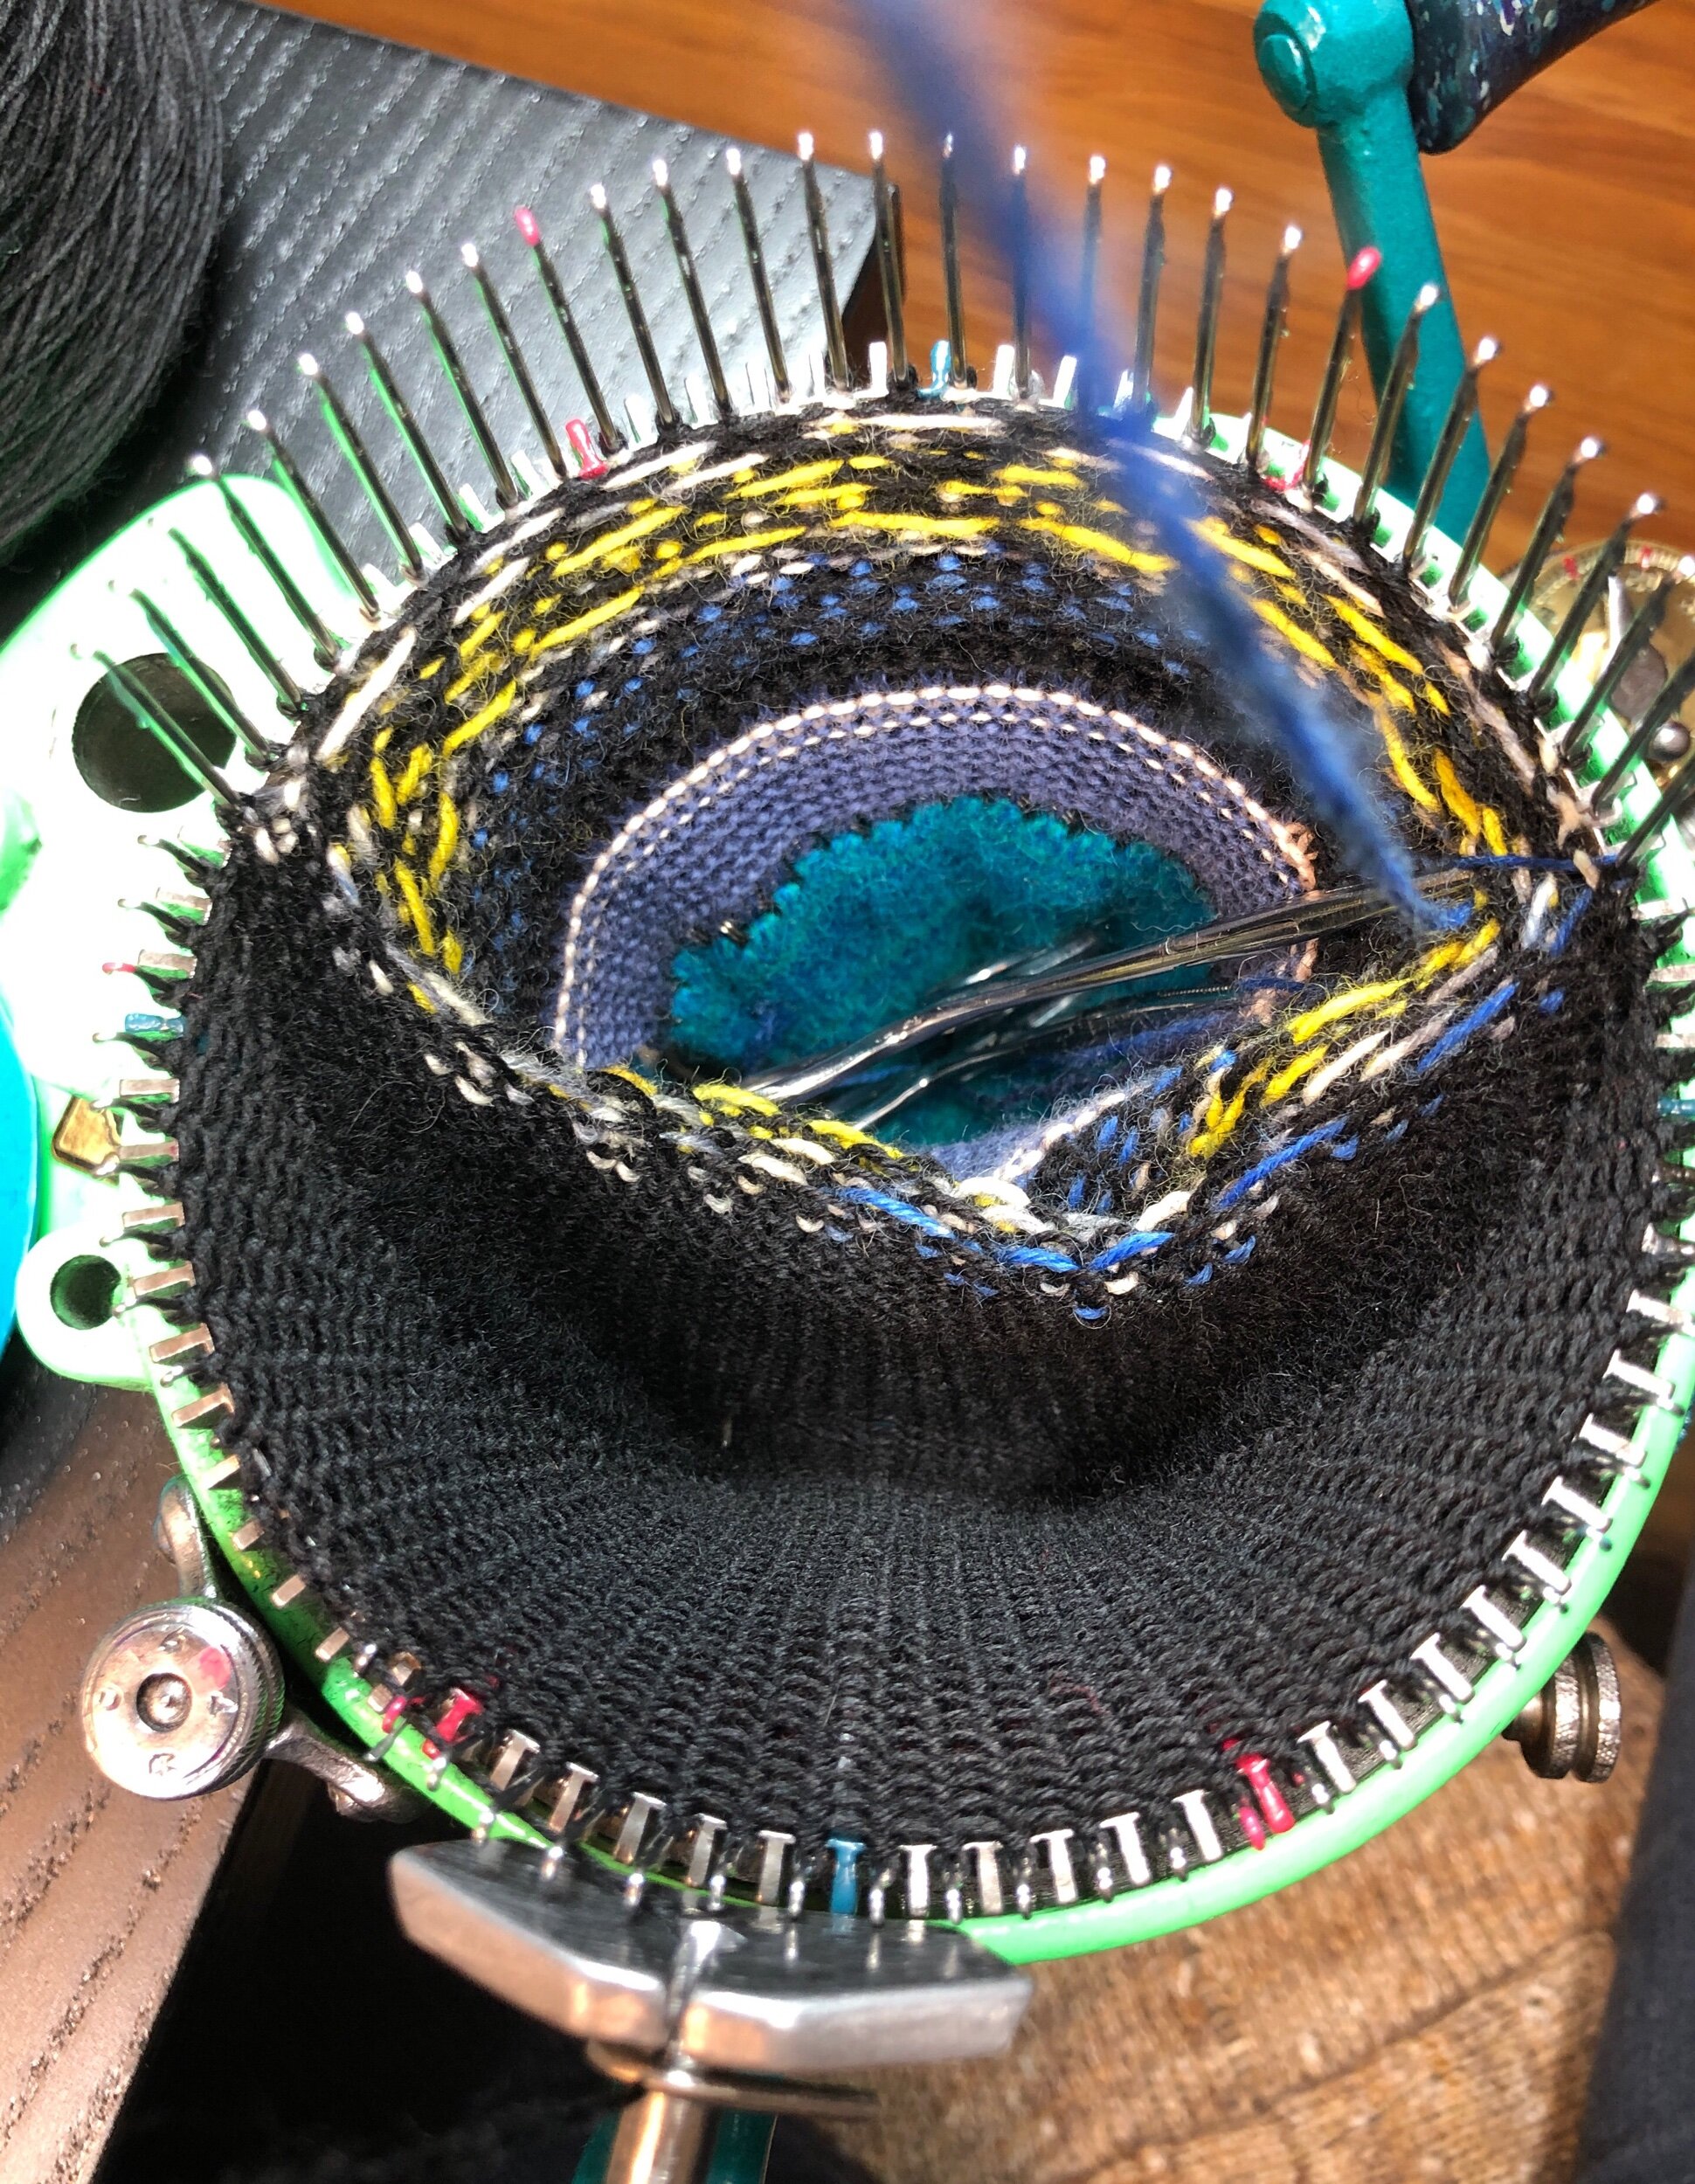
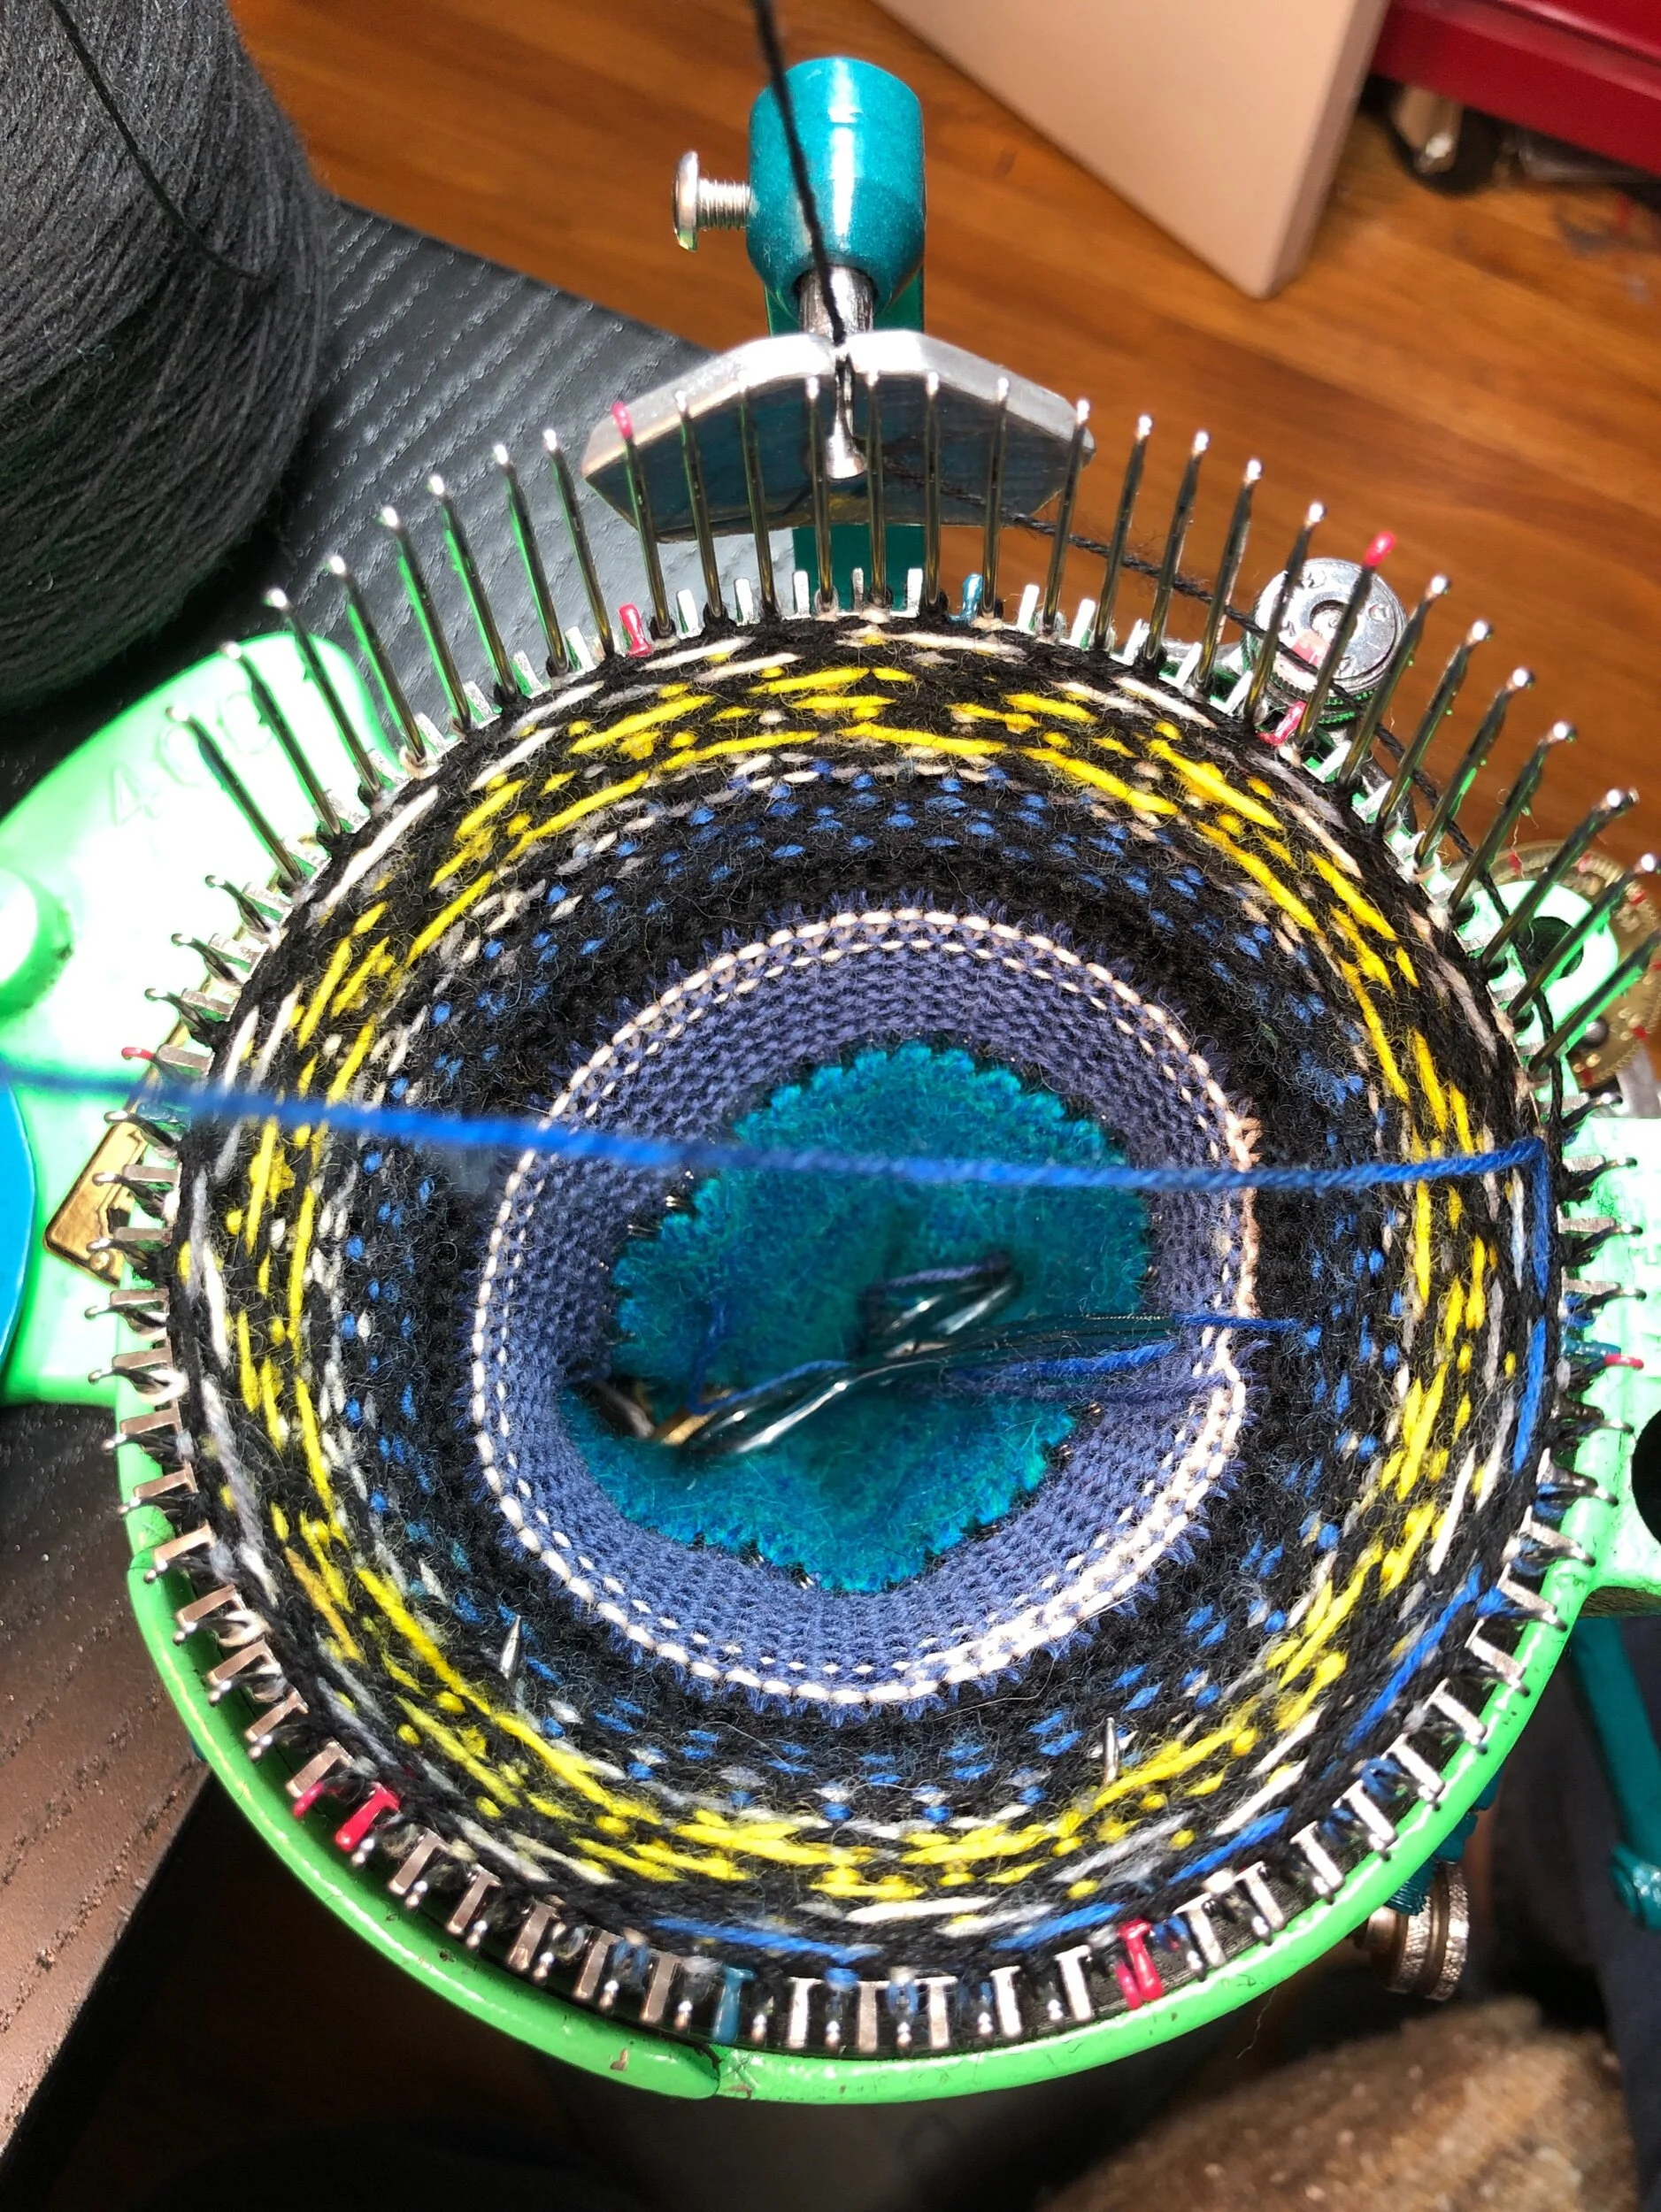
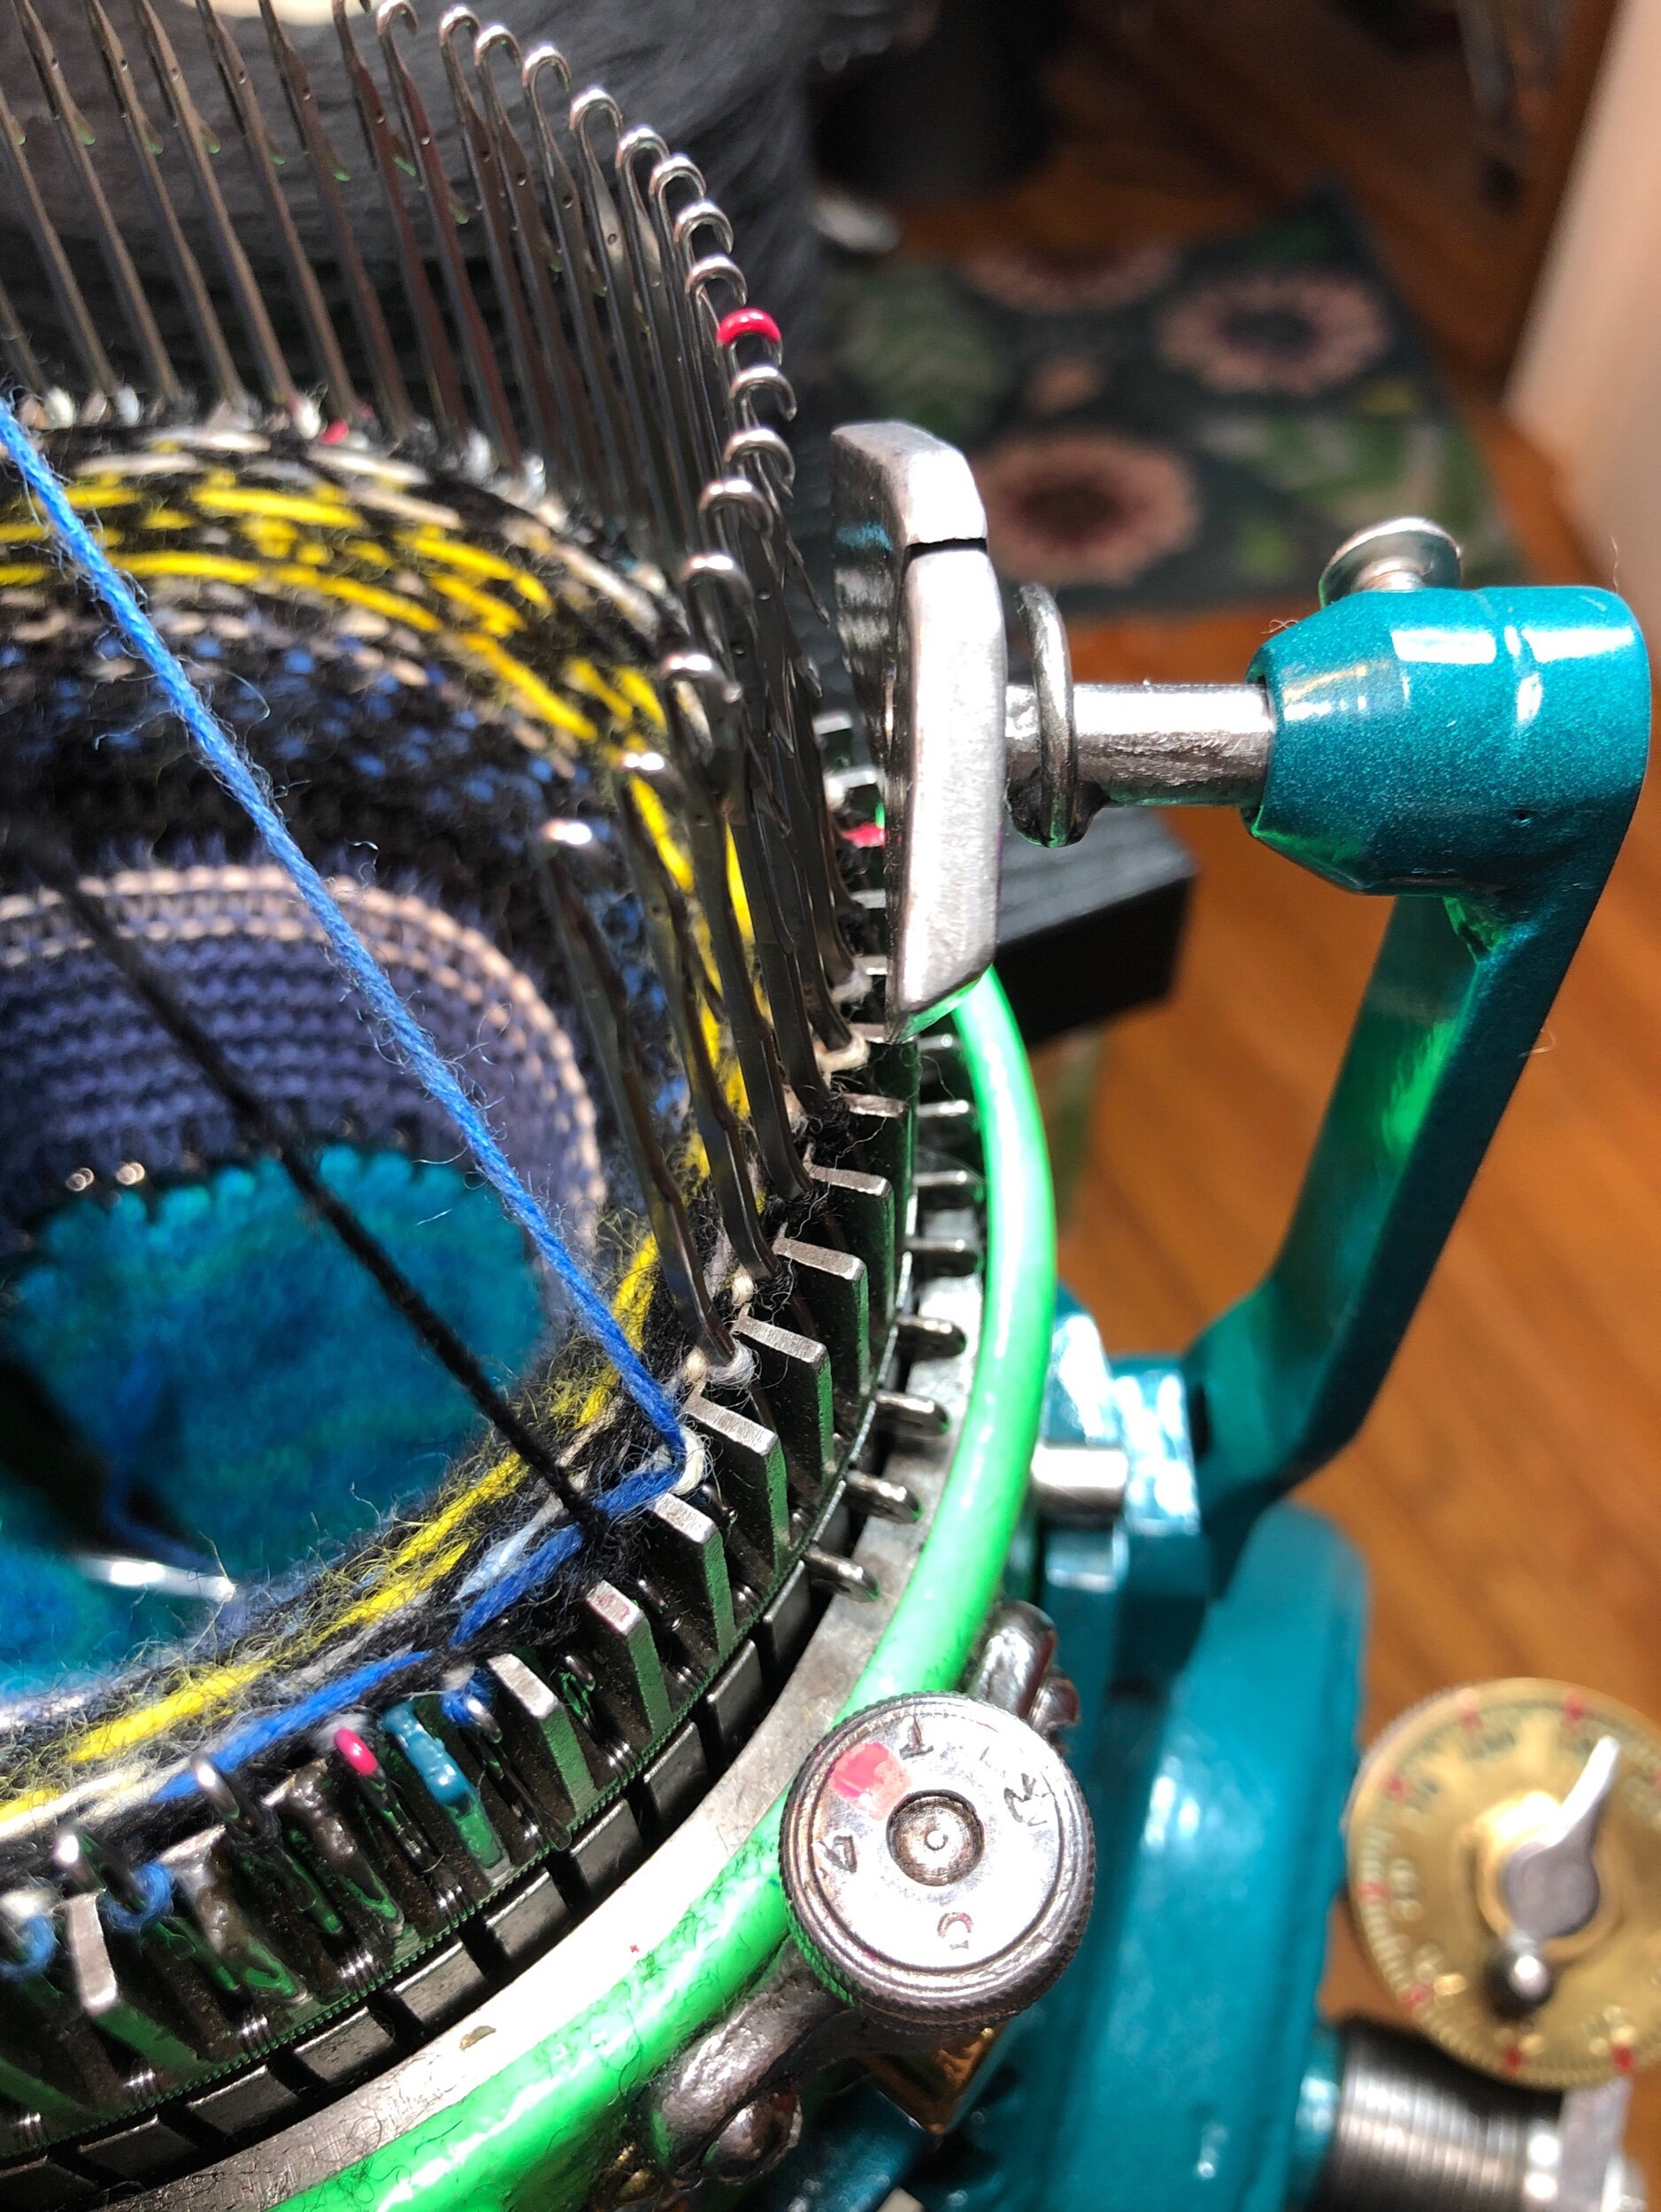
Photos show machine cast on and scrap, sock started, ribber added, cuff made, ribber removed, hung hem, two rows of black yarn, clipped yarn tail of second color.
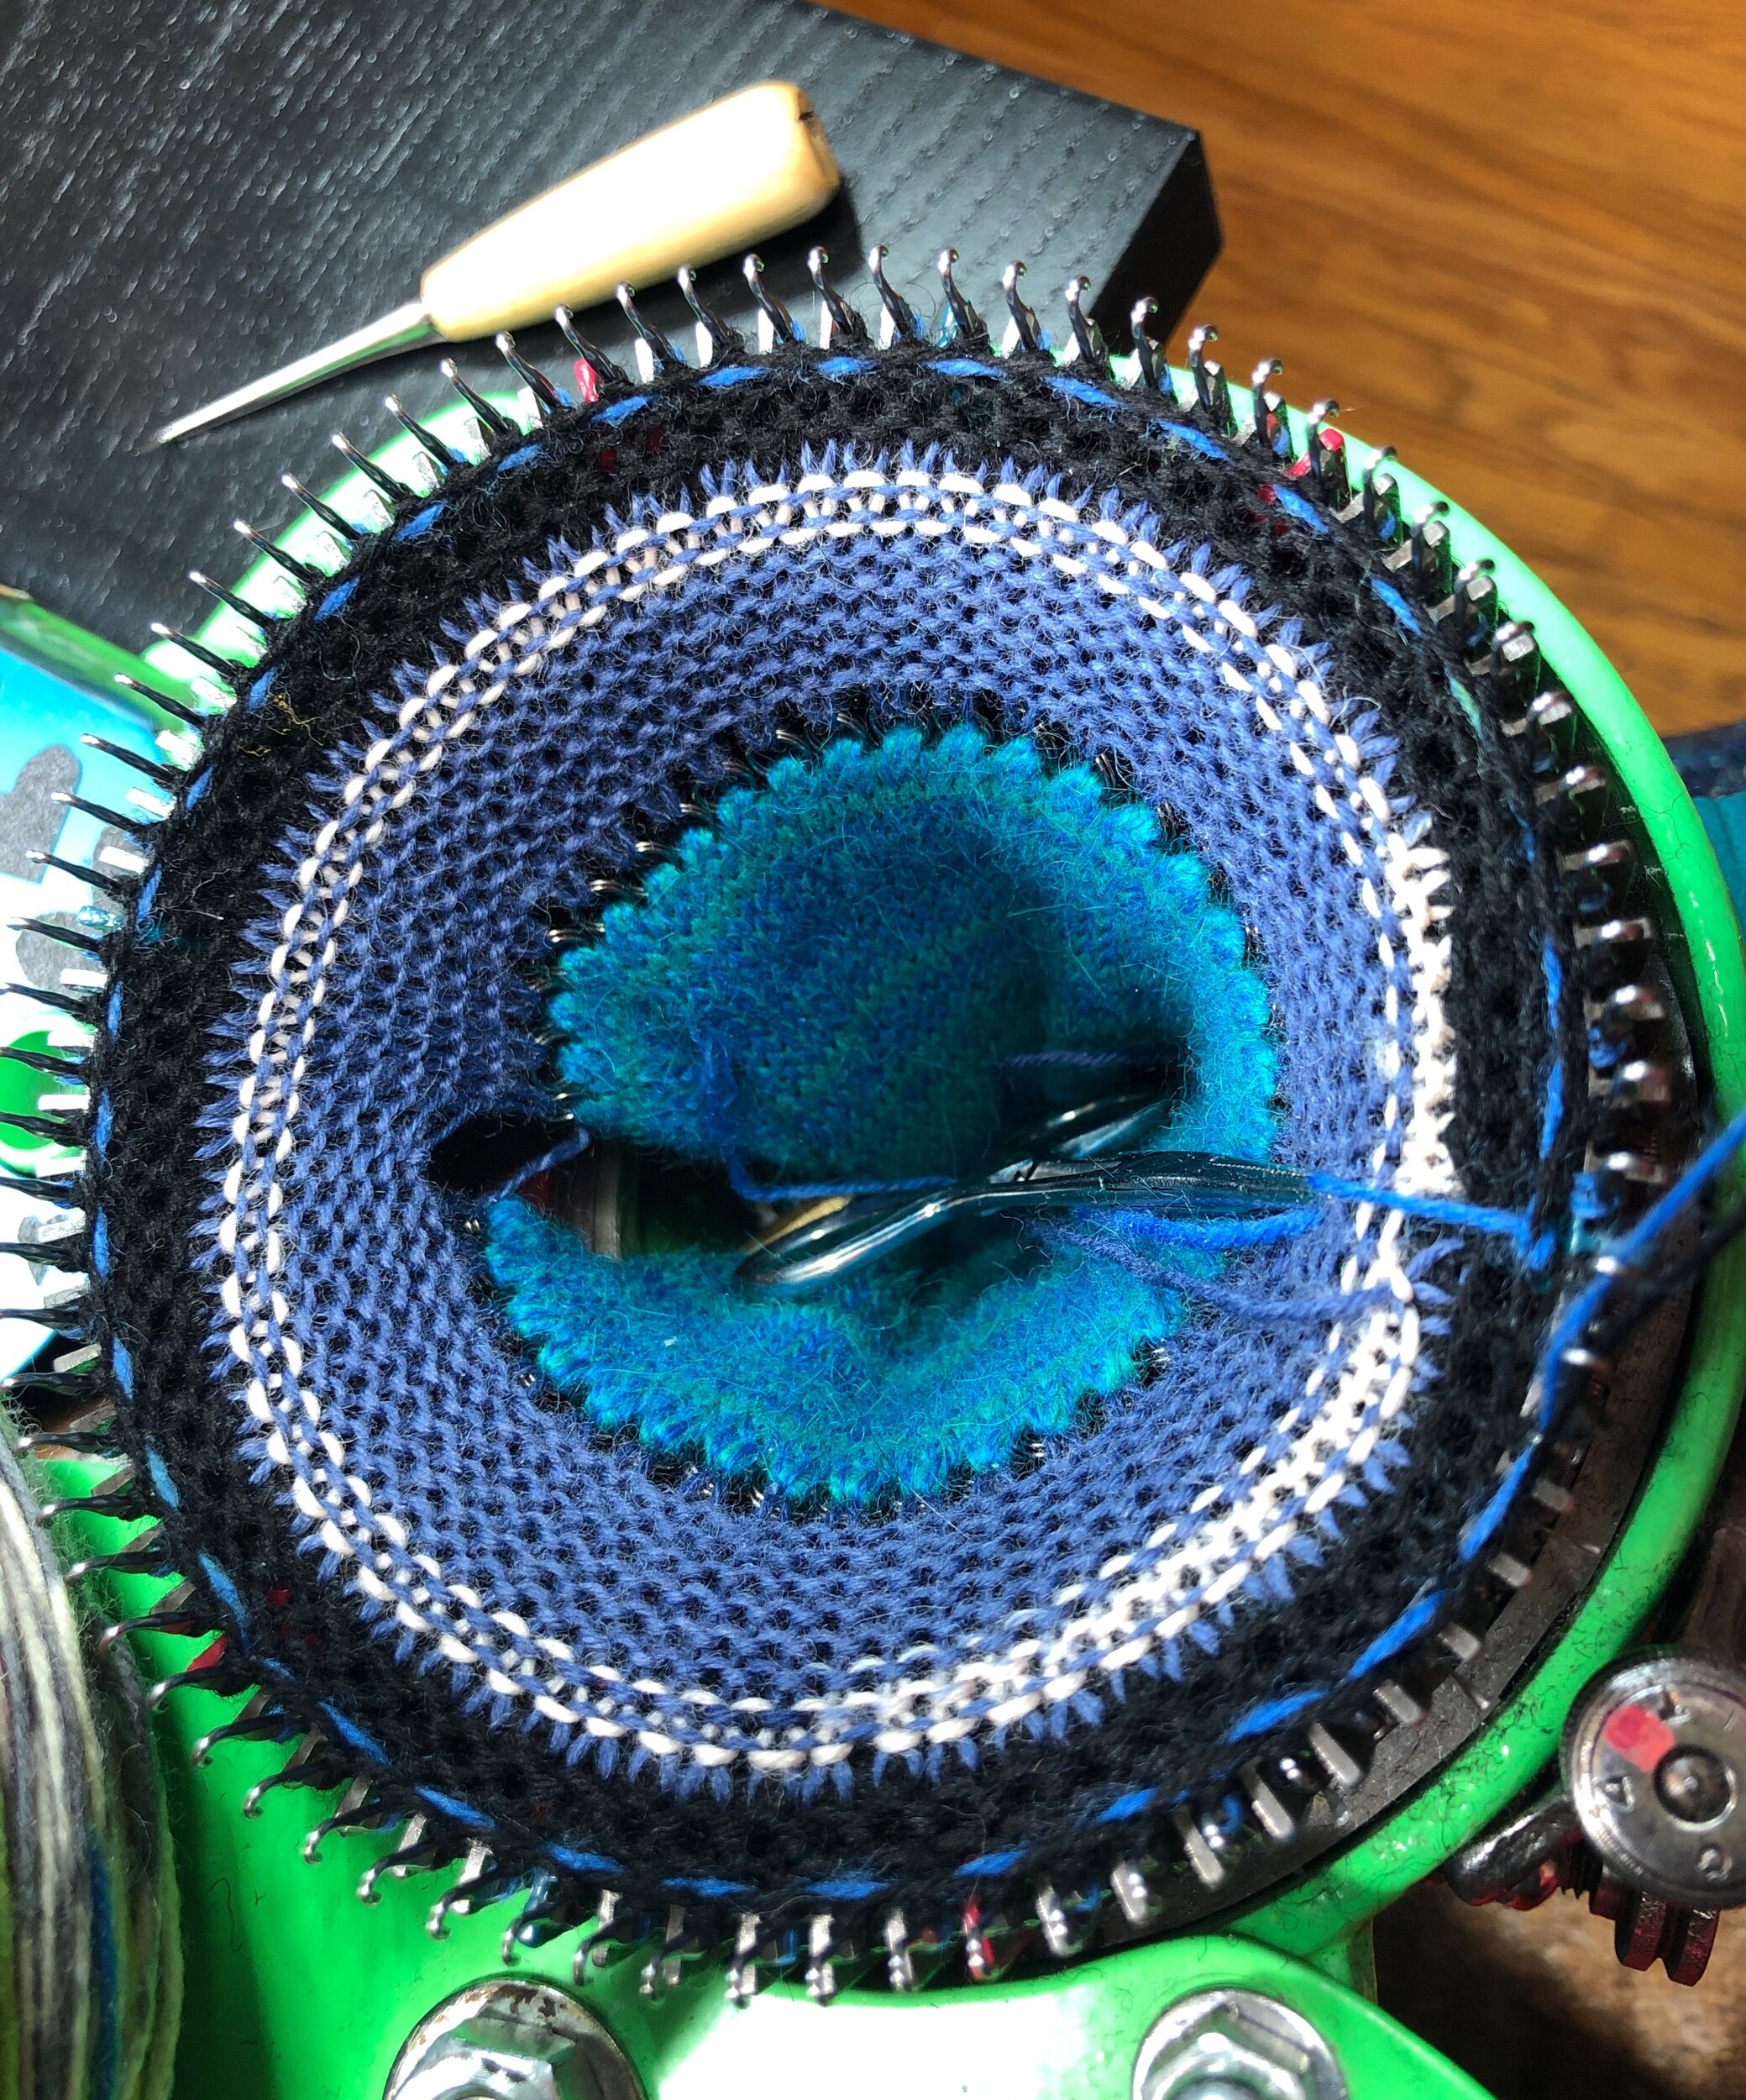
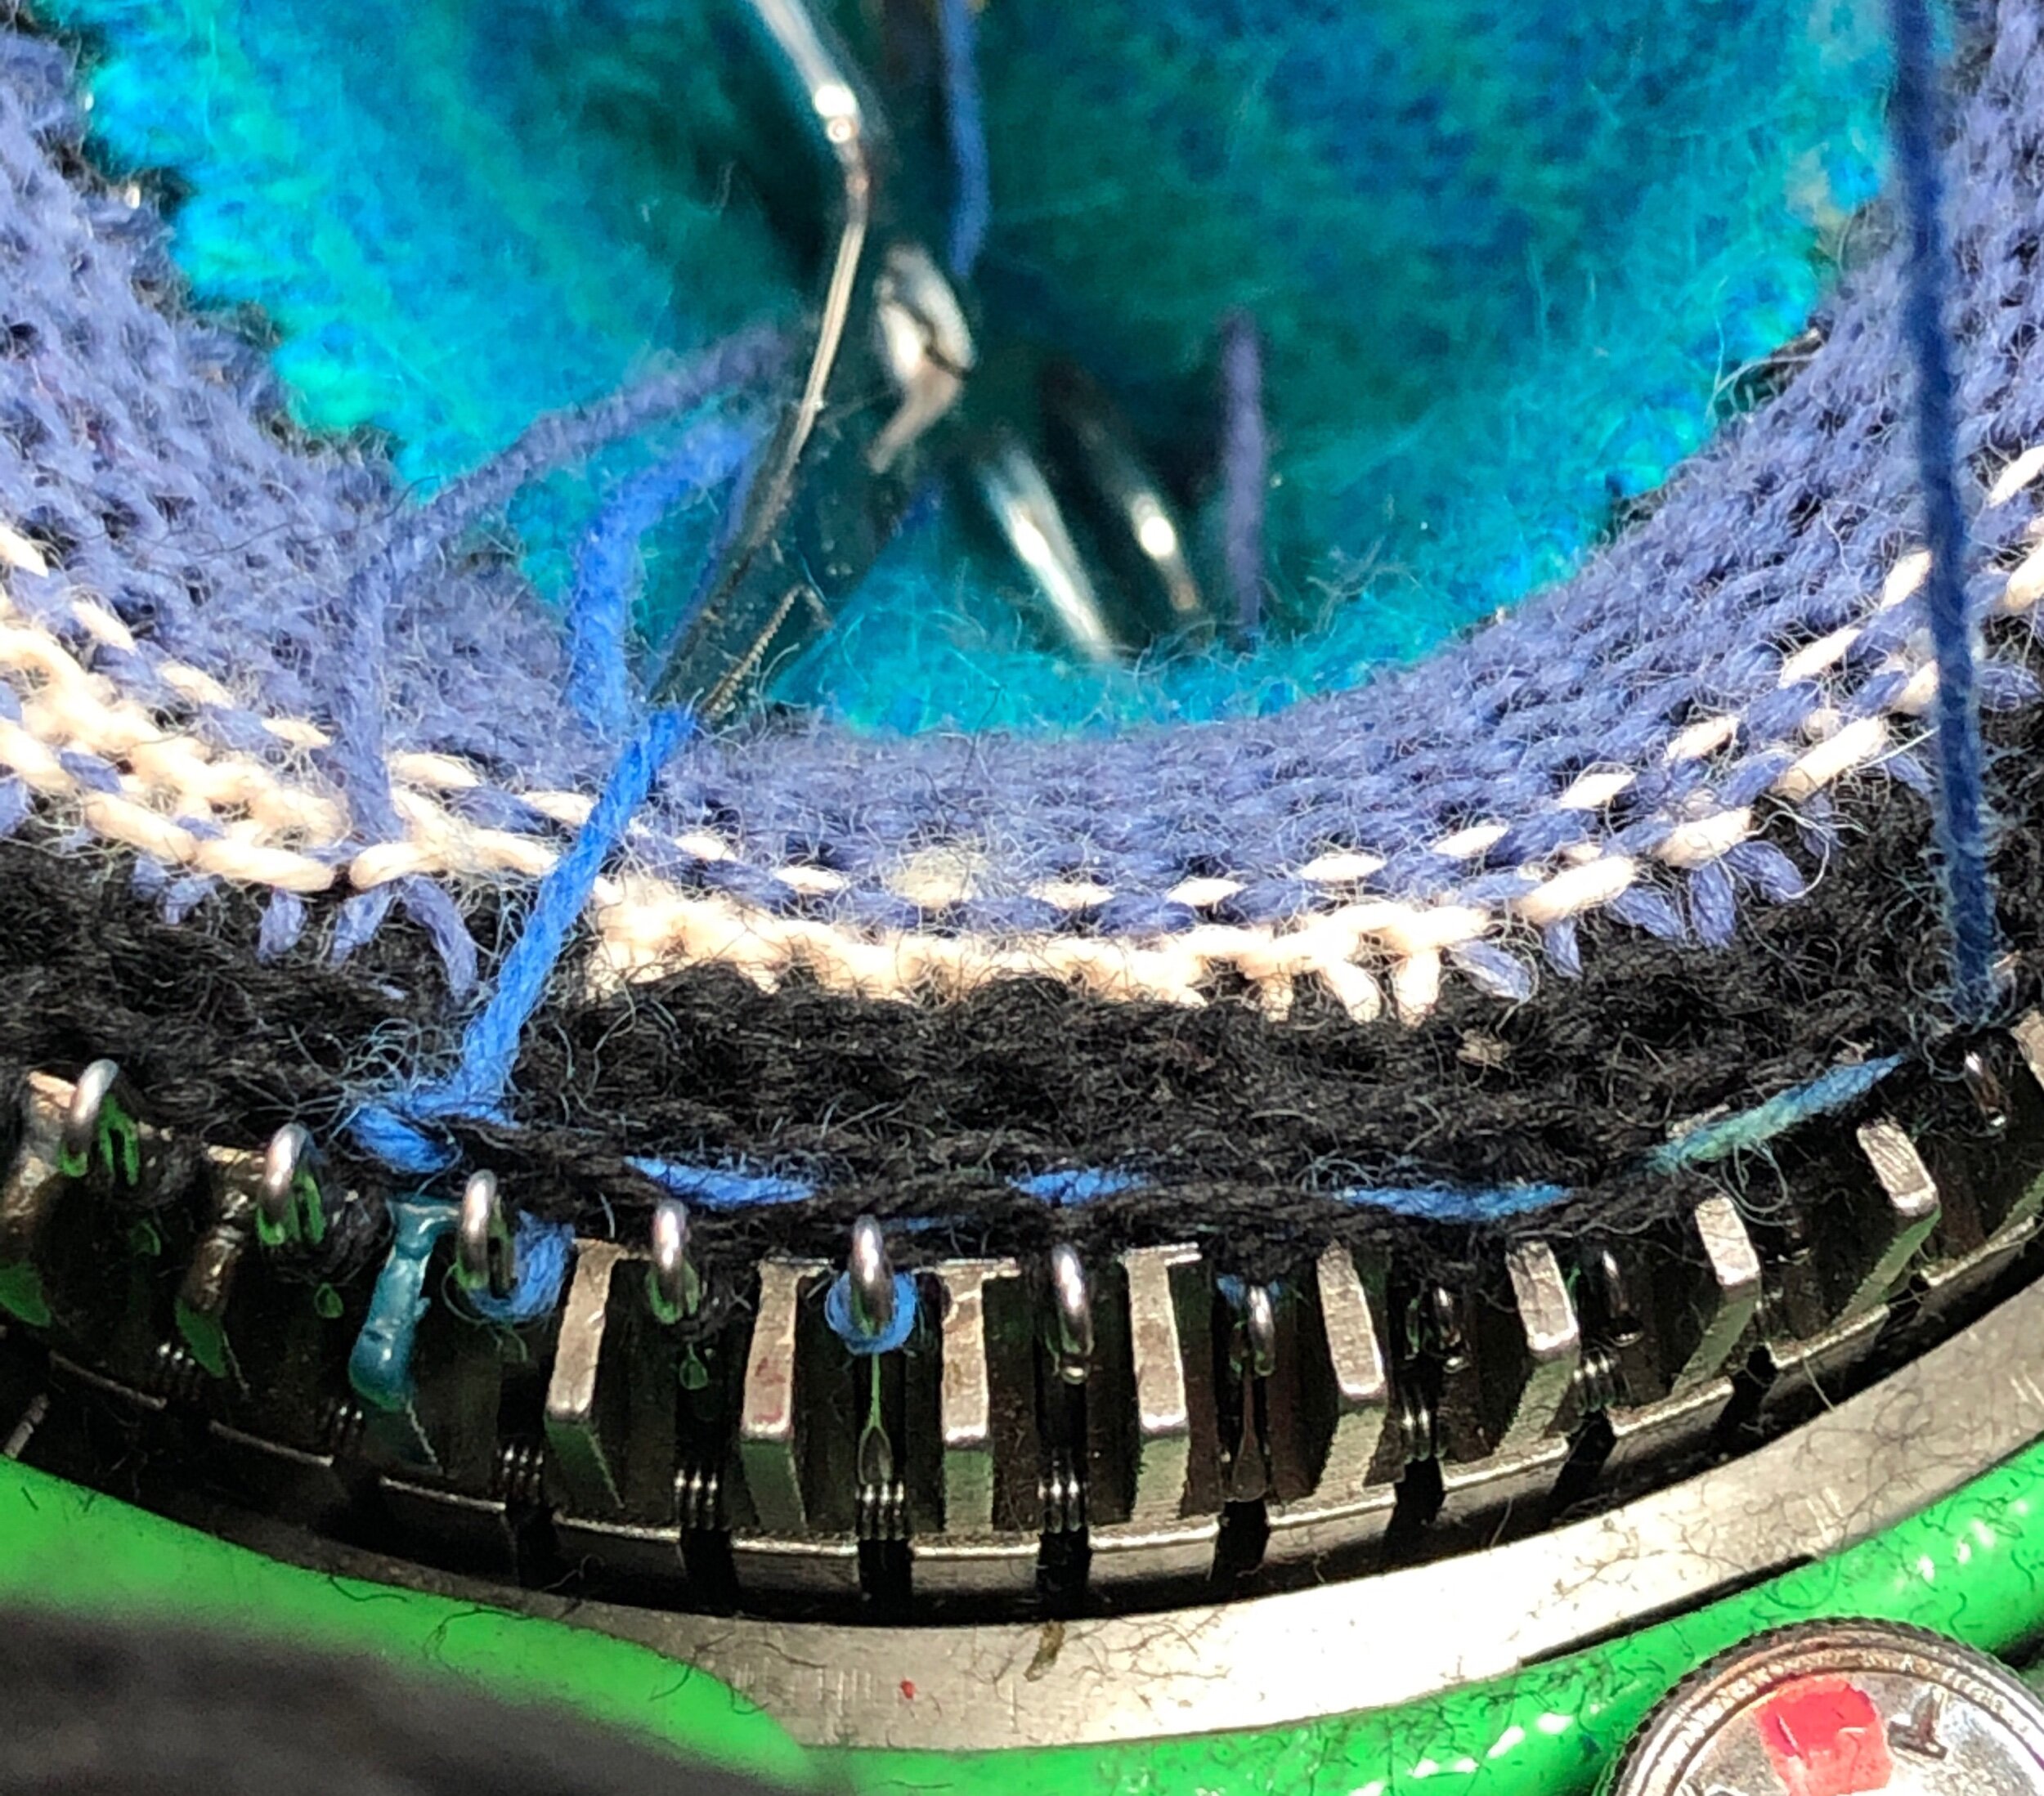
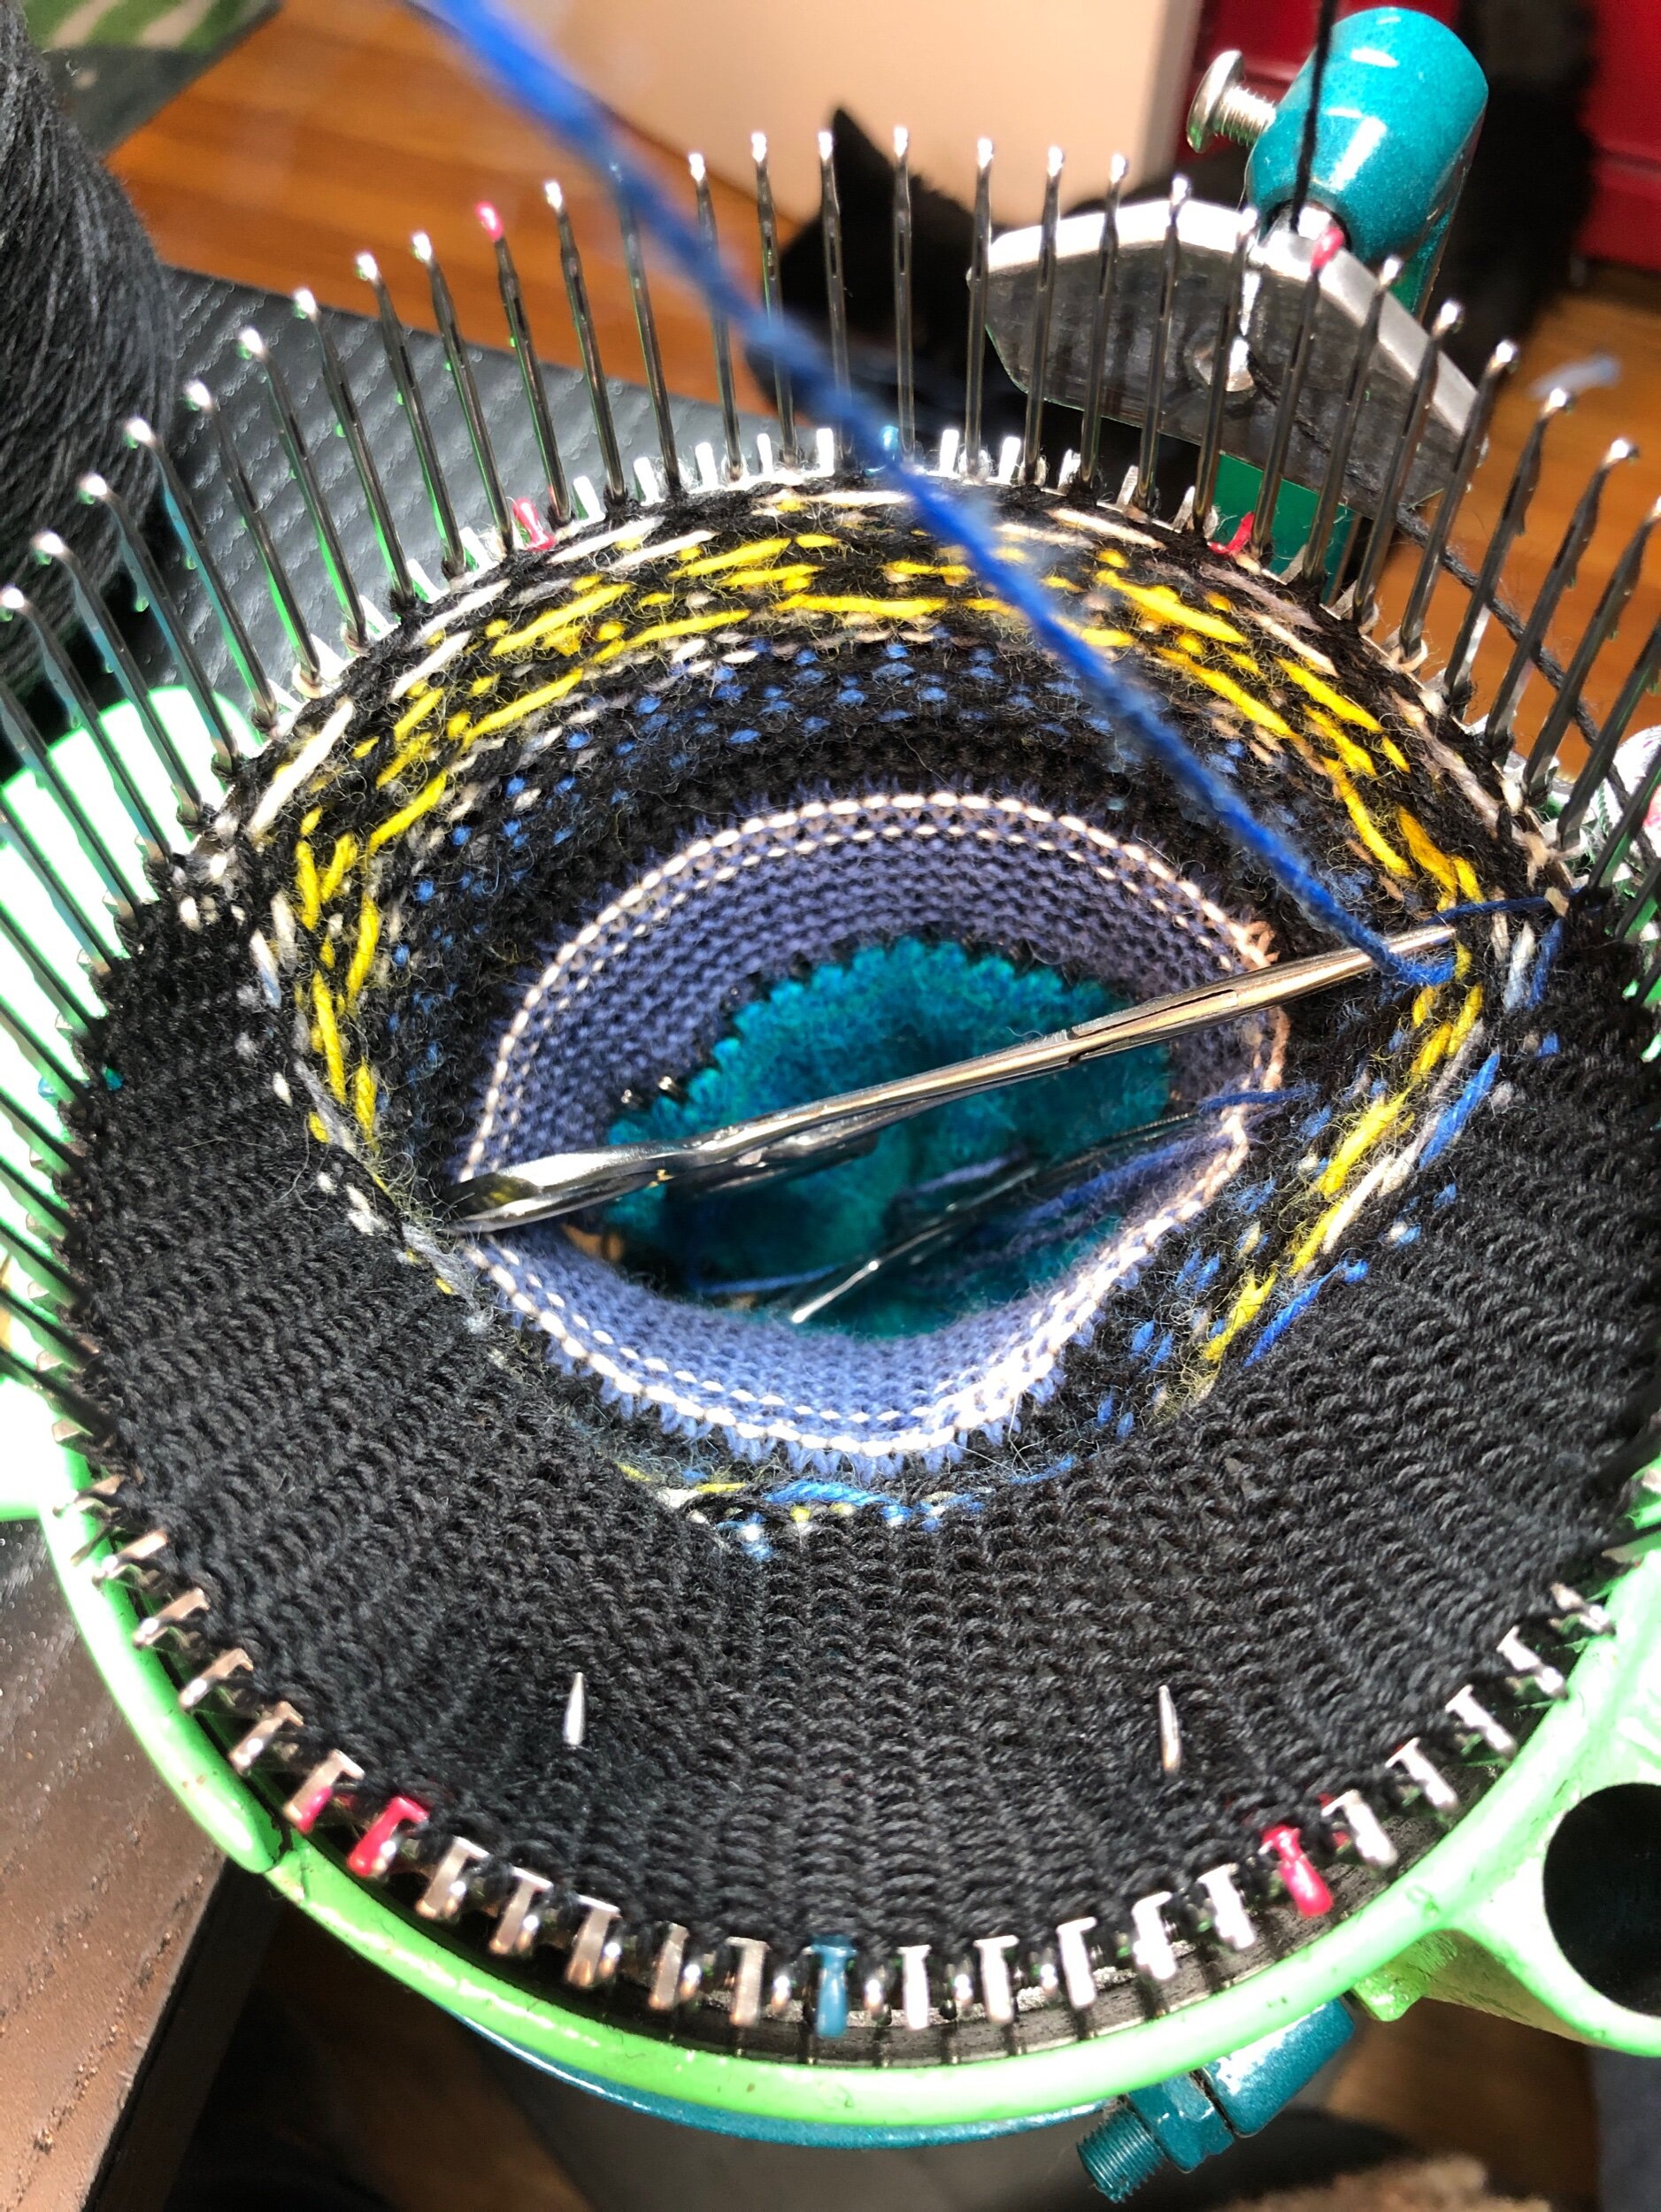
Now photos of the colorwork start.
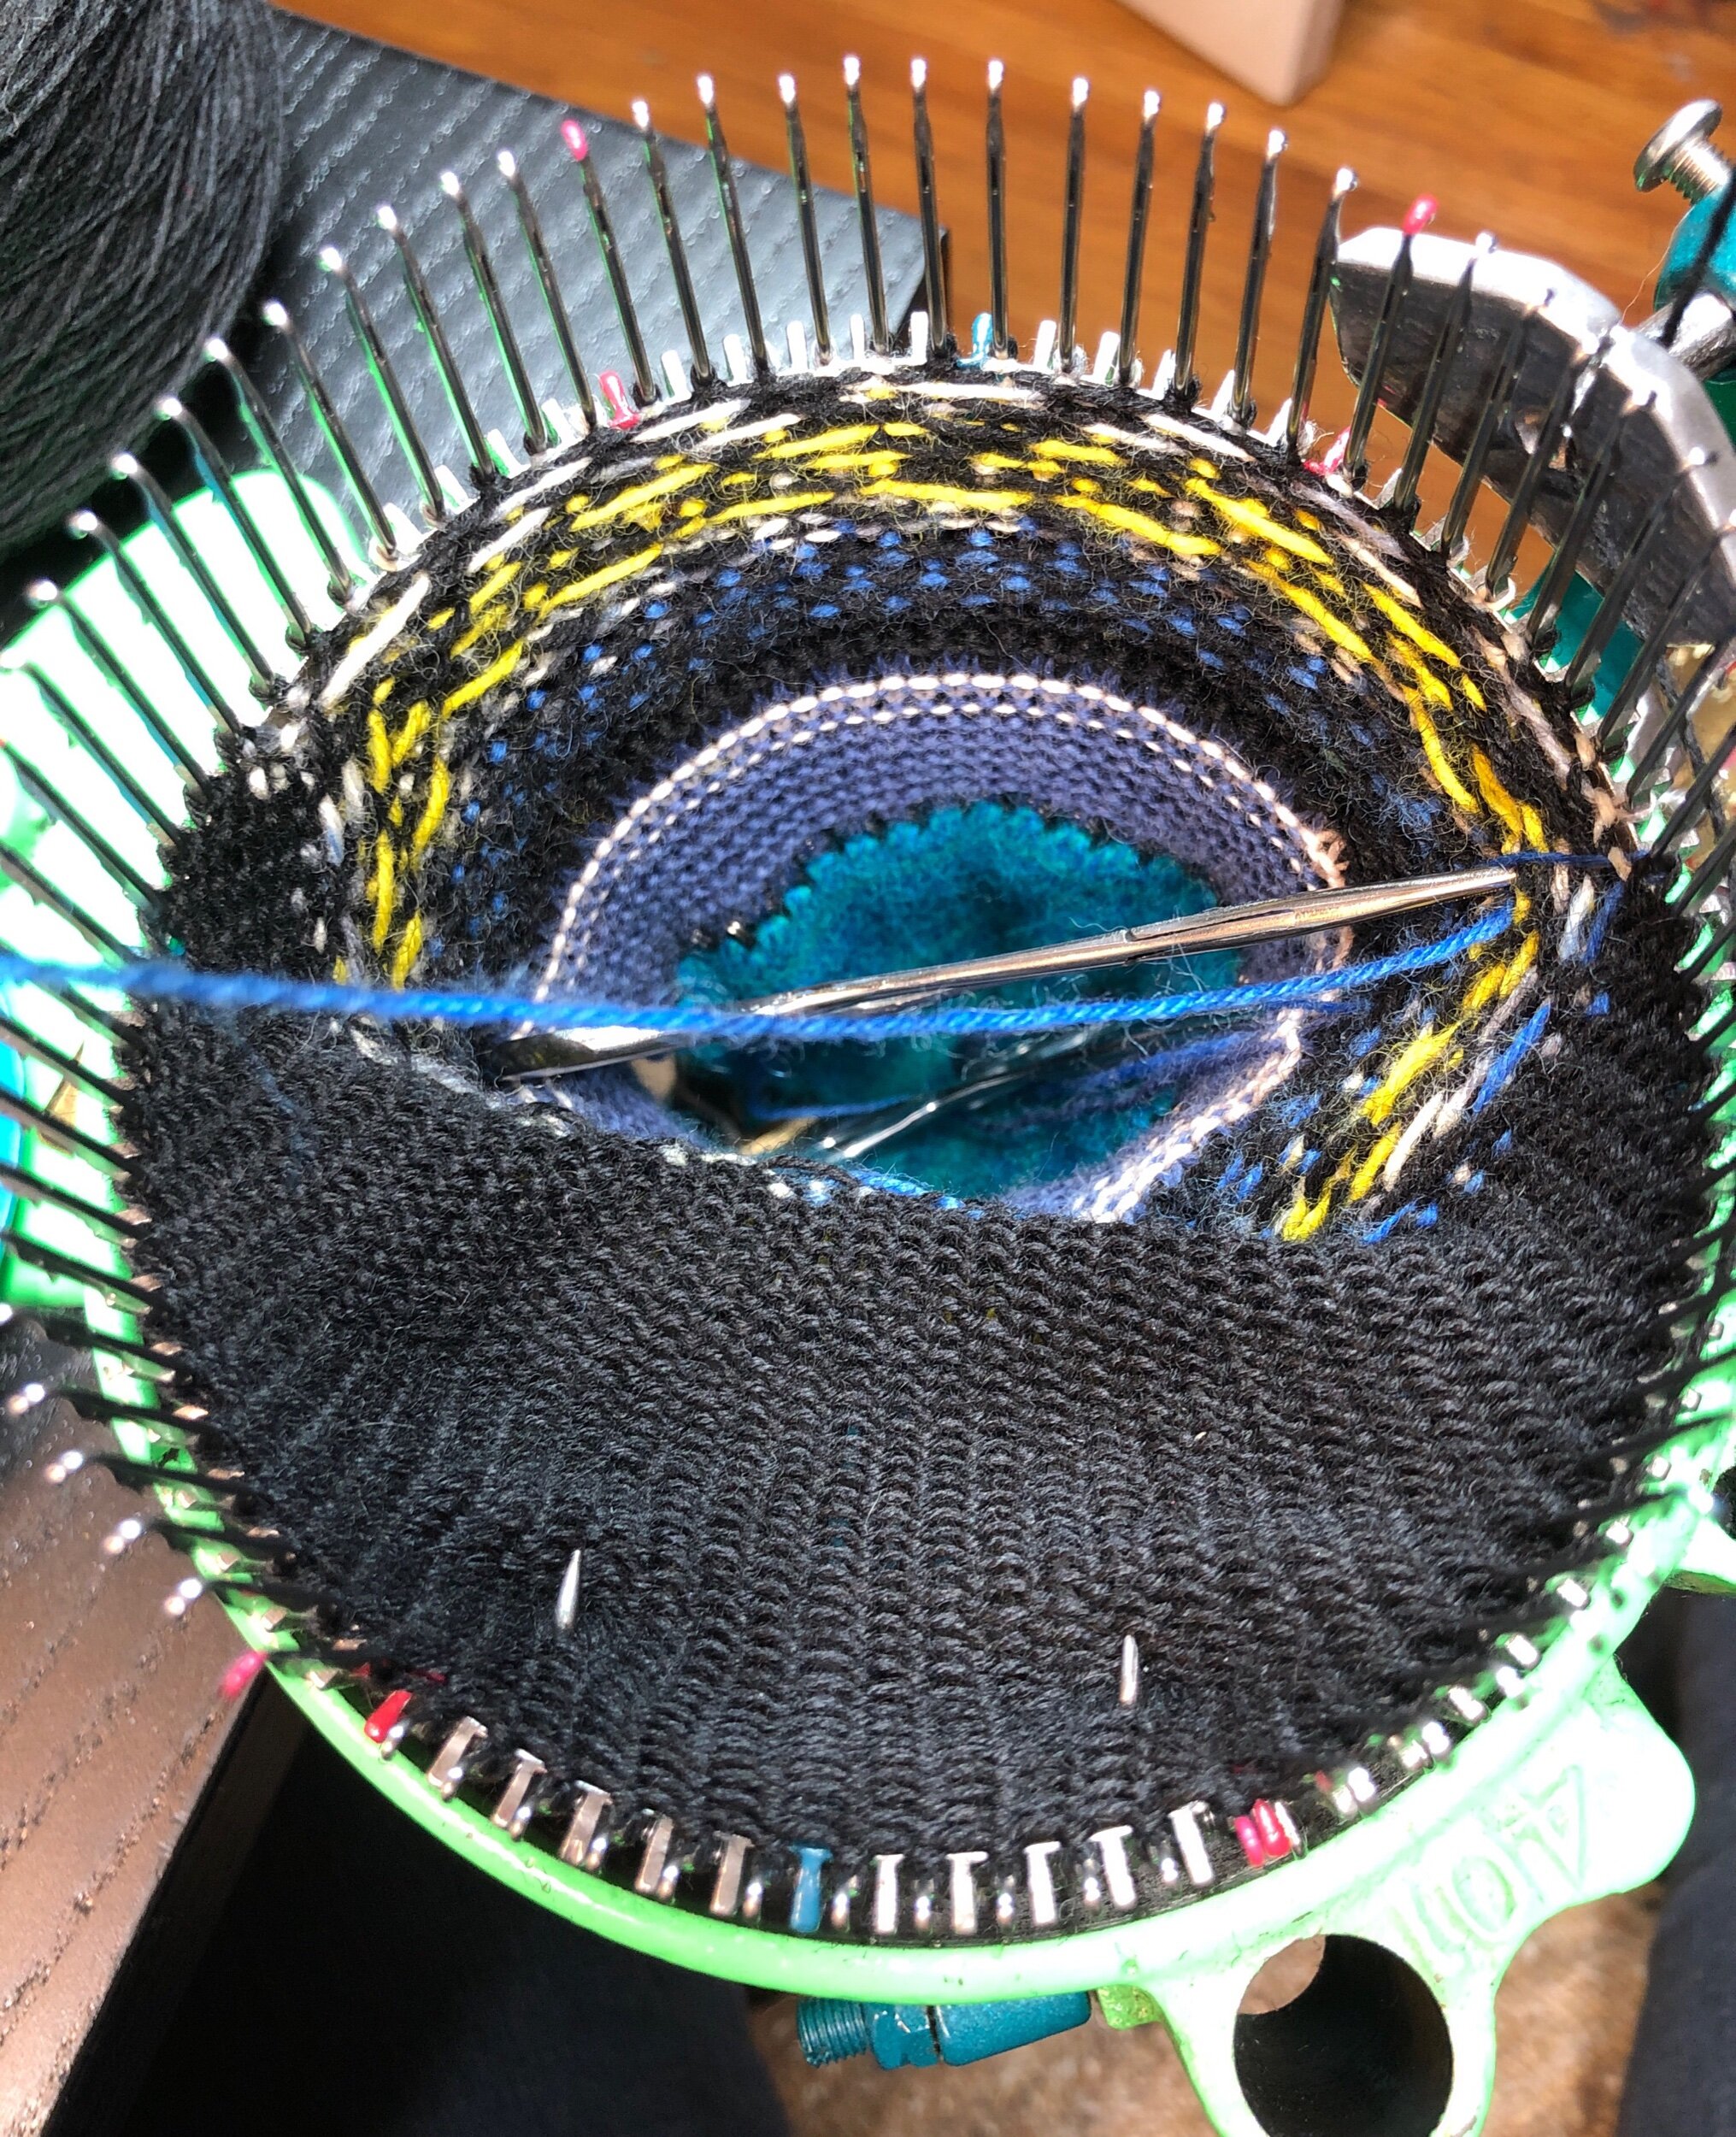
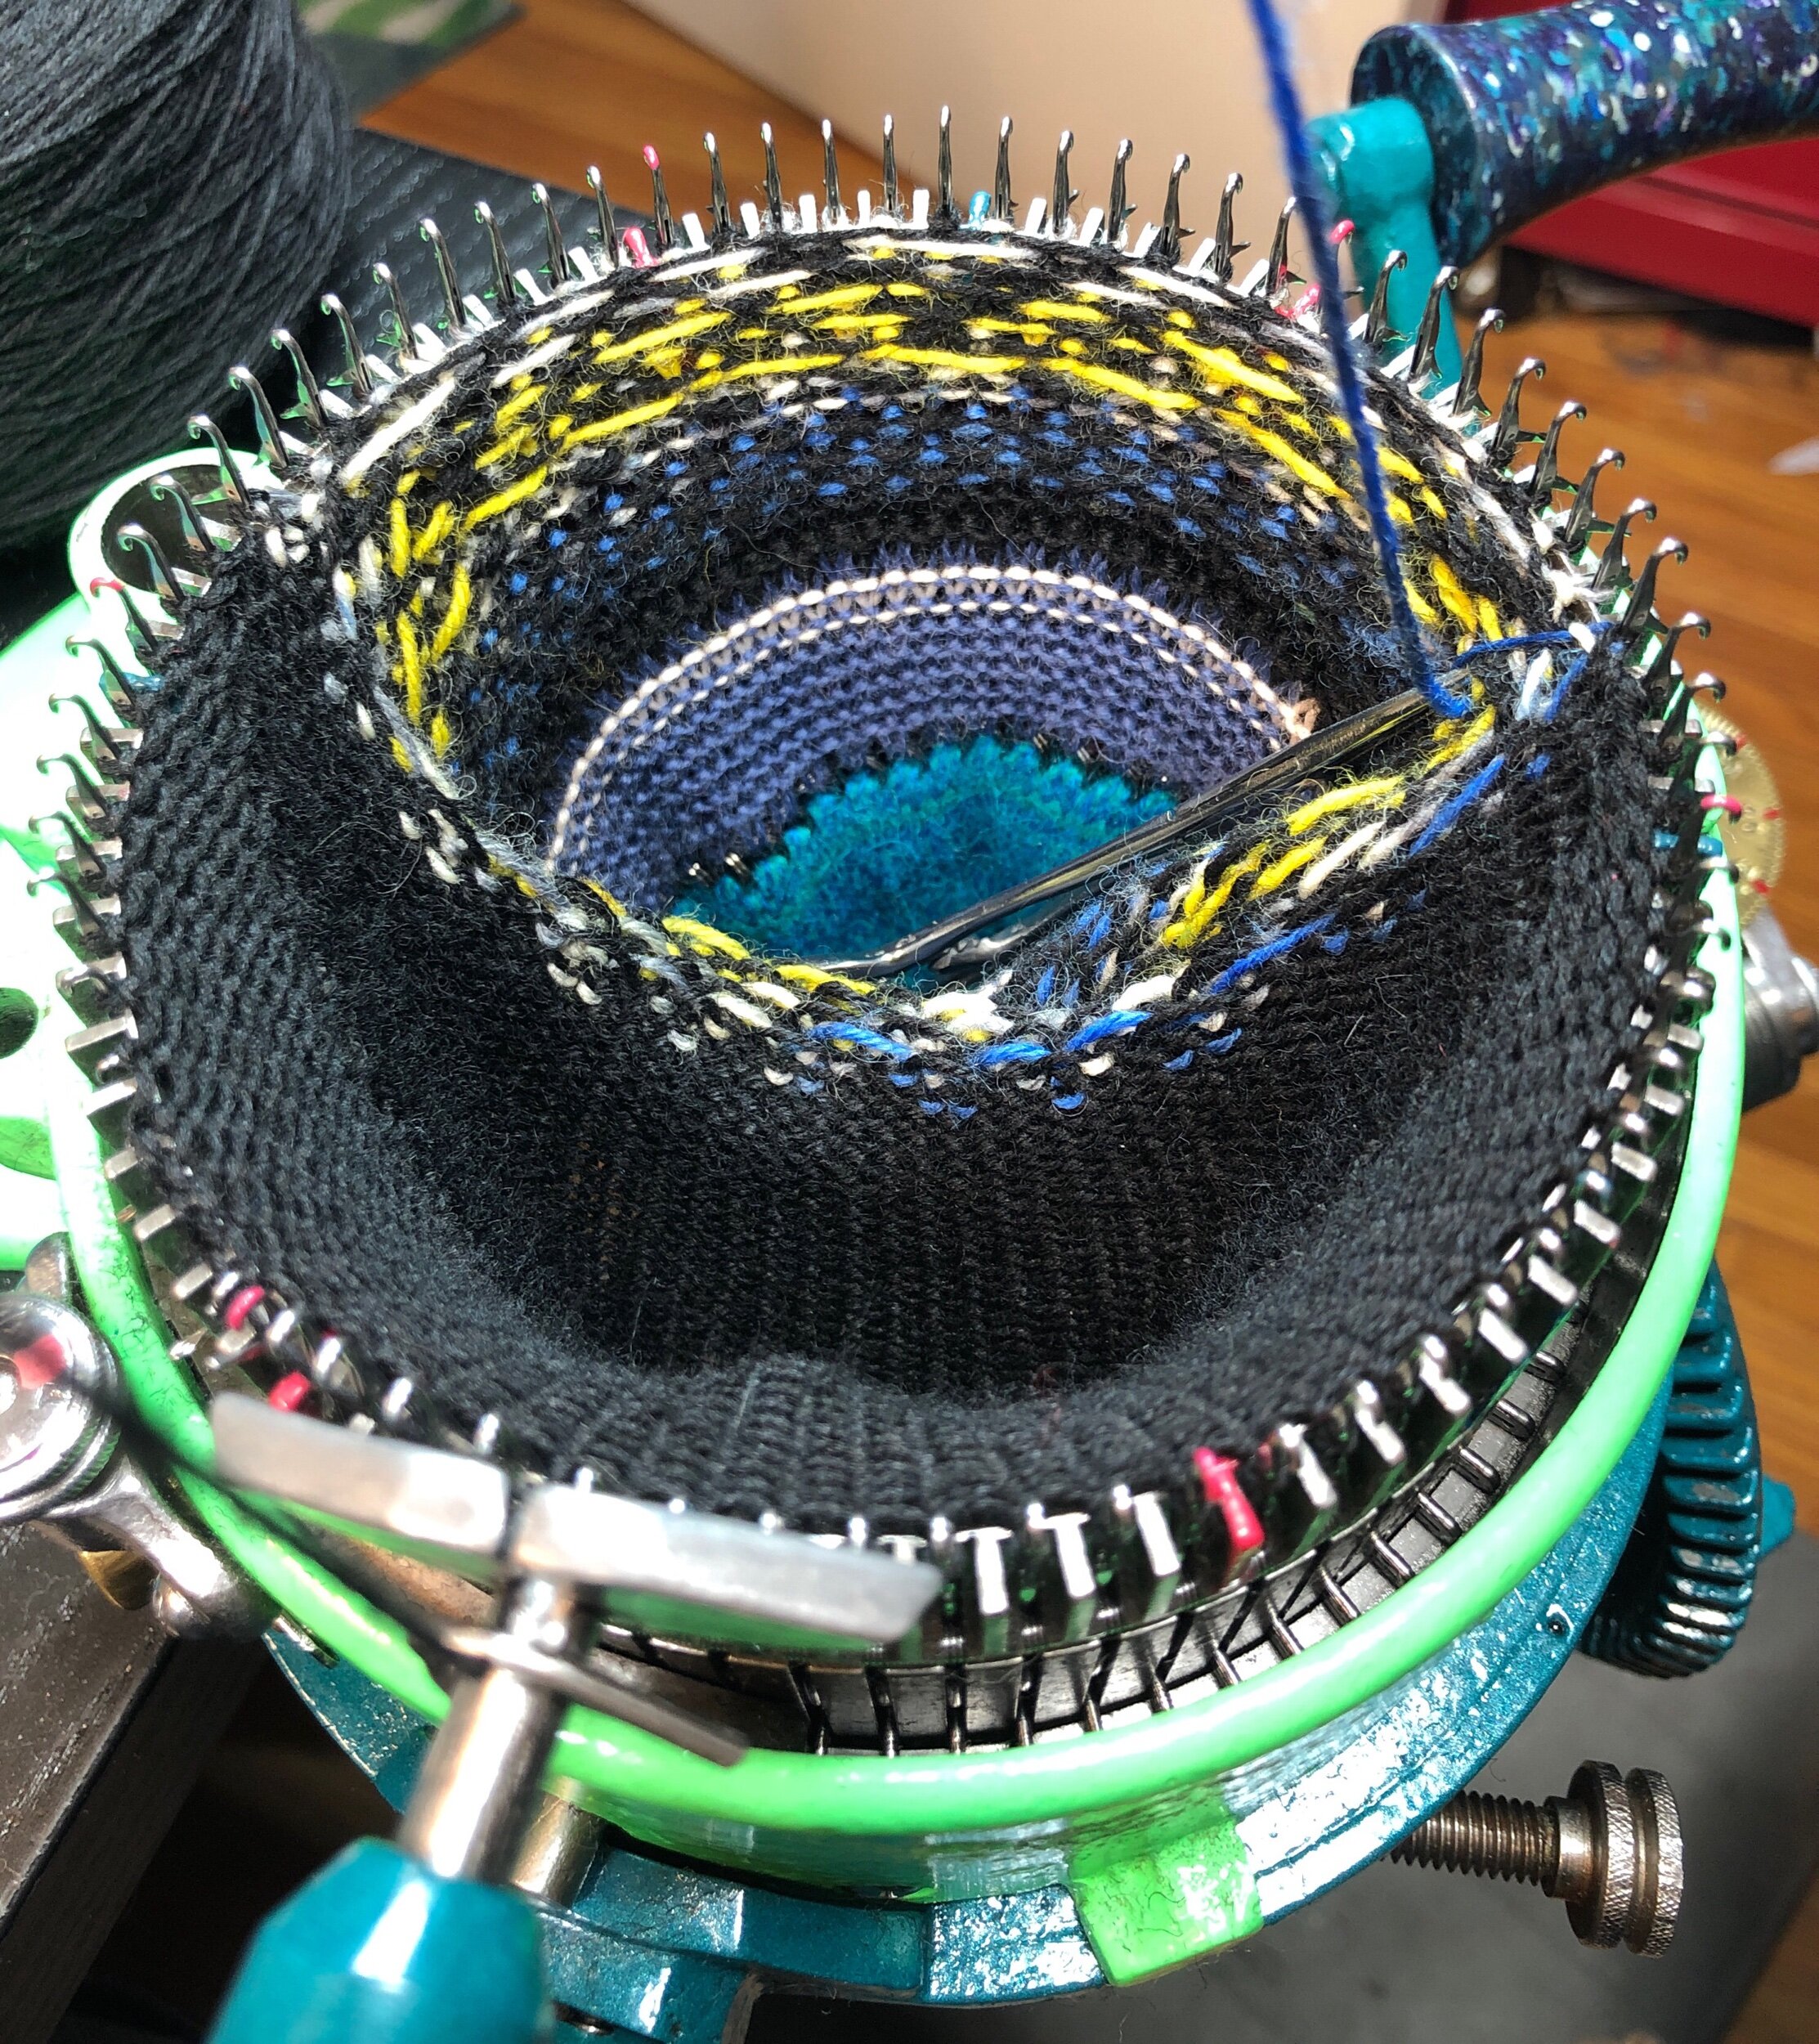
Now for the Heel
Now back to the colorwork after the heel. (The foot)
Now finished the colorwork, create a single color toe
WANT A 3D PRINTED MINI-MAST? HE MAY ONLY HAVE THOSE THAT WORK ON AN ERLBACHER MACHINE. CONTACT TURTLE MADE on ETSY - My understanding is that it was made by DAVID KETTMAN - LEMONT, ILLINOIS - USA


