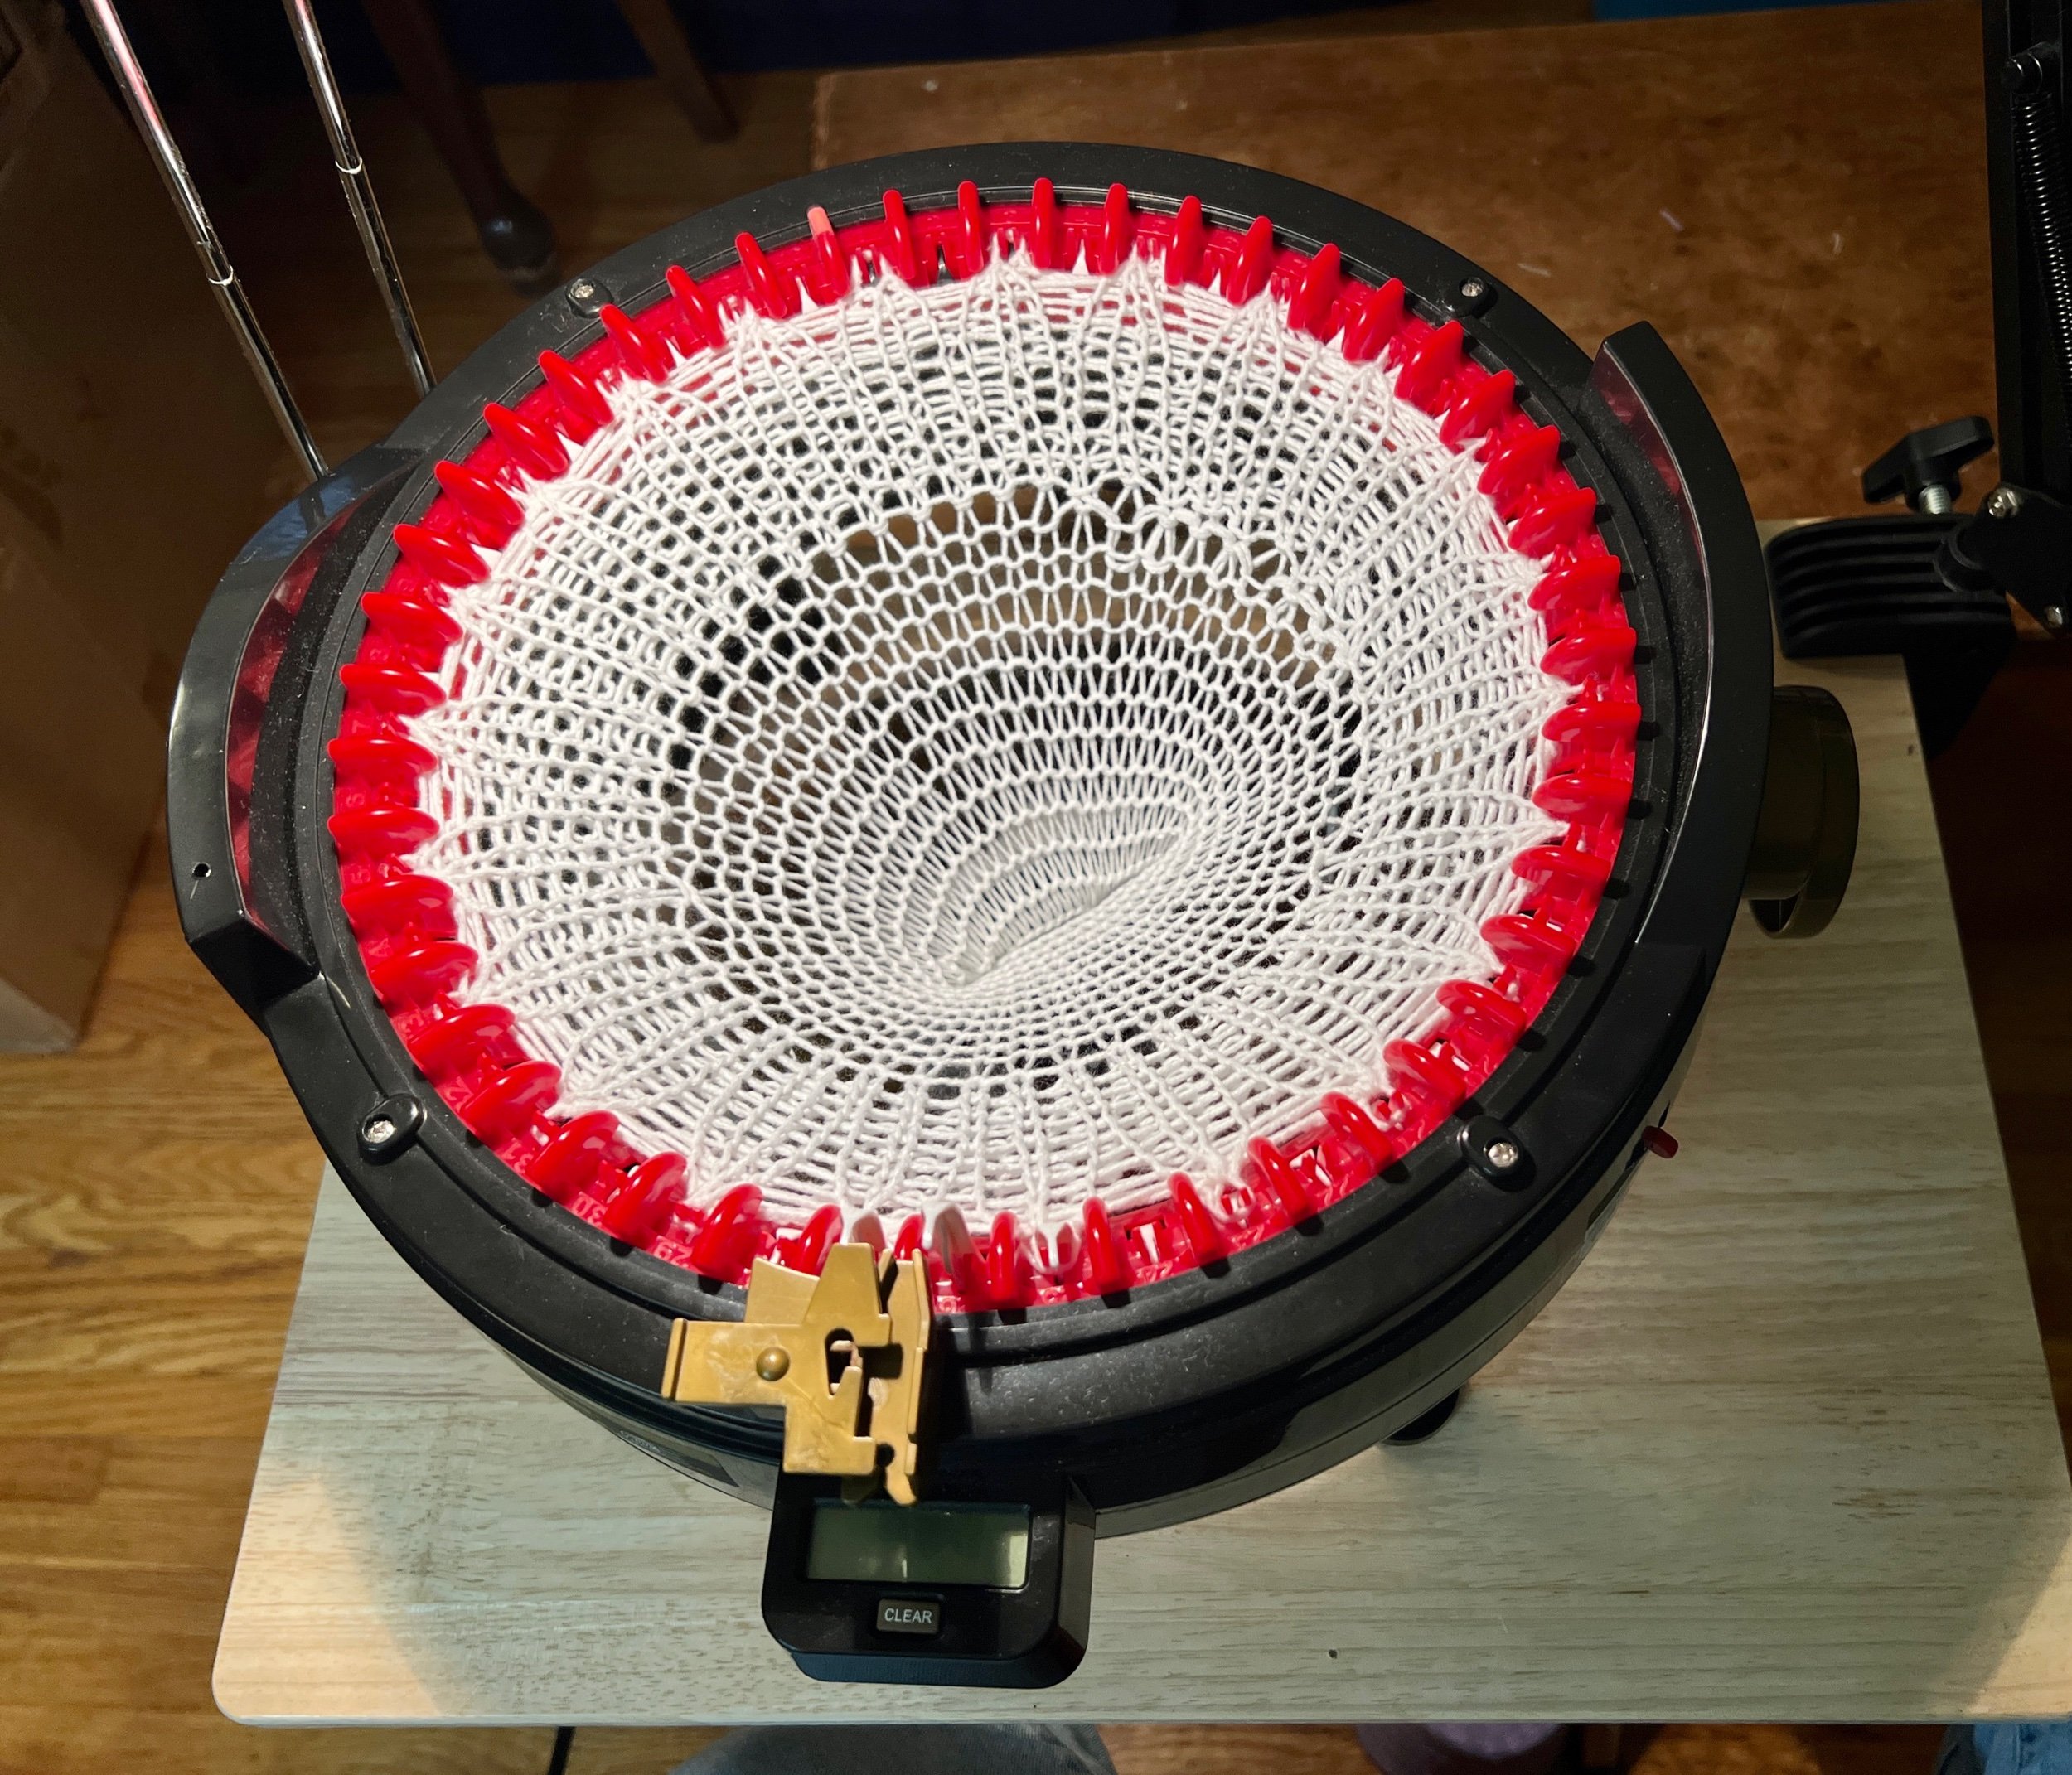
2024 Oct 15 - Canning Carrots

Apologies for non-yarn related blog post however I wanted to record the steps involved for canning carrots while visiting my in-laws in 100 Mile House, BC This Canadian Thanksgiving, October.

Lorraine is my husband‘s mother, my mother in-law, and she has vast experience in canning items in her home. A couple years ago she allowed me to participate during the canning of beets, but to be honest, I remember very little. Hence This blog post it will be an attempt to record all the steps so that at some future time I may be able to do this sometime on my own.

This pot is called a water bath canner and it’s best to be used with items that are high acid.

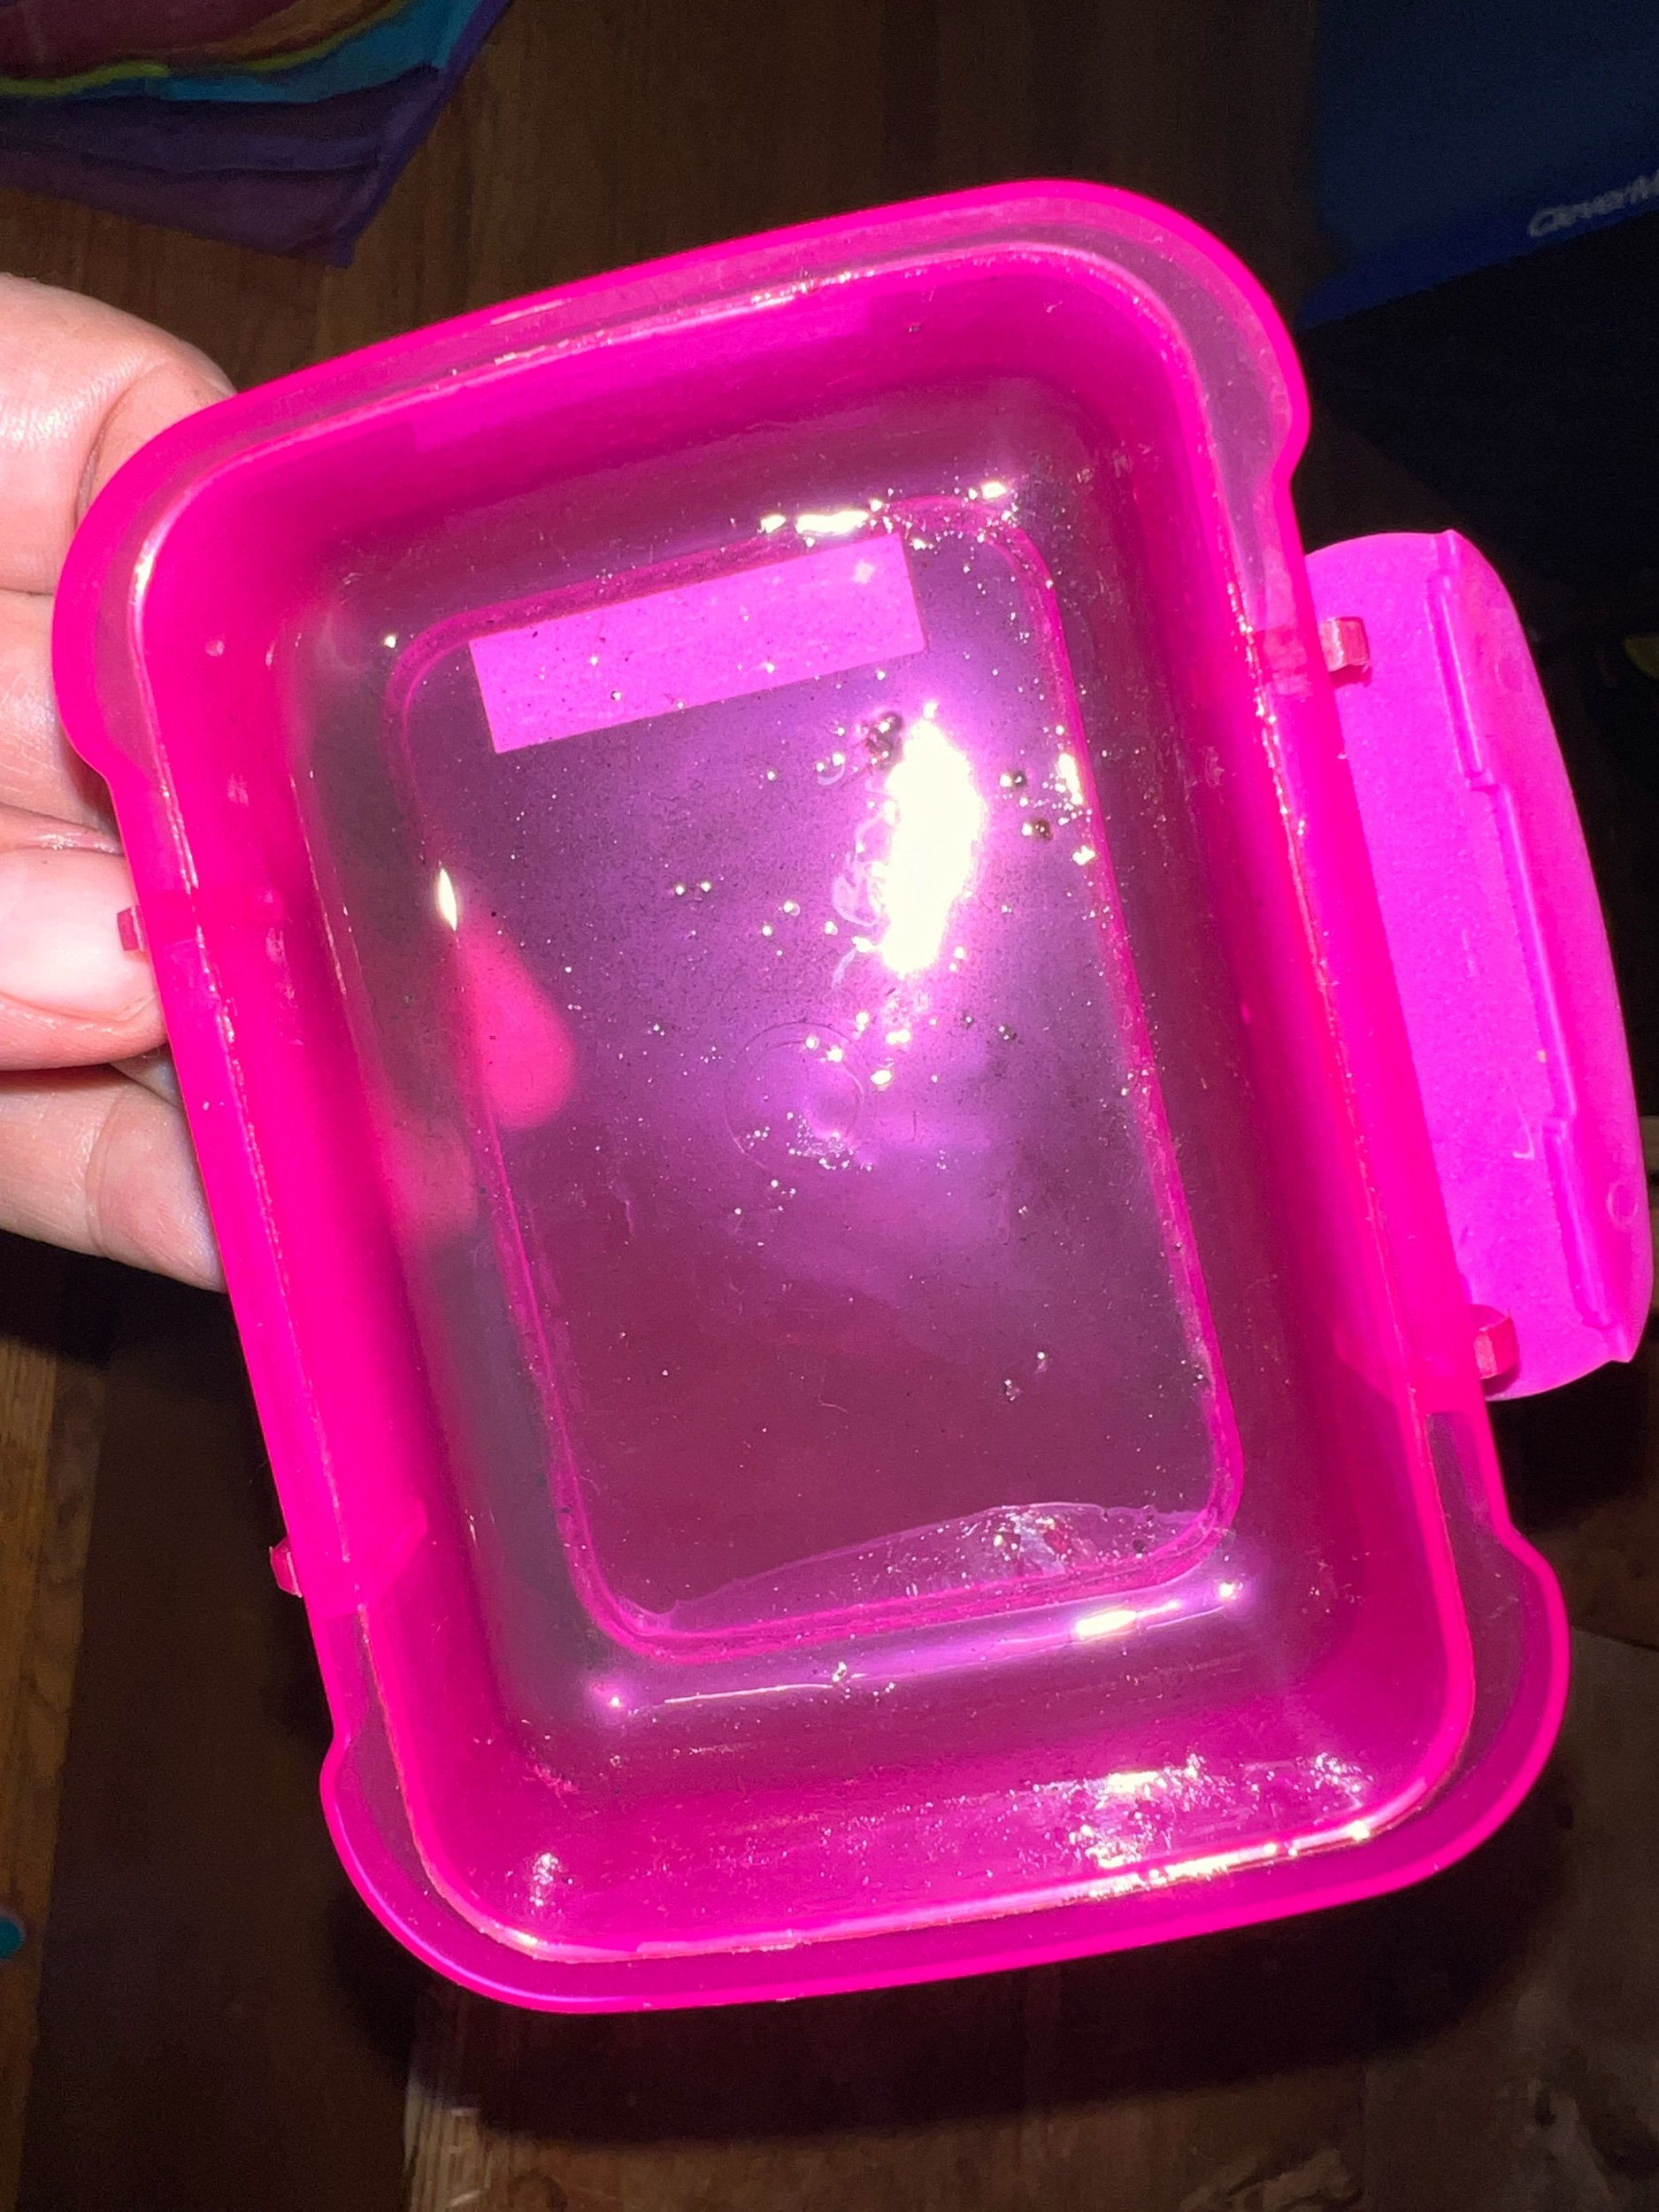
OK, so the first thing we did is we took the new jars out of the packaging took the adjustable rings off and remove the lids and soap and water wash the jars and the rings now they are drying upside down in the dish rack. The canning lid part with the seal was put on the side as they came with jars with new versions on them. We actually are using six store-bought jars and one jar that had something else in it previously. The oven has been turned on to warm up the pot full of water and the water is at the first line mark on the side of the pod. Lorraine is using a kettle to further add hot water soon.

Now we are going to prep the carrots by peeling them and cutting them. You measured the height of the preferred cut of carrots so that when they are demoed in the jar ahead of time, they are not restricted by the neck of the jar.

Today’s recipe is also using garlic, so I will include a picture of the prepped garlic

The rings for the canning jars have been removed from the dry rack and placed on a paper towel on the counter on the side and separately a small sauce pan with water has been added, which will be boiled and the ceiling portion of the canning jar, the inserts Will be boiled slightly to semi sterilize them before we put them on later

In the canning pot water level was just beneath the wire rack when it’s in the top most position the jars were placed upside down from the drying rack where they were clean and placed in the raised rack at which the inner wire rack was lowered to help sterilize the jars it’s OK if they slightly turned to the side the lid was then partially placed on the canning pot

has the recipe requests 8 cups of of liquid 4 cups water 4 cups vinegar Lorraine feels due to experience. She is going to use a lot less so what we use this time was.

Now for the recipe to begin in a 3rd pan

2 cups water 2 cups vinegar with a quarter cup of sea salt was added to a separate sauce pan.

On the stove top, the recipe is placed and will come to a boil.

Separately, the small sauce pan for the inserts will just be warmed up so the ceiling ring will be gummy. The canning jars are now raised with the wire insert out and up. Jars are flipped with tongs and an oven and placed open side up on a heat protected surface.

Pack carrots into the jars tightly first, let’s put some dill at the bottom of the jar . On the bottom of each jar, we put a quarter teaspoon of dill weed. Lorraine further prepped the garlic into smaller pieces the recipe says to add some garlic at the bottom of the jar and then it says to add some dill flower. Pack the carrots into each jar top with some more garlic and some more dill. After packing each jar, we use the recipe liquid to submerse the carrots fully by pouring the liquid in the jar. We underestimated how much liquid so had to further add half cup of the vinegar and half cup of the water with salt to finish the last jar.

Now prep your jar rim with a paper towel dipped in the hot water and just quickly swipe the very top rim of each jar to make sure it’s completely debris free

Now for the canning inserts, they are warmed up in the boiling water to sterilize them prior to placement i’m using tongs when softened each insert is placed on each jar and the closing ring is tightened hand tight. That jar is finished and is placed in the raised canning pot wire insert until all the jars are in the insert and then the insert is lowered into the still medium temperature water, and the water then needs to be added so that it covers the jars so we used boiling kettle water to further add water above the level at the top of the jars ensure an inch above boil for 20-30 minutes

Once the jars have been boiled. Transfer to dish towel lined countertop as they cool the inserts will or should suck down with a pop. Dry off the outside of each jar and leave overnight to cool. Now can be stored for years presumably.

2024 Jan 31 - 2nd Annual CSM Love Knitting Hangout (August 3&4)

Announcing our 2ND ANNUAL August 2024 CSMLove Machine Knitting Hangout in Vancouver, BC!

This event is for persons interested in hanging out and working on hand yarn crafts (for example: hand knitting/crochet), machine knitters (of any kind), flat bed machine knitting or circular sock machines.

Don’t know anything about Circular Sock Machines? Check out my website or email me :)

WHEN: Saturday Aug 3, 2024 (11am - 7pm)* AND Sunday Aug 4th Noon-6pm

WHERE: Vancouver, BC - transit accessible (shared only with registered/paid persons)

OUT OF TOWN AND NEED LOCAL LODGING AS A NOT-YET REGISTERED PERSON? Look for lodging using a local address 8585 Hudson Street, Vancouver, BC. This is NOT the venue but a prominent building in the area. There are many local places to stay in Marpole (the area name). PLEASE REGISTER BEFORE RESERVING LODGING.

PLEASE REGISTER BEFORE PAYING THE VENUE FEE. Registrations close Wed July 31, 2024. Email: csmloveinfo@gmail.com | To register please provide the following:

-Your full name, your cell phone/email address and city you reside.
-You’re attending with a CSM (which brand?) / Flat Bed (which brand?) / Hand Knitter/Crocheter or other.
-Are you seeking specific help on a certain task?
-Are you interested in doing a demo (of any kind) or wishing to see a demo at the event?

Once ALL registration questions or statements are answered I will request the registration fee - please note incomplete registration questions cannot be accepted.

COMPLETE VENUE REGISTRATION IS $40 - this includes both days even if only attending one (payable before August 1st via Interac banking or via PayPal to the csmloveinfo@gmail.com . If paying via PayPal the registration is $45.

Having issues with PayPal? Goto my Taplink and send $45CAD via the donation link.

Prompt payment without registration will be returned. Did you email and not get a reply? Please email again.


To minimize cost, no food will be served onsite and no dishes used. Please bring your own water bottle and any simple snacks to share. There are many places to eat nearby.

ARE YOU A NEW SOCK MACHINE USER? YOU ARE WELCOME TO ATTEND BUT PLEASE EMAIL ME BEFORE REGISTERING PLEASE.

Ideally while I, (and others) will reasonably help as needed, the focus on this event is for everyone’s enjoyment - without FIRST emailing me to discuss, this event is not the place to learn how to cast on (the very first time), to learn how to use your ribber (for the very first time) or to trouble shoot any machine issues - if any of these statement apply to you please contact me ahead of time before July 31st - Karen (csmloveinfo@gmail.com) with a detailed description.

*Our venue has opened a second day for our event - we are being offered two days of secure and bright indoor venue access - Saturday 11am-7pm and Sunday Noon to 6pm. At the end of the first day our setup will need to slightly moved aside and covered - with our event continuing Sunday from noon to 6pm. Our setup will be safe overnight.

FULL SPECIFIC EVENT DETAILS ARE SHARED ONLY WITH REGISTERED PAID ATTENDEES

I intend on bringing my Chambord CSM AccuKnitter, my refurbished Legare 400 and maybe my plastic Addi-express 46 needle kingsize knitter (on custom table I made). We will have a winding station (swift and winders) and minimal free scrap fibre for your use.

This venue is bright, indoor and spacious, includes chairs that can be used and thick topped (non-CSM) tables as well as easy restroom access, curb parking and limited under venue parking.

Consider bringing:

Everything you need for your event crafting, a name tag for yourself, a water bottle, your table, extension cord-and light (if needing your own power access) and something for under your CSM (to protect the floor). A small bag to manage yarn bits/garbage to keep the venue tidy. Last year we were joined by a custom dyed yarn vendor and they offered cash or credit card - please plan to bring cash in case we have a different yarn vendor attend. You will need to bring your own patterns and projects to work on (any extra yarn etc) and a blanket or something to cover your machine Saturday evening if you’re returning Sunday. **Please bring a door prize donation upon arrival of ball of 100gram yarn for the end of day draw. Have something to sell or want to item or yarn swap?

Need ideas? Check these out ahead of time - watch video(s) and (print sock step by patterns yourself and bring to the event as wanted). Interested in a DEMO of some kind? Interested in DEMOING? Let me know :)

My non-sock project videos see https://www.csmlove.com/projects

My sock patterns and step by step videos https://www.csmlove.com/sockscd


At this time we are waiting for yarn vendor confirmation.

Please ensure to check (this page) before the event for any last minute details.

If needed this event blog website address is: https://www.csmlove.com/blog/machineknithangout2024aug

Facebook shortcut: PREVIOUS https://tinyurl.com/2023Sep2CSMLOVE

FURTHER LINKS COMING: PREVIOUS: Facebook event url | CSM Love Instagram | CSM Love Facebook |


SEE ALL BLOG ENTRIES ON THE BLOG INDEX PAGE | Follow us on a variety of social sites see TAPLINK | Interested in Circular Sock Machines? See the CSM START Menu first page. | Seek something specific? Checkout the Index page.


2023 Dec 30 - Servicing an Autoknitter

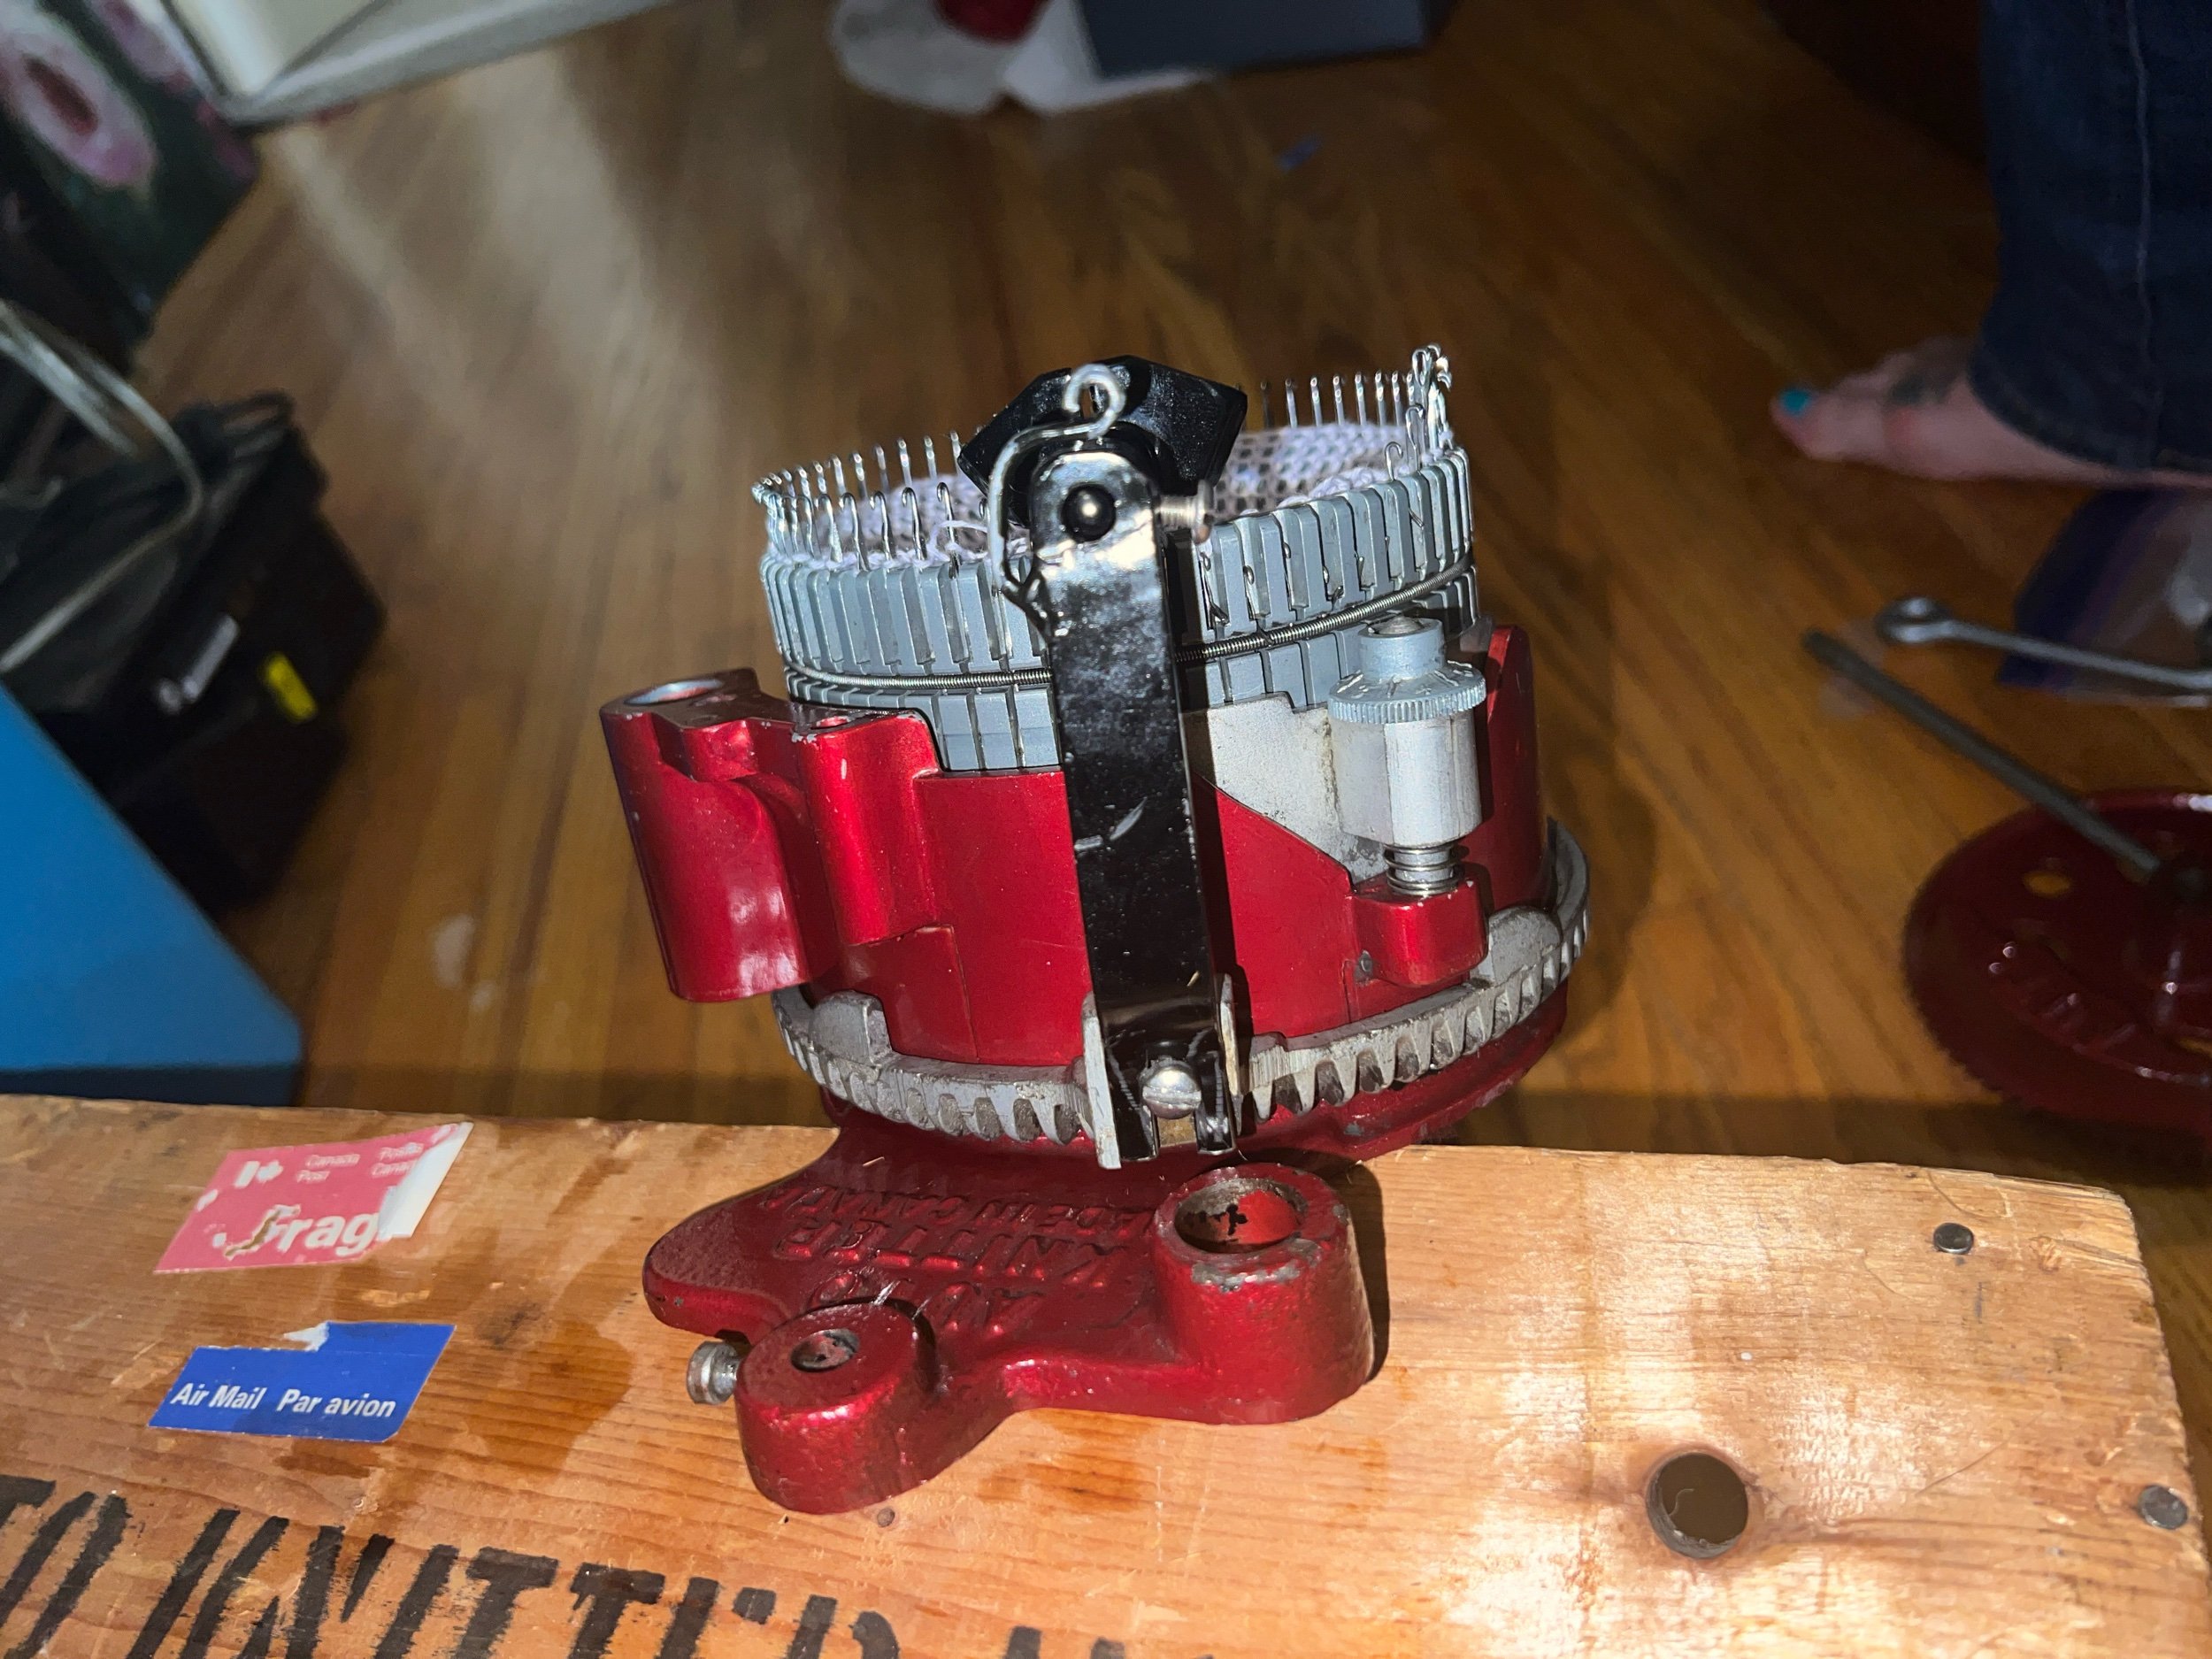
This machine is a circular sock knitting machine and is owned by an individual who prefers to make sock tubes (and off machine after thought socks) and has had issues with machine function for some time.

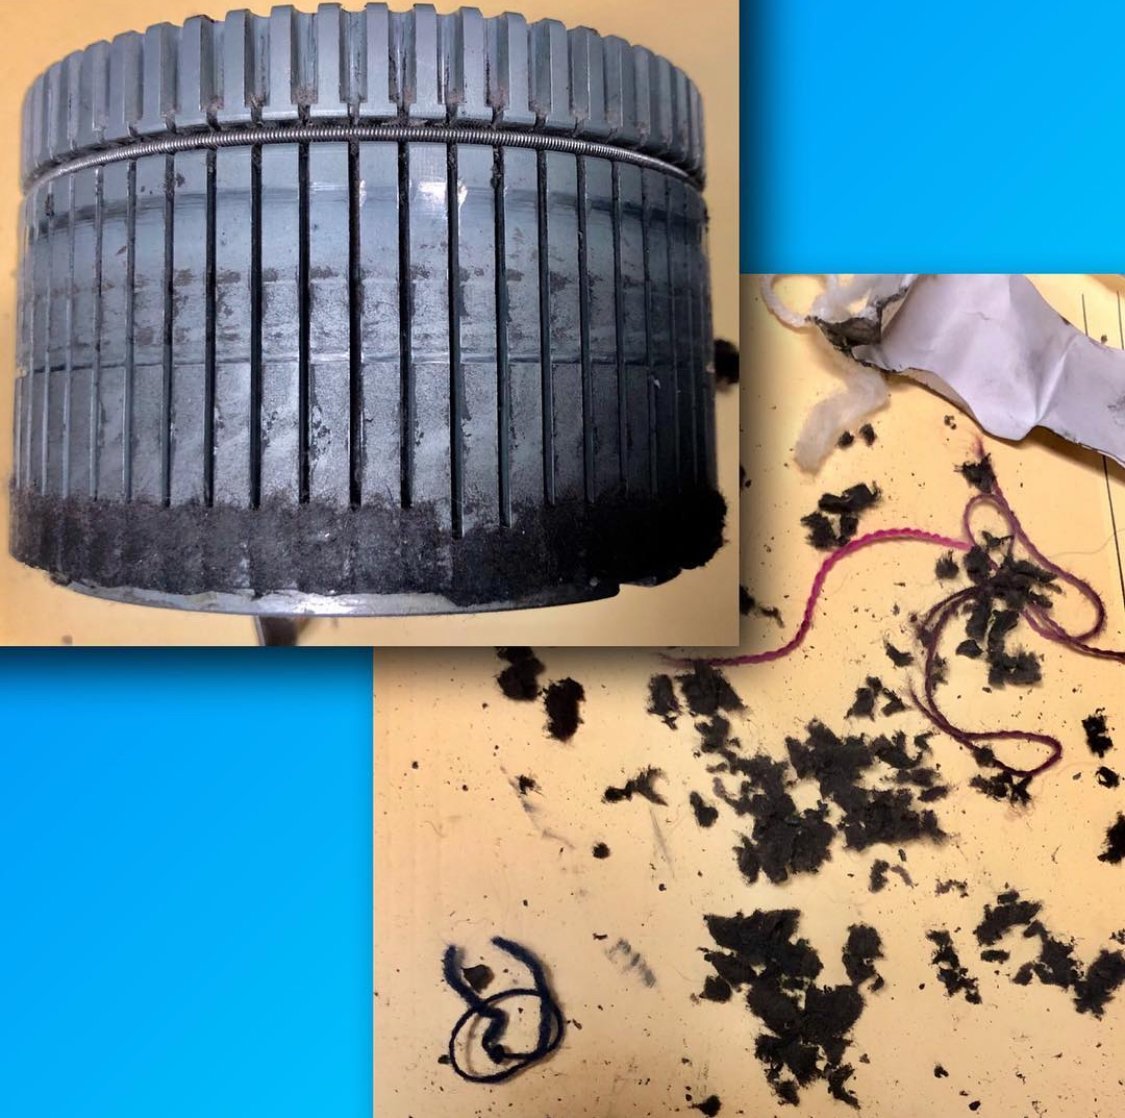
April 4, 2019 while having a work lunch break I had managed an impromptu cylinder clean - Instagram post.

See our full dismantle/reassemble Autoknitter video.

Unfortunately oil isn’t being used most of the time and cleaning isn’t being done as much as the machine needs.

I noted a bent thumb-screw, a slightly bent handle and a yarn carrier stem part that’s still loose in its mount even with tight screw attachment. Machine was retrieved for servicing without extra needles, a buckle, tools or weights. I removed the ribber stop and screw from the inside of the cylinder as the owner chooses to use the machine with the ribber (and these are only used with a ribber on the machine).

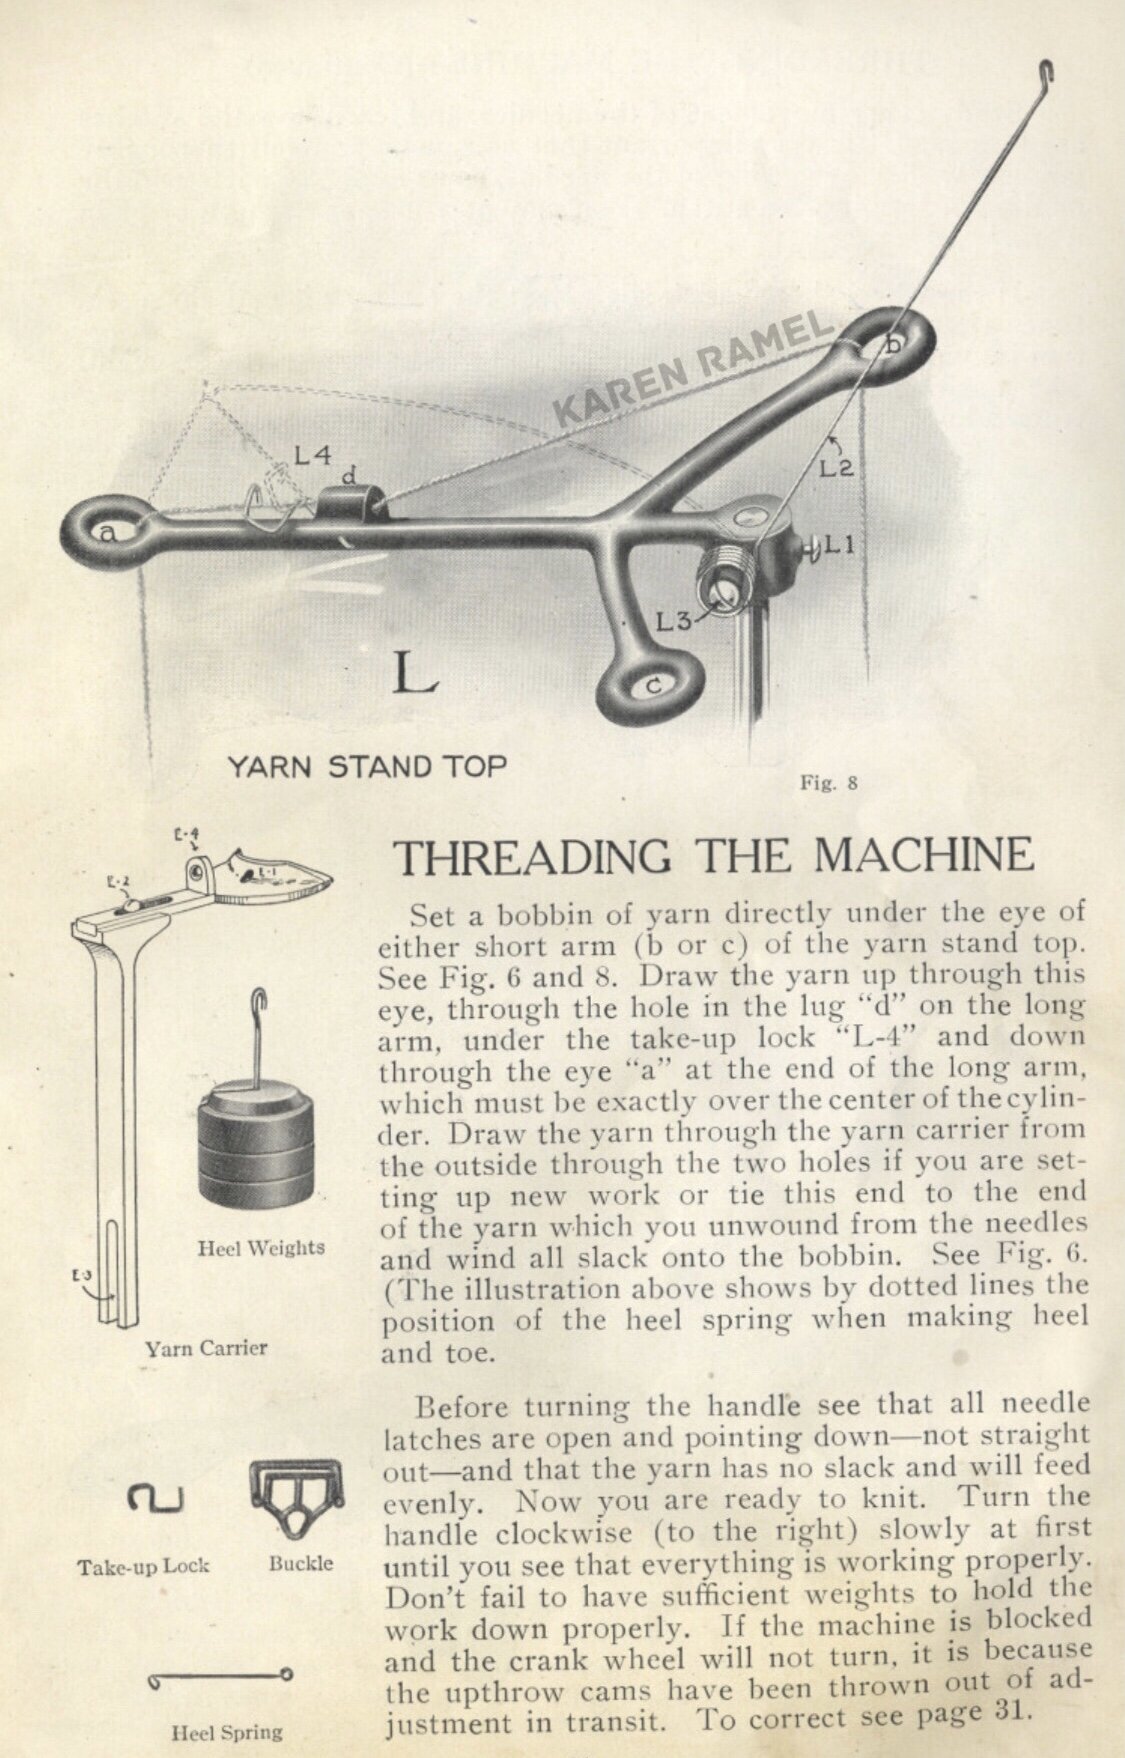
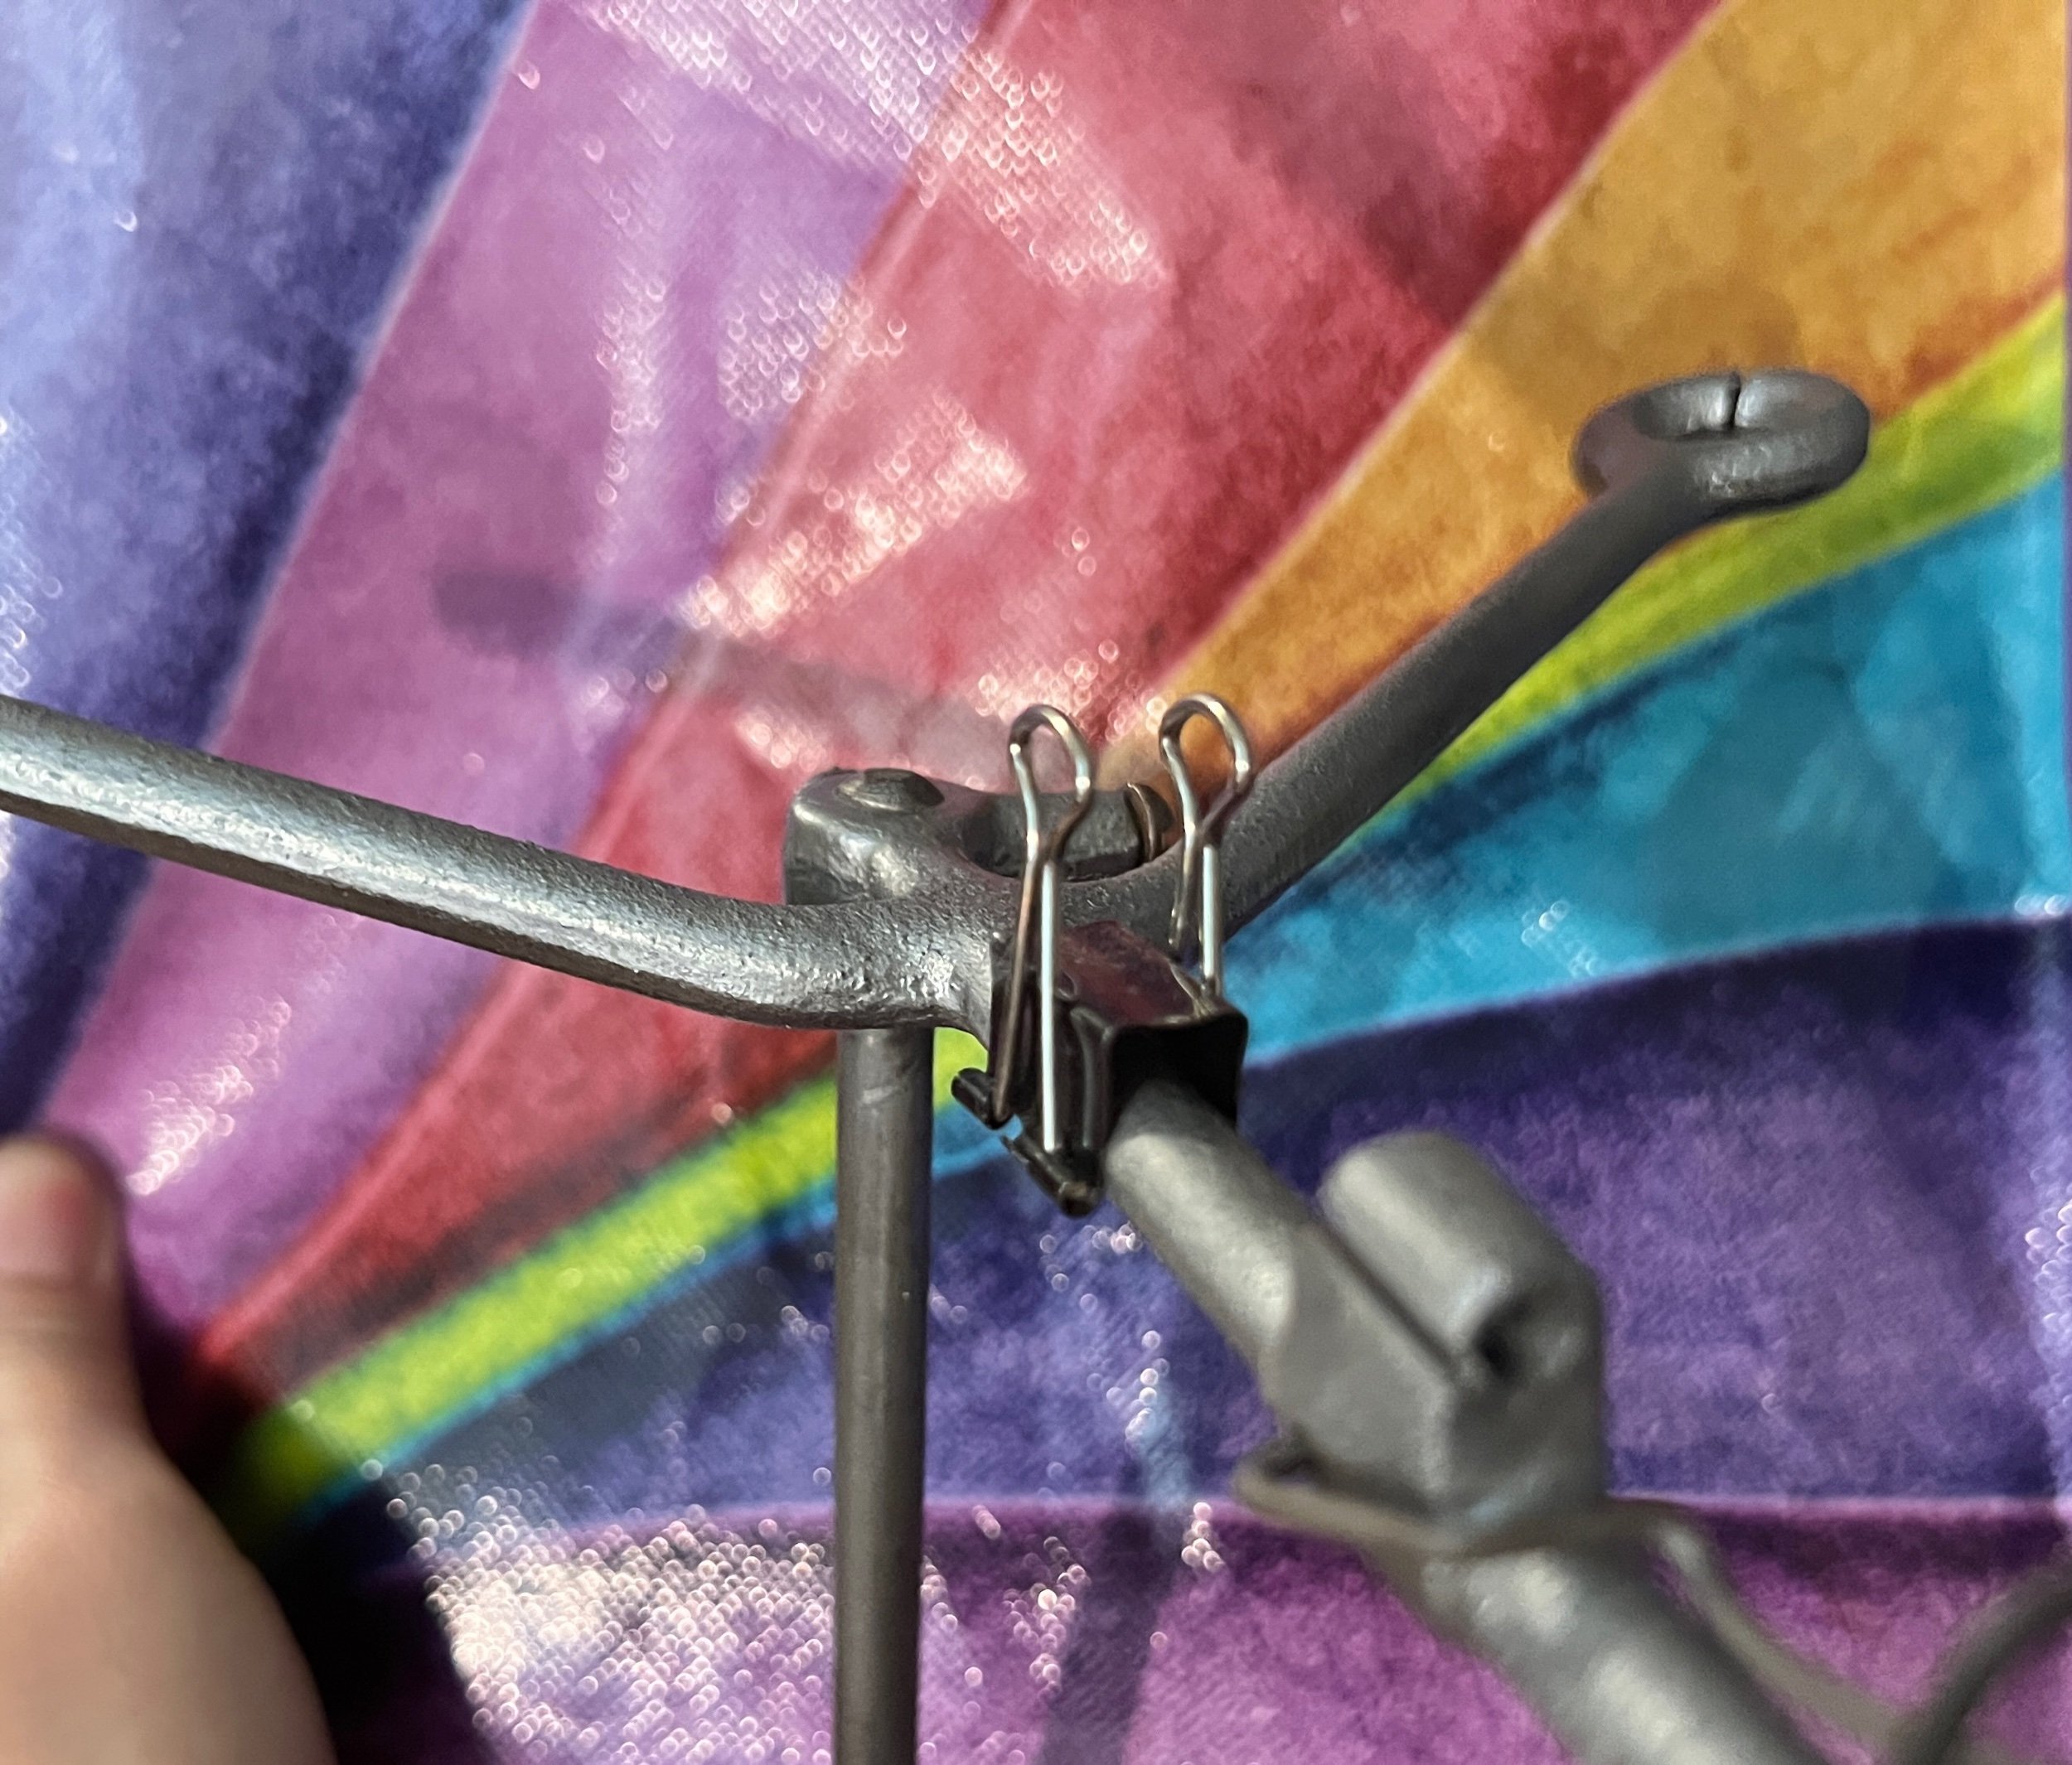
Whomever slotted the top yarn mast in the past didn’t angle the cut correctly on the middle tunnel area so now when having yarn come up from the table on the left it doesn’t sit where it should so I’ve added a clip to help the yarn path stay aligned. 

I straightened the thumb-screw allowing full motion now being able to better clamp the machine to a table.

The attachment fork style of the yarn carrier broke (two photos)-so I swapped to a Chambord CSM slotted (and Karen modified) black painted yarn carrier.

The cylinder screws located under the machine (holding the cylinder in the machine) were replaced at one point with a Philips star set of screws from their original slotted style screw. These work but are very difficult to remove without direct vision when wanting to remove the cylinder - why I recommend replacing these for the correct slotted screws sold by Chambord csm in Quebec.

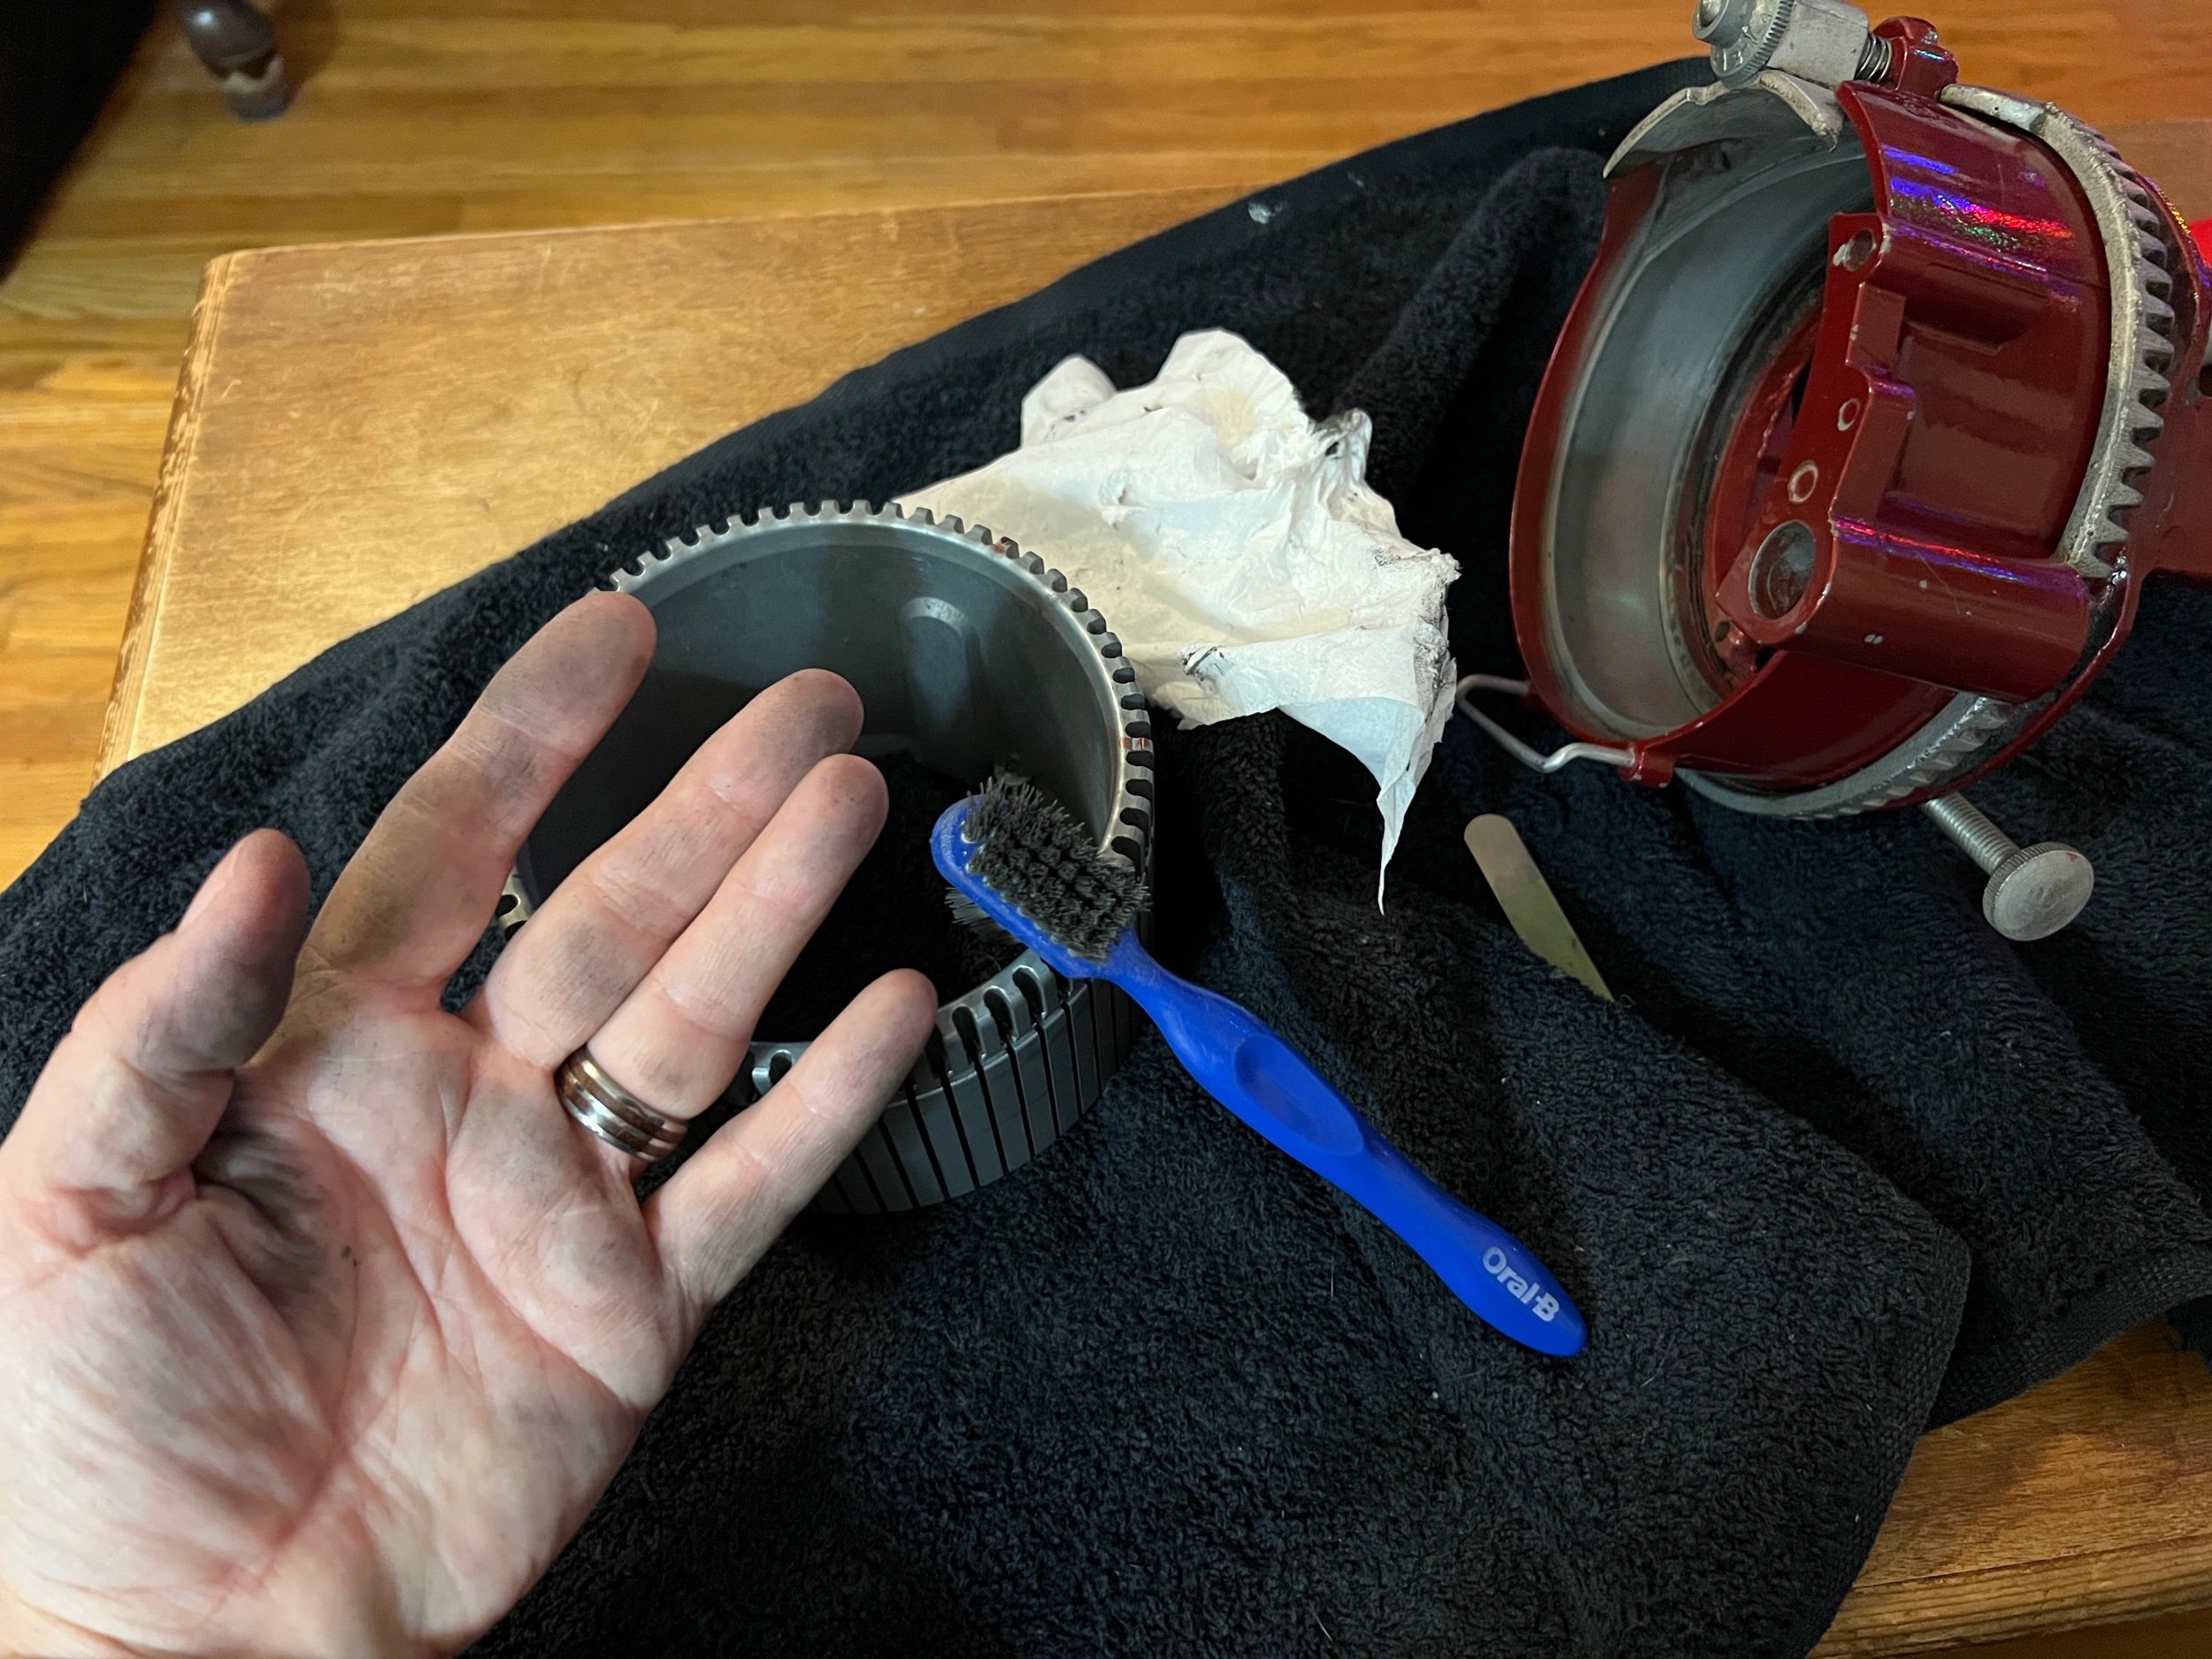
I removed the cylinder needles then the cylinder screws and cylinder. I spent over 90 minutes cleaning all the cylinder slots and surfaces. The needles, cylinder, cylinder spring and two upthrow cams were wiped of debris and were soaked for a few hours in sewing machine oil.

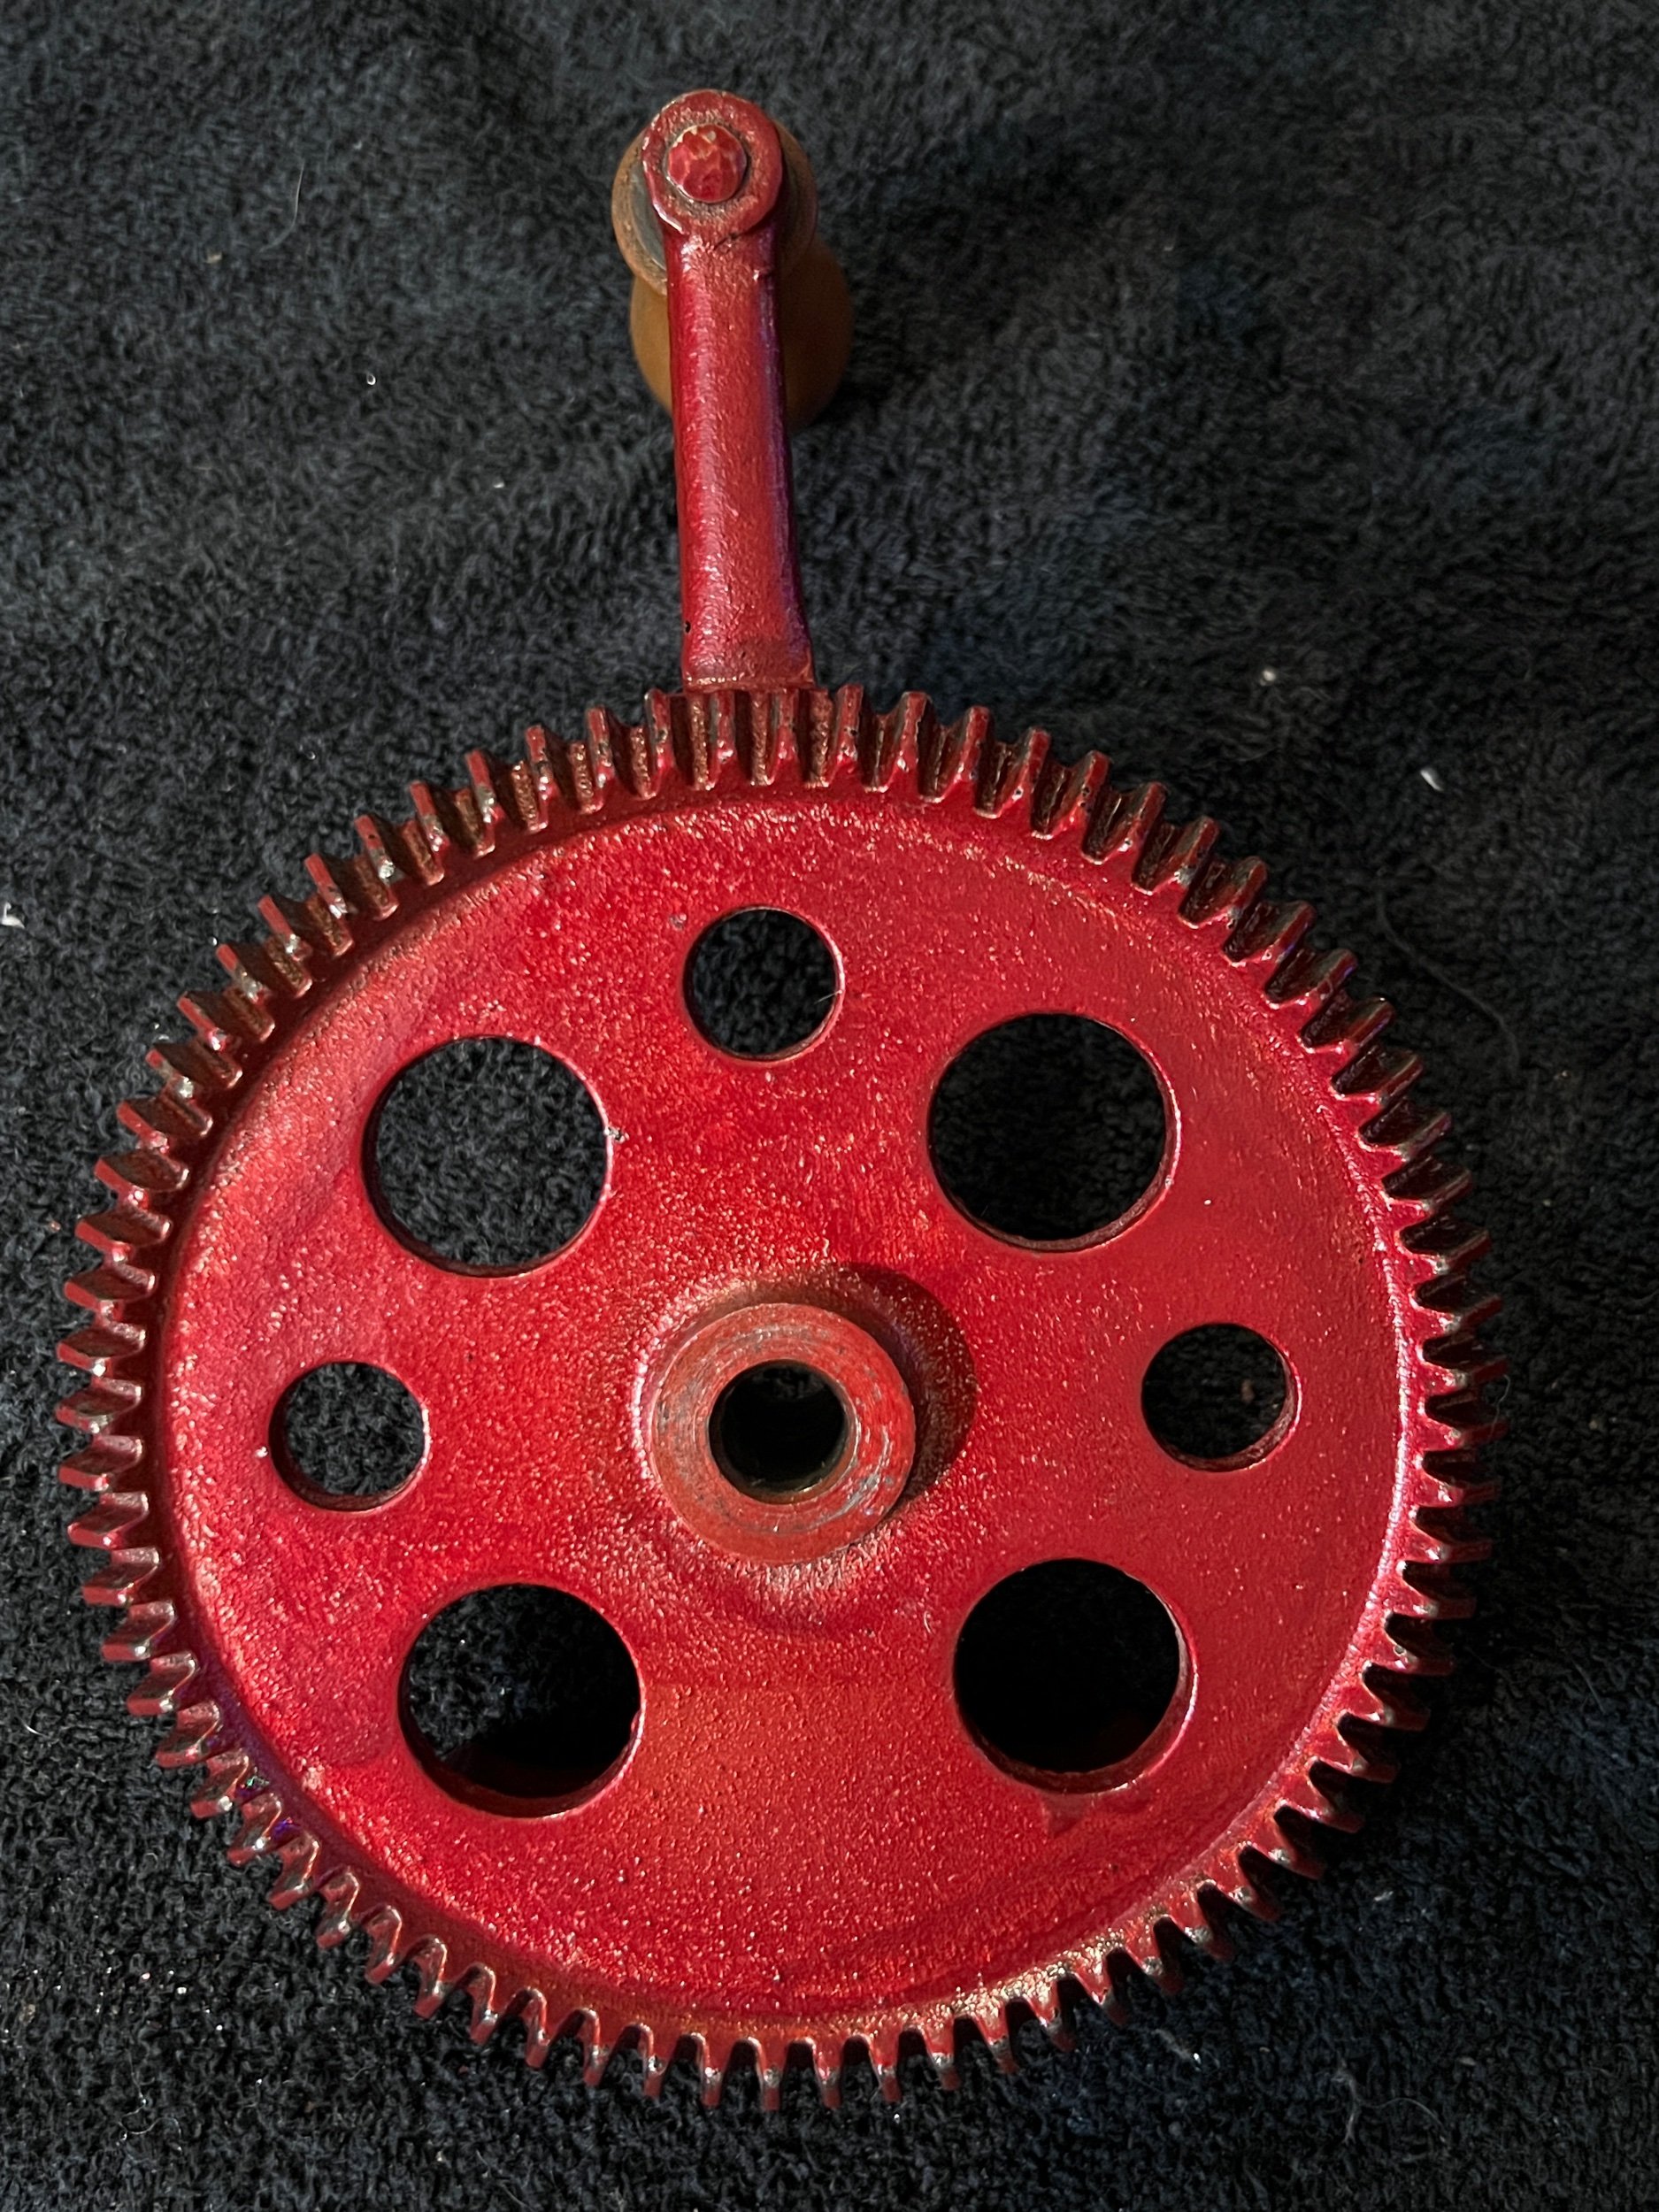
The machine parts were all dismantled (except for the tension dial which I suggest never gets totally dismantled) and all edges cleaned of years of black gunk. Red paint was noticeably flaked off on some surfaces showing the black prior paint. I noted the looking at the inner V Cam, the left and right upthrow cams show different wear patterns but at least smooth surfaces where the needles travel. The left upthrow teardrop shaped cam seemed to have a more pointed edge, less evenly flush on the vertical and horizontal plane - yet enough to still knit correctly. With both upthrow cams off the machine it visibly appeared as this though the pegs the upthrow cam sit on were uneven and not aligned however with those cams correctly installed they seemed fine. Every edge needed cleaning and throughly oiling.

I cast on with my universal bonnet (see CAST ON) and replaced the couple damaged cylinder needles. I noted the cam positioning when knitting forward counter clockwise and lifting needles to change directions - the alignments of both cams either leading or trailing.

Machine now functions like new.

My recommendation

Check out useful SUPPLIES I LIKE and the vintage version.

This machine needs a backup supply of cylinder needles, oil, maybe wire heel spring (if socks on the machine are ever wanted), pointy and latch hook tools, a small pencil case csm dedicated toolbox is useful, correct slotted cylinder screws.

New owner of a circular sock machine? See our CSM START MENU for the first in the series page.

See the other Autoknitter I worked on.

Instagram: one | two | three | four


SEE ALL BLOG ENTRIES ON THE BLOG INDEX PAGE | Follow us on a variety of social sites see TAPLINK | Interested in Circular Sock Machines? See the CSM START Menu first page. | Seek something specific? Checkout the Index page.

2023 Dec 2 - EEW Cone Winder

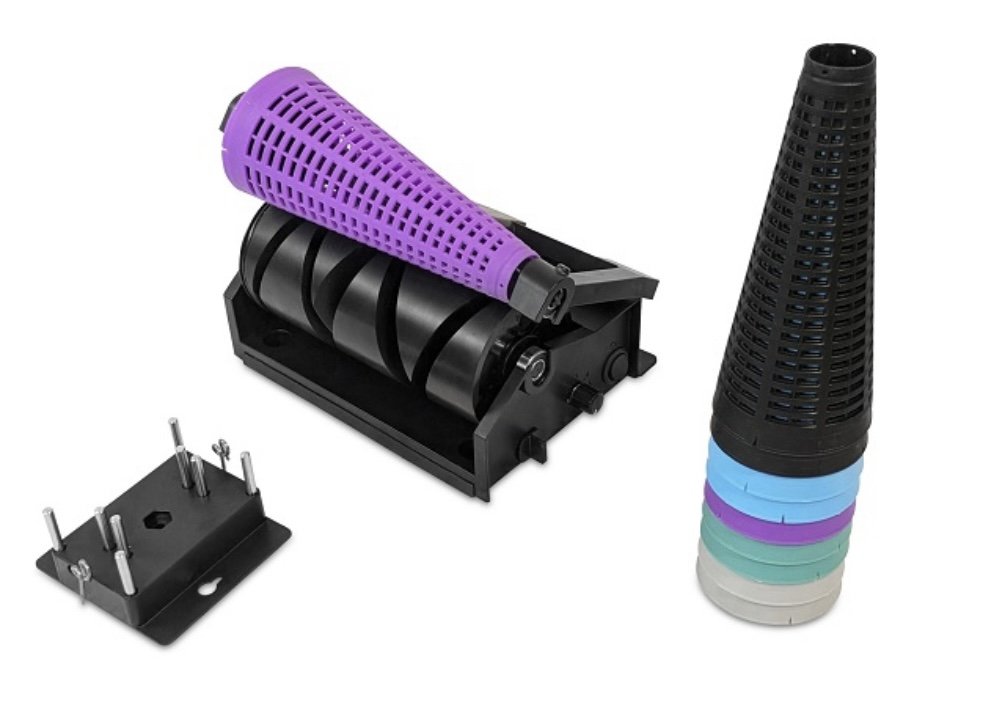
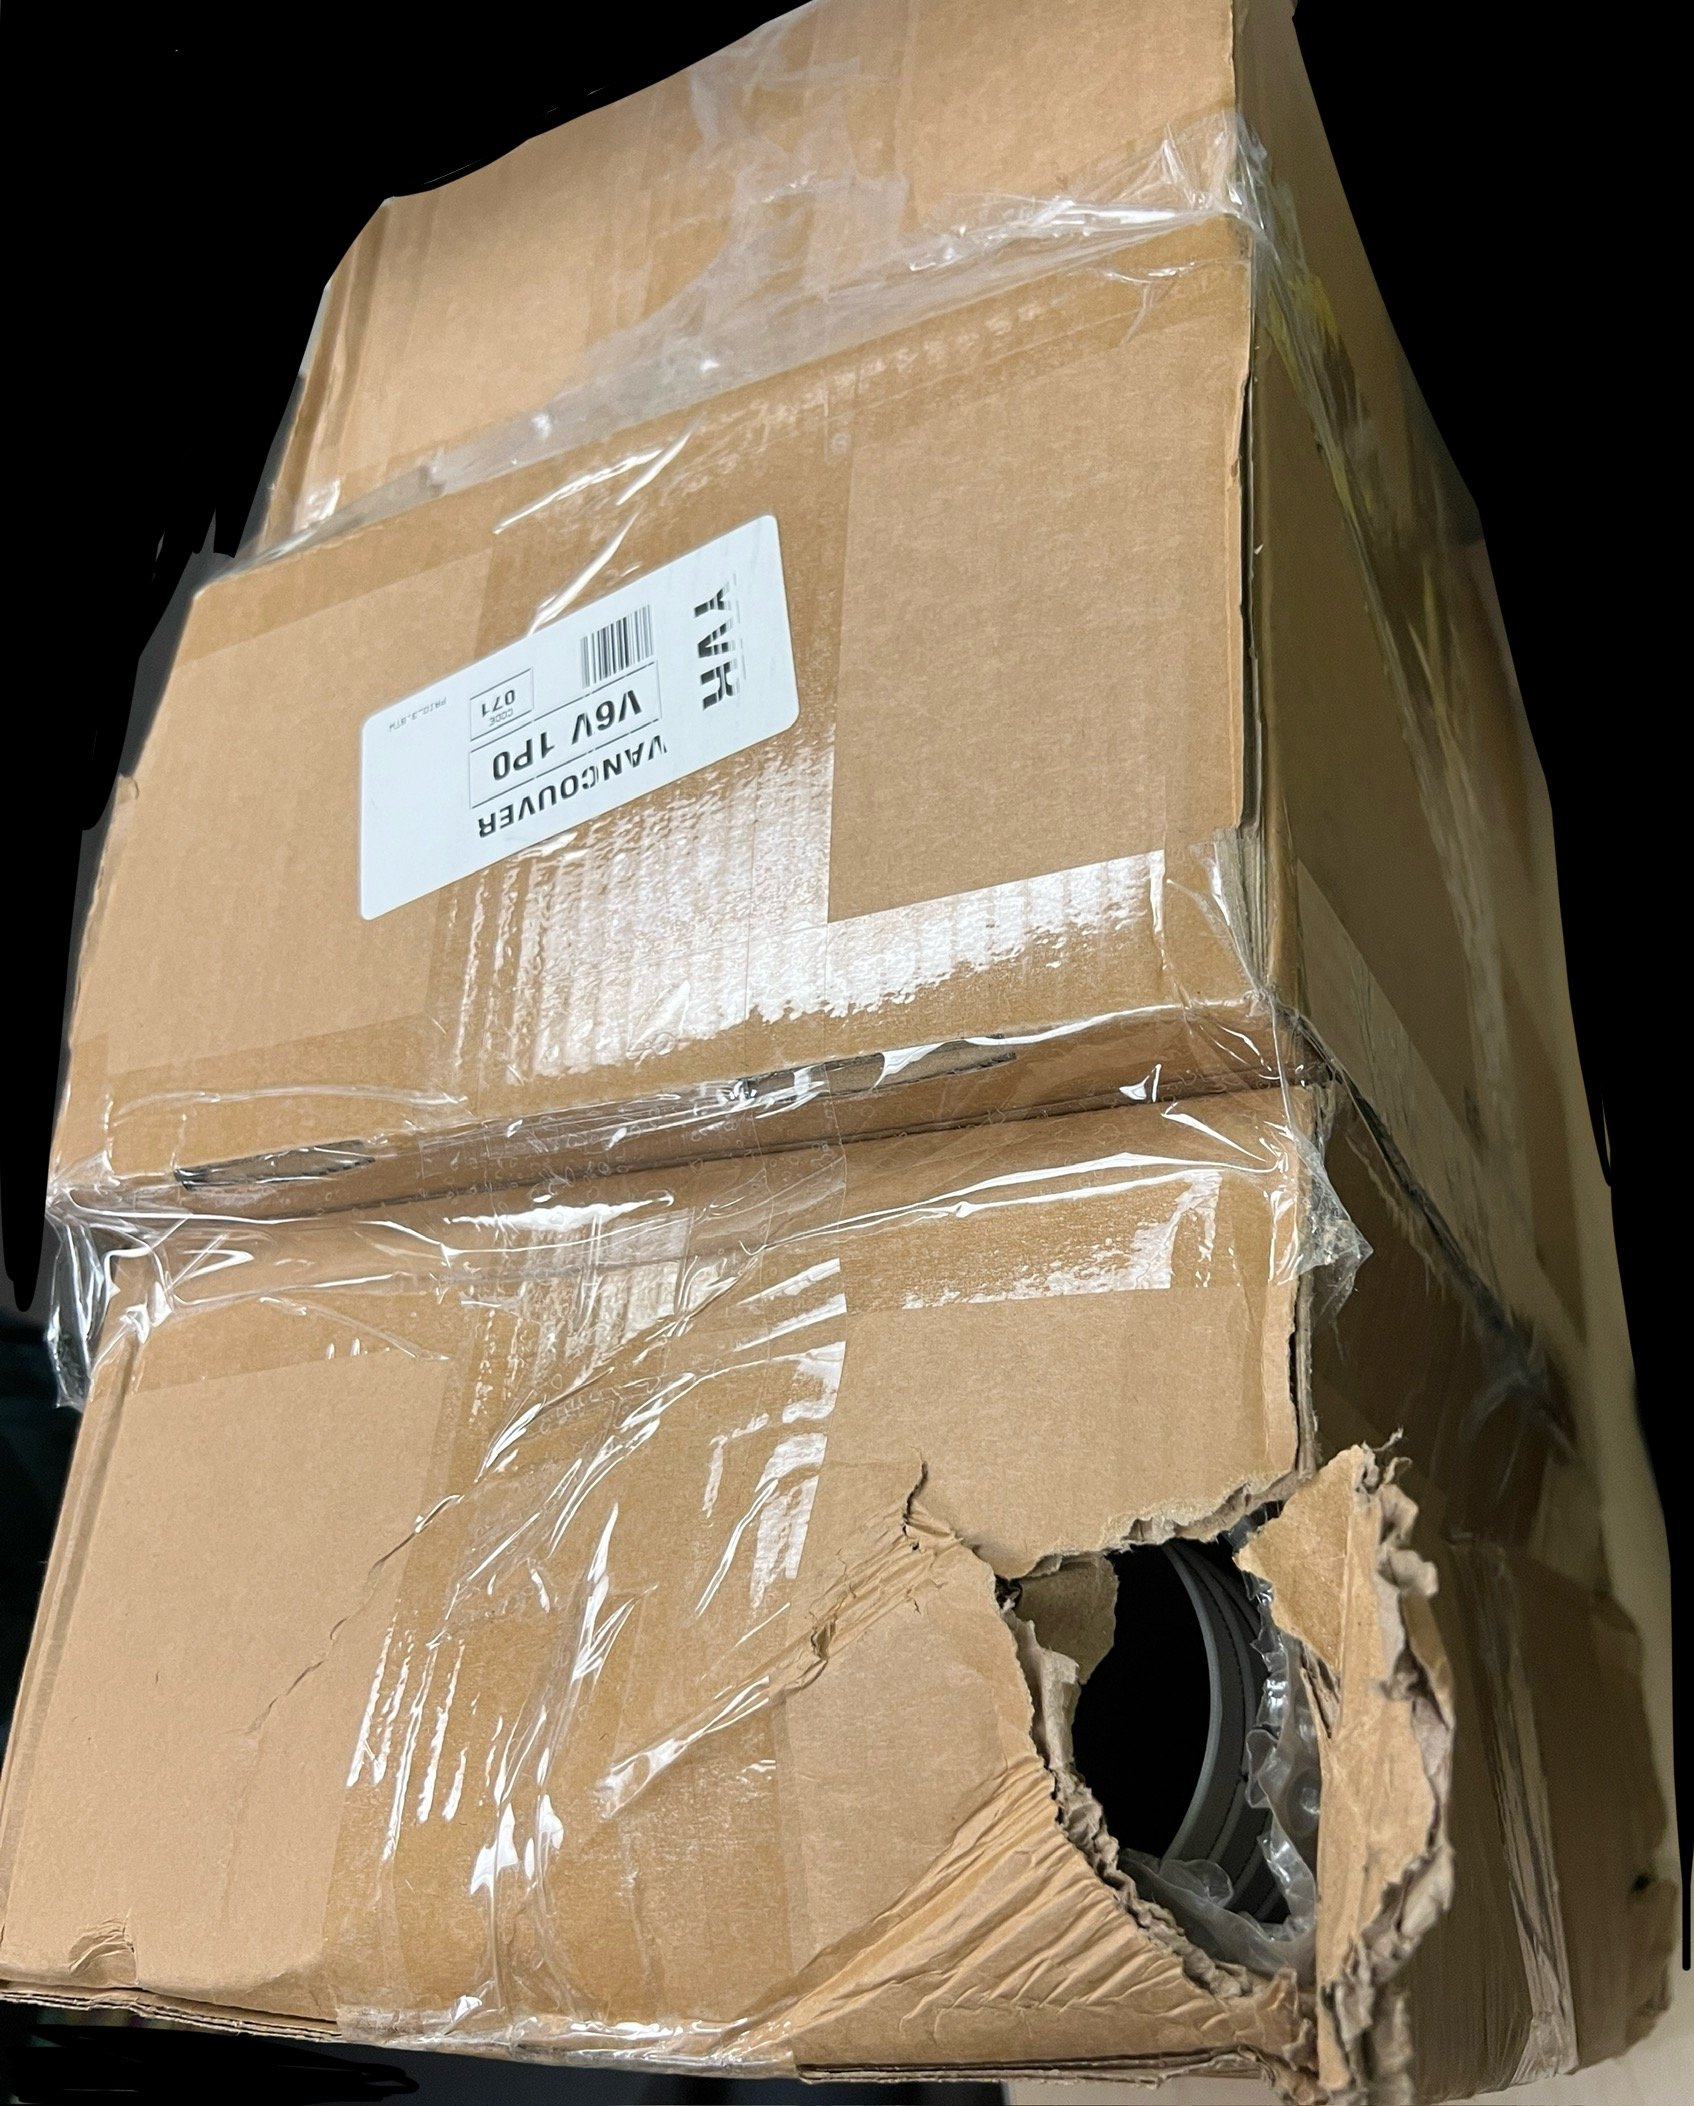
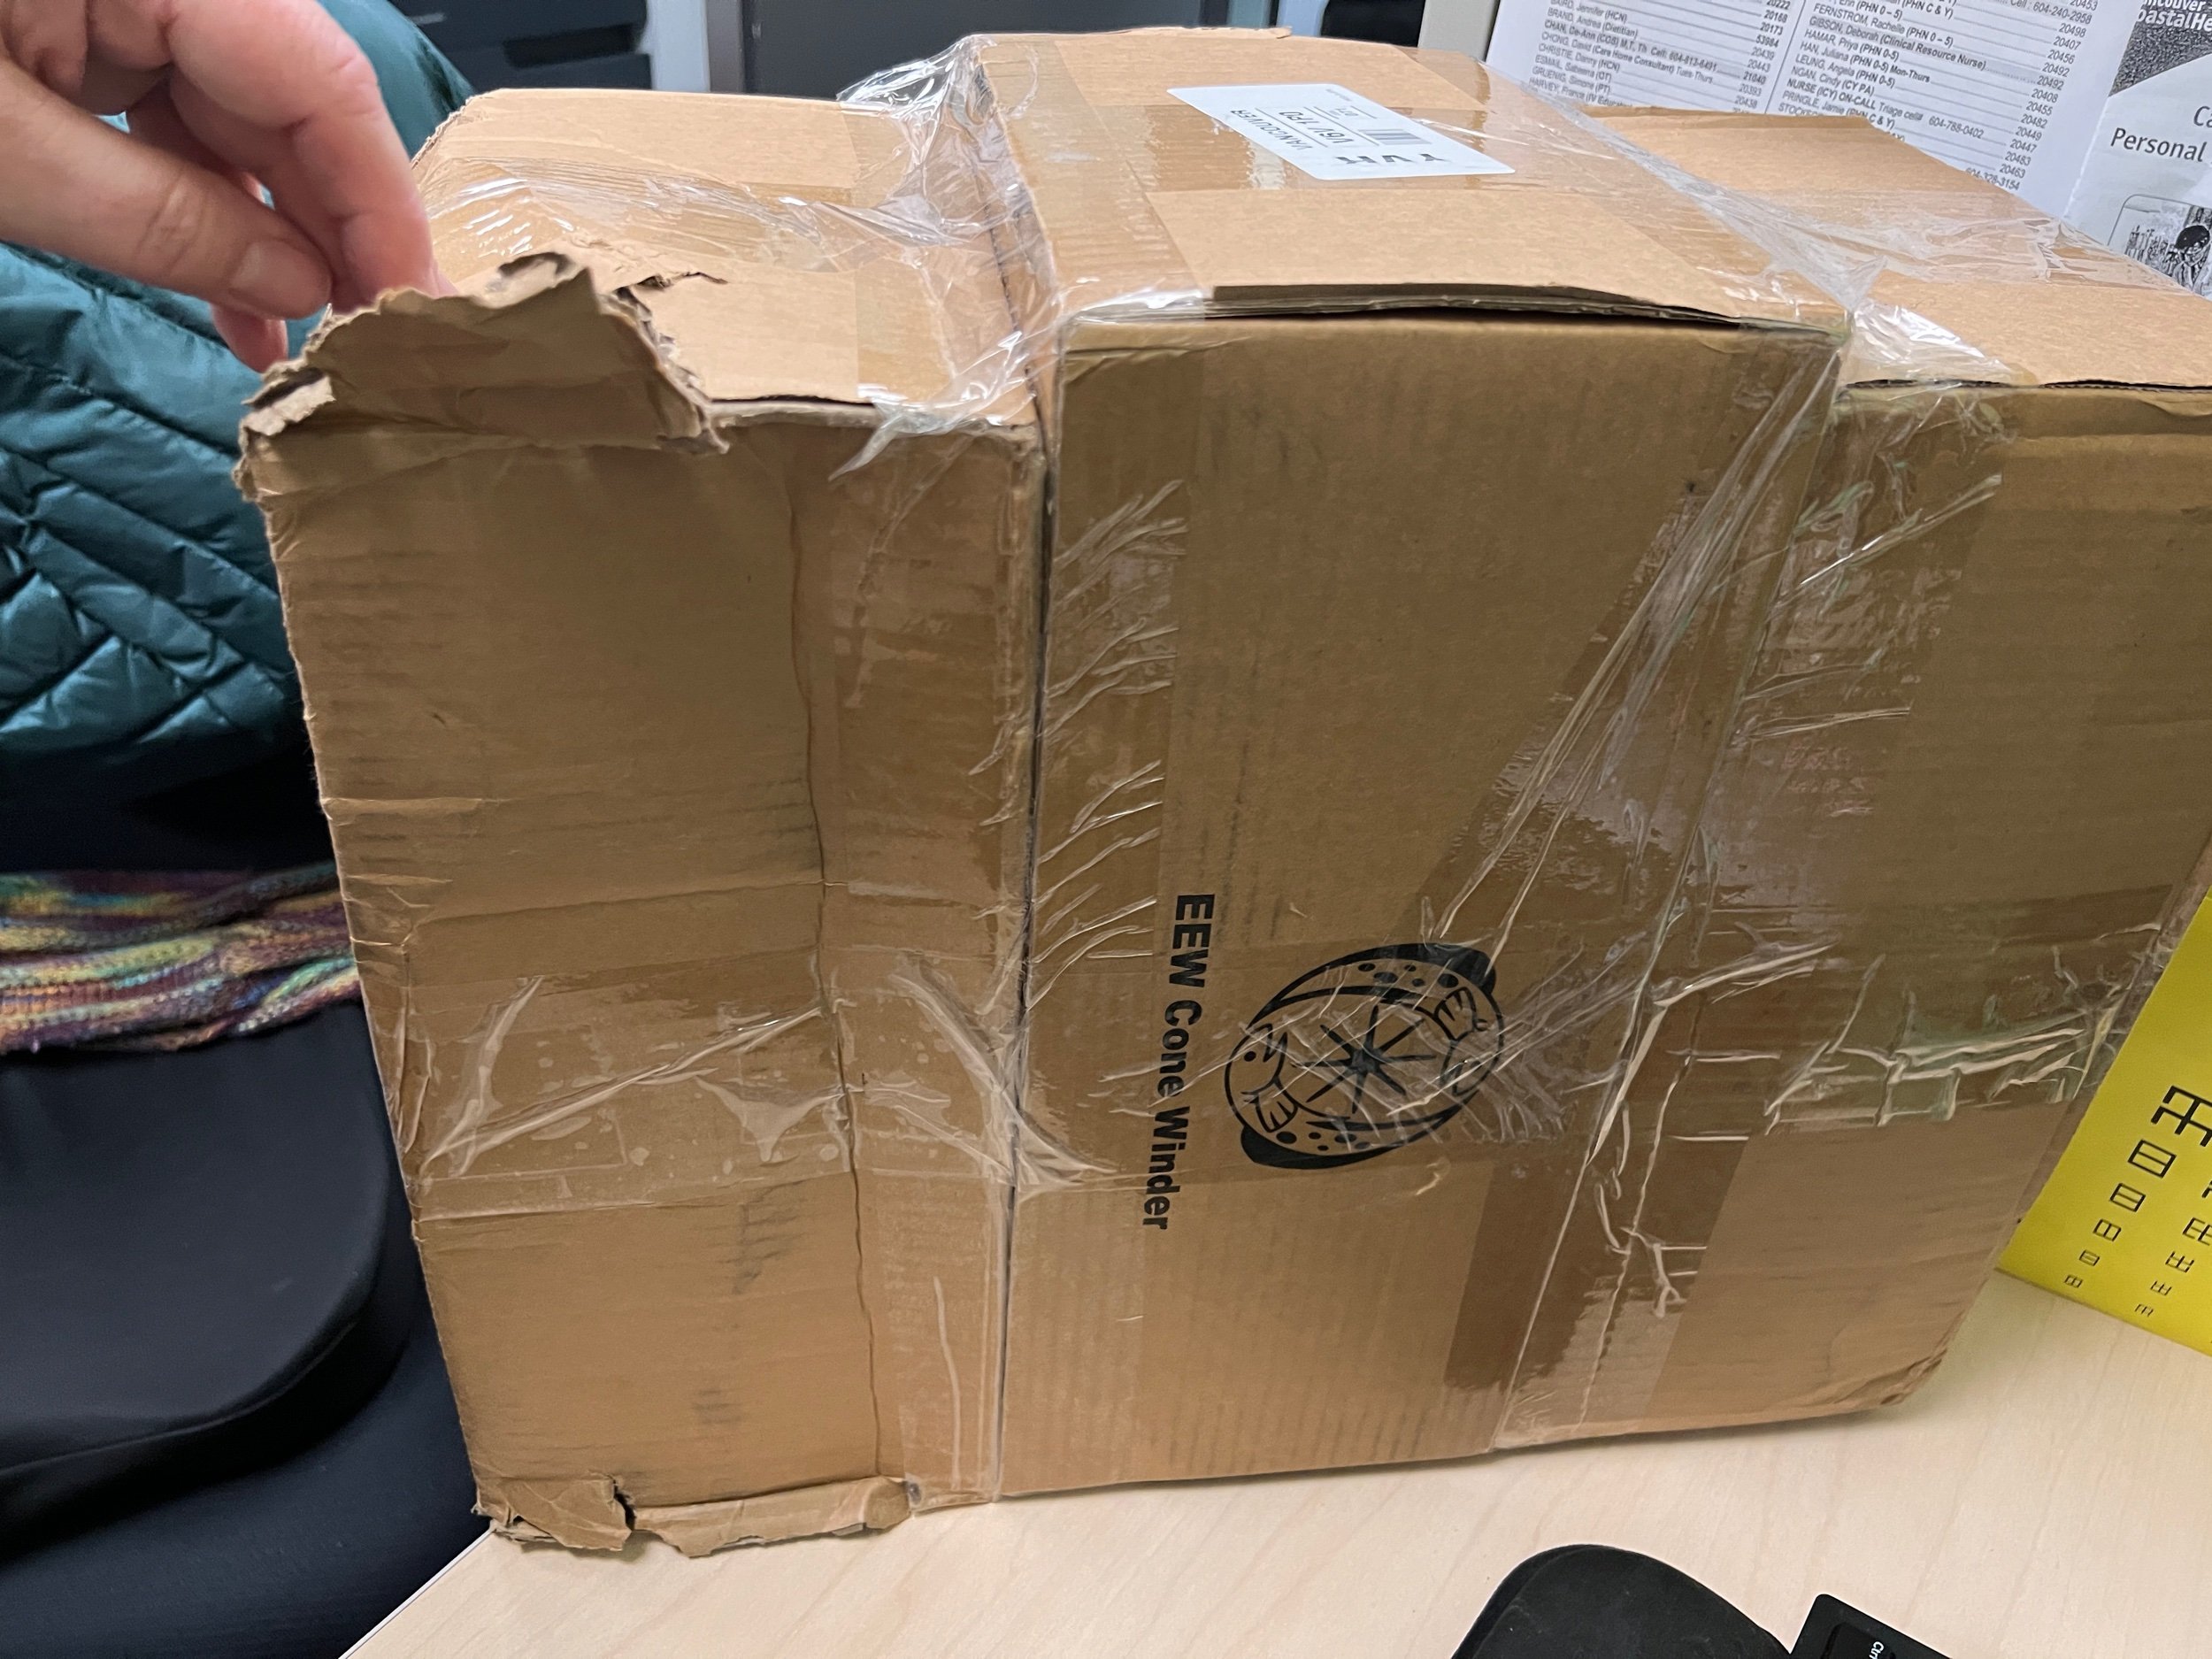
I received my Dreaming Robots Kickstarter contributed electronic winder a couple days ago from Maurice in the United States. The three boxes were taped together and arrived quite beat up.

The winder was $409USD ($289USD +$120USD shipping to Canada)

The winder came with 60 cones and I added another 50 cones for $50USD.

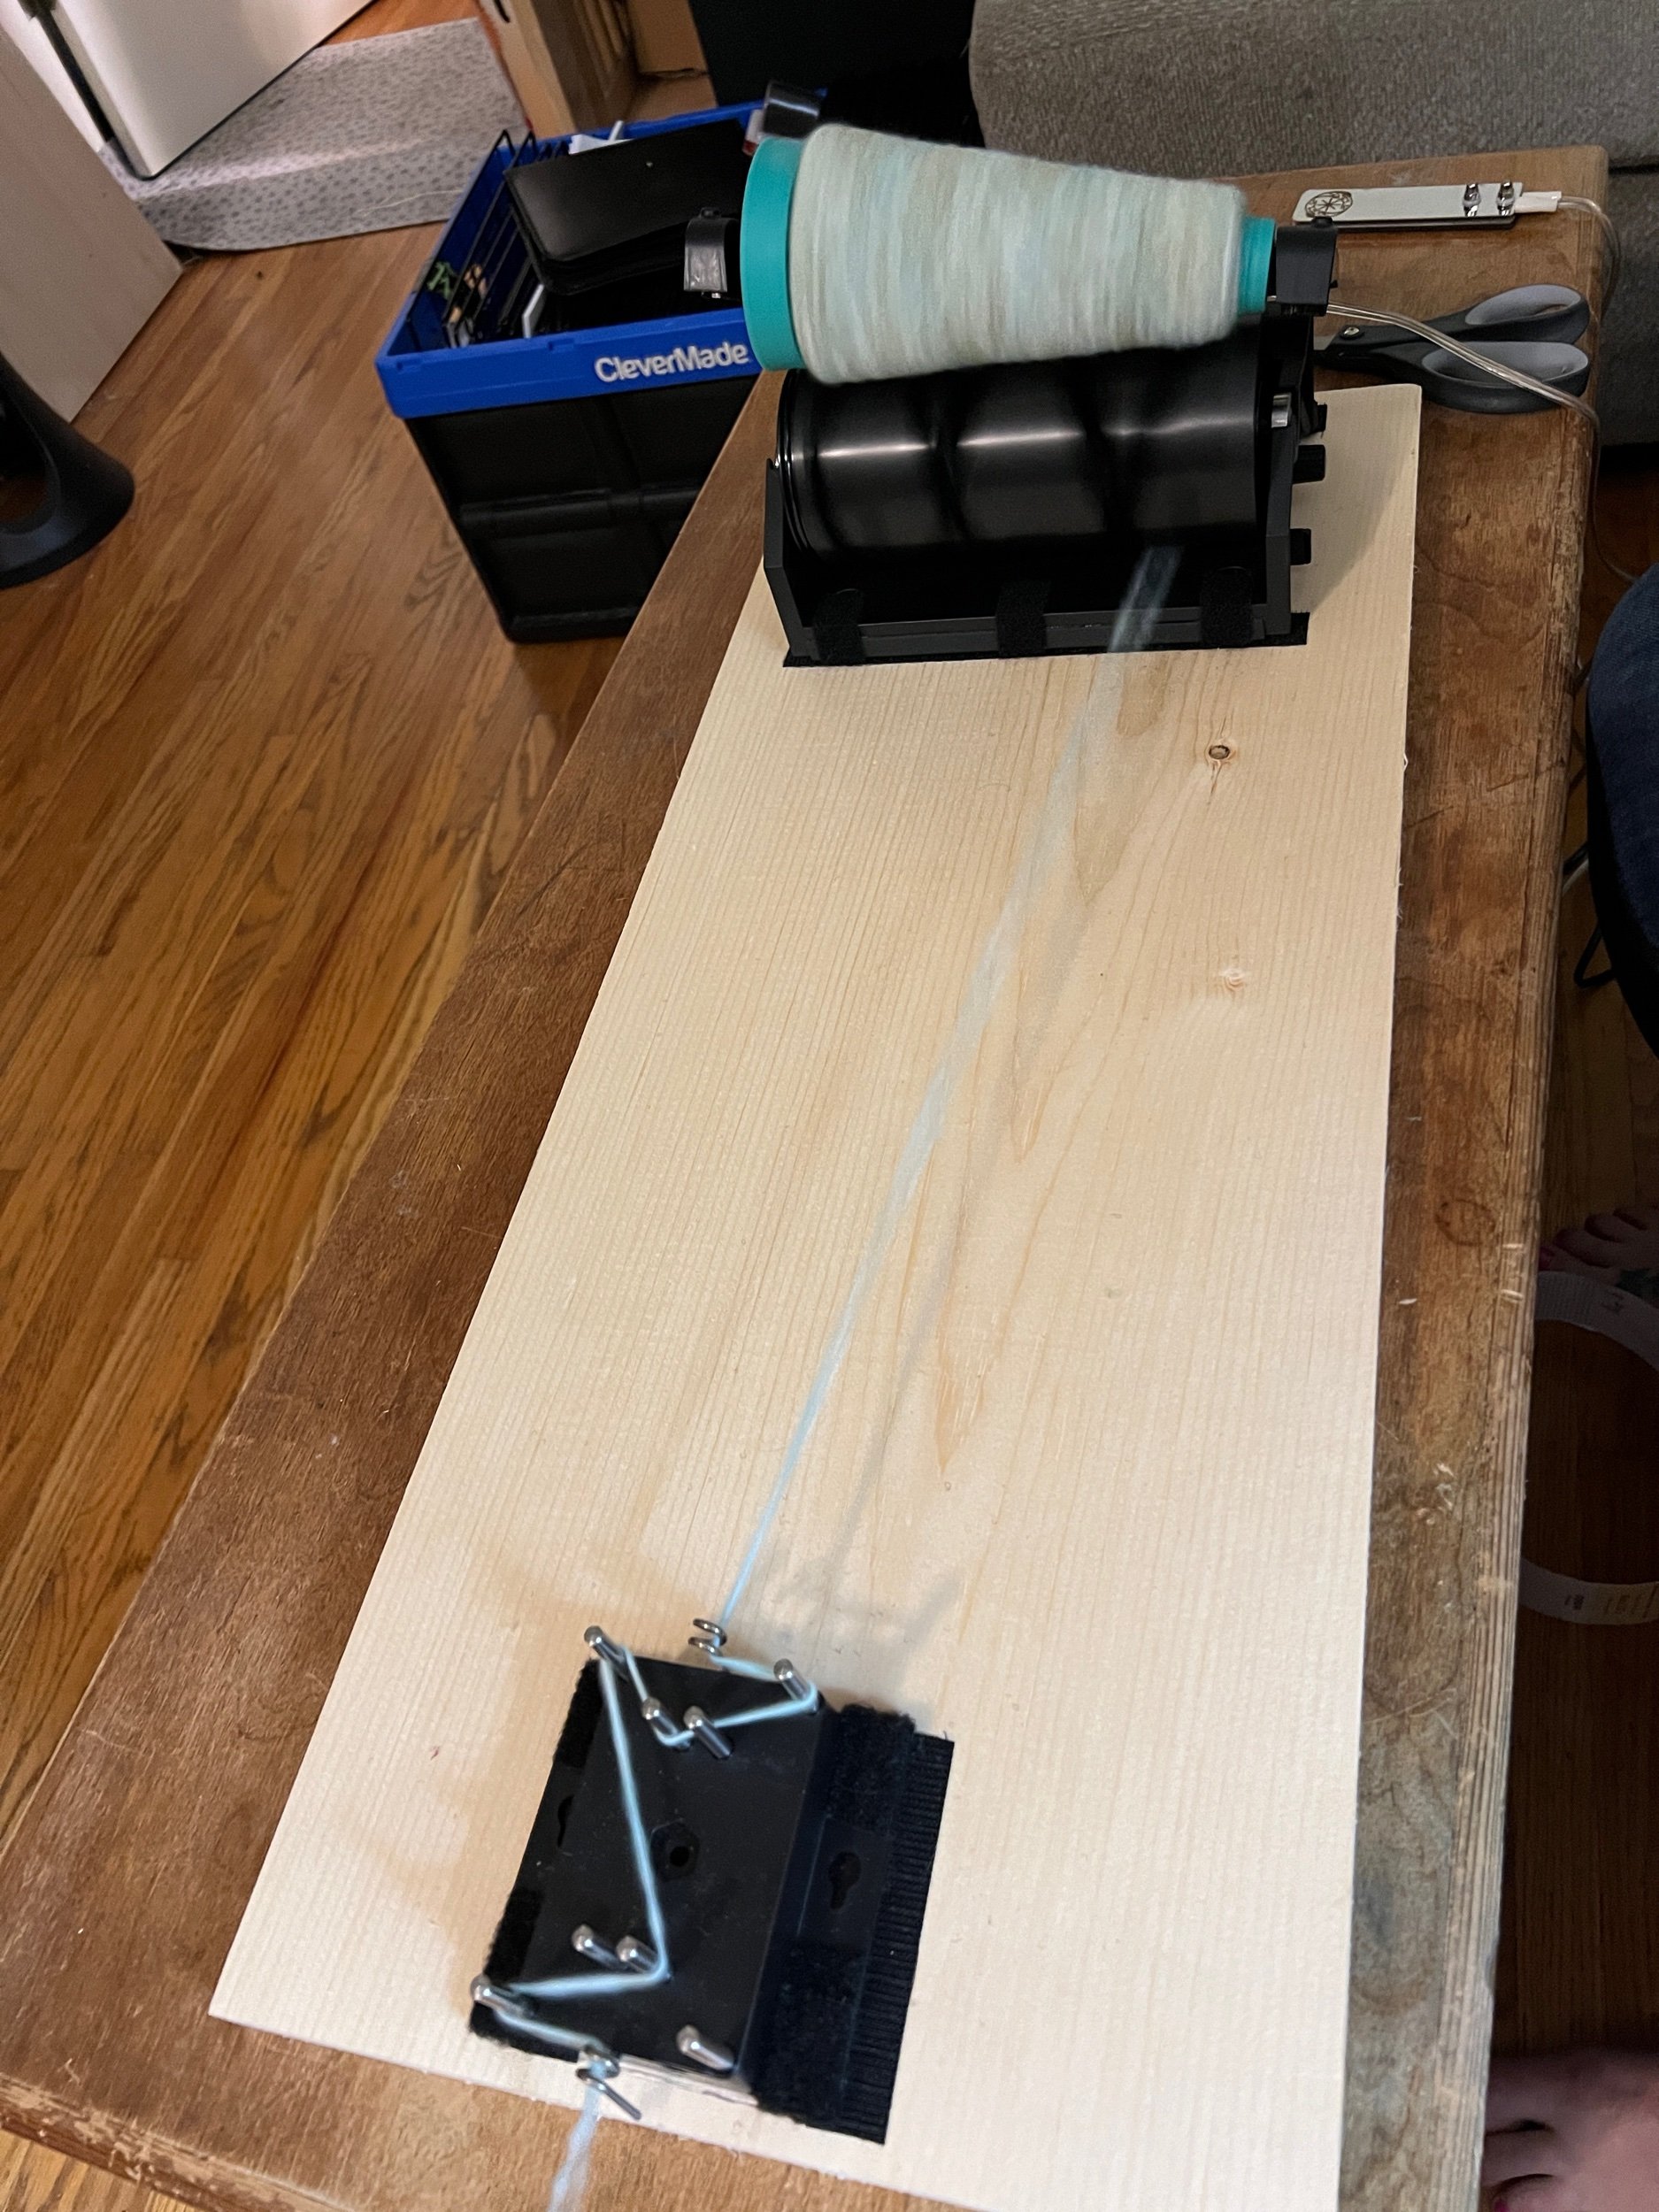
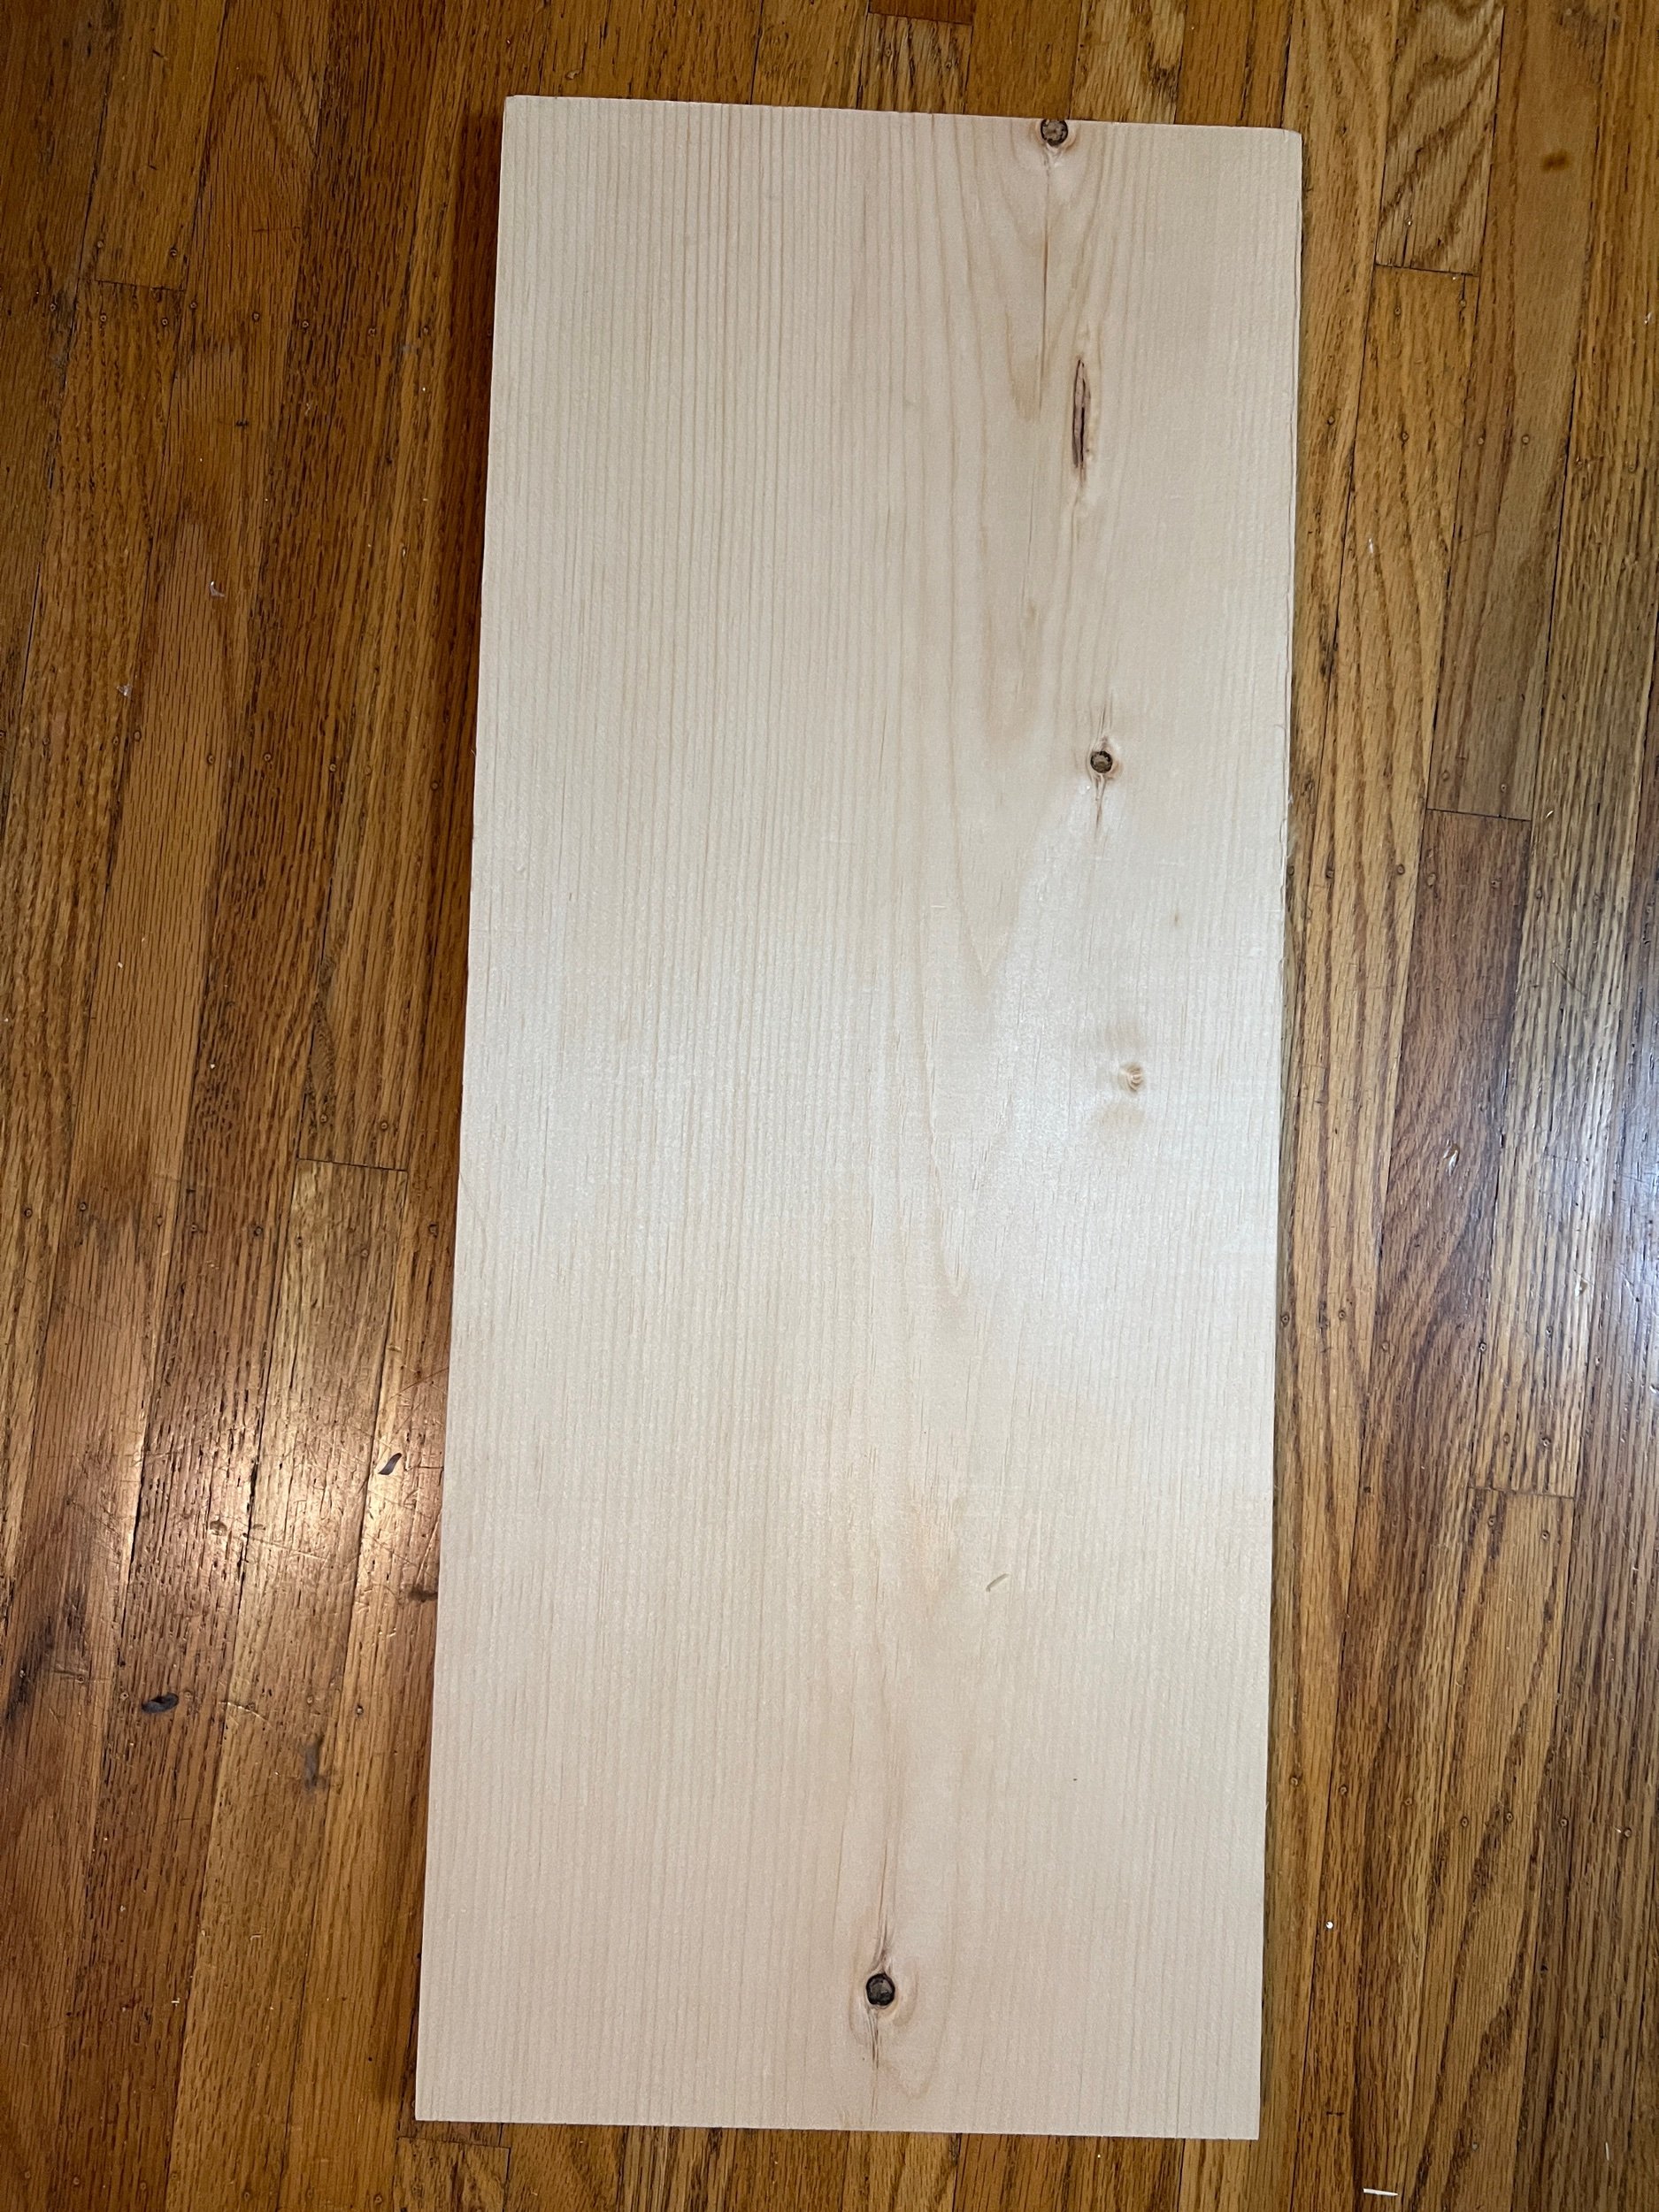
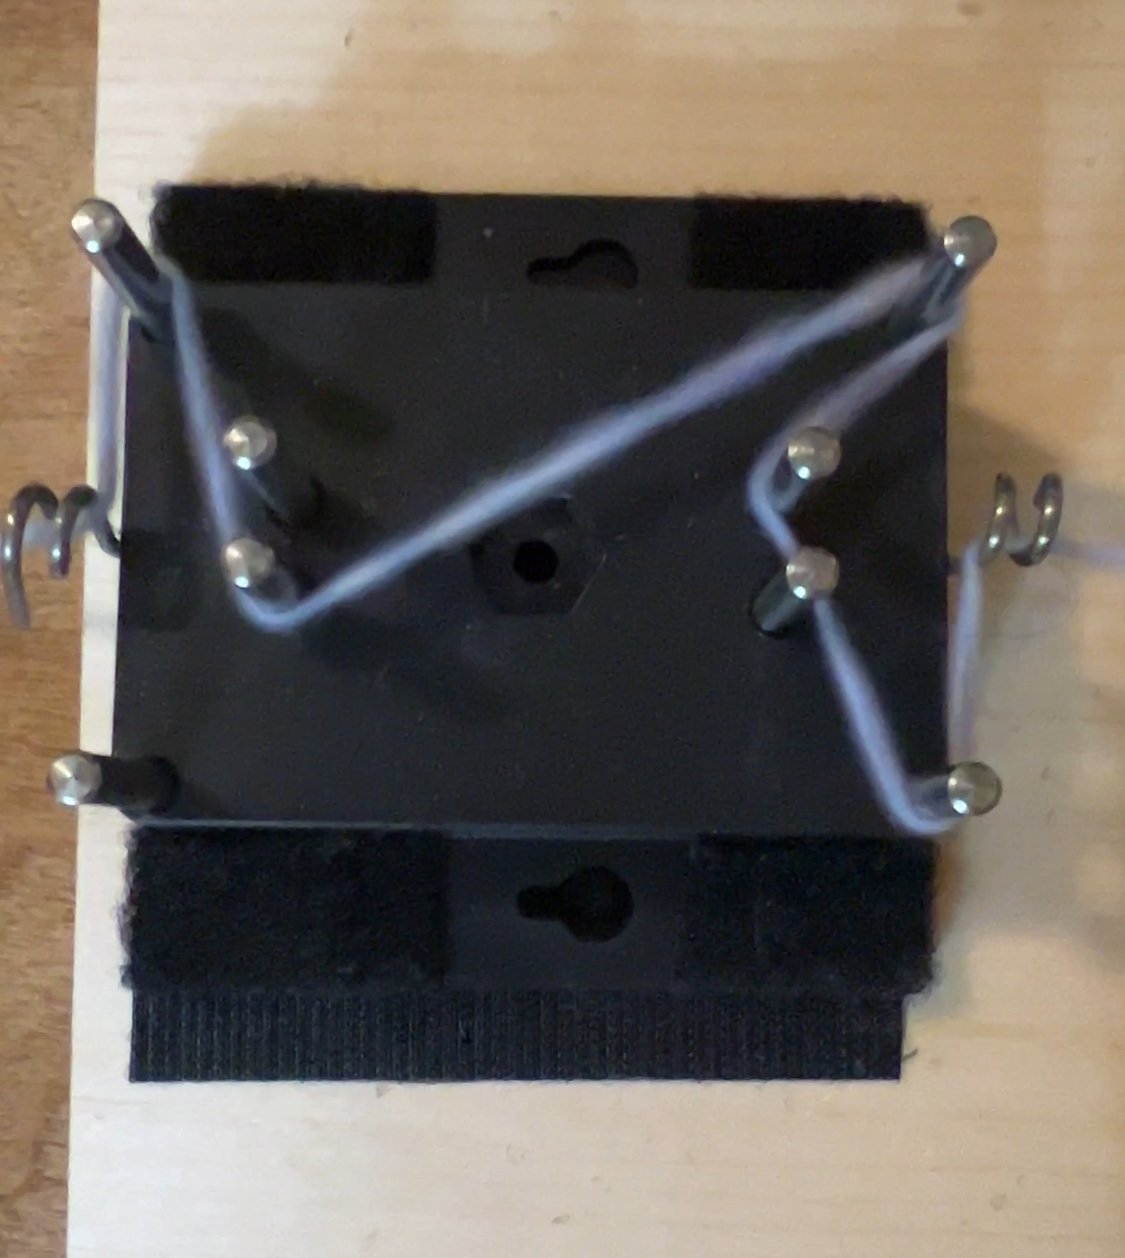
For best tension and wind it’s recommended to use the tensioner placed a minimum 16 inches from the winder which means either clamping the two units or temporarily attaching them to a board in alignment (I used Velcro).

SEE WHERE TO BUY THIS WINDER on the YARN WINDERS page.

Pros: wonderful control with the speed control with the added option of a slimline narrow control (they call it a foot pedal) to pause the machine. The tensioner offers a no-slip yarn path with a variety of metal pegs (and extra optional standard spring style version of desired) to set yarn tension for winding. Lovely easy to wind cones that can be used in any heat dyeing process:

Cons: Like all electronic winders, this winder isn’t silent-buts that’s ok!

While Maurice noted some other cones work as well, none of my many oddball sized cones worked - this unit uses very specific upgraded cones so ensure to buy enough.


Below are images of my obtaining a board and setting the machine up using Velcro.


SEE ALL BLOG ENTRIES ON THE BLOG INDEX PAGE | Follow us on a variety of social sites see TAPLINK | Interested in Circular Sock Machines? See the CSM START Menu first page. | Seek something specific? Checkout the Index page.

2023 Nov 8 - Punch Needle Class

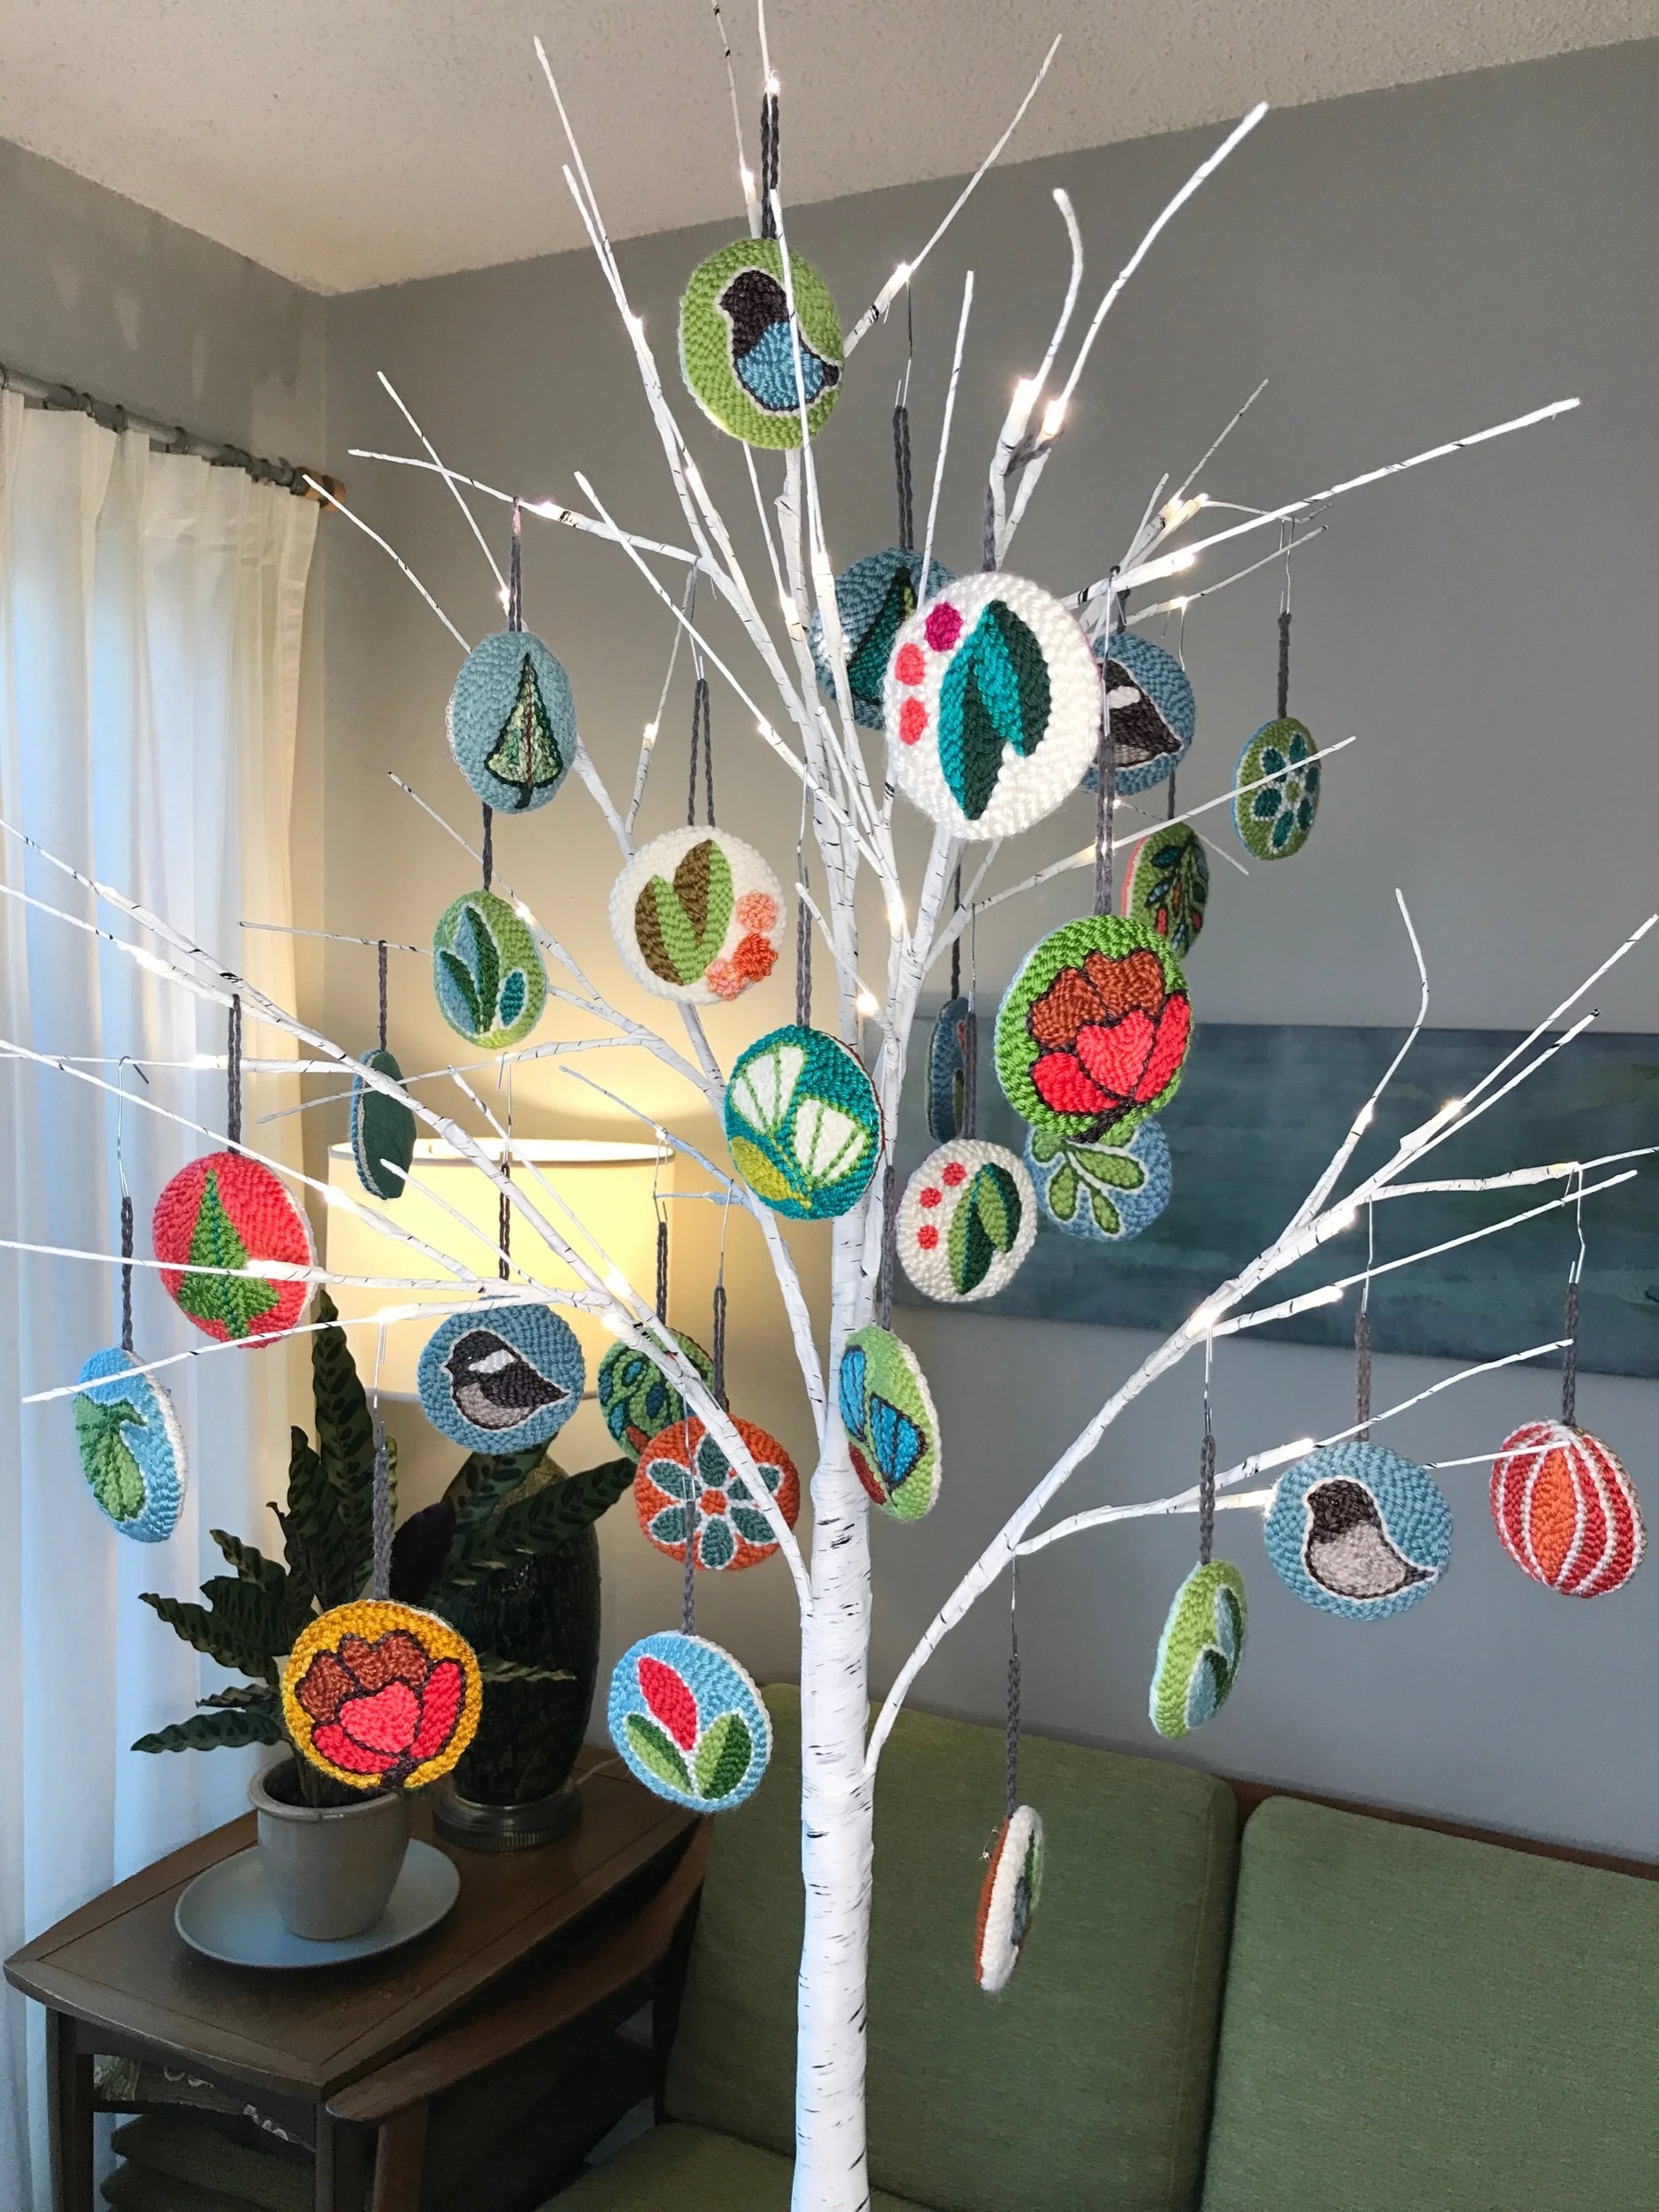
We are attending a class for a hands-on learning of this craft from Kussen & Kiss | website |

We met this vendor at Knit City Vancouver 2023

See them on Instagram


SEE ALL BLOG ENTRIES ON THE BLOG INDEX PAGE | Follow us on a variety of social sites see TAPLINK | Interested in Circular Sock Machines? See the CSM START Menu first page. | Seek something specific? Checkout the Index page.

2023 Nov 4 - Cast Cover

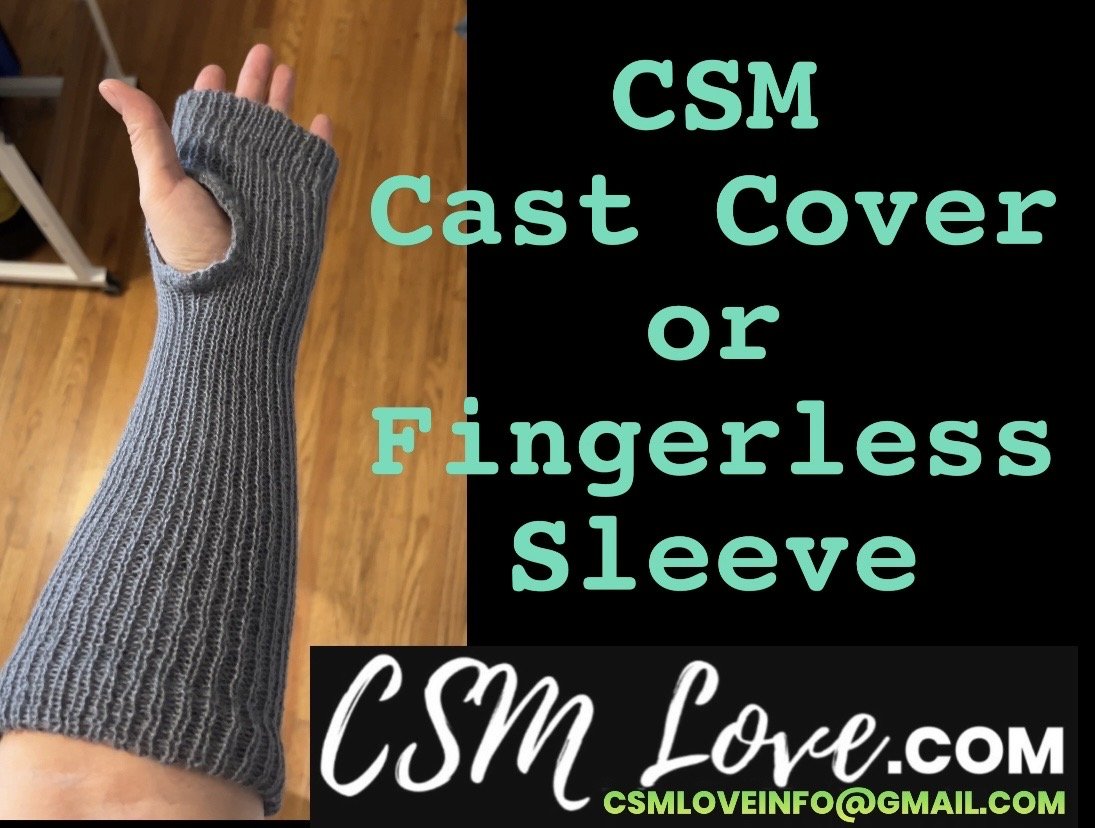
Sharing my newest gift project for a coworker (just in case she’d like to use something nicer than stretchy bandages to cover a cast). This is a quick intro not a full demo.

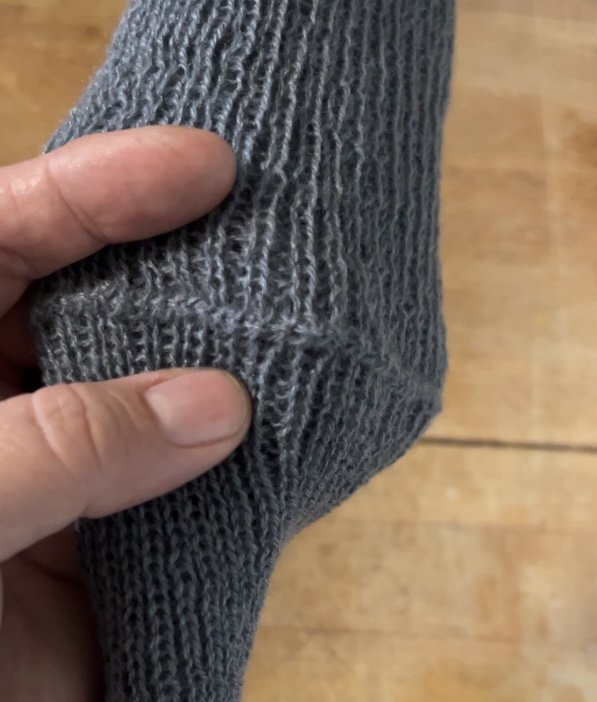
Using soft acrylic fibre I created a tube with an opening for the thumb and fingers. This project is super lightweight yet created double thick. Having used the ribber to create this, it has an easy adaptable stretch and should easily fit over a cast. No pattern was used I simply created it as I went - it worked up very quickly.

Project has inner and outer layer and these measurements are the outer layer (so double that)
38 rows from the fingers edge to the top of the thumb hole
4 rows of the hand where the thumb hole is open
90 rows from the bottom of the thumb hole to the elbow

FUTURE OUTLINE FOR SHORTER FINGERLESS MITTS:
20 rows from finger to thumb hole
4 rows of hand (with thumb hole)
38 rows from bottom of thumb hole to wrist.

See the VIDEO


INSTAGRAM: One |


SEE ALL BLOG ENTRIES ON THE BLOG INDEX PAGE | Follow us on a variety of social sites see TAPLINK | Interested in Circular Sock Machines? See the CSM START Menu first page. | Seek something specific? Checkout the Index page.


2023 Oct 1 - Four Corner Market Knit Bag

Project created in June/July 2023 - Shared Oct 1, 2023 and featured at Knit City Vancouver 2023

Inspired by knitted bag examples seen online - I present the Four Corner Market Knit Bag.

Built on a circular sock machine using knitted tubes, this off machine assembled project allows for the reinforced convenience of flexible yet robust knitted accessory.

VERSION ONE: Purple and Grey Wool

Created on the 96 slot cylinder with two needles removed at both halfway marks, a tube of 250 rows was knitted on the CSM. A total of 6 equal length tubes were knitted (2 pink, 4 grey). Two of those 6 tubes were further finished by folding and seaming them vertically to create the reinforced bag strap that was later attached to the finished bag. Each tube measured 14cm wide and 71.5cm long.


MAKE A TUBE INTO A CLOSED ENDED PANEL: Off the machine the tubes began and ended with scrap yarn, so the first action was to close the tubes by simply putting one live loop into another creating a lovely finished flat end. This method of closing a tube is also outlined in the BRAVE BUNNY youtube video I made.

The final two prepared panels were vertically seamed to create the reinforced handles of the bag. Once they were ready they were attached on each of the bag triangular points.

FINDINGS: The bag is a bit long and slightly narrow. Next version to have much shorter panels, perhaps a little wider.

VERSION TWO WILL BE SHARED SOON.


INSTAGRAM POSTS: ONE | TWO | THREE | FOUR |


SEE ALL BLOG ENTRIES ON THE BLOG INDEX PAGE | Follow us on a variety of social sites see TAPLINK | Interested in Circular Sock Machines? See the CSM START Menu first page. | Seek something specific? Checkout the Index page.


2023 Sept 23 & 24 - Knit City Vancouver

Welcome!

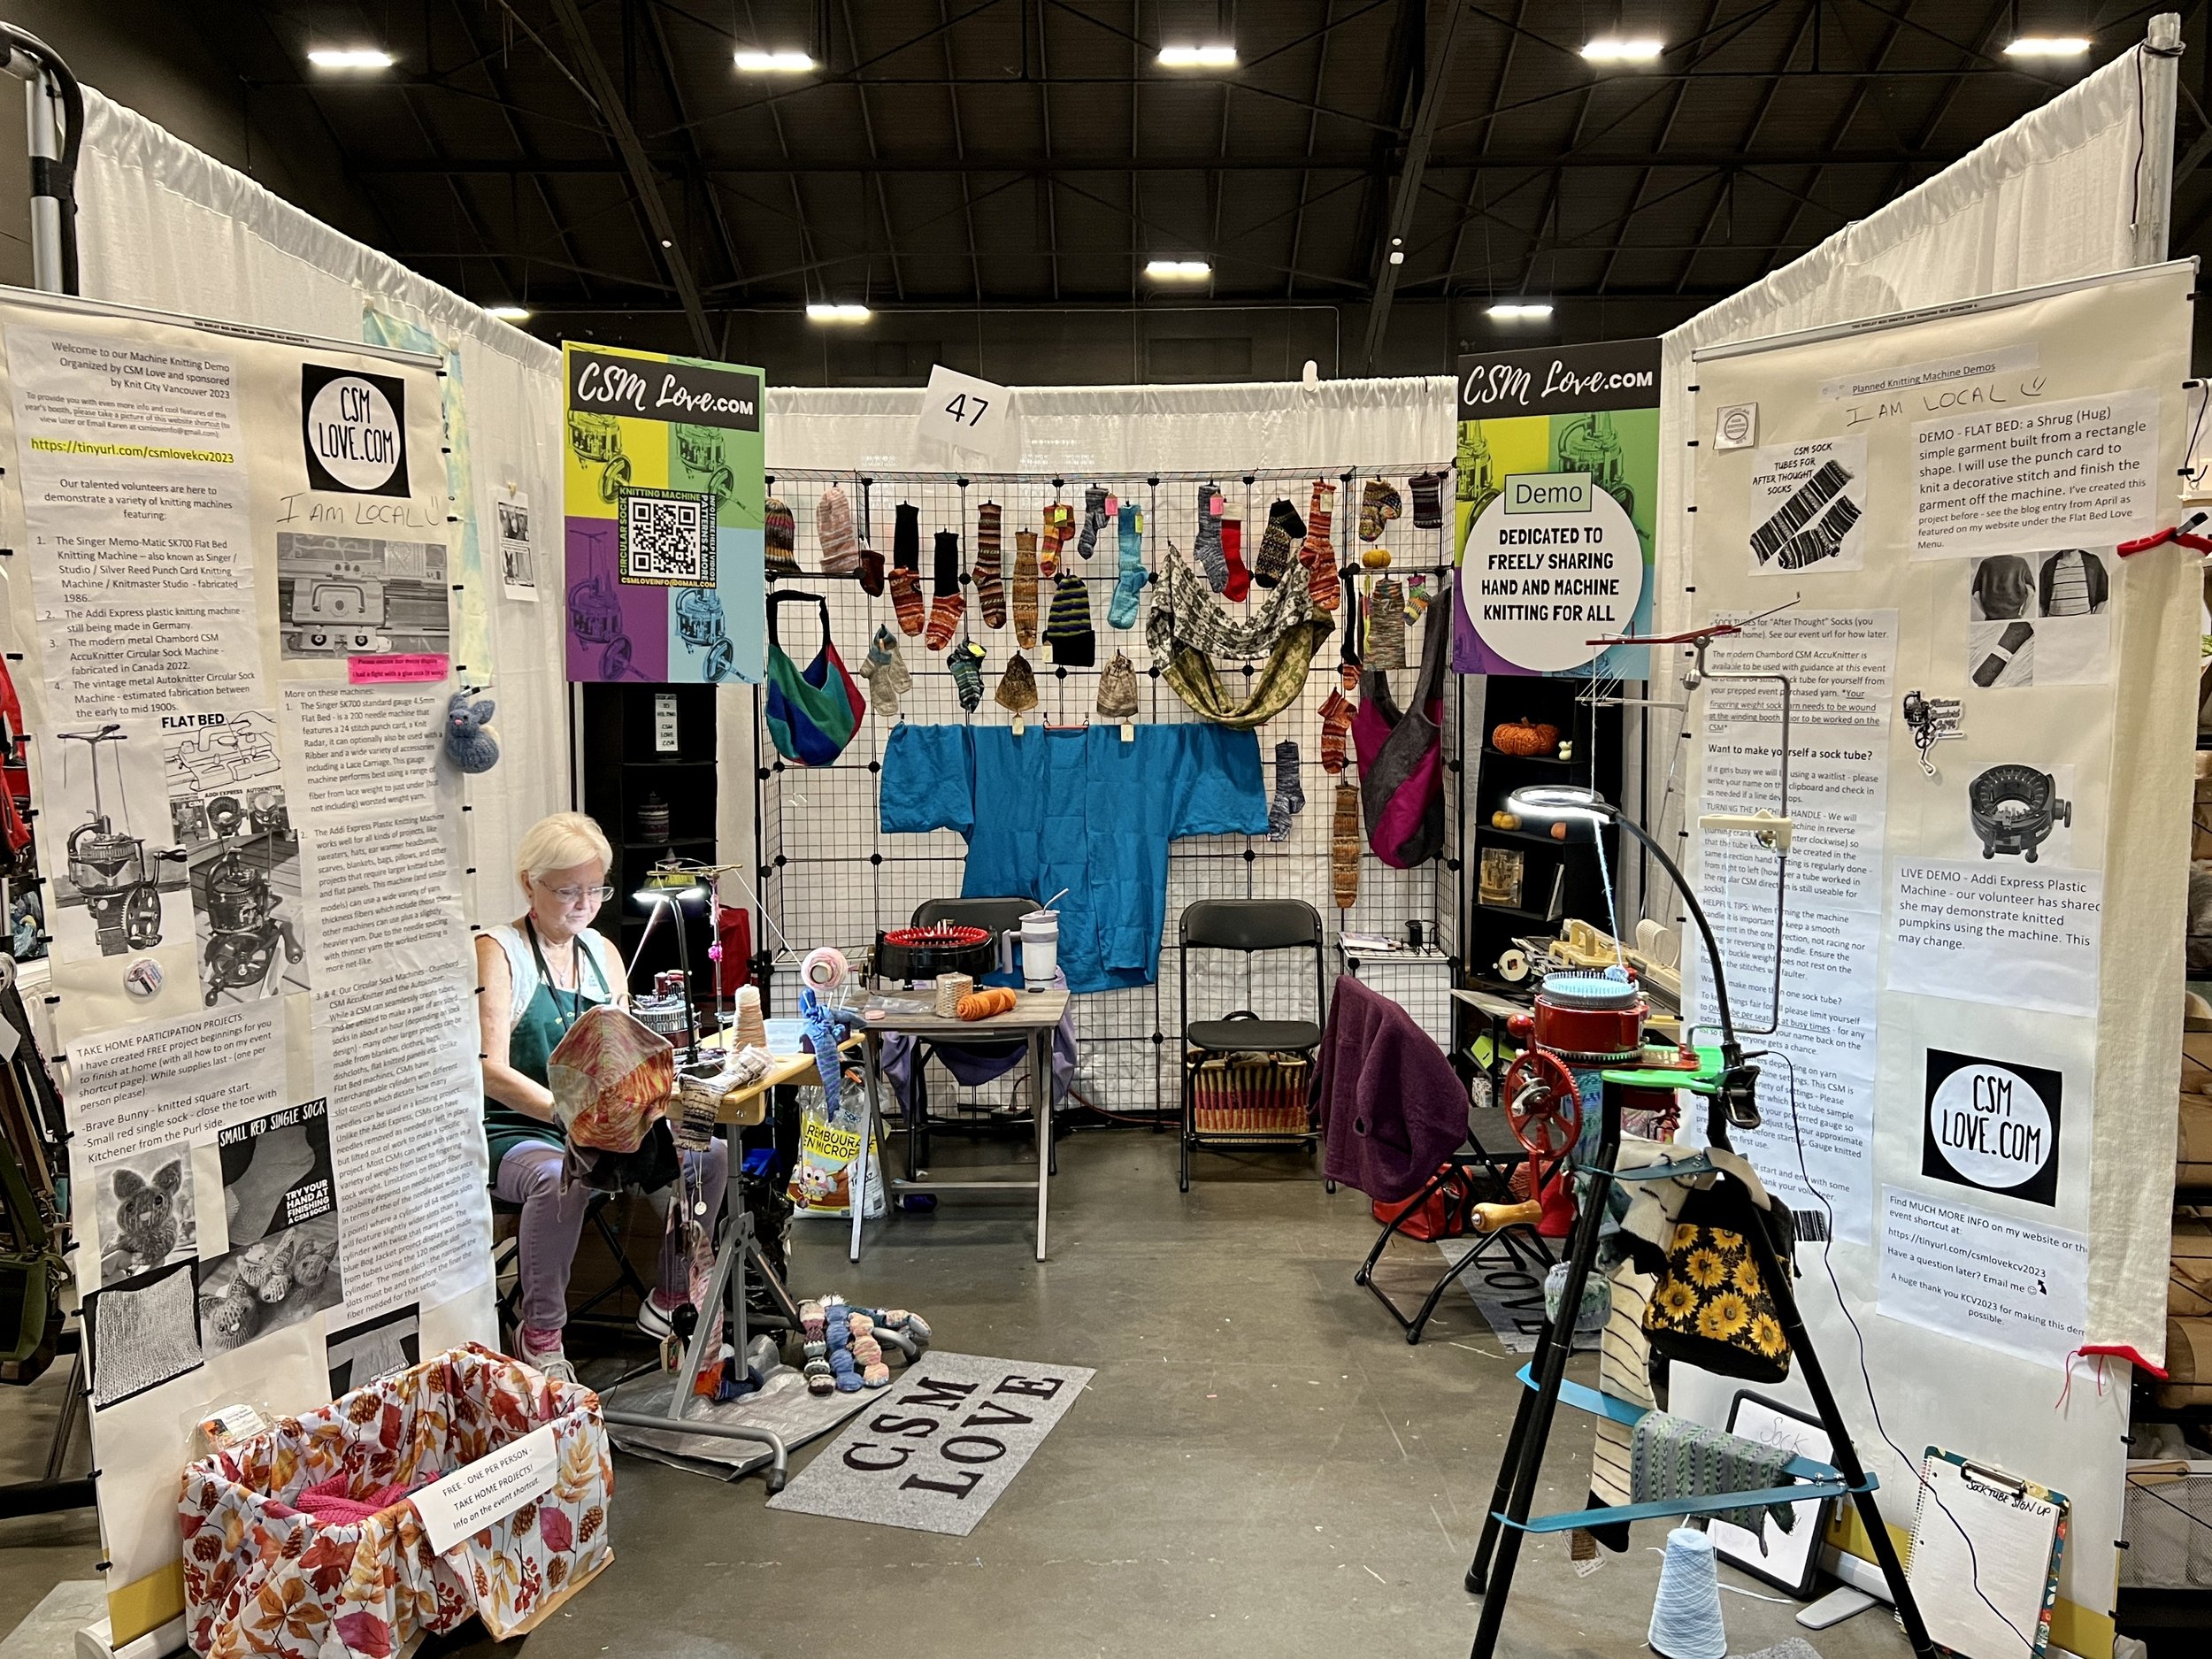
This blog entry is setup to help KCV2023 visitors seeking information related to our booth #47 at the PNE Forum Sat & Sun Sept 23 & 24.

Saturday September 23rd 9am-5pm | Sunday September 24th 9am-4pm

Our booth will be manned by volunteers and our display will be setup super early pre-event on Saturday.


Welcome to our Machine Knitting Demo Organized by CSM Love and sponsored by Knit City Vancouver 2023

THE FOLLOWING IS THE INFORMATION SHOWN IN OUR BOOTH:

To provide you with even more info and cool features of this year’s booth, please take a picture of this website shortcut (to view later or Email Karen at csmloveinfo@gmail.com): https://tinyurl.com/csmlovekcv2023


Our talented volunteers are here to demonstrate a variety of knitting machines featuring:

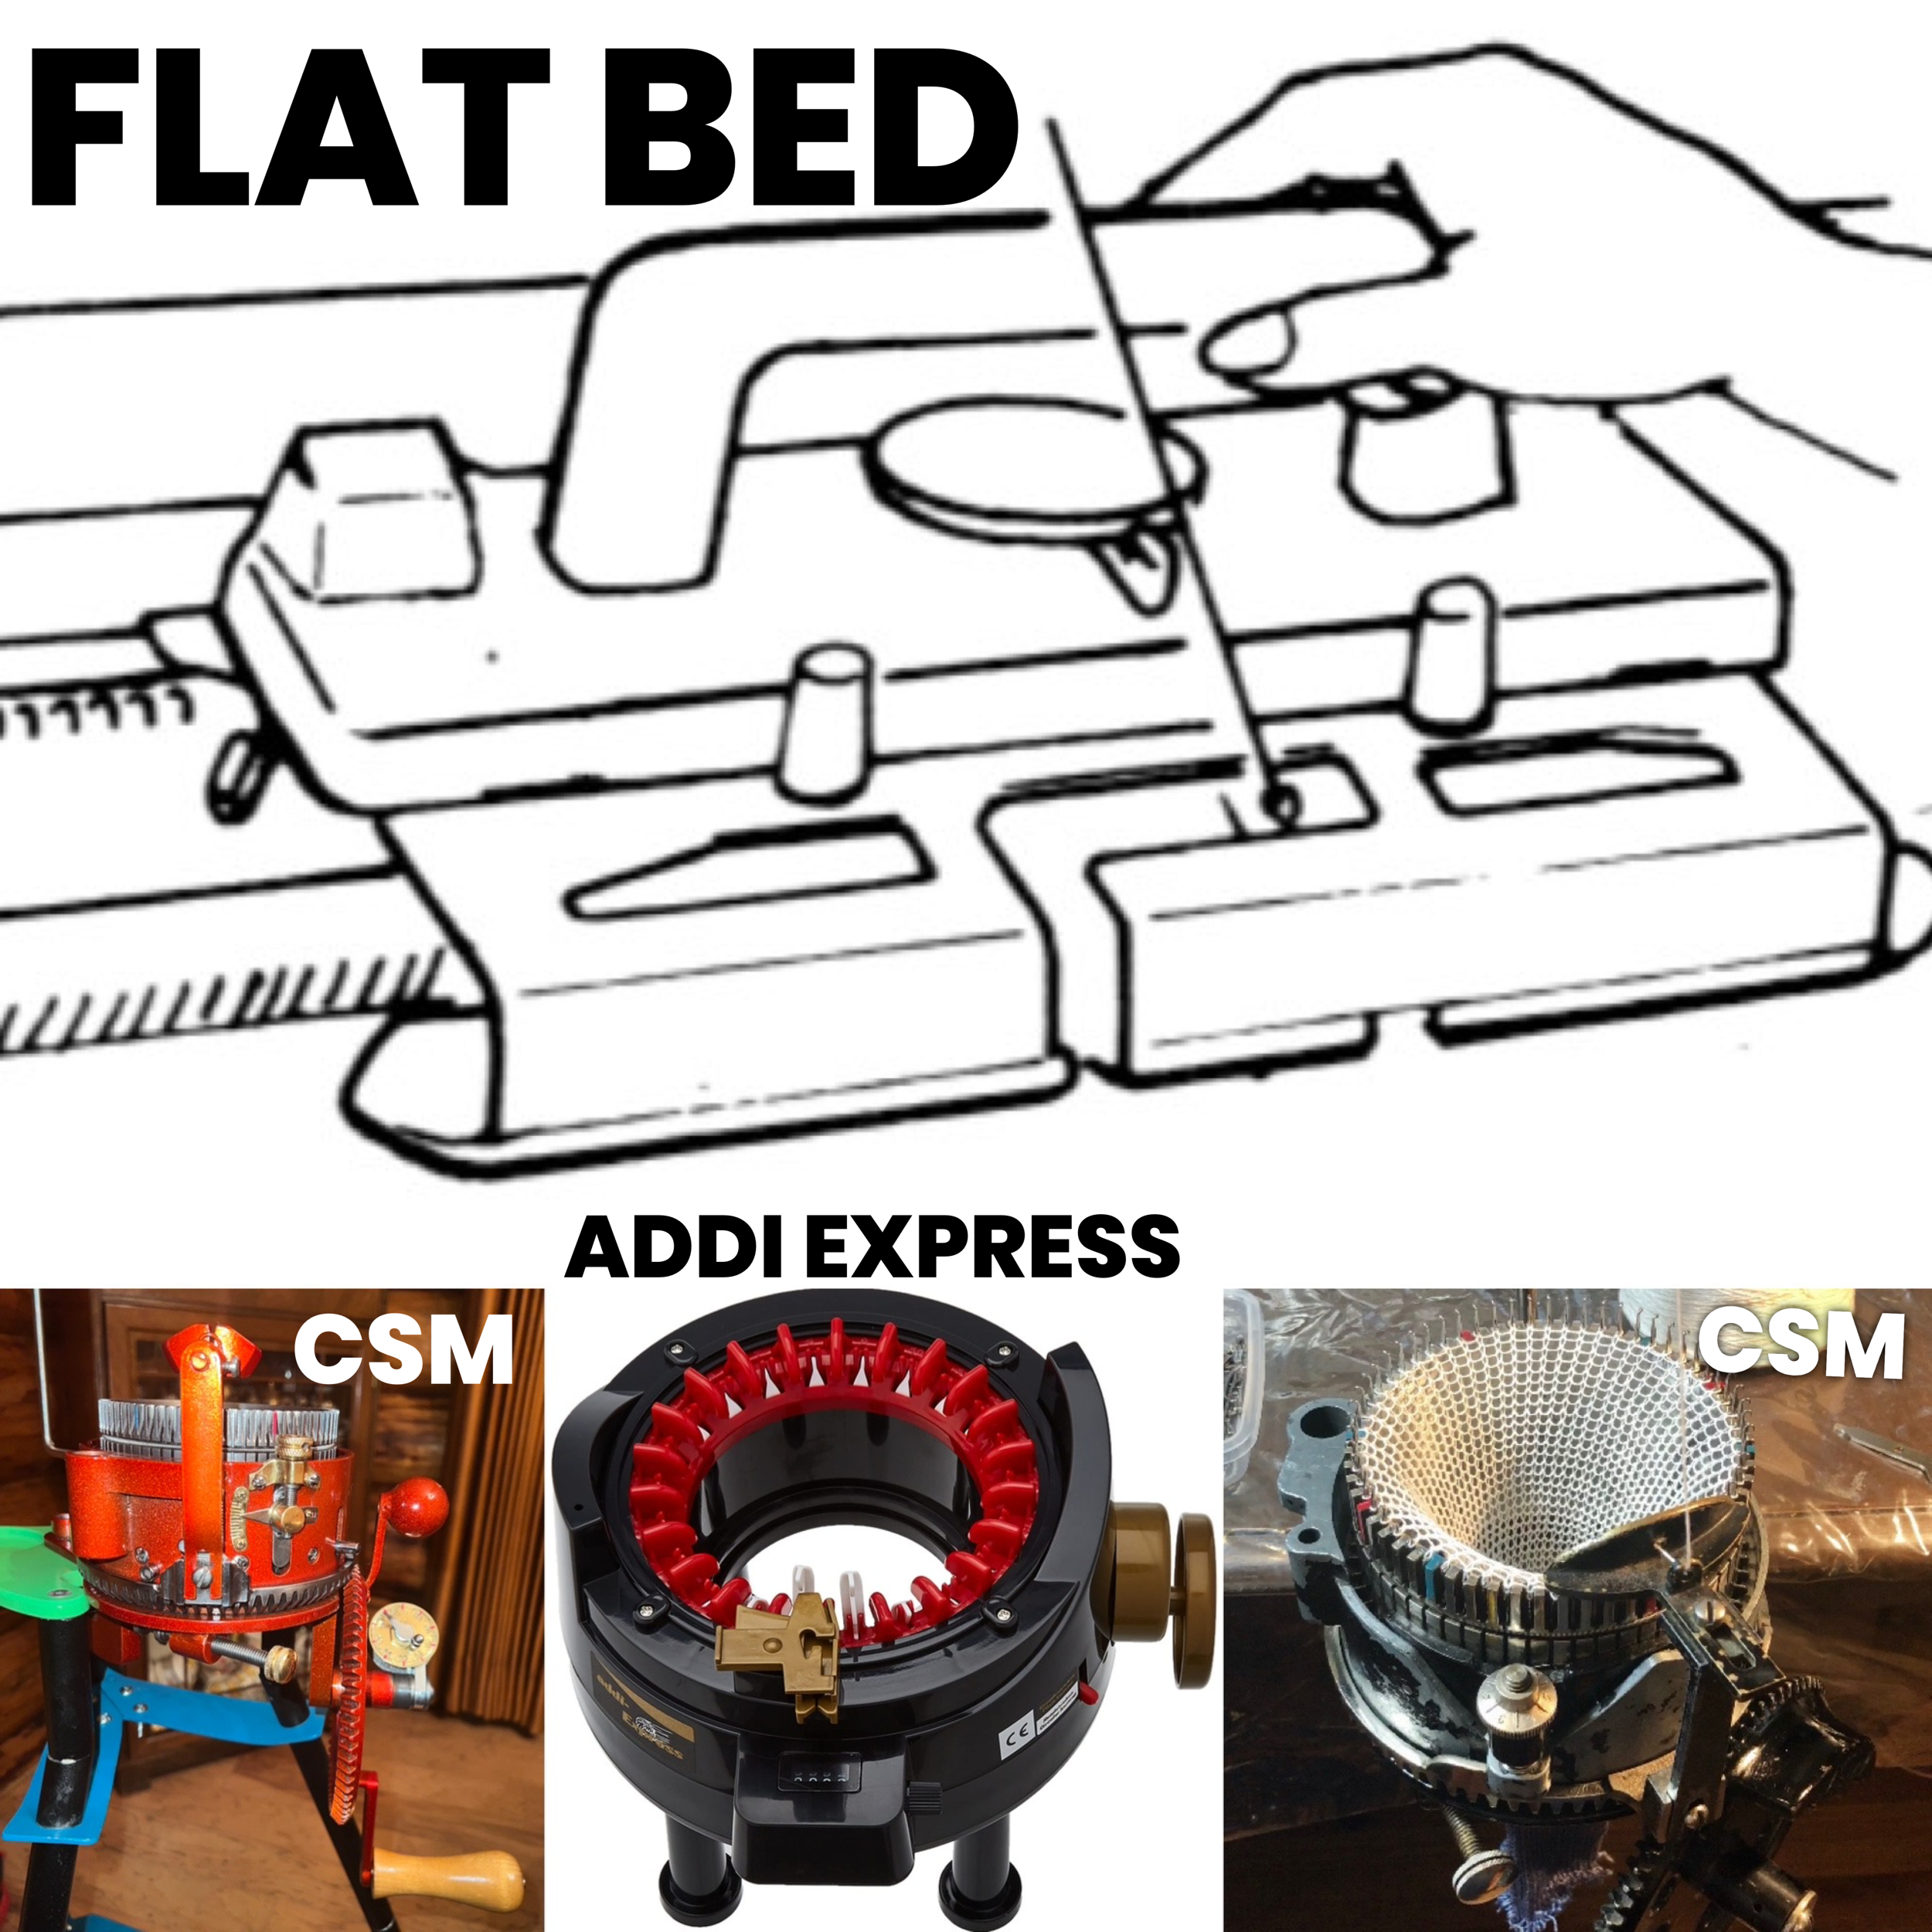
  1. The Singer Memo-Matic SK700 Flat Bed Knitting Machine – also known as Singer / Studio / Silver Reed Punch Card Knitting Machine / Knitmaster Studio  - fabricated 1986.

  2. The Addi Express plastic knitting machine - still being made in Germany.

  3. The modern metal Chambord CSM AccuKnitter Circular Sock Machine - fabricated in Canada 2022.

  4. The vintage metal Autoknitter Circular Sock Machine - estimated fabrication between the early to mid 1900s.

More on these machines:


1.    The Singer SK700 standard gauge 4.5mm Flat Bed - is a 200 needle machine that features a 24 stitch punch card, a Knit Radar, it can optionally also be used with a Ribber and a wide variety of accessories including a Lace Carriage. This gauge machine performs best using a range of fiber from lace weight to just under (but not including) worsted weight yarn. | Blog entry of all the components I have with this machine | Yarn weights that work best | See the Flat Bed Love Menu of this website for more.

2.    The Addi Express Plastic Knitting Machine works well for all kinds of projects, like sweaters, hats, ear warmer headbands, scarves, blankets, bags, pillows, and other projects that require larger knitted tubes and flat panels. This machine (and similar models) can use a wide variety of yarn thickness fibers which include those these other machines can use plus a slightly heavier yarn. Due to the needle spacing with thinner yarn the worked knitting is more net-like. For more details see the Addi Express website

3. & 4. Our Circular Sock Machines - Chambord CSM AccuKnitter and the Autoknitter:

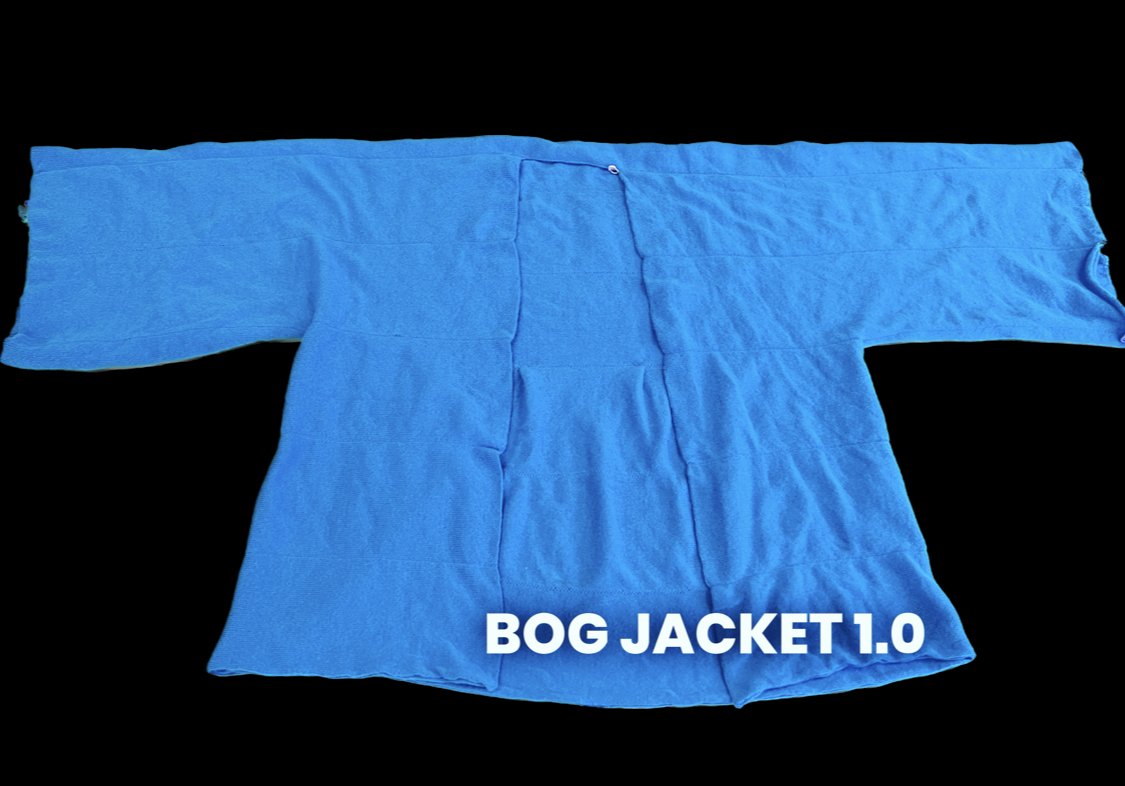
While a CSM can seamlessly create tubes, and be utilized to make a pair of any sized socks in about an hour (depending on sock design) - many other larger projects can be made from blankets, clothes, bags, dishcloths, flat knitted panels etc. Unlike Flat Bed machines, CSMs have interchangeable cylinders with different slot counts which dictate how many needles can be used in a knitting project. Unlike the Addi Express, CSMs can have needles removed as needed or left in place but lifted out of work to make a specific project. Most CSMs can work with yarn in a variety of weights from lace to fingering sock weight. Limitations on thicker fiber capability depend on needle/yarn clearance in terms of the of the needle slot width (to a point) where a cylinder of 64 needle slots will feature slightly wider slots than a cylinder with twice that many slots. The blue Bog Jacket project display was made from tubes using the 120 needle slot cylinder. The more slots - the narrower the slots must be and therefore the finer the fiber needed for that setup.


TAKE HOME PARTICIPATION & FREE PROJECTS:

I have created FREE project beginnings for you to finish at home (with all how to on my event shortcut page) and in addition for the final day of Knit City - I am gifting visitors a free SPA CLOTH (see below) - While supplies last - (one per person please).

CSM SPA CLOTH

LAST DAY OF KNIT CITY 2023 GIFT: These are finished items - multi sided multi-purpose cloth for dishes or face/shower use. Can hold a bar of soap! Click on the CSM SPA CLOTH title above to go to the blog entry with video how they were created and more.

SMALL RED SINGLE SOCK

-Small red single sock - close the toe with Kitchener from the Purl side. We’ve created a limited number (while supplies last) of small red sock machine socks that just need the closing of the toe on these cuff down socks using the Kitchener stitch. Watch MY KITCHENER VIDEO of this being done from the inside or Purl side of the sock.


Brave Bunny

-Knitted square start that was knitted in the round on a plastic 46 needle Addi Express Kingsize machine.. For full supplies and step by step instructions see BRAVE BUNNY VIDEO | BLOG | Baby Brave Bunny | (We are now out of these items)


Planned Knitting Machine Demos

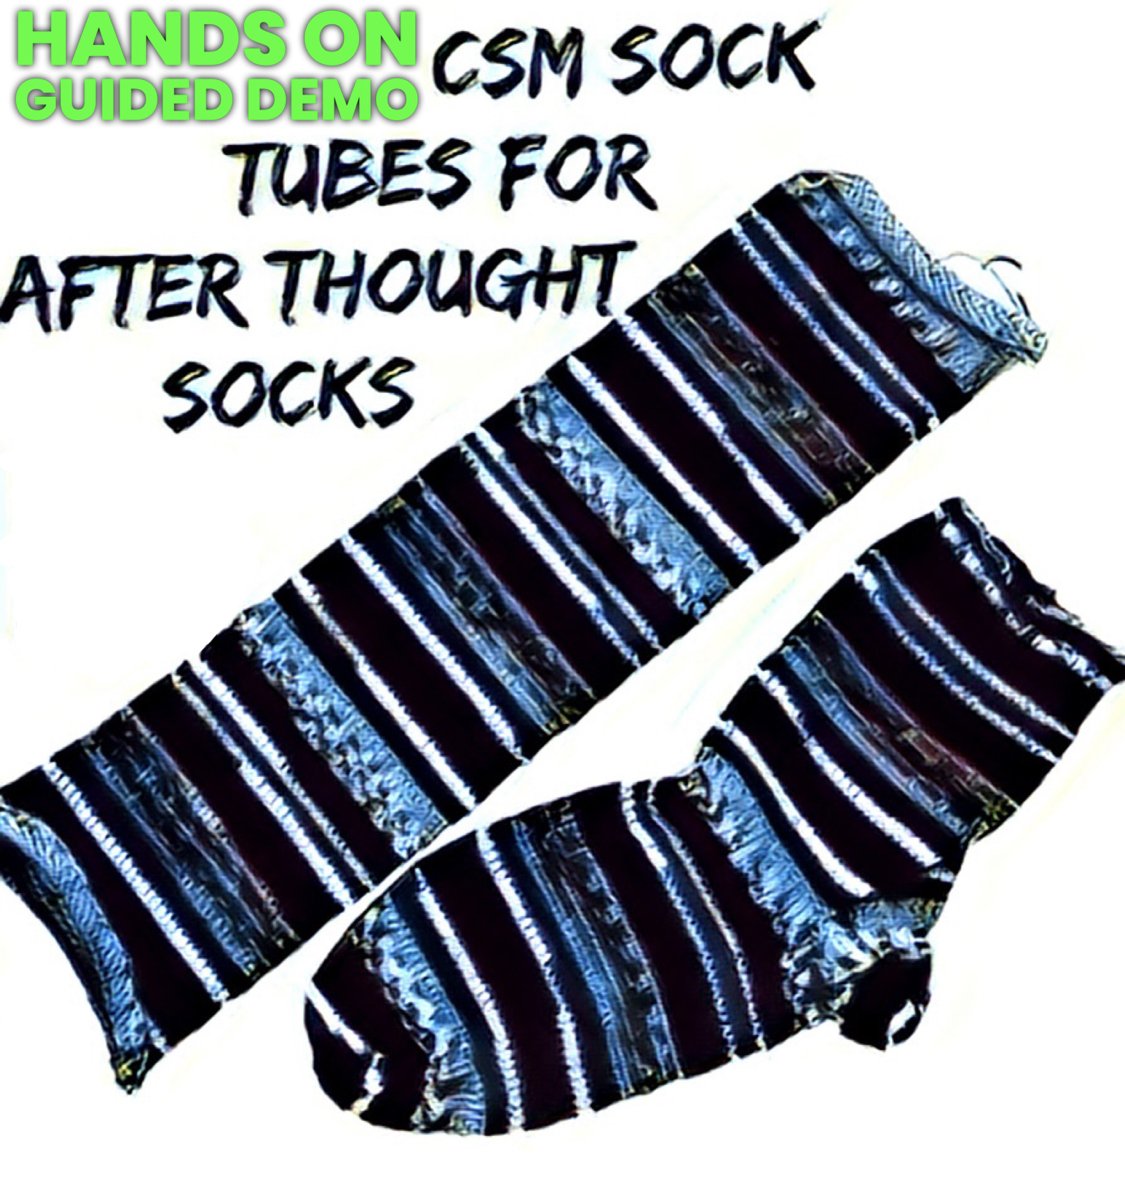
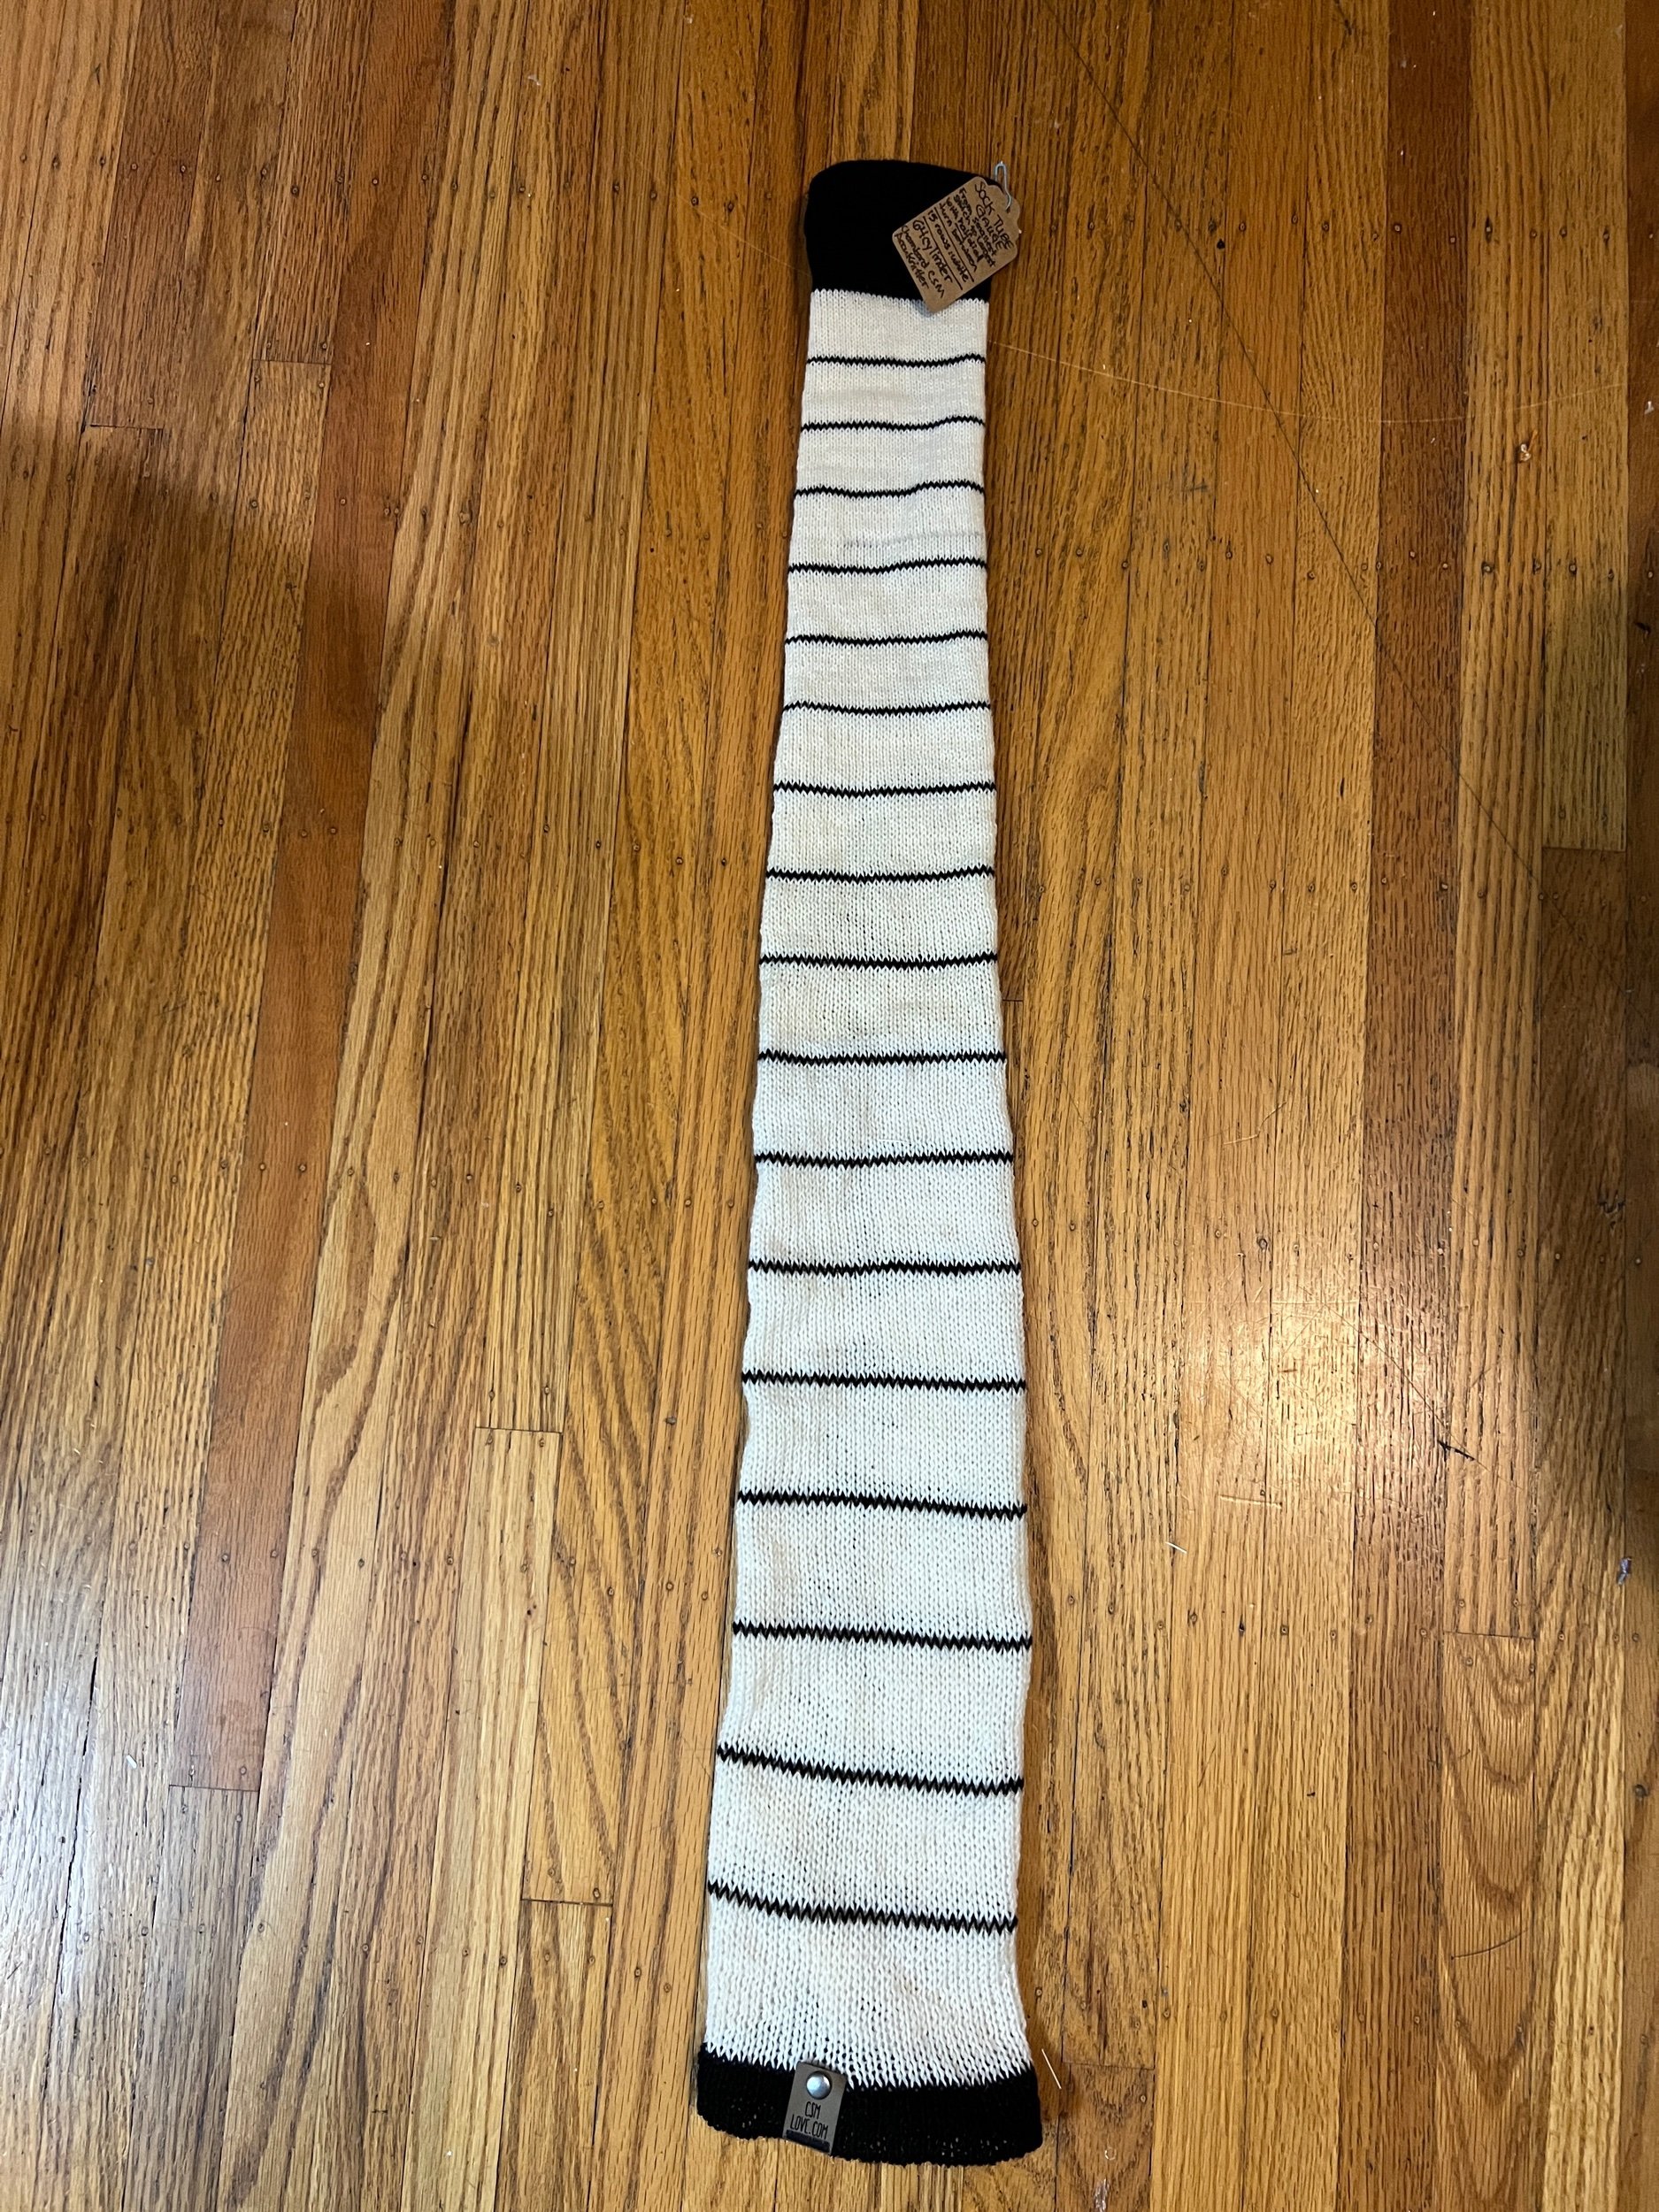
SOCK TUBES for “After Thought” Socks (you finish at home). See our event url for how later.
The modern Chambord CSM AccuKnitter is available to be used with guidance at this event to create a 64 stitch sock tube for yourself from your prepped event purchased yarn. *Your fingering weight sock yarn needs to be wound at the winding booth prior to be worked on the CSM*
Want to make yourself a sock tube?

If it gets busy we will be using a waitlist - please write your name on the clipboard and check in as needed if a line develops. TURNING THE MACHINE HANDLE - We will advise you to work the machine in reverse (turning crank handle counter clockwise) so that the tube knitting will be created in the same direction hand knitting is regularly done - from right to left (however a tube worked in the regular CSM direction is still useable for socks).
HELPFUL TIPS: When turning the machine handle it is important to keep a smooth movement in the one direction, not racing nor jerking or reversing the handle. Ensure the hanging buckle weight does not rest on the floor or the stitches will faulter.

Want to make more than one sock tube?
To keep things fair for all please limit yourself to ONE tube per seating at busy times - for any extra tubes please put your name back on the list so that everyone gets a chance.

Knitted gauge differs depending on yarn properties and machine settings. This CSM is able to knit at a variety of settings - Please advise our volunteer which sock tube sample provided is closer to your preferred gauge so that he can slightly adjust for your approximate preferred gauge before starting. Gauge knitted is a guess on first use. Your sock tube will start and end with some scrap yarn. Please thank your volunteer.


LIVE DEMO - Addi Express Plastic Machine - our volunteer has shared she may demonstrate knitted pumpkins using the machine. This may change.

LIVE DEMO - FLAT BED: a Shrug (Hug) simple garment built from a rectangle shape. I will use the punch card to knit a decorative stitch and finish the garment off the machine. I’ve created this project before - see the blog entry from April as featured on my website under the Flat Bed Love Menu.

A huge thank you KCV2023 for making this demo possible.


CIRCULAR SOCK MACHINE CSM

In terms of circular sock machines often we’re asked if buying a new modern machine is better than a working vintage one?

Chambord CSM in Canada fabricates almost any part needed (among many other things) so buying a vintage working machine can be worthwhile. Yes parts are still available even if it’s vintage!

There’s no such thing as easier circular sock machine - taking the time to learn any machine with reasonable expectations can see success. See this page.

What yarn weights can be used on a machine like this?

Depending on how many needle slots the cylinder has (which dictates what fibre will work easily and clear the slot with needle) - generally lace weight through to fingering weight yarn with some slightly thicker yarn possible on the lower slot count (slightly wider needle slot) cylinders (like 60 slots or less). This is similar to the standard flat bed but slightly more restricted see the Standard Yarn Range.


The surprisingly controversial history of a knitting machine interweave article written by Krista Ann


INSTAGRAM: one | two | three | four | five | six | seven | eight | nine | ten | eleven |


SEE ALL BLOG ENTRIES ON THE BLOG INDEX PAGE | Follow us on a variety of social sites see TAPLINK | Interested in Circular Sock Machines? See the CSM START Menu first page. | Seek something specific? Checkout the Index page.


2023 Sep 16 - Yarn Swift

A Swift is an item that allows you to wind yarn from a Hank into any other means of a ball of yarn.

As I’ve owned a variety of different versions I am sharing those I’ve tried so that I can save you time and effort and money for ones that I felt worked better.

At this point my favourite and easiest to use version which is lightweight and easy to rotate is the wire umbrella style Swift. This is a permanent Swift that I have installed above my work area by my computer where I work on my circular sock machines. The version I has a small crank handle on the very top so that you can manually turn the top part of it, which I found useful when I was going from a yarn skein or a ball to go back into a Hank, which I found easiest when I was dyeing yarn. See it on my desk INSTAGRAM

The very first Swift I ever bought was a wooden umbrella, styles Swift, and the problem I found with the wooden umbrella style Swift was that the clamp was small limiting where I could clamp it, and the rotation was wood and wood - meeting there was friction which slow down the easy rotation of the swift.

The next Swift that I purchased was a wire umbrella style Swift, it folded down, very flat was easy to pack wherever I was going it was very lightweight and the metal on metal construction allowed for easy, smooth rotation of the swift. The clamp on this style Swift isn’t very robust but with a bit of rubberized cabinet liner and some glue, I made it a little bit easier to clamp to a table side or shelf. This is the one I featured above.

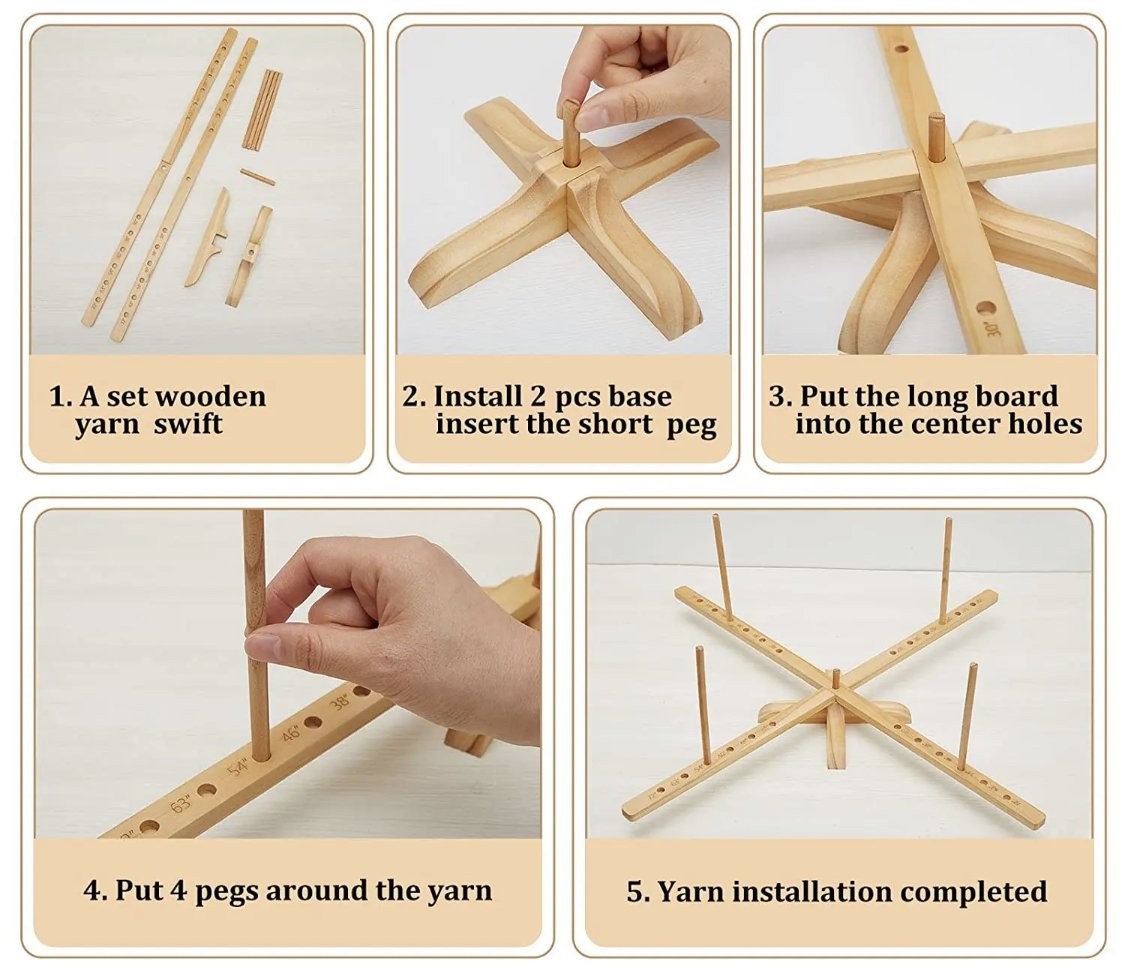
I then purchased a table top image style Swift, that can be completely dismantled into parts, easily without tools and reassembled easily sitting on top of a table, instead of being clamped to the side. However, it is very light weight and being like this it’s also wood on wood. There was a lot of friction with the rotation of this style Swift.

I’m considering a version that doesn’t need to be clamped - that could be placed on any flat surface.

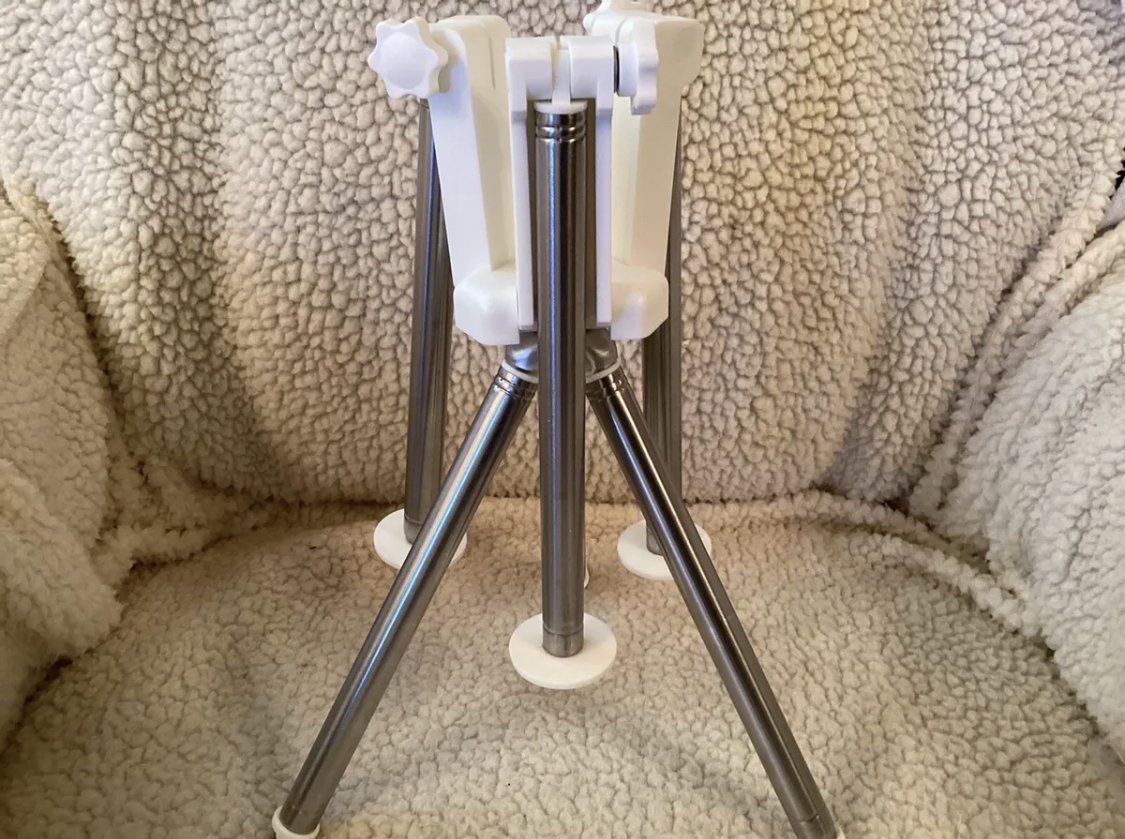
The next swift that I purchased was one that is freestanding designed to sit on a table top, and which features in accordion style for arms that are locked into place by the adjustment of a nut on the middle part of the swift like this darker version shown below. It’s difficult to adjust the arms into the position needed but once done it worked well. Be sure to setup this style so that the bottom small pieces engage to hold the hank from slipping off. Although it turned better than prior wood on wood versions, that may play a small part in how easily it turns.

The next version I invested in is a free standing boye swift of chrome and white plastic.

I feel my ideal swift is a vertical version that can dismantle fairly easy, and which rotates on a metal component to allow easy rotation, without friction added.

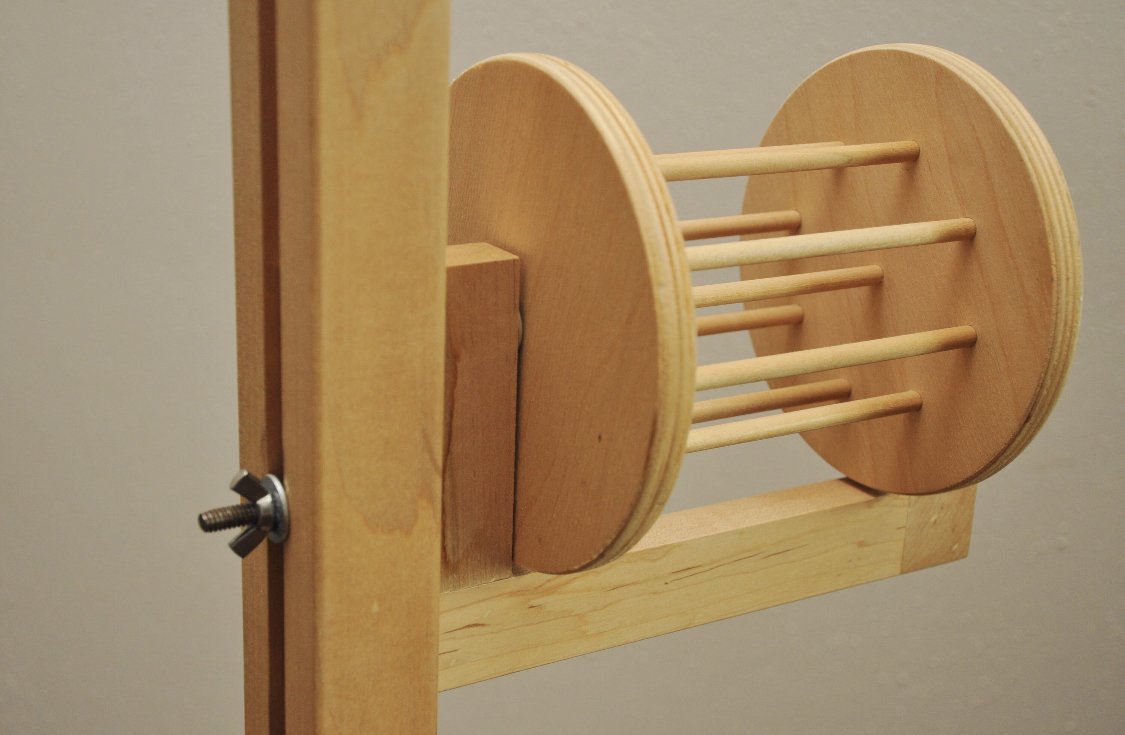
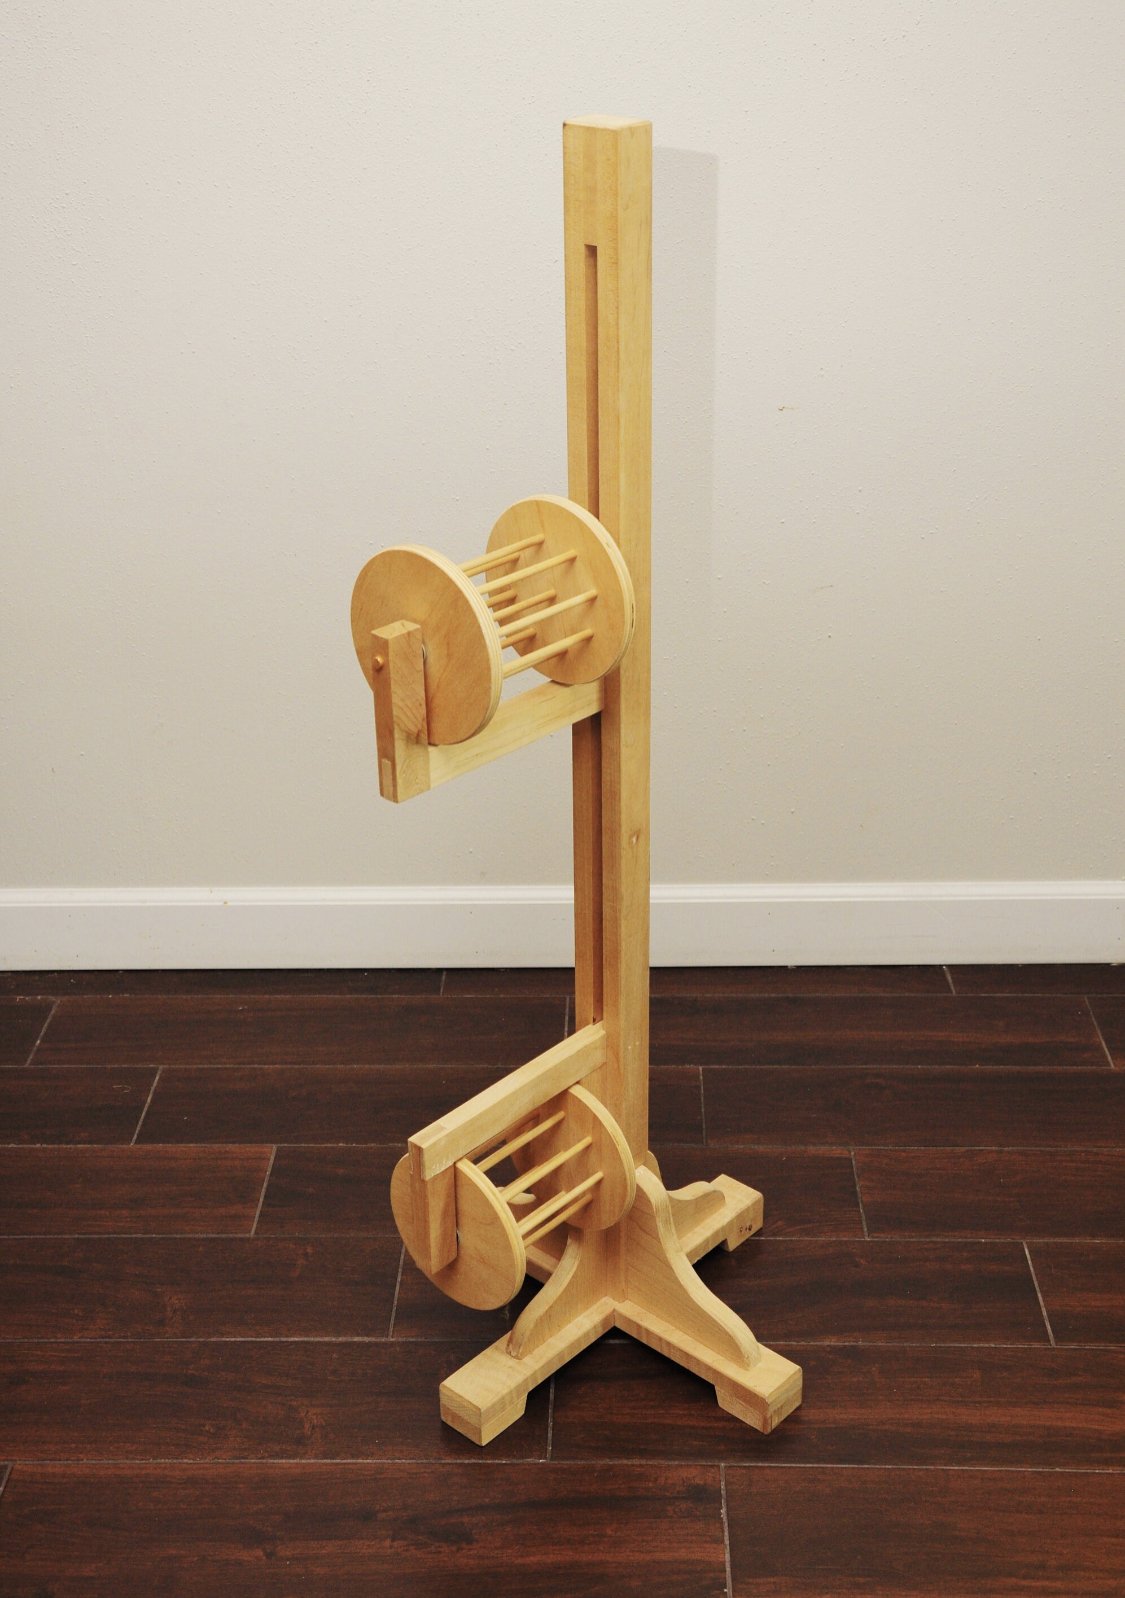
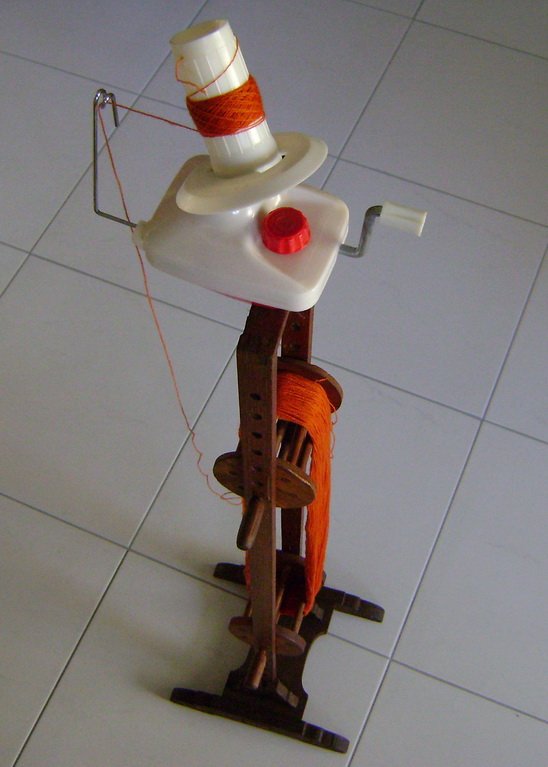
below are another vintage style of swift - squirrel cage, Swift, and possum cage Swift.

SEE ALL BLOG ENTRIES ON THE BLOG INDEX PAGE | Follow us on a variety of social sites see TAPLINK | Interested in Circular Sock Machines? See the CSM START Menu first page. | Seek something specific? Checkout the Index page.

2023 Sep 10 - Silver Needles Cone Winder

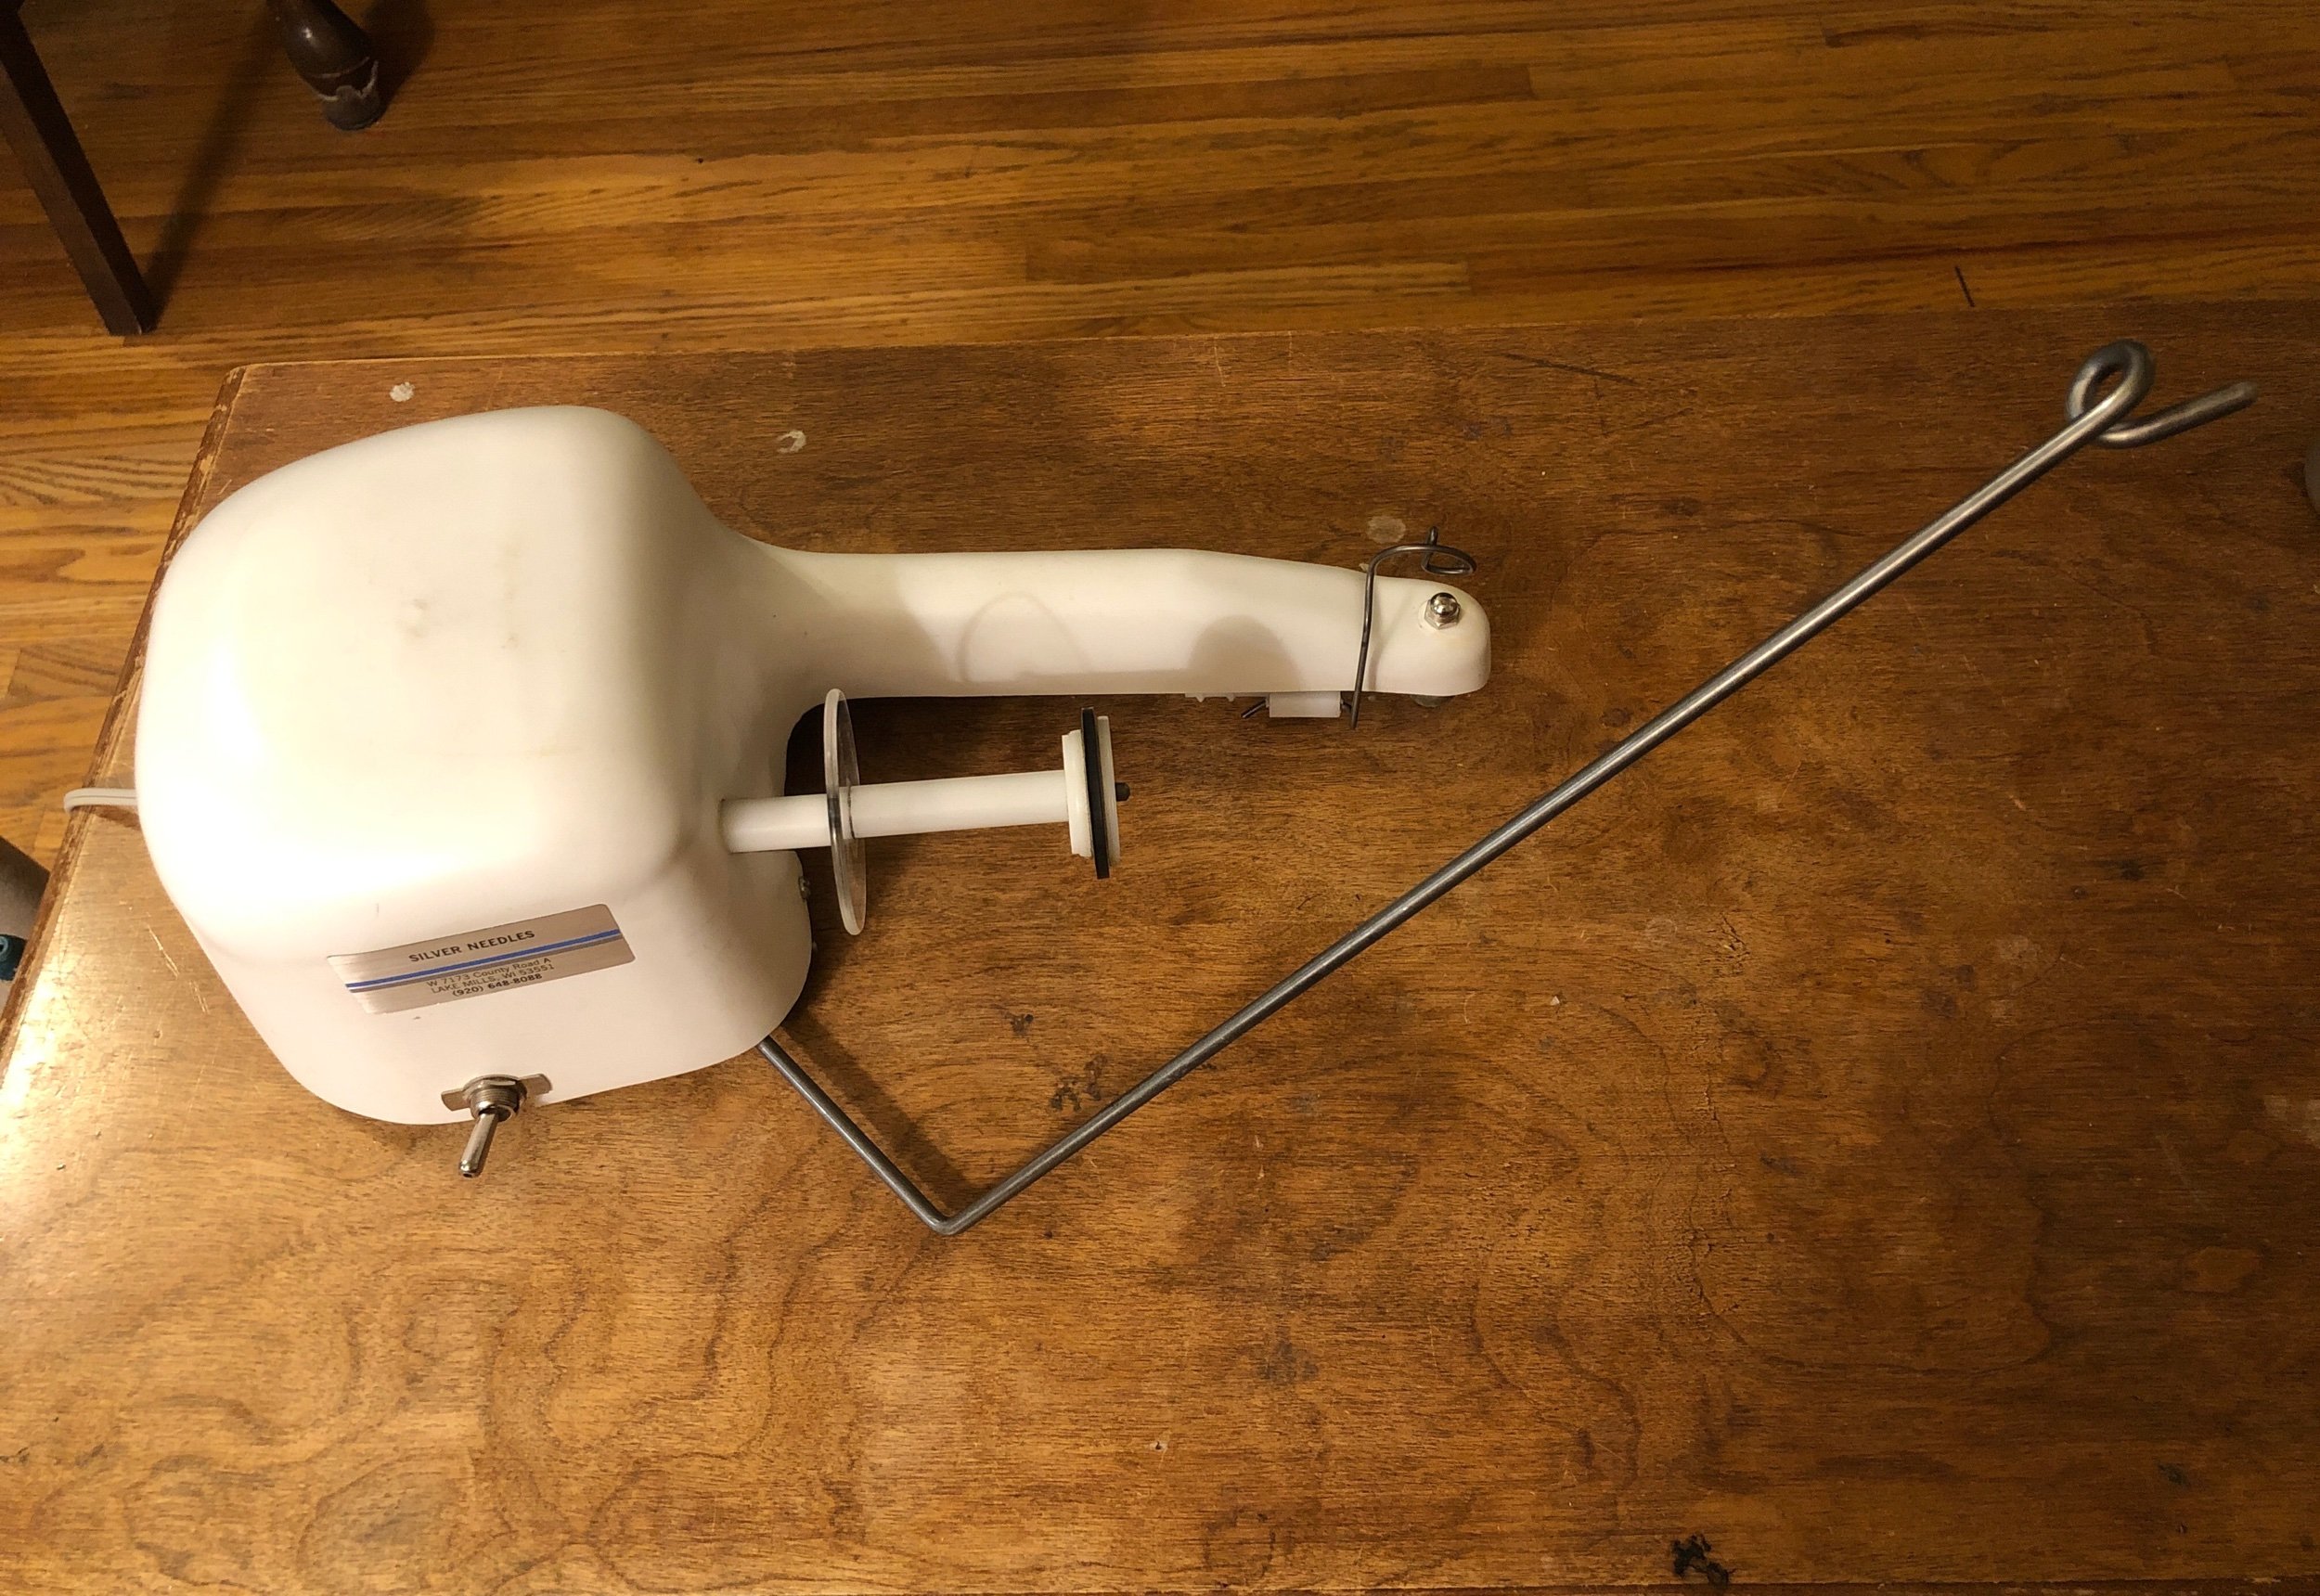
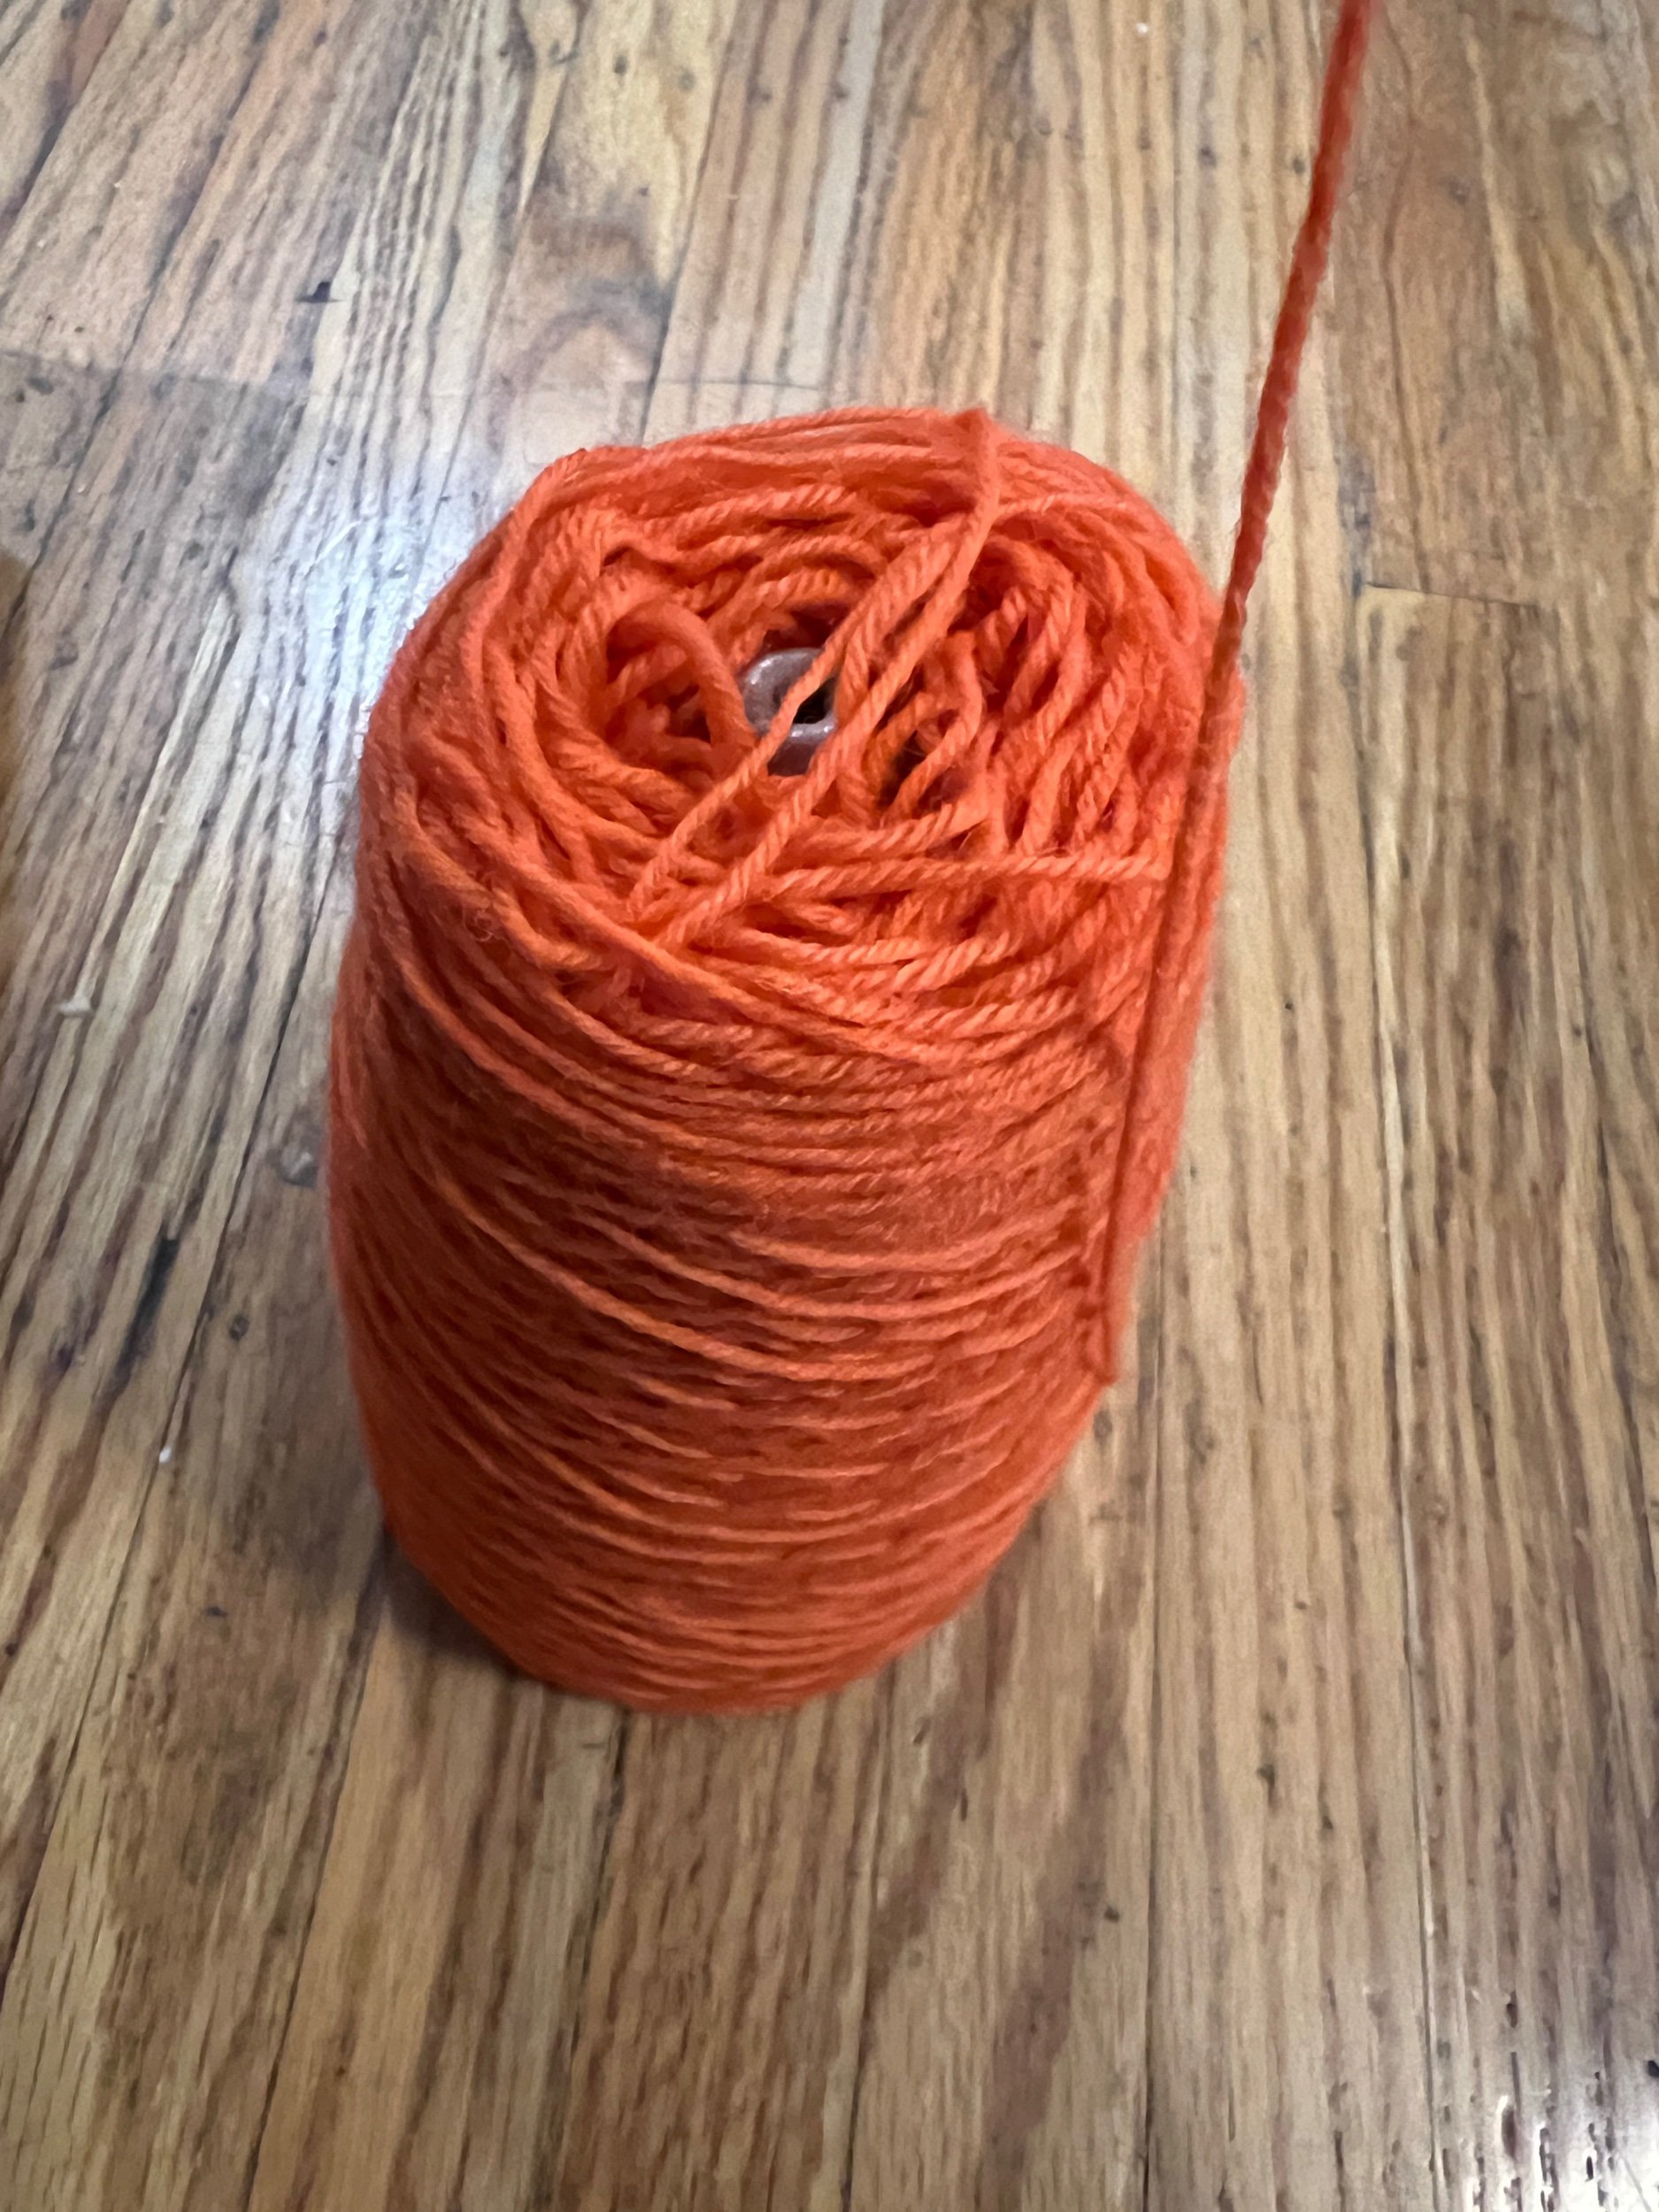
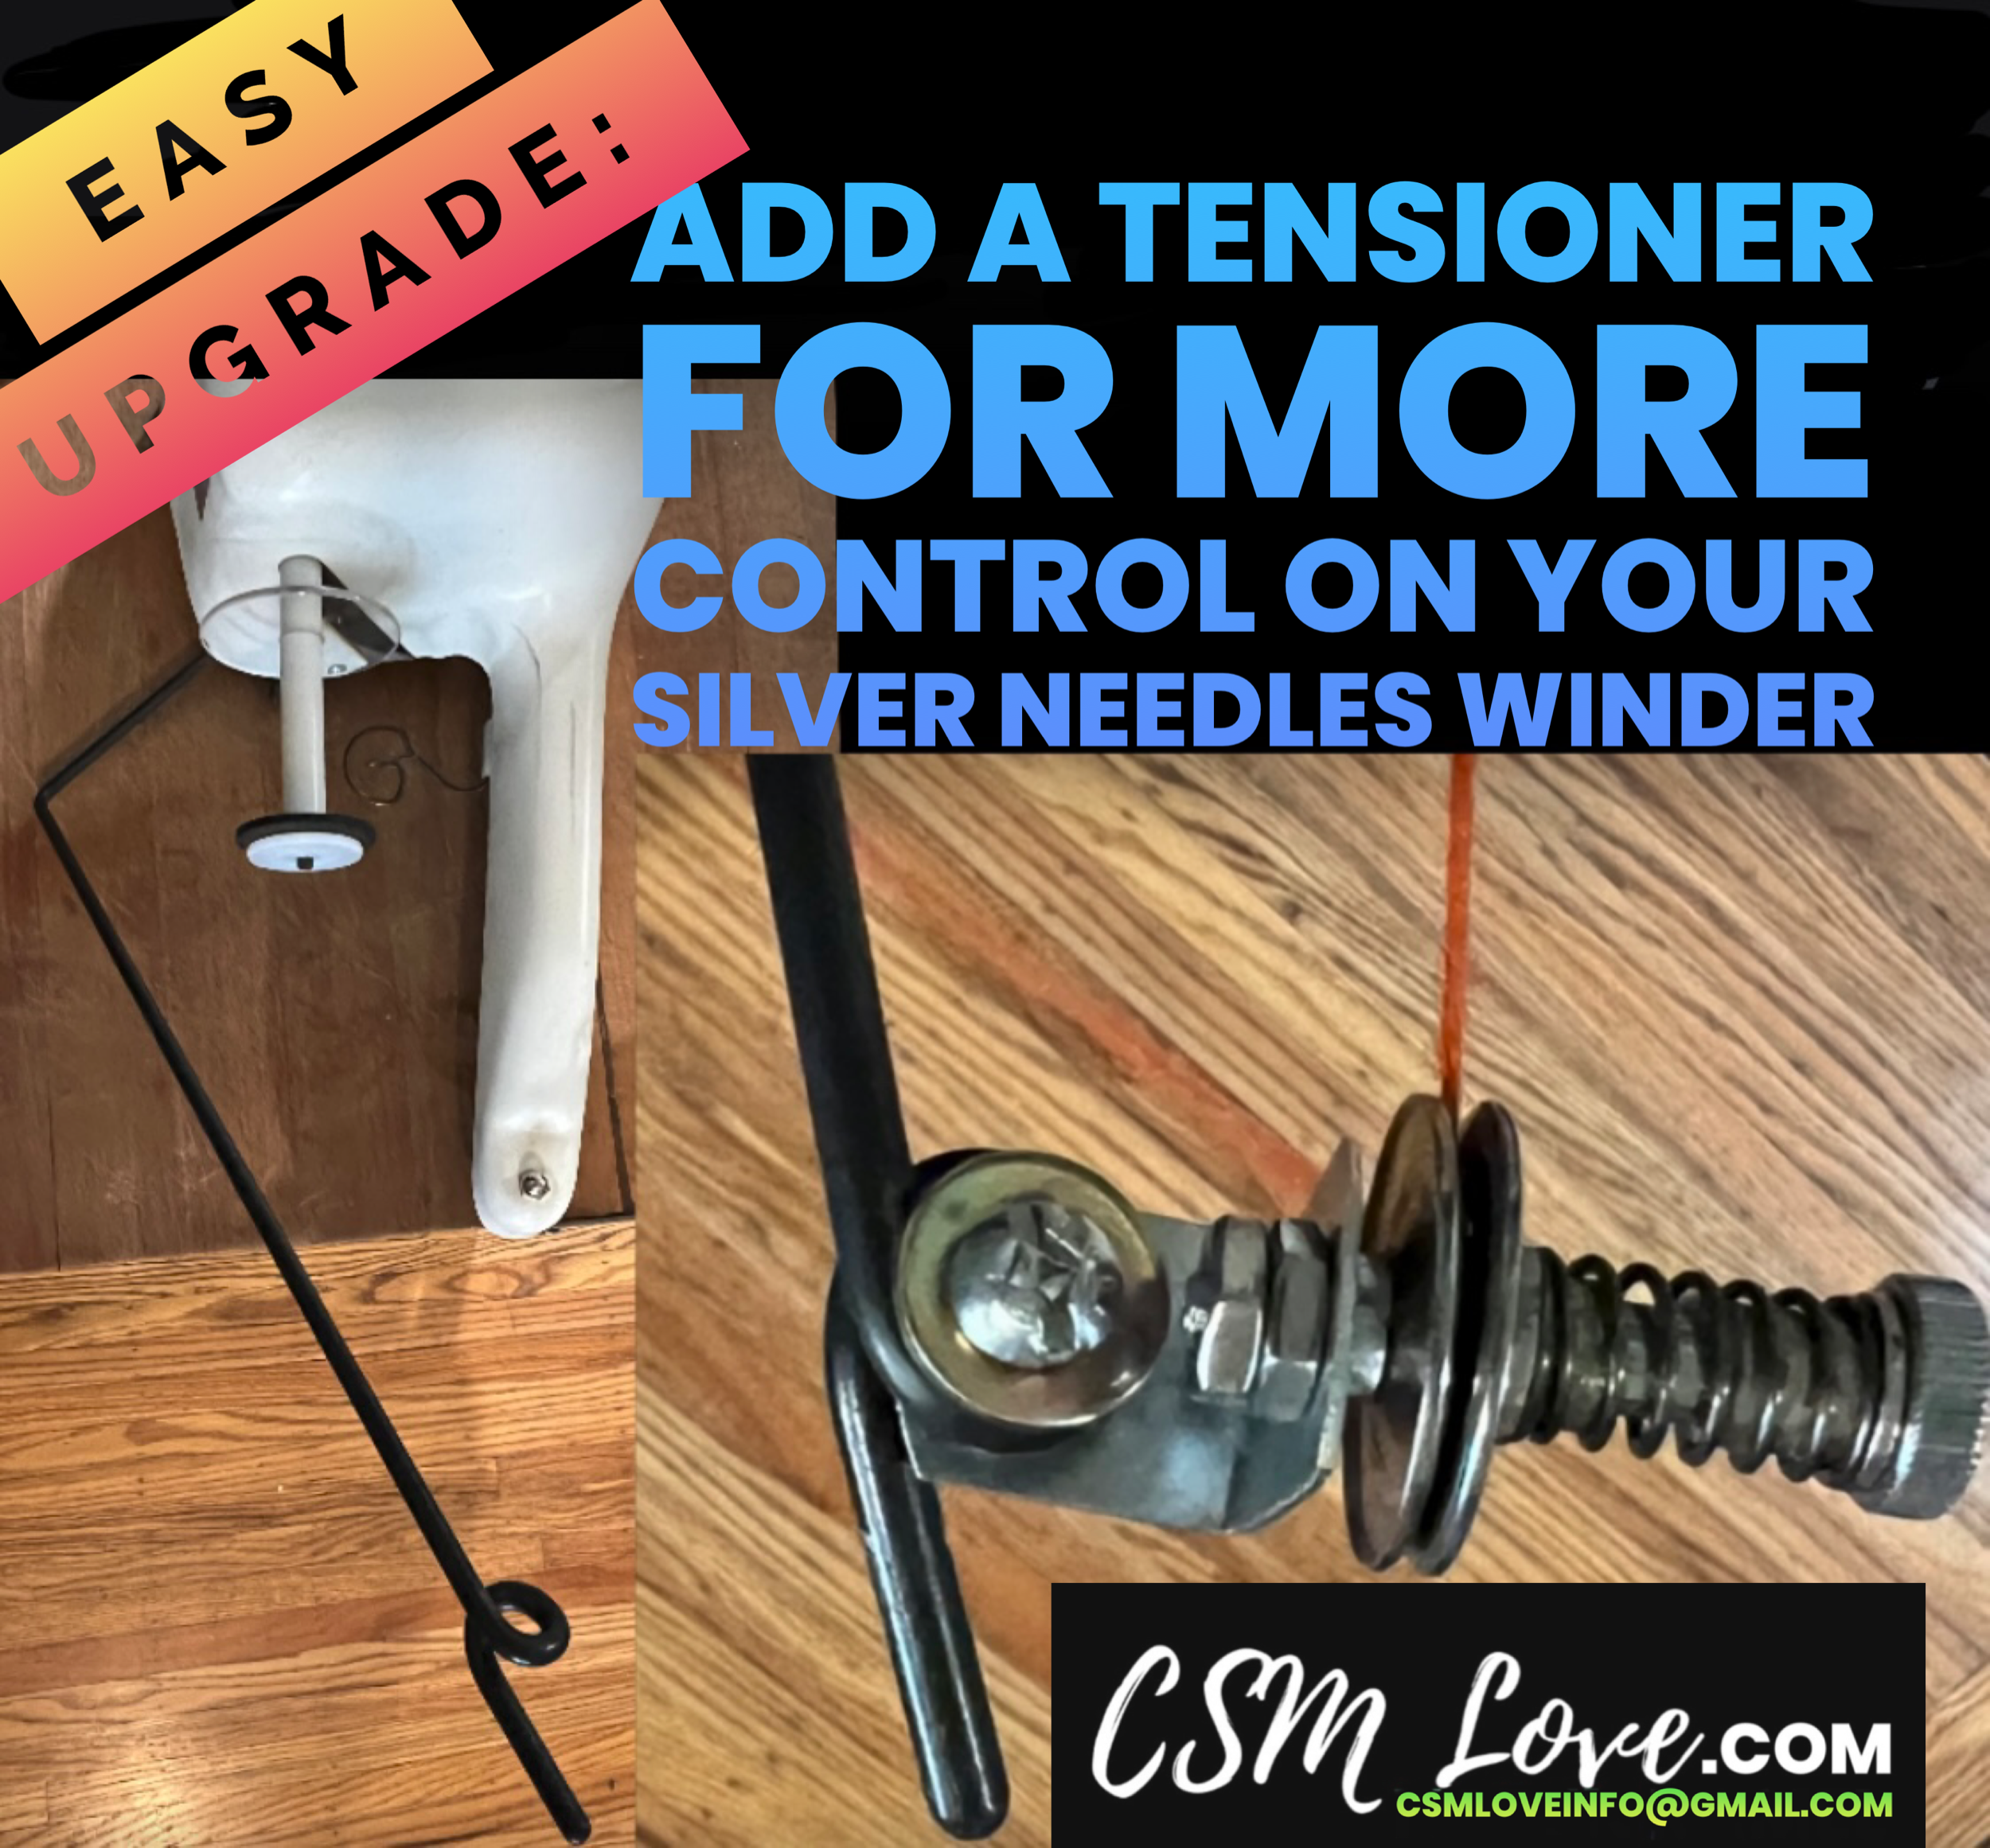
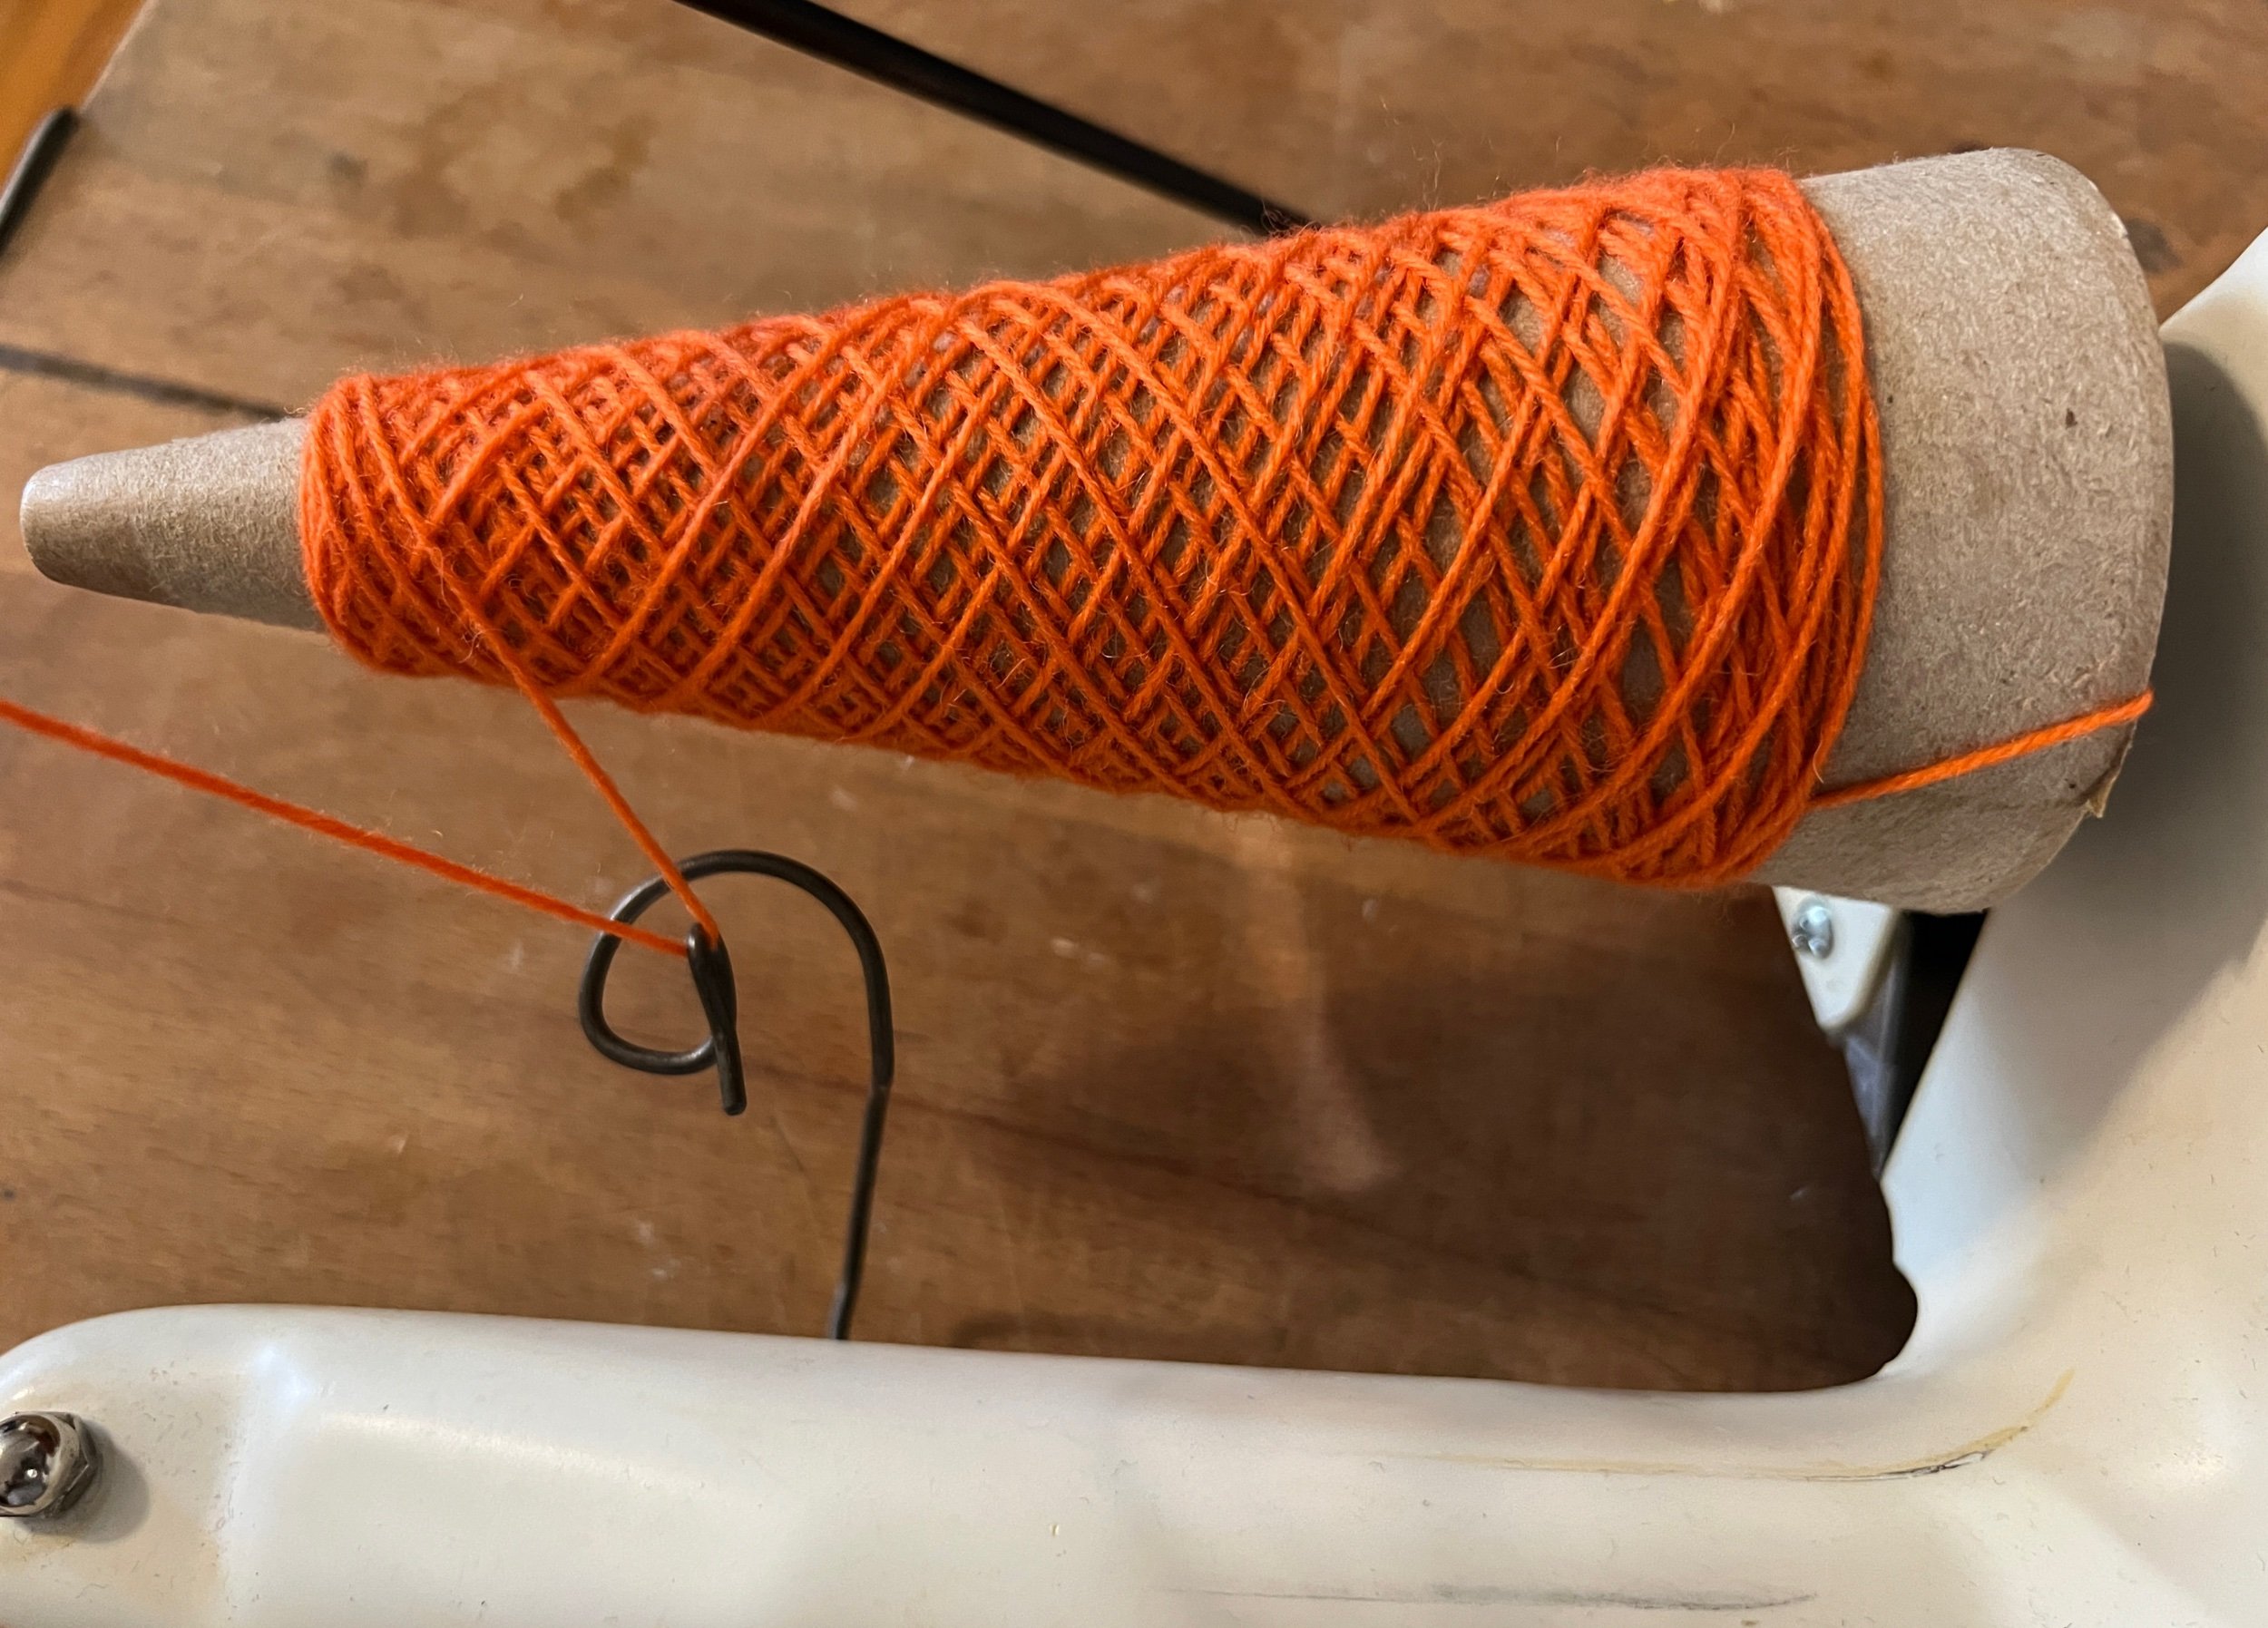
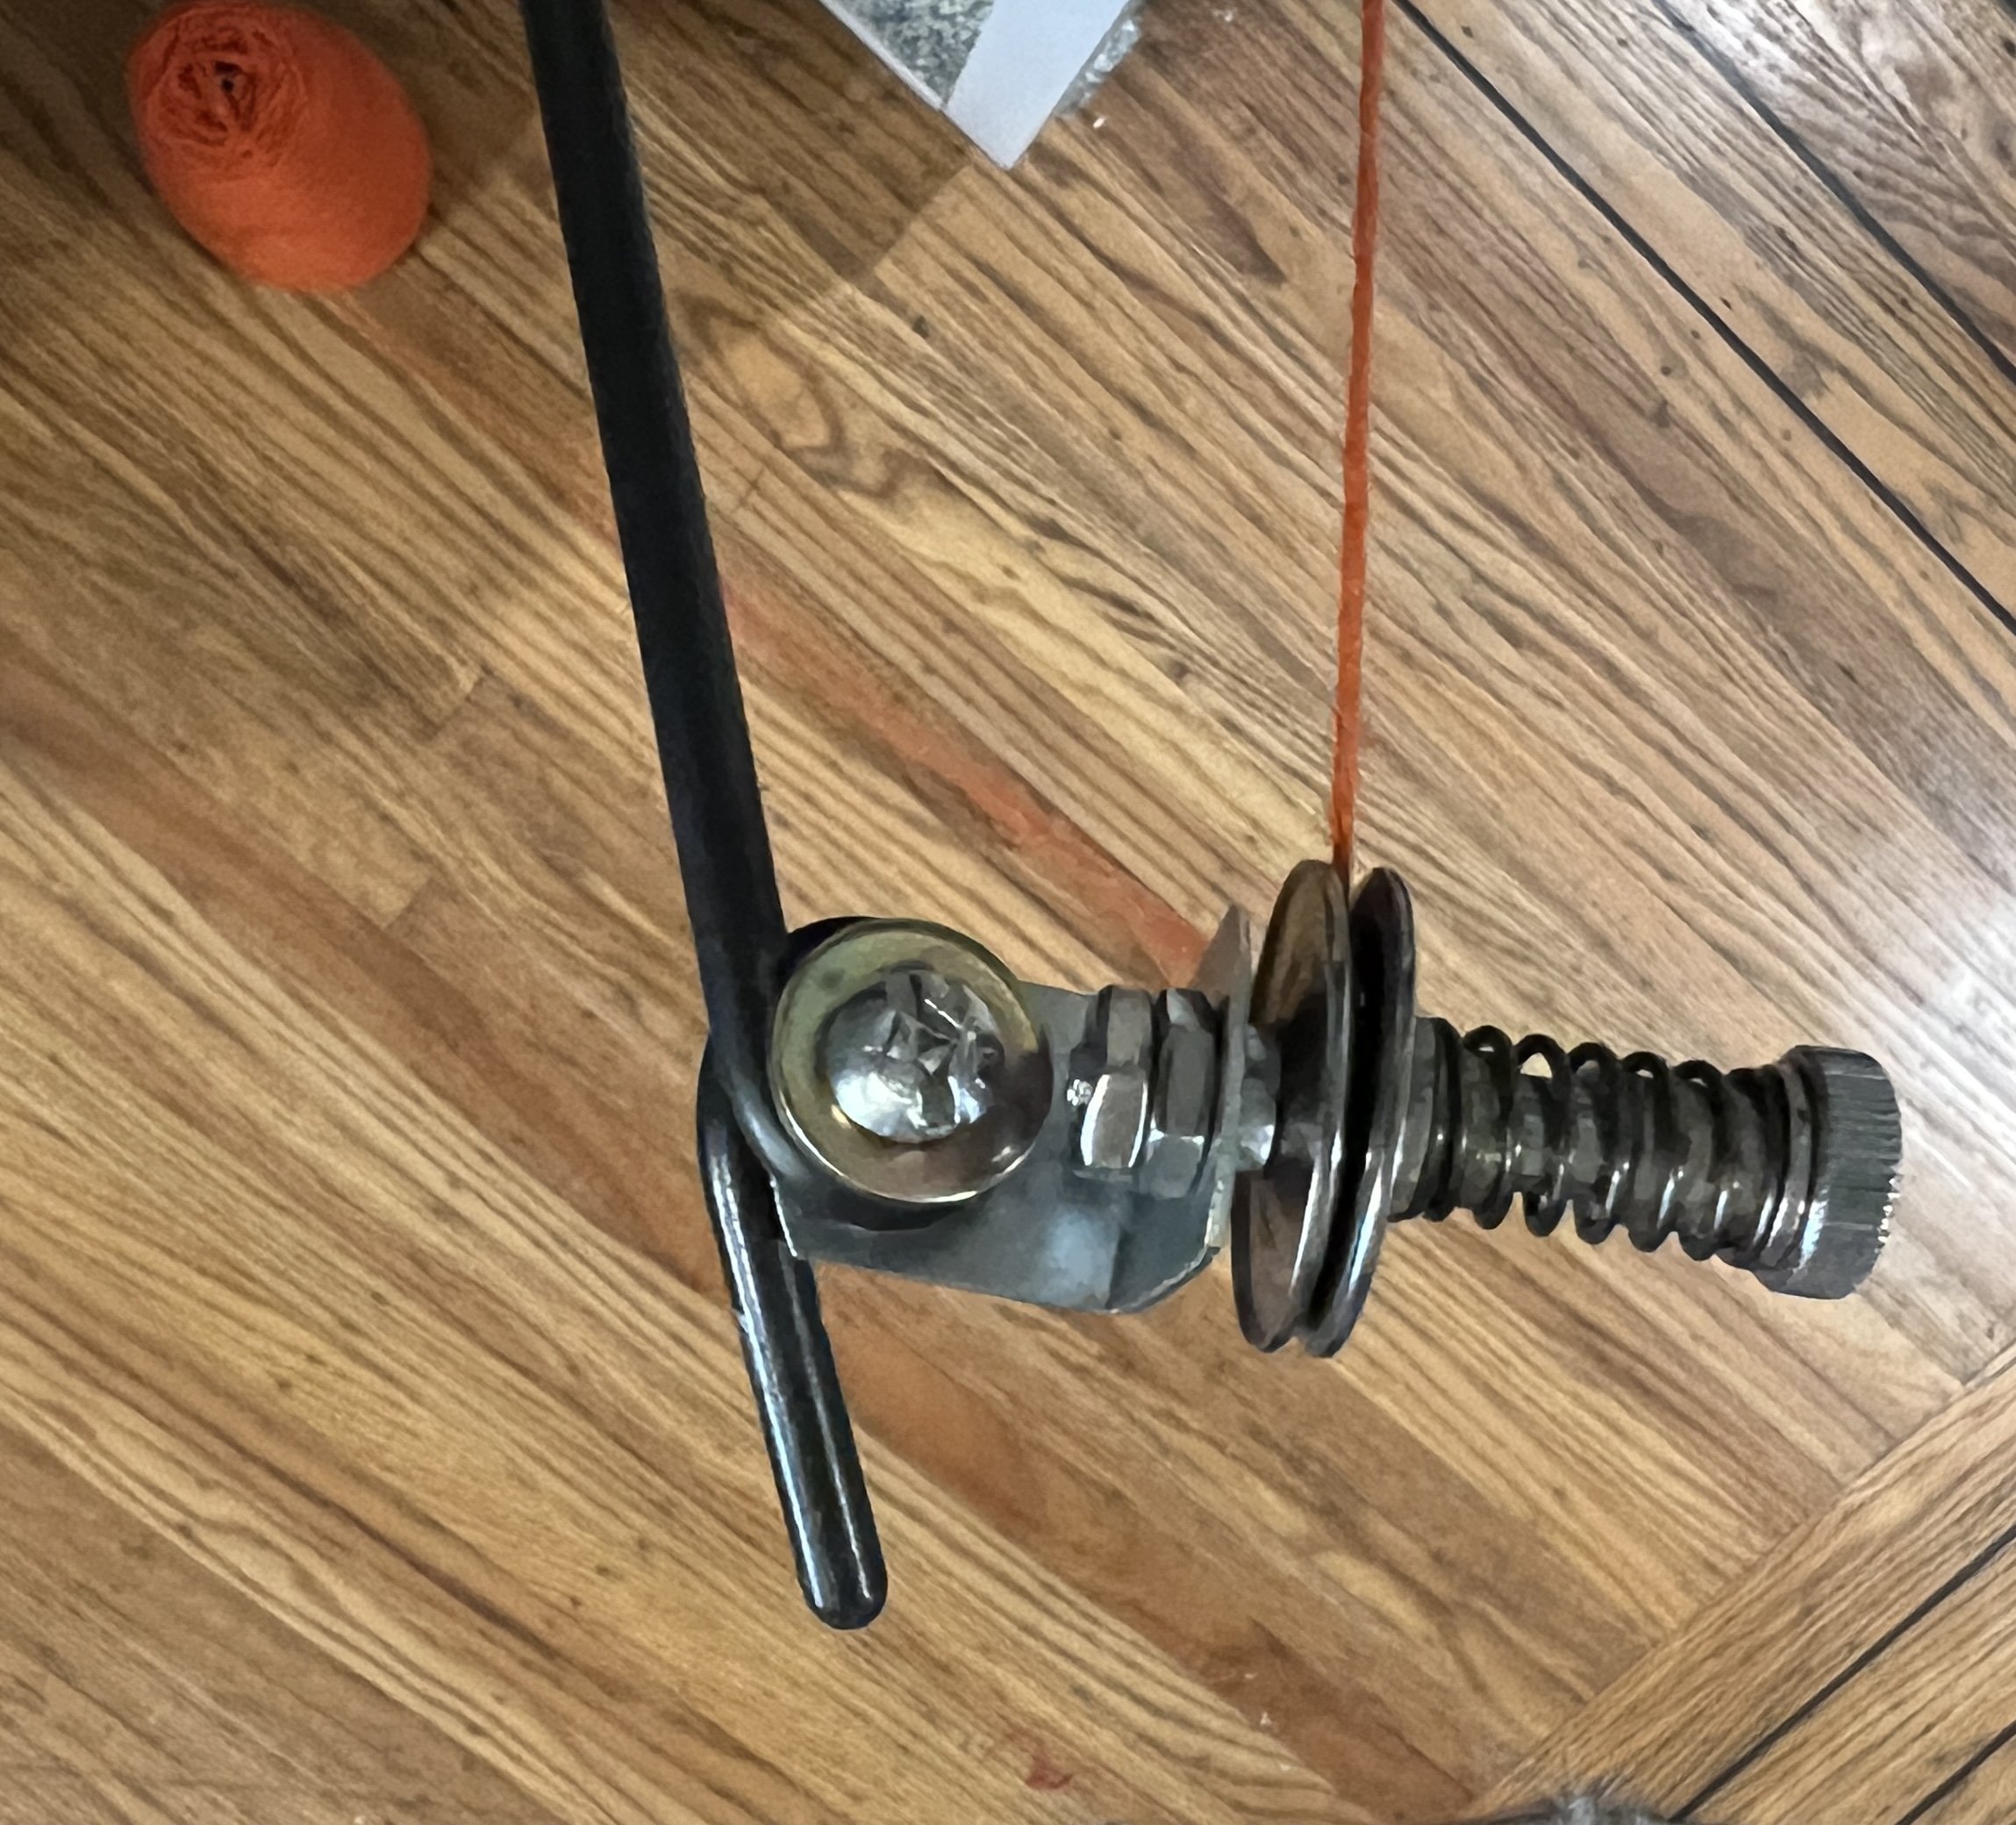
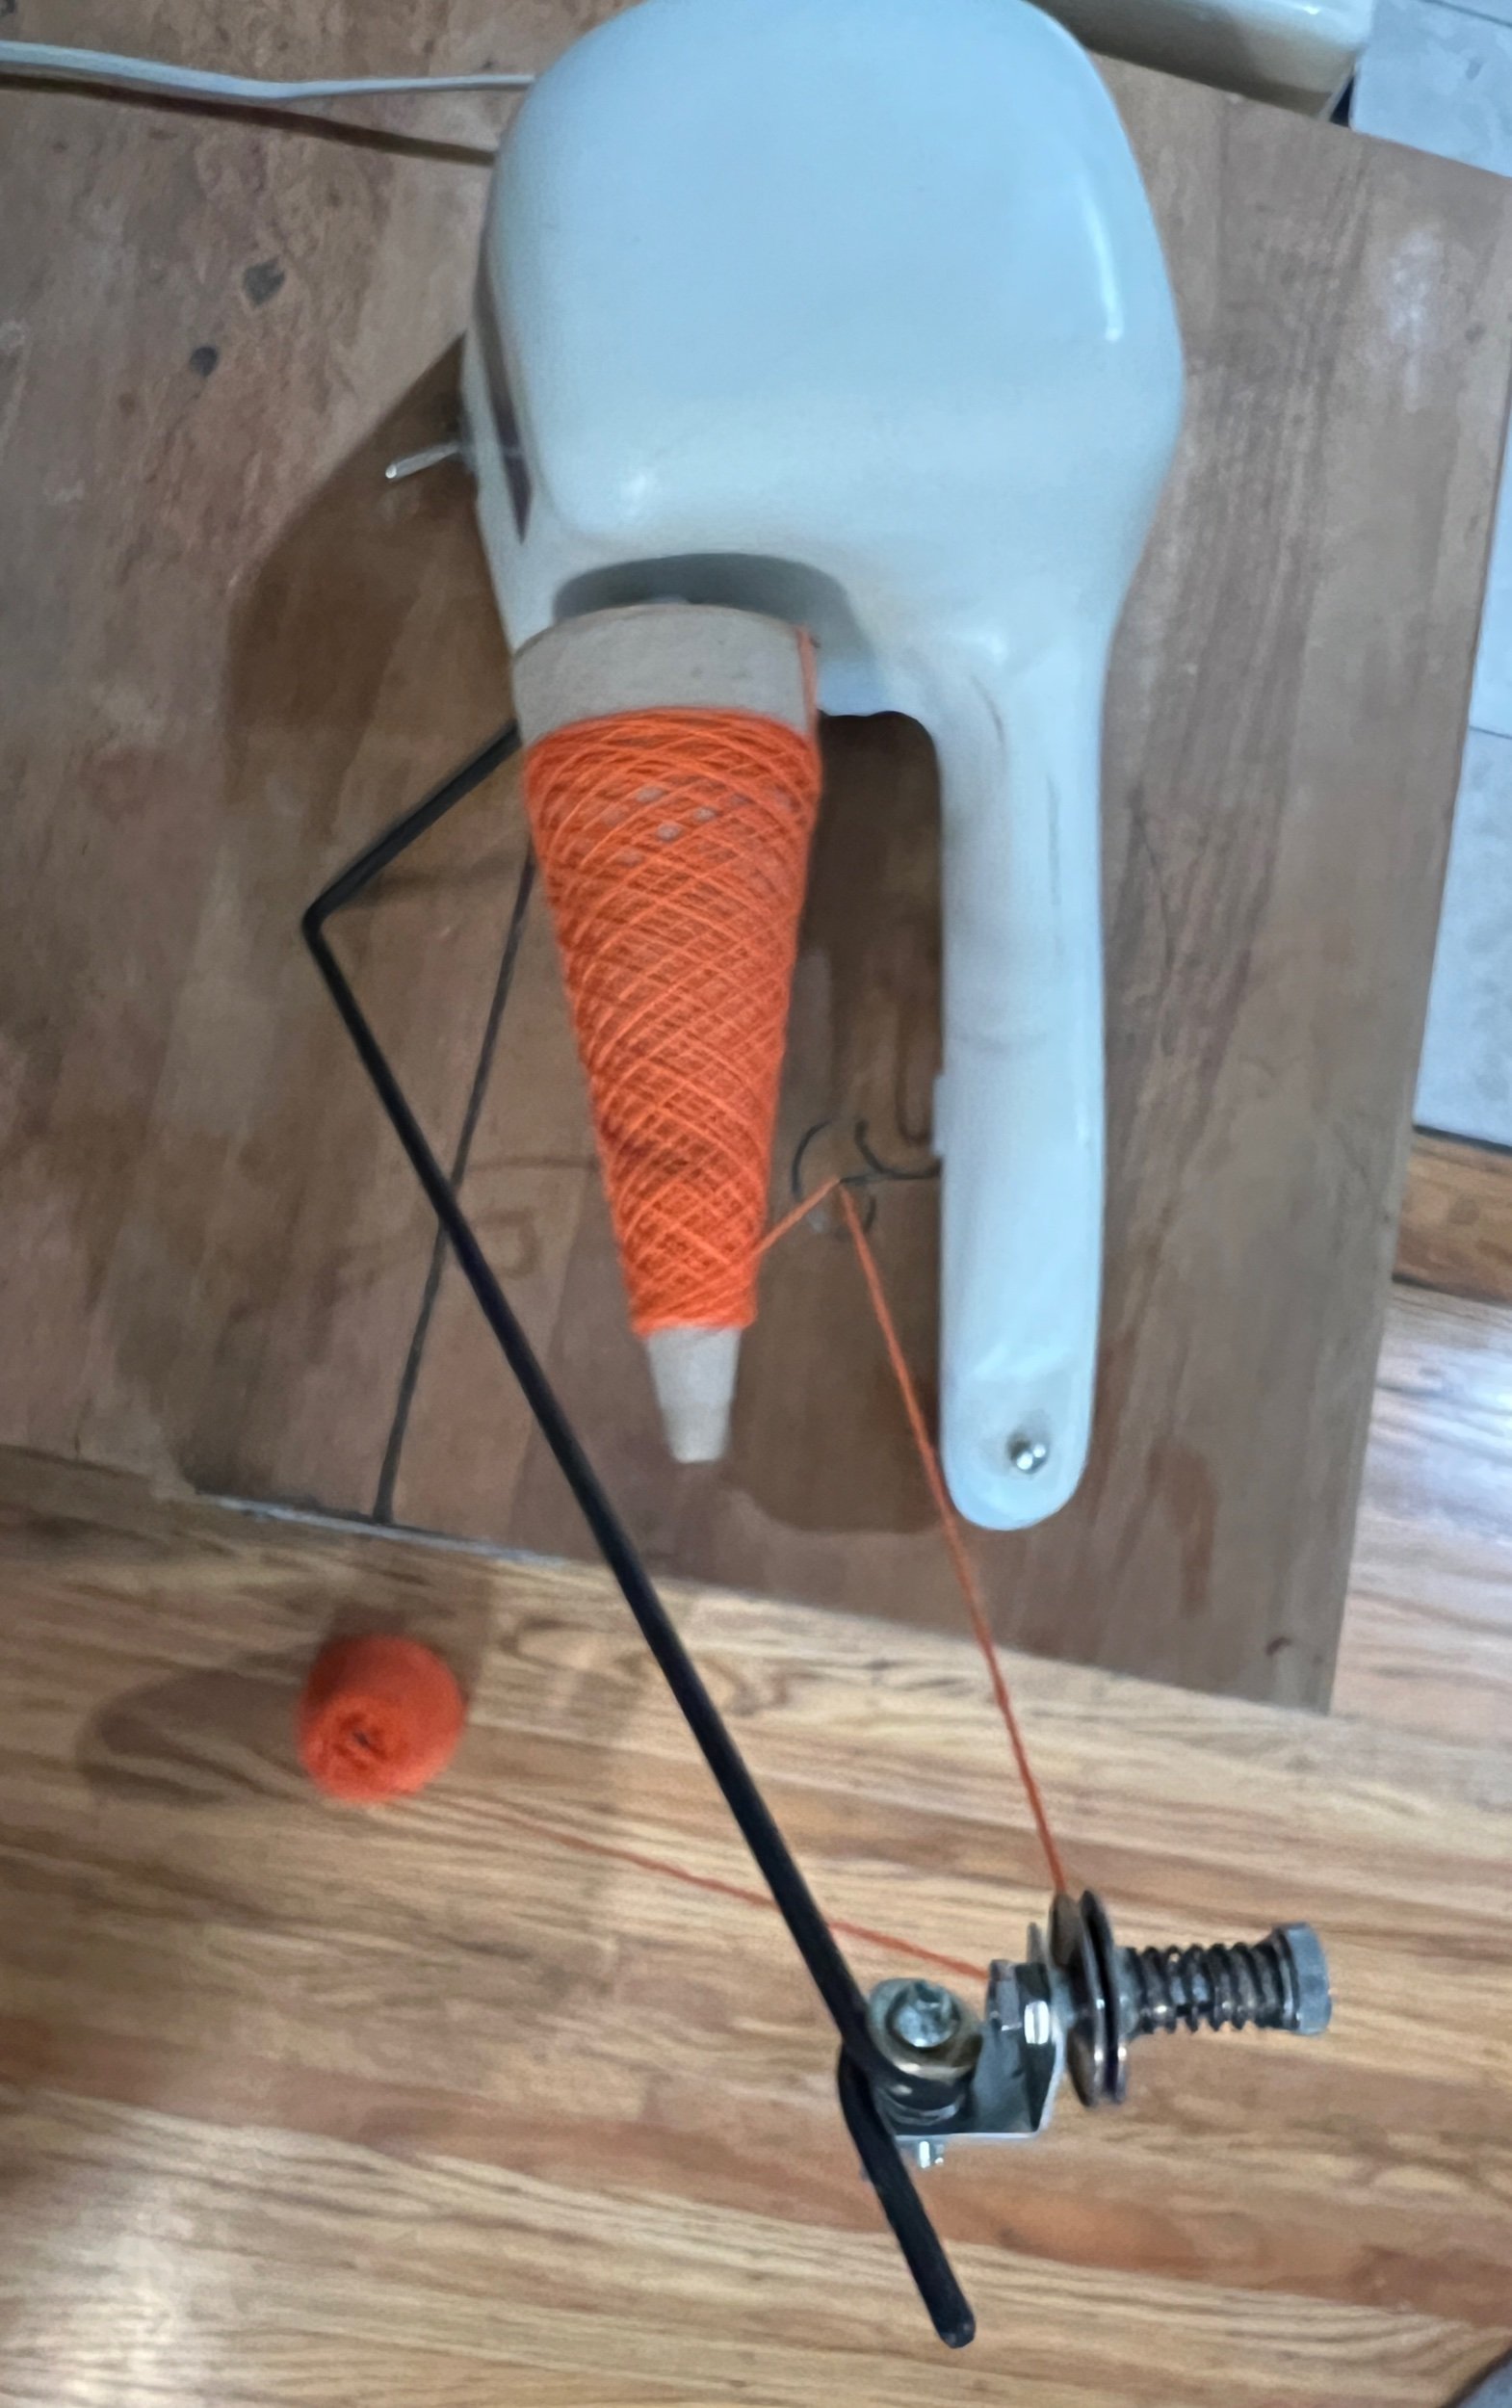
This is the Silver Needles Cardboard Electric Cone Winder - the SN100. See more on this winder on the YARN WINDERS page.

This winder uses witch hat style cardboard cones while the newer SN200 uses open top cones.

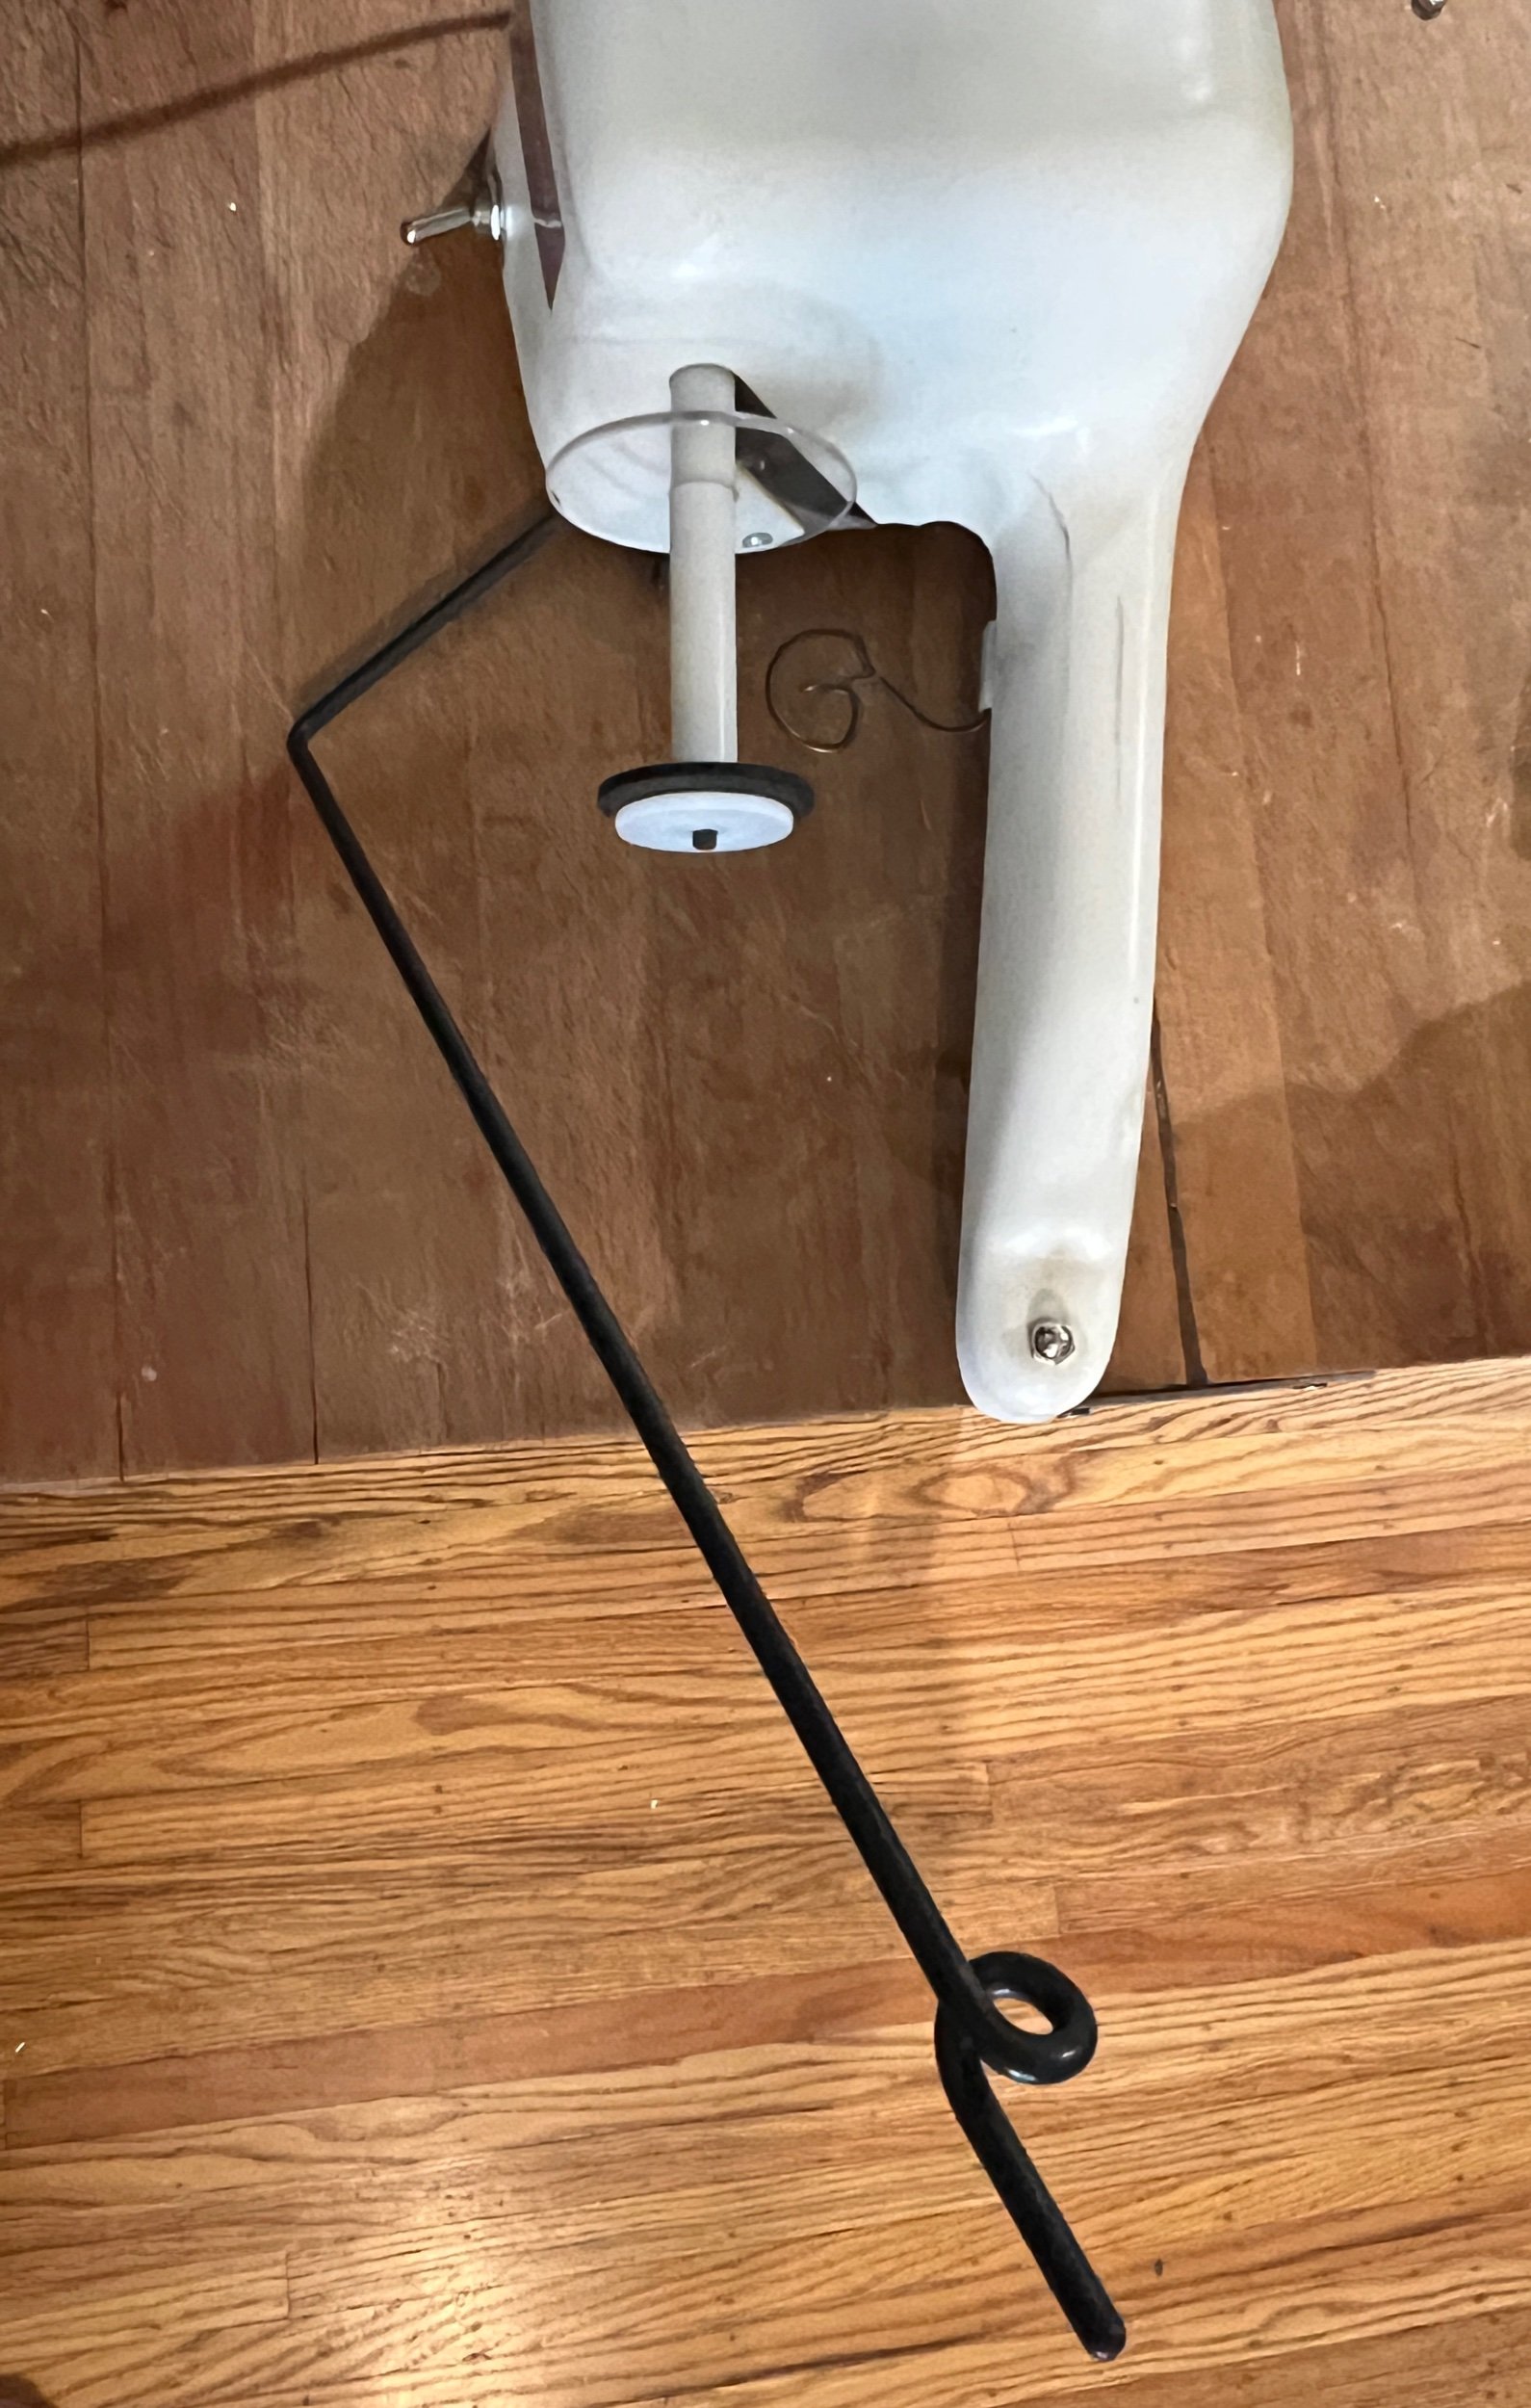
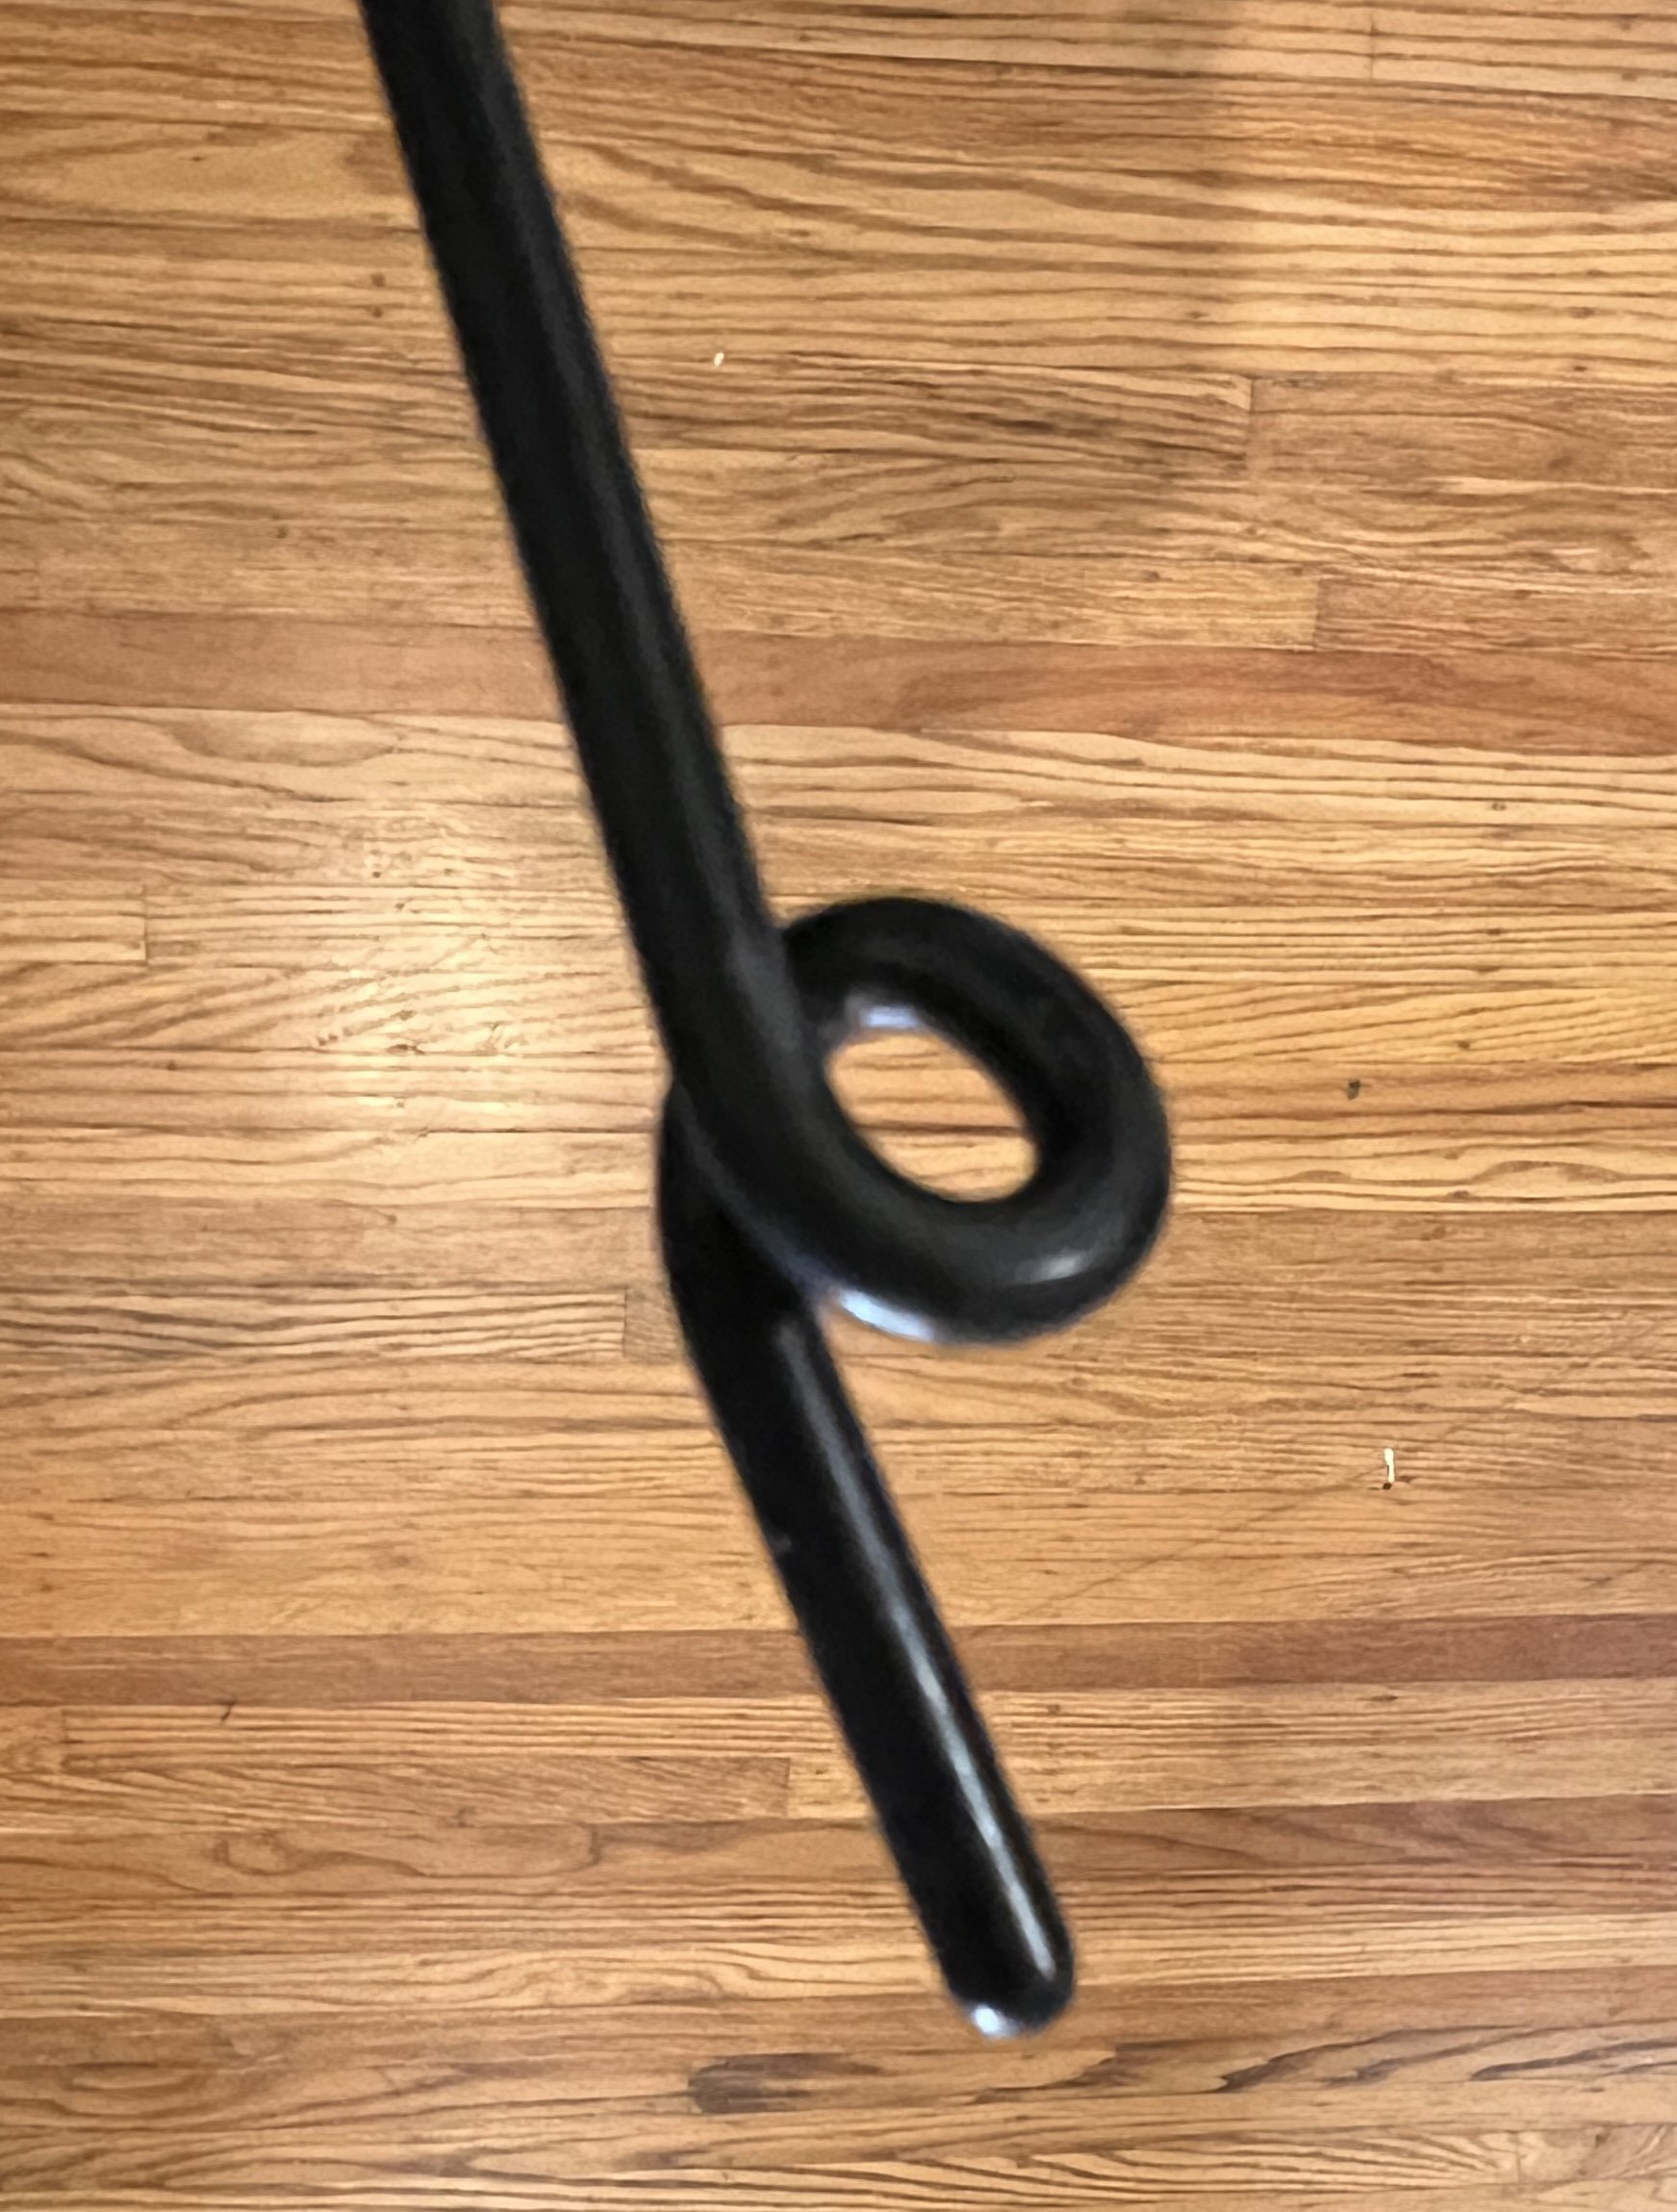
My current winder is missing the “knot detector” wire piece that mounts onto the power switch - which when used correctly will turn off the machine if there’s a knot hopefully. When I use this Winder, I usually hand tension or the cone comes out floppy.


SEE ALL BLOG ENTRIES ON THE BLOG INDEX PAGE | Follow us on a variety of social sites see TAPLINK | Interested in Circular Sock Machines? See the CSM START Menu first page. | Seek something specific? Checkout the Index page.
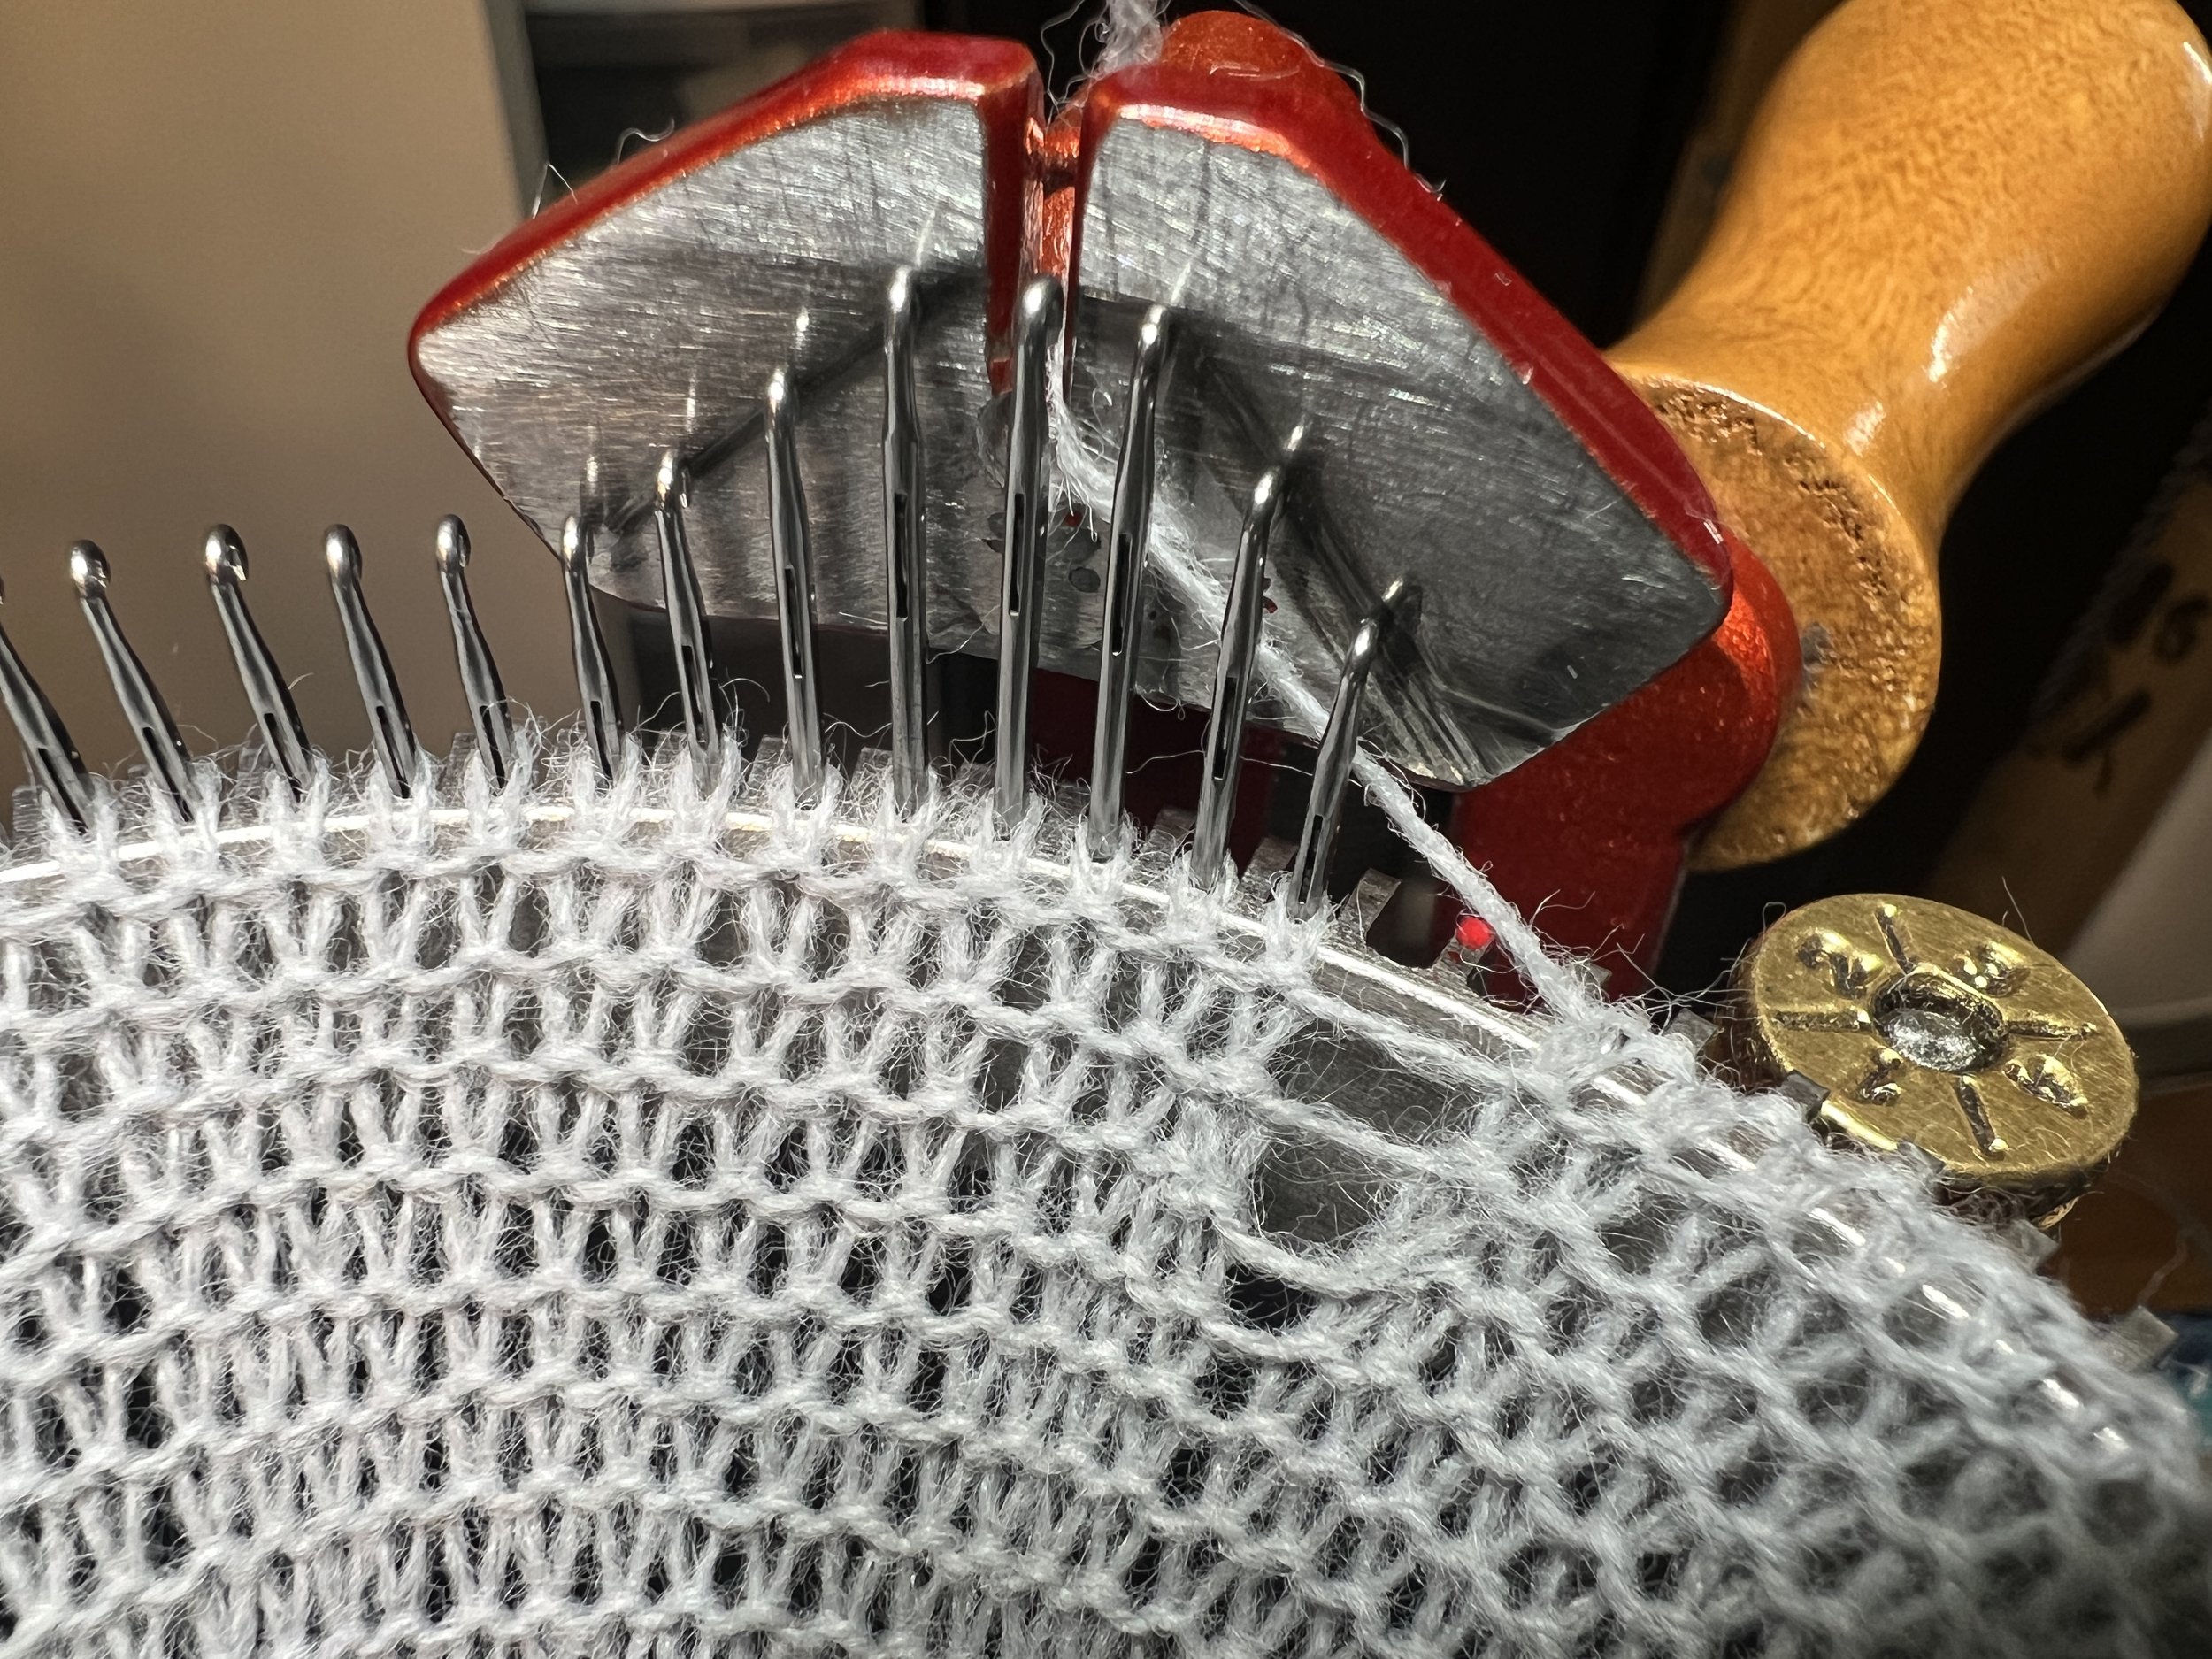

2023 Sep 2 - CSM Love Machine Knitting Hangout

CSM EVENT

Announcing our first LOCAL CSMLove Machine Knitting Hangout in Vancouver, BC!

We’re just under a week away from our first LOCAL CSMLove Machine Knitting Hangout in Vancouver, BC!

This event is for persons interested in hanging out and working on hand yarn crafts (for example: hand knitting/crochet), machine knitters (of any kind), flat bed machine knitting or circular sock machines.

Don’t know anything about Circular Sock Machines? Check out my website or email me :)

WHEN: Saturday Sept 2, 2023 (9am - 8pm). (Clean up to start after the Door Prize draw at 7:30pm)

WHERE: Vancouver, BC - transit accessible (shared only with registered/paid persons)

Register before Wednesday Aug 30 by emailing csmloveinfo@gmail.com to request the registration form which after processing I will request the fee payment of CAD$12 - (payable before Sept 1st via Interac banking or via PayPal to the same email address. If paying via PayPal the registration is $15. Prompt payment without registration will be returned. Did you email and not get a reply? Please email again.

To minimize cost, no food will be served onsite and no dishes used. Bringing your own water bottle is recommended as is  simple snacks to share. There are many places to eat nearby.

Please note while I will help as needed, this event is not the place to learn how to cast on (the very first time), to learn how to use your ribber (for the first time) or to trouble shoot any machine issues - if any of these statement apply to you please contact me before Sept 1st - Karen (csmloveinfo@gmail.com) with a detailed description.

FULL EVENT DETAILS ARE SHARED ONLY WITH REGISTERED PAID ATTENDEES

I intend on bringing my Chambord CSM AccuKnitter, my refurbished Legare 400 and maybe my plastic Addi-express 46 needle kingsize knitter (on custom table I made). I hope to provide a swift and winding area and minimal free scrap fibre for your use.

This venue is fairly bright, indoor and spacious, includes chairs that can be used and thick topped (non-CSM) tables as well as easy restroom access.

You will need to bring your own patterns and projects to work on, a door prize donation upon arrival of ball of 100gram yarn is requested, pliers for the hands on wire sock blocker project (if wanting to try at the event), darning needle, stuffing (yarn scraps?) plastic eyes/nose/Pom Pom for the Brave Bunny finished squares that will be available for attendees to have.

Consider bringing:

Everything you need for your event crafting, a name tag for yourself, a water bottle, your table, extension cord (and light) if needing power access and it’s requested you bring something for under your CSM (to protect the floor). A small bag to manage yarn bits/garbage to keep the venue tidy.

Hands-on projects that are being considered:

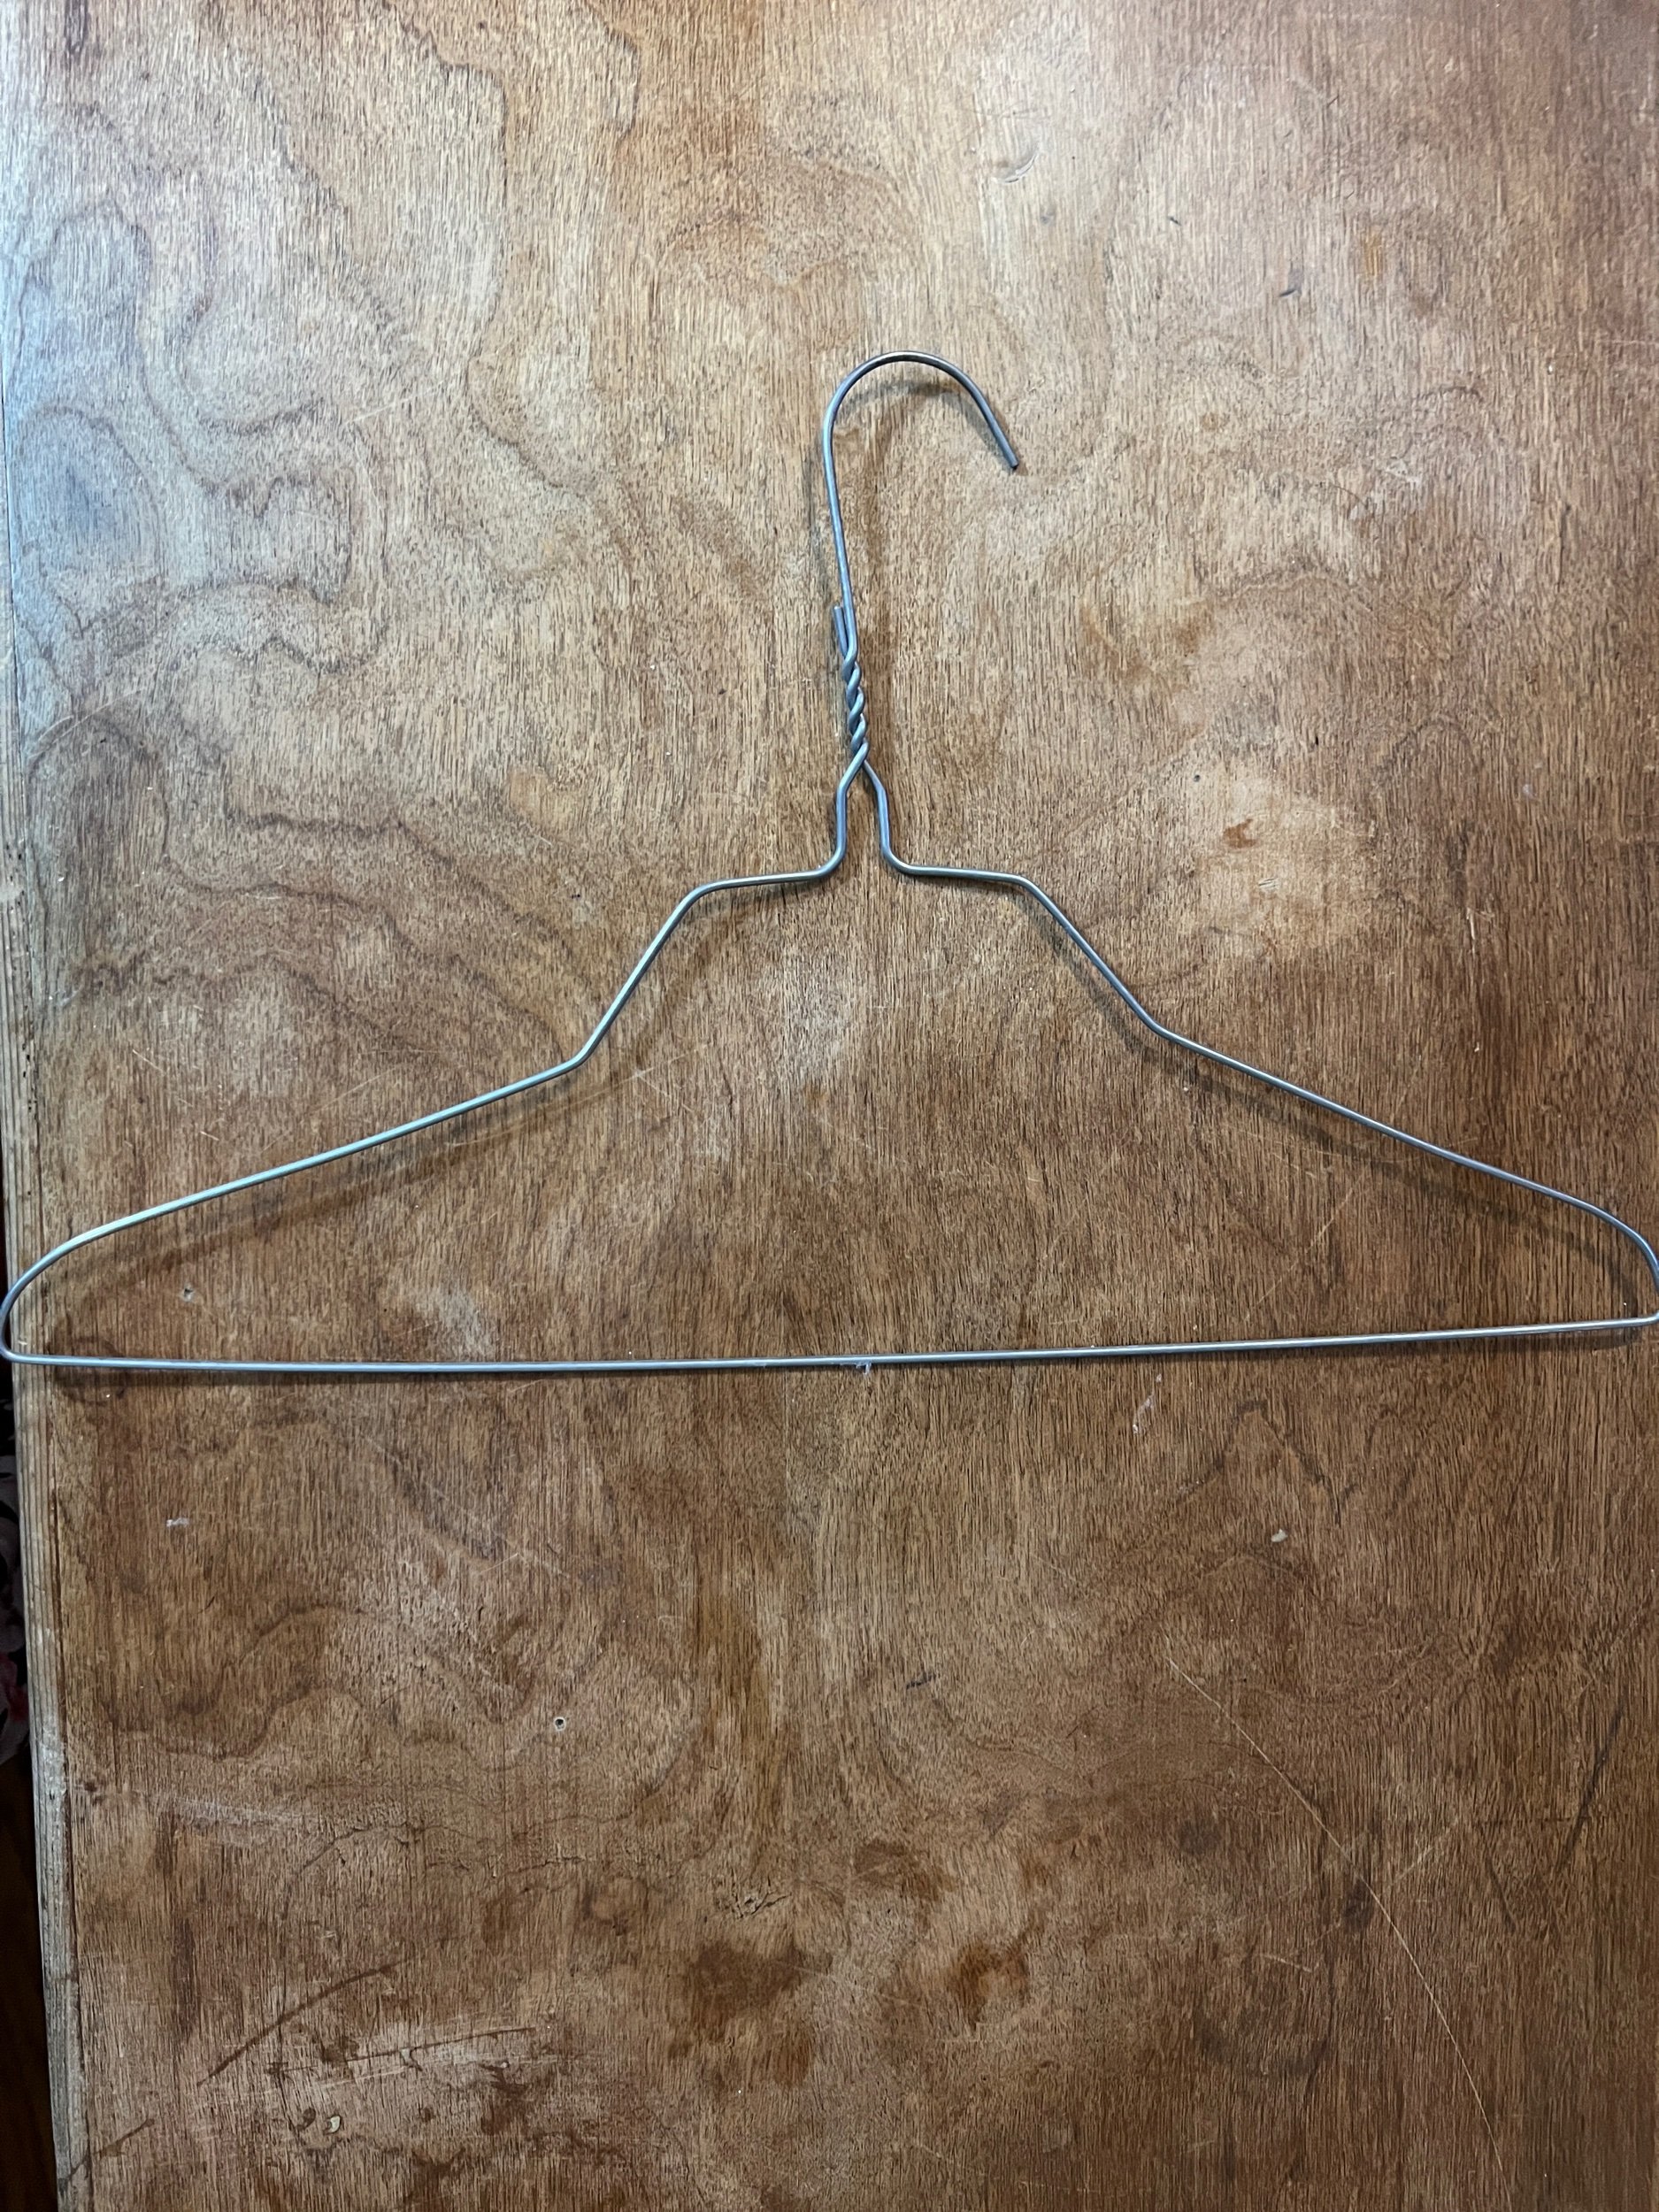
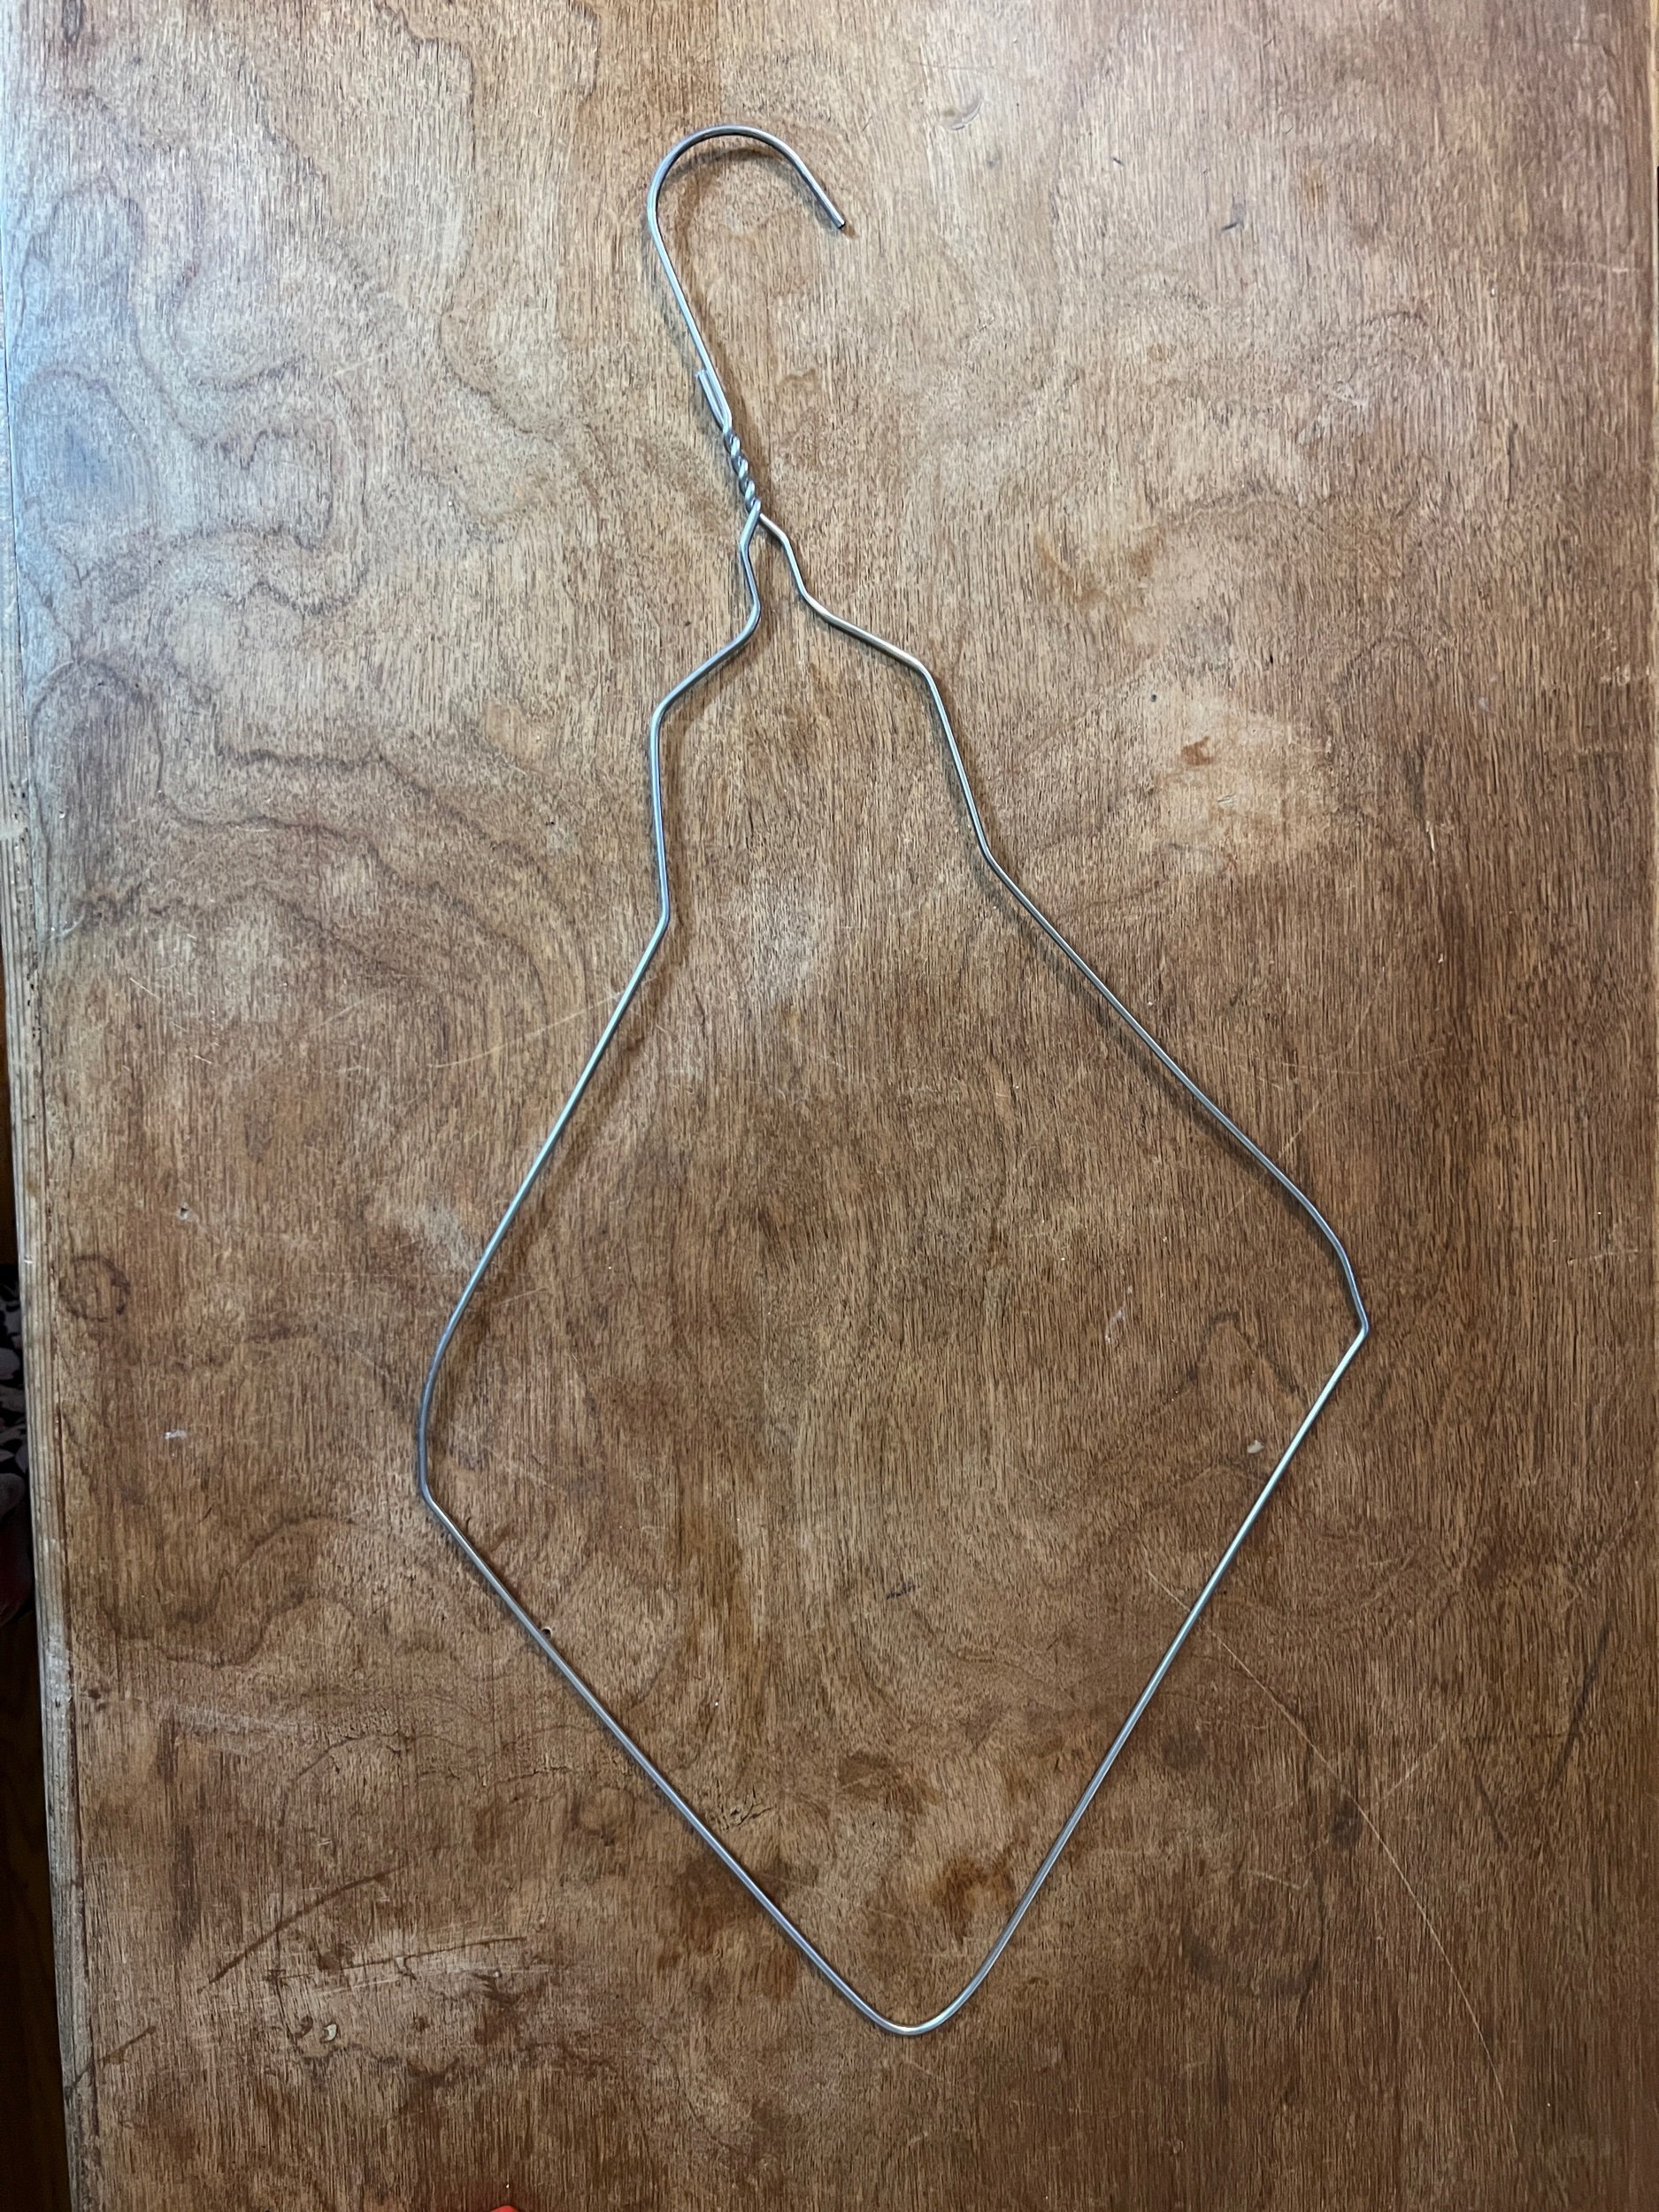
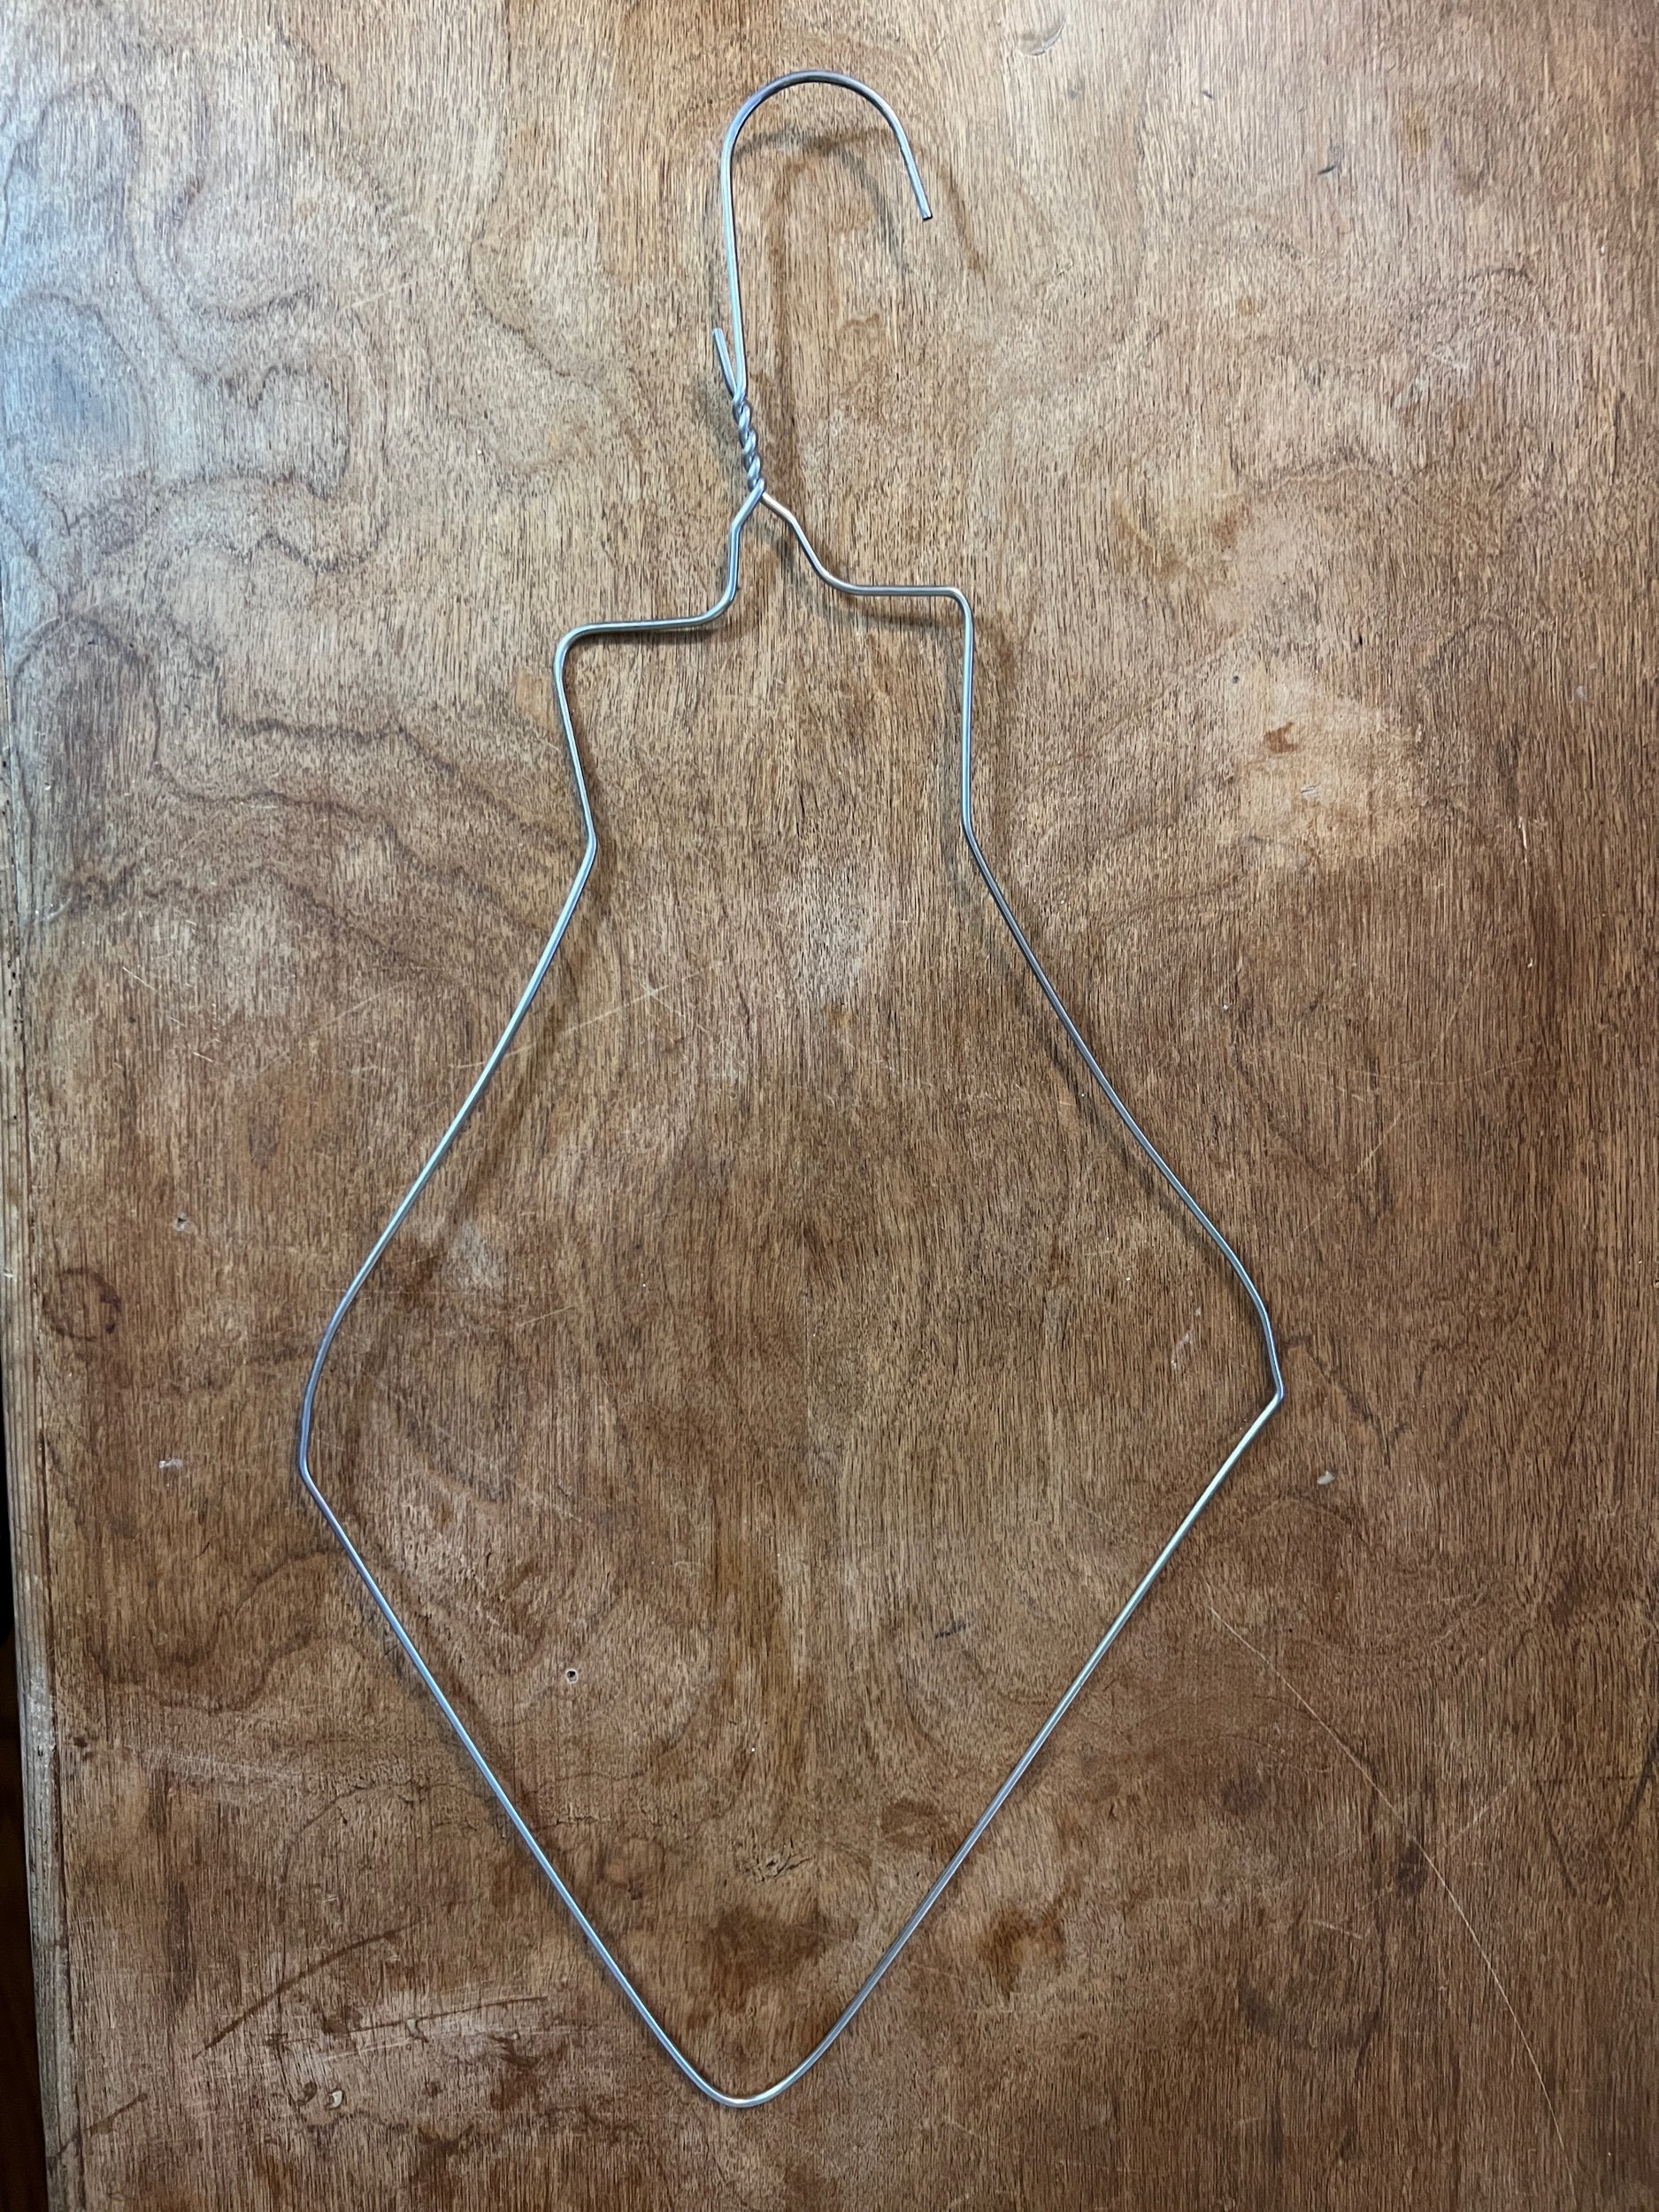
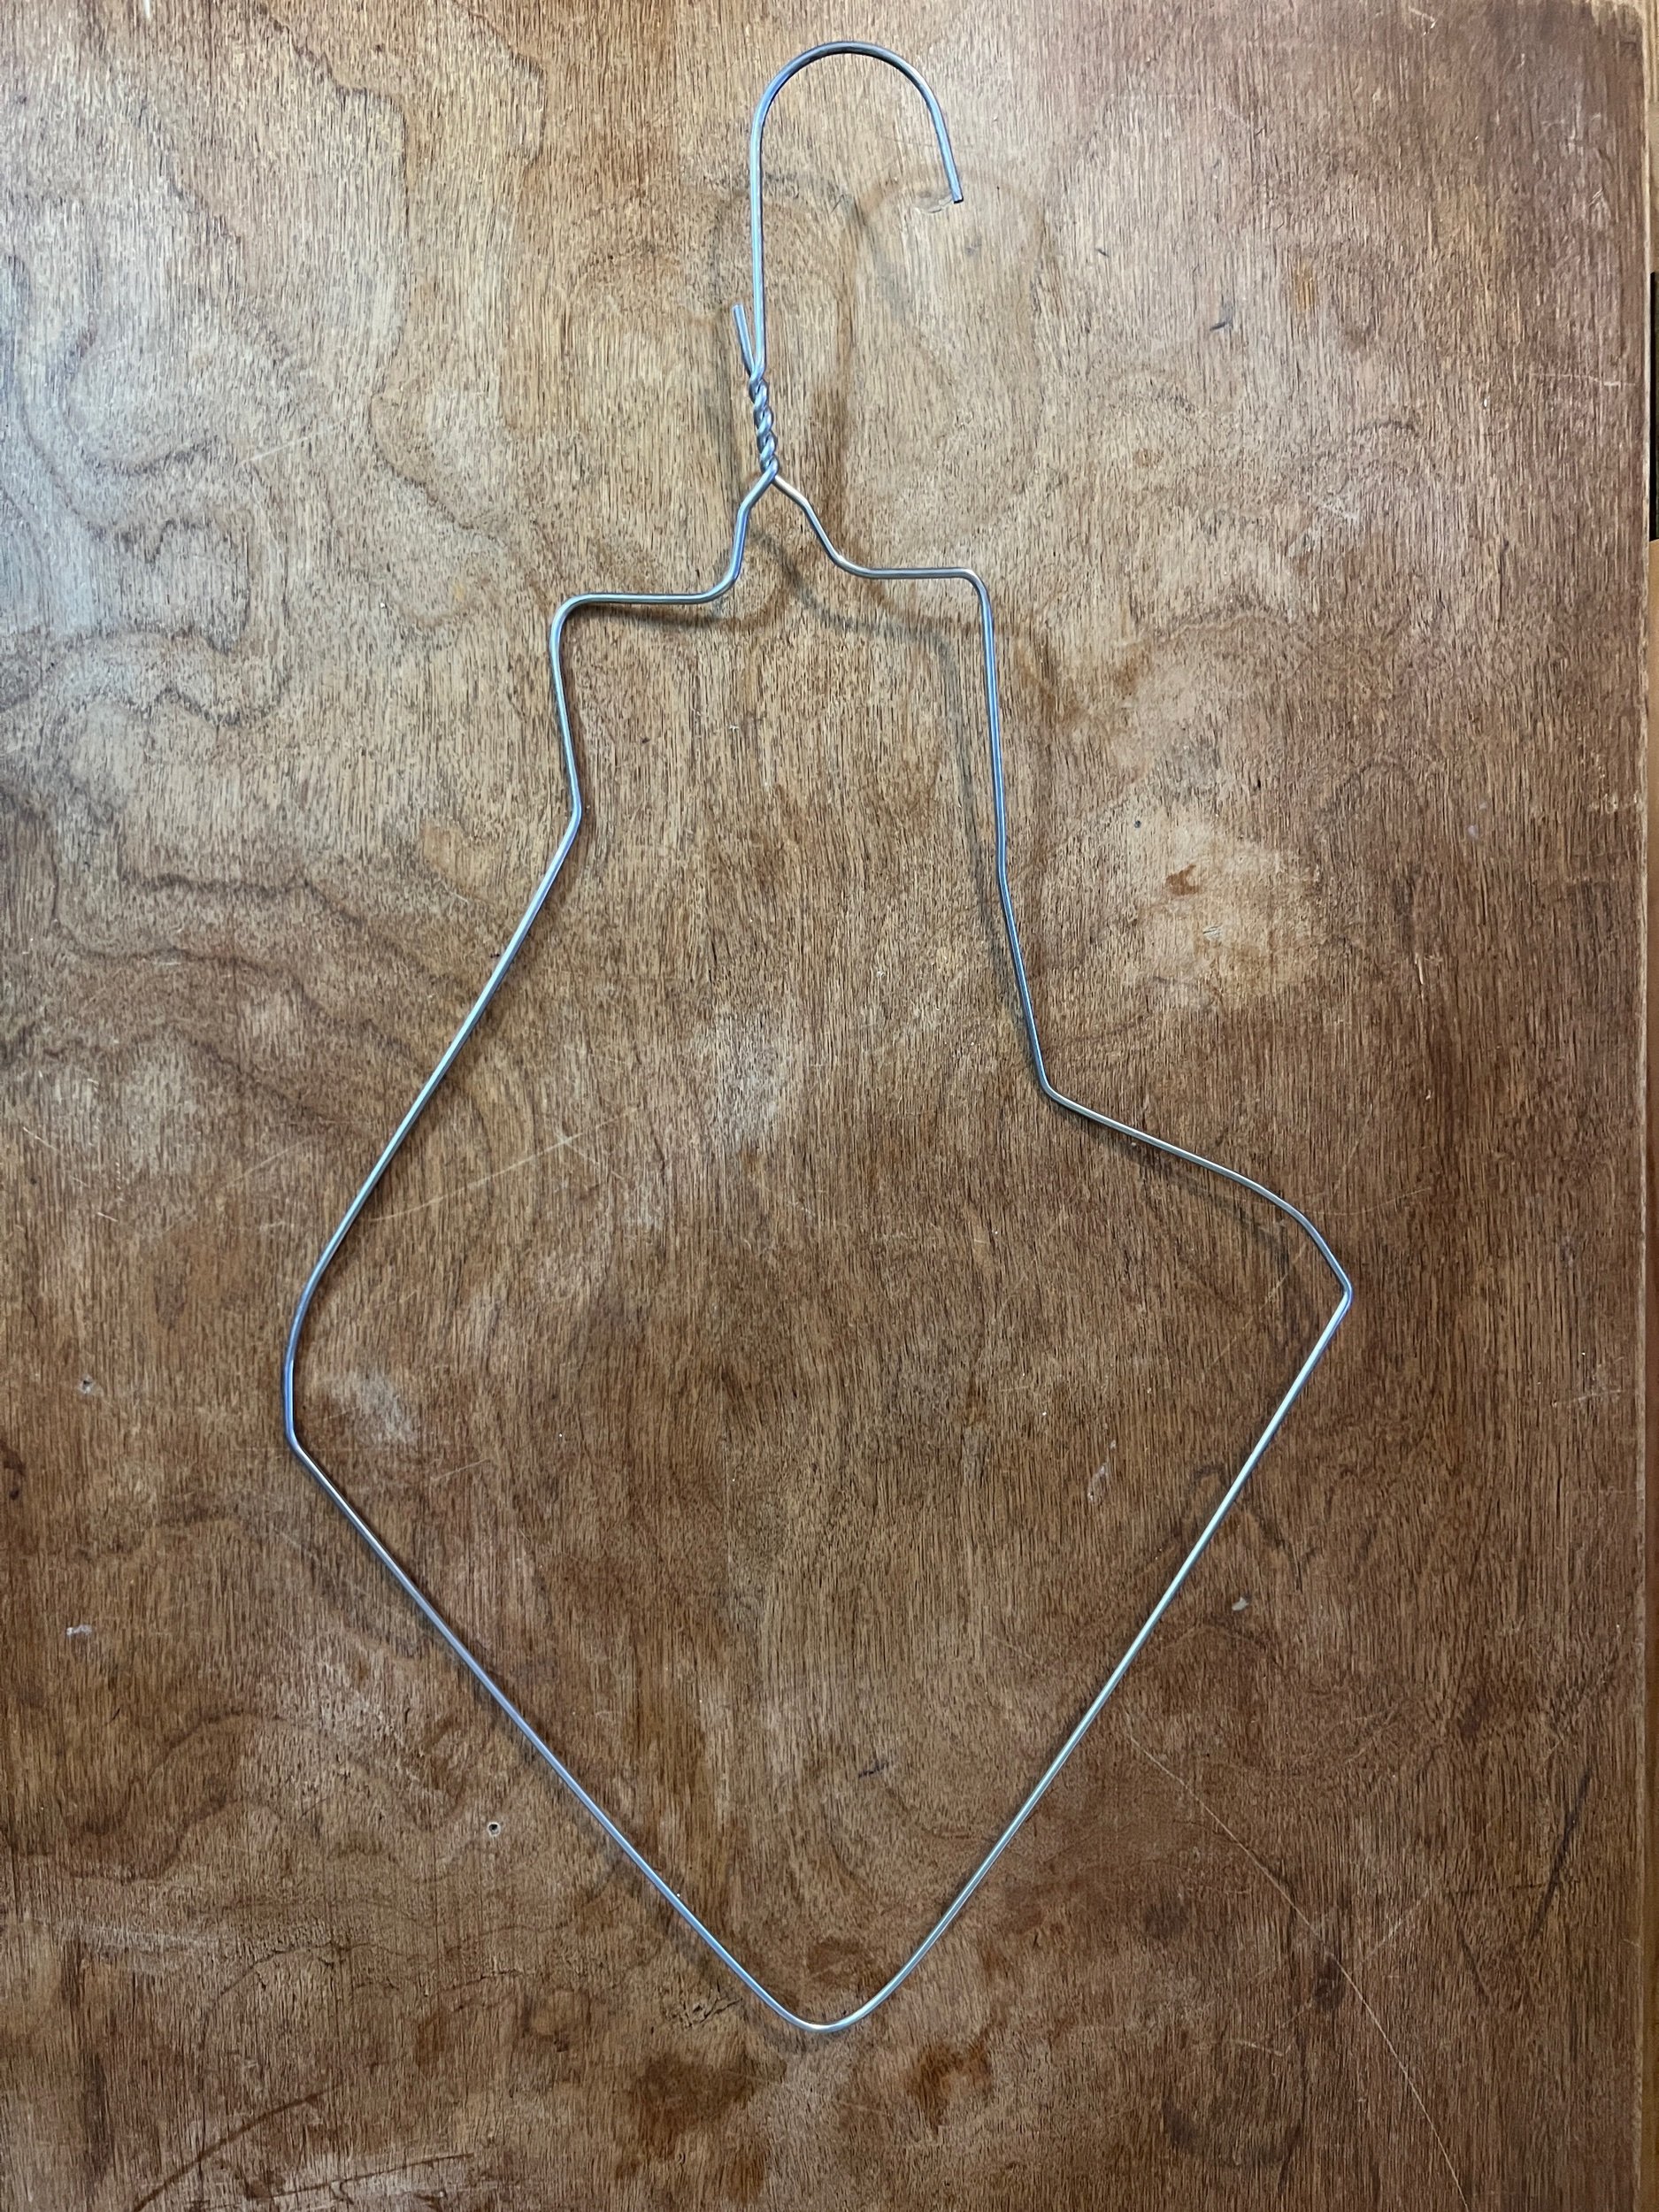
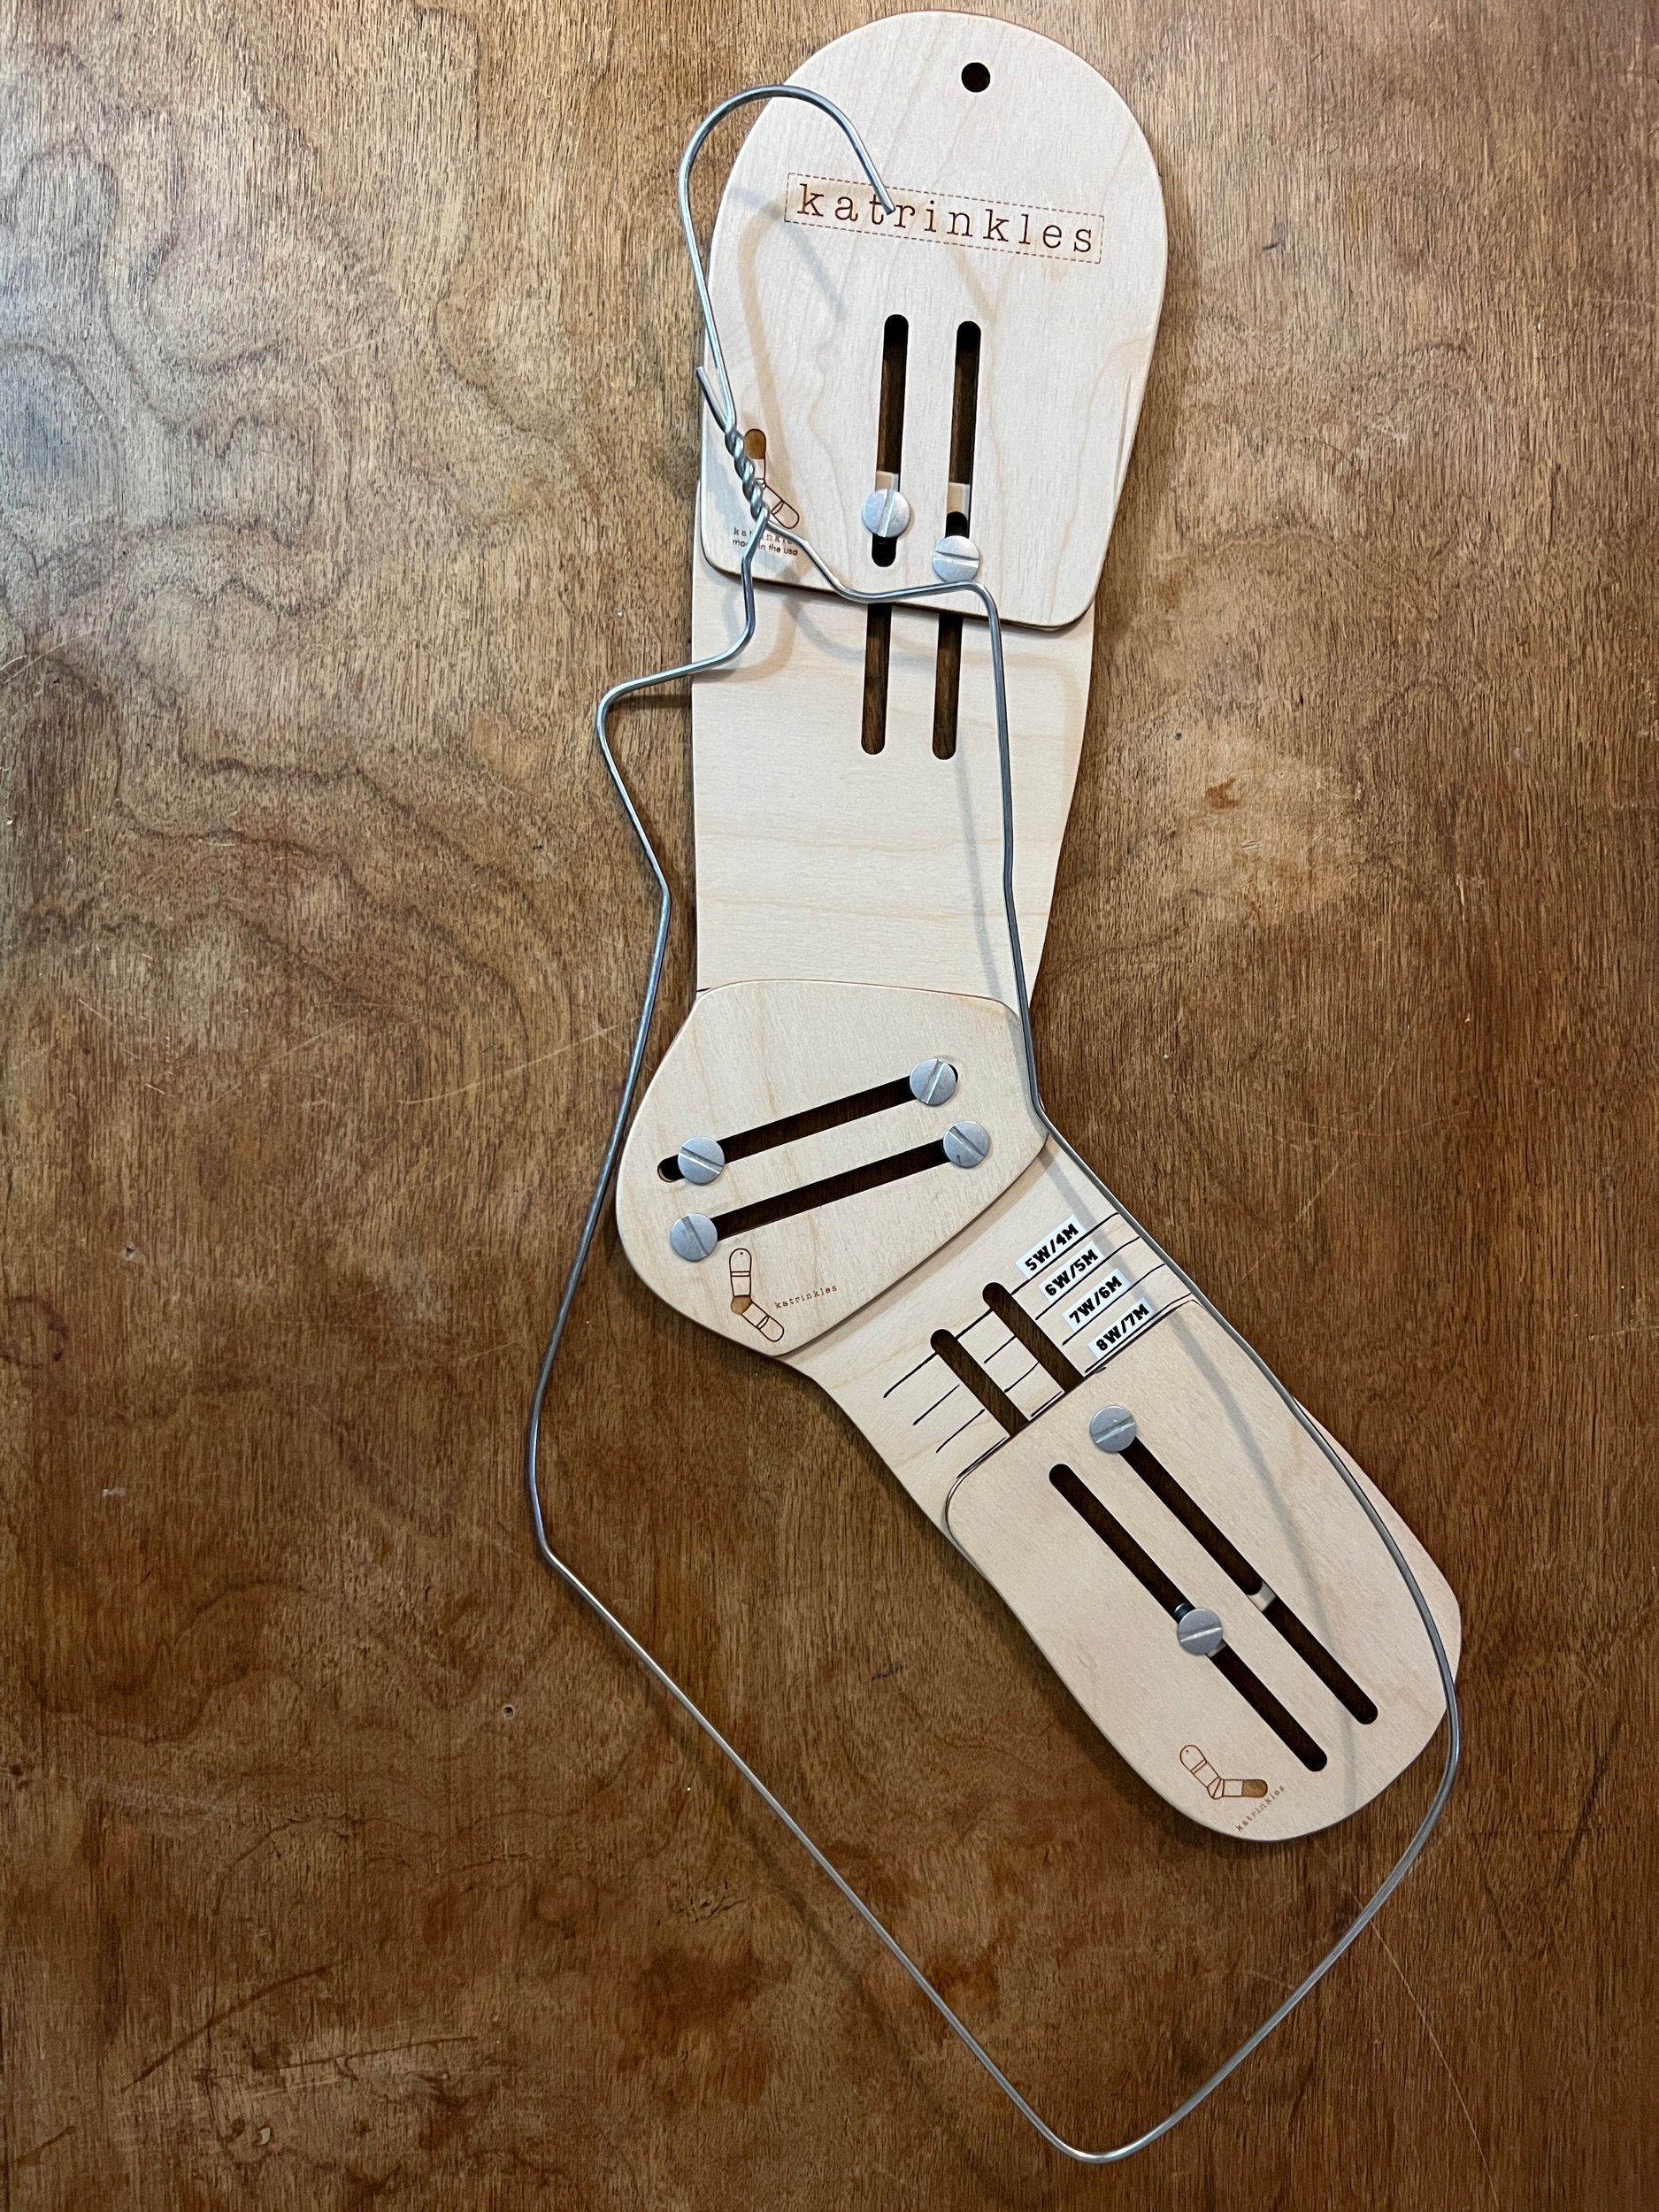
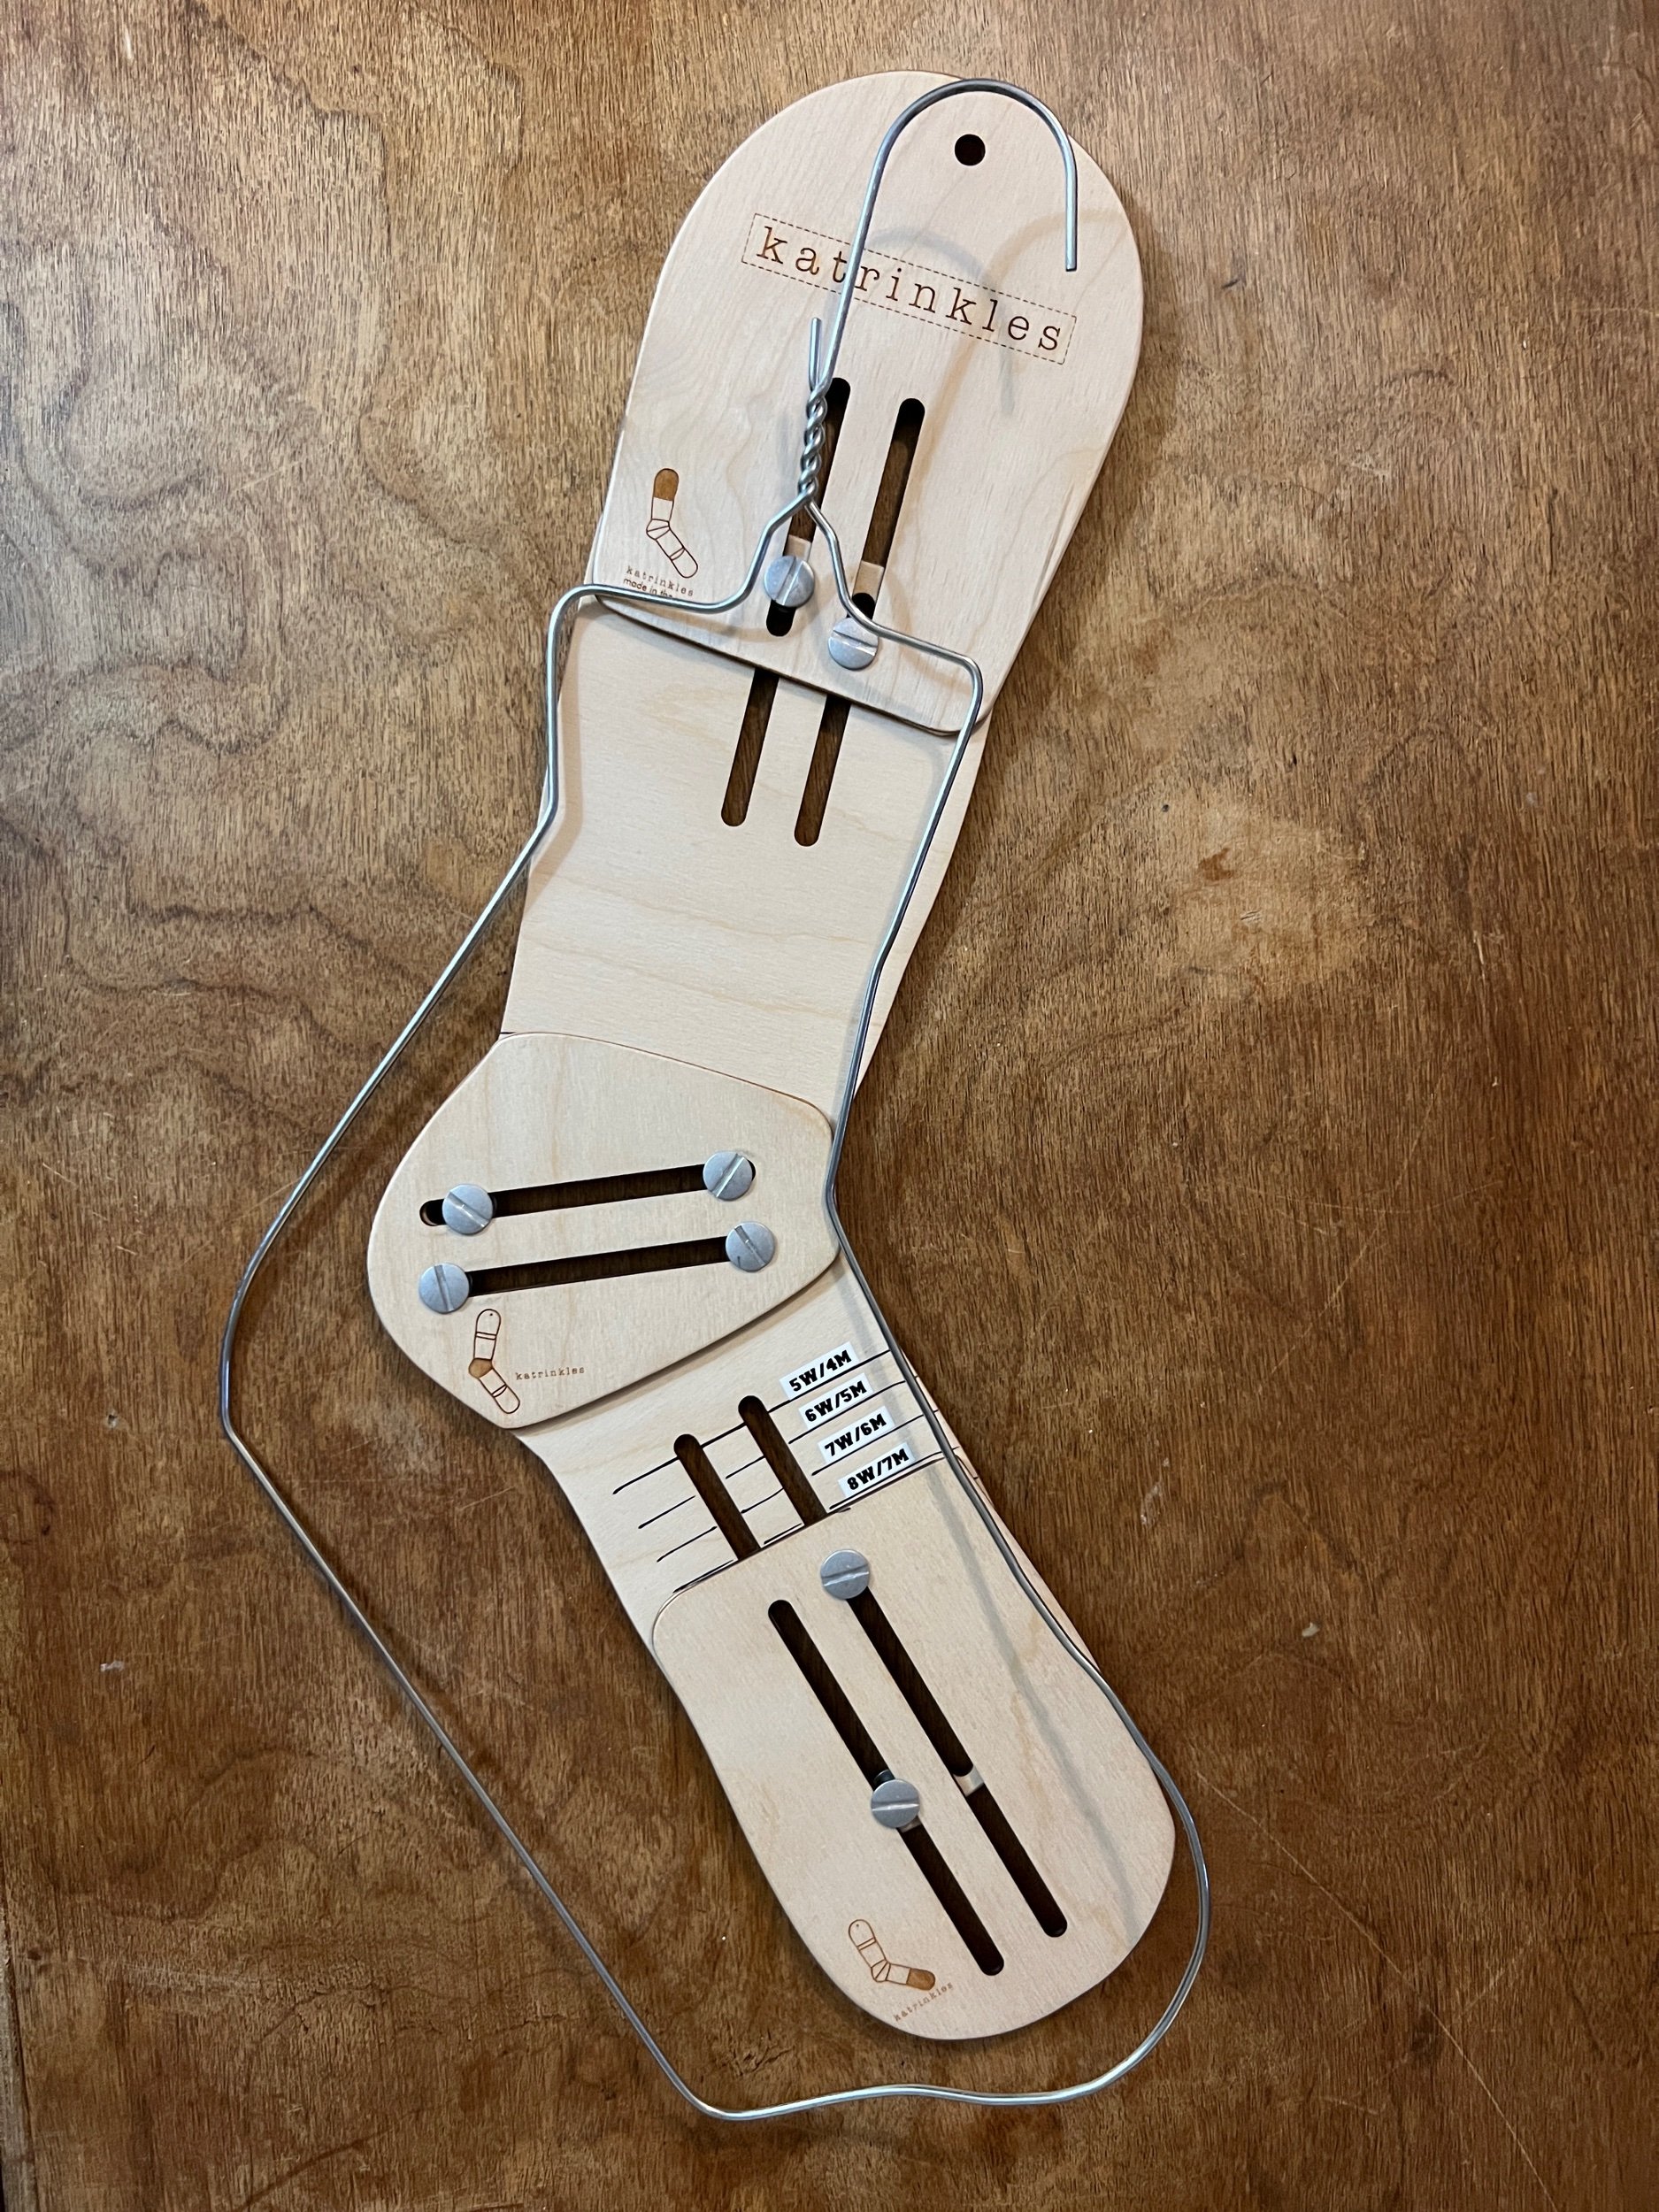
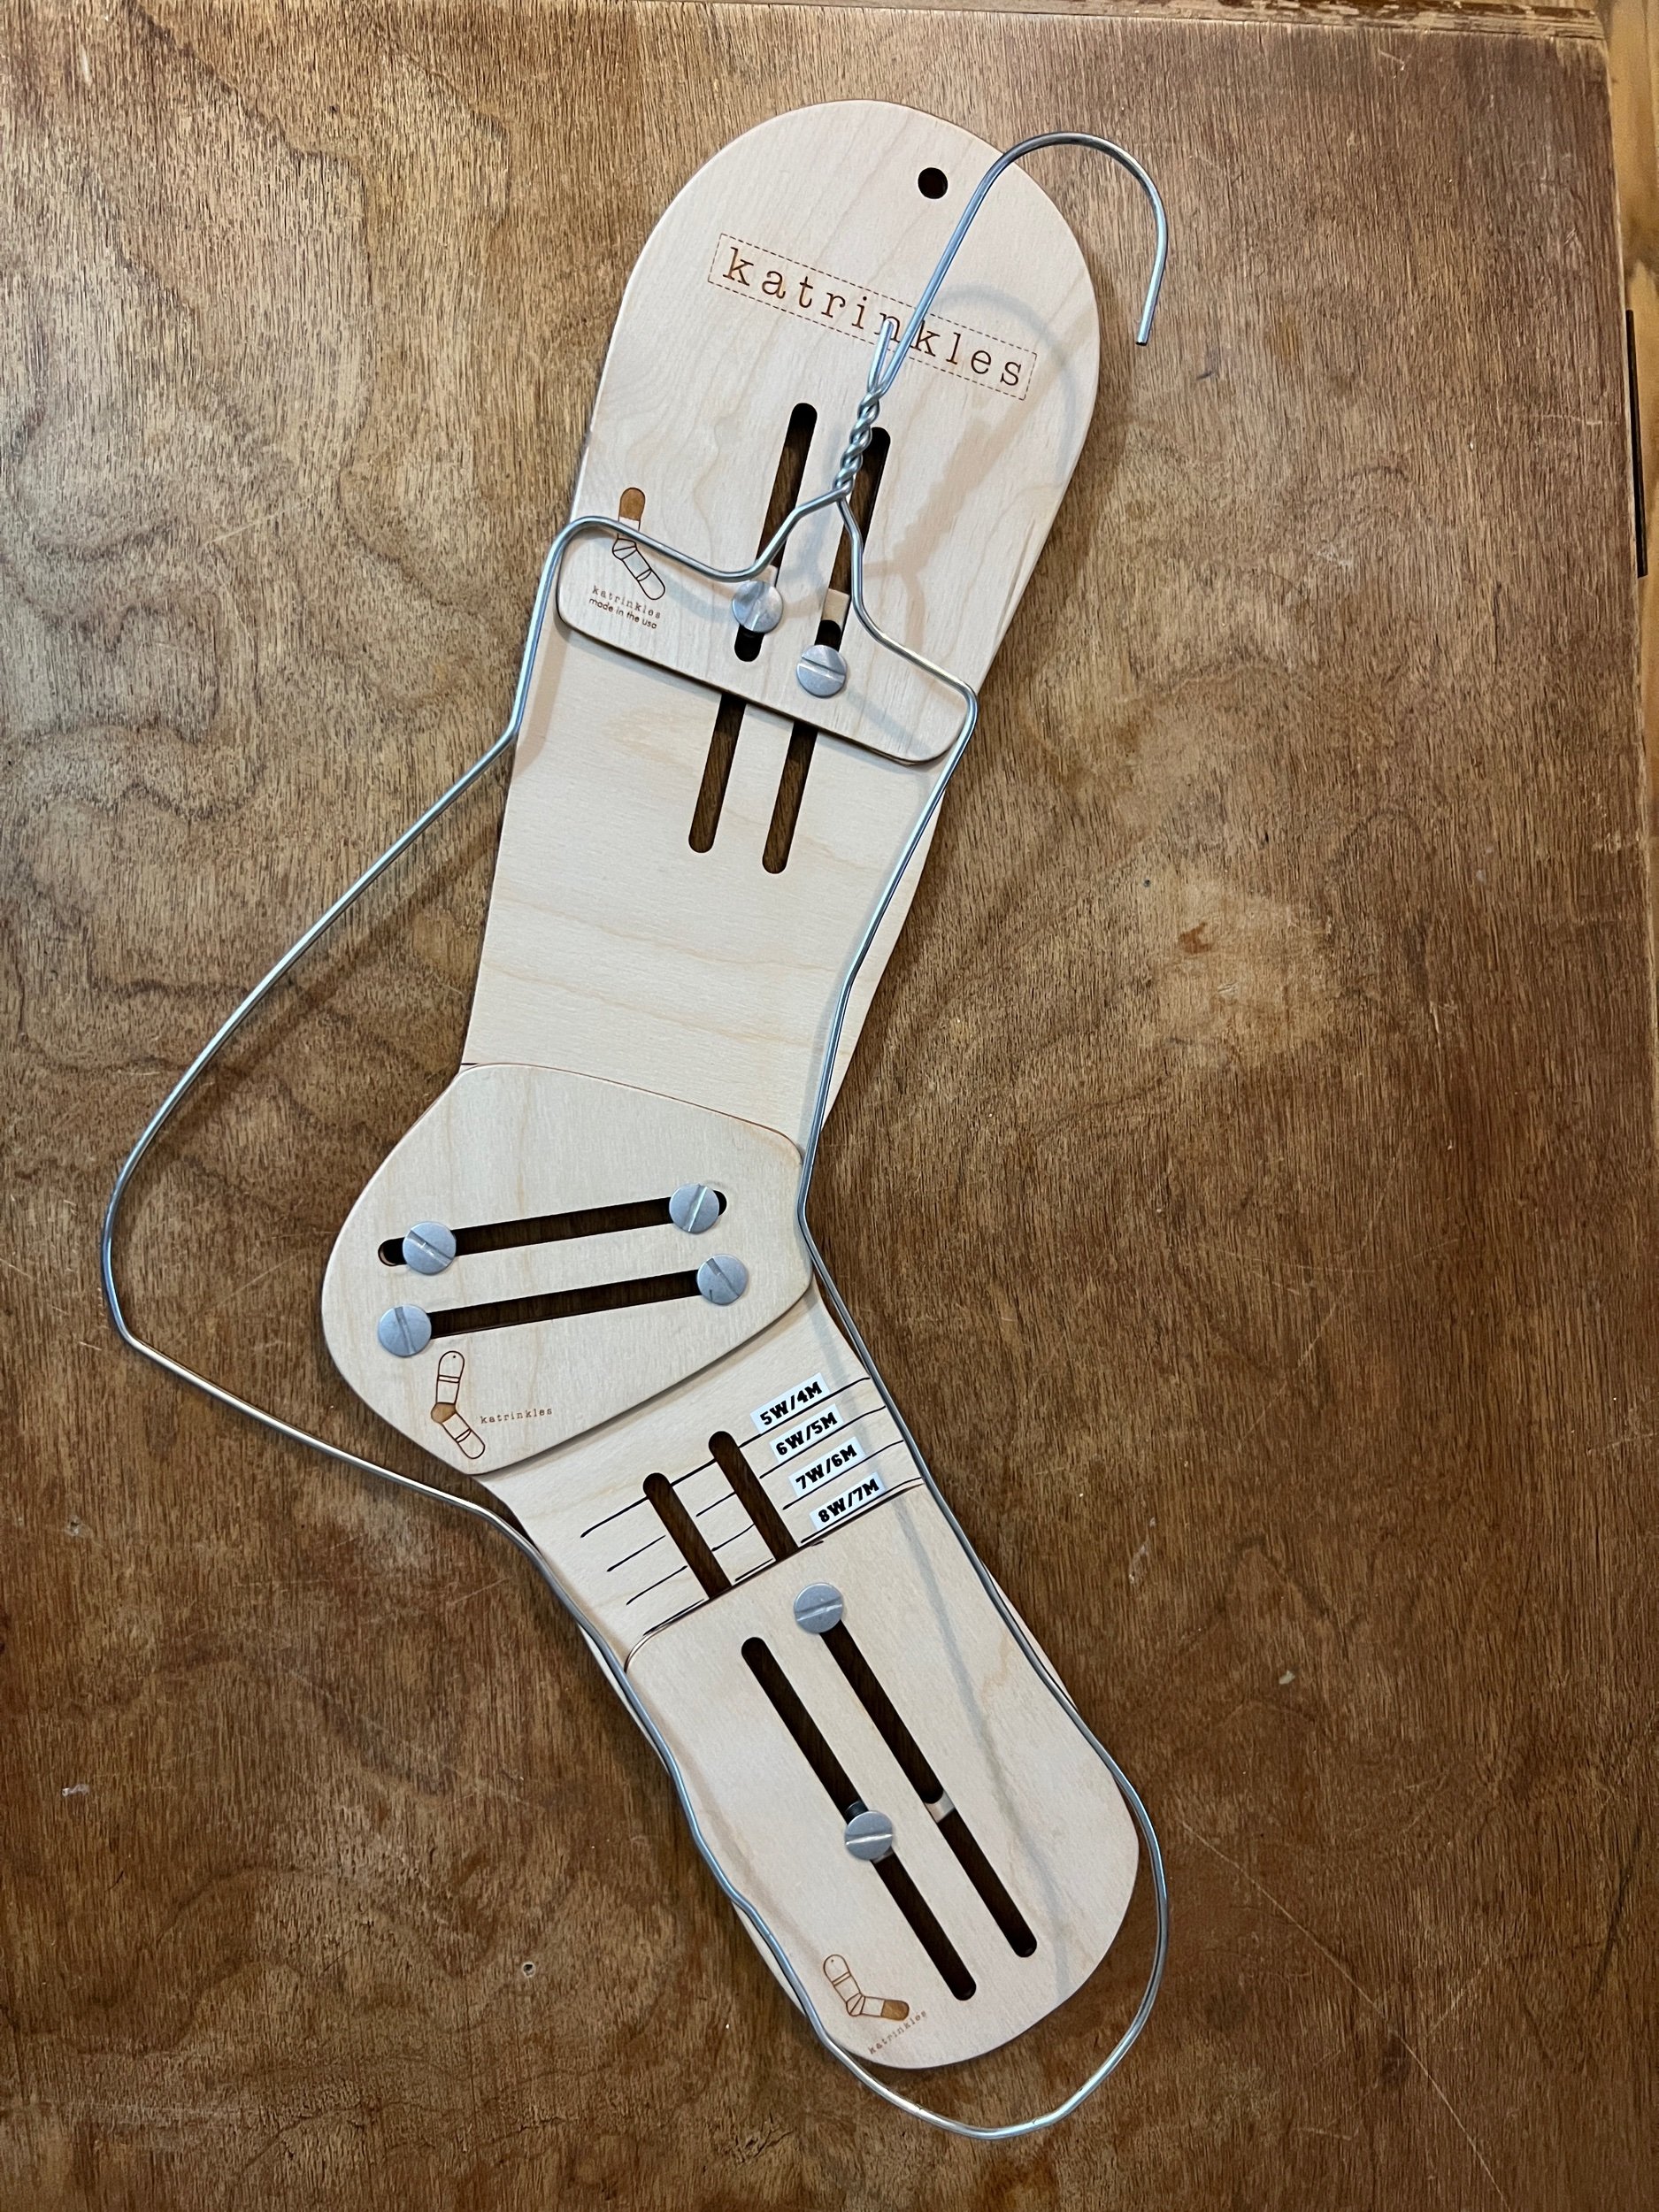
-DIY coat hanger sock blockers for blocking/better personal photo taking | BLOG ENTRY | Quick YouTube video |

-Brave Bunny finished squares will be available for you to finish with your darning needle, stuffing, eye/nose/Pom Pom decorating. Please watch video ahead of the event as an on-site demo is not planned. How to video https://youtu.be/DMyxAOMB9ck


Need ideas? Check these out ahead of time  - watch video(s) and (print sock step by patterns yourself and bring to the event as wanted)

My non-sock project videos see https://www.csmlove.com/projects

My sock patterns and step by step videos https://www.csmlove.com/sockscd

ONE WONDERFUL YARN VENDOR WILL BE ATTENDING!

Gorgeous fibre will be available at our event for purchase from those vendors via cash, debit or credit.

Please ensure to check (this page) before the event for any last minute details.

If needed the url is: https://www.csmlove.com/blog/MachineKnitHangout2023_Sep2

Facebook shortcut: https://tinyurl.com/2023Sep2CSMLOVE

Facebook event url | CSM Love Instagram | CSM Love Facebook |

Instagram CSMLove: 2023 Feb 8 |

Instgram FlatBedLove: 2023 Feb 8 |


A FINAL UPDATE:

A big thank you to all who joined use yesterday for our first Vancouver Event!

Thanks also to our wonderful local yarn dyer Becca at Puzzle Tree Yarns.

(Image shared is the inspiration display showing a cross section of items made with a circular sock machine)

Being on the long weekend might not be the best idea so next year (yes we are making this an annual event!) watch for a Saturday in around July-Sept 2024.

We had three Erlbacher, two Legare (a 47 and a 400), a Chambord CSM AccuKnitter and a Cooperative Autoknitter style machine (if I’m remembering correctly).

Working together we spontaneously problem solved two misbehaving machines who are now purring happily - and recognized the missing nylon screw crankwheel drifting control - they’ve ordered a replacement.

A new csmer made their first heel and much fun was had.

We had a lovely winding station, a crafting table for coat hanger sock blocker making, brave bunny beginnings to finish, spa clothes to have, new CSM Love recommended wood handled and end tapered stitch tools with dollarstore paint brushes to help manage machine fibre mess as one works. We had a table setup with a vertical display for inspiration showing hats, different sock styles, new projects that are soon to be announced and many other projects - all with tags inducing machine settings, rows and method. A snack table, a prize table and the end of event luxury yarn draw for one visitor.

Thanks again everyone for coming out.

Photos are on Facebook i


SEE ALL BLOG ENTRIES ON THE BLOG INDEX PAGE | Follow us on a variety of social sites see TAPLINK | Interested in Circular Sock Machines? See the CSM START Menu first page. | Seek something specific? Checkout the Index page.


2023 Aug 30 - DIY Sock Blockers

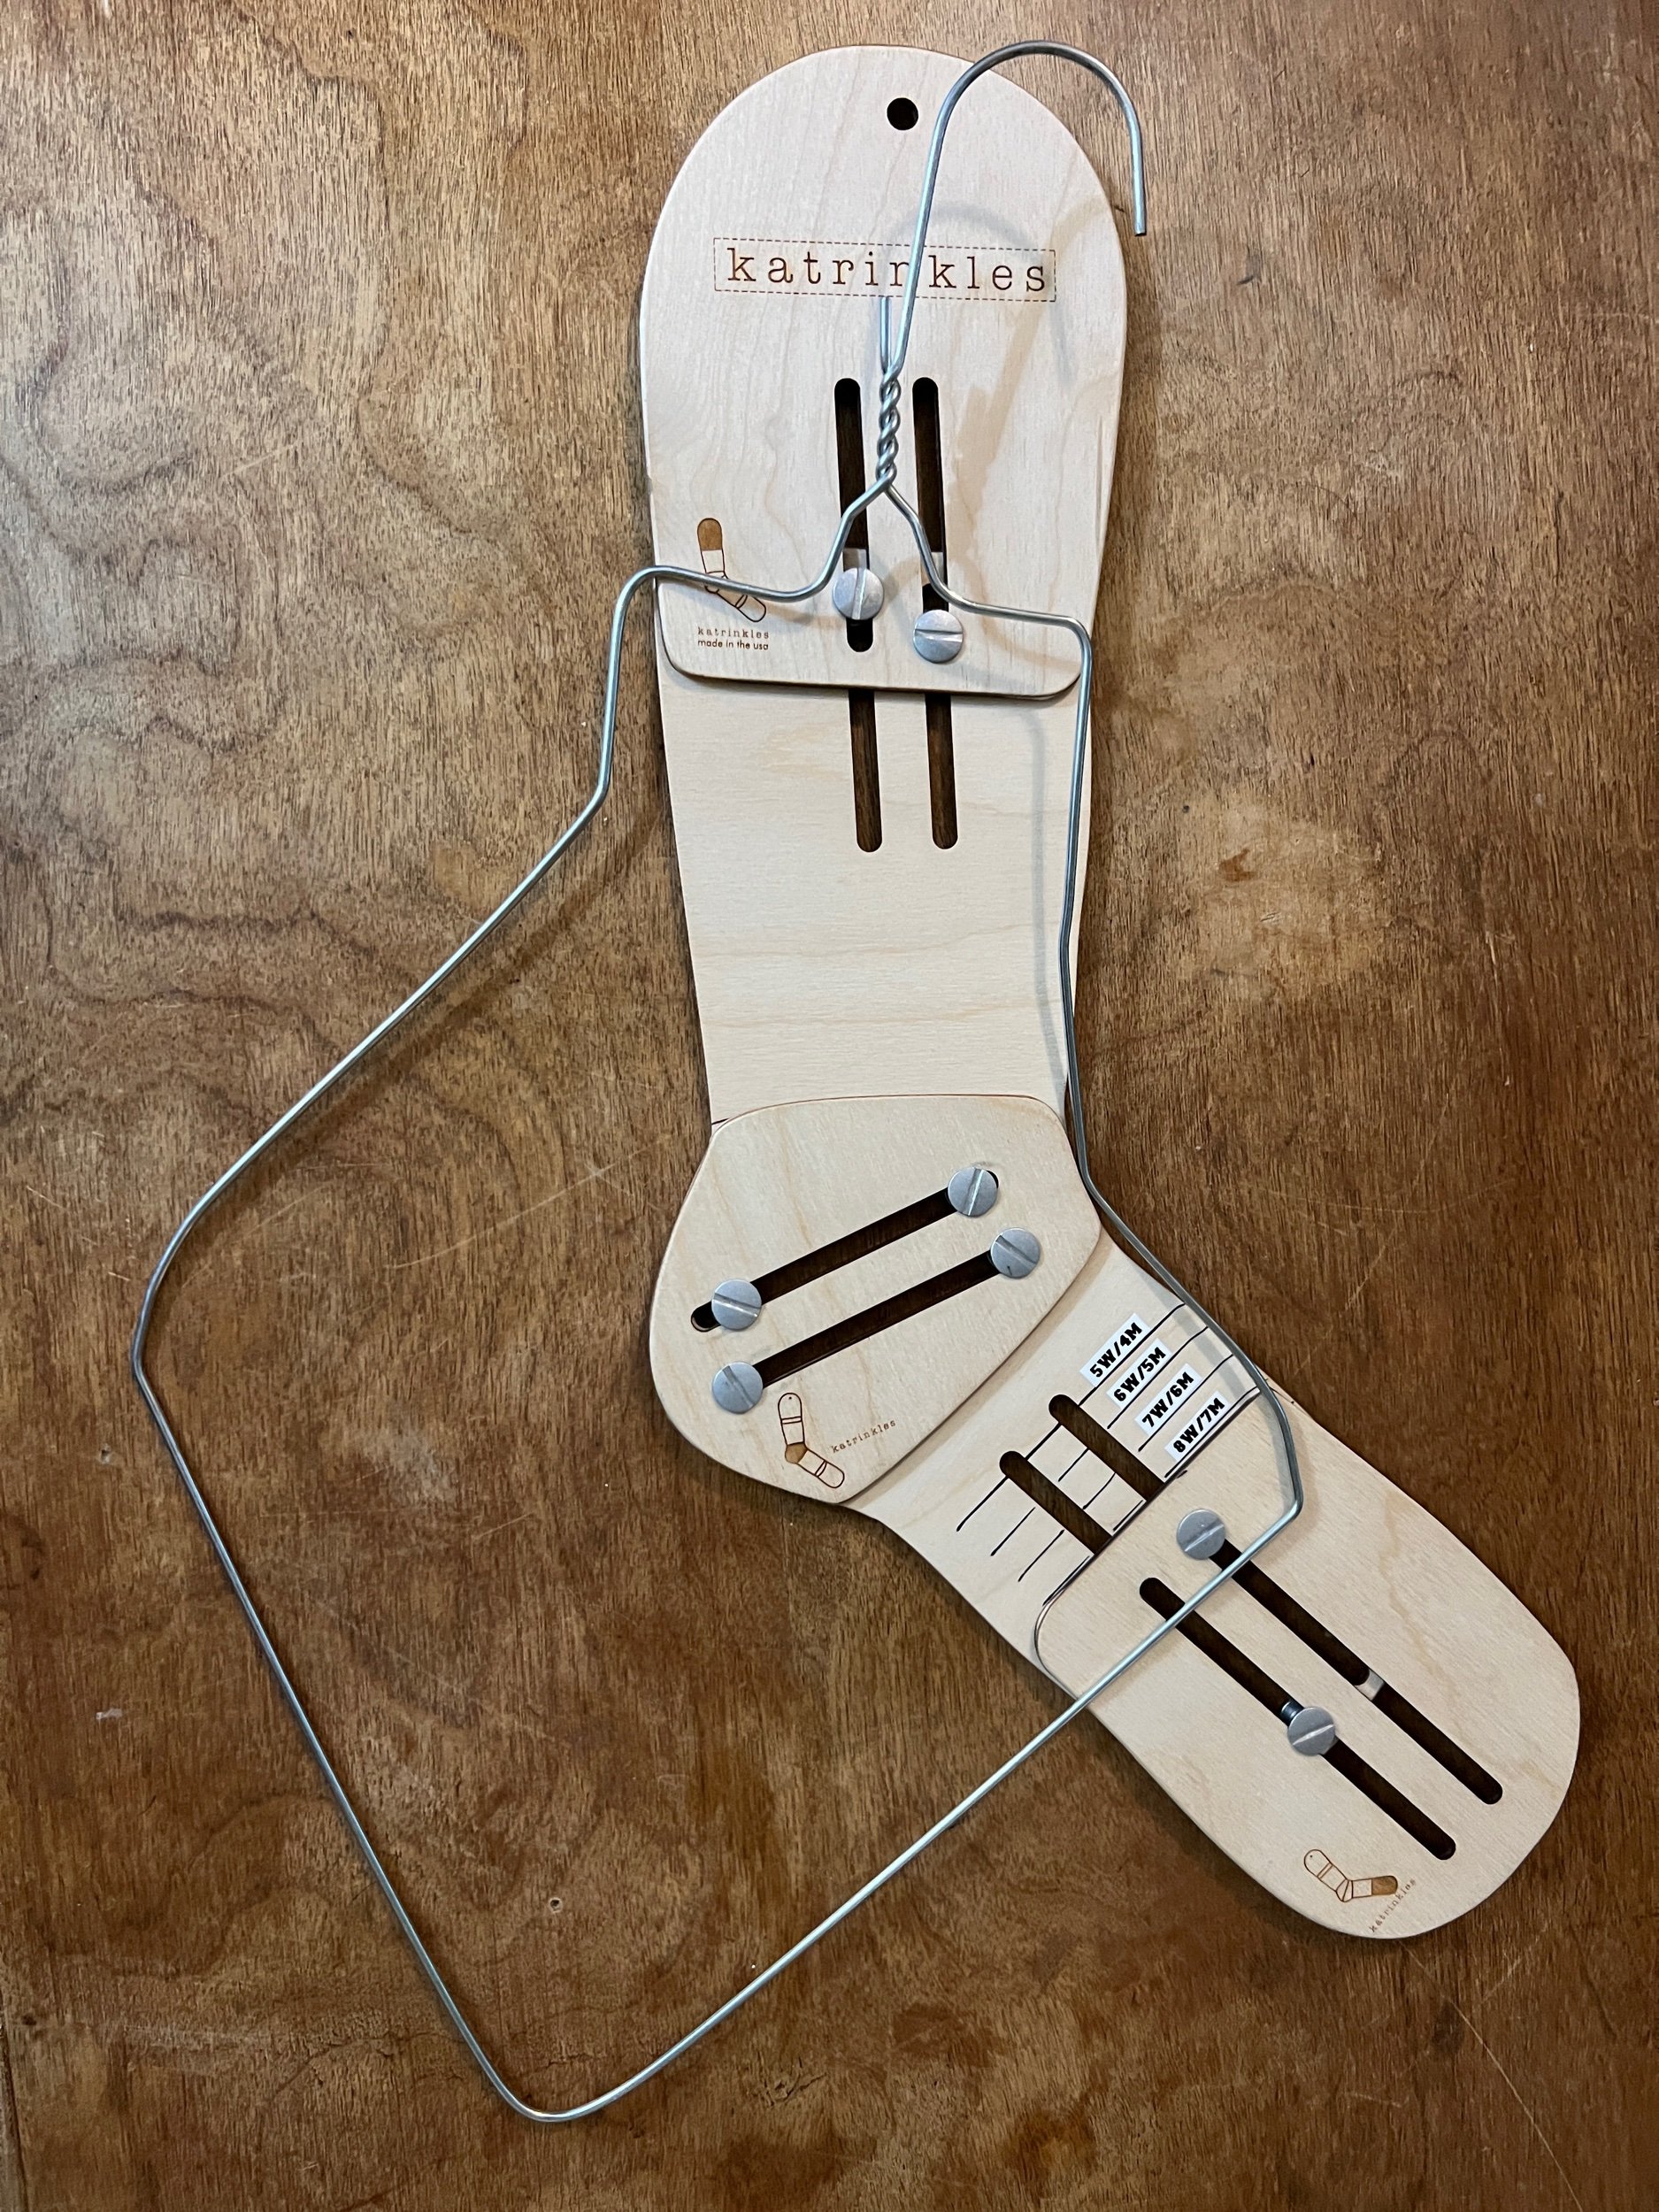
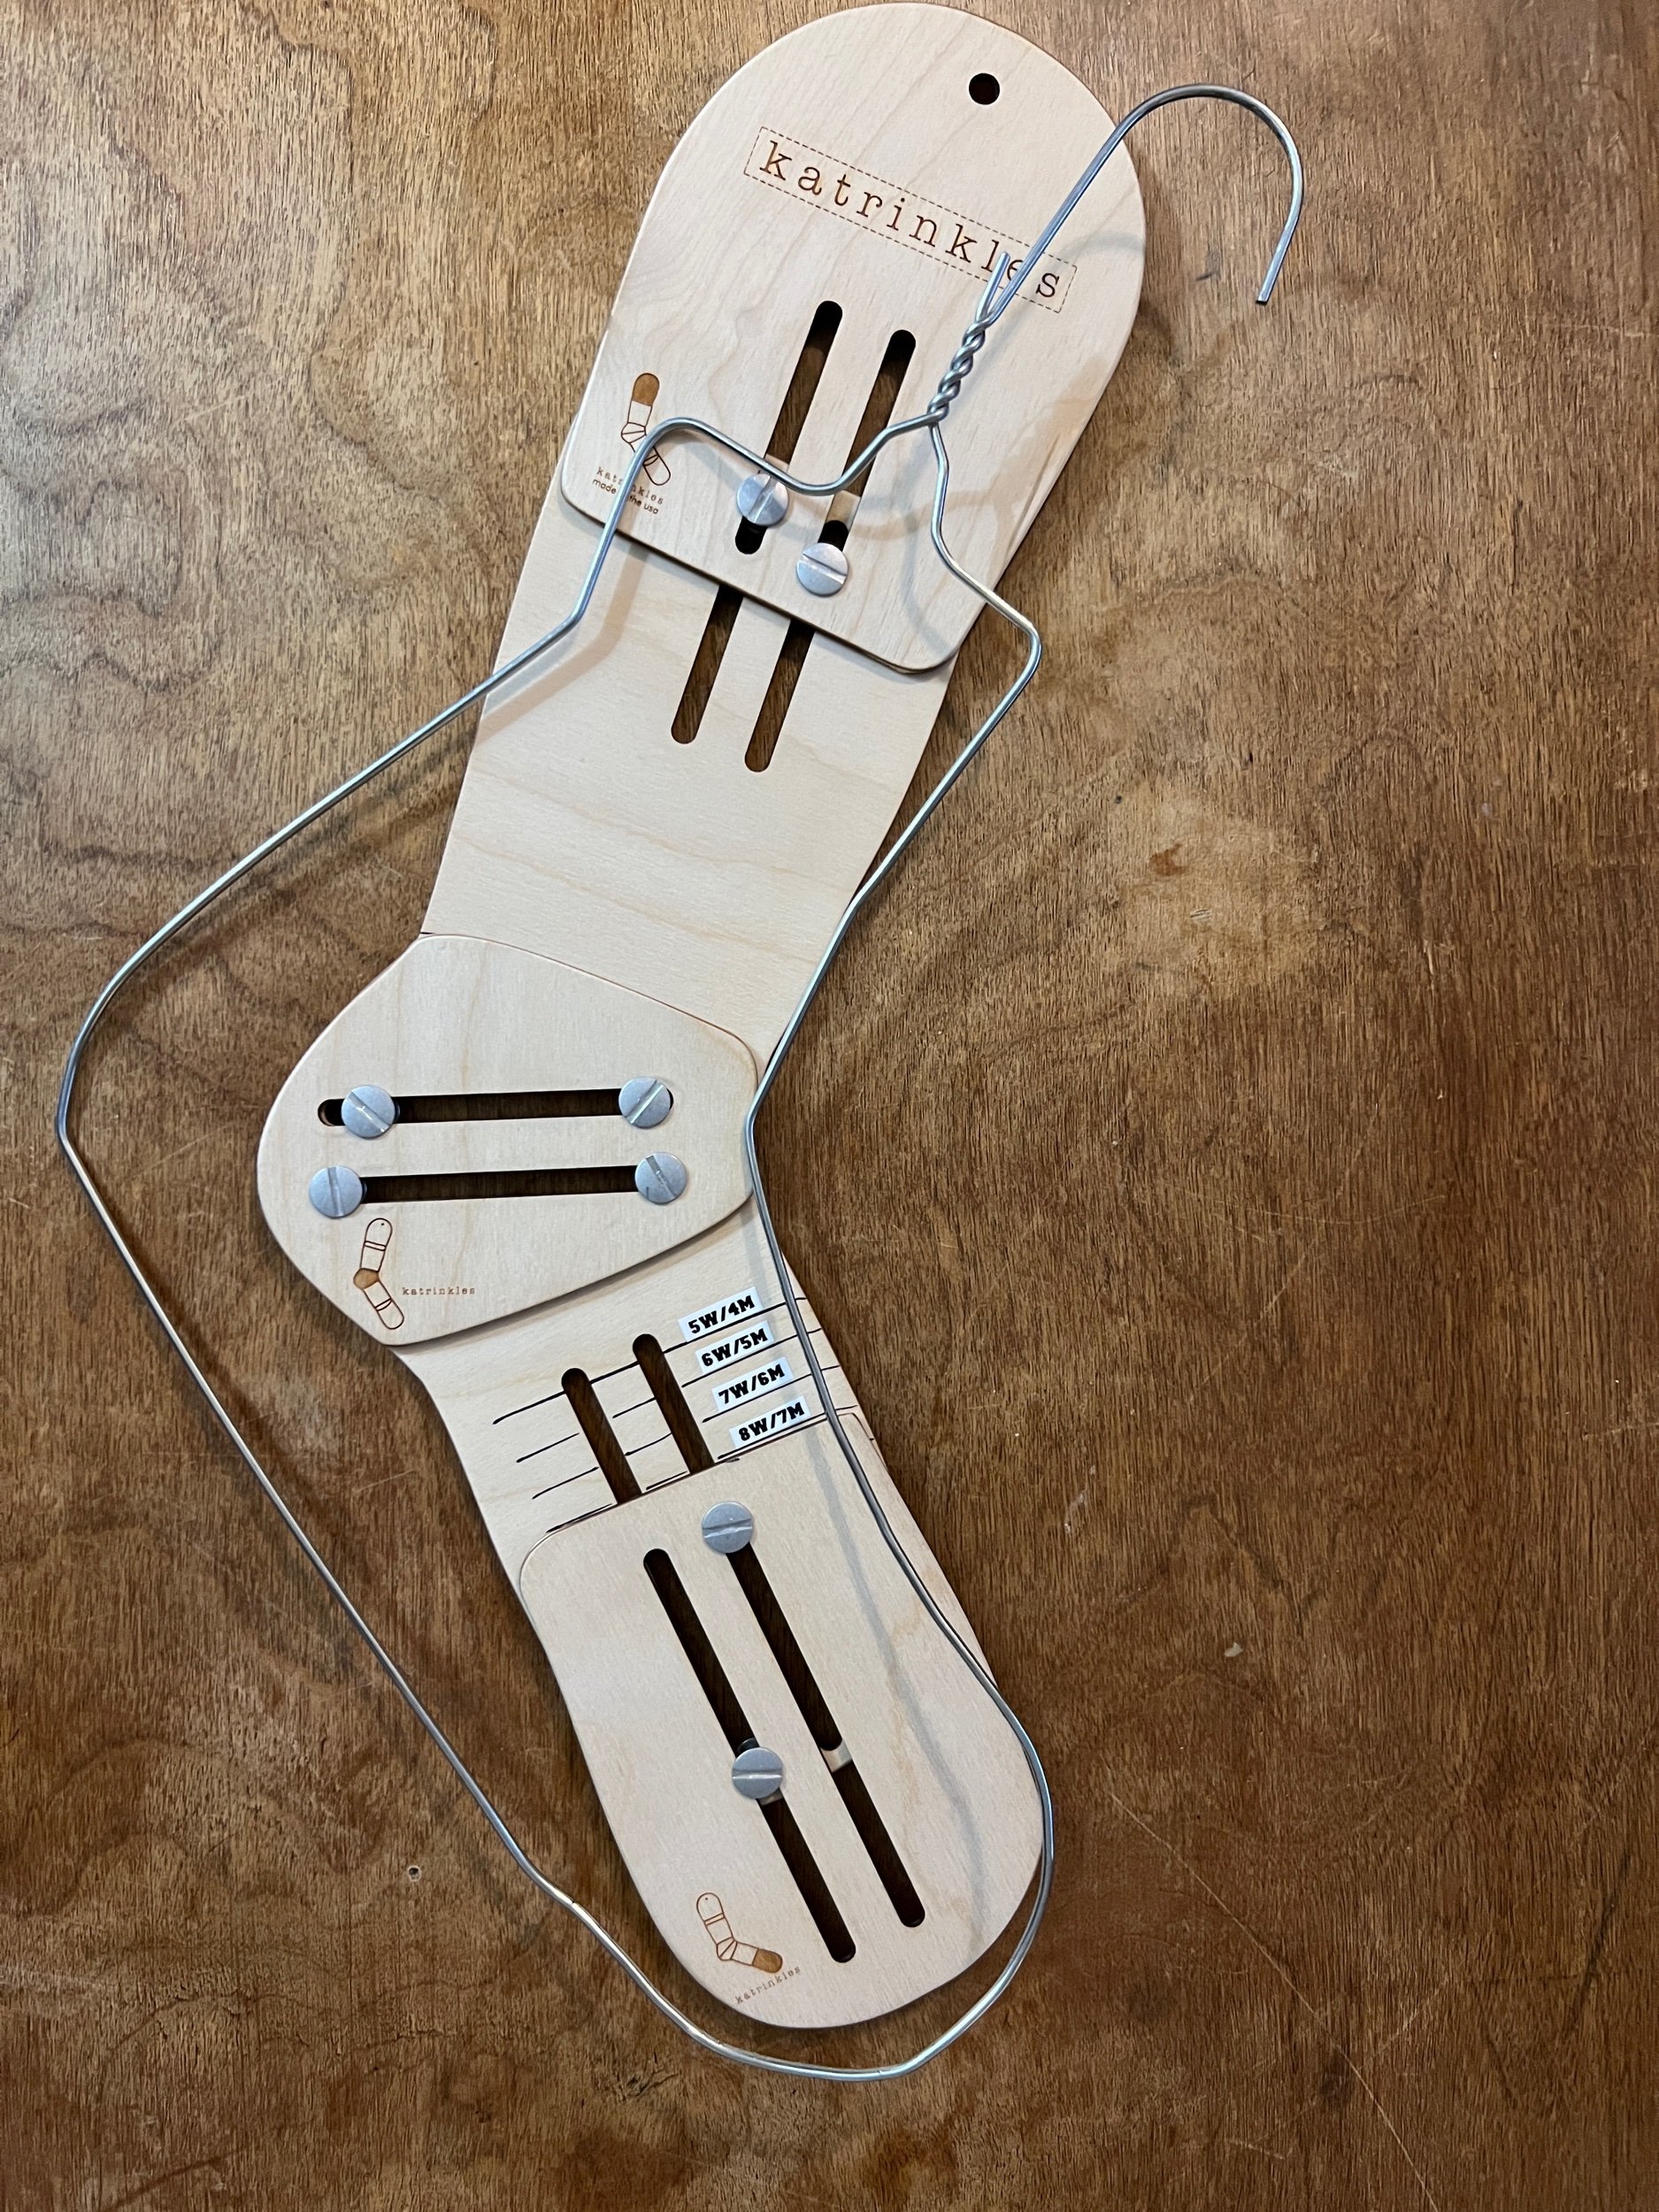
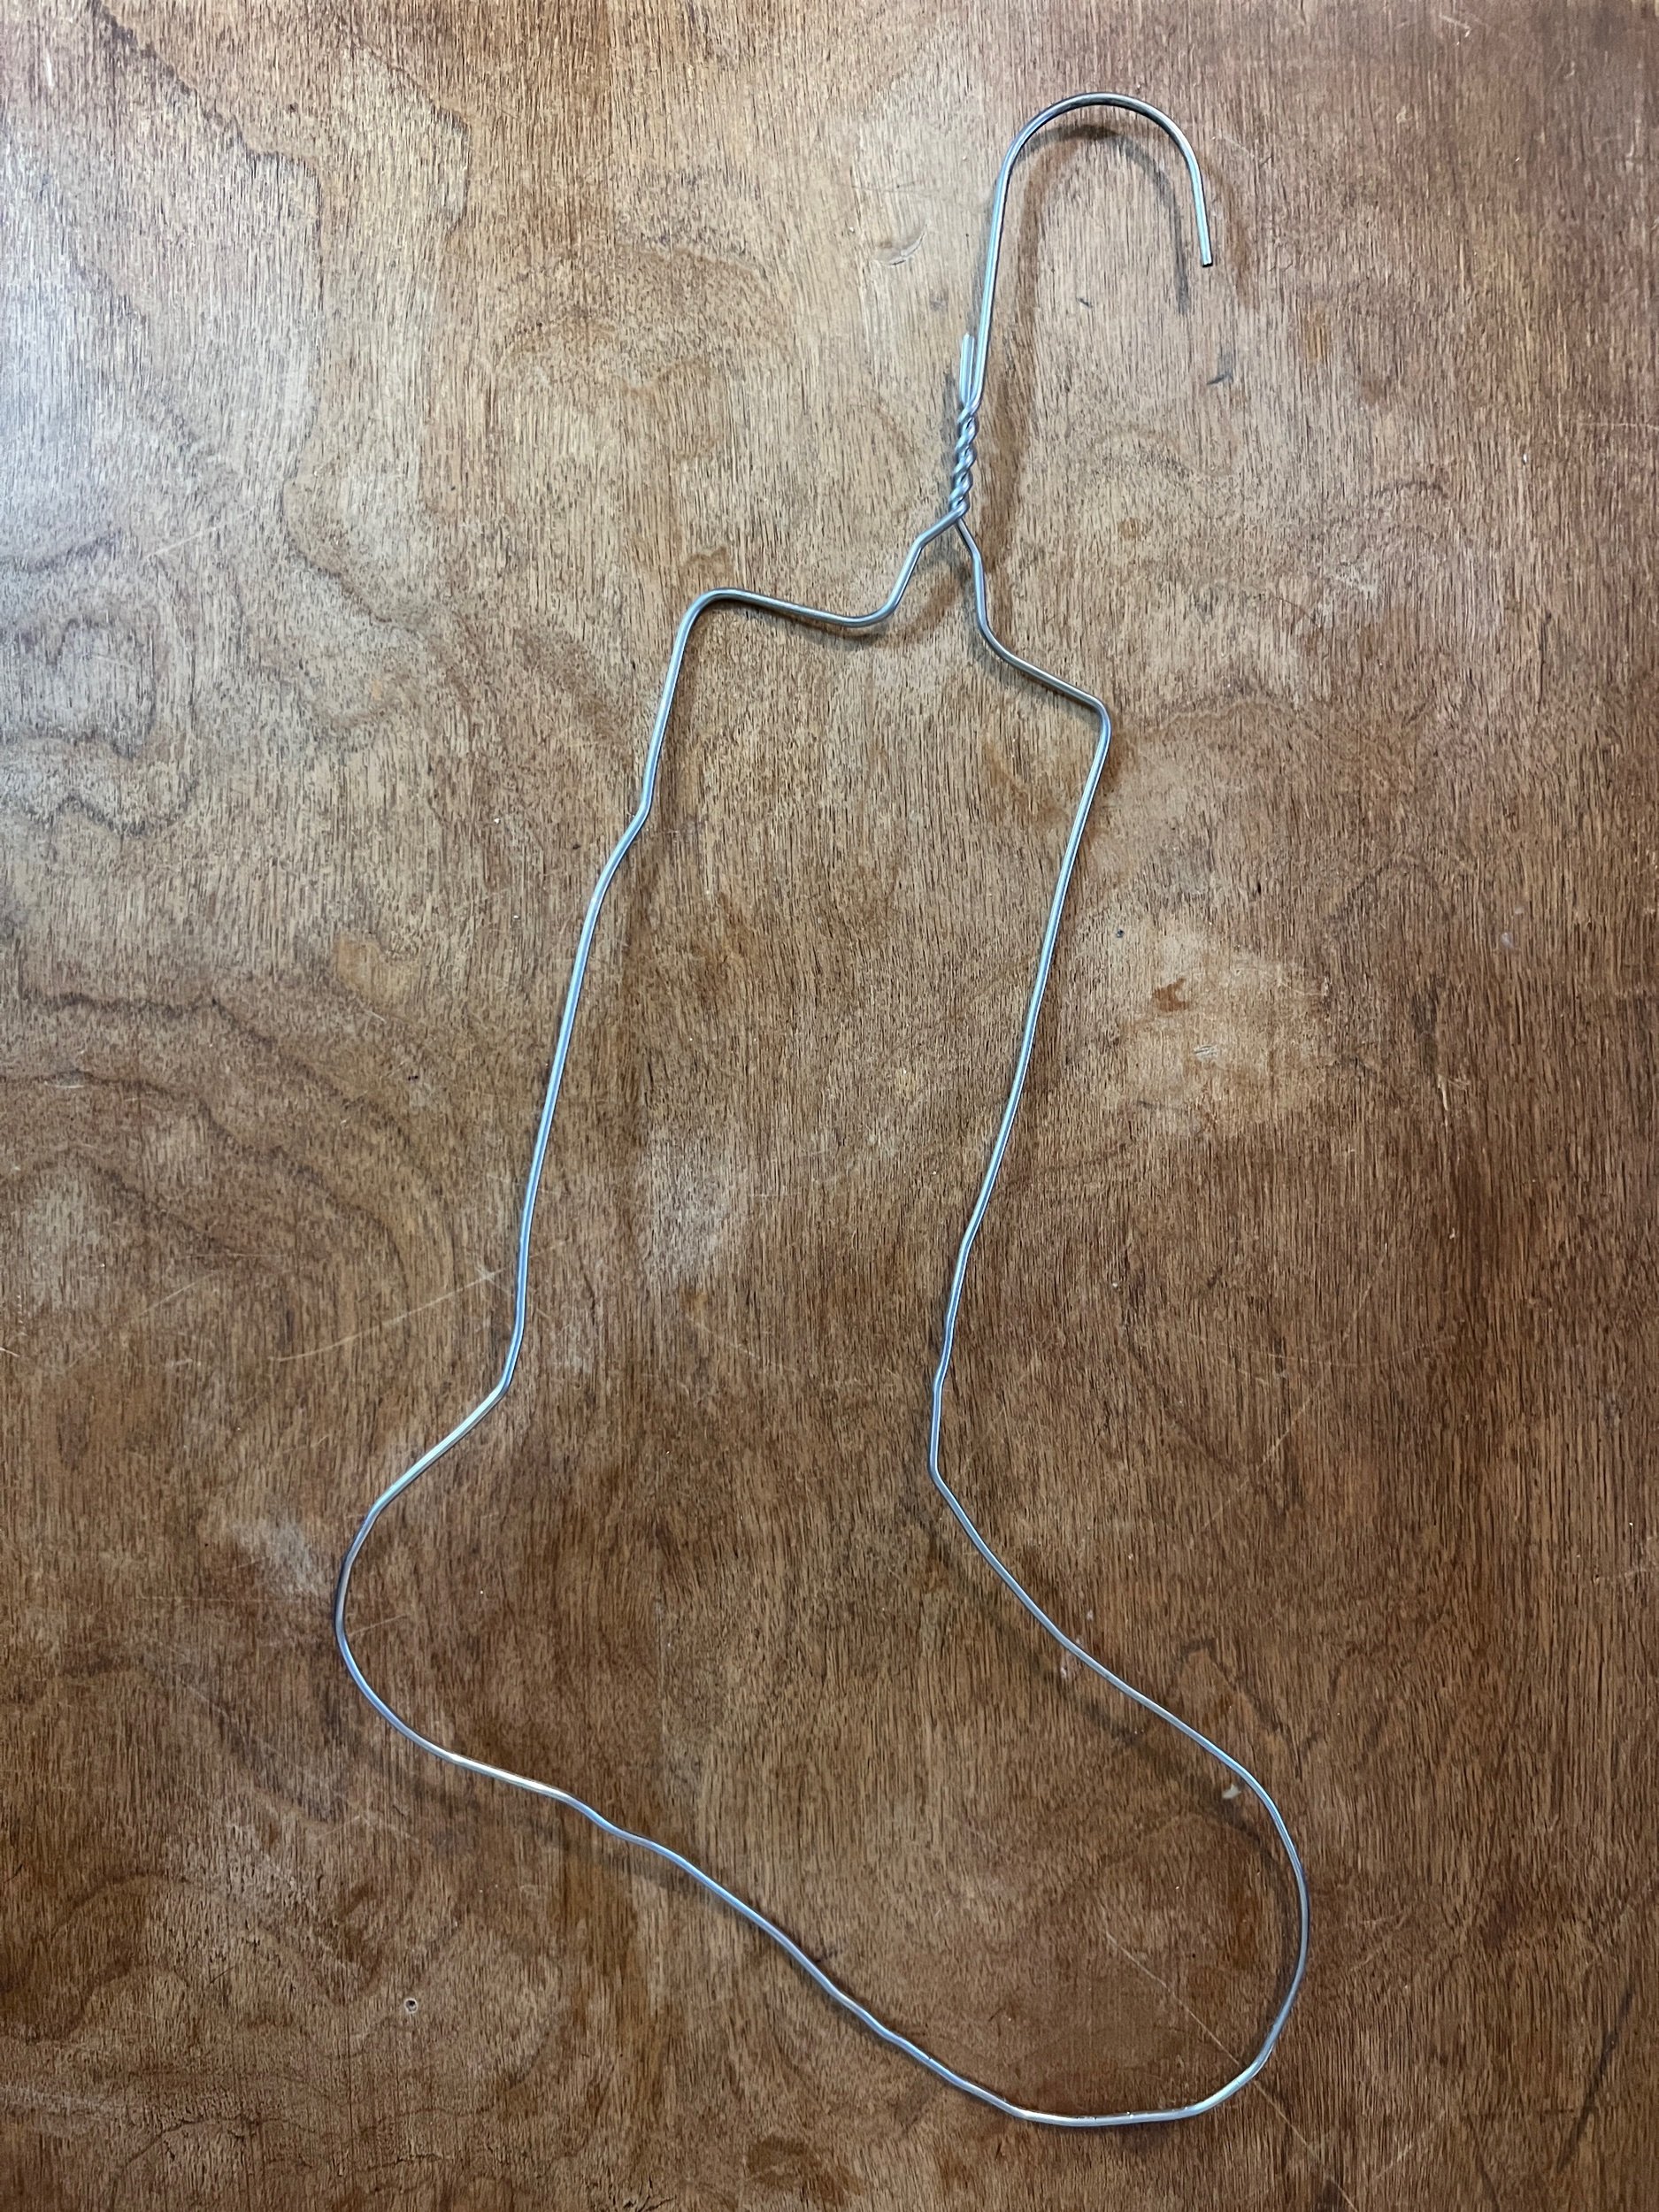
If you don’t already have some kind of sock blocker form As a guide check out these printable paper forms

Cyberseans Kids Paper sock blocker template | Adult |

If you need a more step by step approach on making this out of a coat hanger please see THIS

This style of sock blocker is more for simple sock display or blocking.

If you’re curious I use Katrinkle adjustable sock blockers to confirm final sock size (and for actual blocking and photos). See the blog entry Feb 18, 2021

Instagram: one |

YouTube video


SEE ALL BLOG ENTRIES ON THE BLOG INDEX PAGE | Follow us on a variety of social sites see TAPLINK | Interested in Circular Sock Machines? See the CSM START Menu first page. | Seek something specific? Checkout the Index page.

2023 Aug 24 - Baby Brave Bunny

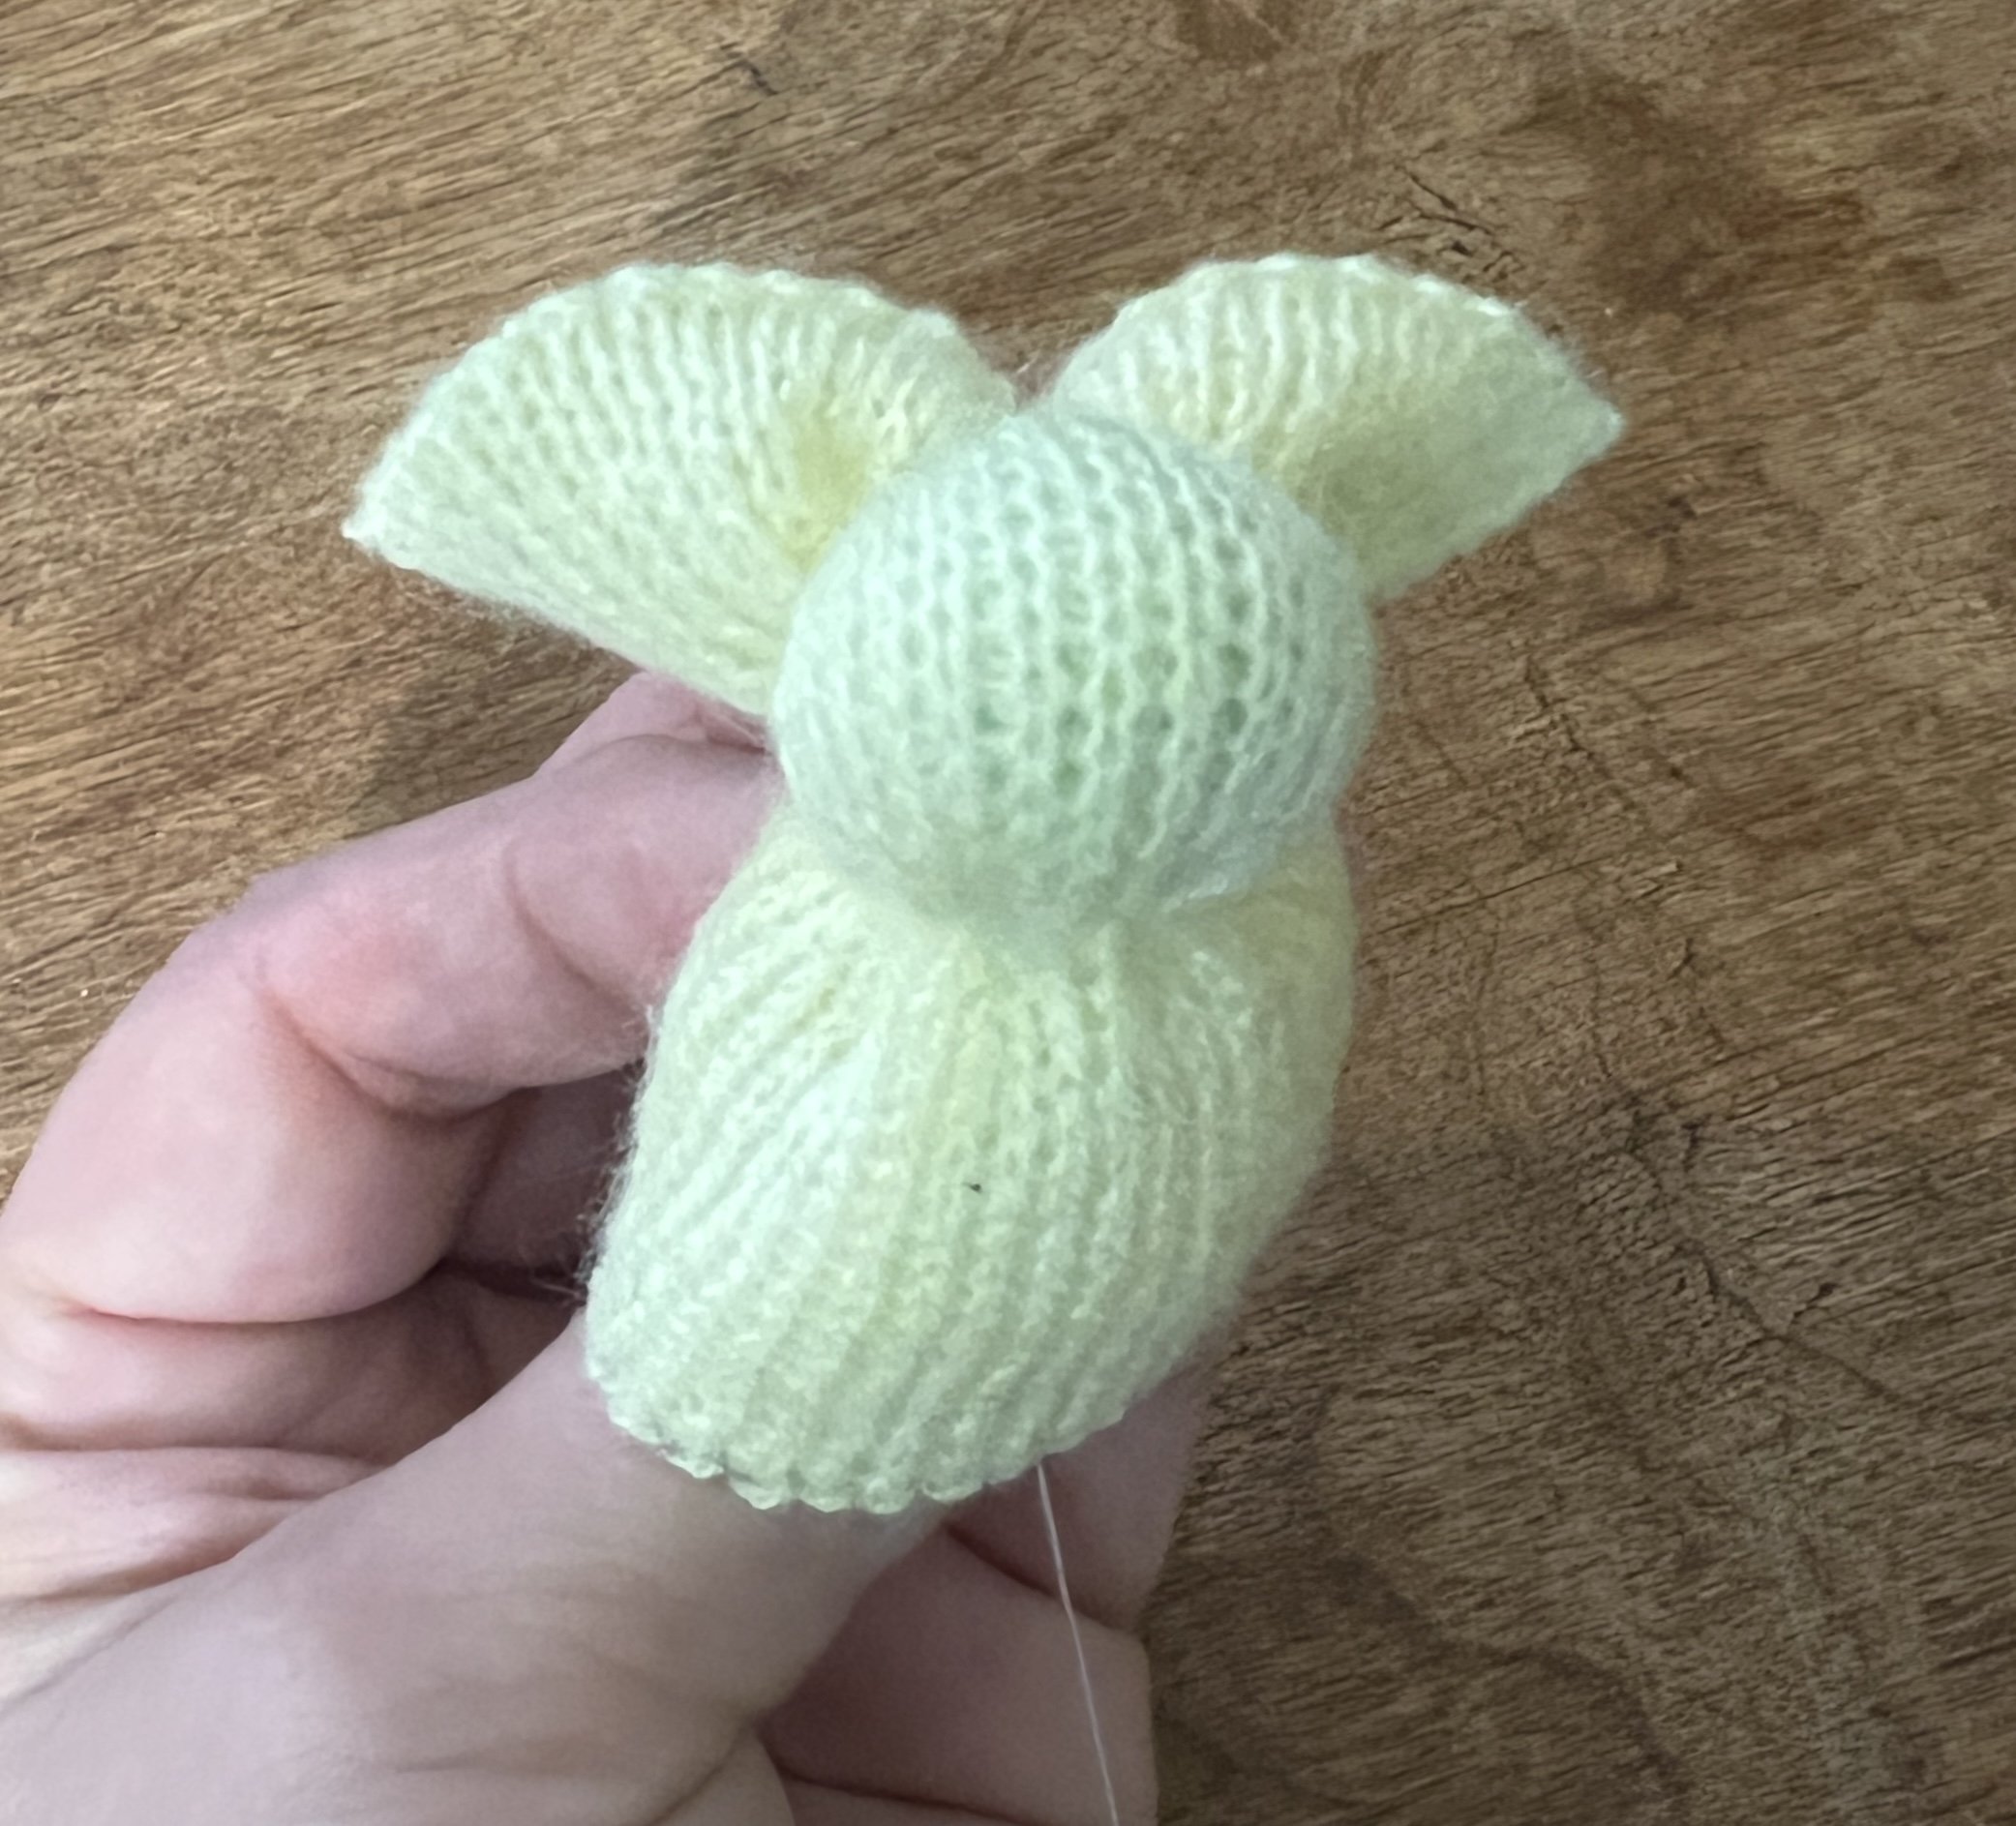
New Baby Brave Bunny!

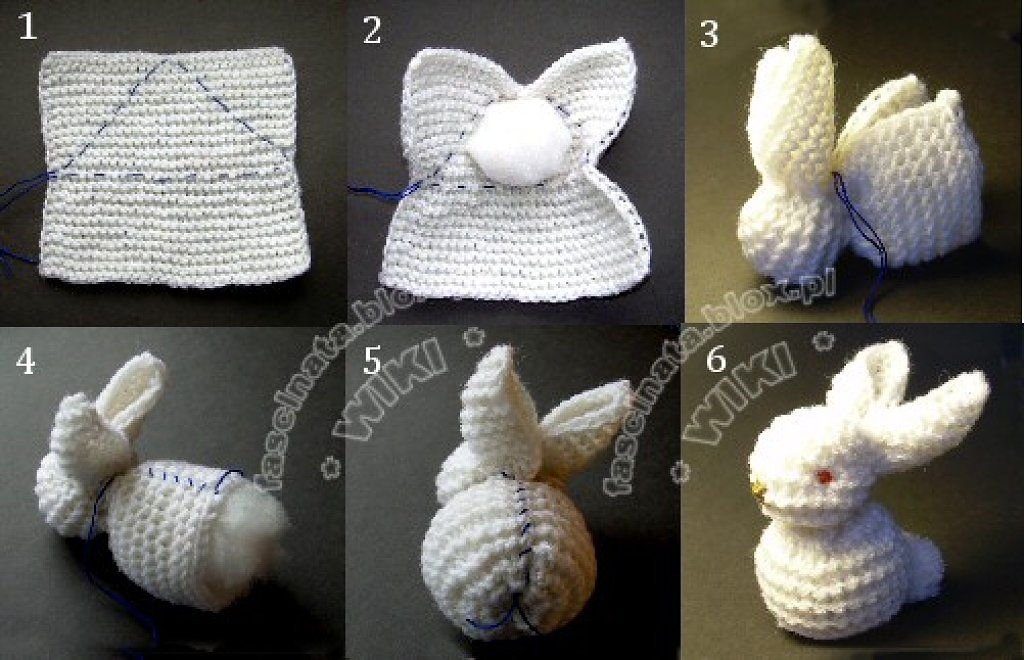
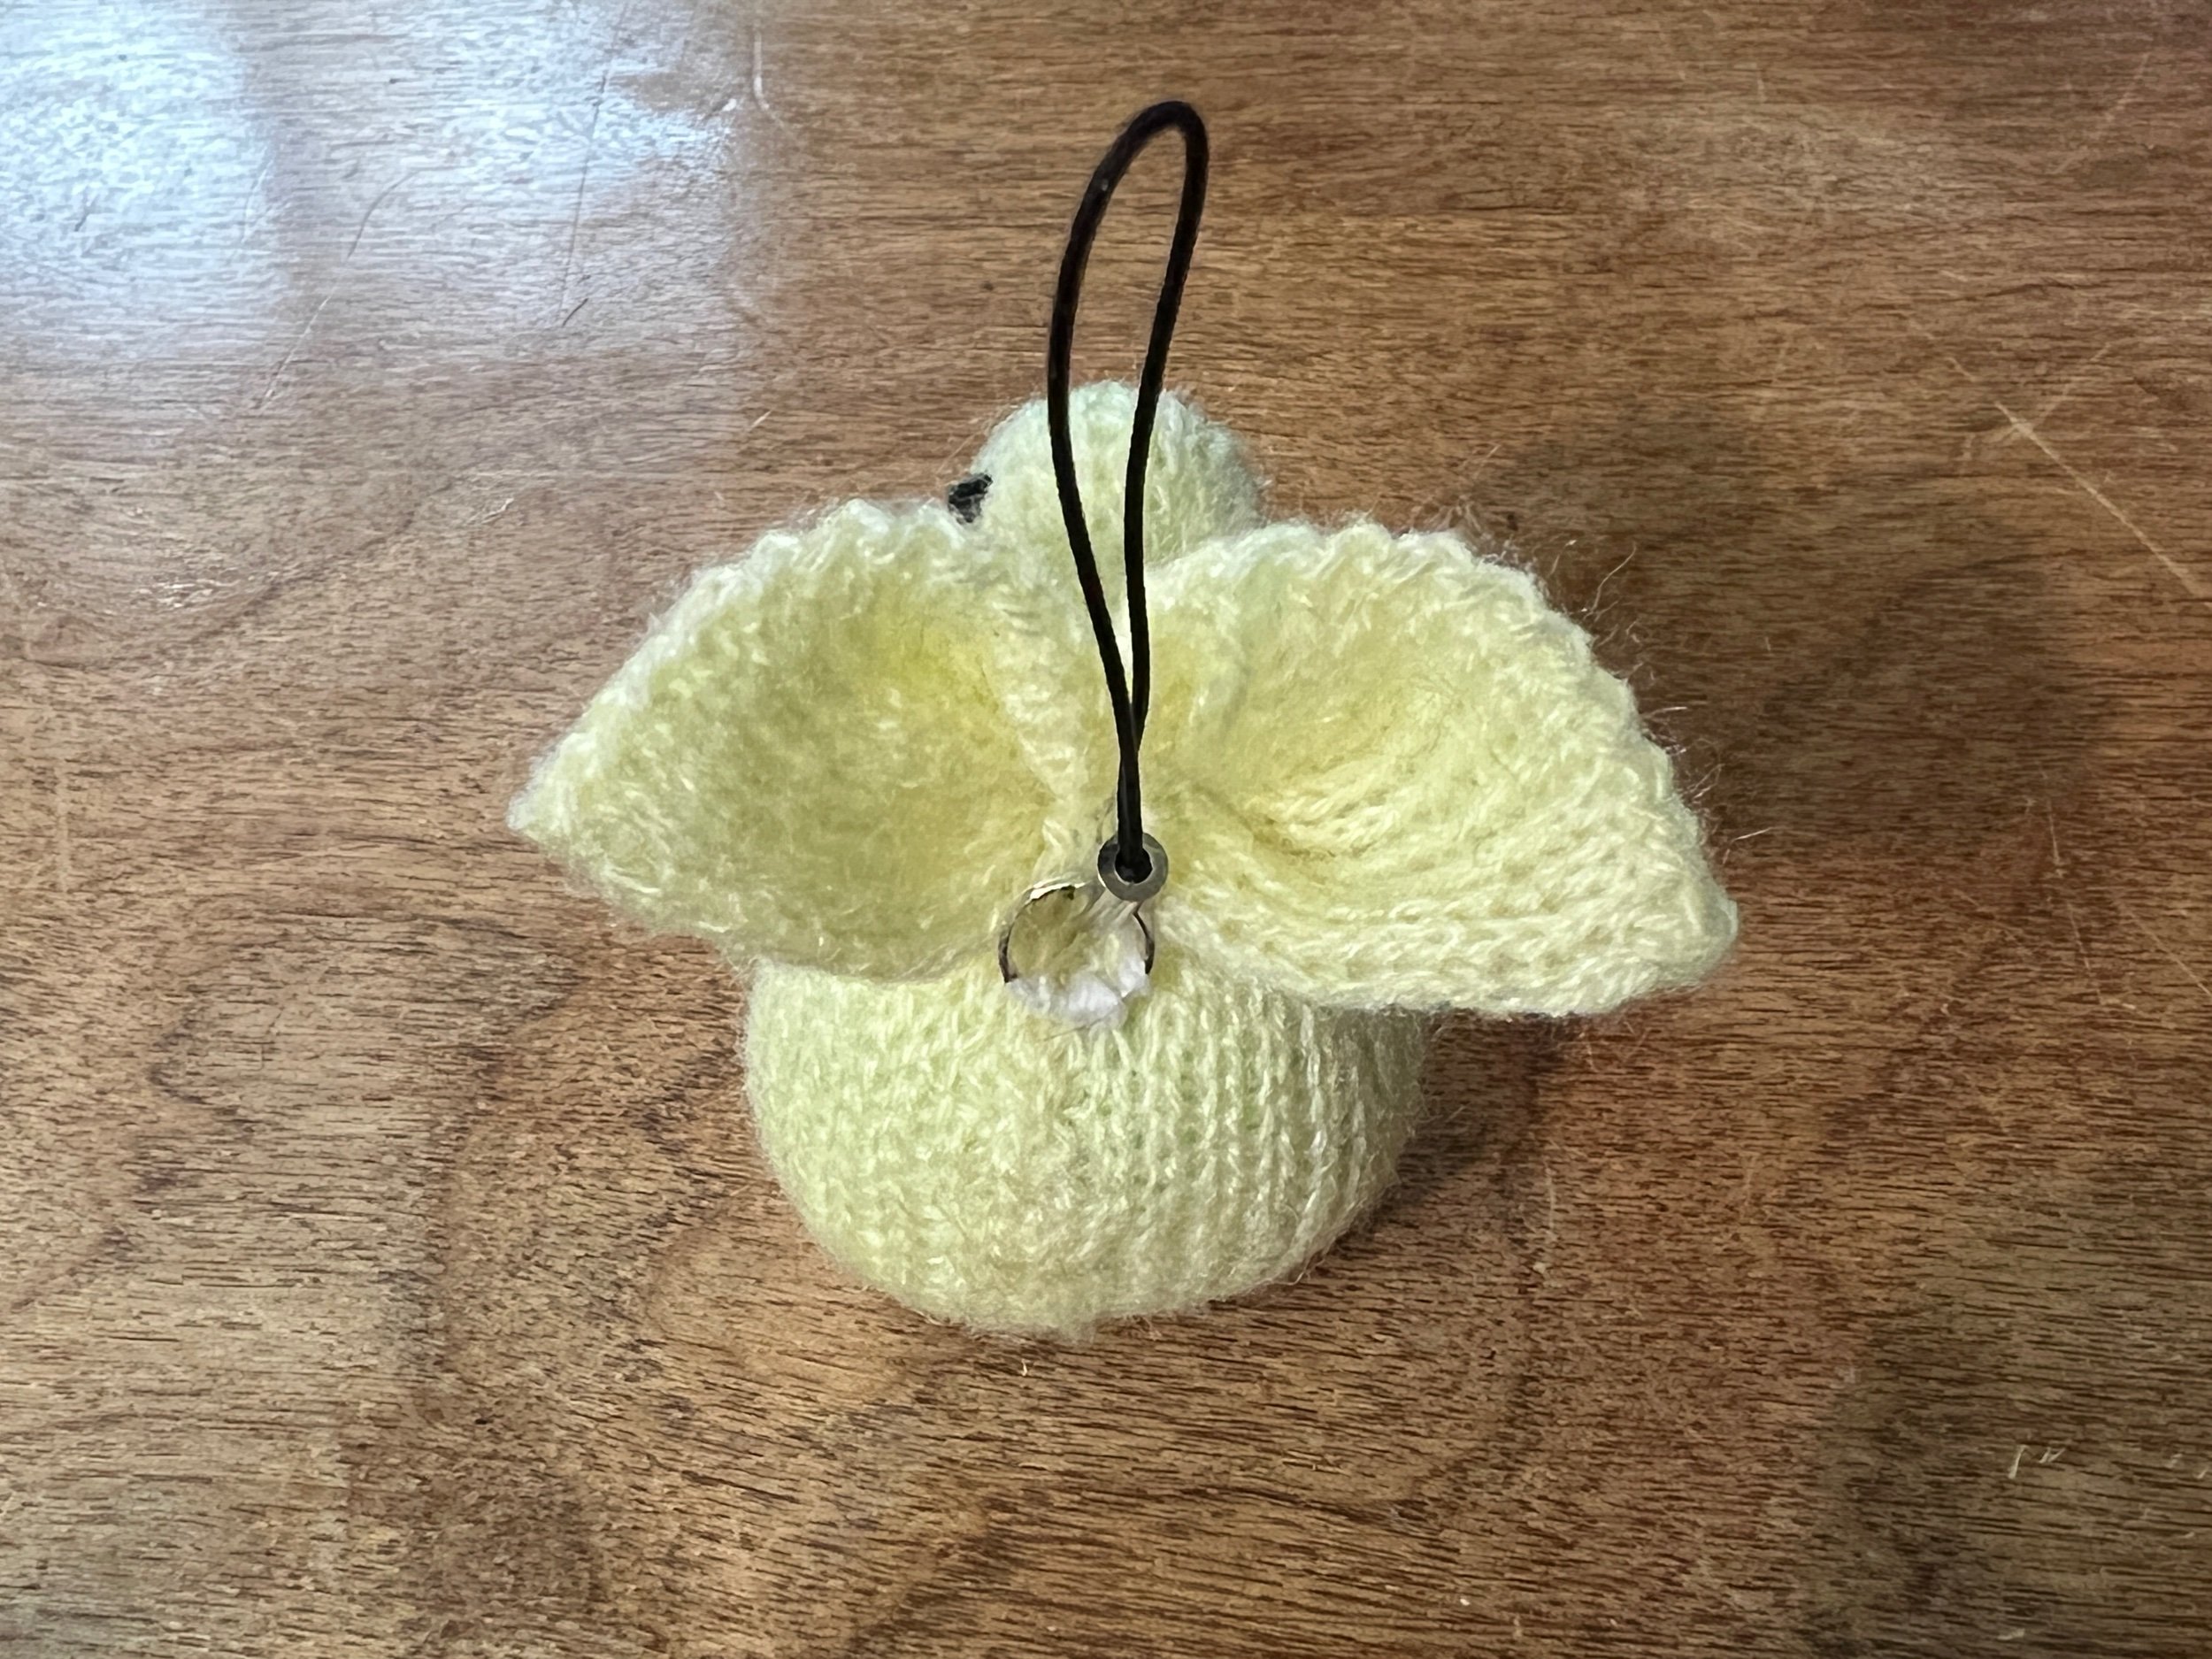
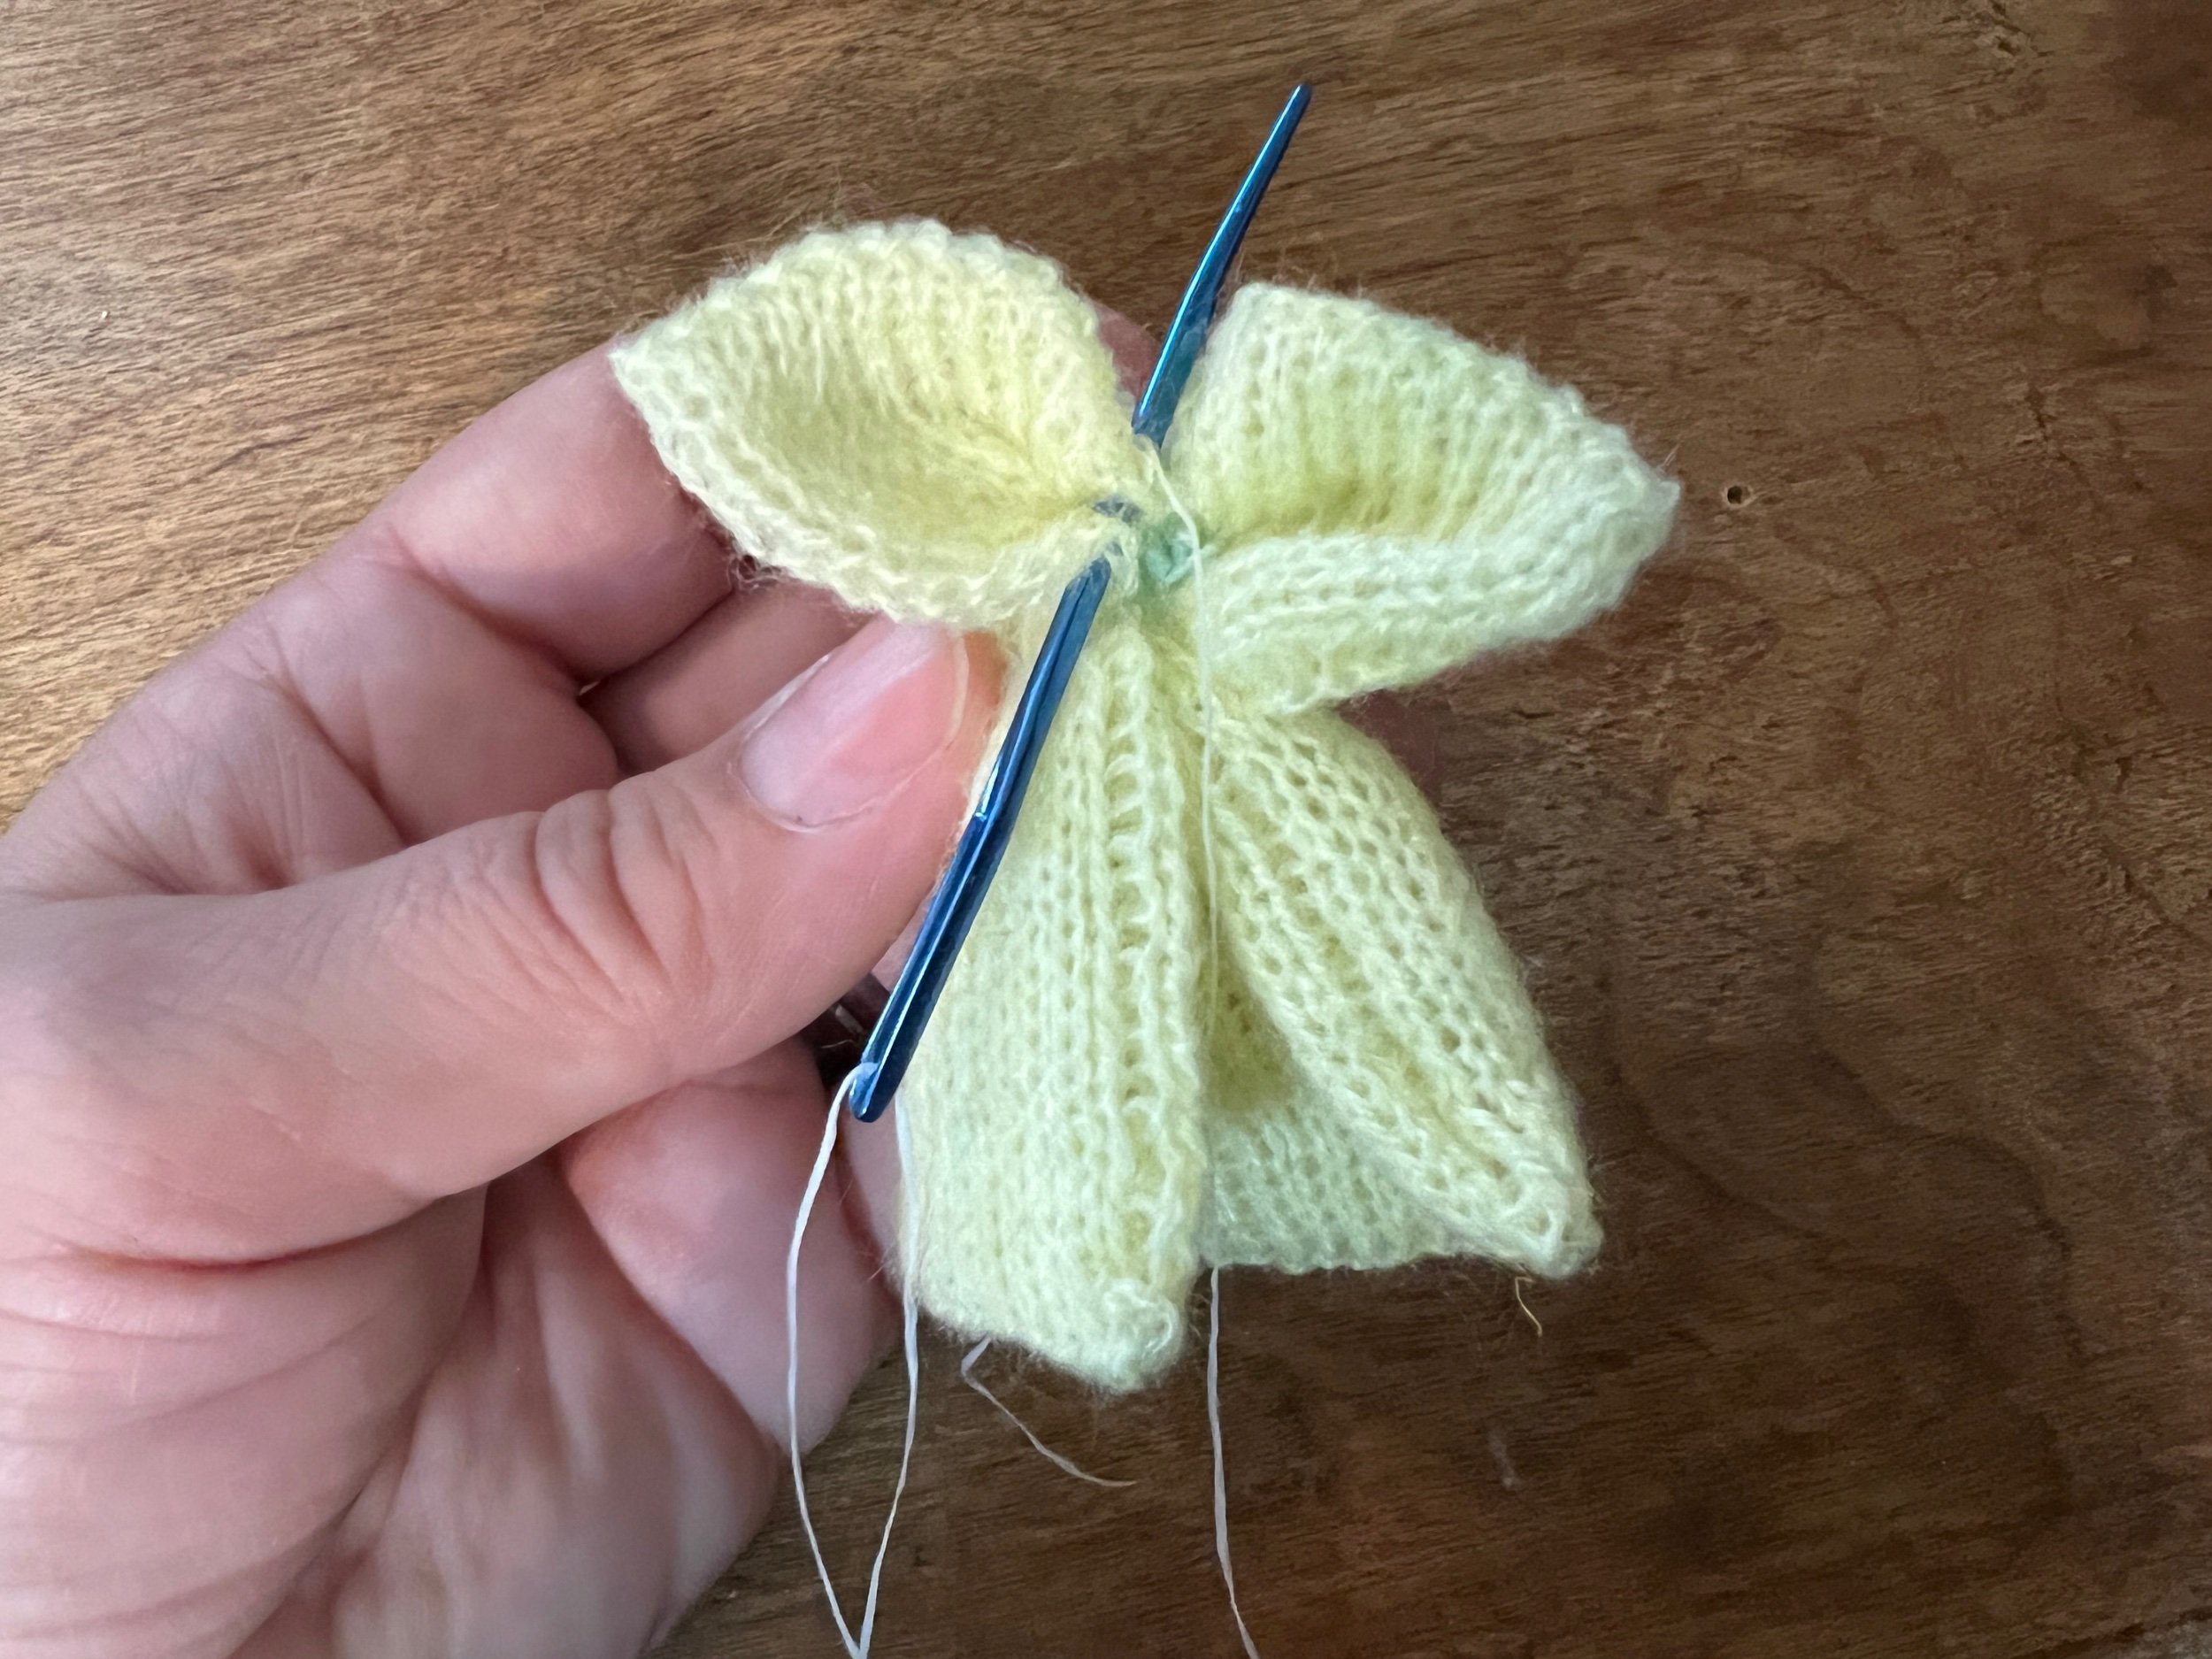
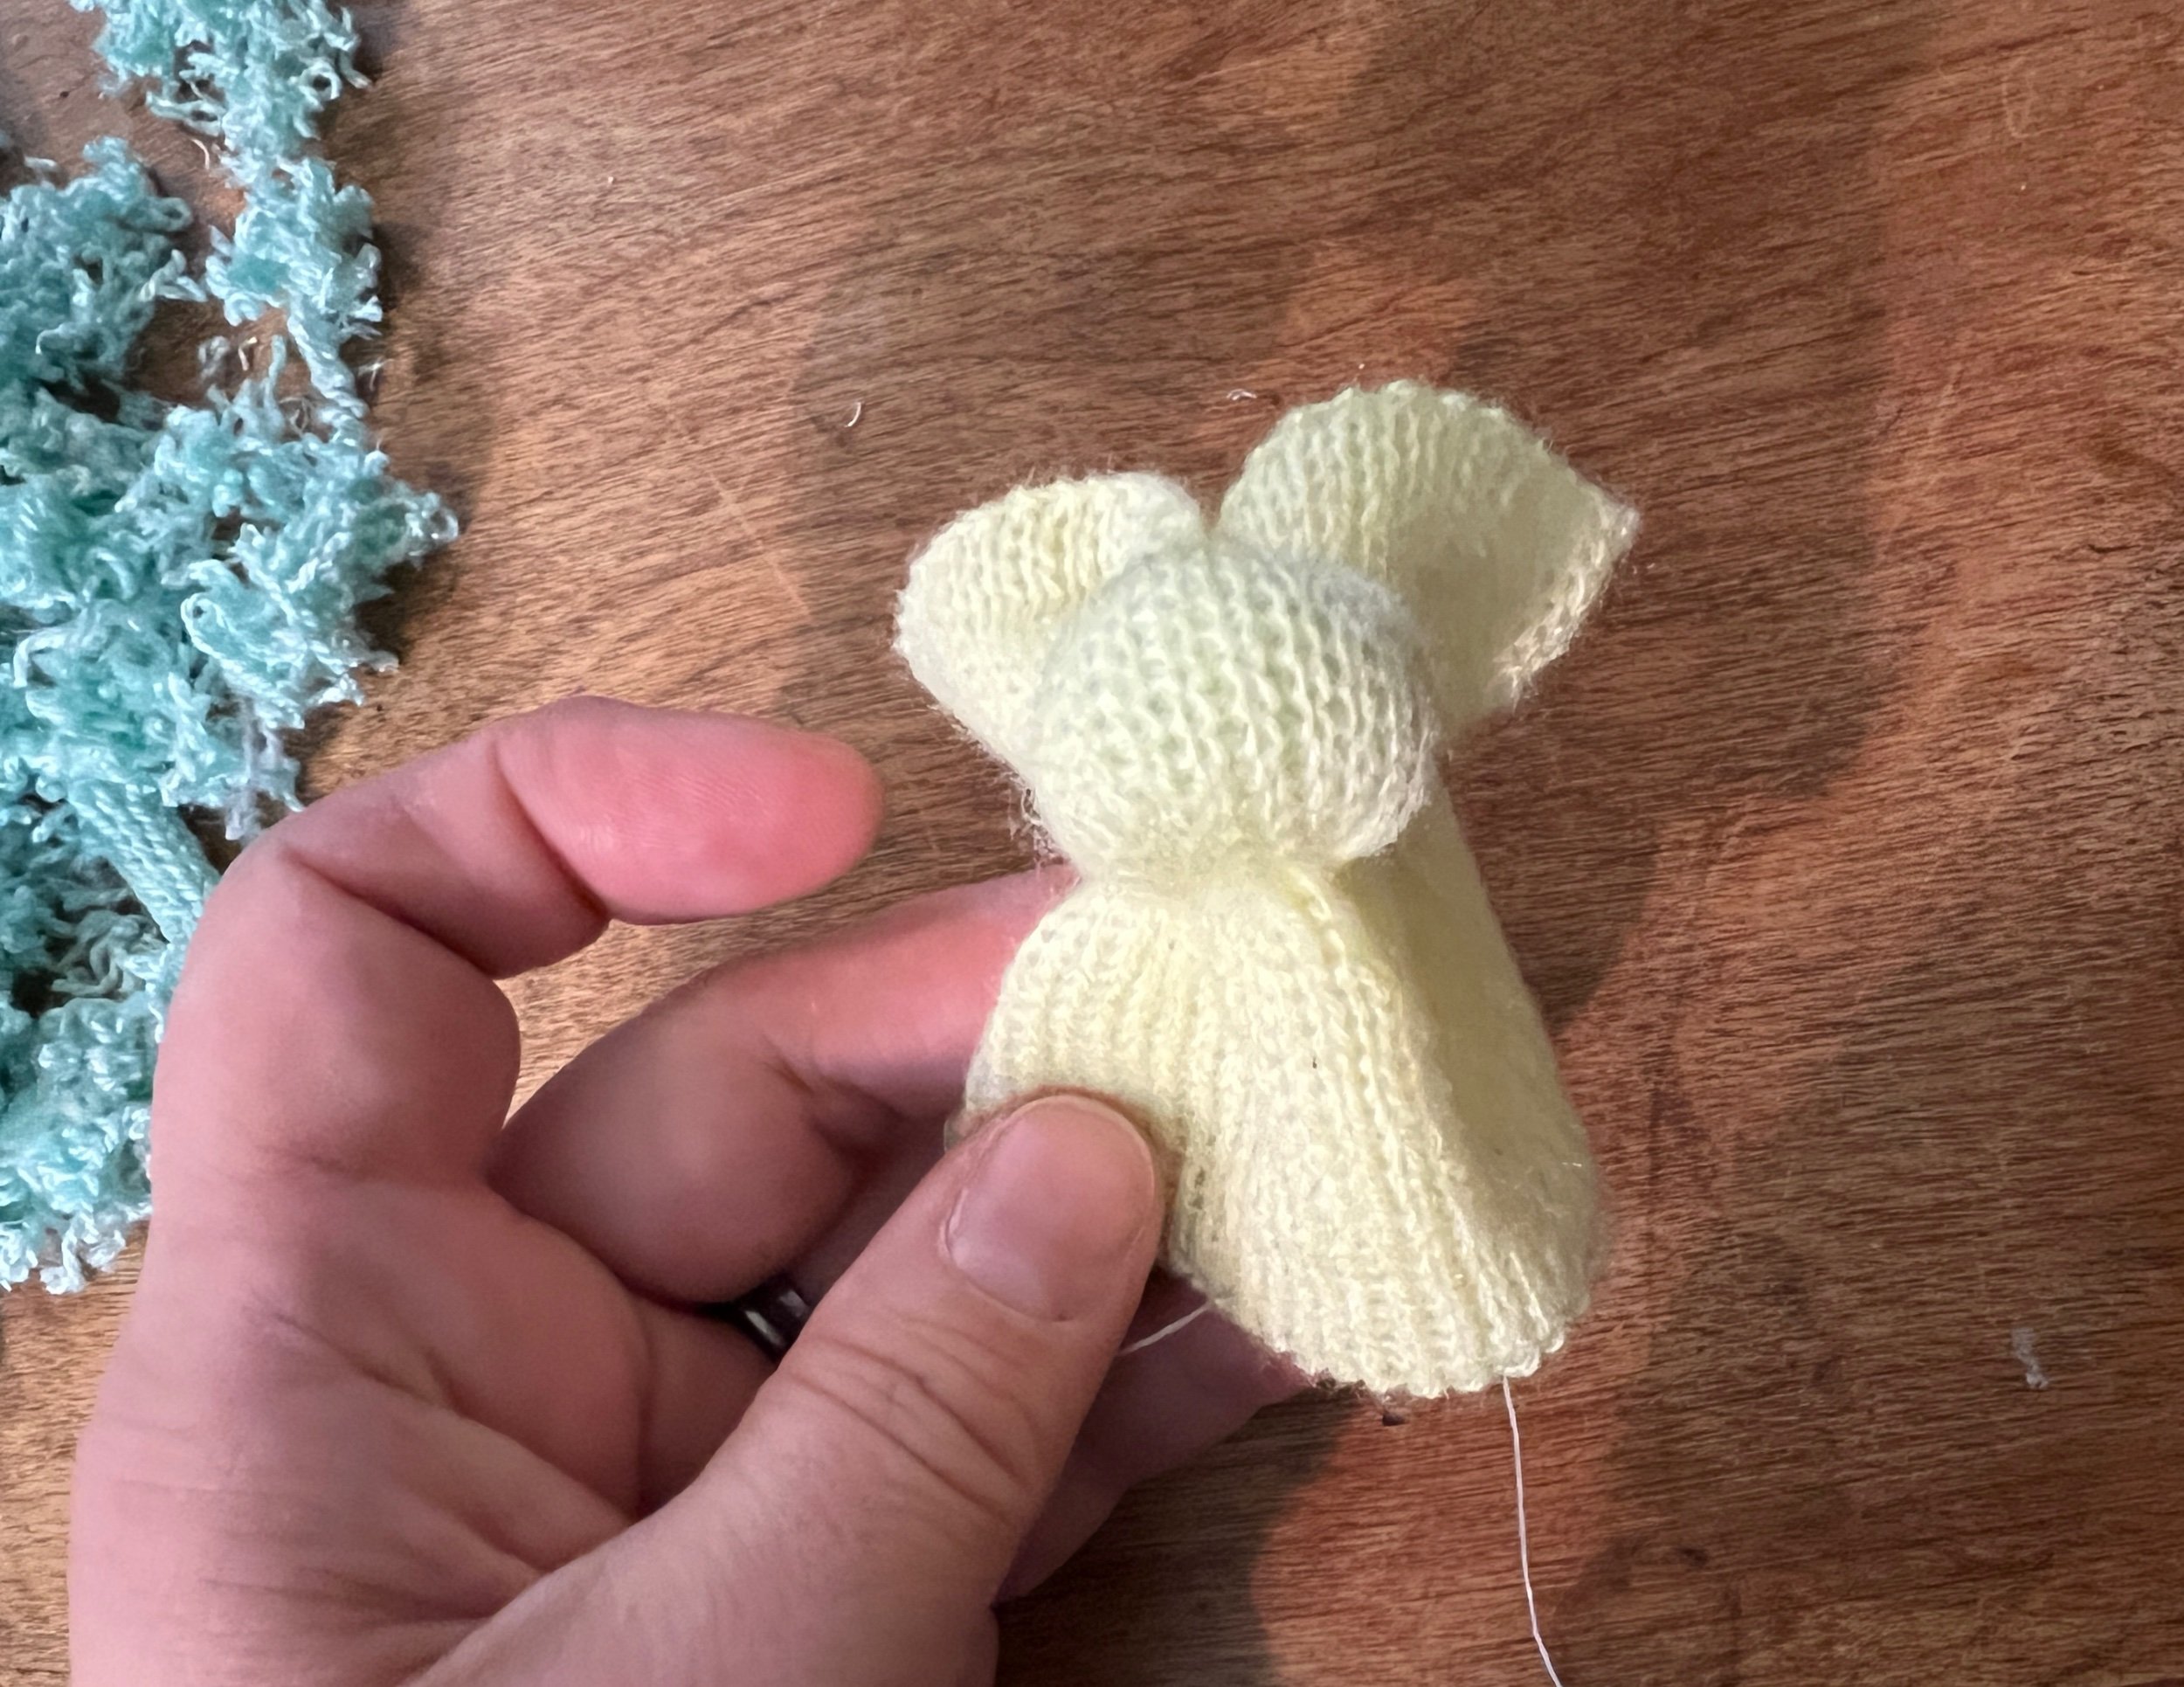
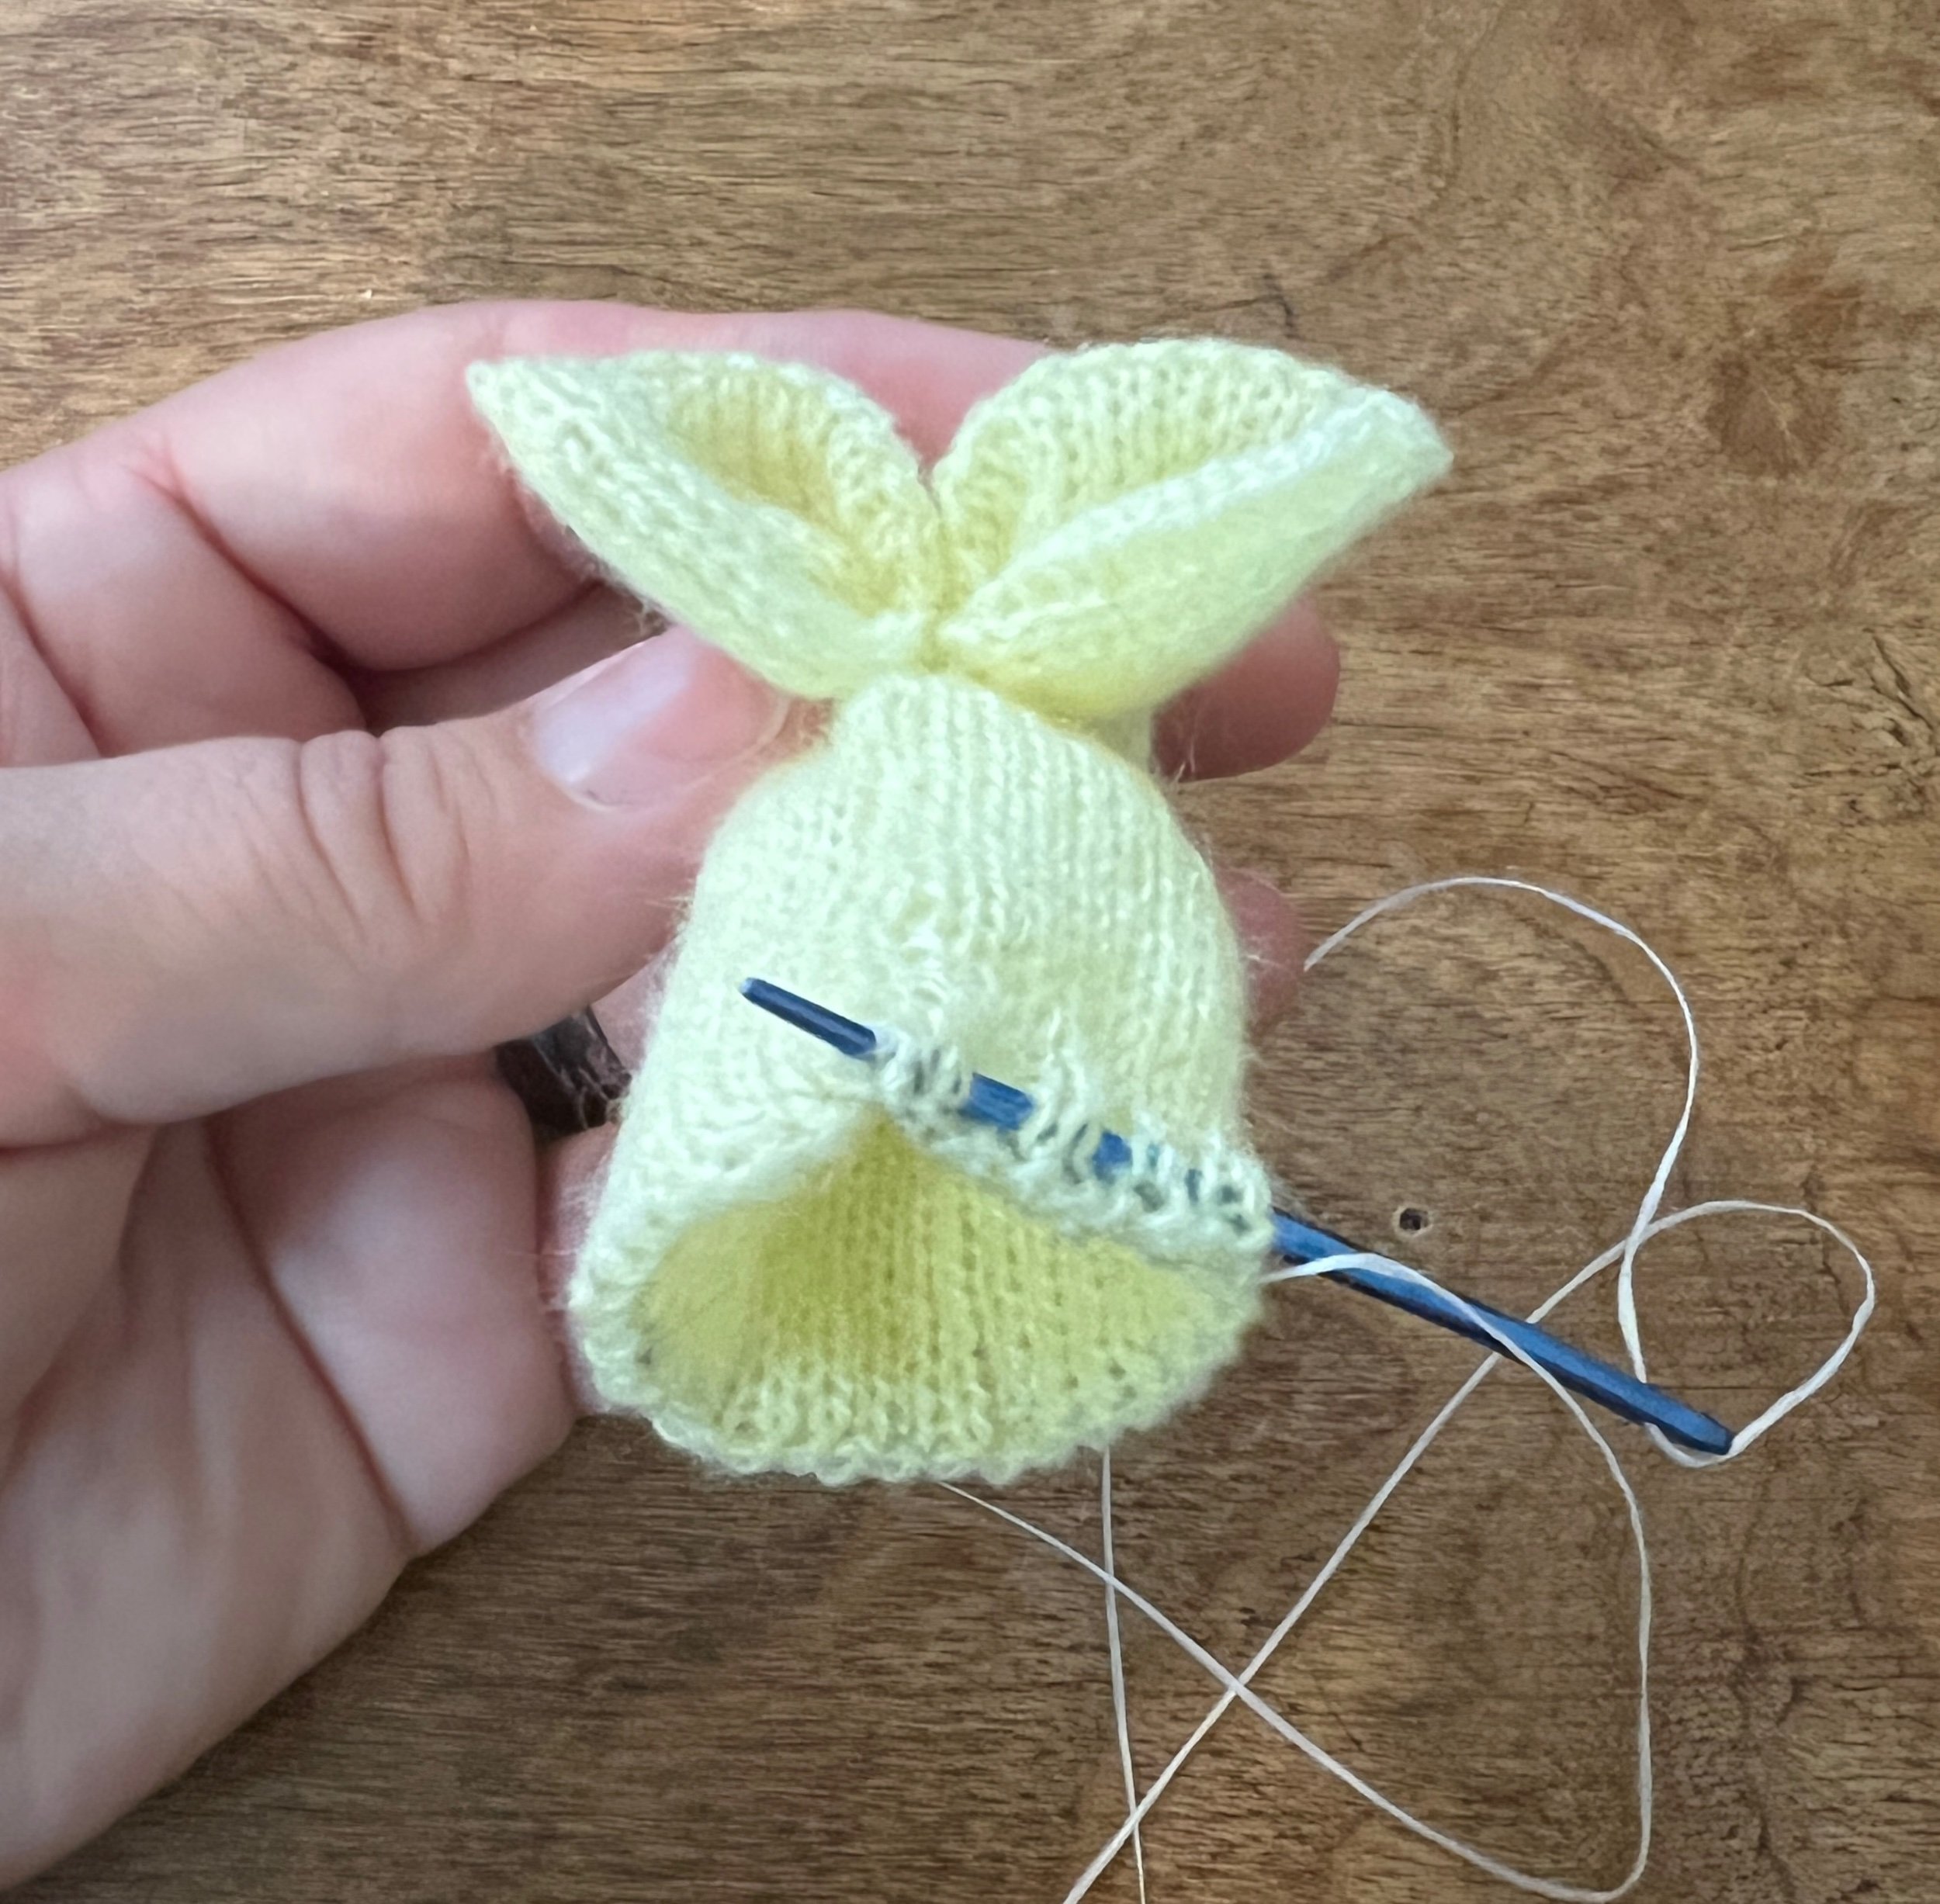
Created with a square of knitting using a circular sock machine and a 72 needle slot cylinder with all but two needles used. (Any cylinder can be used - any square of knitting/crochet can be used).

With the fibre and settings used I worked 40 rows in the round on the machine and finished it off the machine by closing both ends to create the square. First and last rows worked at a much bigger stitch to make closing easier. Determine how many rows equal a square yourself by testing your yarn/settings.

I used dental floss to form the bunny and embroidery thread for the eyes.

How to make this bunny: https://shorturl.at/aAGN0

Related blog entry: Brave Bunny

Instagram: ONE | TWO | THREE


SEE ALL BLOG ENTRIES ON THE BLOG INDEX PAGE | Follow us on a variety of social sites see TAPLINK | Interested in Circular Sock Machines? See the CSM START Menu first page. | Seek something specific? Checkout the Index page.


2023 Aug 22 - CSM Love Mat

I had the idea to buy some low cost rugs from the dollar store - to decorate them with my website logo. I wanted to have some kind of template so that the letters looked professional. After working with Microsoft word and finding limitations on font sizes over 350 points - I did an I ferner search for a free banner template. The sizes corresponded to the layout I wanted so I first printed each letter then outlined each letter onto new paper to then cut each letter out. I used those cut out letters to further plan the layout then outlined the shapes with a permanent marker. It turned out fantastic!


Instagram: ONE |


SEE ALL BLOG ENTRIES ON THE BLOG INDEX PAGE | Follow us on a variety of social sites see TAPLINK | Interested in Circular Sock Machines? See the CSM START Menu first page. | Seek something specific? Checkout the Index page.


2023 Aug 18 - Crochet Cover

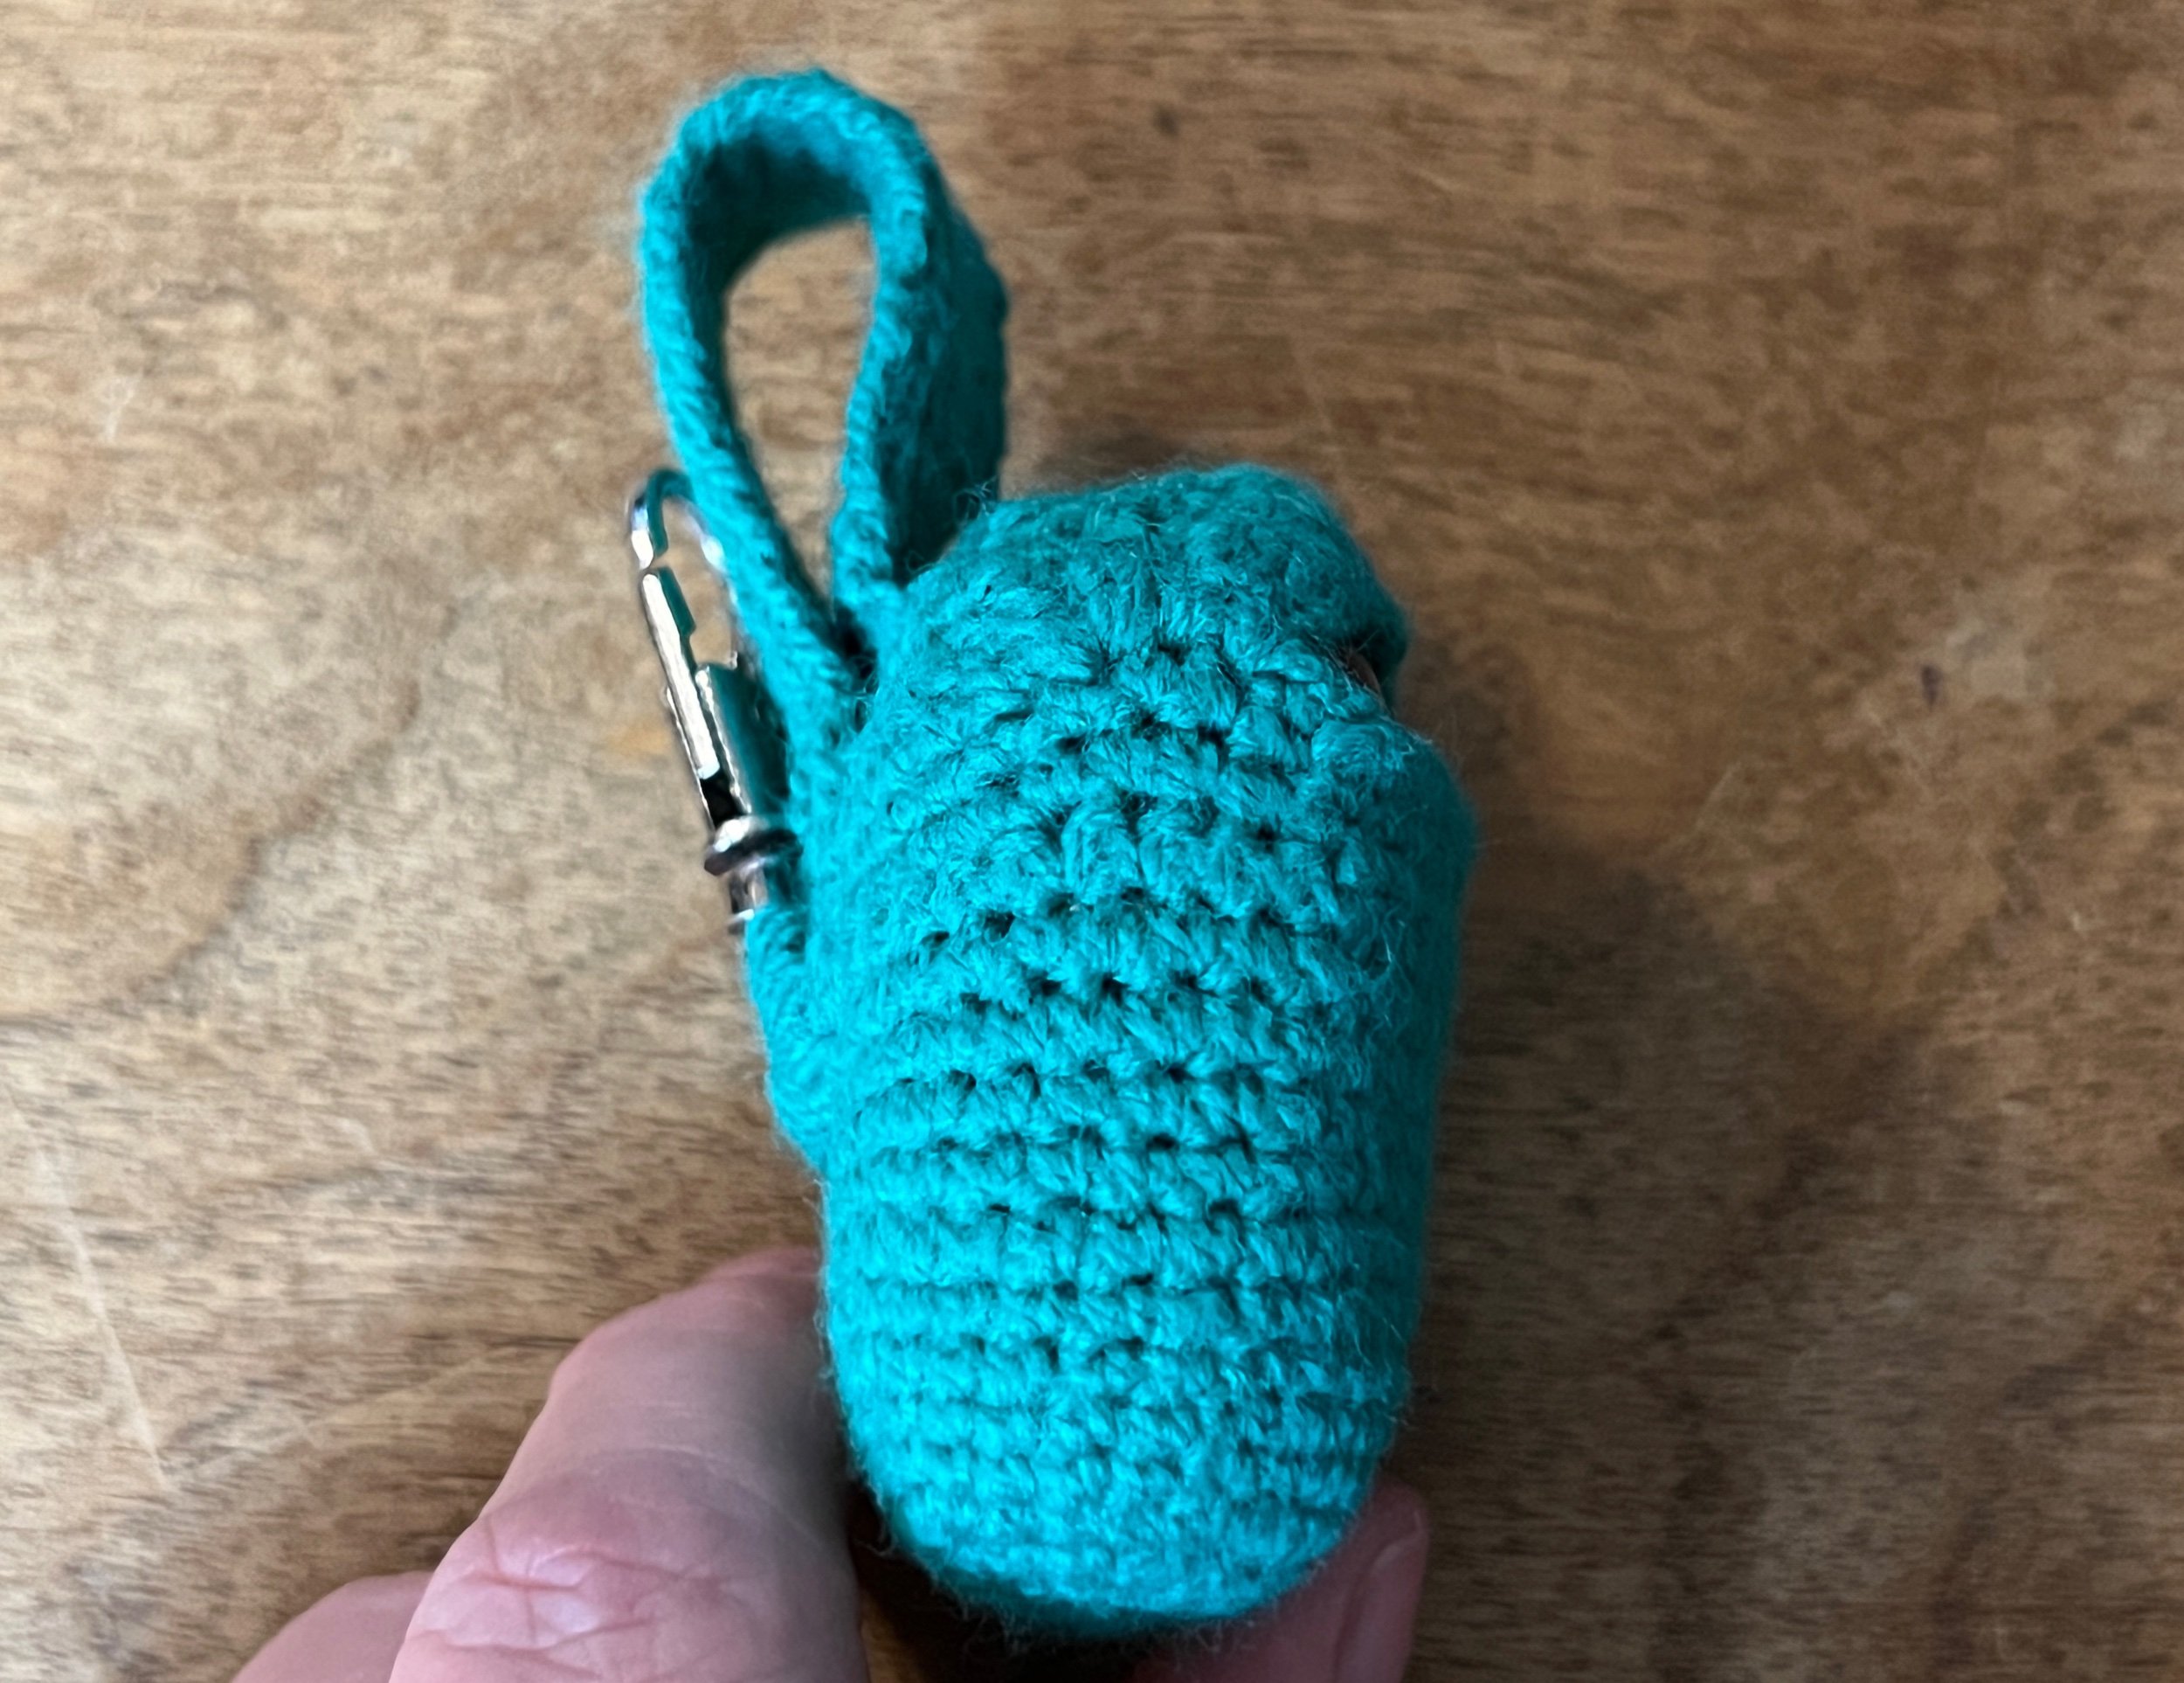
My recently purchased wireless ear bud case is really slippery and hard not to drop - so I custom built a crochet cover for it featuring a finger loop and clip.

Best $30 ear buds ever (purchased from Temu).

Most of this project was single crochet stitches with a single row of double crochet. The finger strap was created with Tunisian / Afghan stitch.


SEE ALL BLOG ENTRIES ON THE BLOG INDEX PAGE | Follow us on a variety of social sites see TAPLINK | Interested in Circular Sock Machines? See the CSM START Menu first page. | Seek something specific? Checkout the Index page.


2023 July 12 - Scarf 002

A tube on the addi-express 46 needle king size knitting machine.

The tube was created with 225 rows then turned knit side out and the ends kitchenered (joined seamlessly).

I’m not good with kitchenering the knit side. To hide the less sexy join I decorated the scarf with some horizontal rows.


SEE ALL BLOG ENTRIES ON THE BLOG INDEX PAGE | Follow us on a variety of social sites see TAPLINK | Interested in Circular Sock Machines? See the CSM START Menu first page. | Seek something specific? Checkout the Index page.


2023 July 9 - Scarf 001

Work 225 rows with scrap yarn before and after. Turn knitting inside out and kitchener close the ends.

I was going to make a shrug but the tubes make it too heavy to be practical.

Crochet flower Ravelry project

2023 Jun 24 - The Geocci Addi Adapter


Instagram: ONE |


SEE ALL BLOG ENTRIES ON THE BLOG INDEX PAGE | Follow us on a variety of social sites see TAPLINK | Interested in Circular Sock Machines? See the CSM START Menu first page. | Seek something specific? Checkout the Index page.


2023 June 24 - Addi Care Blanket

Using the Addi-express 46 needle kingsize I created 6 tubes of a total 200 rows using segments of 50 rows and therefore four total Color’s.

All fiber contains wool and were part of a large received donation.

Each panel is joined with a crochet hook, two yarn bars at a time.

Assembled the blanket is 122cmx110cm and is a dream on the skin during creation. The joins were steamed and sat much nicer after doing that.

After wash and air dry the measurements are 136x105cmUsing the Addi-express 46 needle kingsize I created 6 tubes of a total 200 rows using segments of 50 rows and therefore four total Color’s.

All fiber contains wool and were part of a large received donation.

Each panel is joined with a crochet hook, two yarn bars at a time.

Assembled the blanket is 122cmx110cm and is a dream on the skin during creation. The joins were steamed and sat much nicer after doing that.

After wash and air dry the measurements are 136x105cm


Ravelry project

2023 June 24 - Addi Baby Blanket

Using the addi-express 46 needle kingsize I chose to create tube panels of 150 rows.

I determined an approximate direct from machine gauge of 16 rows per four inches and 15 stitches per four inches.

With having received a large lot of donated yarn, I bought the Addi machine to create things to donate to pay it forward. Each tube off the machine is about 6.5”/16.5cm wide laying flat.

PROJECT ON HOLD WHILE OTHER ITEMS HAVE HIGHER PRIORITY


Ravelry project


SEE ALL BLOG ENTRIES ON THE BLOG INDEX PAGE | Follow us on a variety of social sites see TAPLINK | Interested in Circular Sock Machines? See the CSM START Menu first page. | Seek something specific? Checkout the Index page.