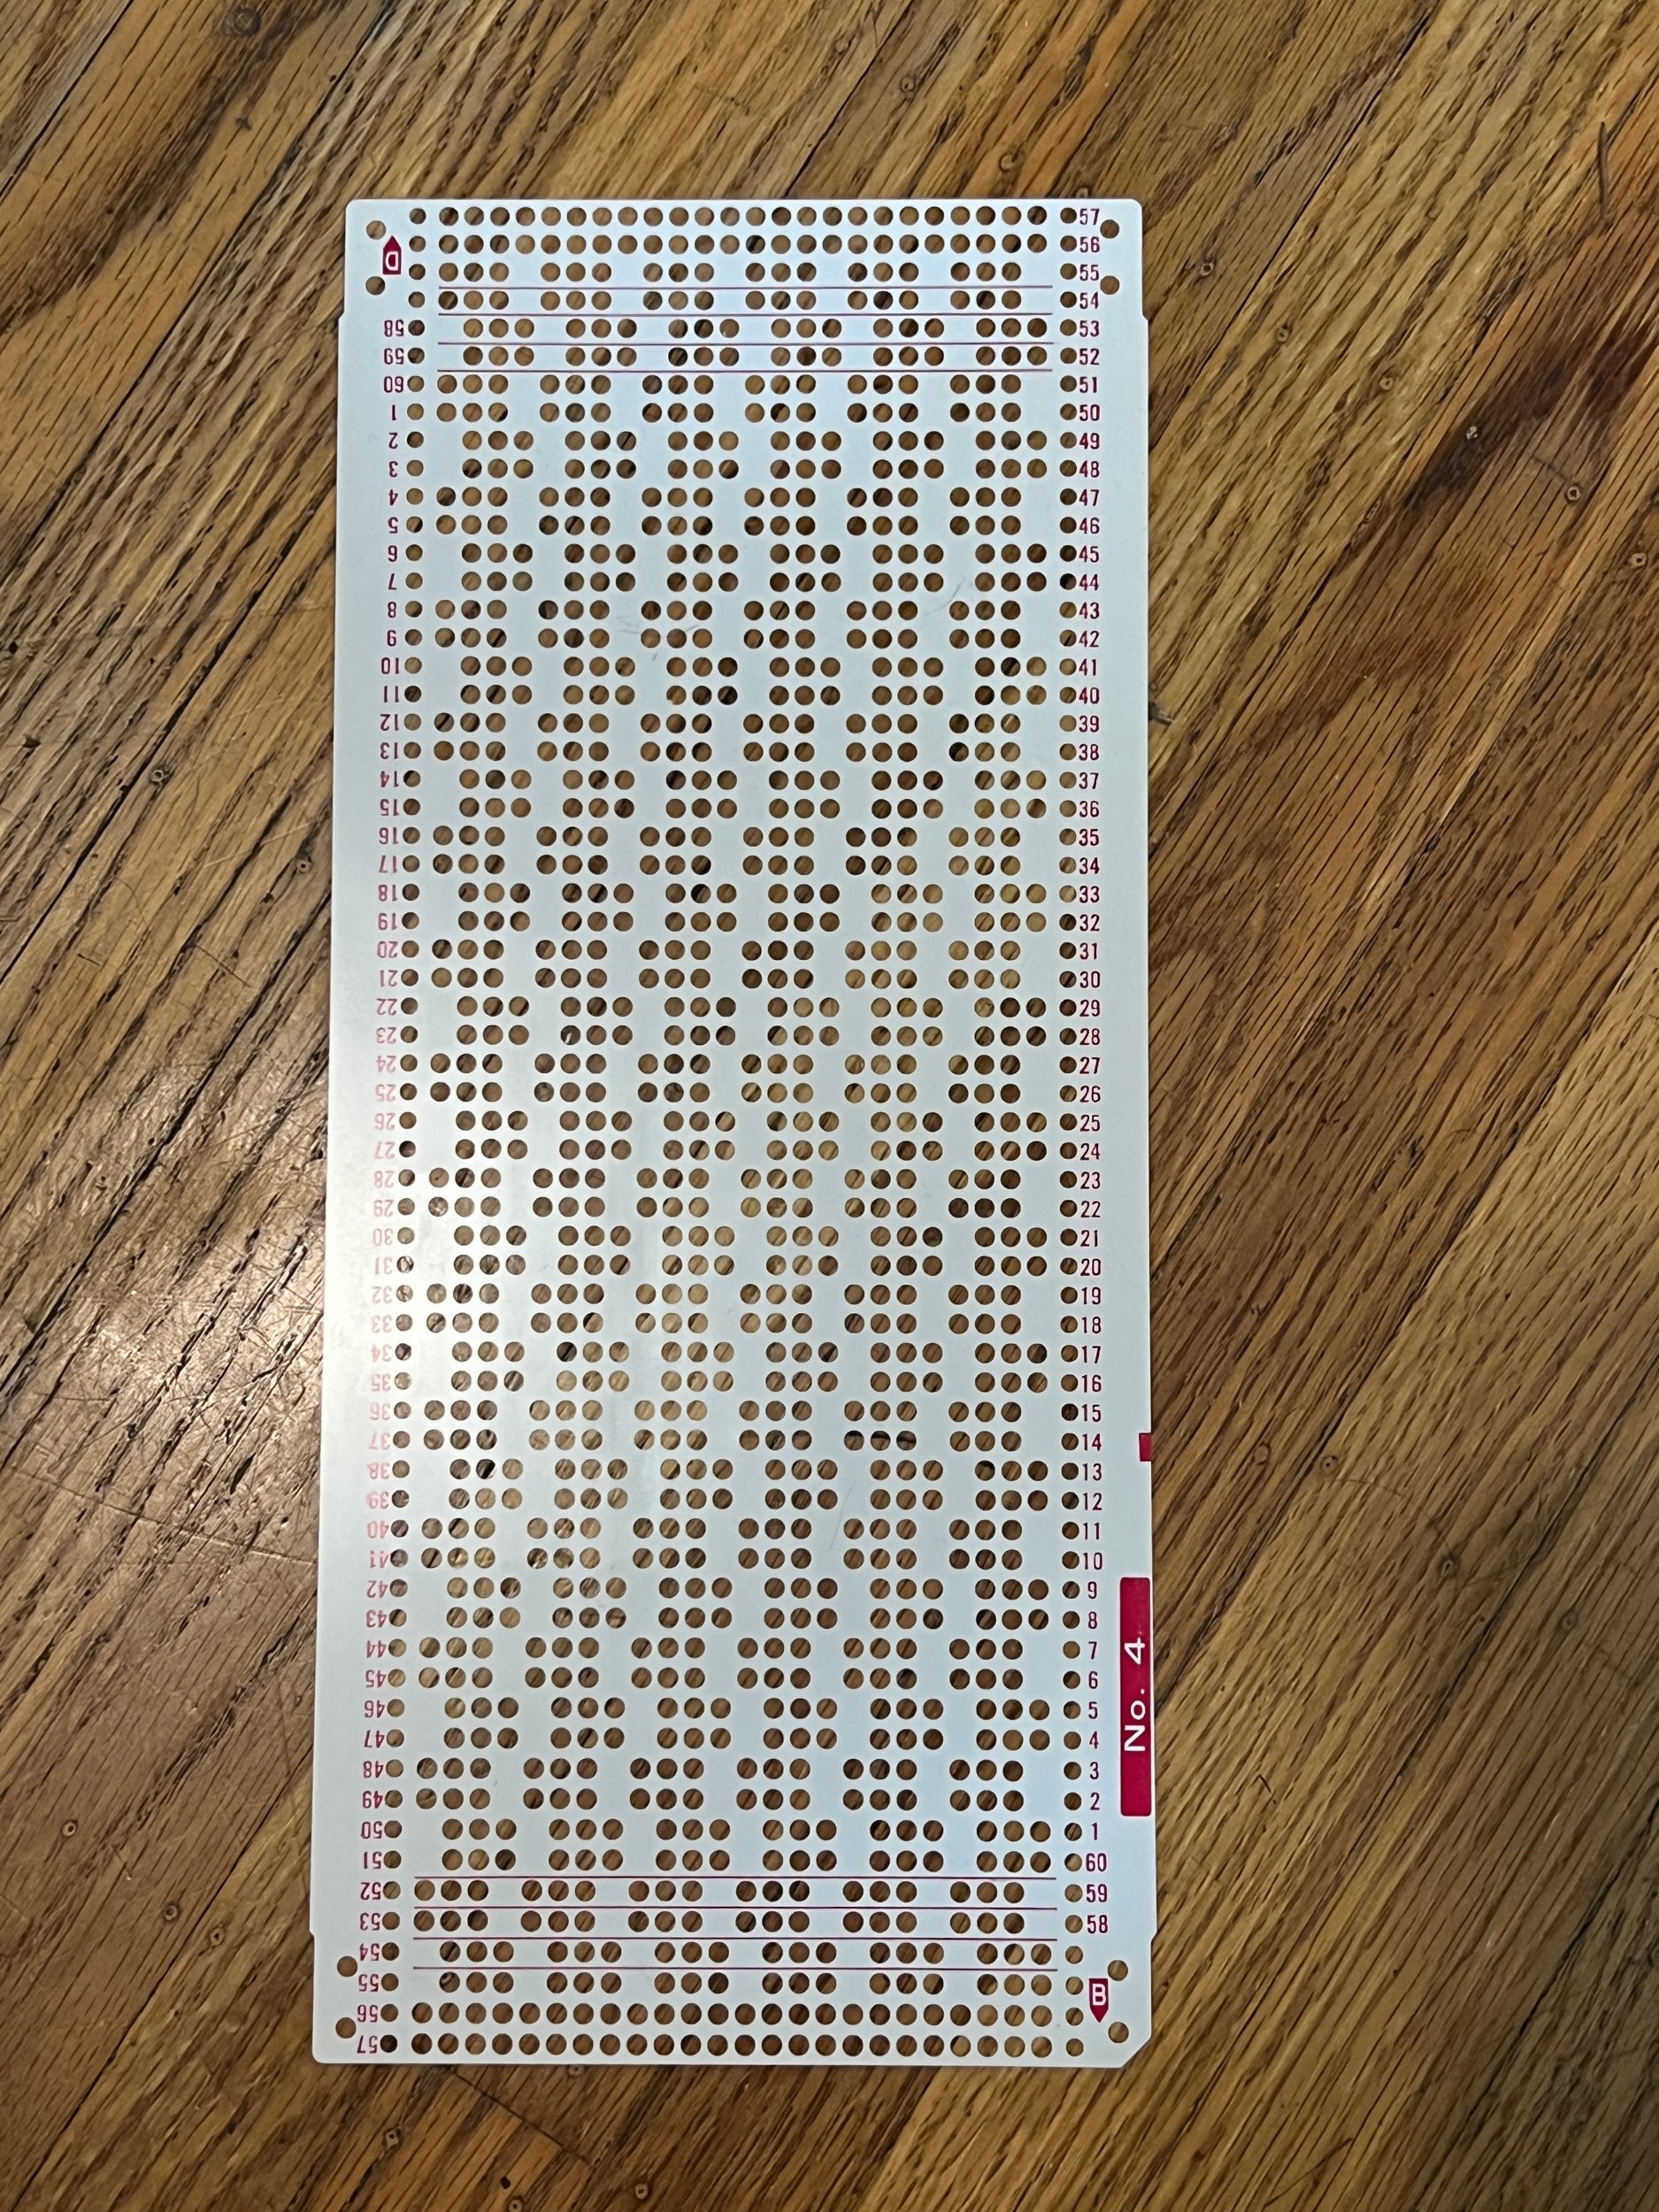
punch card

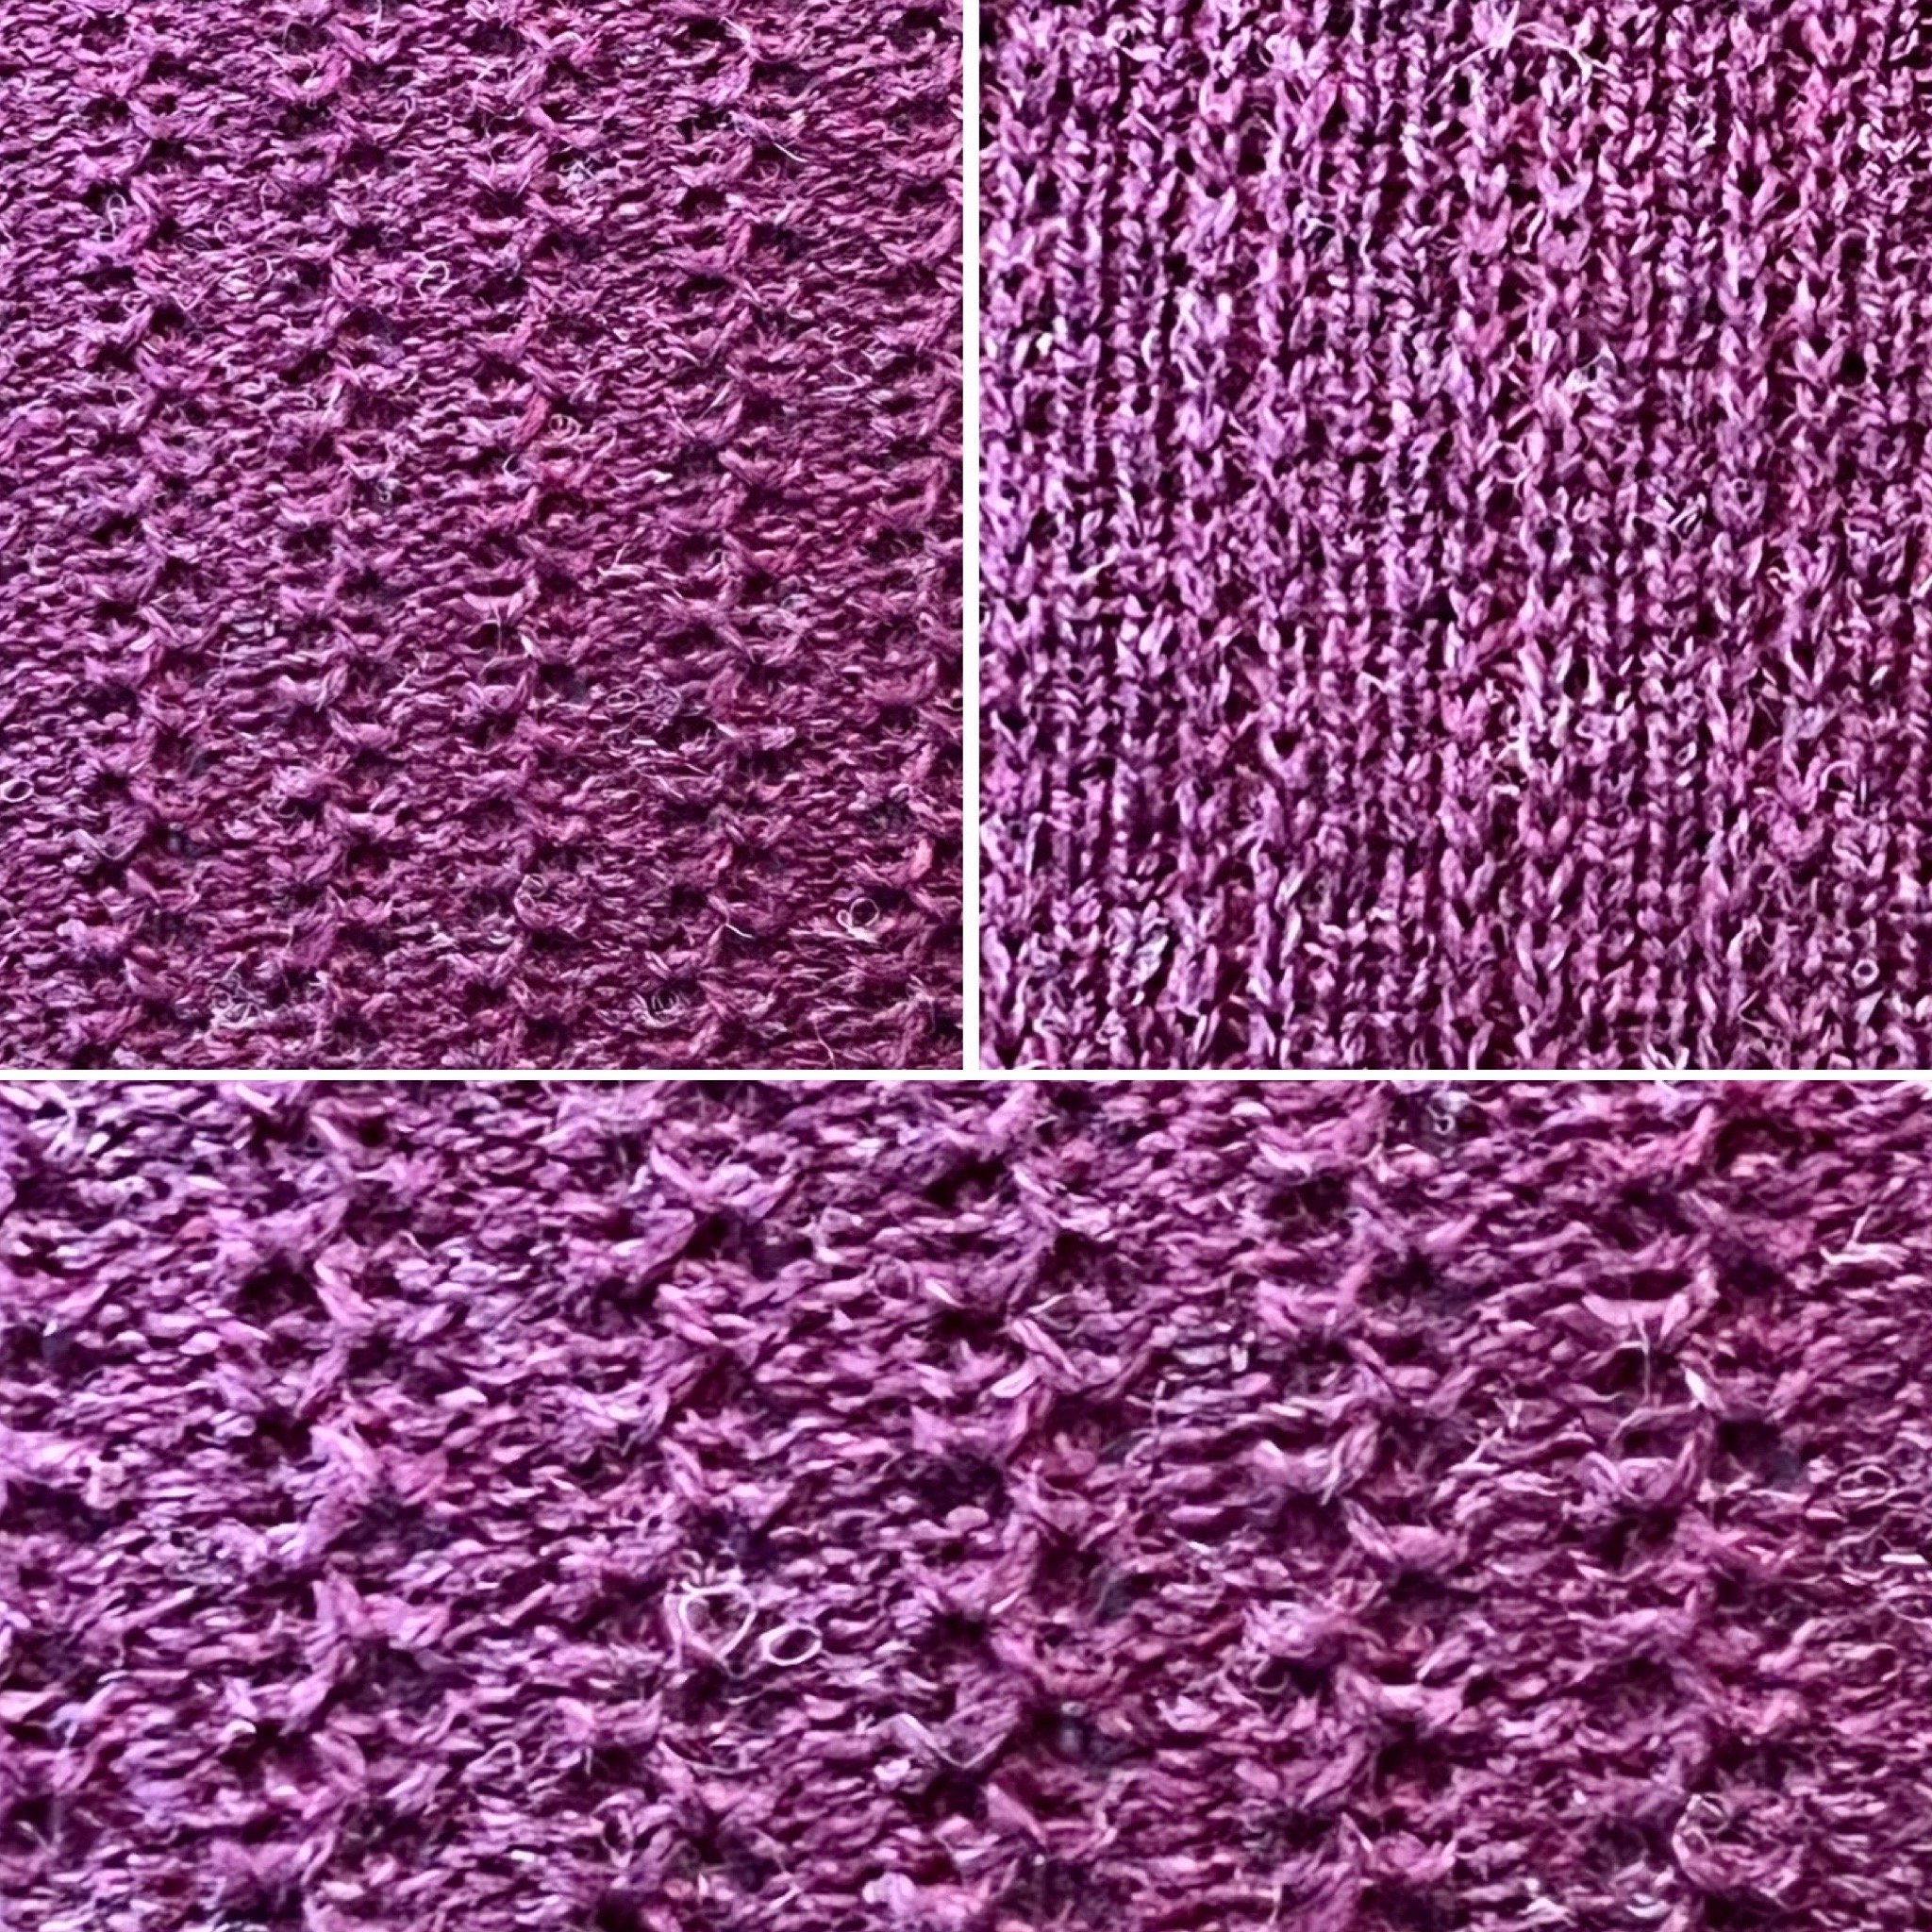
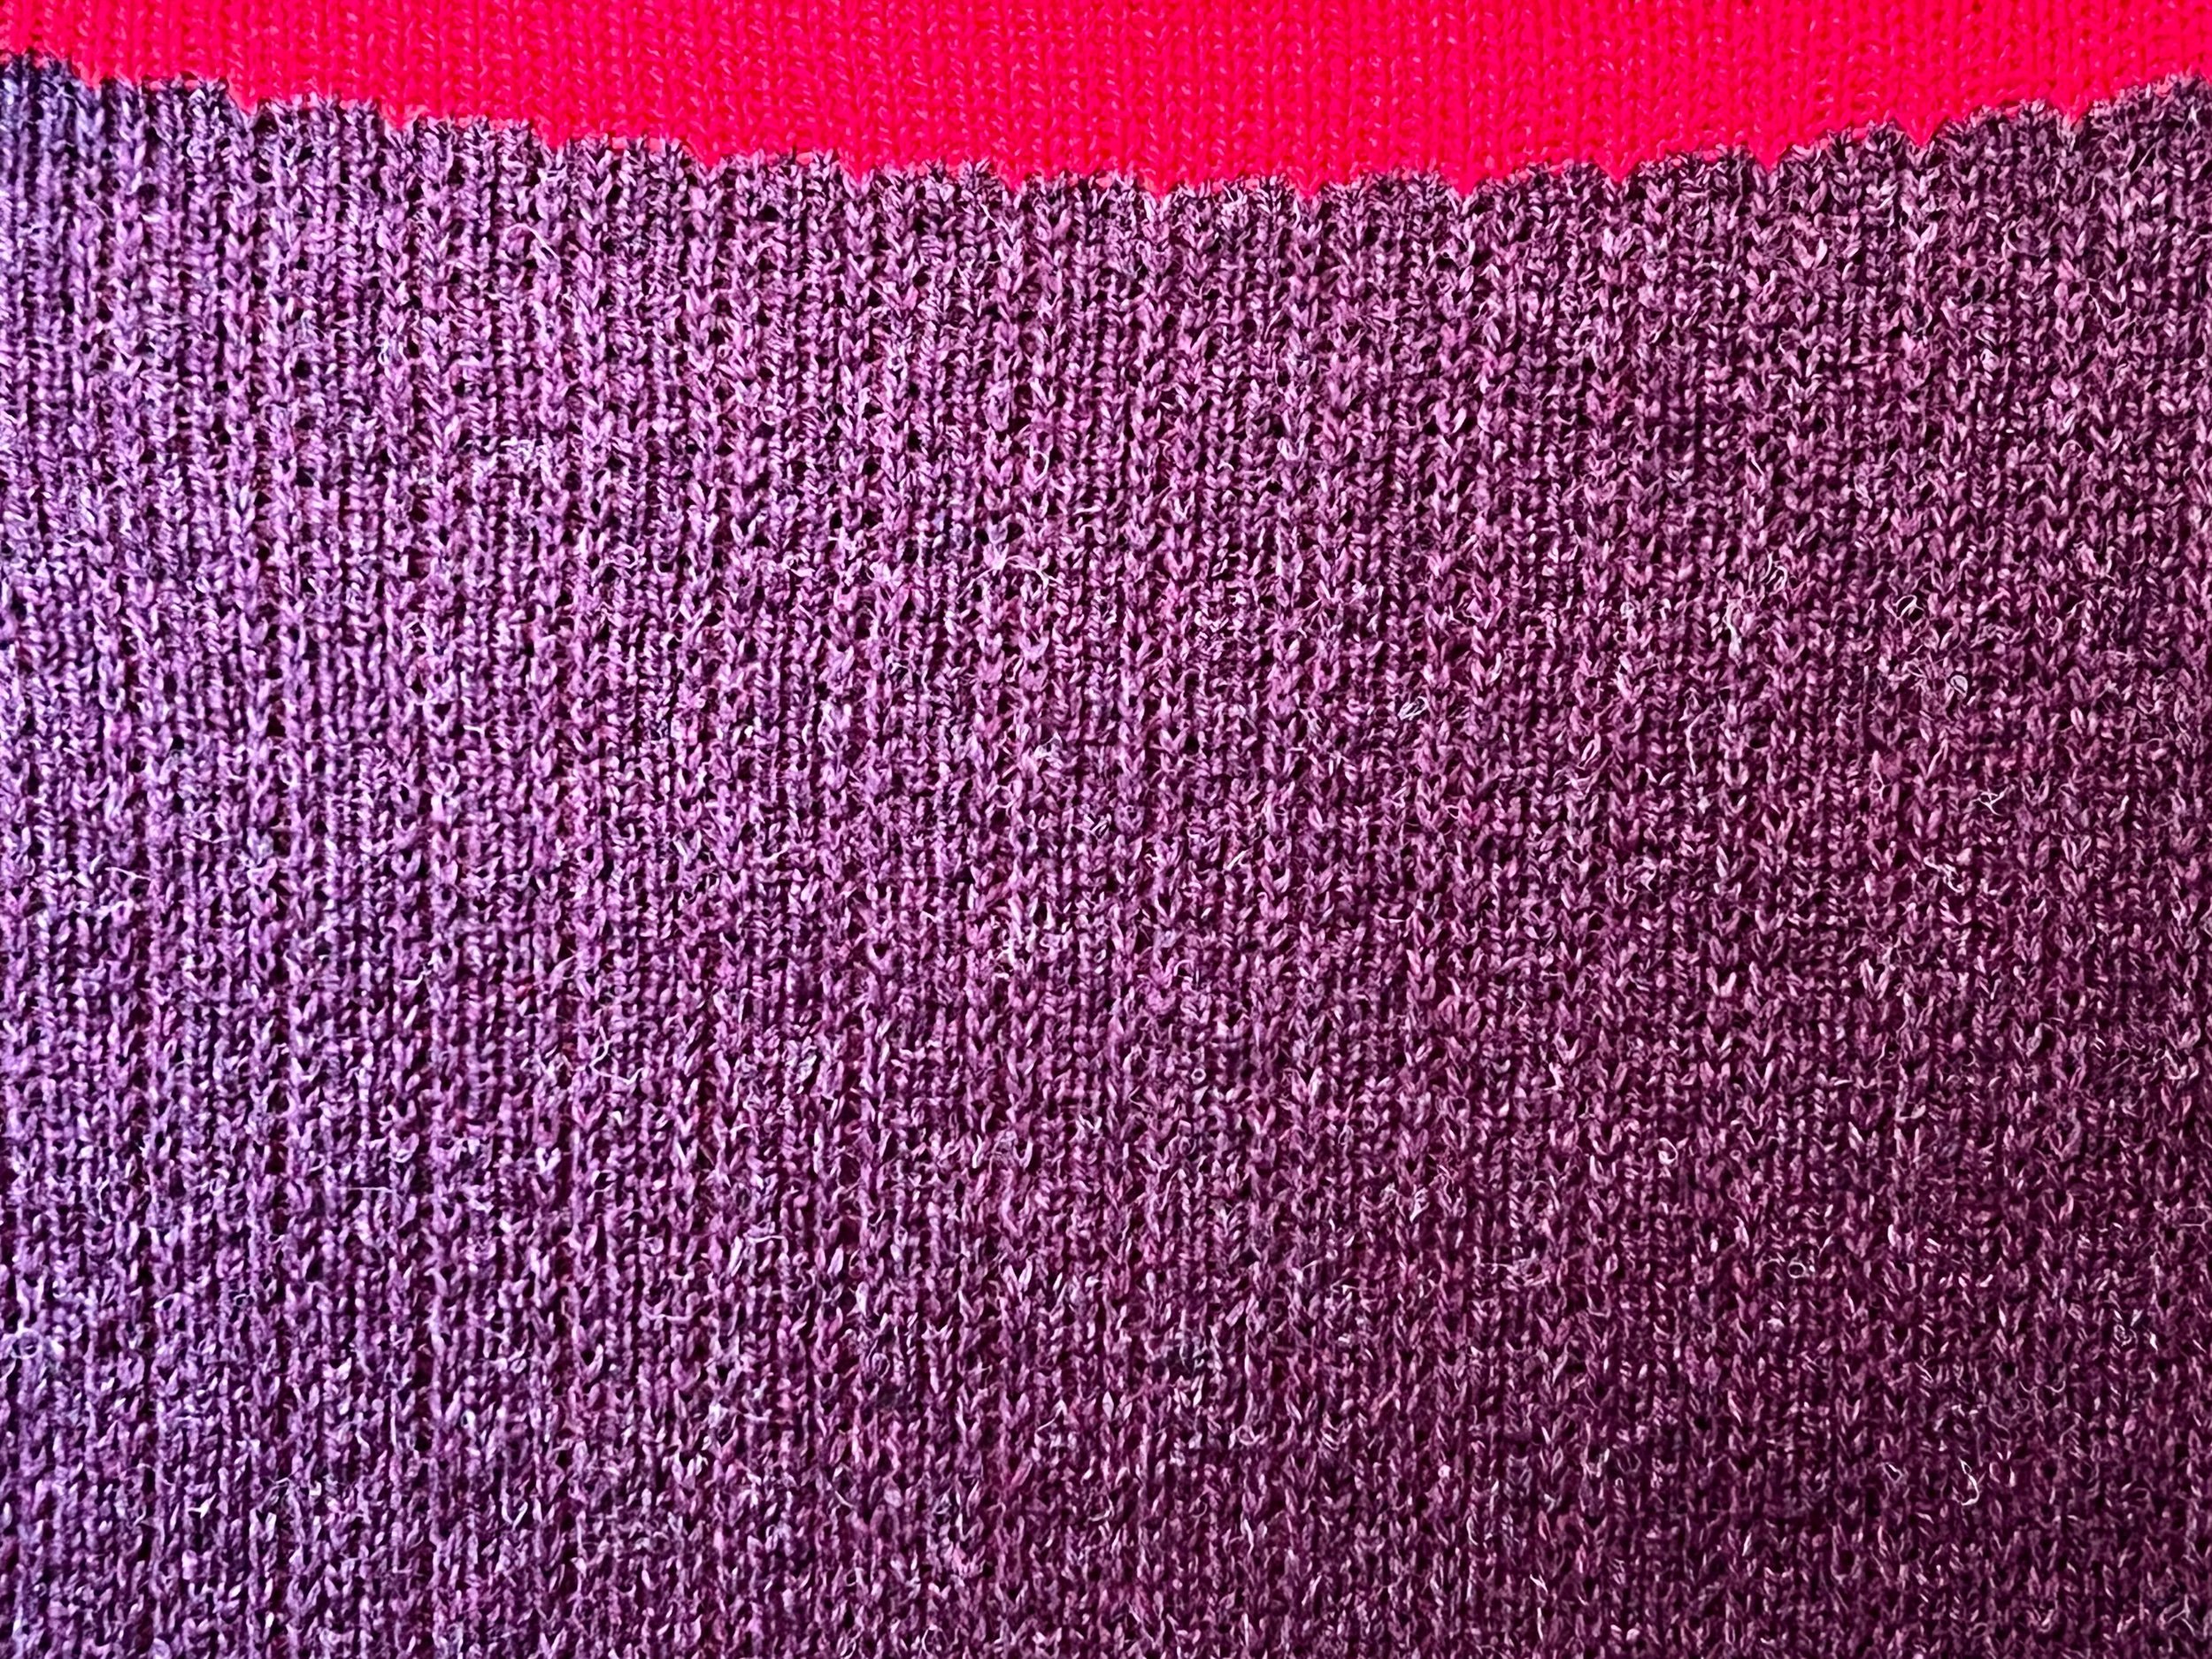
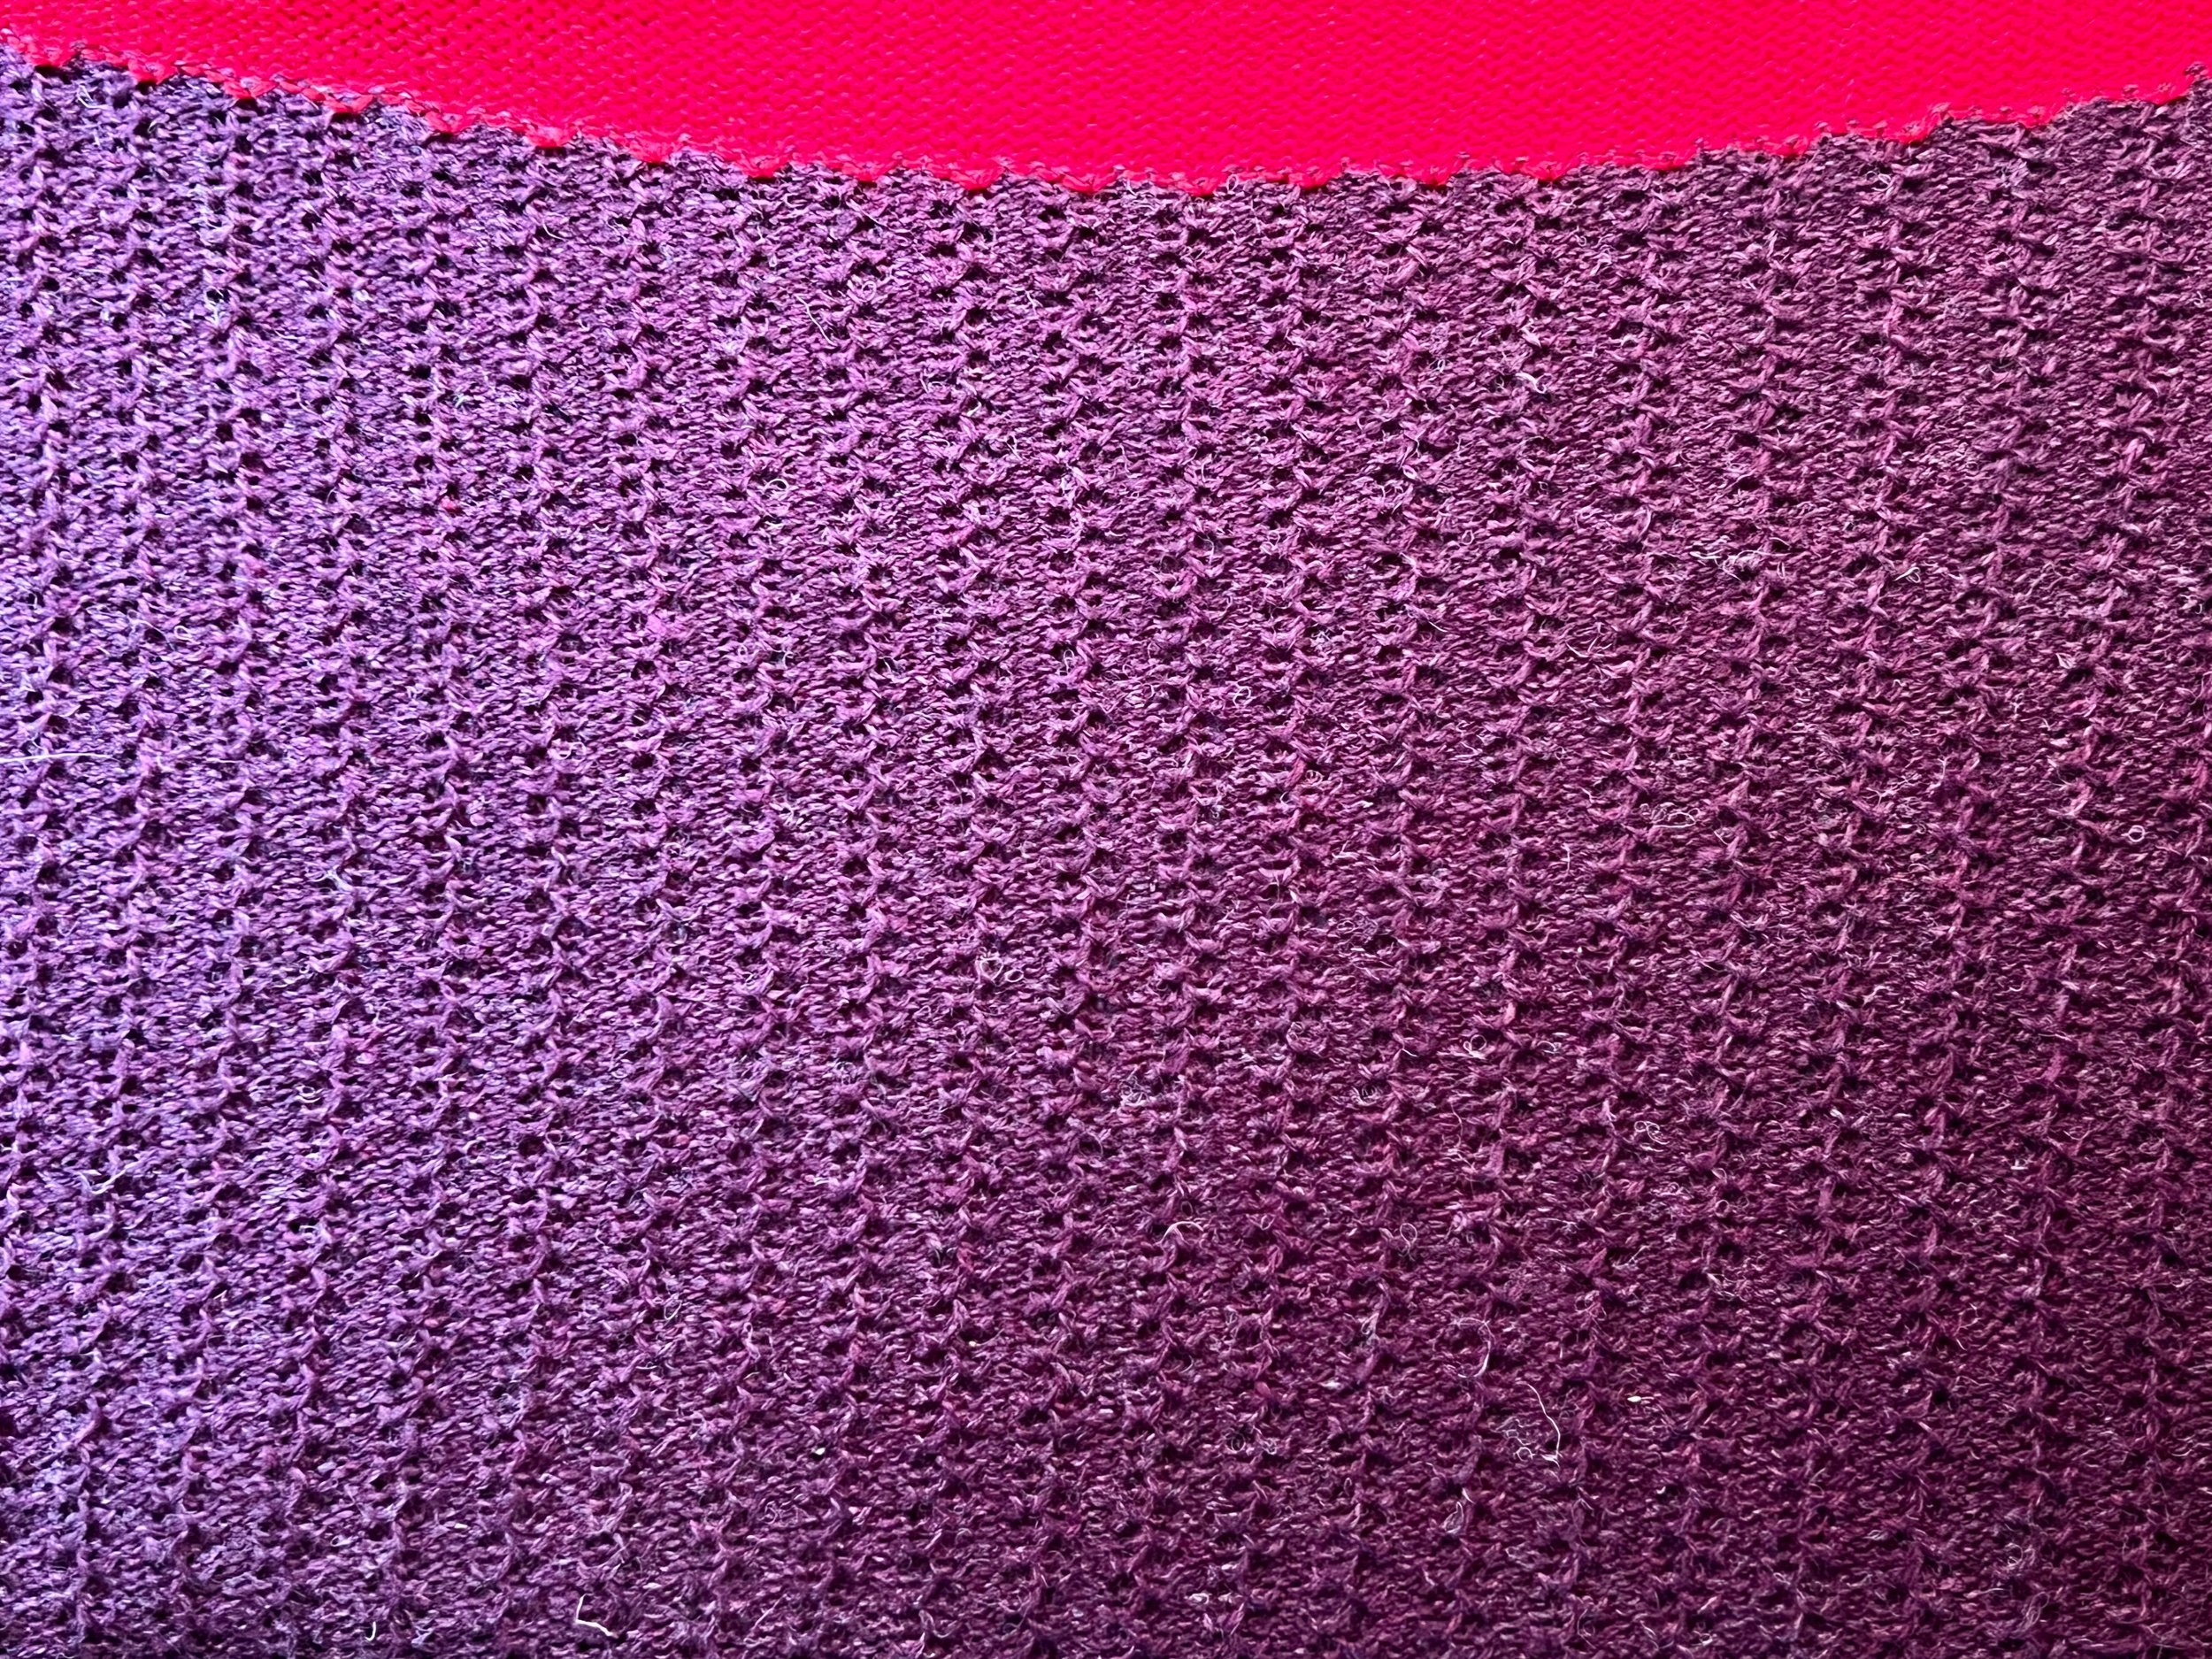
2023 Apr 9 - Shrug (or Hug) using Punch Card 4

I went to a second hand clothing event in February and picked up a knitted shrug.

What caught my eye was the simple design which I just knew I had to try myself.

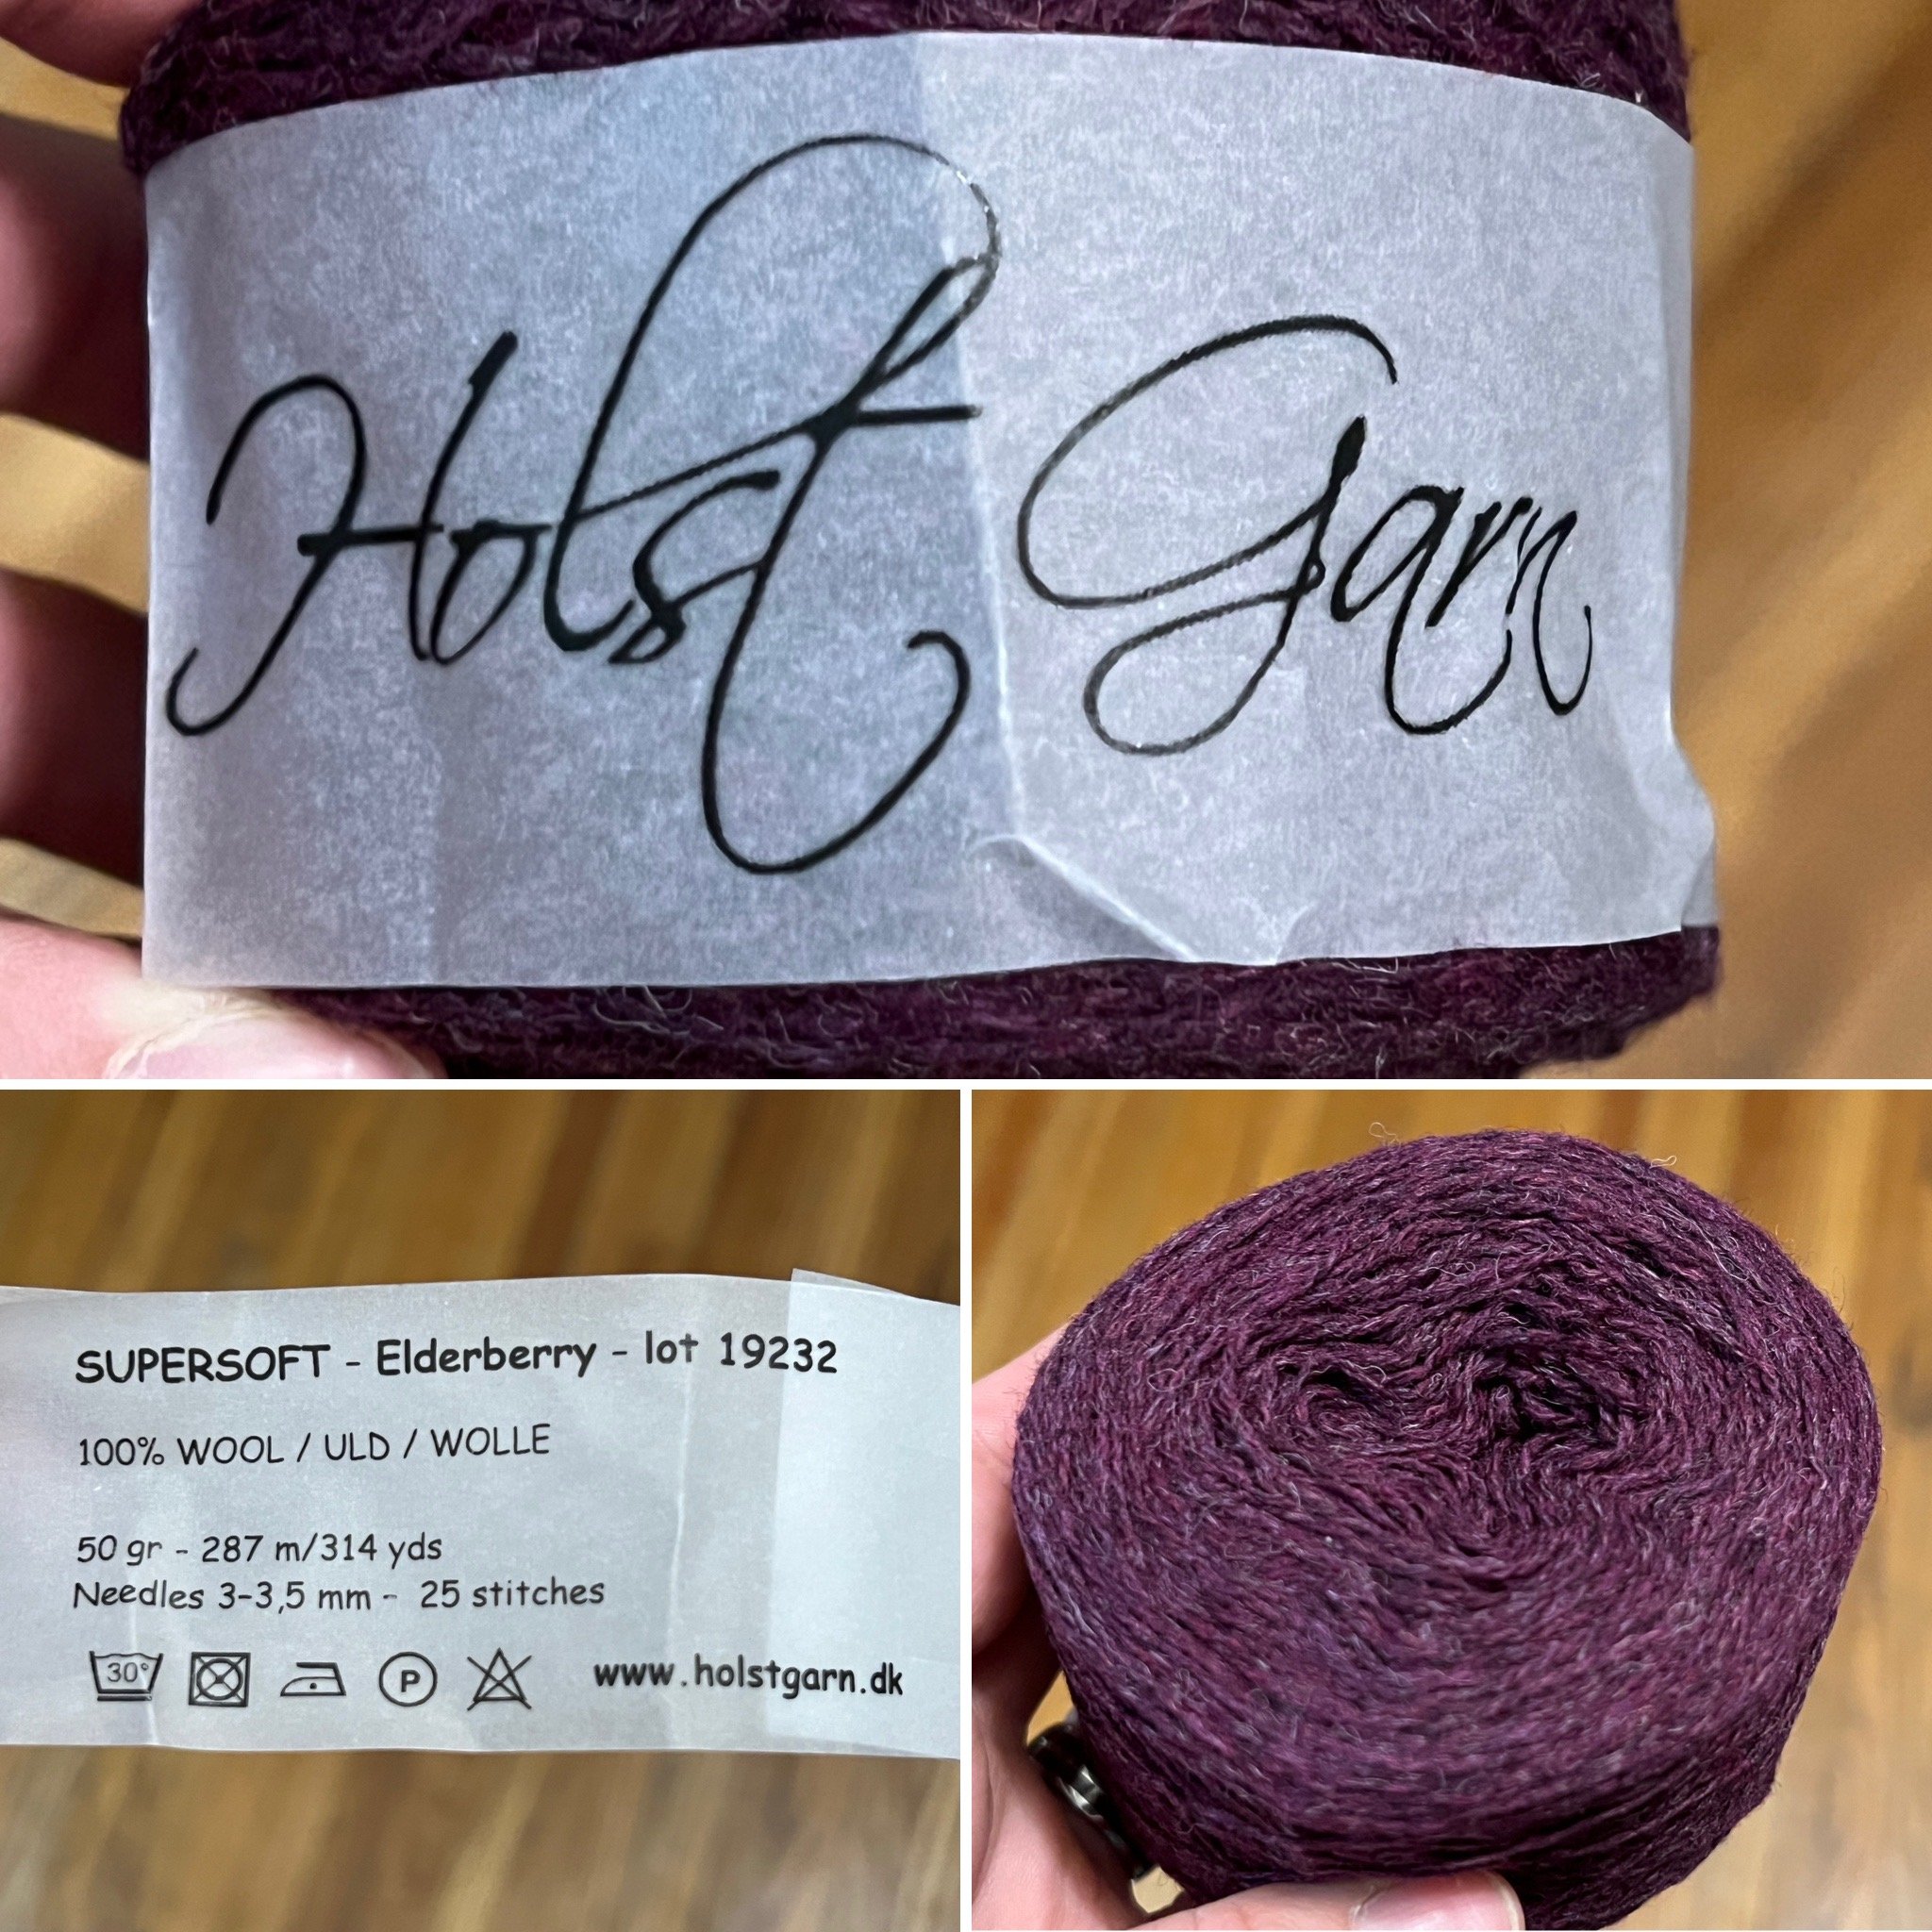
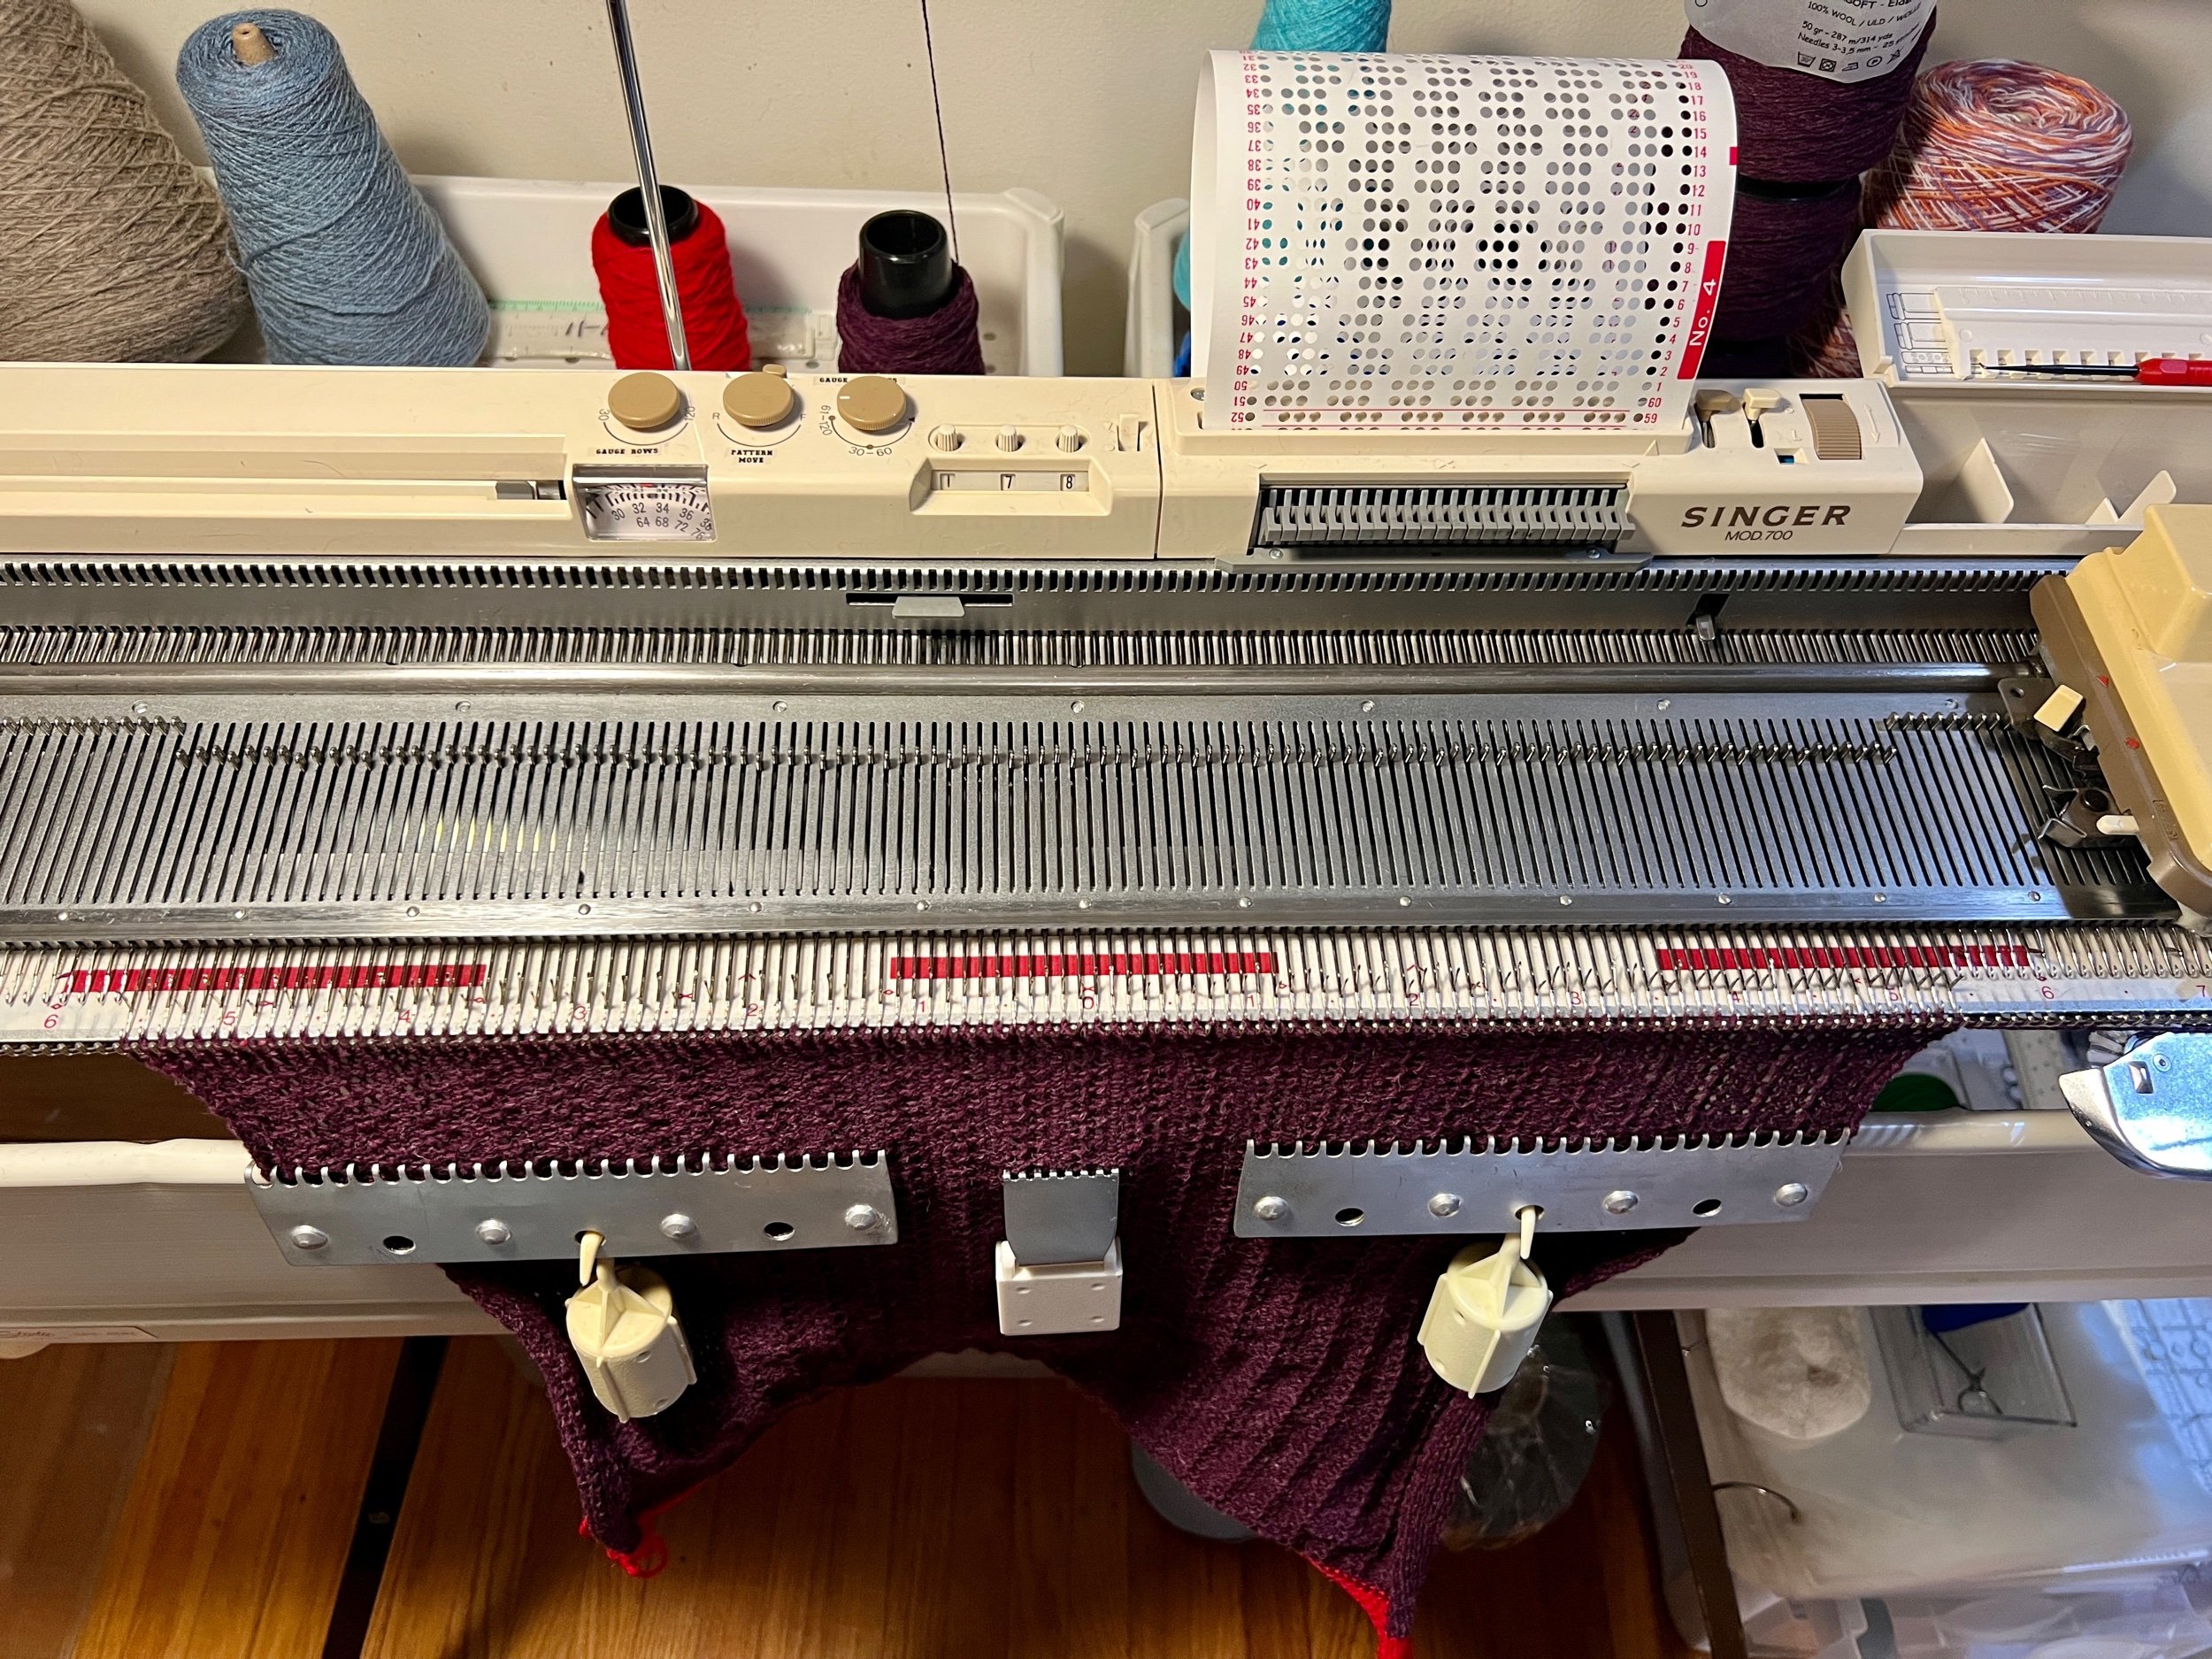
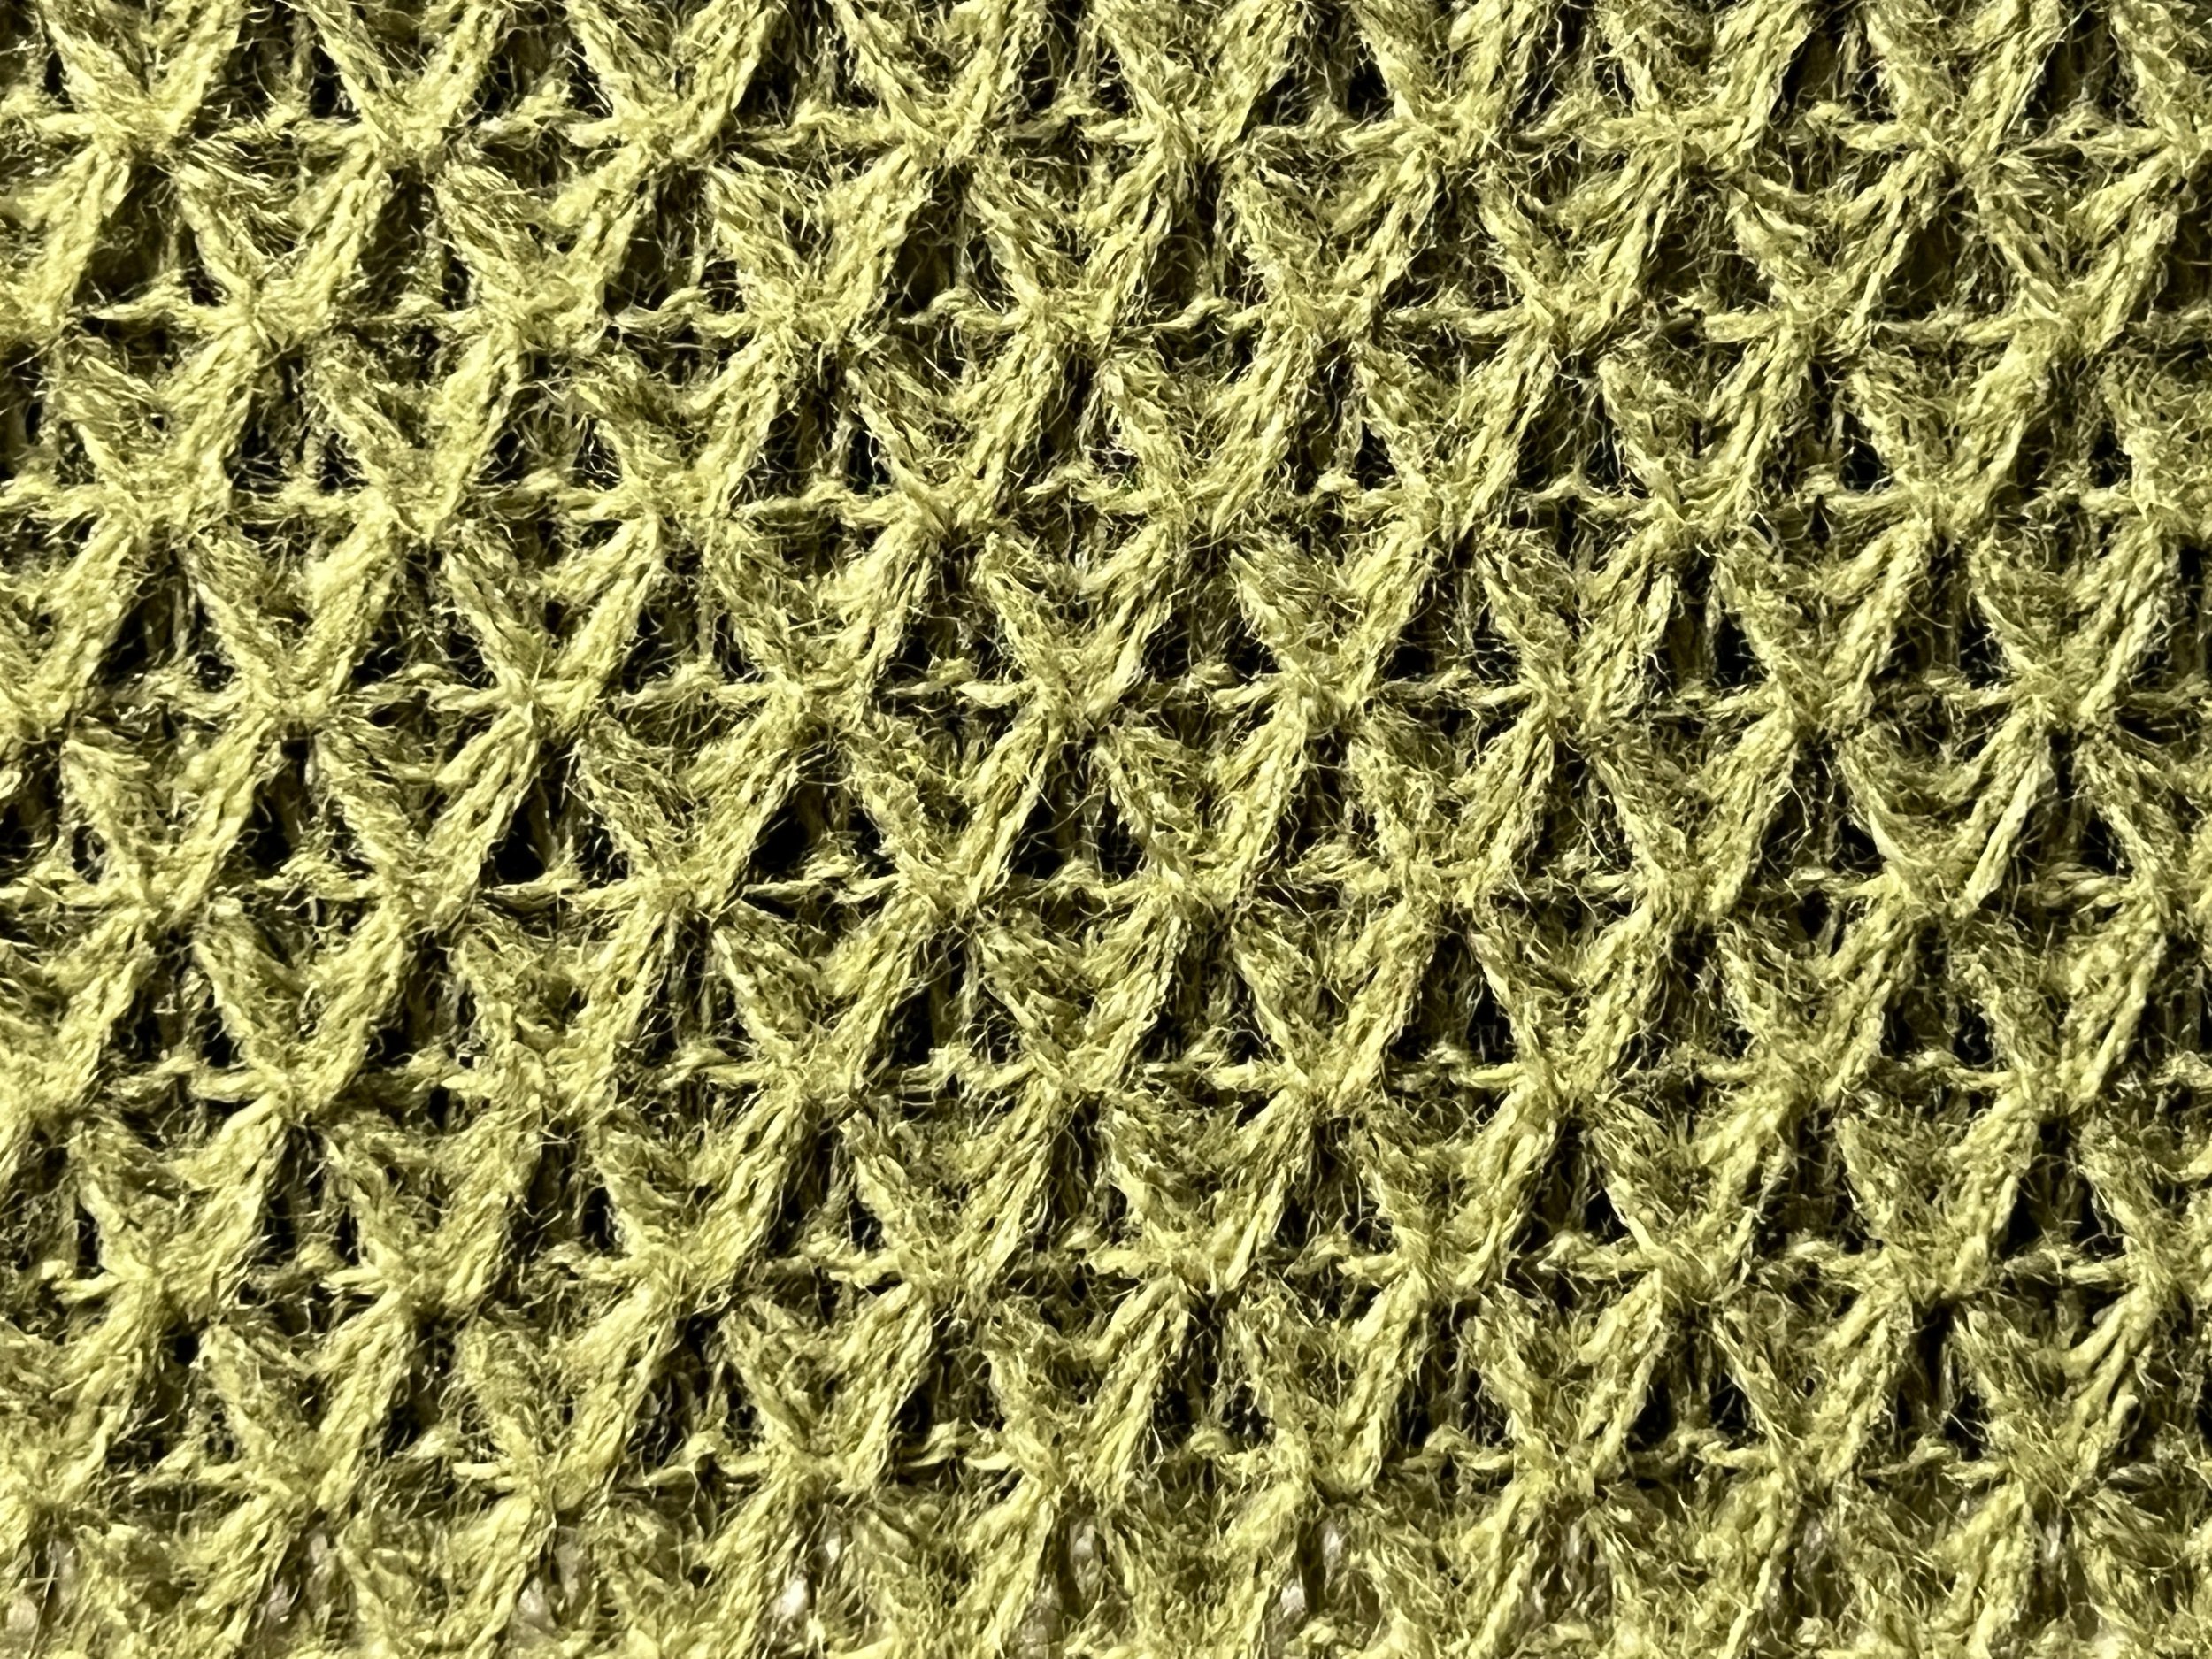
Tonight I chose this Singer Punch Card No. 4 in a tuck setting using some lovely wool yarn that I was generously gifted Christmas 2022. PROJECT is finished. Ravelry link.

This project spoke to me and I felt impelled to create and gift it. I hope she likes it (she did).

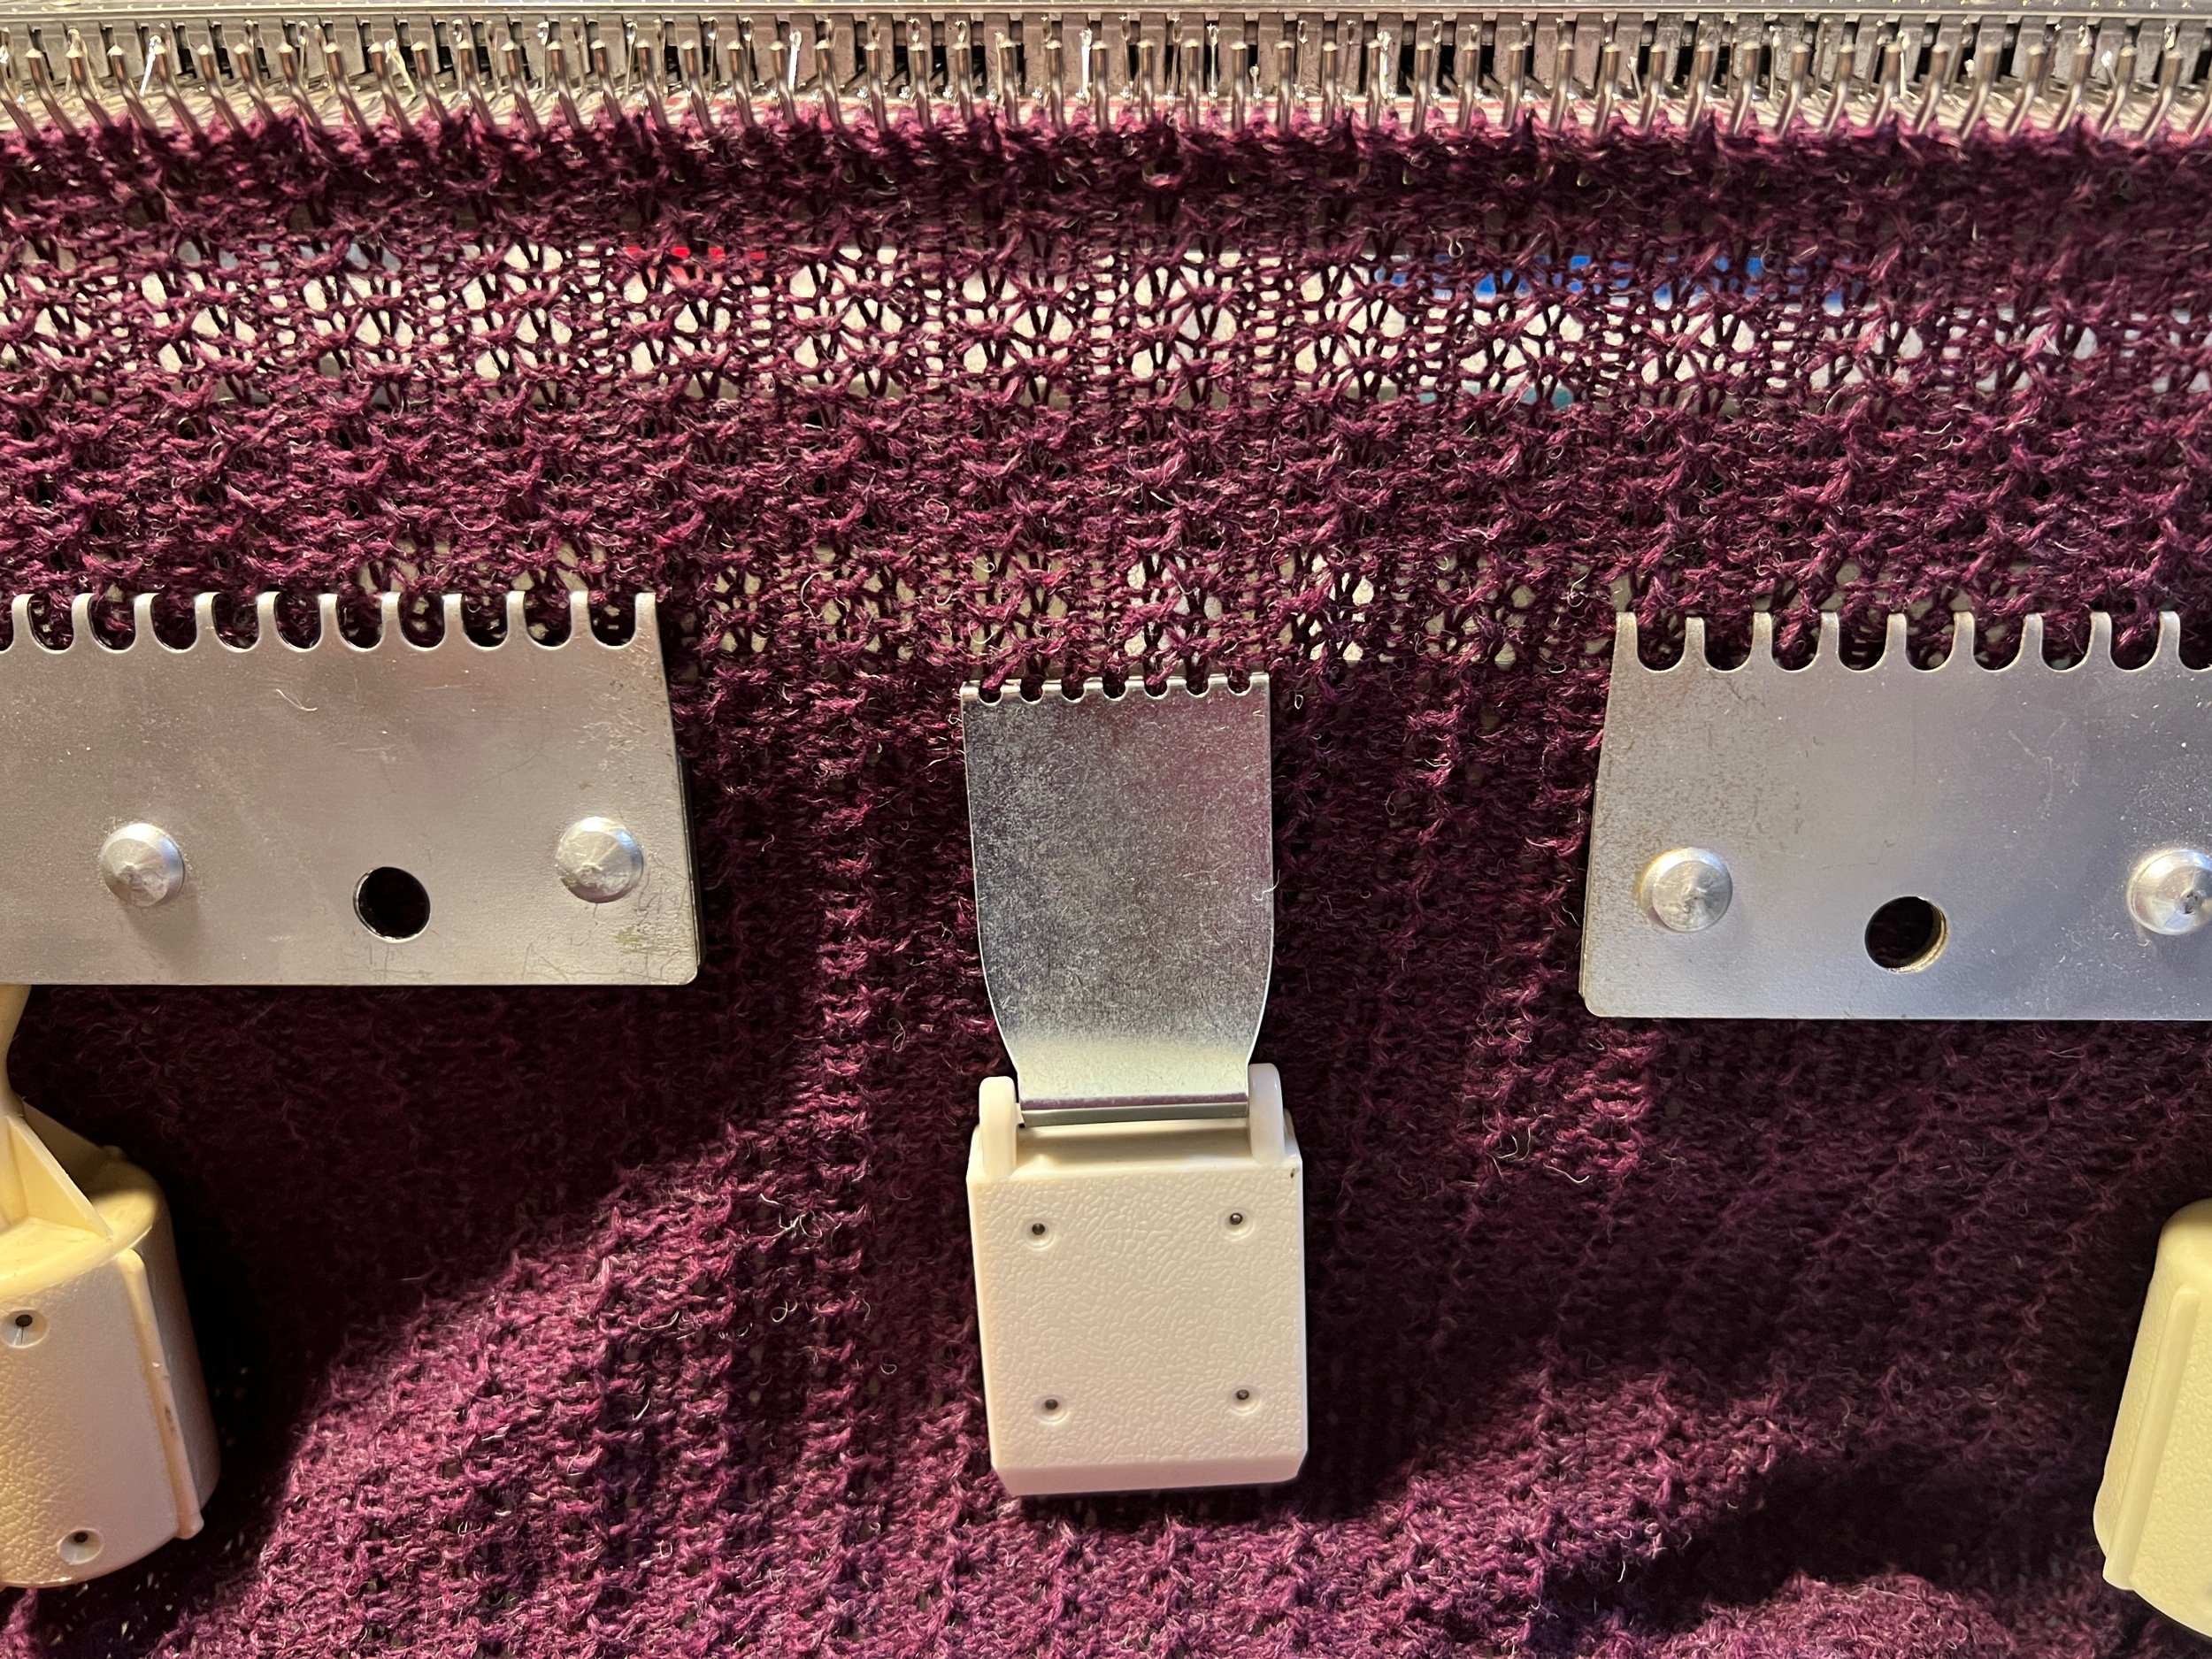
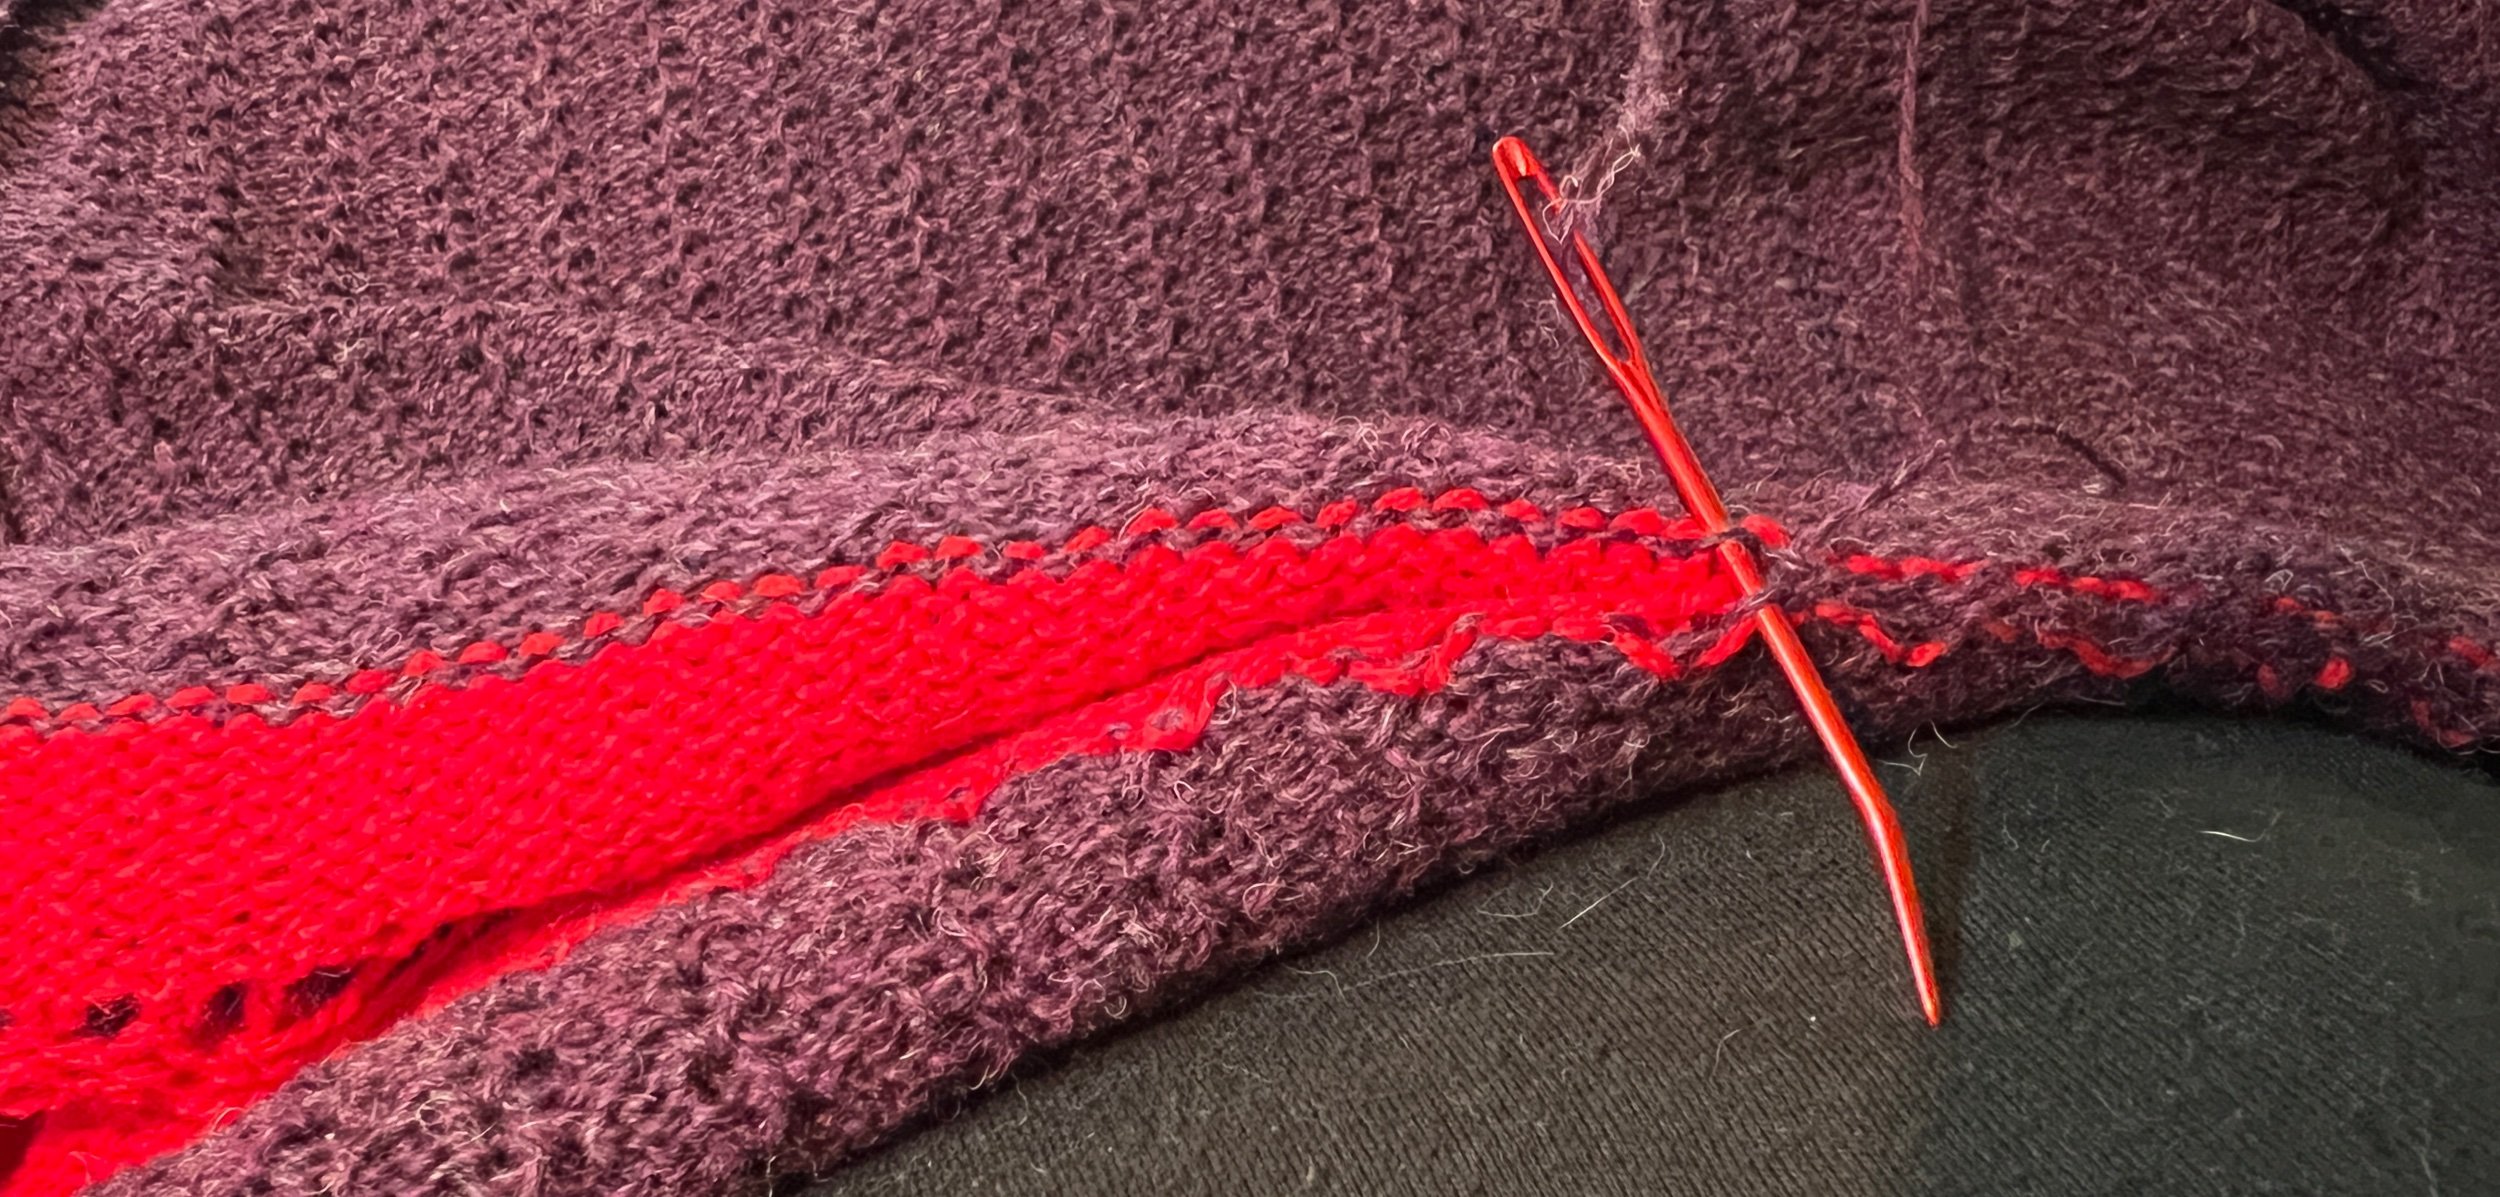
I first open cast on with 110 stitches using scrap yarn then setup the punch card No. 4 with the mast tension at 3 and the carriage tension dial at 4. I worked 1120 rows and added scrap to then take the project off the machine. I then joined the two ends using kitchener from the Purl side (I find that easier) see my video on doing that. Once done the end joining I laid it flat and partially joined with crochet, the edge seam (allowing for an open I joined edge on both ends - about 6 inches for arm clearance).

I hand washed and salad spun (then towel squished) this project and the next day it was ready for gifting.

This item is a long rectangle folded in half so that the joins are mid project. One long side is joined with space open for human arms. The garment is approximately 38cm wide (x 2) and 88cm long (x 2).


INSTAGRAM POST: one | two | three | four |


See all Blog Entries on the BLOG INDEX page

2023 Jan 8 - Tuck Bedspread with Card 7

Using all needles I OPEN cast on with the Ravel Cord then hung the comb/weights.

I worked 10 rows of scrap and then with the carriage on the left I switched to my project yarn.

I worked 6 rows and with the carriage on the left, then put the side russell levers up and set the punch card left lever to read the card on the left to right next row. (Left lever down). Work the left to right row.

Now with the carriage on the right I set the carriage to TUCK and moved the punch card left lever UP. I moved the punch card to L (which makes the pattern LONGER). Reset row counter.***** I made a mistake and worked two knitting more rows then switched to TUCK.

I am aiming for a minimum 88” long blanket (edge of bed to top of pillow). The pillow area is 20” long.

THE LEFT PANEL IS DONE (but the segment partway under the pillow isn’t yet knitted - it will be done separately) The left panel used 500 grams of acrylic. The total row count of all (7 start basic knitting then to pattern then 7 rows of basic knitting) is 1946 (shows as 946 as it only shows three digits). The left panel is approximately 100” long with maybe a three inch length over the end of the mattress.

NOW FOR THE RIGHT PANEL - I only have 145grams of yarn. So thinking on the fly.

EDIT: Jan 26/23 after finishing three long panels and linking (joining them on a linker) I decided to start over Instagram post I will create a new blog entry.

Learning moments:

-ensure pattern is not worked to the edges (makes joining panels not fun)

-plan blanket Color’s for a nicer look

-joining as you go is slow but a wonderful way for both knit and Purl sides to look presentable as a blanket. (Learned after the fact).


See all Blog Entries on the BLOG INDEX page

2023 Jan 8 - Kitty Fair-Isle Twisted Scarf

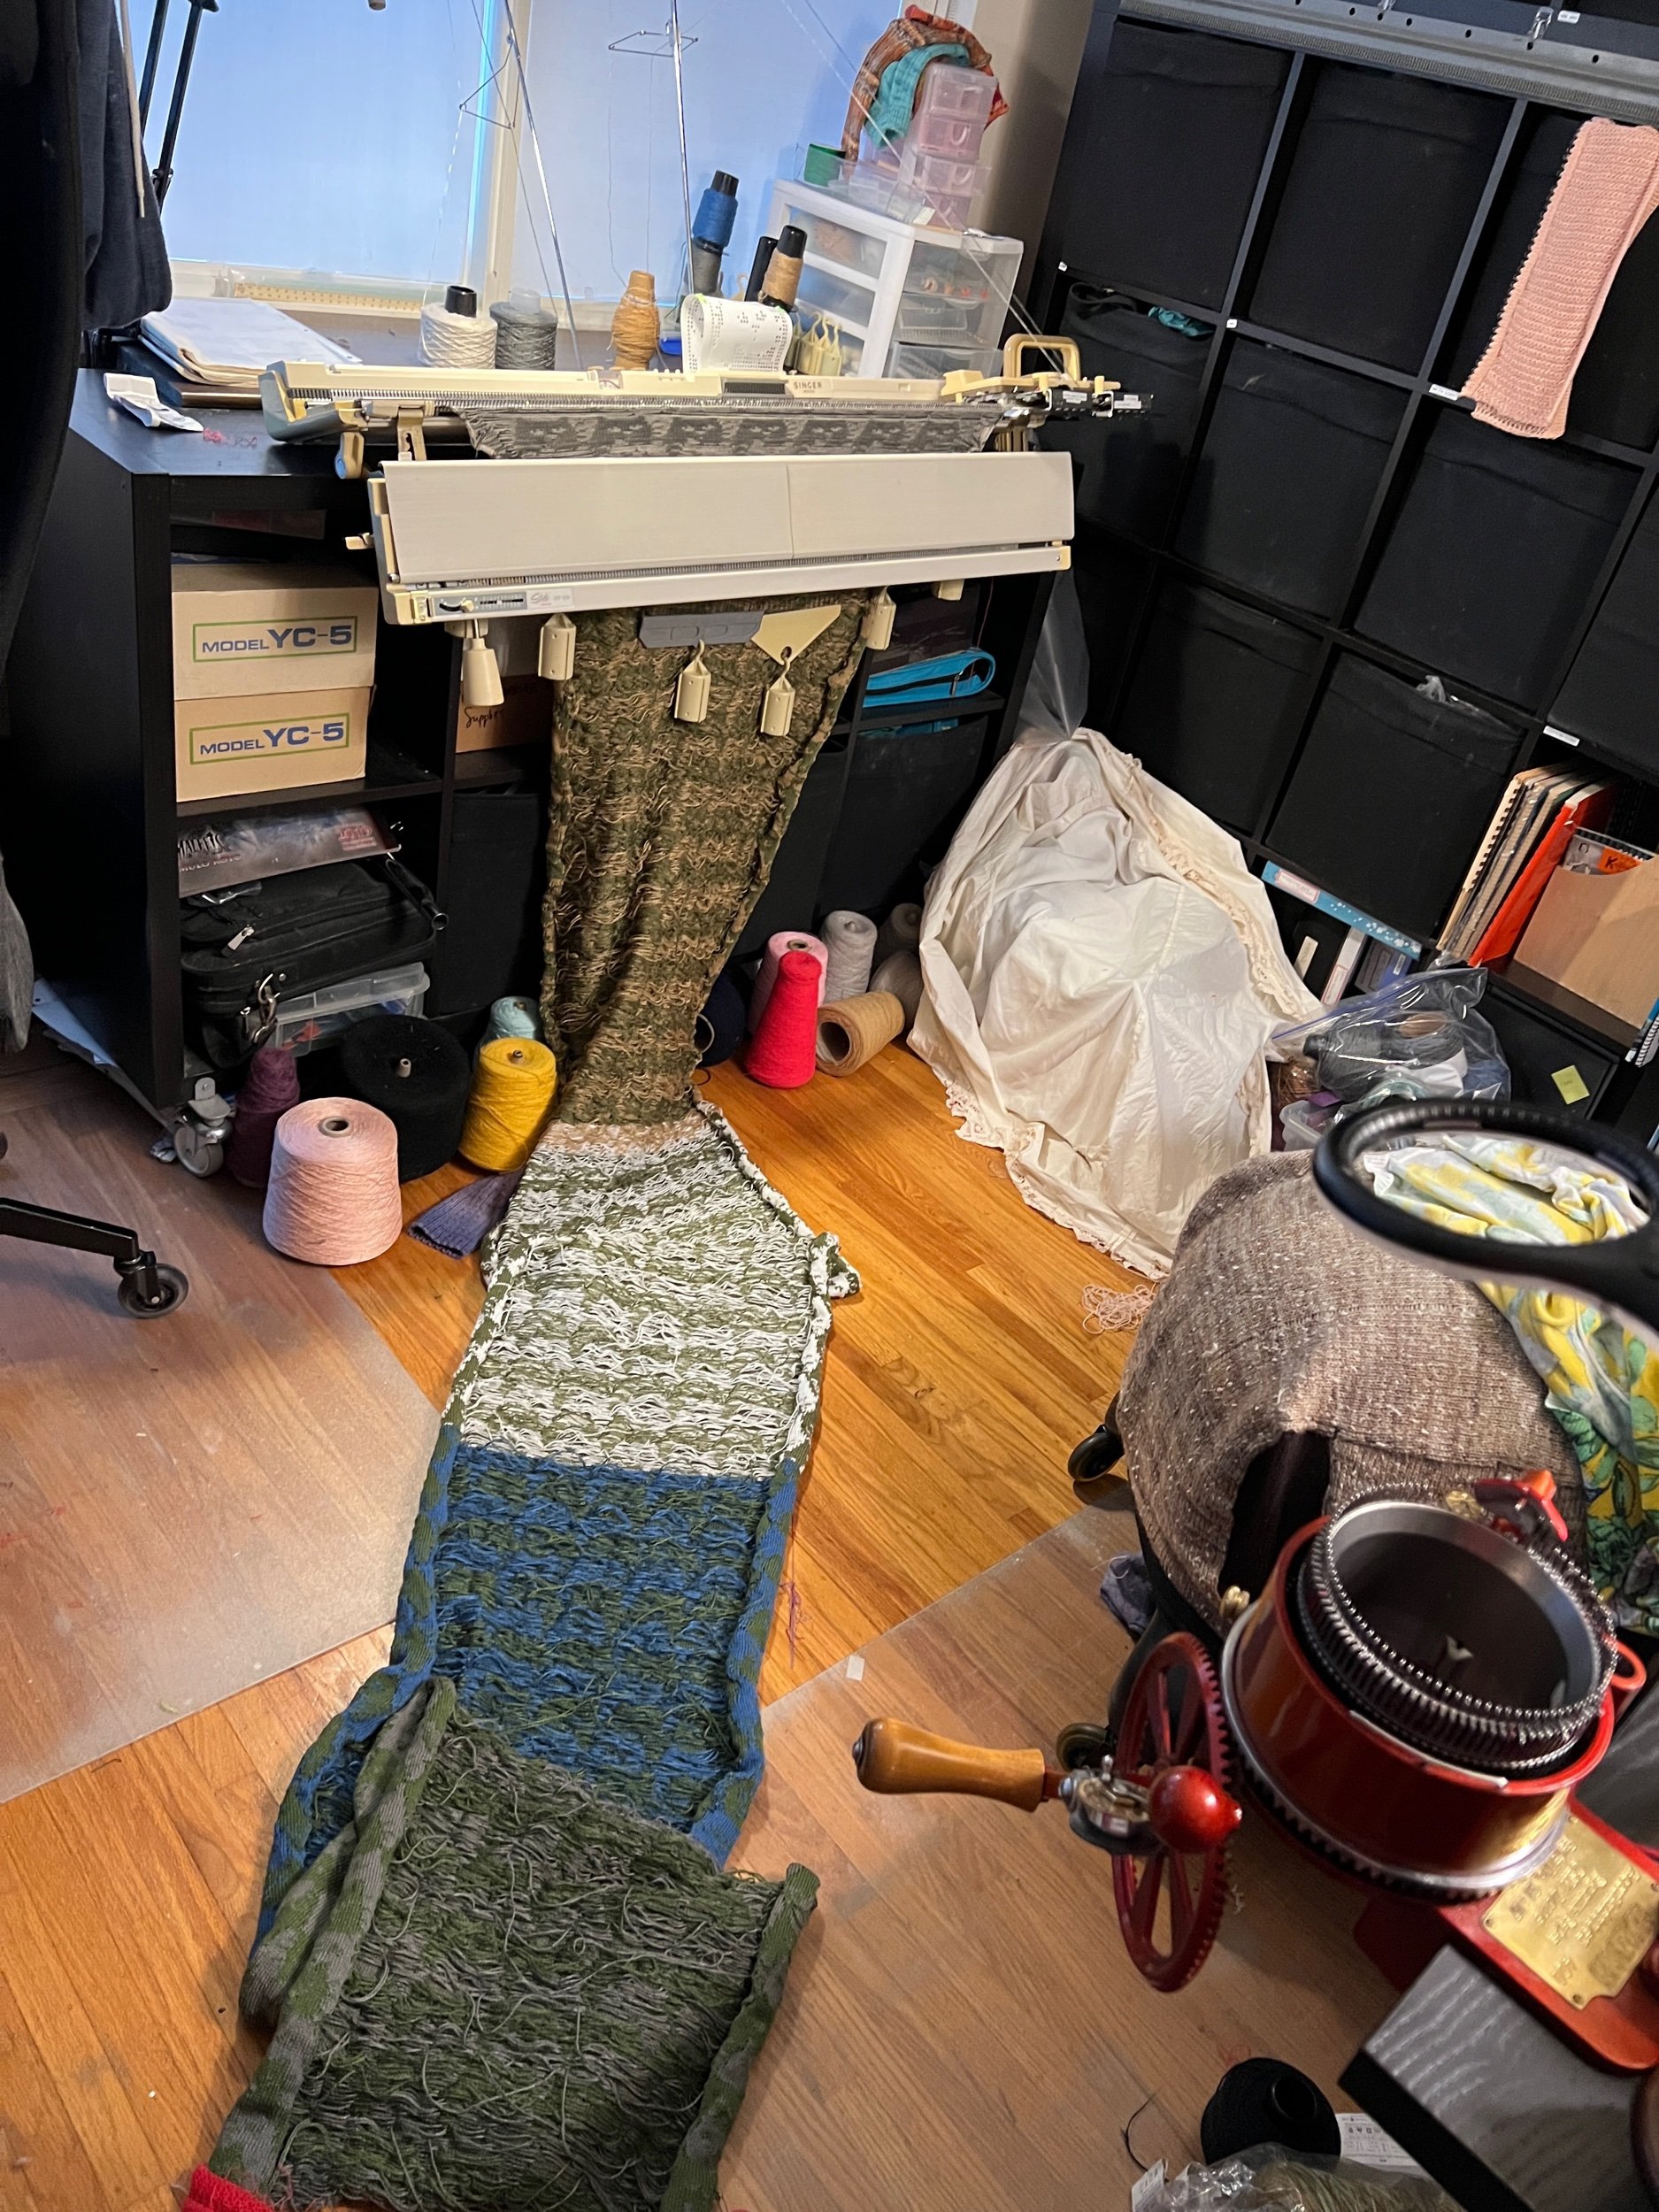
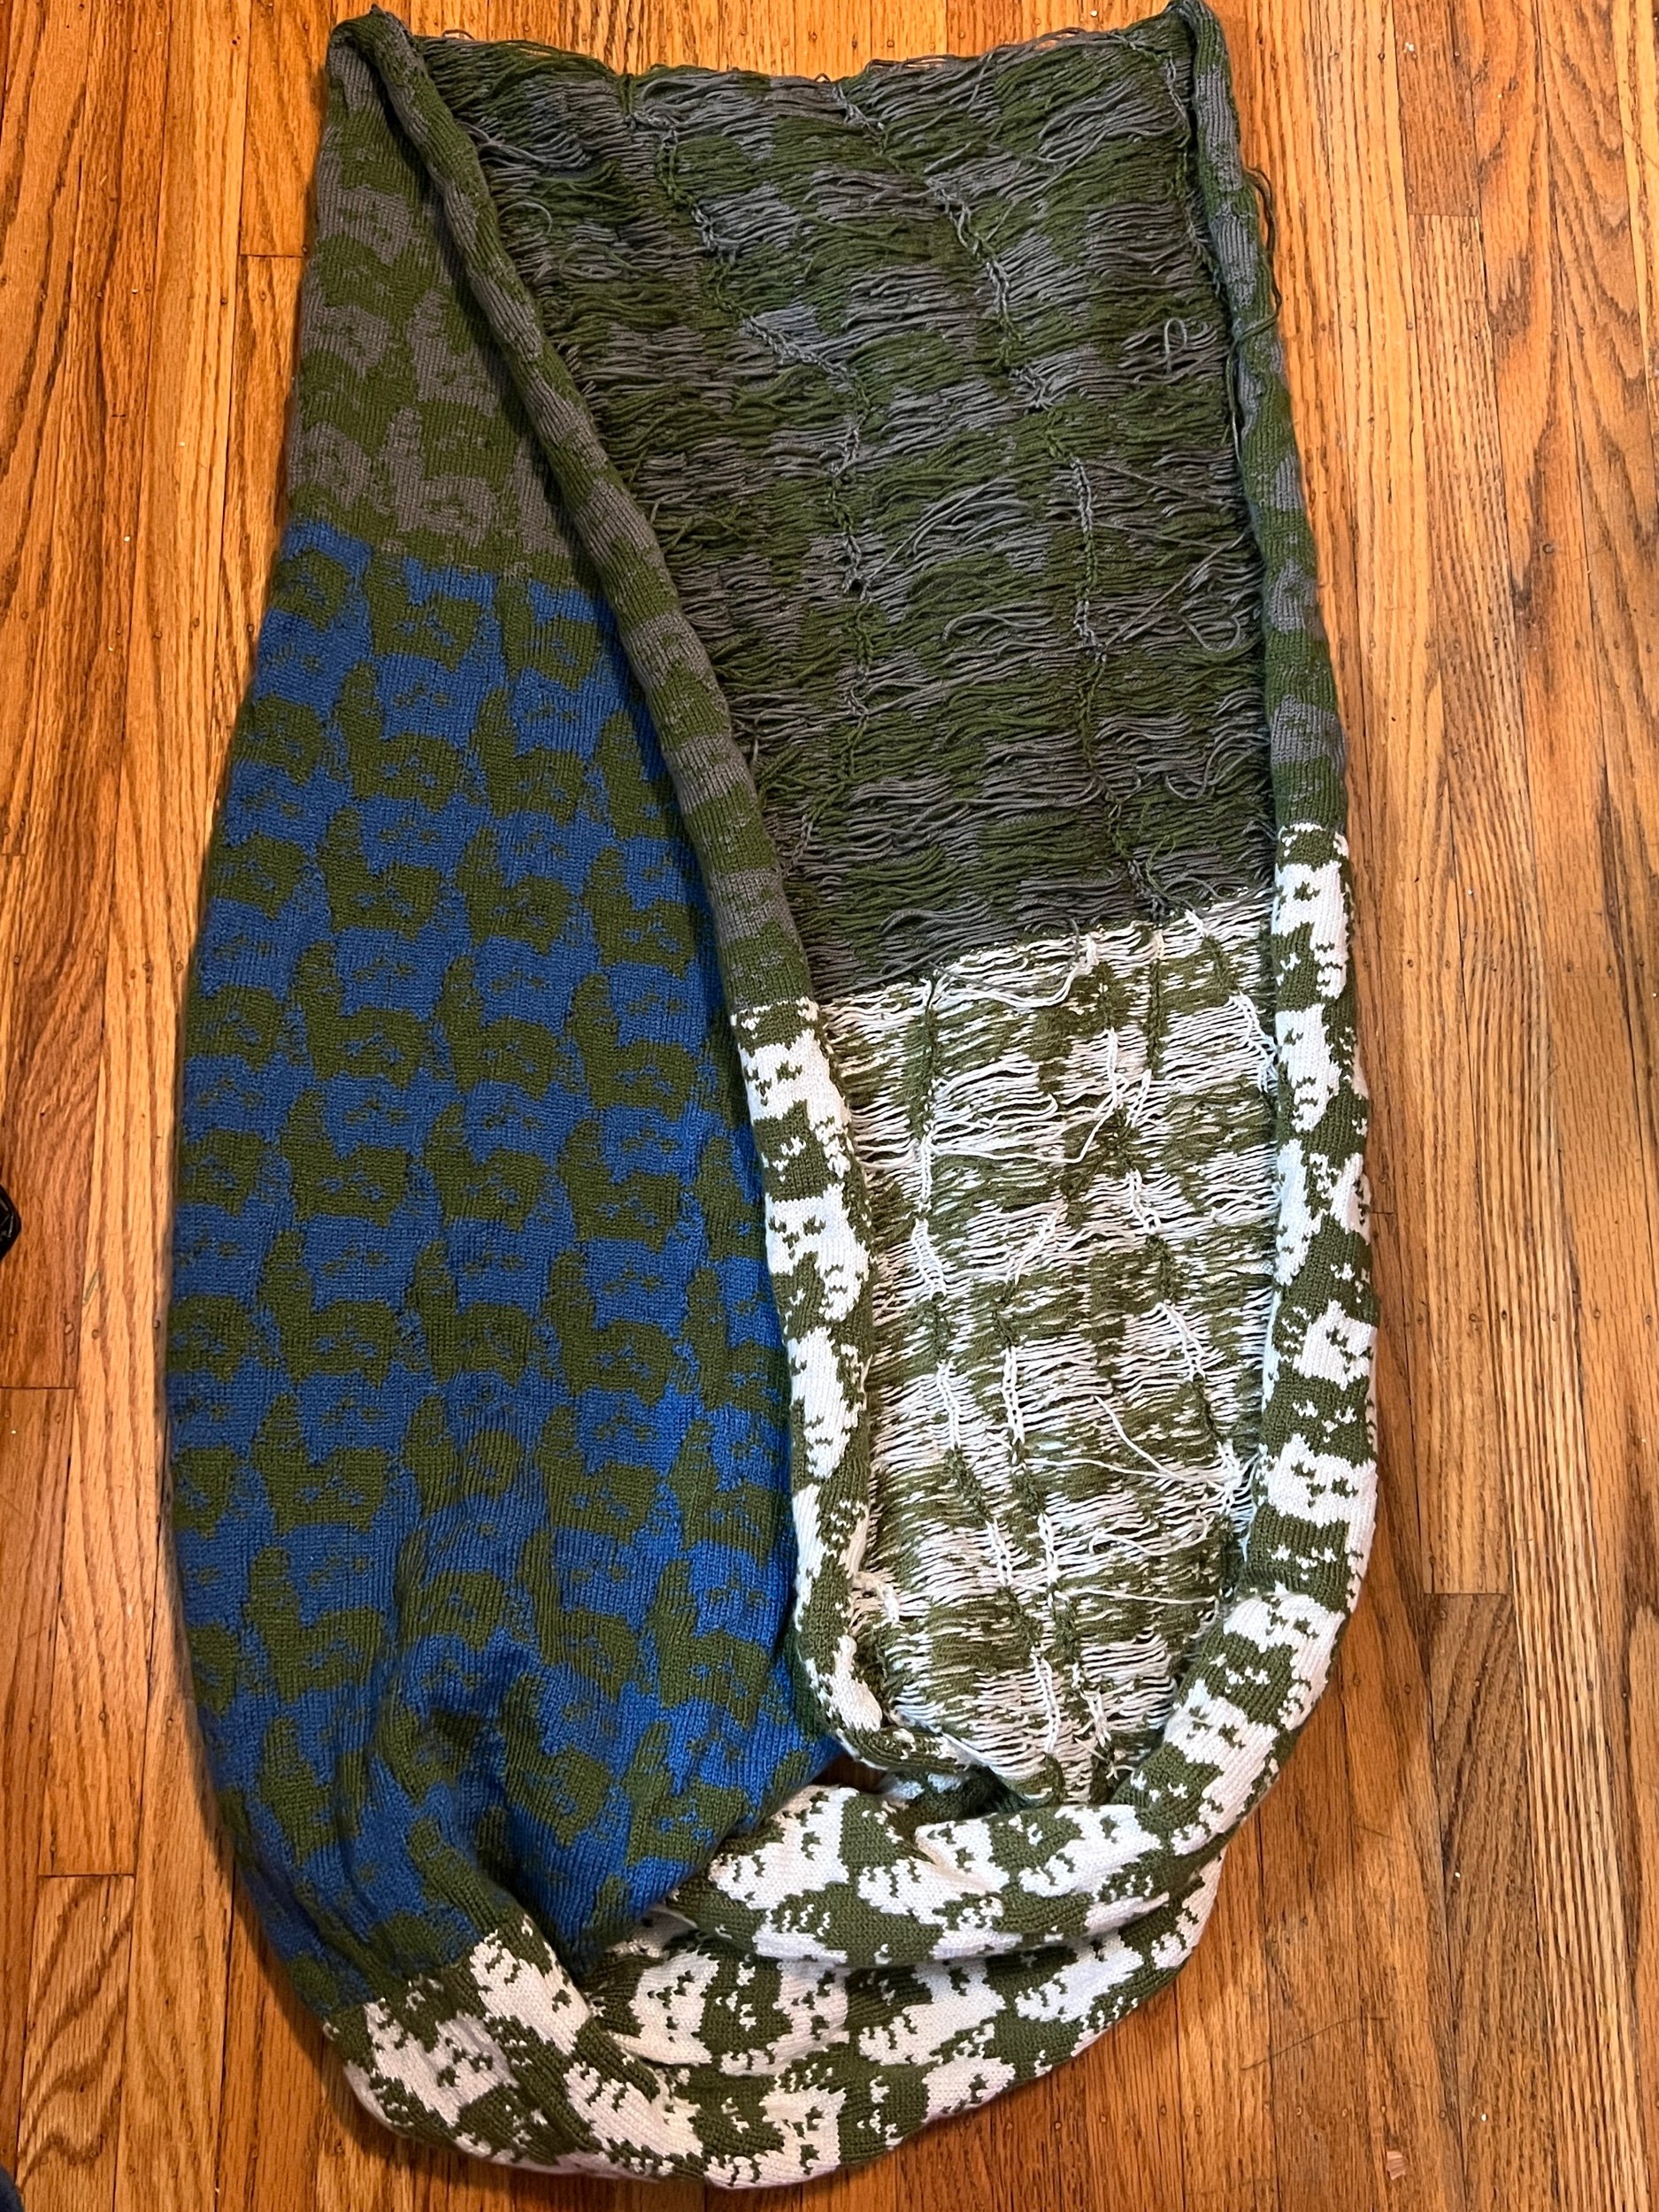
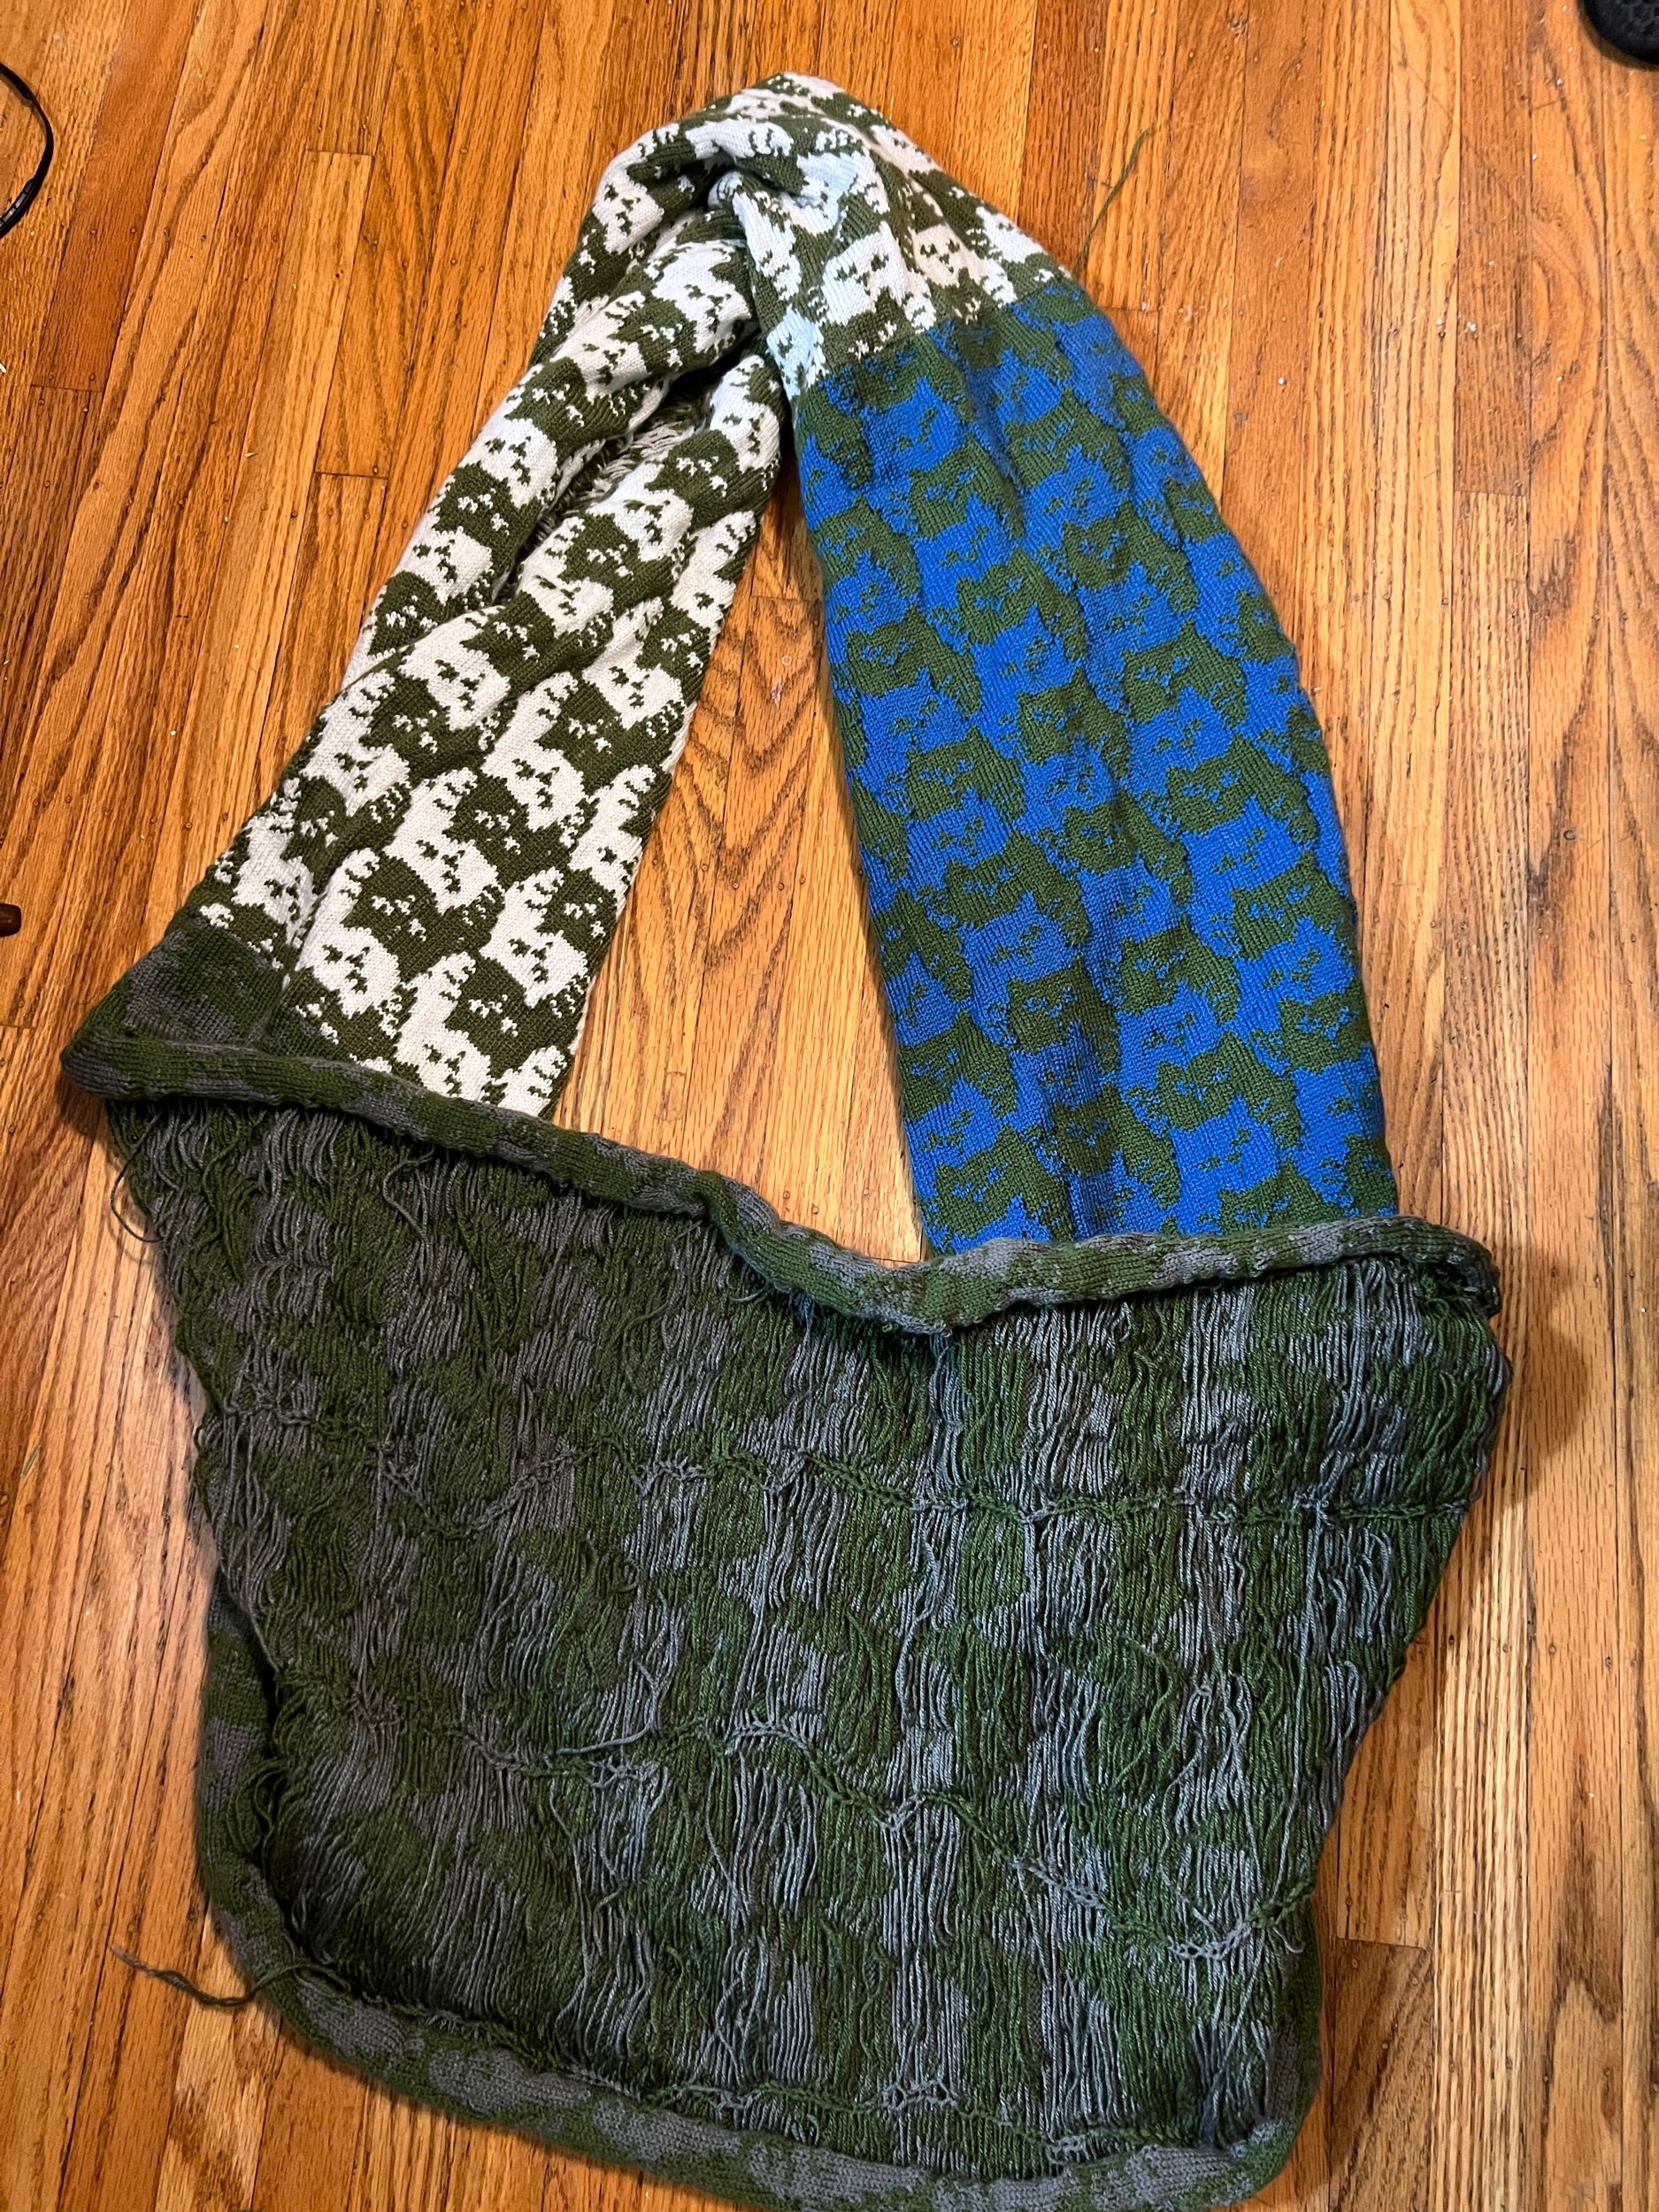
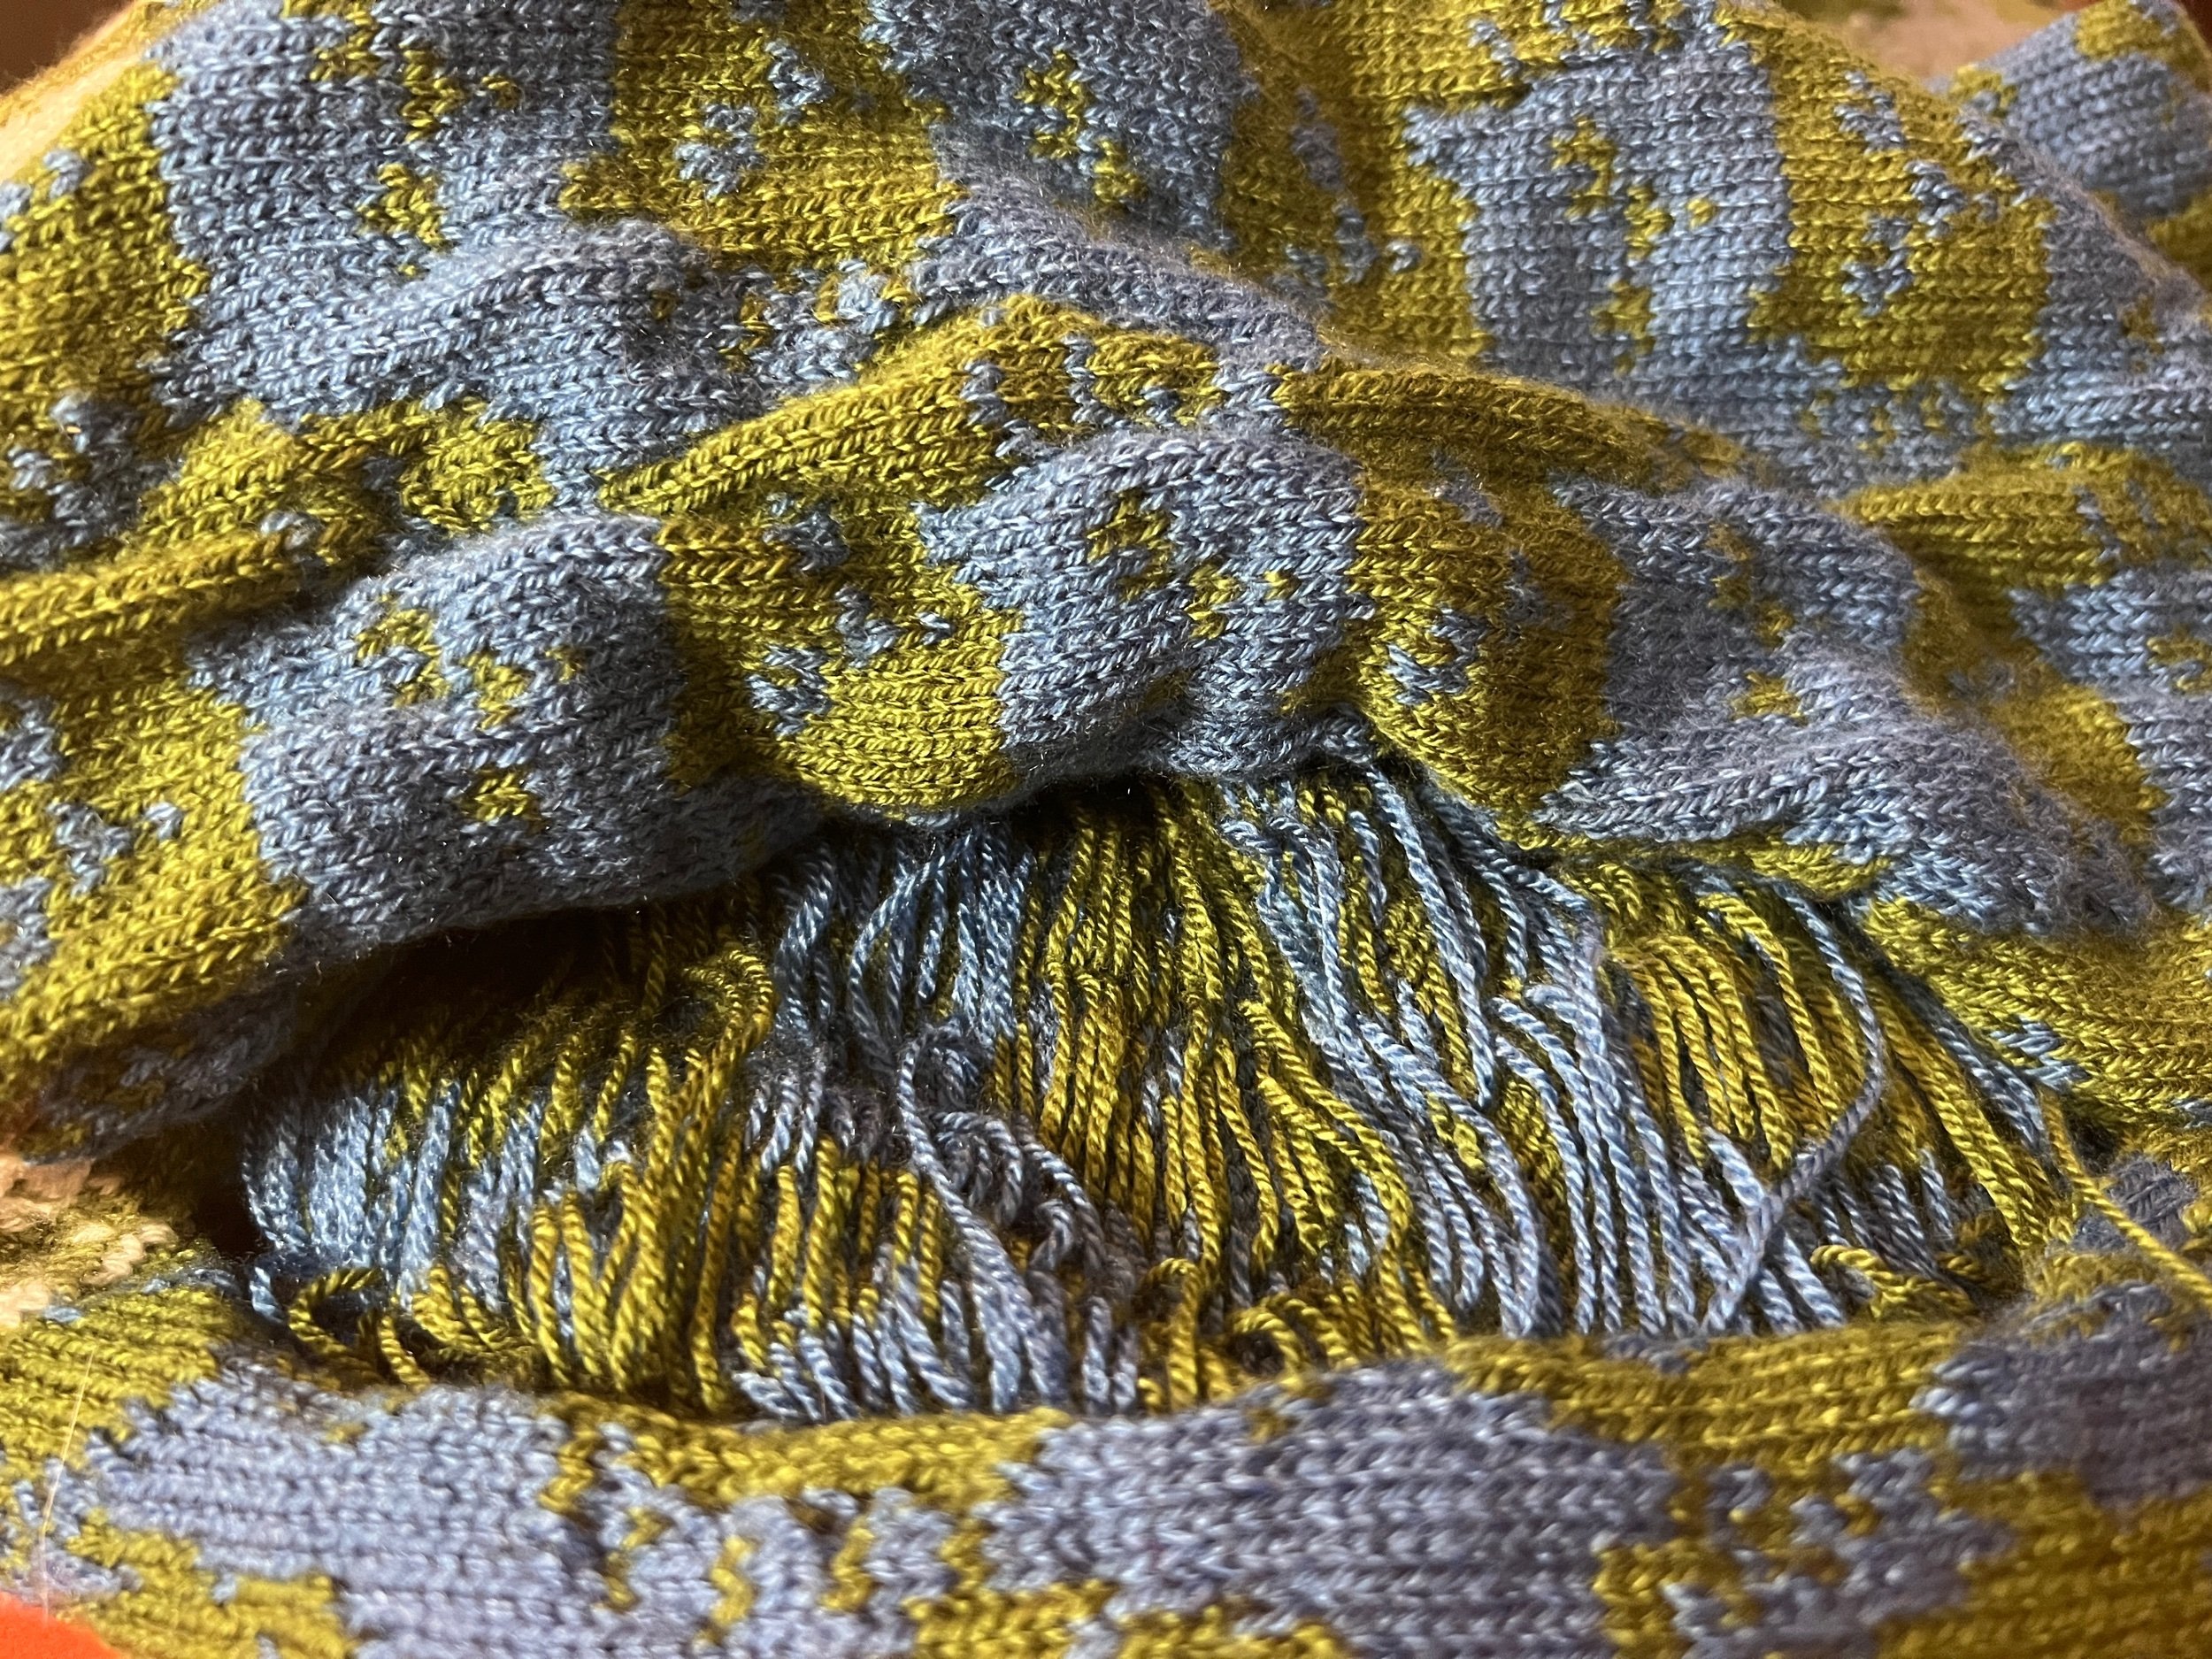
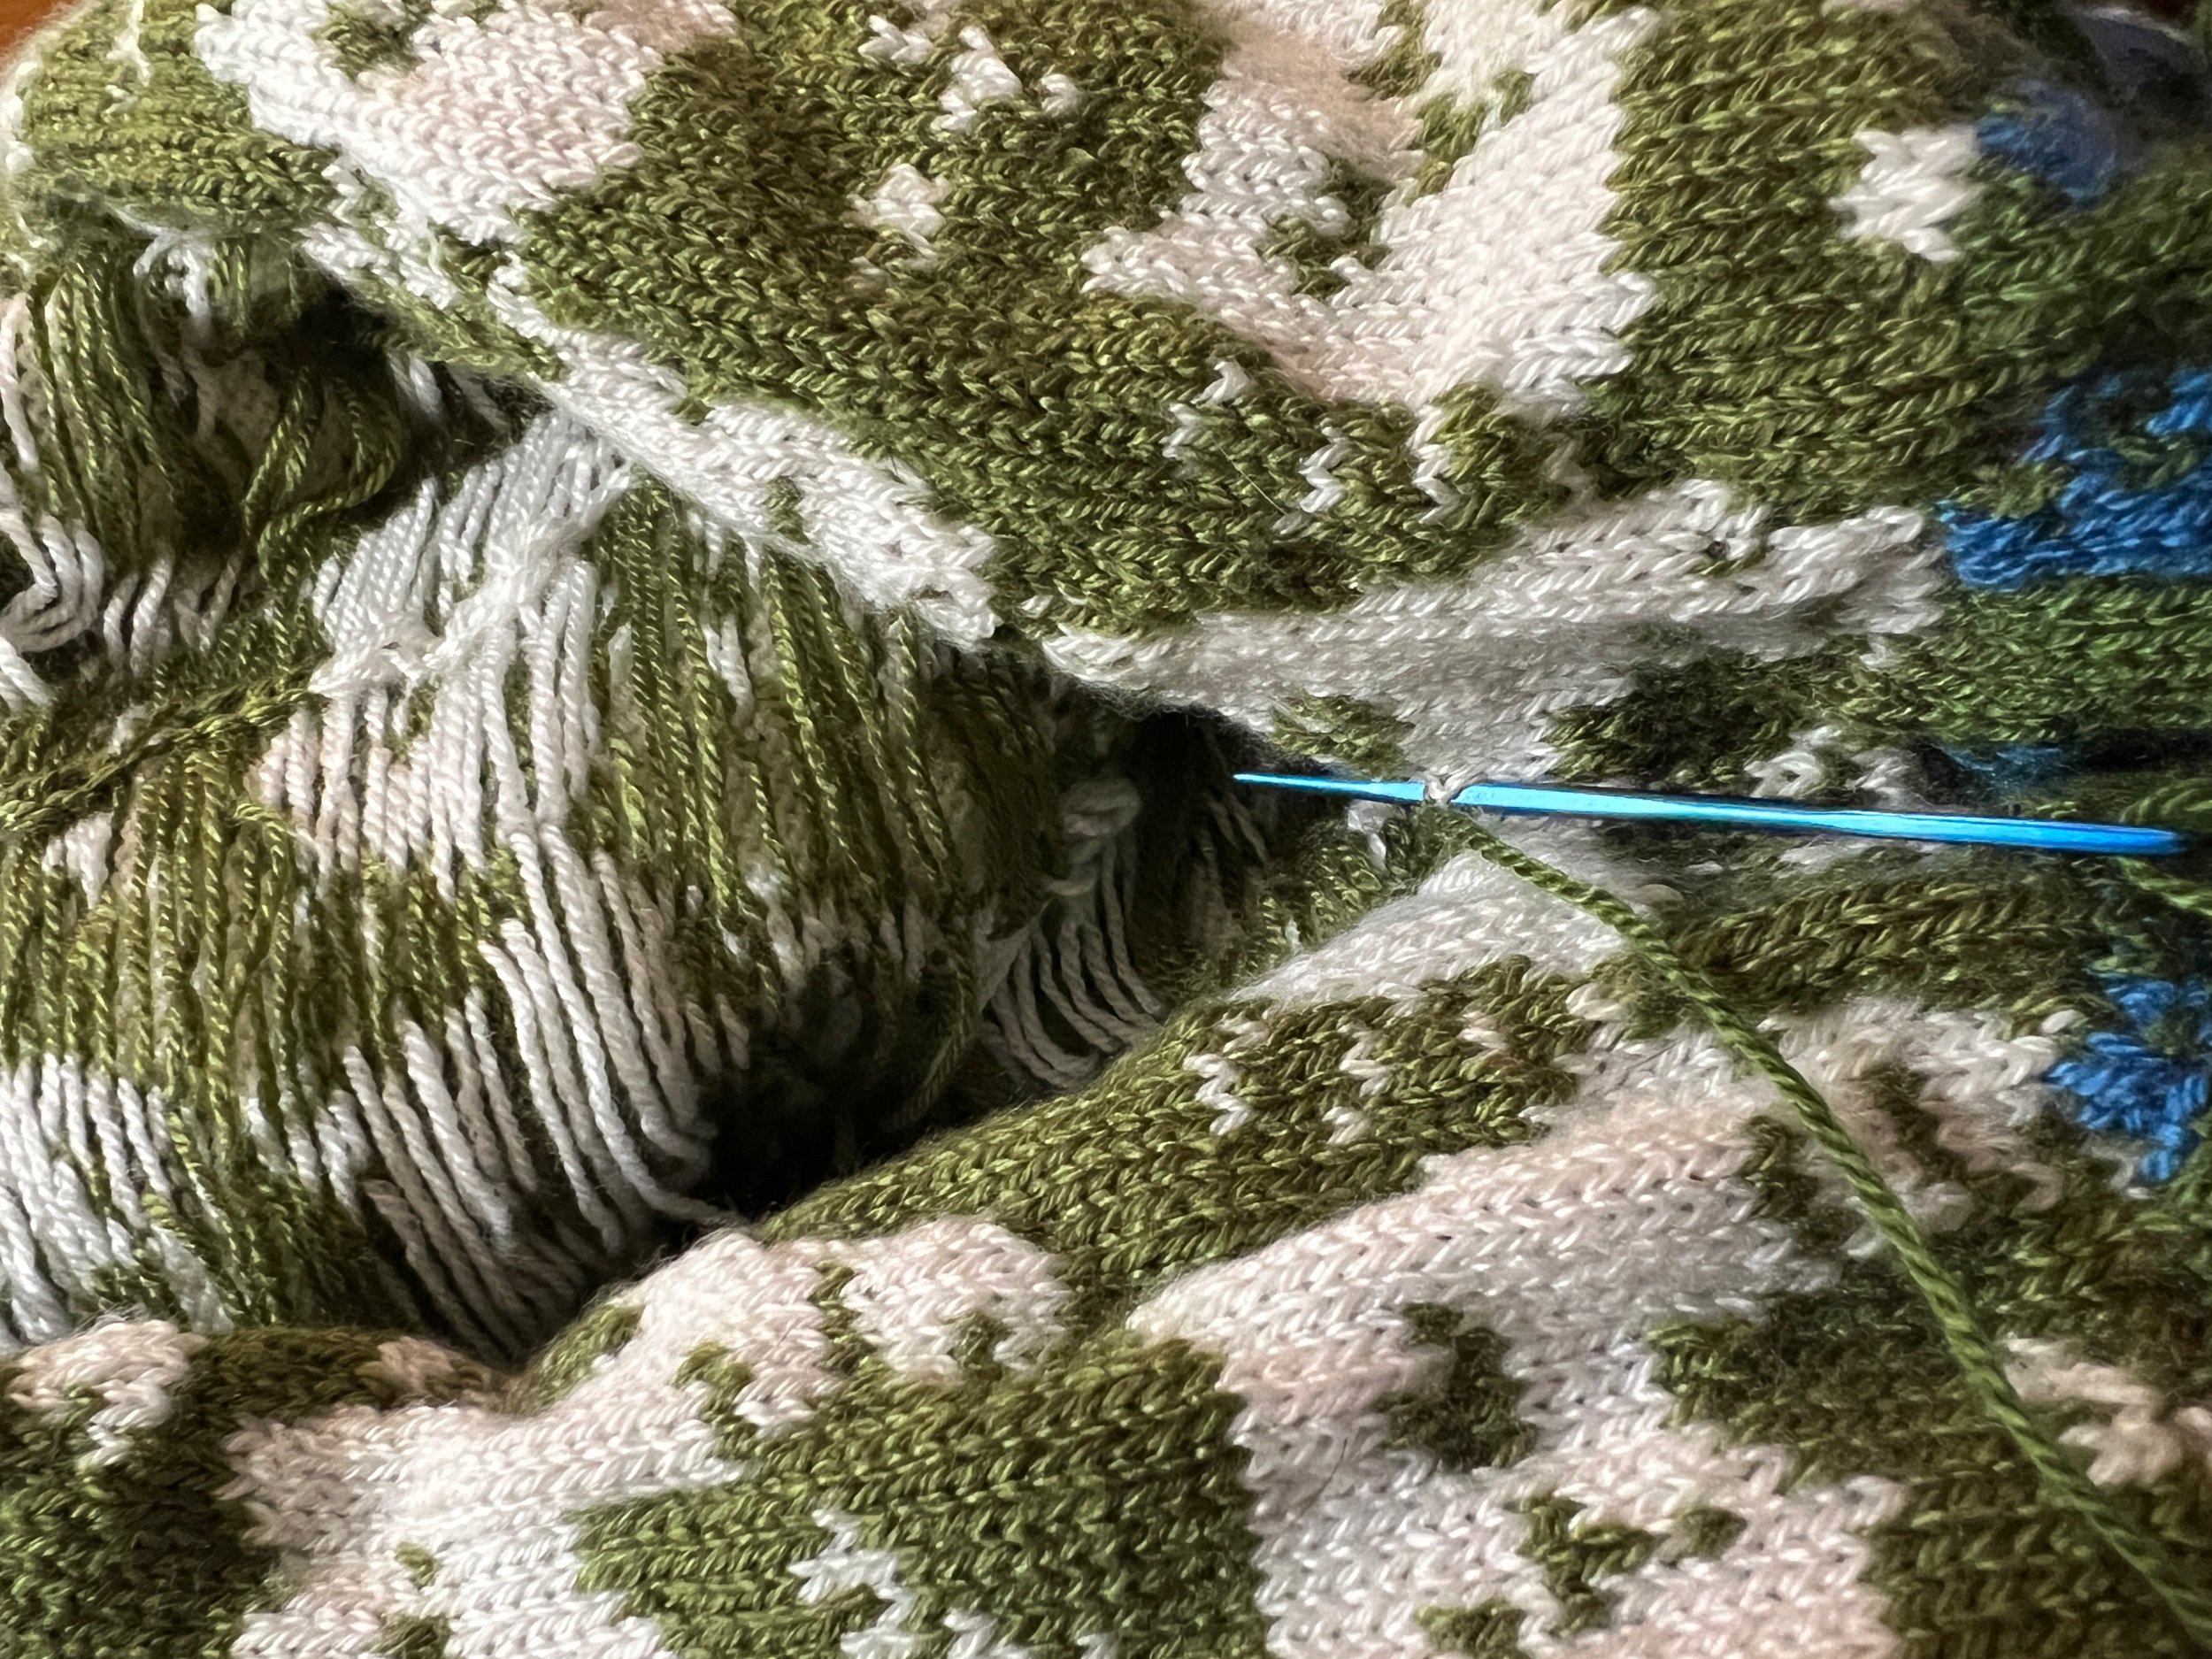
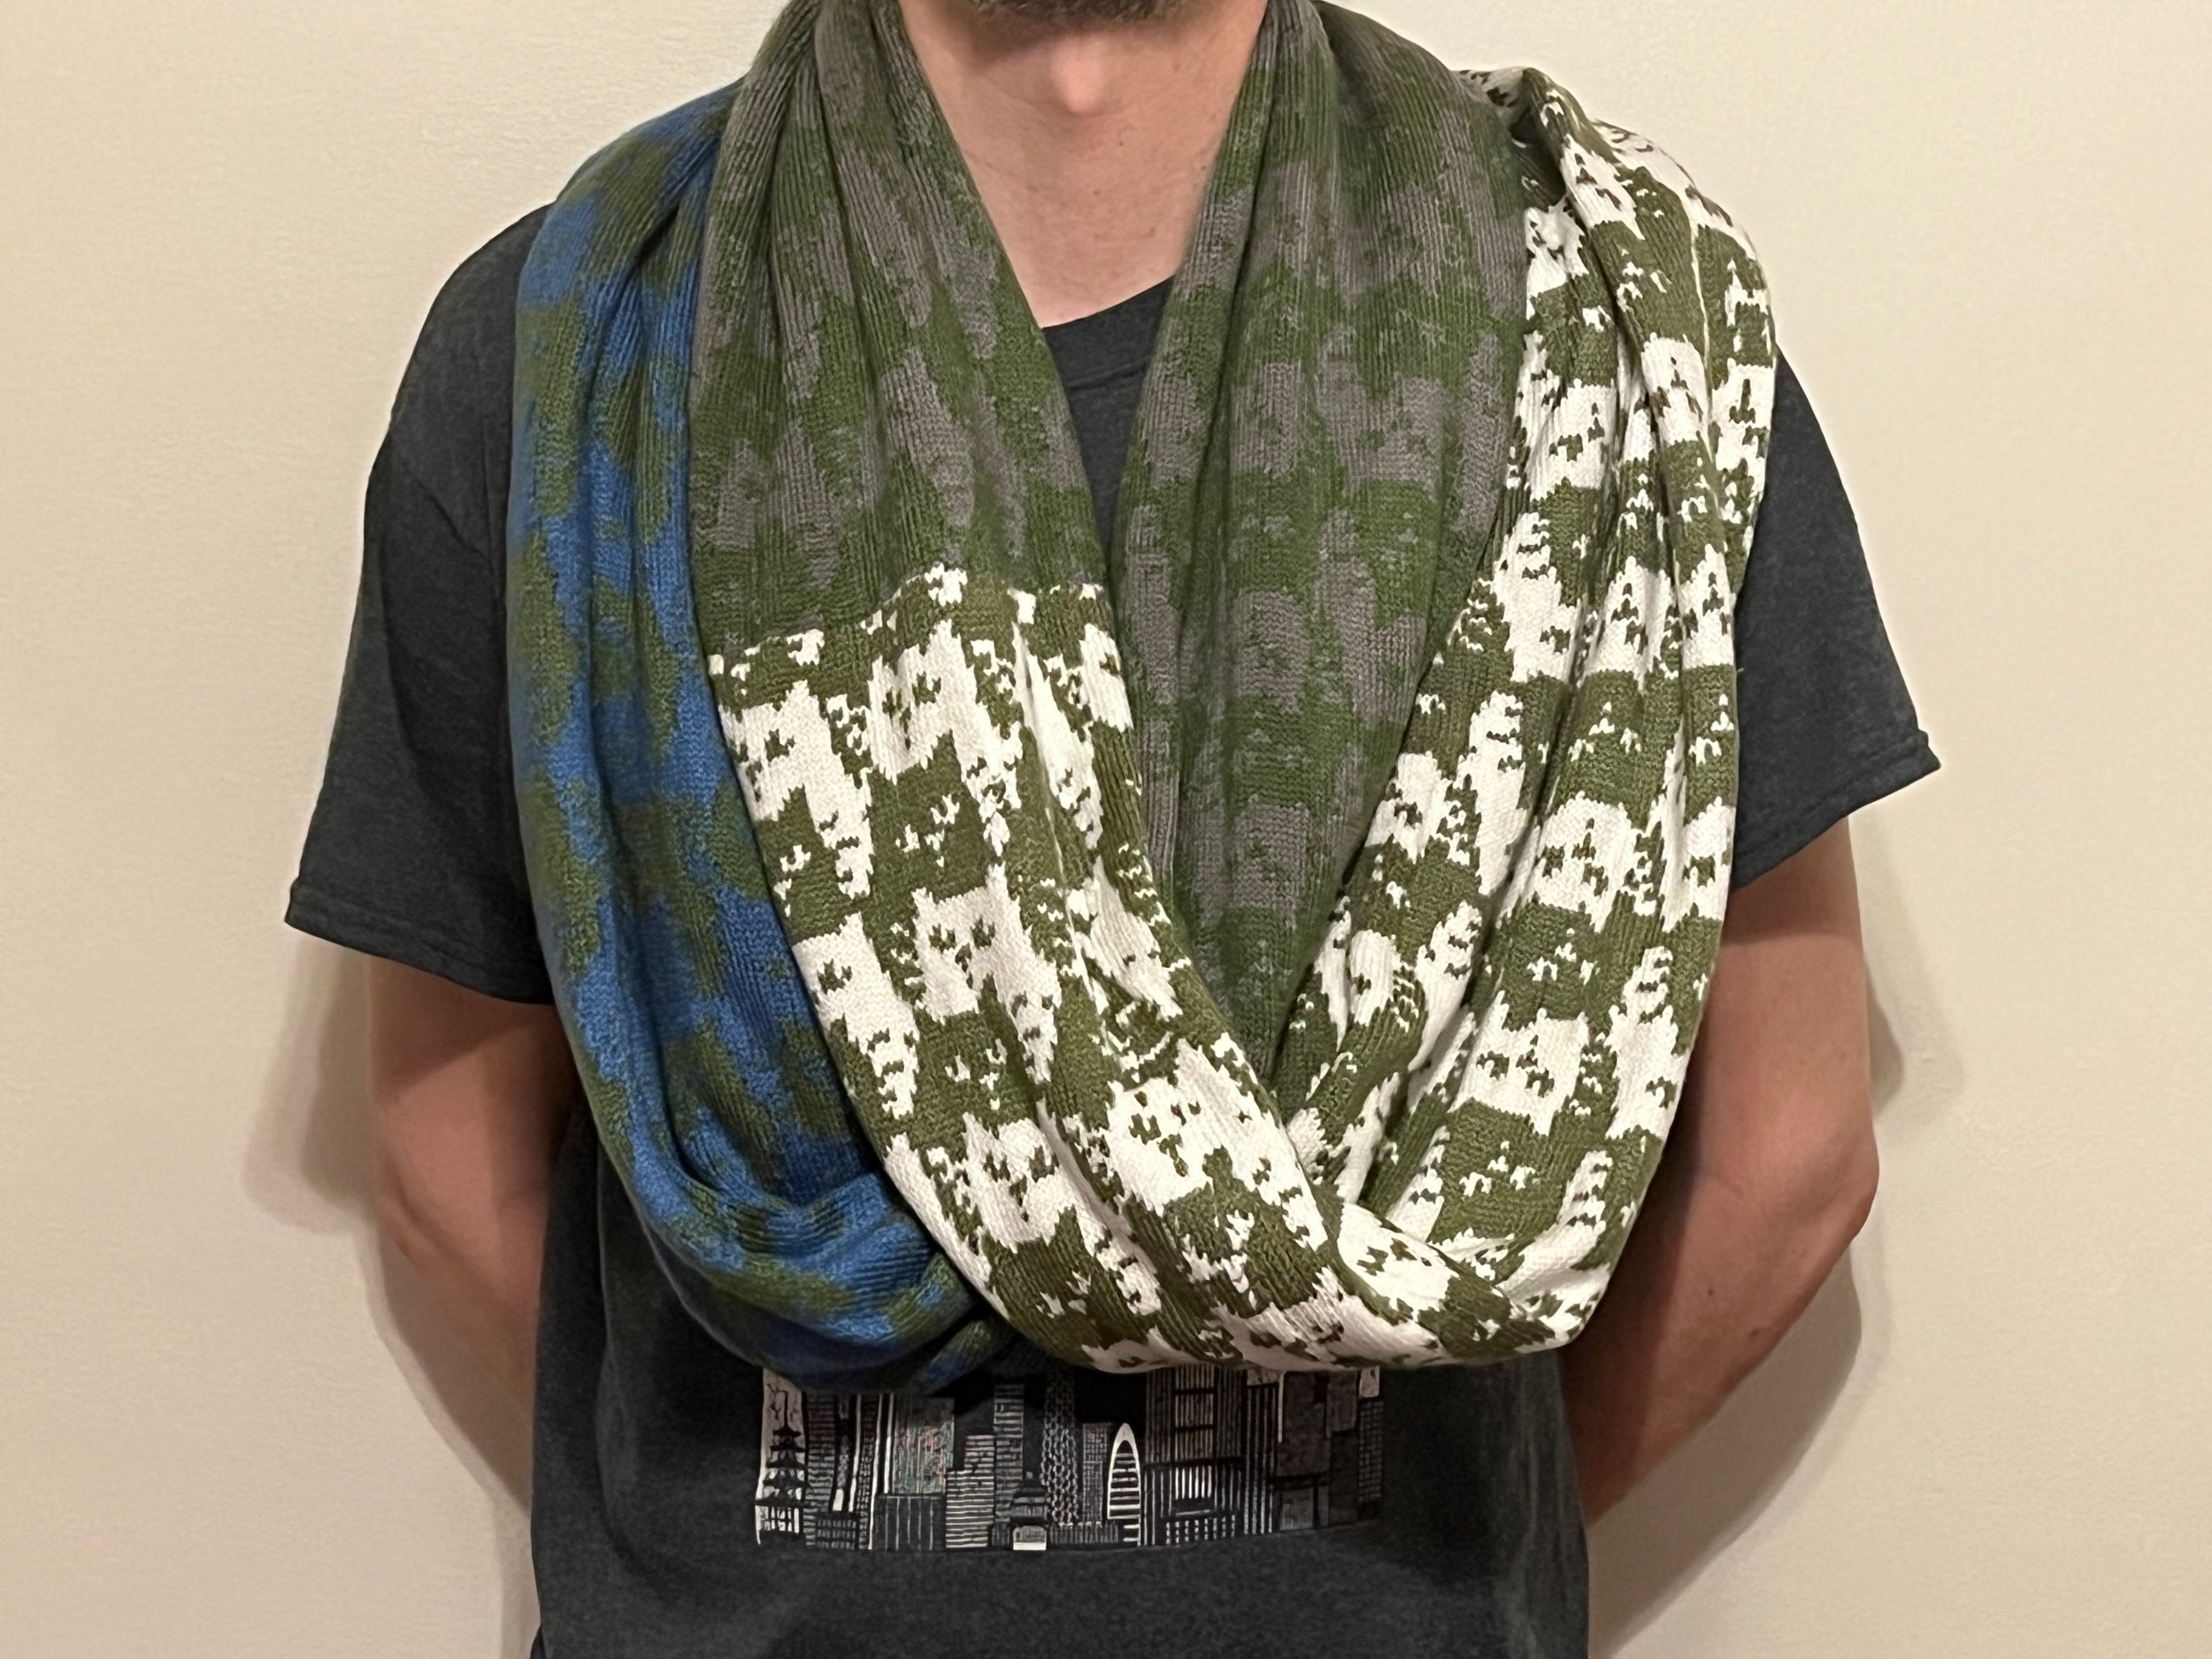
This is my first fairisle major project done on my Singer 700. I used all of the 200 needles and created a modified version of a kitty punch card I had seen online. Created using just under 600 grams of acrylic/nylon, this project is a Christmas 2022 gift for D.

This project came off the flat bed knitting machine as a long rectangle. I decided to swap some of the color blocks after knitting them - which I don’t recommend as I then had to manage the live stitches on each segment. I then Purl side kitchenered each length until the project was a long rectangle, then twisted one end one full 360 degree turn and kitchenered the ends to create a long circle. Having not worked fairisle before the beehive of yarn bars and floats on the Purl size was unnerving, with some dropped stitches and some inconsistencies in the knit side fabric. I then spent way too many hours running the latch hook up the Purl side, chain stitching a total of five vertical bars to help secure long yarn floats. To finish the project I mattress stitched the edges together then covered the project with a heat proof ironing mesh and steam/ironed the acrylic/nylon fabric (protected from direct heat) - which brought out the gorgeous final view. This project was started maybe a couple days before Christmas 2022 but not fully worked on due to too many things going on at that time

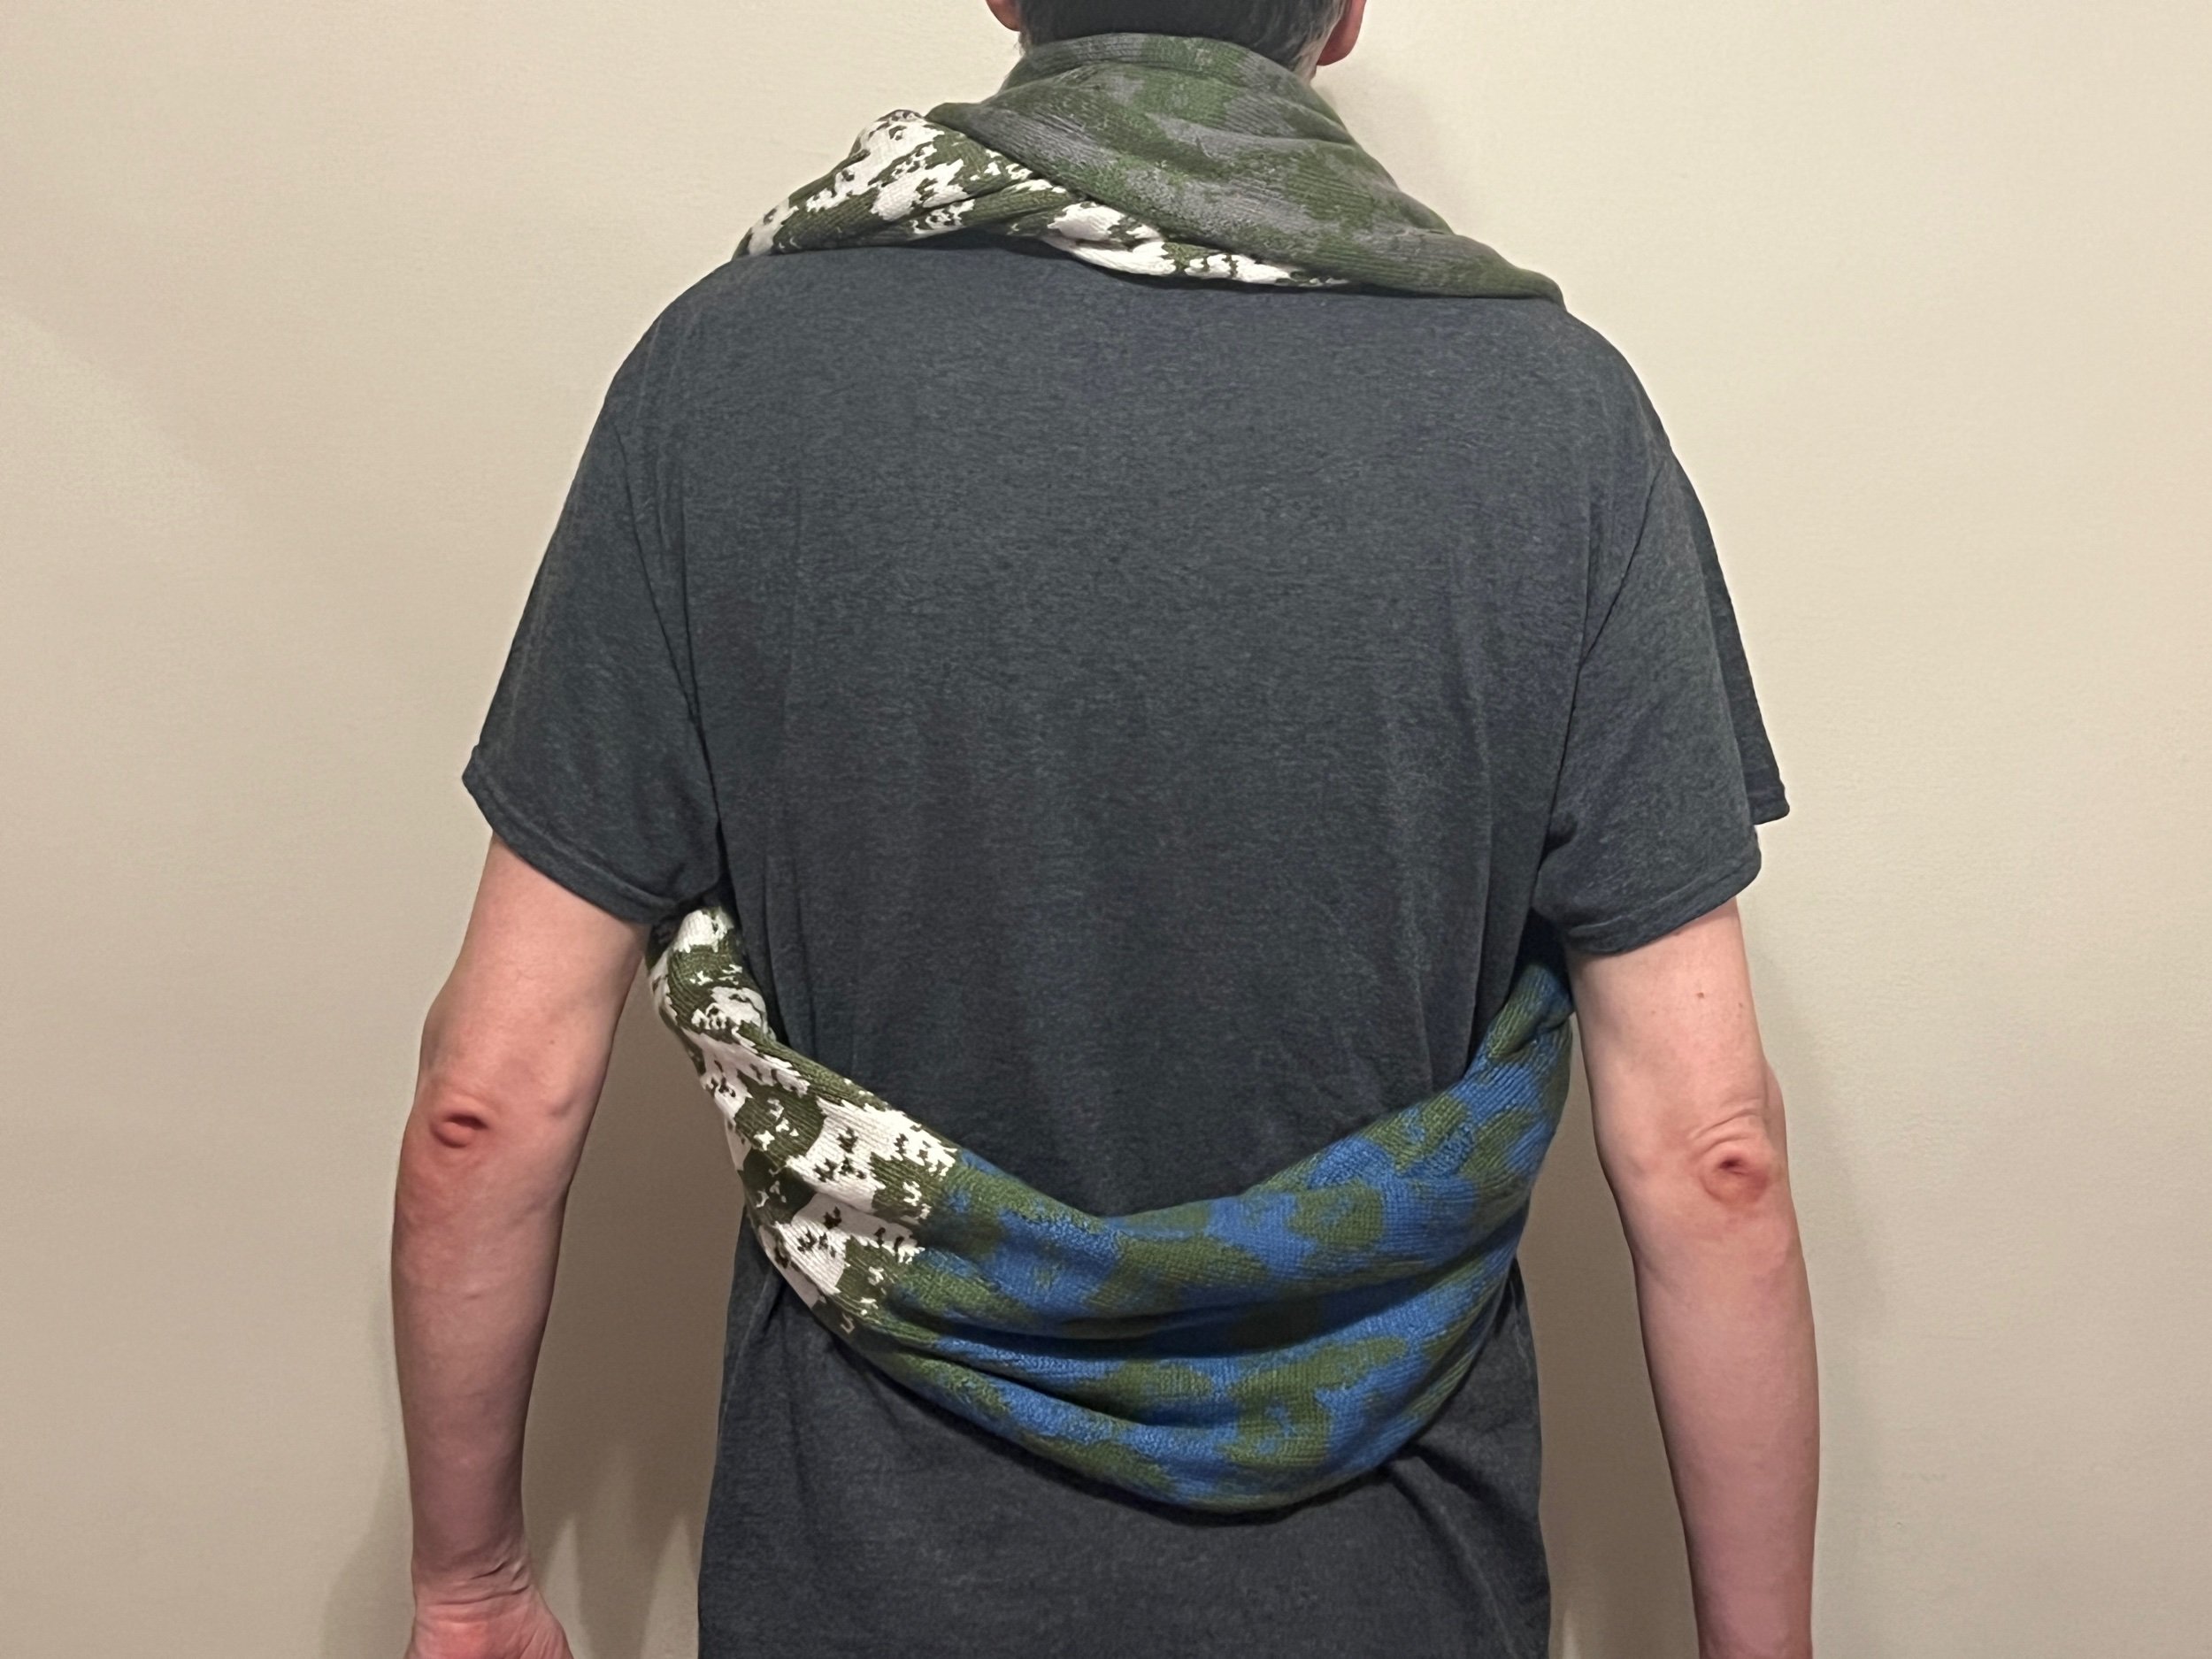
This finished project is 8.5” wide and approx 56” long and is basically a tube that was twisted and joined.

Here are some of the many ways to wear this scarf. Note some ways are very vest-like.


INSTAGRAM POSTS: one | two | three |


See all Blog Entries on the BLOG INDEX page