blanket

2023 Jan 27 - Lace Bedspread with Punchcard 2

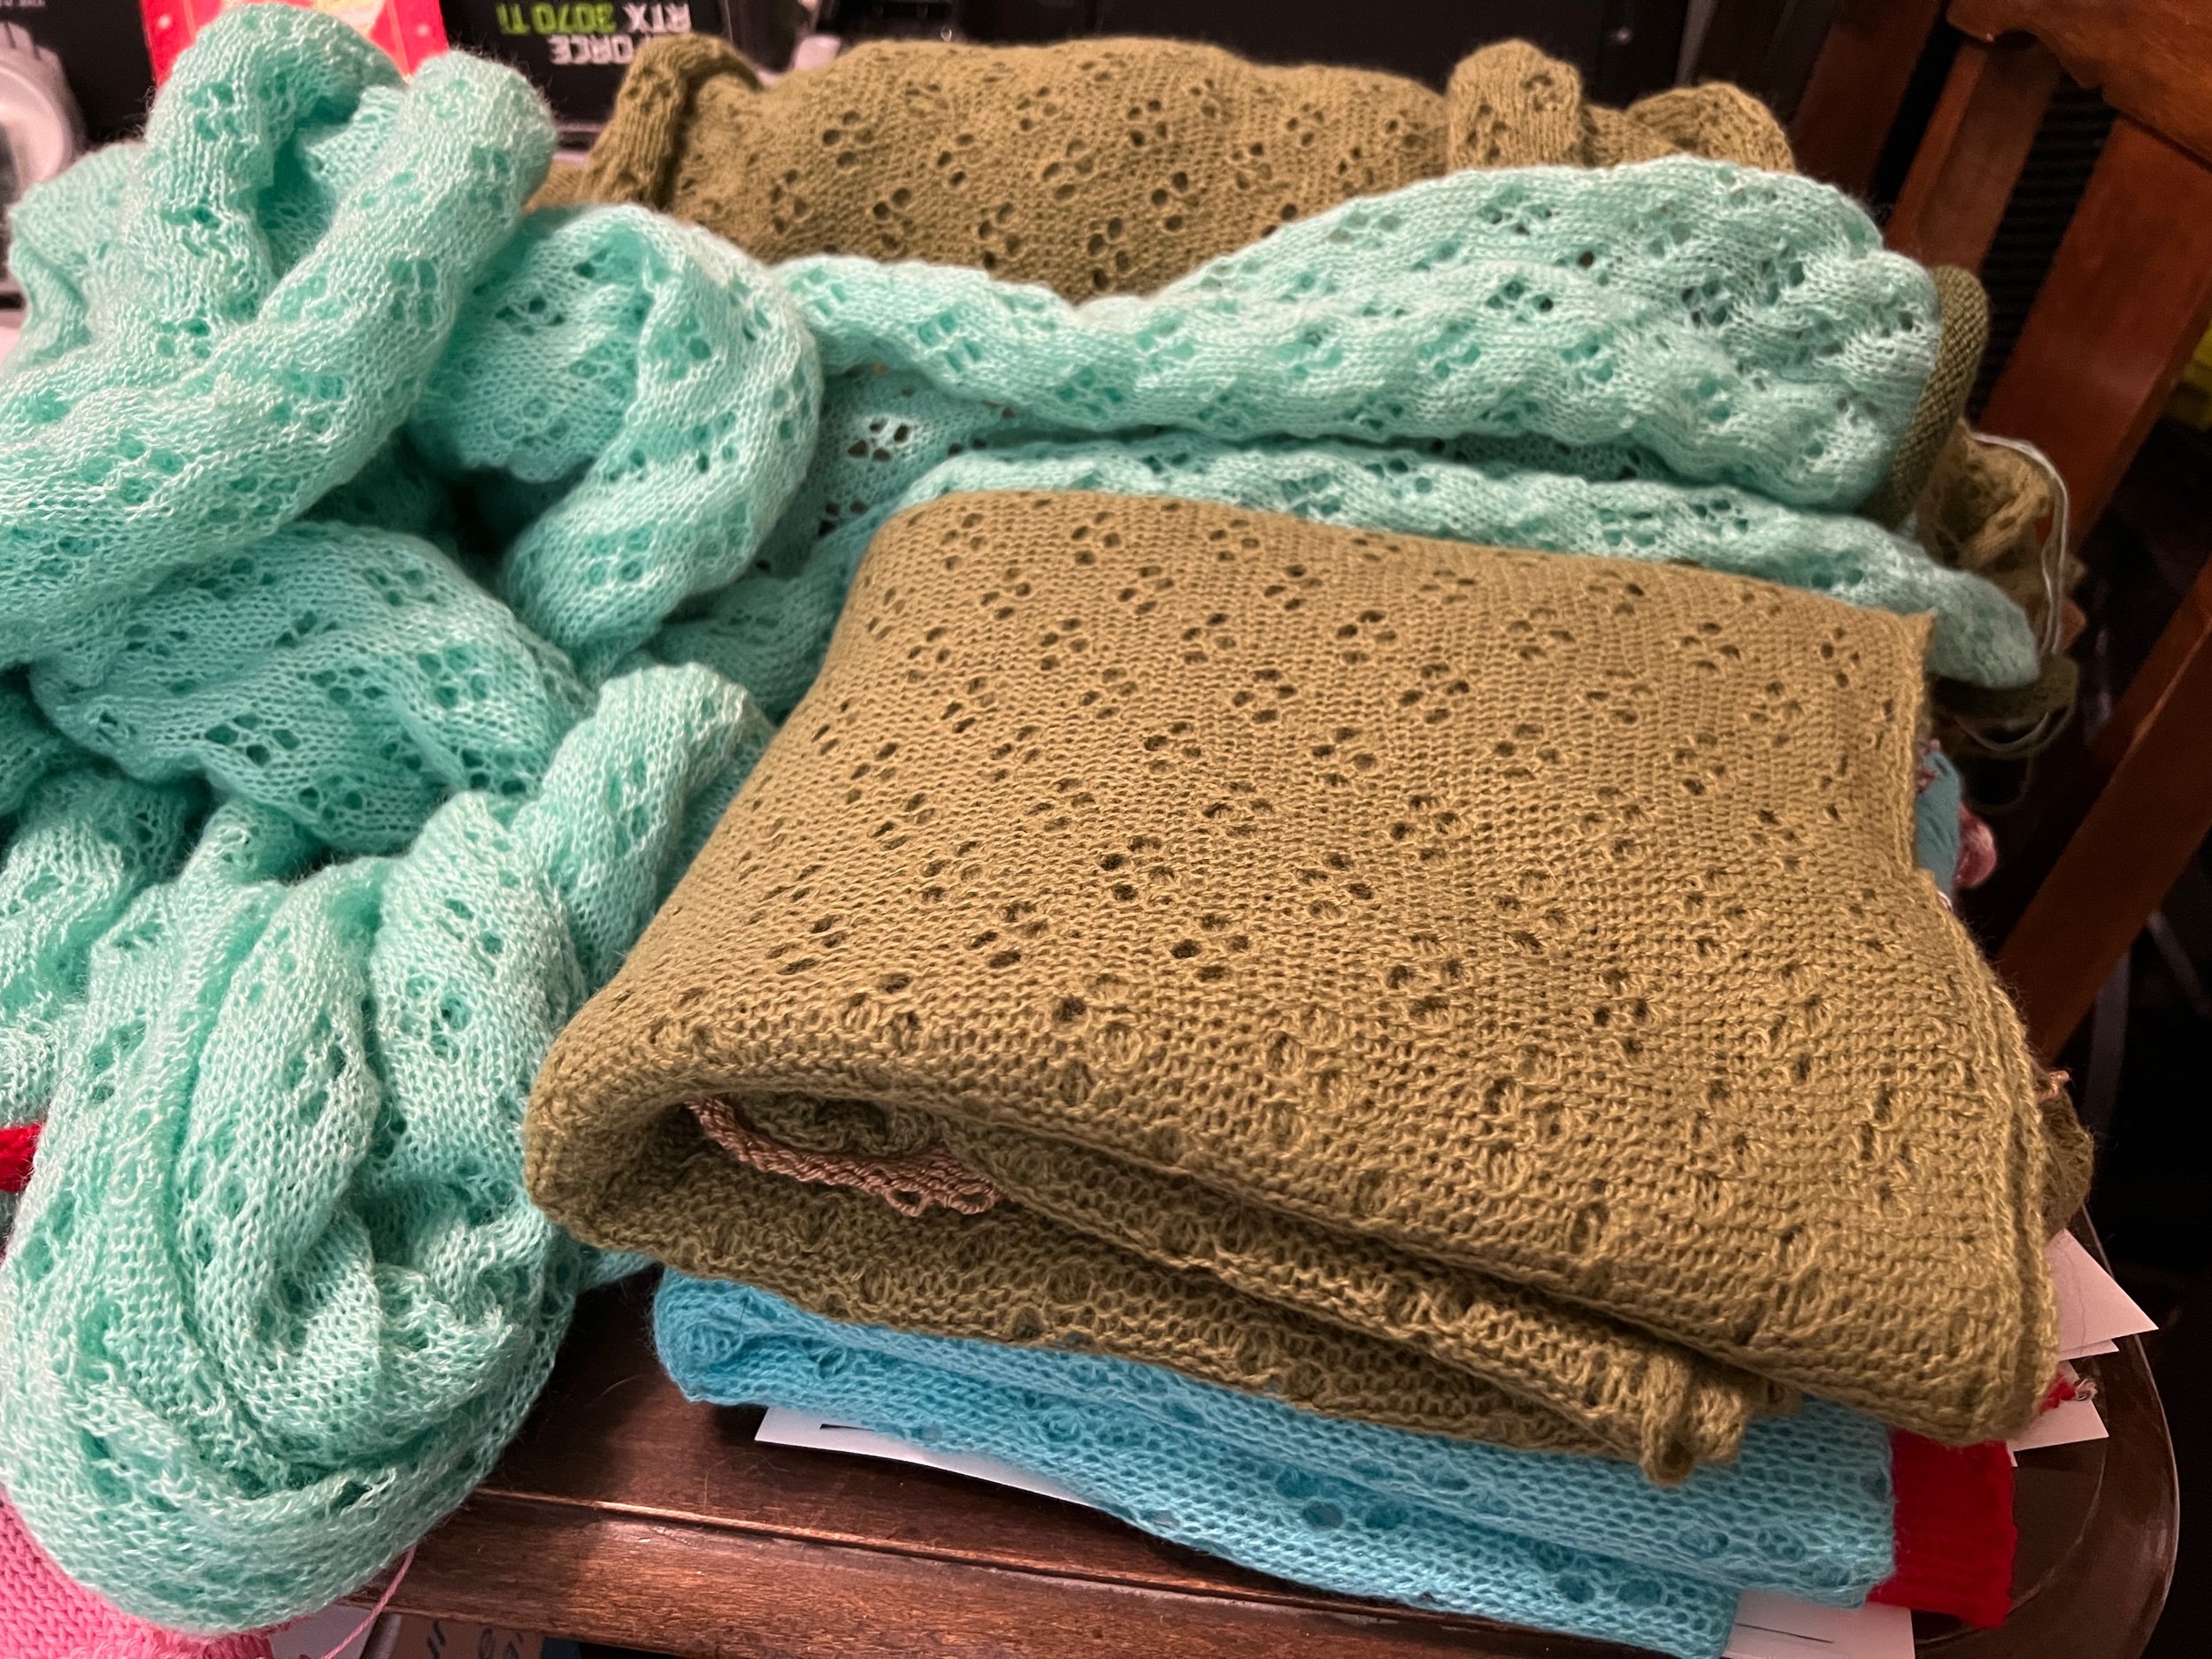
This is my now three time restart first blanket project on my Singer 700 flat bed knitting machine using the second lace carriage punch card (and the lace carriage).

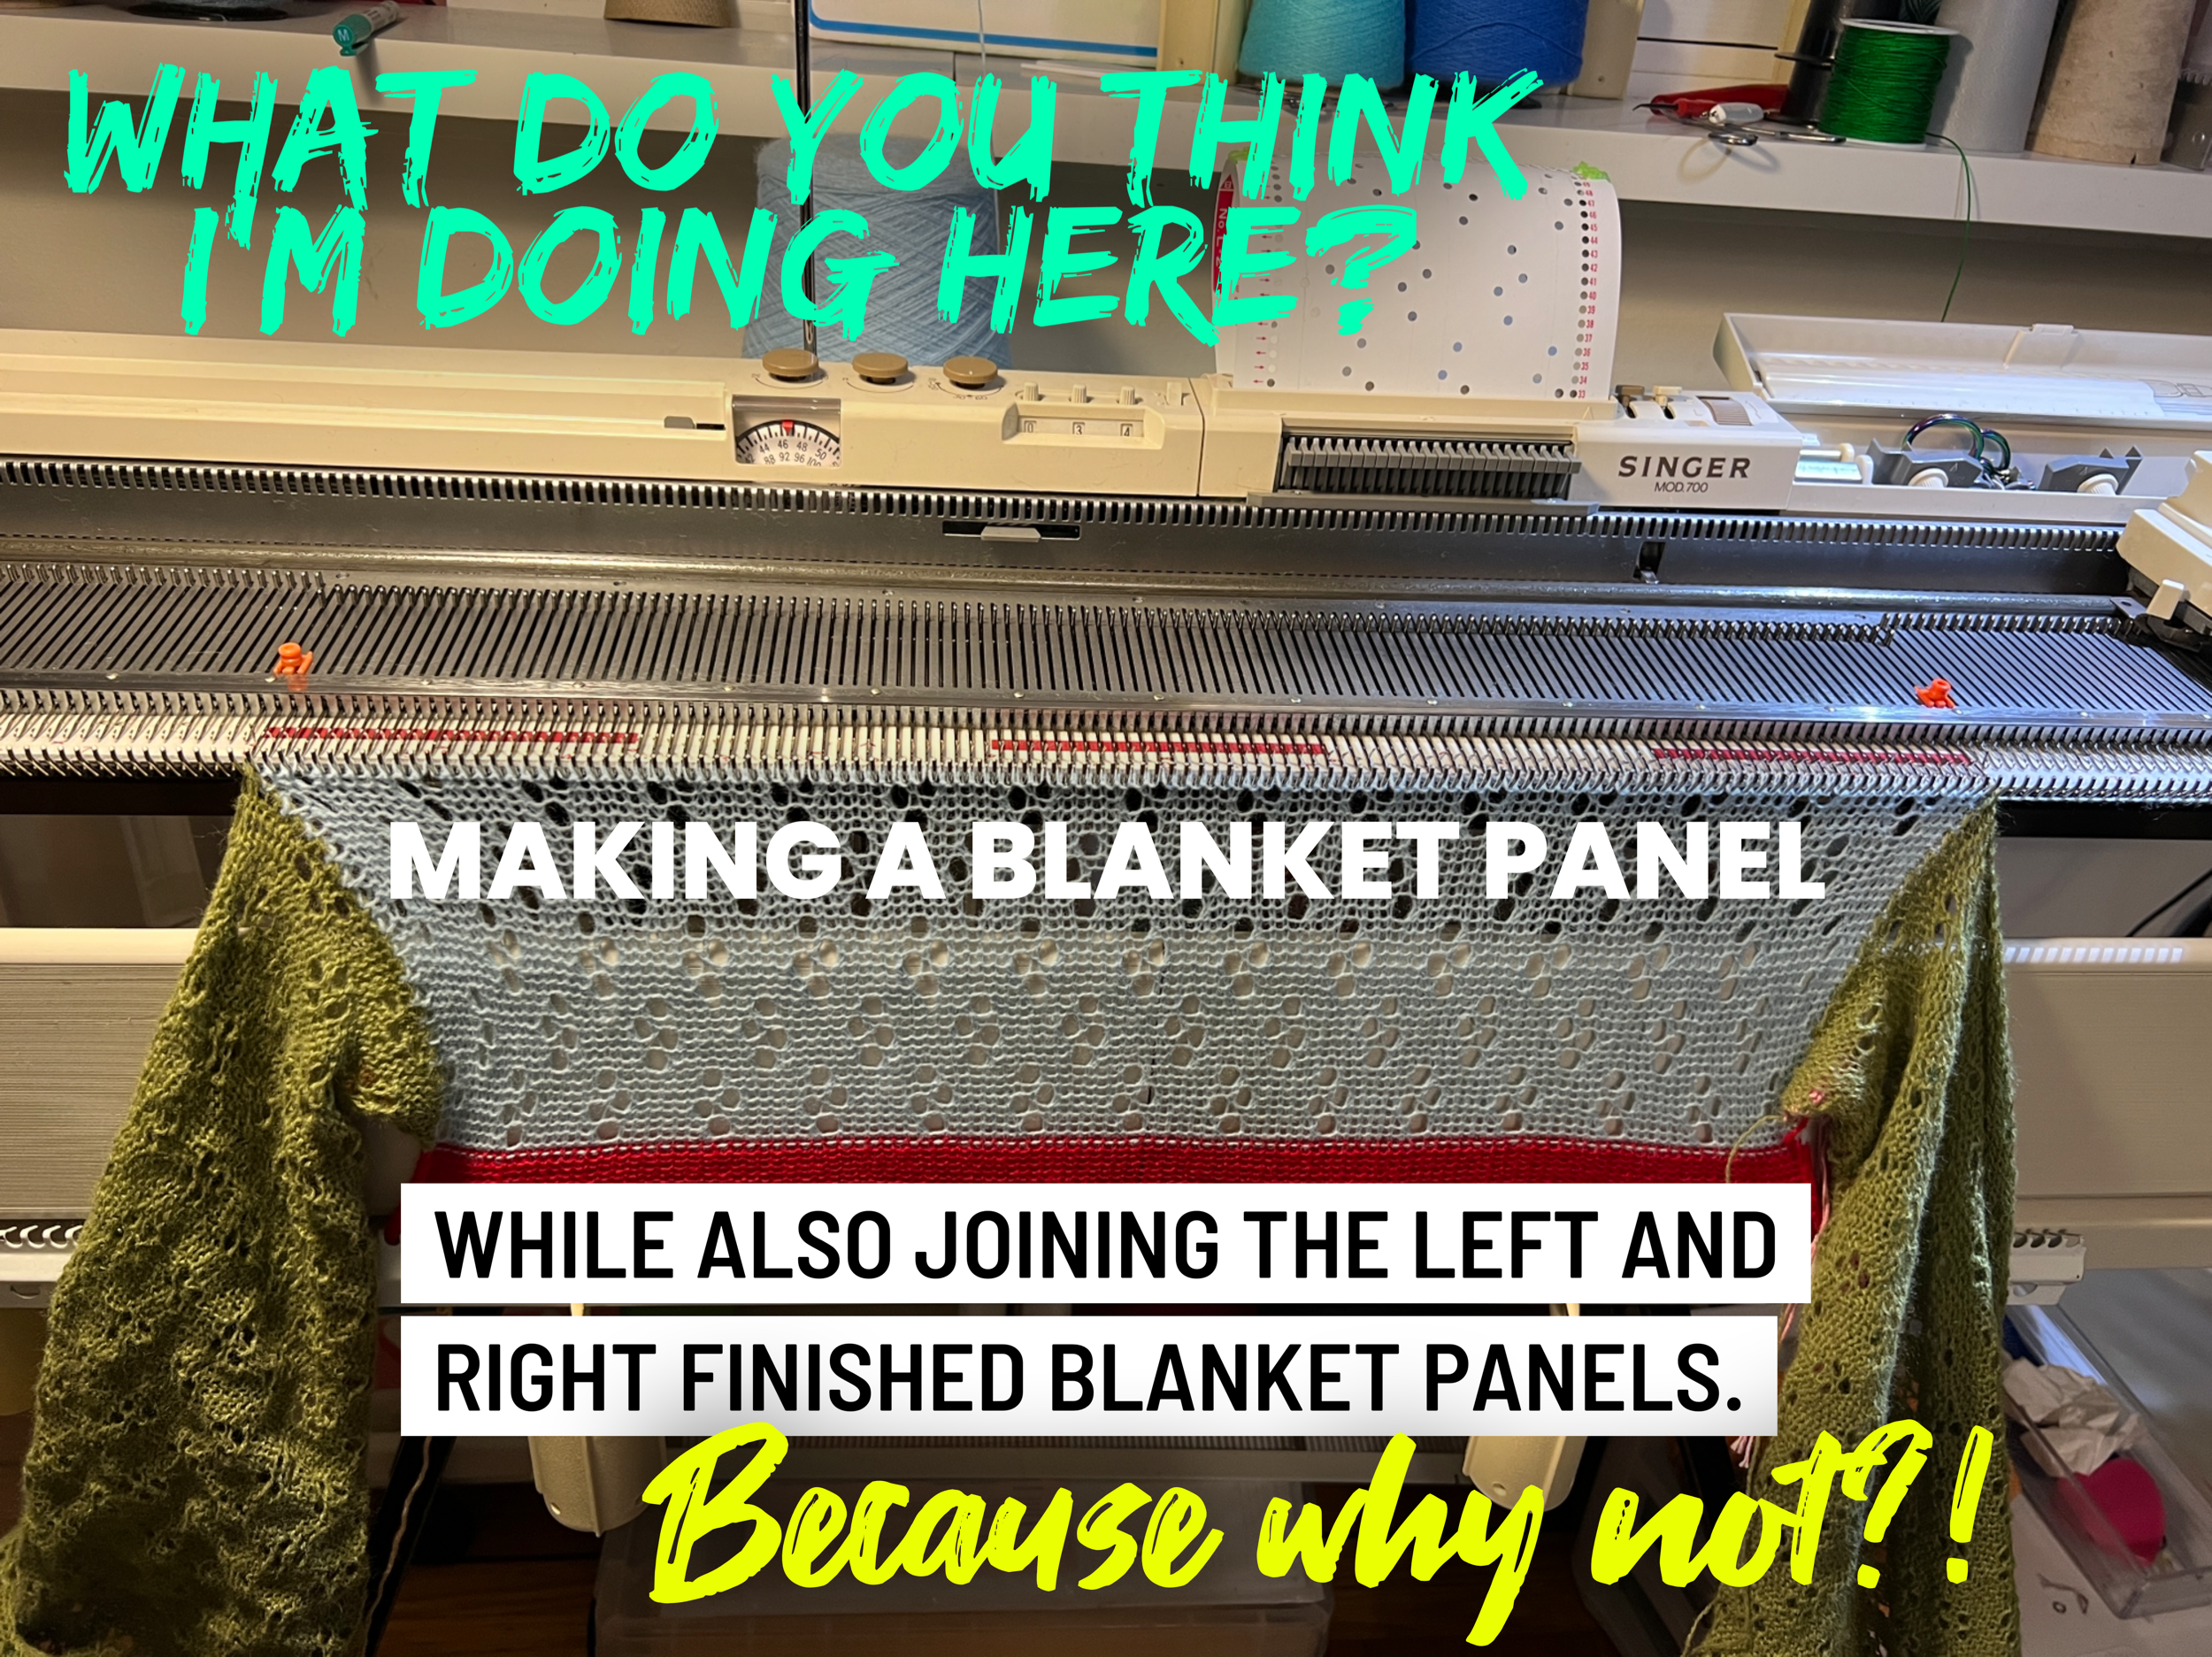
Below is the third and final restart. After unknitting my errors I chose to make each panel separate (it’s certainly faster than trying the join as you go).

Now with all panels made it’s time to steam prep each panel.

Yes they say to gauge and test. The seven panel planned blanket is too wide on the bed. Each panel is finished at 55cm wide. The blanket is redesigned to be four panels wide. HEY two blankets? Hah

I’m still positive. Have I shared how not fun steam ironing is (and how slow!?)

All the panels are now steam ironed (it took forever). Now to consider the bed spread pieces for assembling.

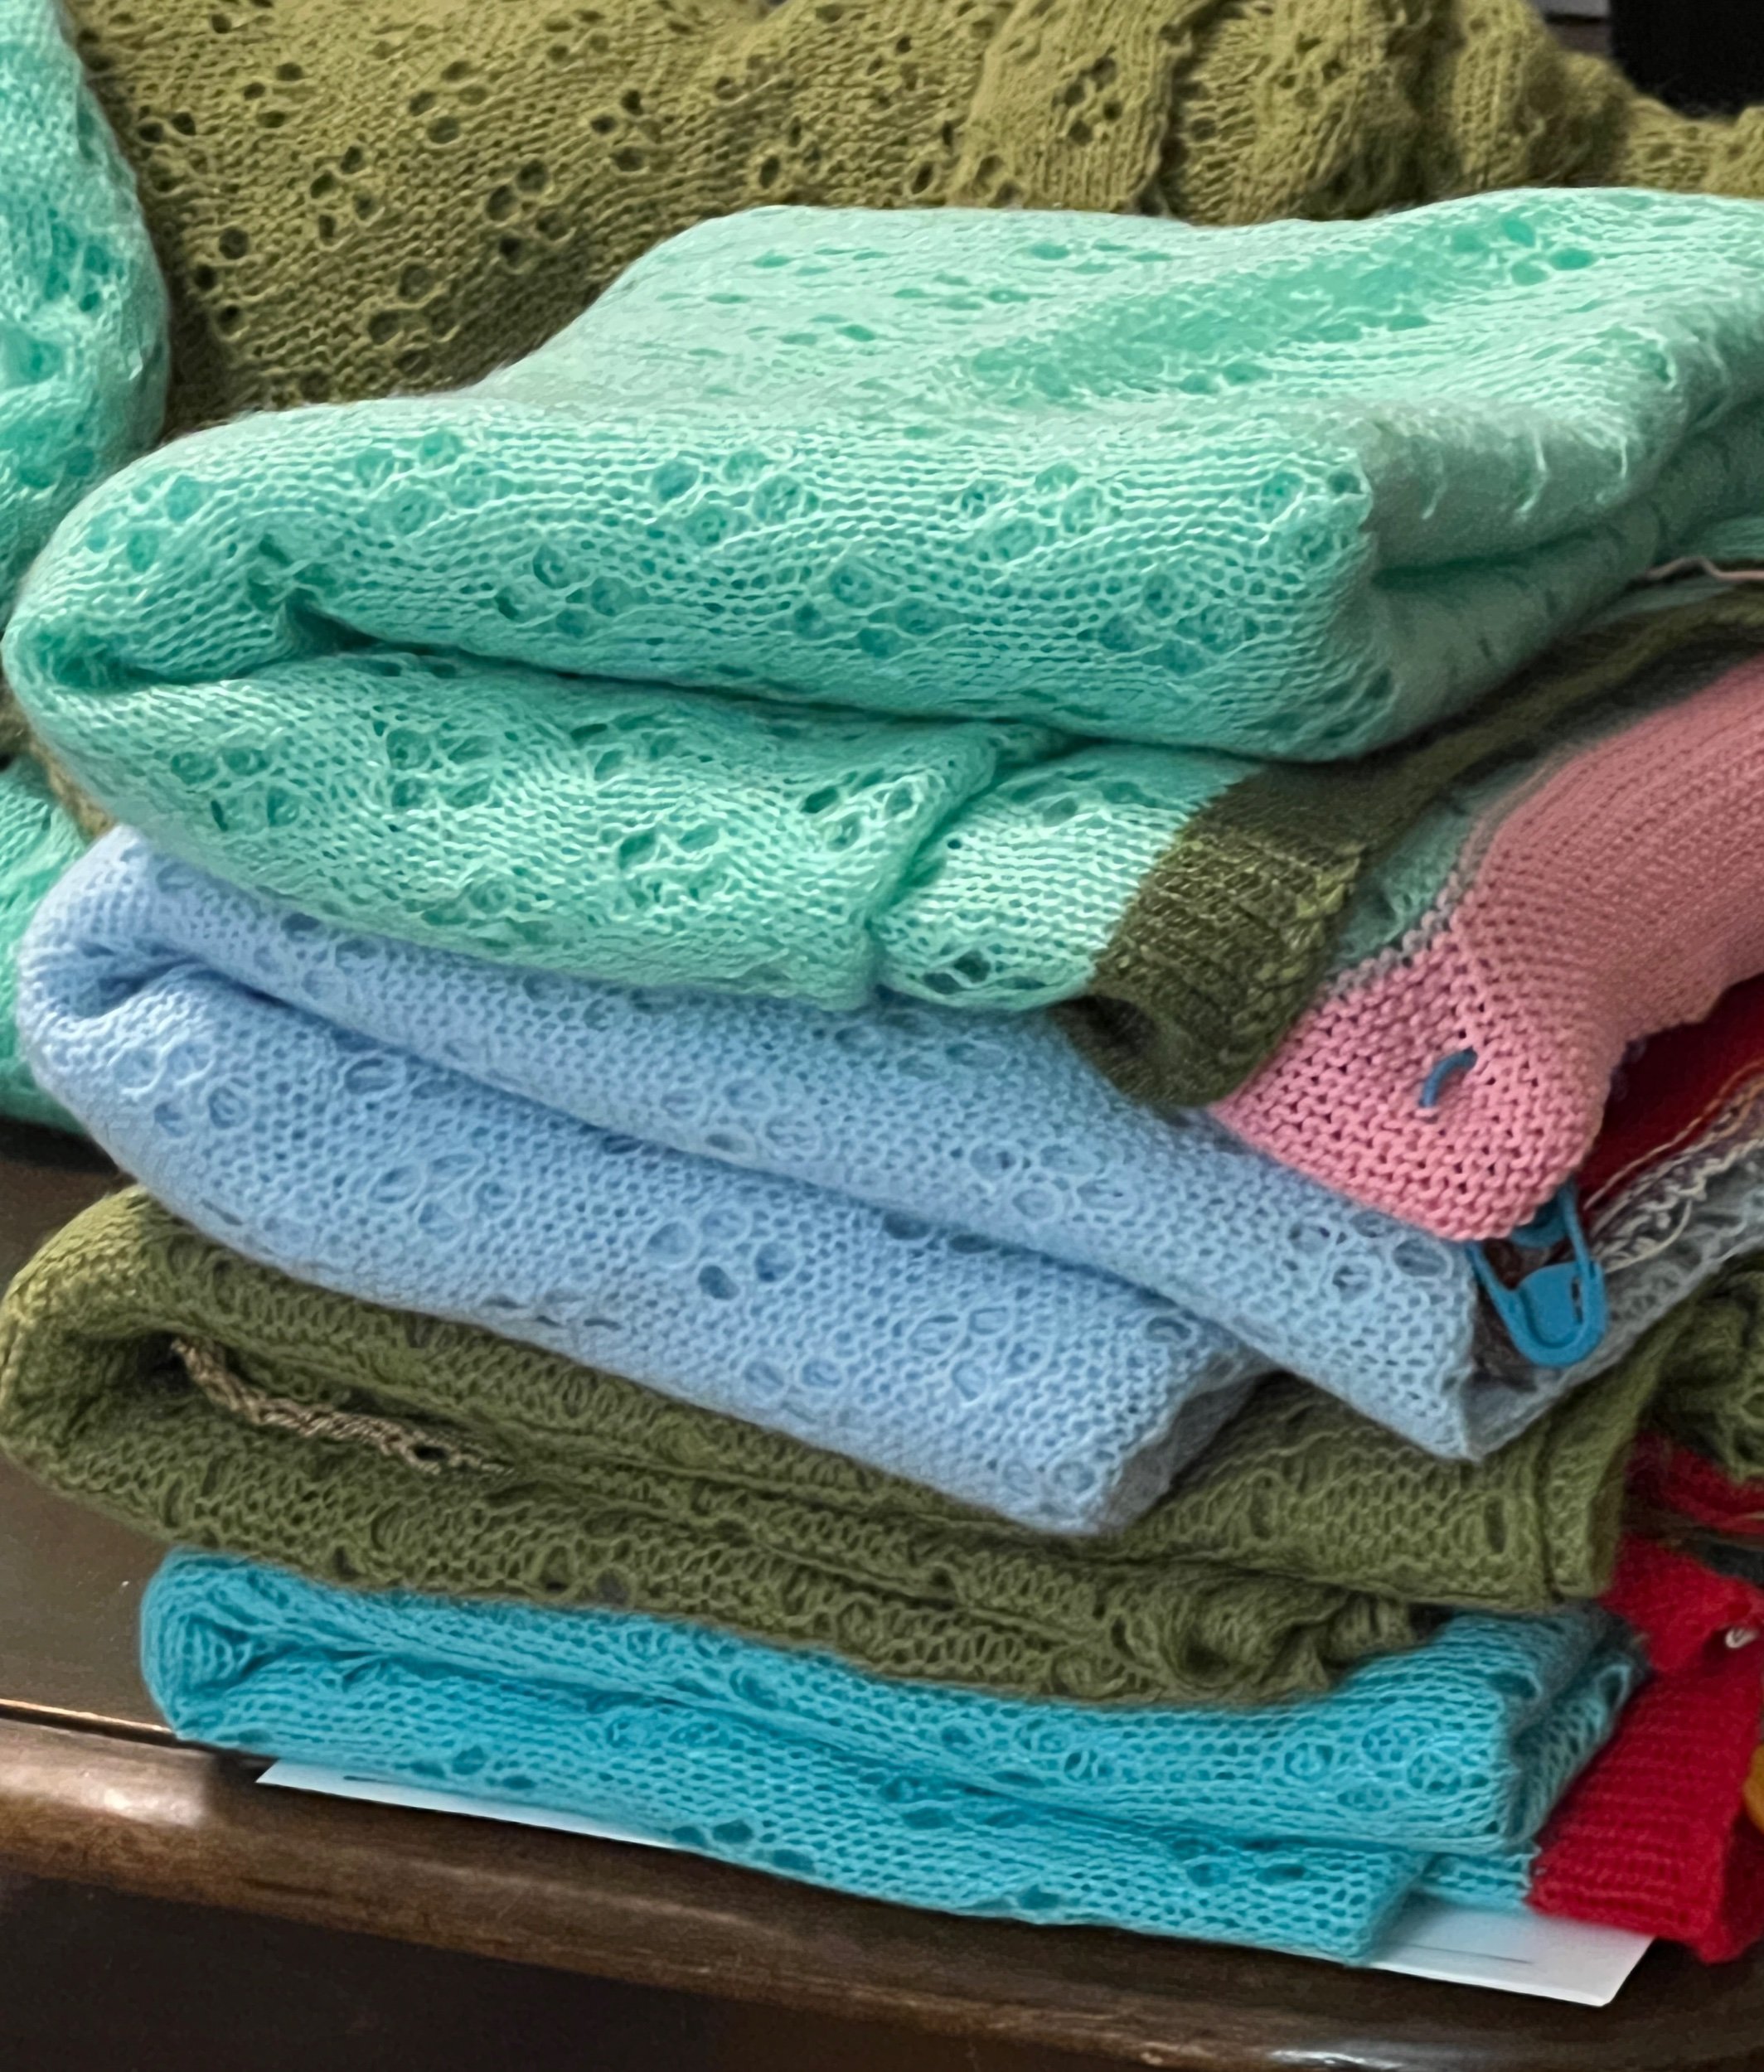
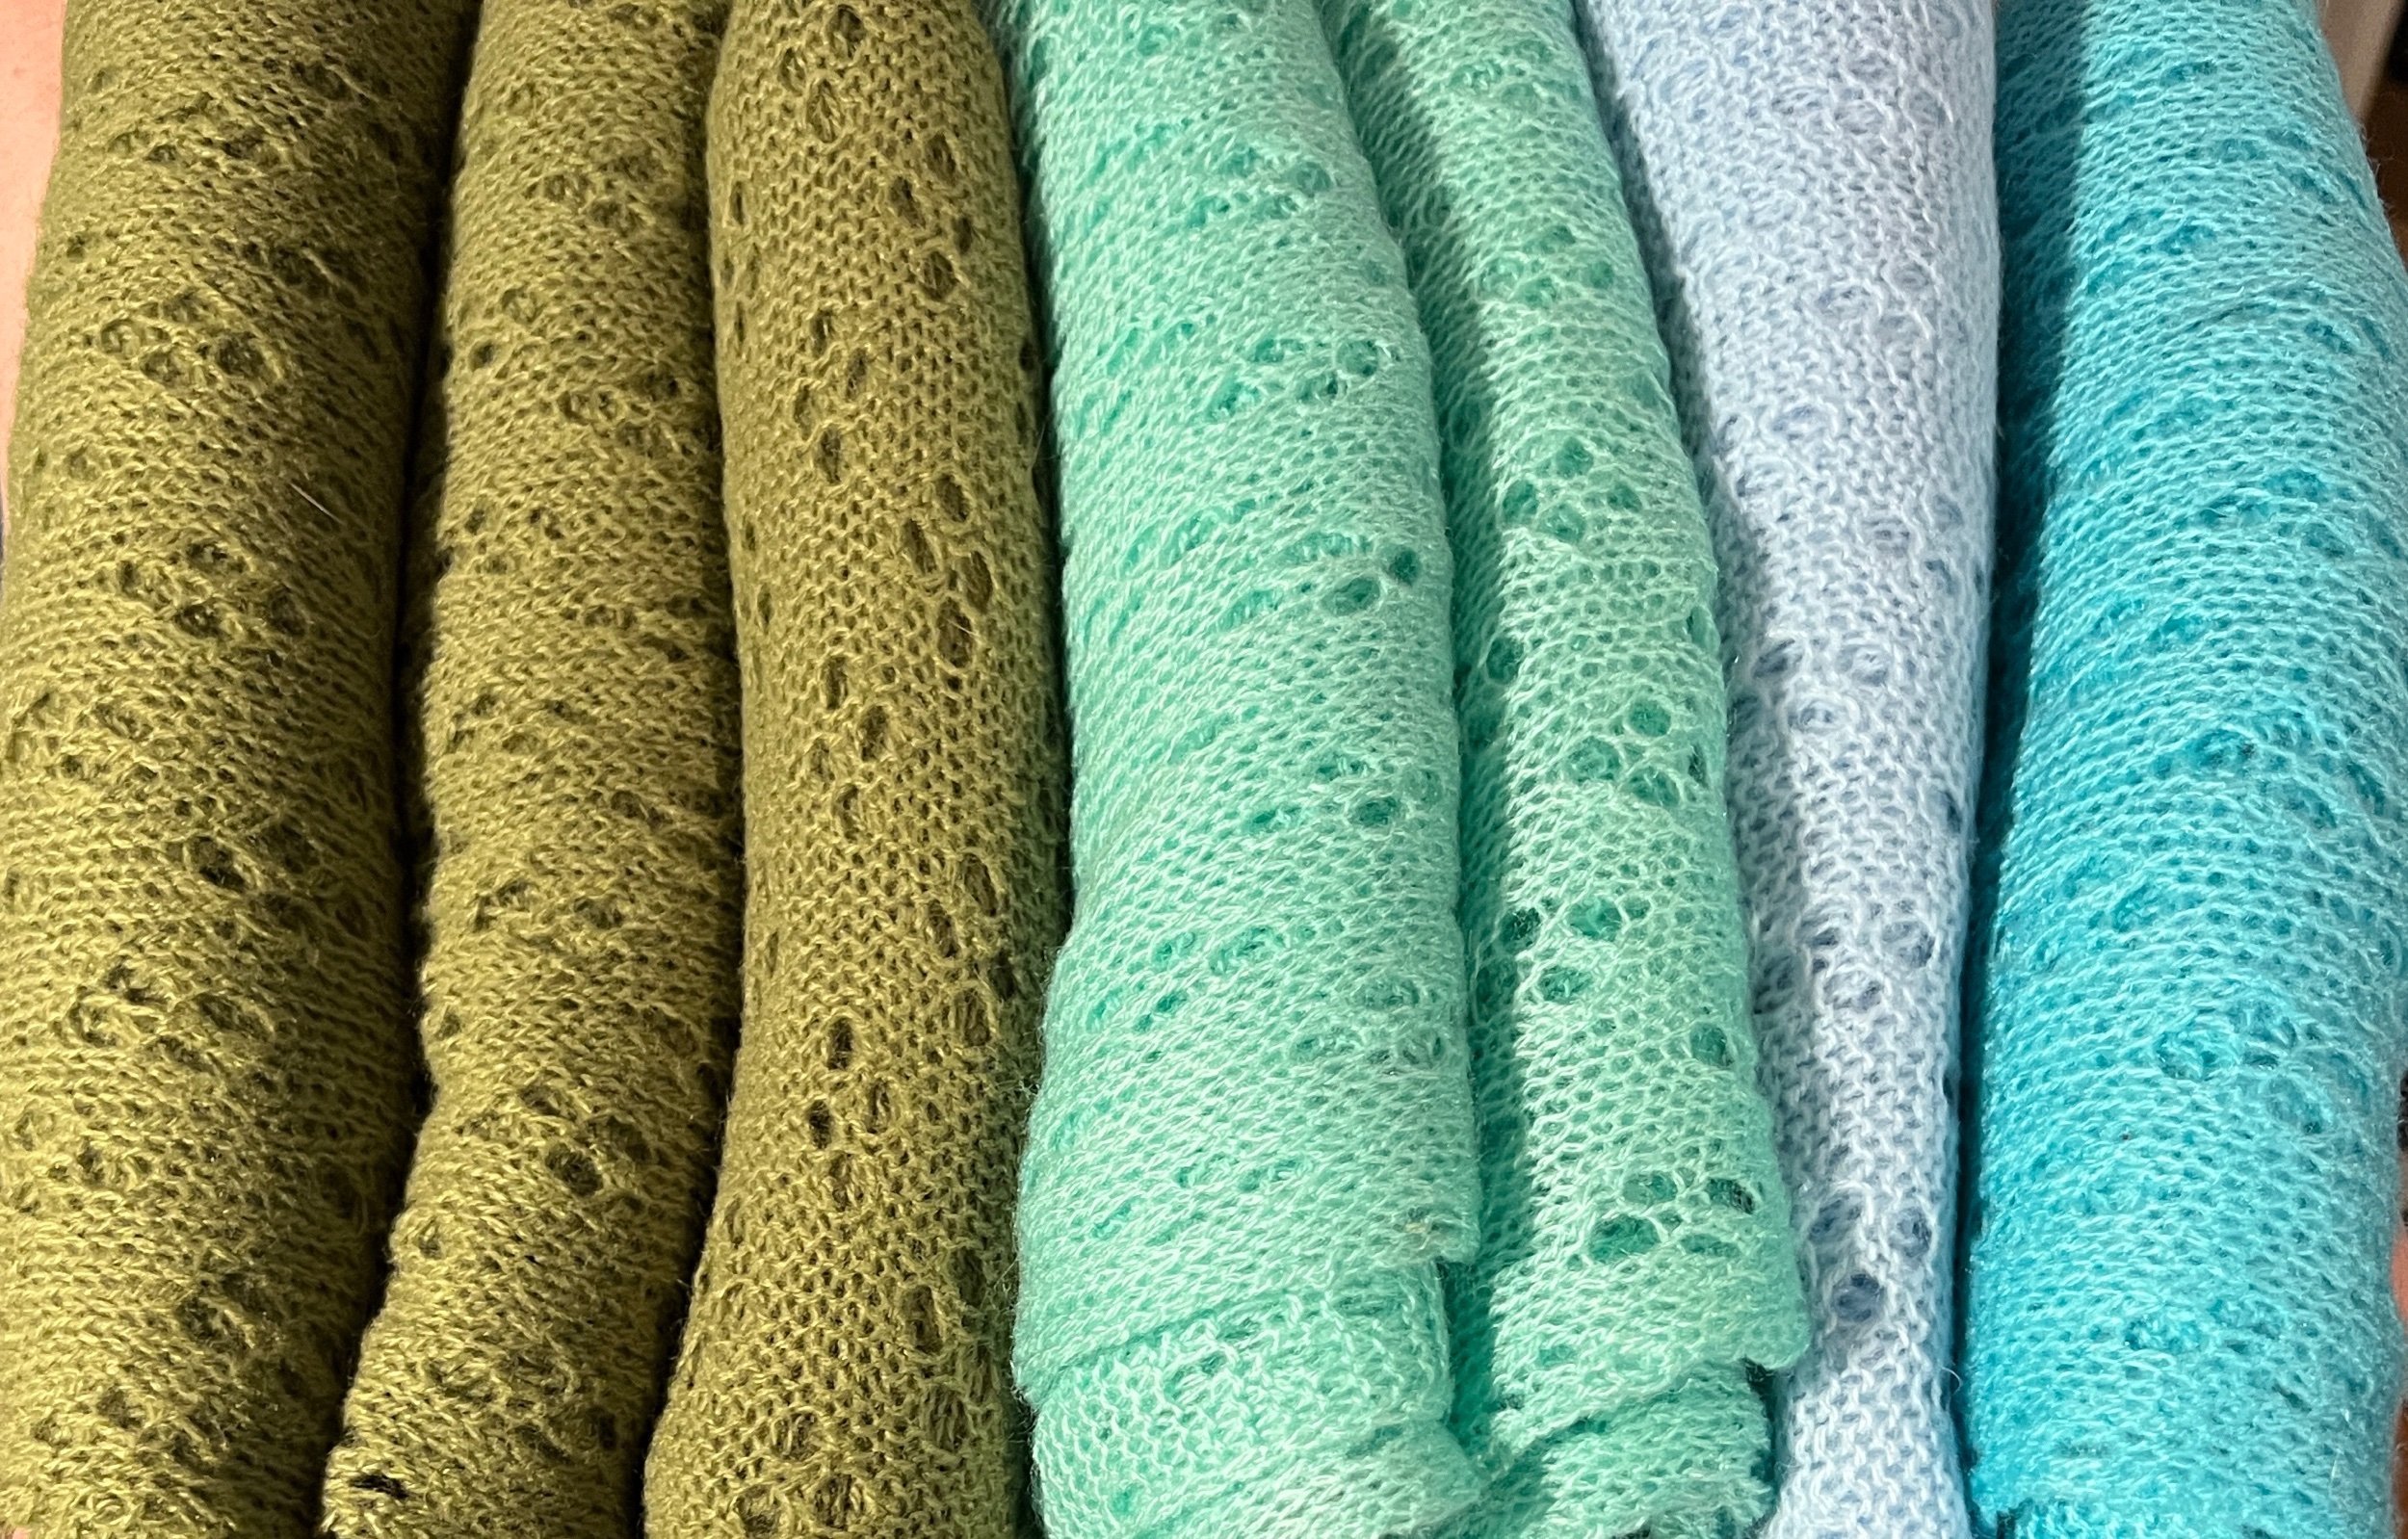
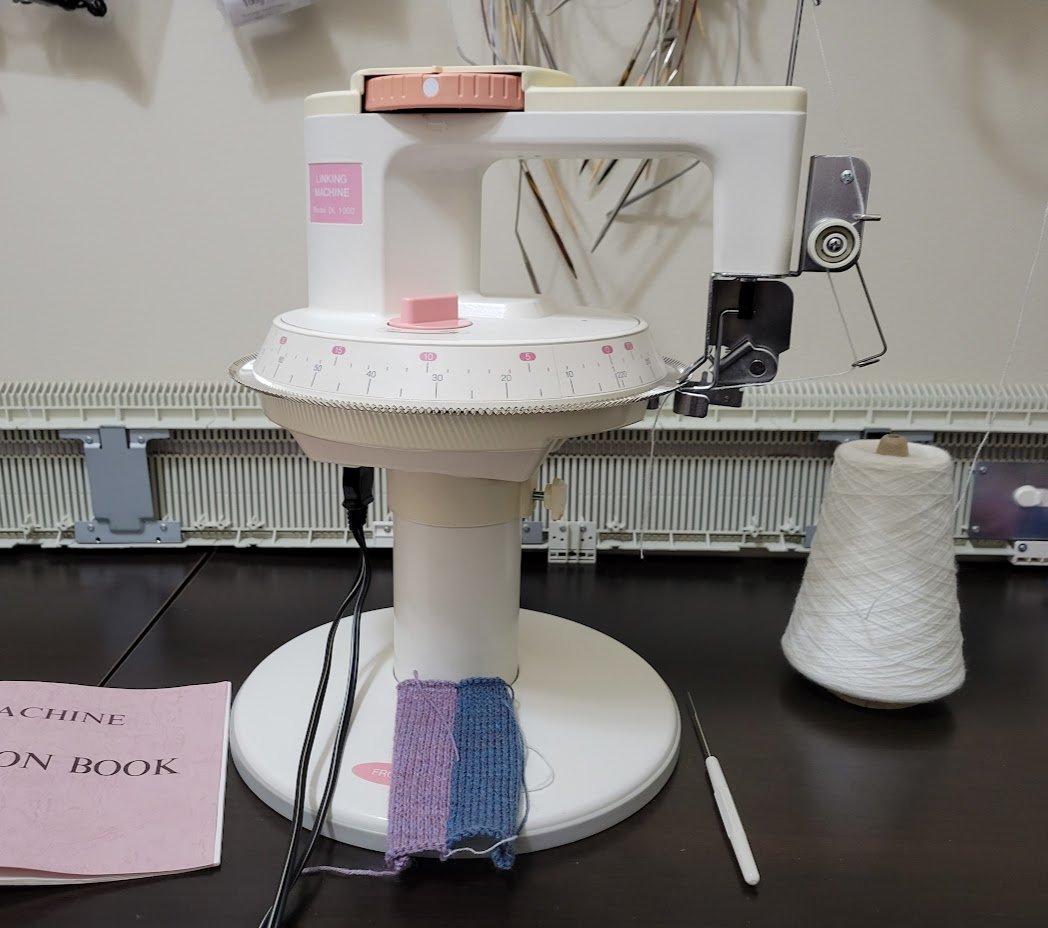
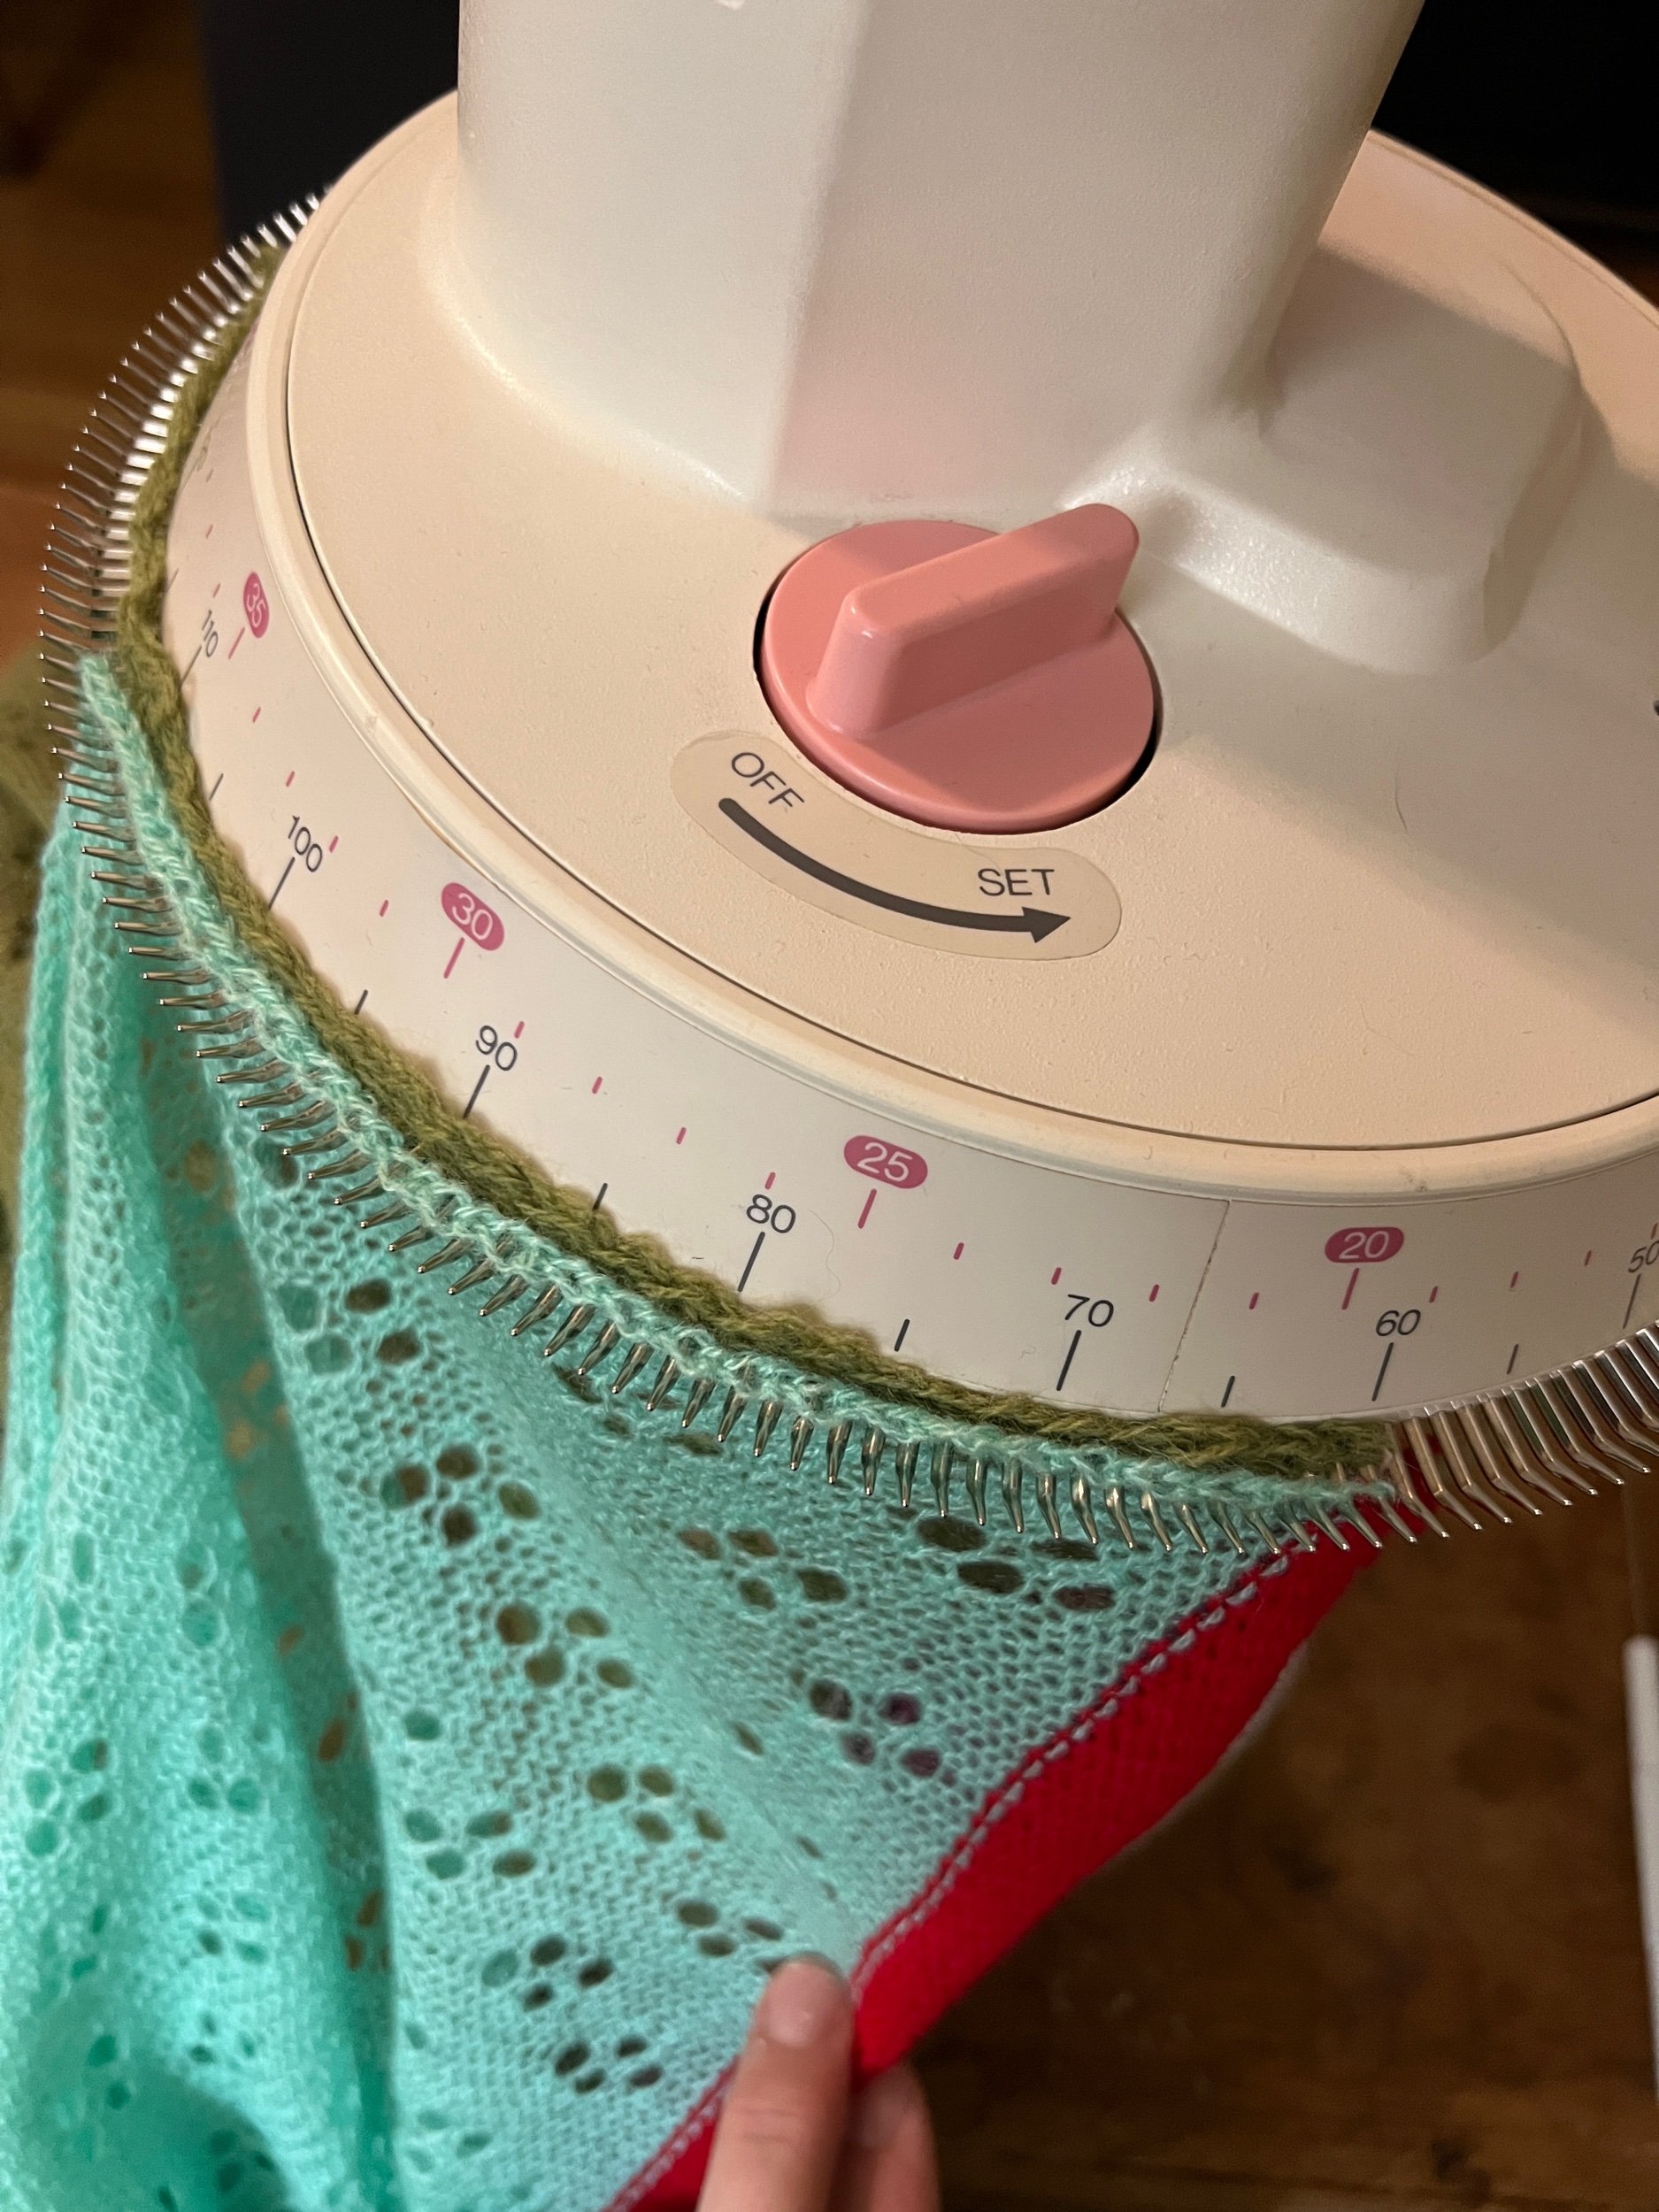
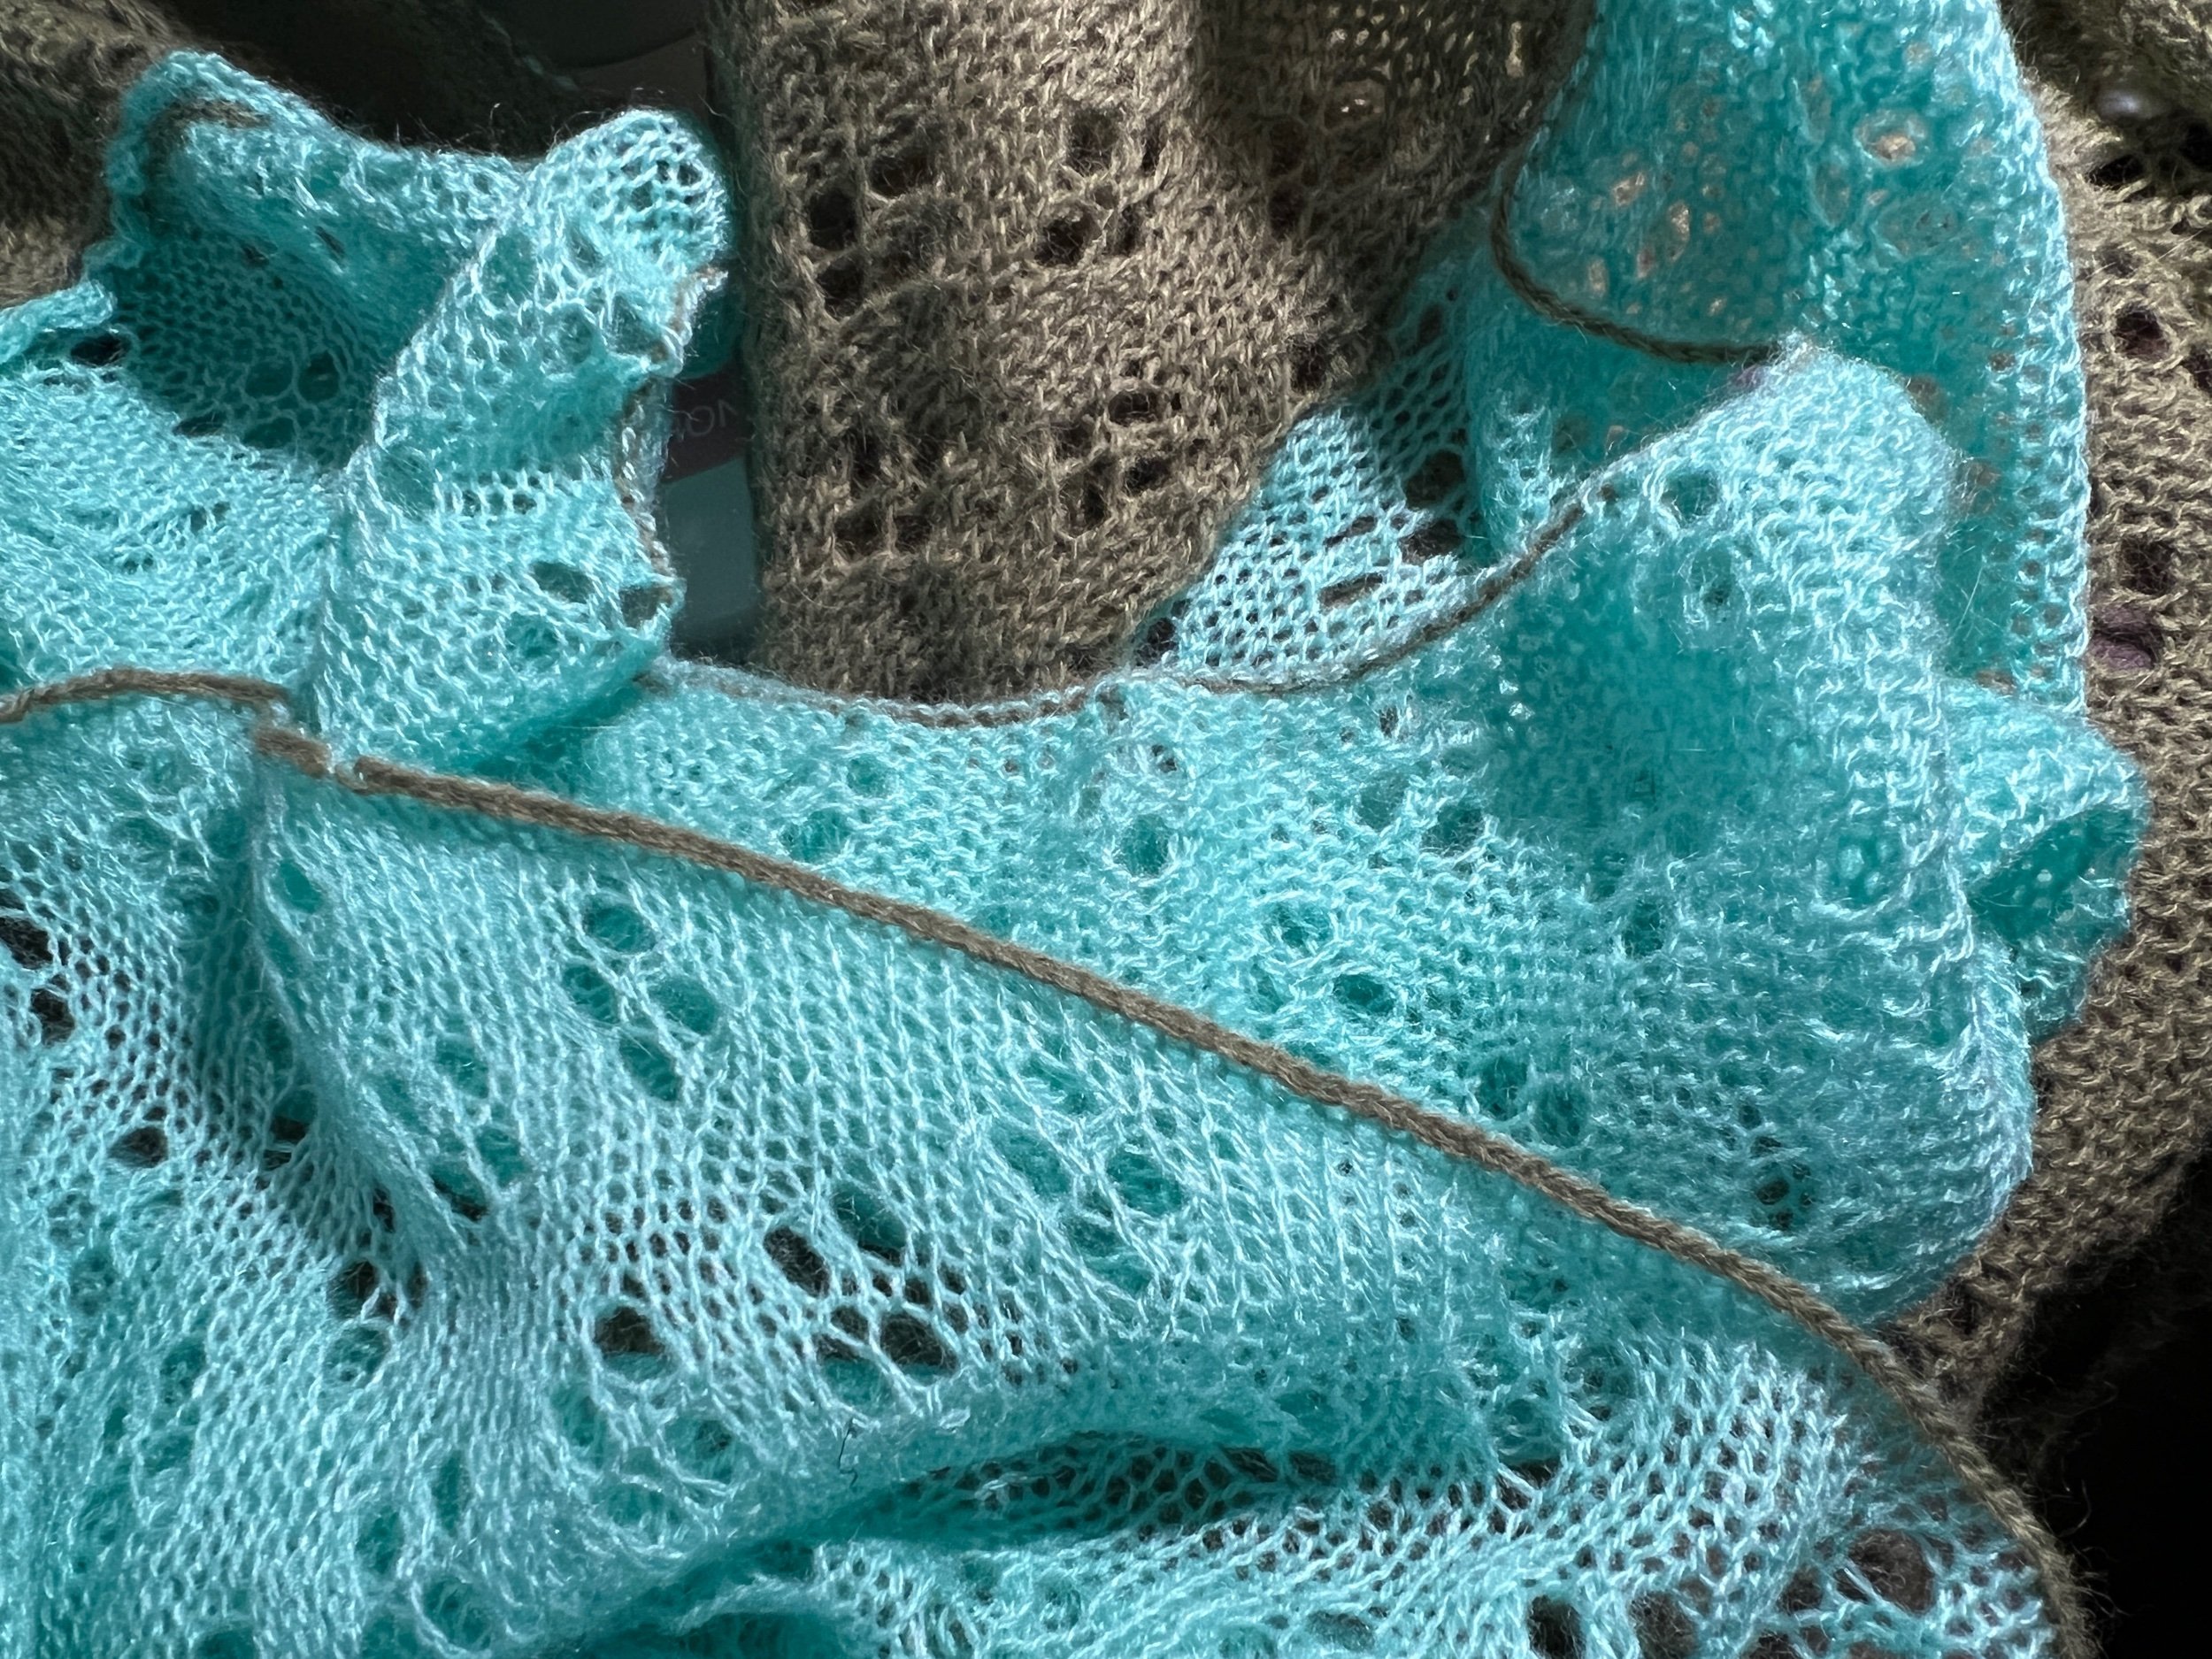
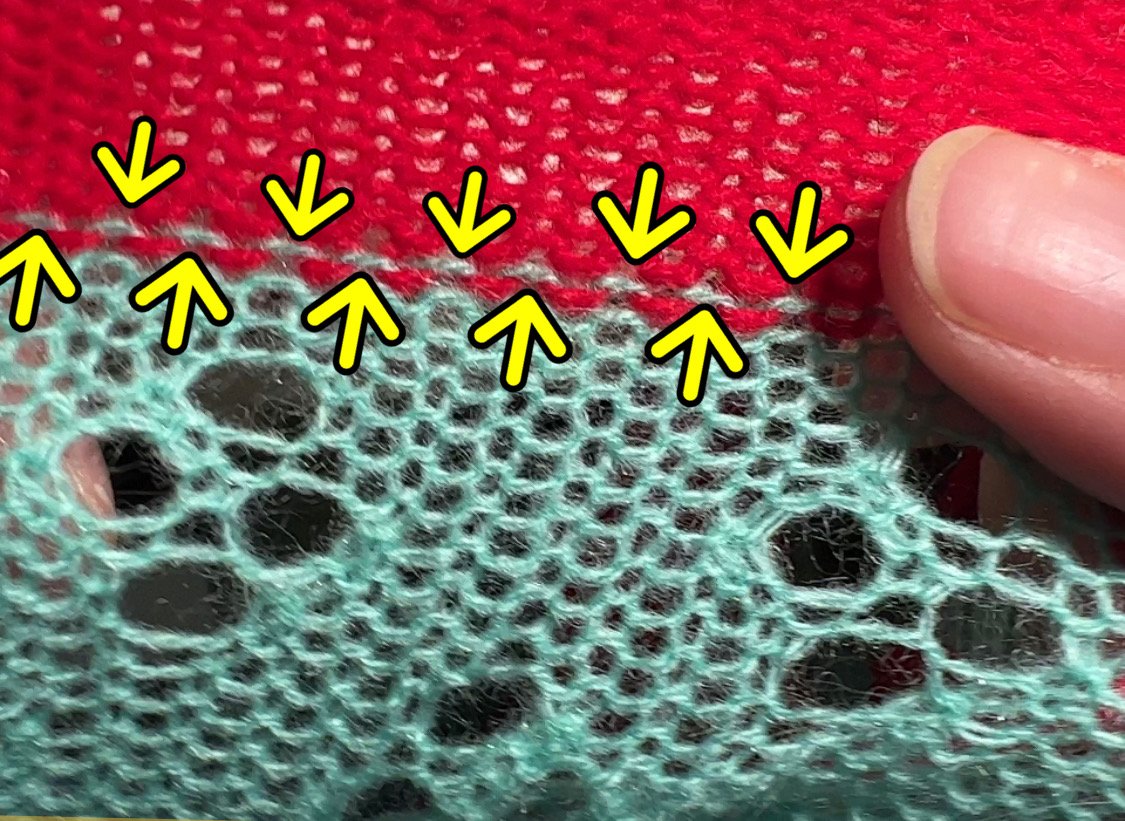
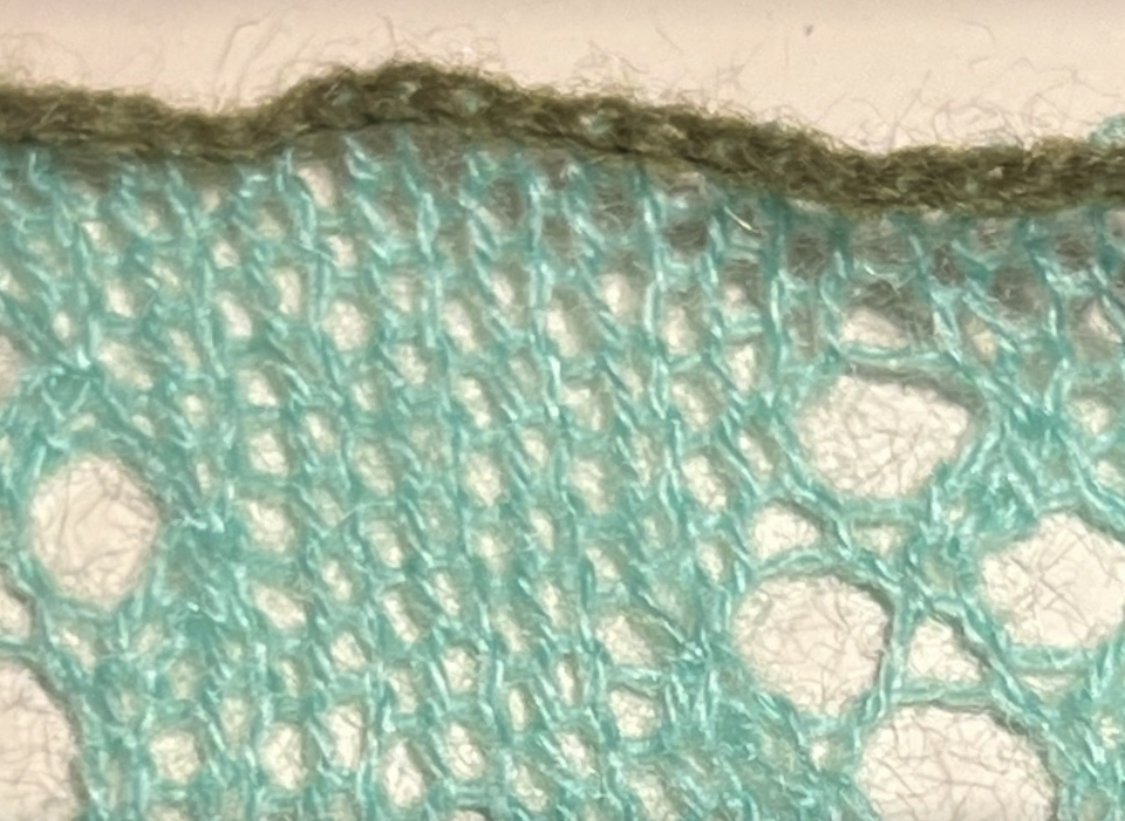
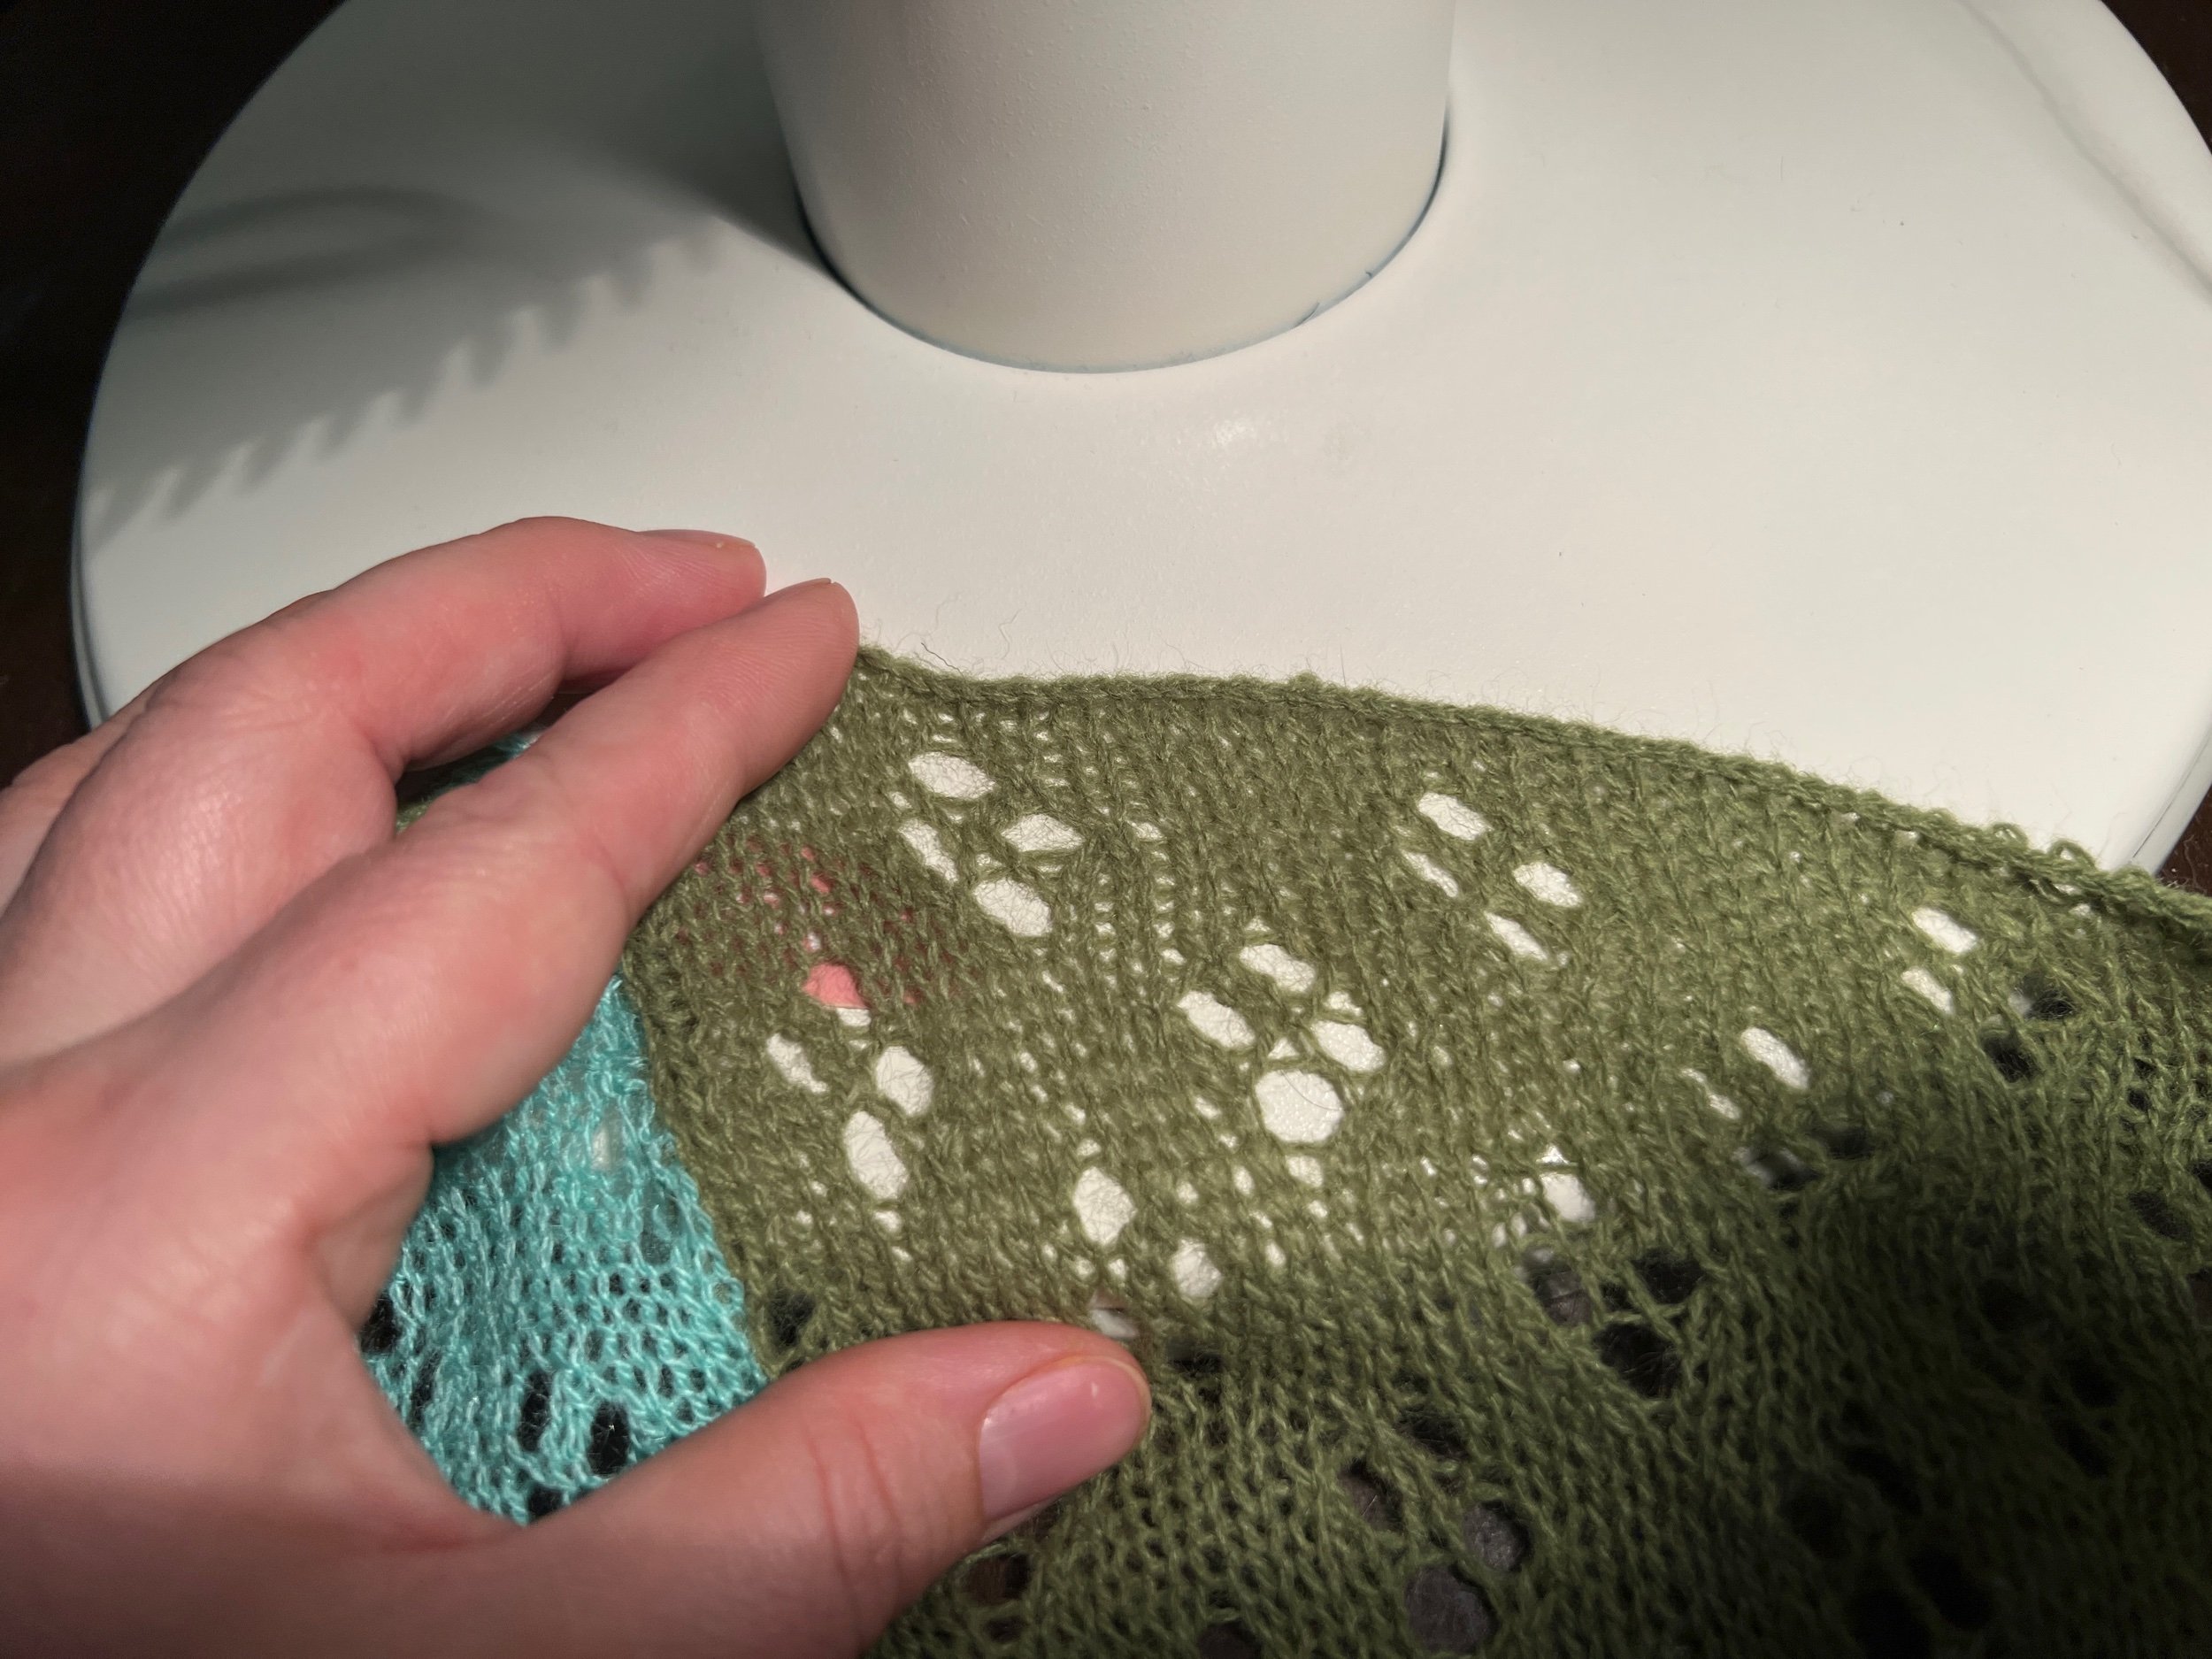
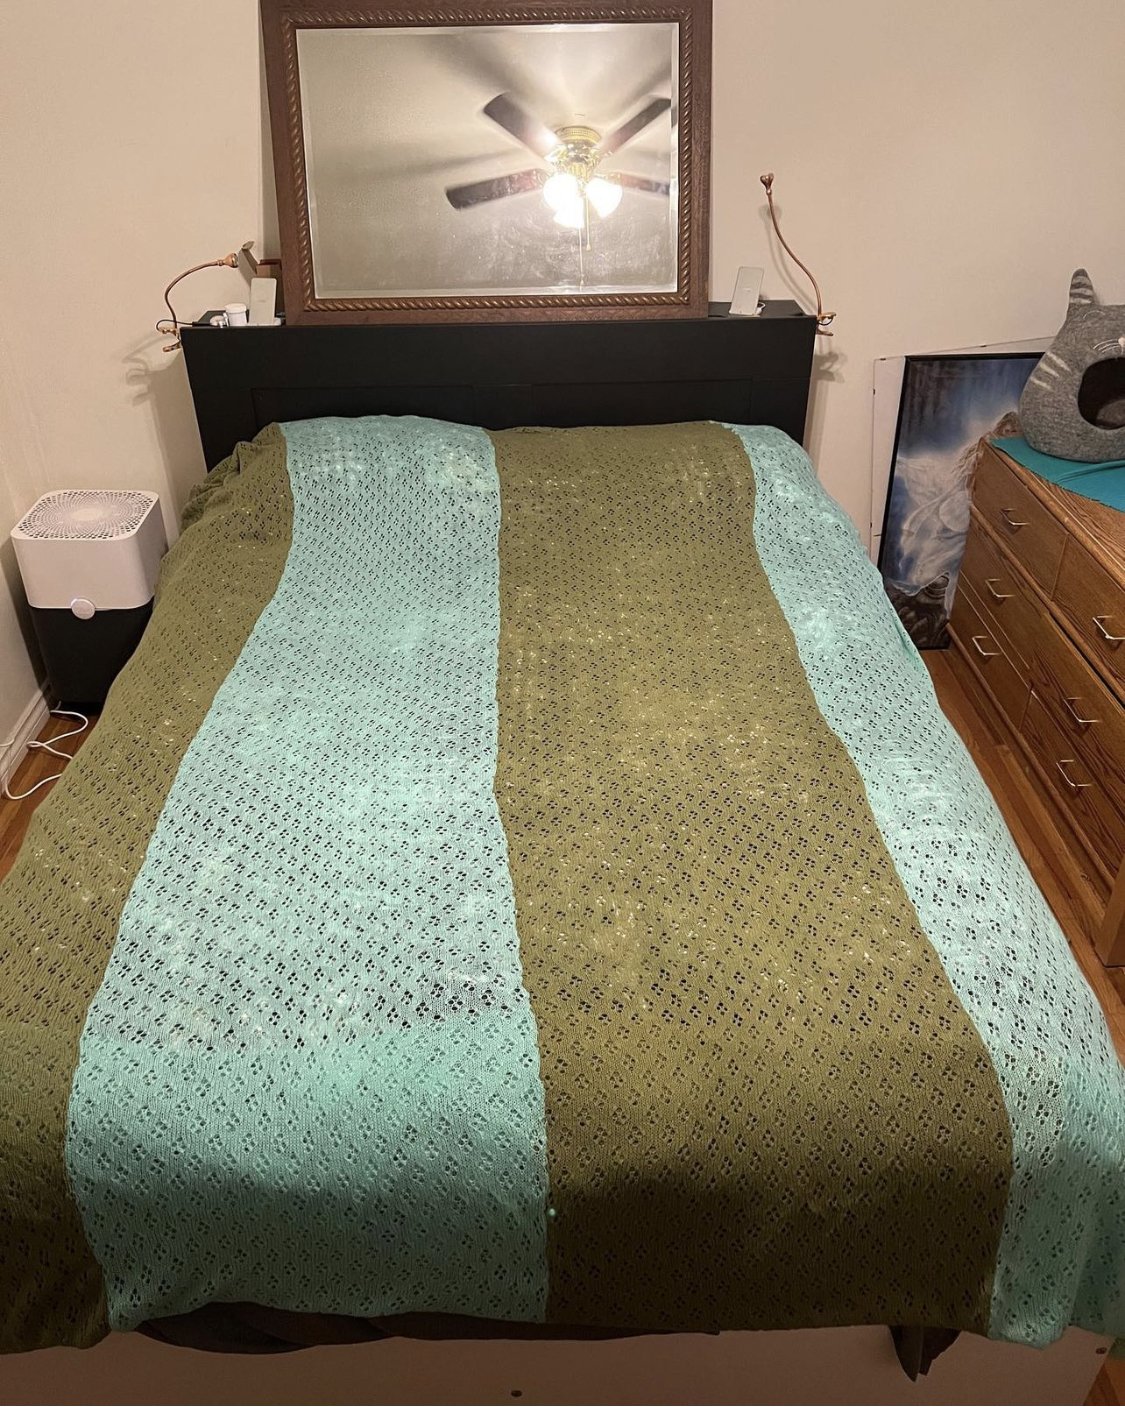
Awesome! I’ve done a final assembling of the blanket - four panels - olive green - mint green - olive green - mint green. Using the linker the panels were assembled on the Purl side. I then ran the linker on the top and bottom edges to create a chain stitch - ensuring to place one project stitch on every second Linker point to produce a fabric that wouldn’t bunch or be too tight.

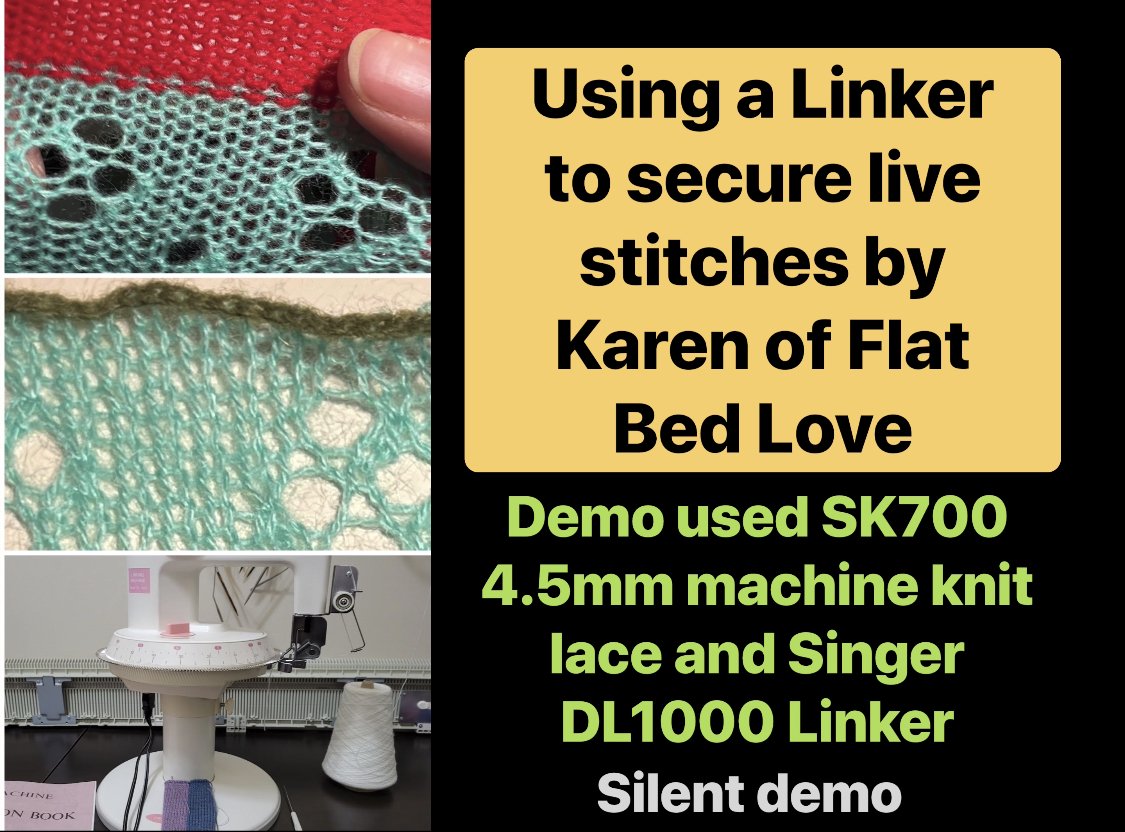
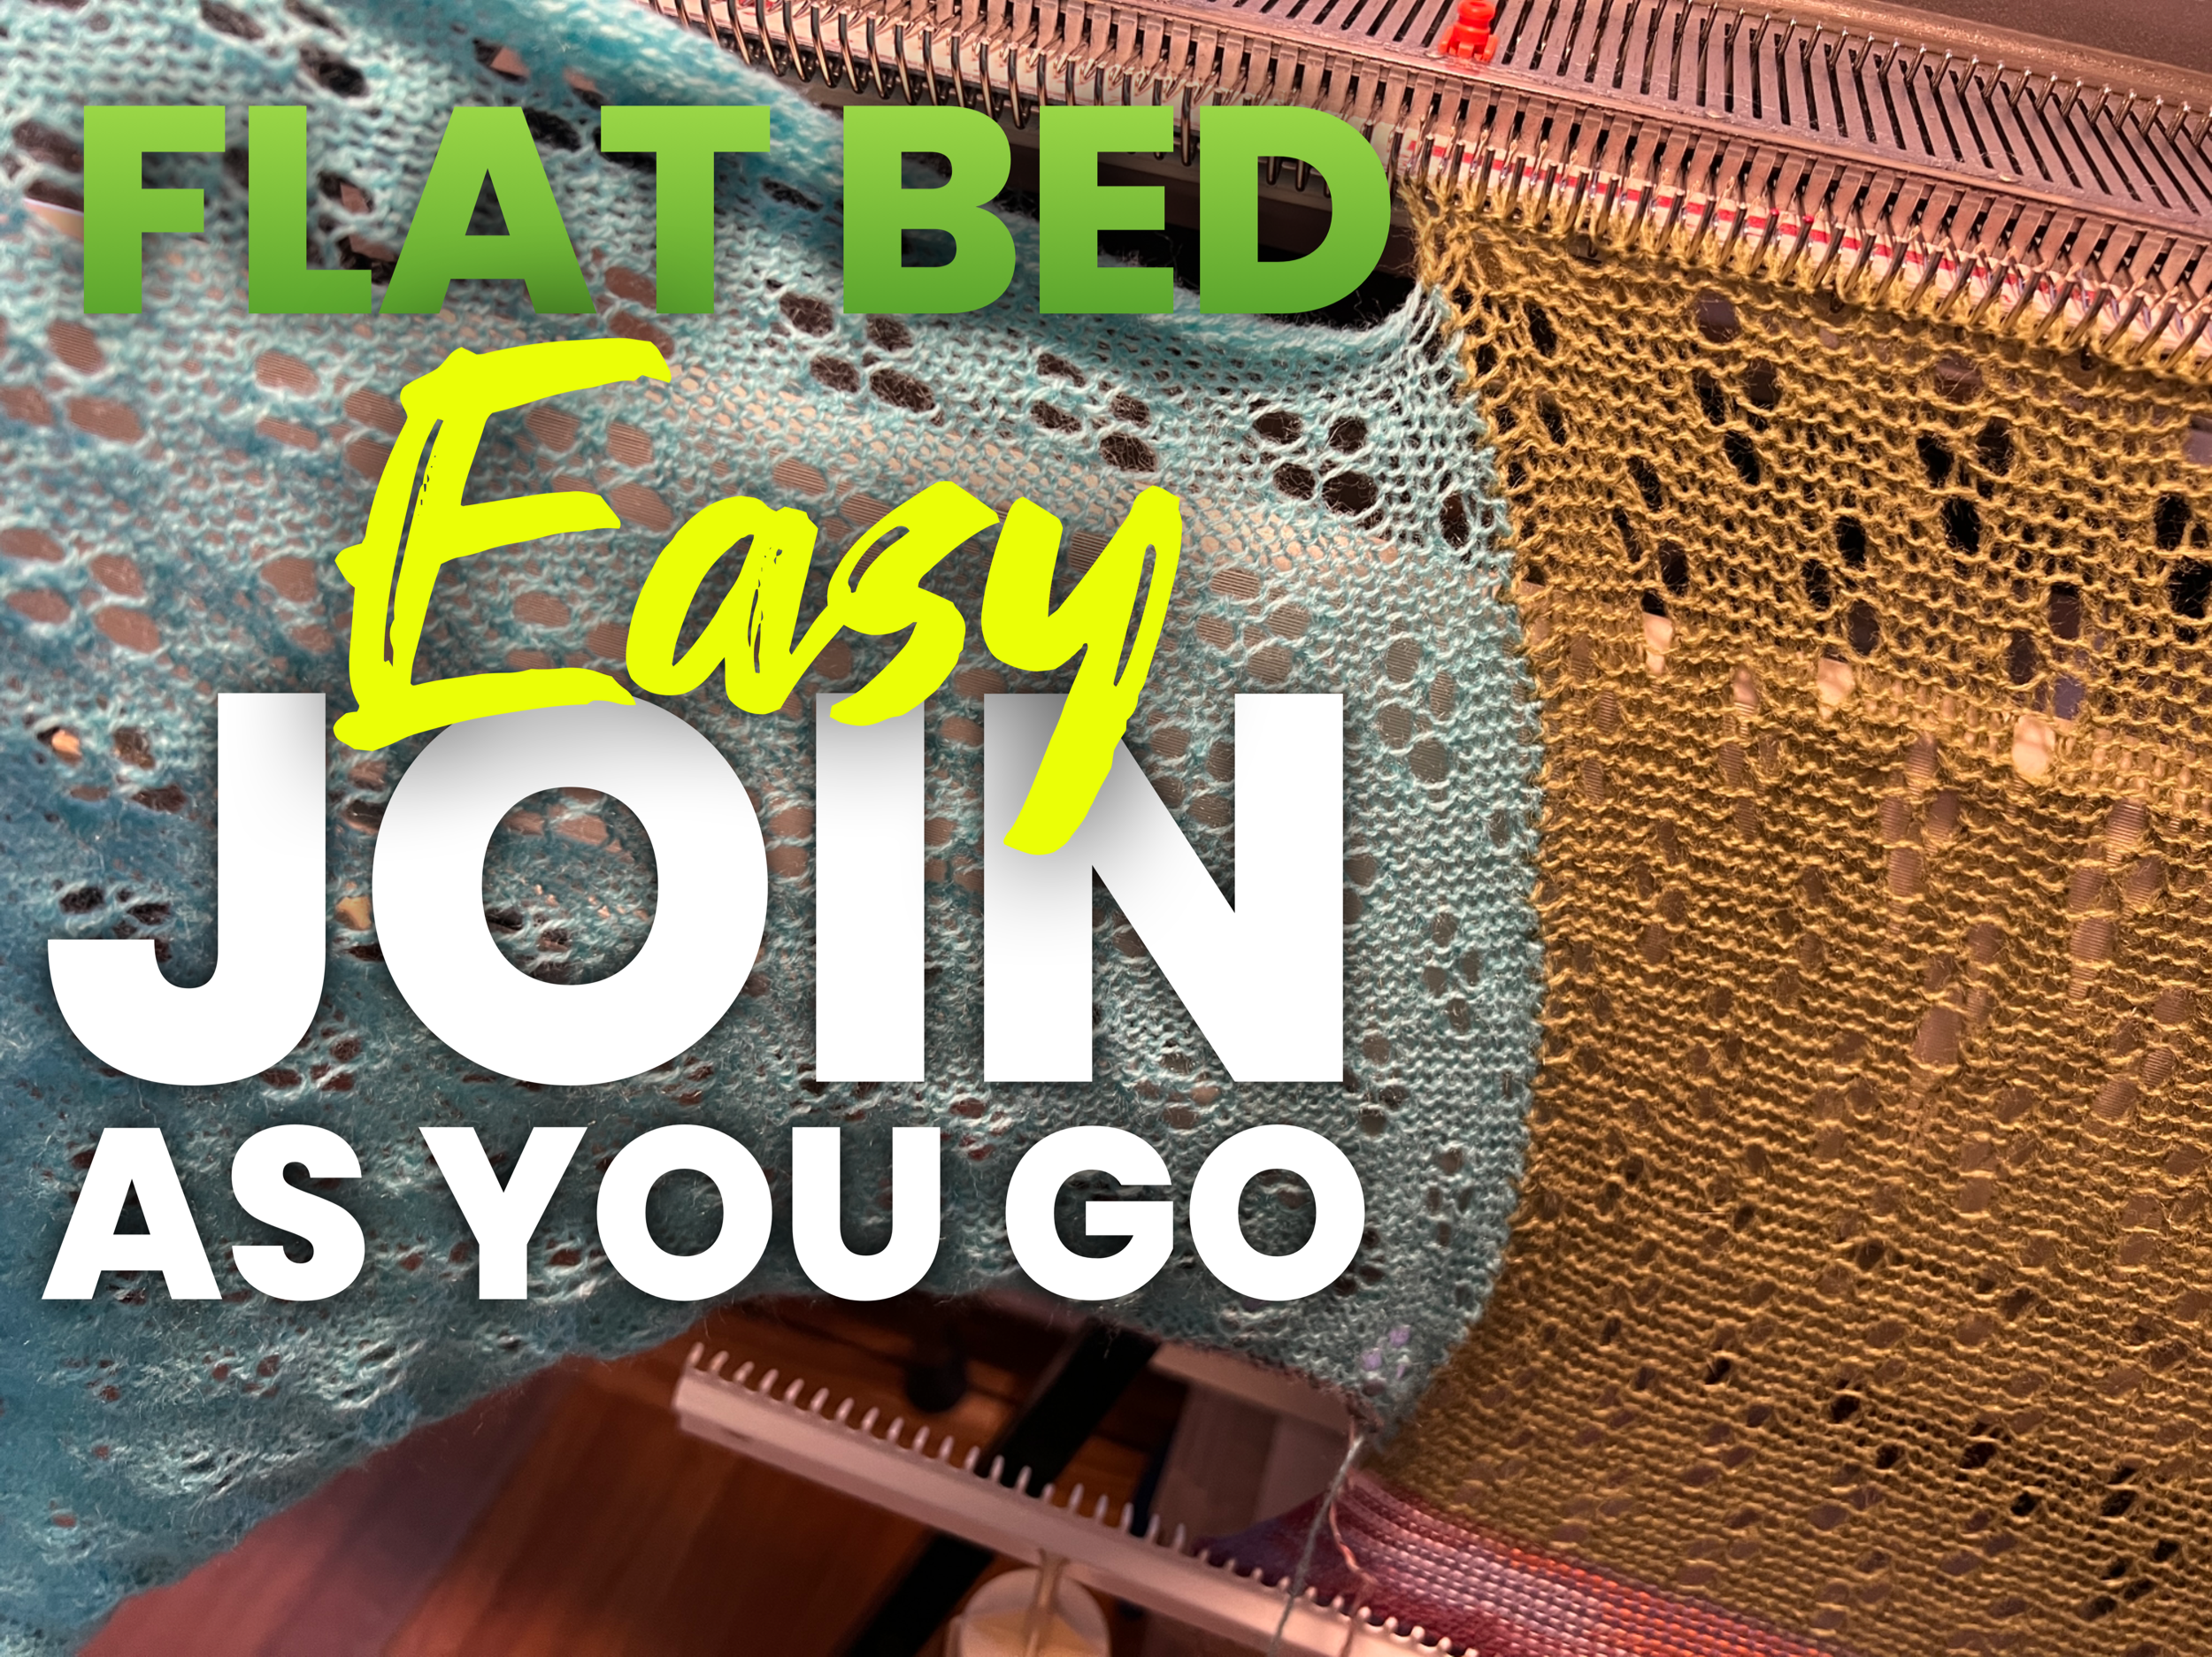
I made a short demo video to help others do the same. Instagram post.

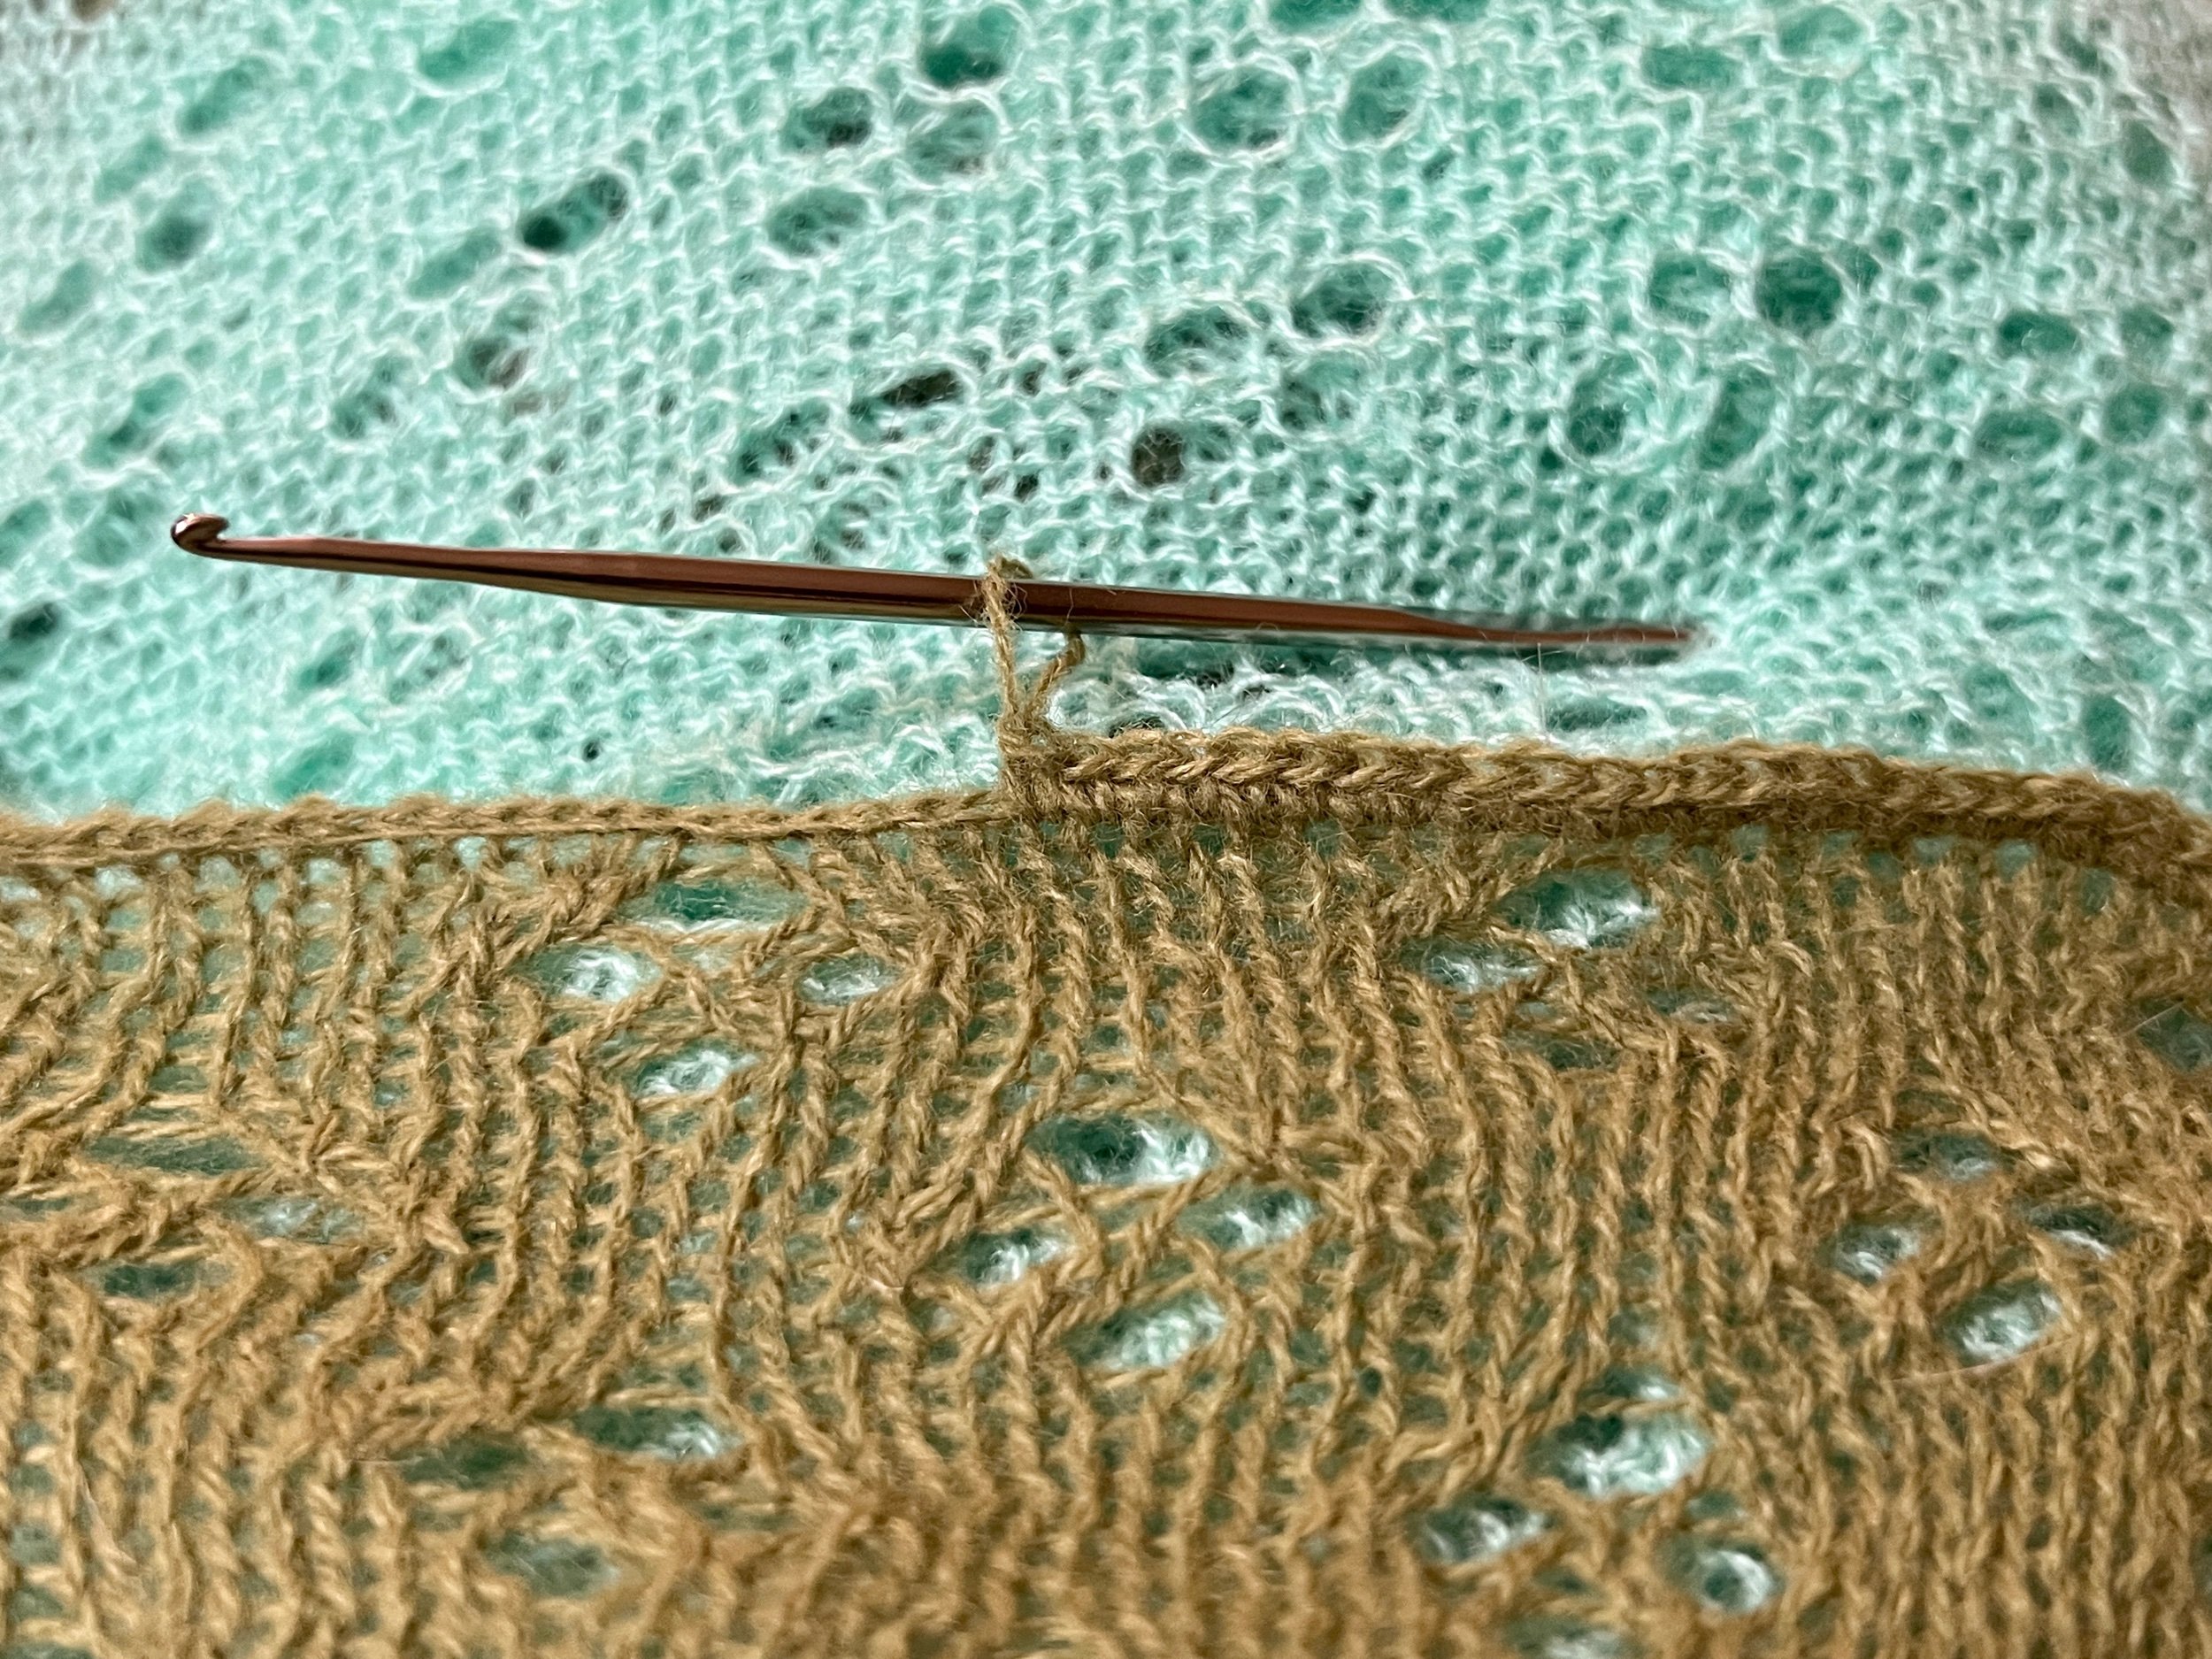
After that I removed the scrap yarns. Now I’m working single crochet all around the blanket edges.


OLDER VERSIONS OF THE SAME BLANKET:
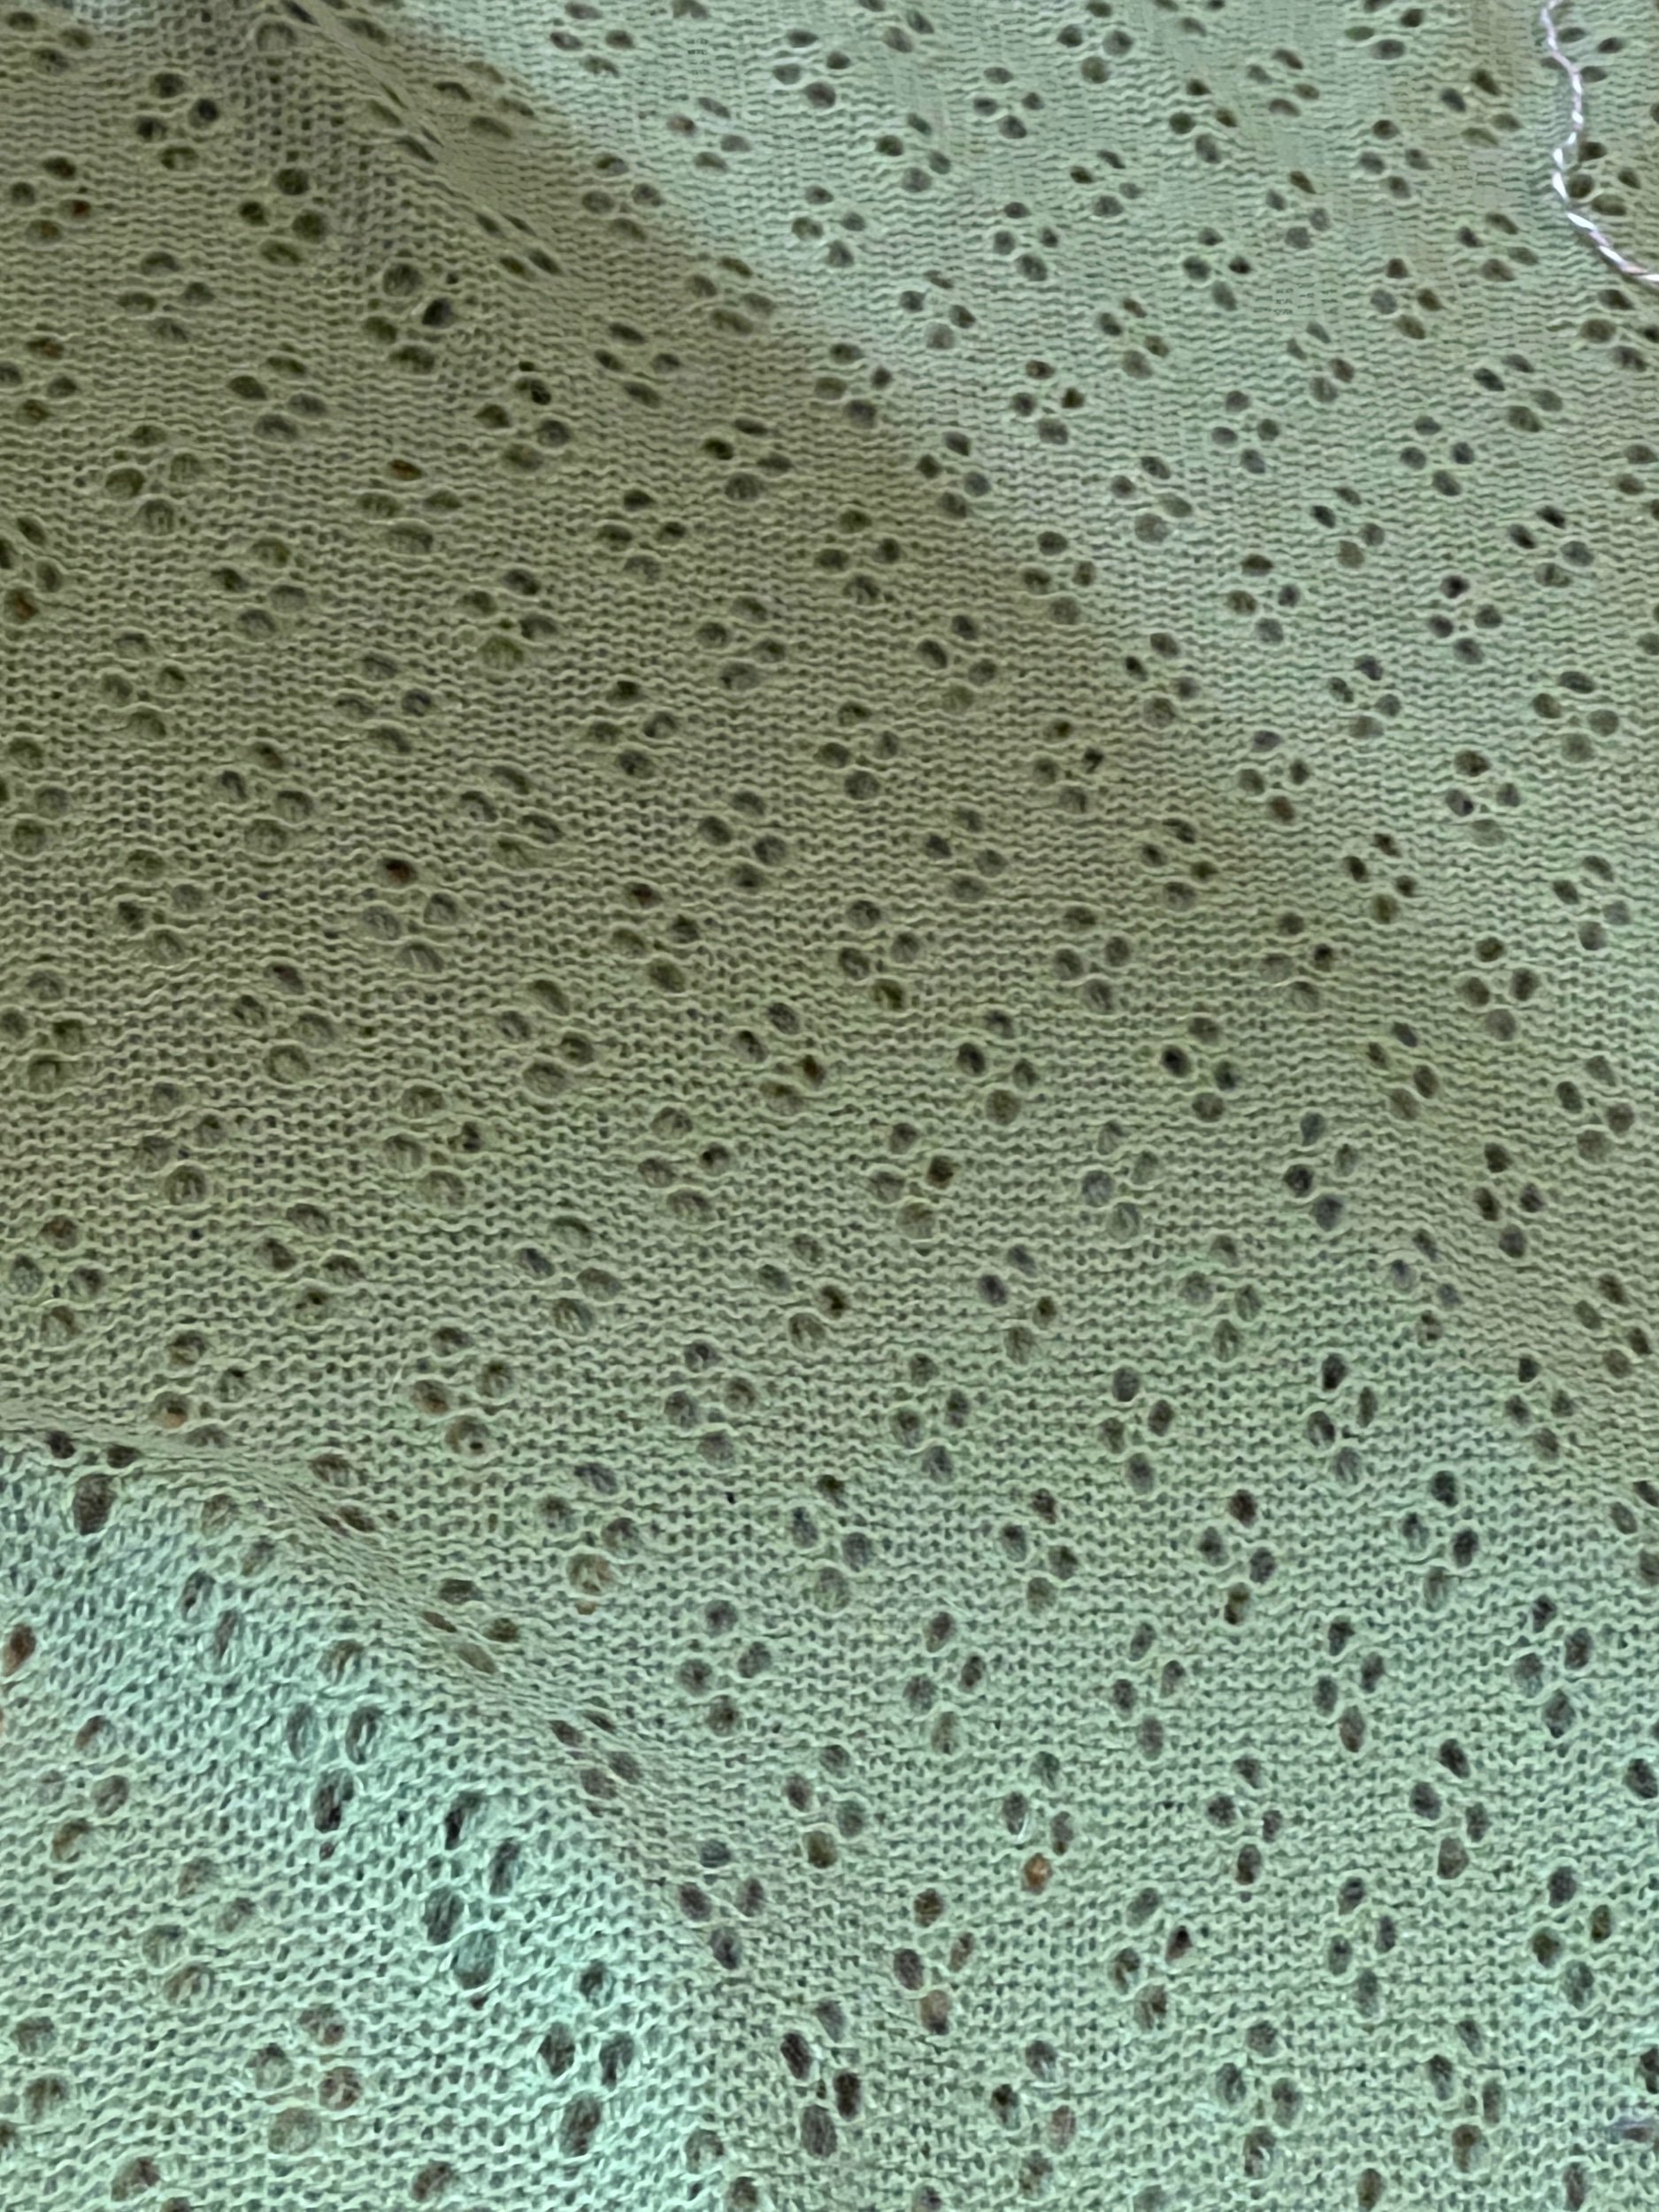
Below is the second try which involved joining as you go - one and two panel attempts. Without having thought to mark any of the panels it was too easy to make mistakes which resulted in joining errors and segments too short. (A great received tip after the fact: Next time use markers regularly). All was undone except the two olive green lace panels. Restart.

Instagram post: one | two | three | four | five | Six | seven | eight | nine | ten |


See all Blog Entries on the BLOG INDEX page

2023 Jan 8 - Tuck Bedspread with Card 7

Using all needles I OPEN cast on with the Ravel Cord then hung the comb/weights.

I worked 10 rows of scrap and then with the carriage on the left I switched to my project yarn.

I worked 6 rows and with the carriage on the left, then put the side russell levers up and set the punch card left lever to read the card on the left to right next row. (Left lever down). Work the left to right row.

Now with the carriage on the right I set the carriage to TUCK and moved the punch card left lever UP. I moved the punch card to L (which makes the pattern LONGER). Reset row counter.***** I made a mistake and worked two knitting more rows then switched to TUCK.

I am aiming for a minimum 88” long blanket (edge of bed to top of pillow). The pillow area is 20” long.

THE LEFT PANEL IS DONE (but the segment partway under the pillow isn’t yet knitted - it will be done separately) The left panel used 500 grams of acrylic. The total row count of all (7 start basic knitting then to pattern then 7 rows of basic knitting) is 1946 (shows as 946 as it only shows three digits). The left panel is approximately 100” long with maybe a three inch length over the end of the mattress.

NOW FOR THE RIGHT PANEL - I only have 145grams of yarn. So thinking on the fly.

EDIT: Jan 26/23 after finishing three long panels and linking (joining them on a linker) I decided to start over Instagram post I will create a new blog entry.

Learning moments:

-ensure pattern is not worked to the edges (makes joining panels not fun)

-plan blanket Color’s for a nicer look

-joining as you go is slow but a wonderful way for both knit and Purl sides to look presentable as a blanket. (Learned after the fact).


See all Blog Entries on the BLOG INDEX page