How to keep your CSM cloth near at hand using a dollar store retractable clip, a metal ring and your cloth/rag.
Also on INSTAGRAM

How to keep your CSM cloth near at hand using a dollar store retractable clip, a metal ring and your cloth/rag.
Also on INSTAGRAM

I have another sock machine intro day schedule today for Emily - a local non-CSMer to come by and make a guided pair of socks on my Legare 400. I do this free of charge (you bring your own yarn I recommend). Don’t have a clue? Not a problem! 🙂
Are you a non-CSMer (Vancouver, BC local or not) interested in the same? Message me! Let’s talk!
Our future-in-law-approved pull-out sofa bed is available for a out-of-town person.
Paying it forward and sharing the knowledge freely. Email me: karenramel@yahoo.com 🙂
All the very best!
Karen, Vancouver, BC Canada
Also posted on INSTAGRAM.
Thank you from Emily

Started a new project yesterday evening In our apartment - a csm tabletop for a workmate folding table. As larger wood pieces aren’t cheap I recycled two pieces from my small collection, planned out a design on paper then used the messy handsaw a couple times. I used a palm sander outside on our patio then assemble then customize.
If you’re going to do something for someone then be proud of what you do. ;) This table was loaned to a new CSM person at the event we both attended hosted by Pat Fly in Lacey, Washington May 30-June 2/19.
This loaner table was damaged when it was used with a overheated table lamp - this person did not return it. :(
I created a new version (version 2)! This table was designed so that two persons can use this simultaneously without interfering with each other. I will use this as a LARGE demo event table to aid in the items I like to bring along. Also I made this table so that another can join me if they are new, with their CSM if we are both at the same event - and they need a table.
If I knew then what I know now…. I’m here to tell you that indeed it IS important to start certain projects at certain points on the machine - that making a sock for example requires certain actions and yarn carrier placements.
WHERE YOU CHOOSE TO MARK YOUR 6 O’CLOCK POSITION ETC ON YOUR CYLINDER IS YOUR PREFERENCE!

CRANKING ORIENTATION: It’s possible to sit at the machine in almost any orientation however I believe strongly that by using the machine at a more natural arm movement (like sitting on a bicycle with leg pedaling forward) means I will experience less wear and tear to my arm and shoulder. (See the orientation images below).
So with this information in mind, my preference in marking my cylinder is to put 6 o’clock pretty much right in front of me on the cylinder.
In order to approach this with clarity let me show you how I sit at my machine with this photo.
TABLE POSITION: My setup is a non-cutout rectangular computer desk where the machine is clamped to my right (the right table corner). When I’m ready to use the machine I sit back a little and align to make it easy to crank with my right hand on the handle.
Below are two photos better detailing angle of sitting at the machine. Note the angle one sits determines where the 6 o’clock position would be and then the other marks would be in relation to that 6 o’clock mark.
You will find this diagram in almost every CSM manual - at first glance it seems too busy to read however if you review the cylinder numbers it shows how many needles are between each important point on that sized cylinder. Click on the image if wishing to see bigger image.

As shown in the chart A, B, C and D are marked. This is 12 o’clock, 3 o’clock, 6 o’clock and 9 o’clock respectively. These are essential. We then also add further marks for Heel/Toe decease/increase areas. Refer again to chart.

What is the ribber accessory? (Vintage Legare shown)
Okay. So the marks have a purpose. Certainly where they are laid out on the cylinder does depend how you sit at the machine its helpful to note:
-mark your 6 o’clock at the position right in front of you where ever you sit at the machine - this makes it easier when working on the machine as everything is even
-IMPORTANT NOTE-aim to center the segments so that the ribber accessory (part that attaches to the inside of the cylinder and is used with the ribber) is in the middle of the segment to reduce attachment collision with Heel Forks/Heel Weights when working Heel/Toes on the machine (see photos for reference)
EXAMPLE. Regardless to how many needle slots your cylinder has, when making a heel or a toe we use only HALF of the needles in the cylinder - so with a 72 slot cylinder - the heel/toe would use half that - 36.
Building the heel/toe we would decrease and increase evenly down to an average point - so this translates to leaving 1/3 of the stitches unworked on an average heel/toe. So if the heel/toe used 36 needles - we decrease 12 stitches on each side leaving 12 (this side evenly divides into 12 - 12x3) we then increase 12 and that heel/toe is done. You would therefore add your left boundary 6 needles from 6 o’clock and your right boundary 6 needles from the same 6 o’clock. Check the chart above and photos.

When we use the ribber, the average approach to add a ribber needle to the setup is to add it at 3 o’clock, generally either the very first slot after that point or the second - which slot specifically works for you depends on where you align your marks - one or two one way or the other would change slightly the ideal alignment of the ribber placement when used. It is not urgent but something to consider if you prefer to always add a ribber needle at the first slot at 3 o’clock etc.

Note the 6 o’clock red mark (the one in the middle) is the center of the heel and the best alignment for heels/toes and using the V Hook Heel Weight.
Also on INSTAGRAM - REF1,
Now let’s look at this next image. Don’t worry at first glance it seems a bit chaotic. The clock positions remain where they are on a clock but here we see the 72 needle slot cylinder where the average heel/toe marks are 6 needles on each side of the 6 o’clock position. That an easy ribber dial alignment for regular ribbing (full pitch) has an ALIGN MARK for easy confirmation of the Ribber setup alignment on my machine. The Tappet Target mark on the cylinder is 8 cylinder needle slots before 3 o’clock and is used during selvage to engage or disengage the Tappet IN/OUT switch (the Tappet requires 4 ribber or 8 cylinder slots in order to activate/deactivate ribbing). My 6 o’clock position on my machine is aligned with the ribber accessory mounted on the inside of the cylinder to make the small working space on the inside of the machine easier later with whatever Heel Forks or Weights used for Heel/Toes.


Most of us use nail polish to mark our cylinders by preference as it allows the mark to be removed if needed, however polish must be applied thinly (in layers) on a non-oily surface and the dried color will eventually wear off with use. I’ve swapped most of my marks from the generic nail polish to the shellac/UV gel polish for its durability. This is something I had on hand having bought the drugstore unit in the past. One can also use model paints or strong markers.
Interesting self discovery today when I realized some other same machines have different stamped numbers under the tension dial. After looking into this it was determined that the LEGARE was made with two versions of the Tension Cams (the T shaped inner part shown on the left inside of the machine). See the info in the online manual
Also on INSTAGRAM
The style of the V cam dictates the stitch tension range on the machine. What that relation is to the stamped numbers is not noted anywhere I’ve seen.
Do you have more to add?
Got tired of not having a safe place to put my ribber (and not wanting to put it on the Legare base rest spot) so I created a secure stand tonight. This will also save my work surface from residual ribber oil as the stand has a base. Painting it now (because teal is a wonderful color). Also on INSTAGRAM - REF1, REF2,

Also on INSTAGRAM - REF1,

This is the design of my Bed Plate - the base of my machine
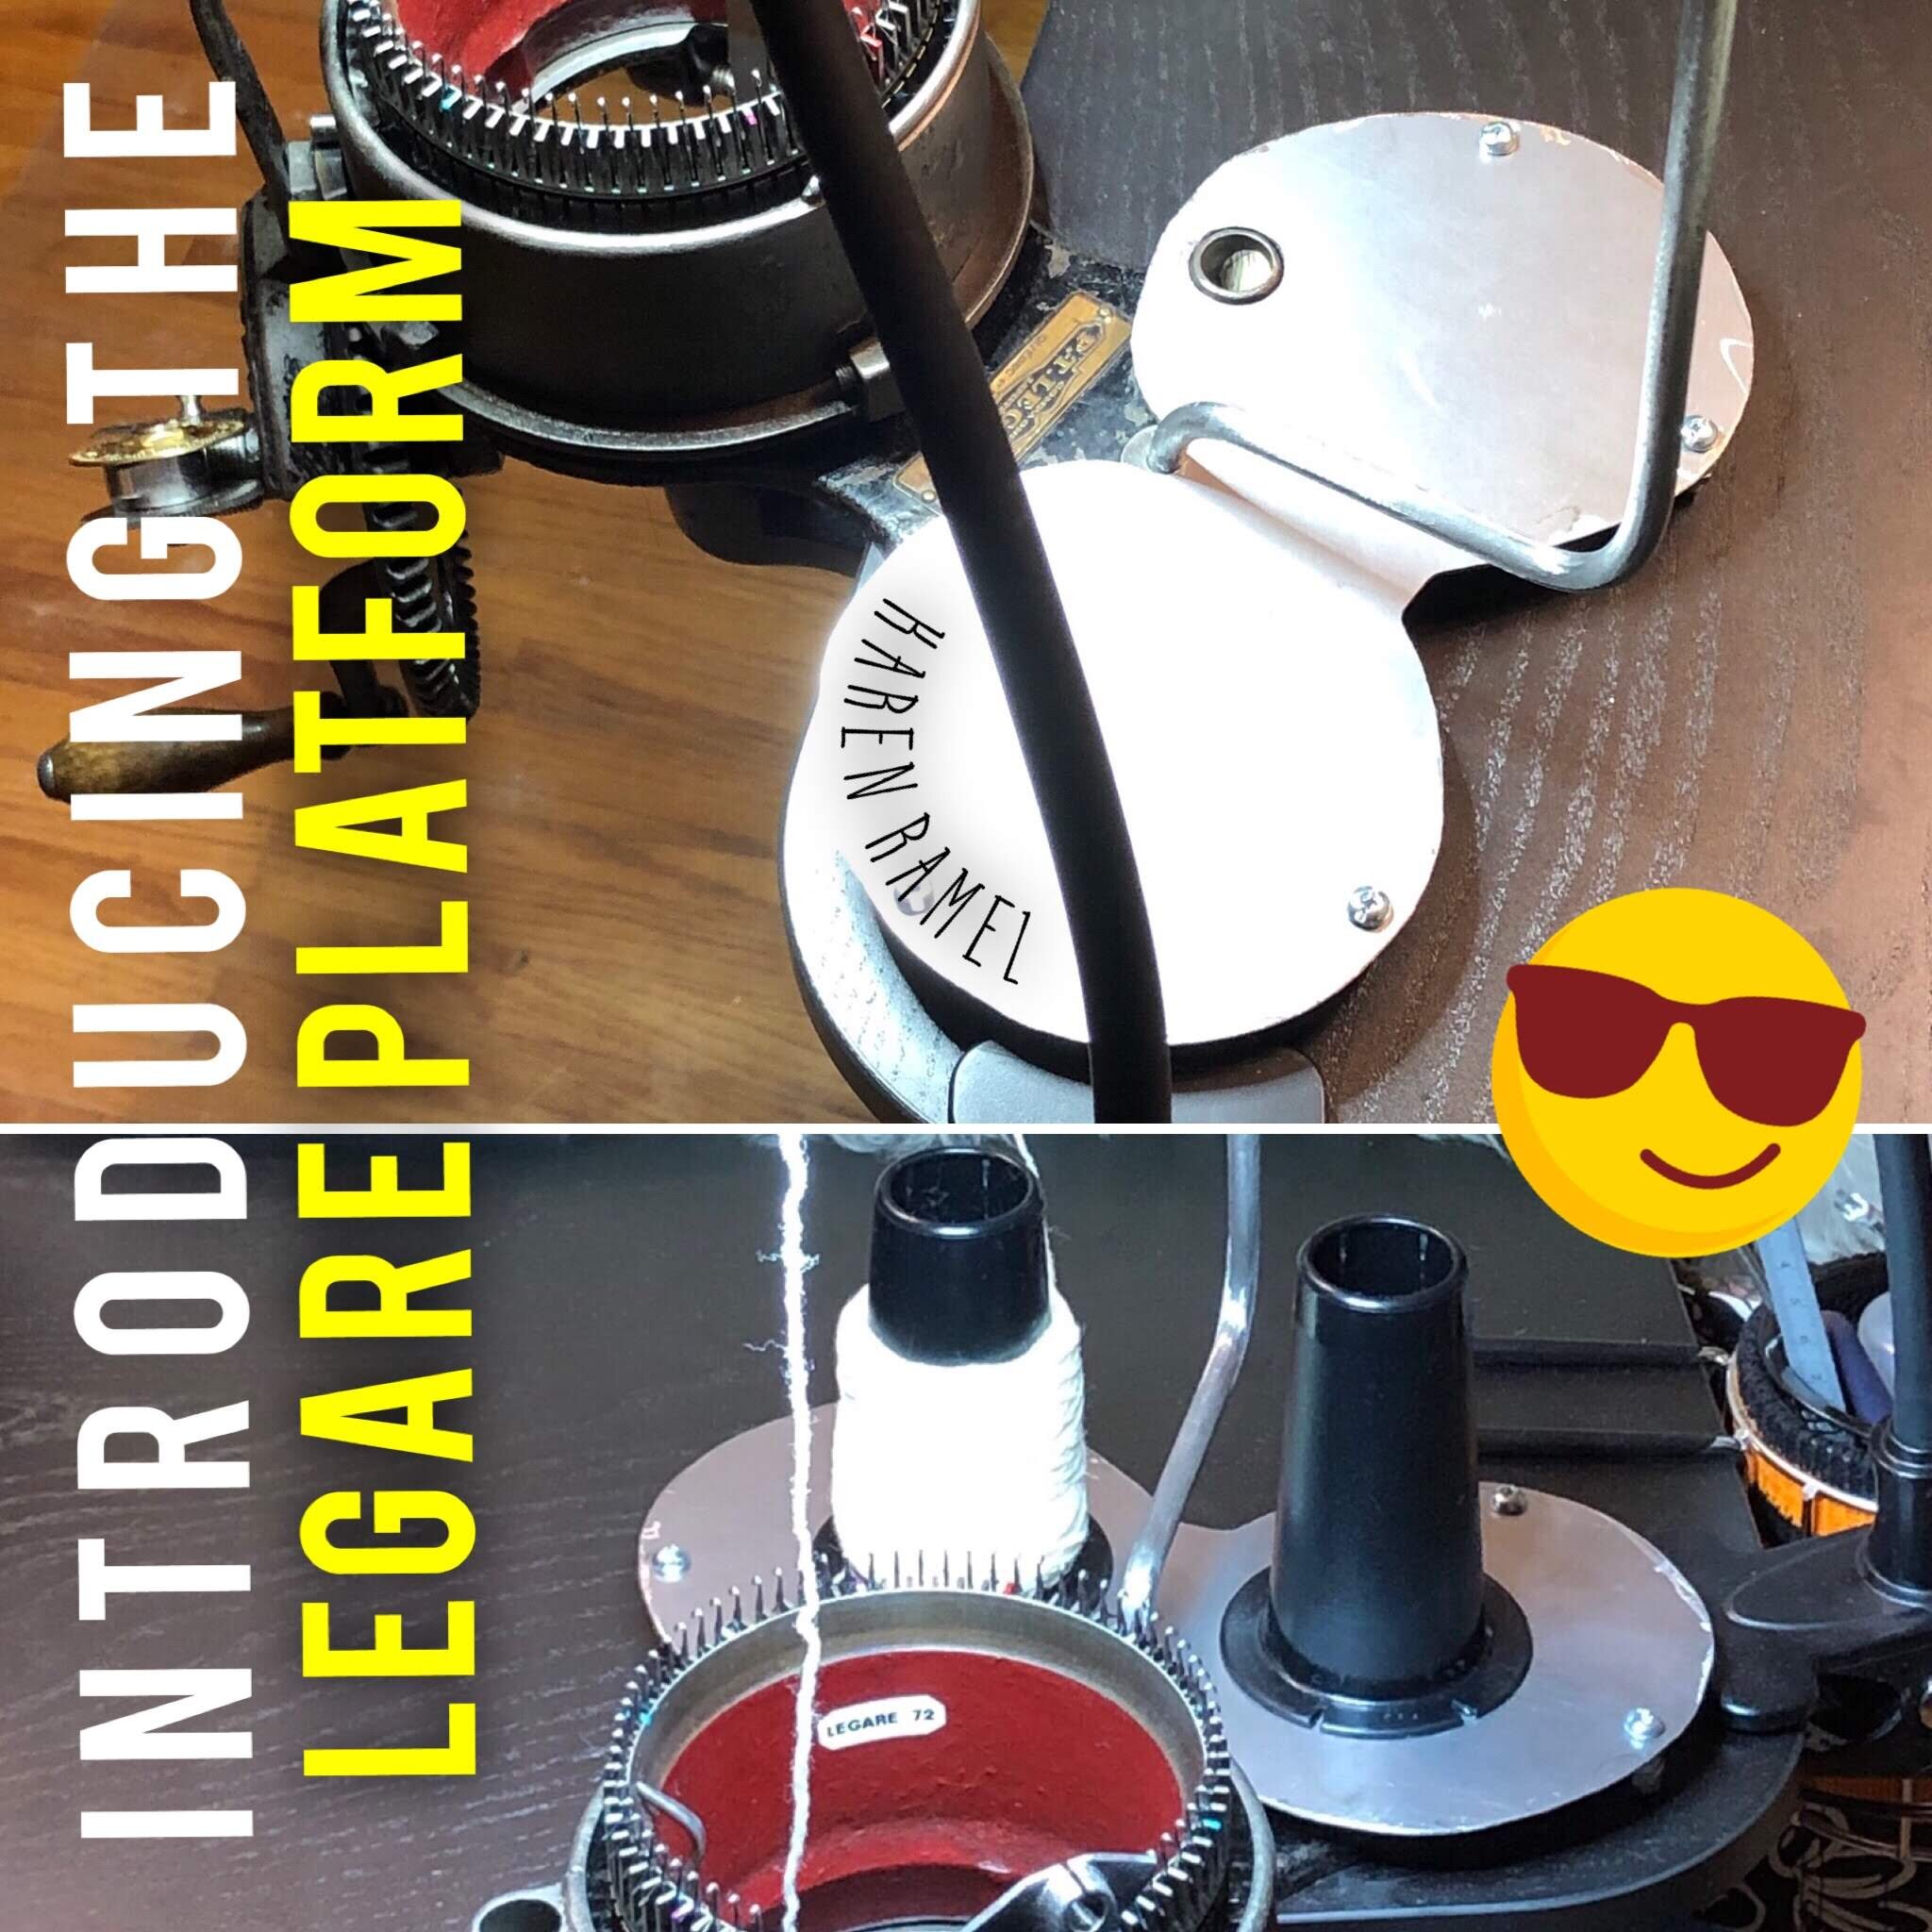
Legare Platform 1.0: Tonight I designed and built a cool new solution for yarn access on my CSM.
I wanted a flat level surface near the yarn mast to place my yarn.
I don’t like to have yarn fed from the floor or under my table and as I am setup at a computer desk, I prefer to have the yarn source where I can see it as close to the center of the pull into the machine.
This platform can also work on my autoknitter.com travel table!

I find that the current 1.0 platform isn’t wide enough to accommodate the massive cones of Opal yarn so I designed a single sided platform to use just on my home setup computer desk. (I’ve decided to delegate the 1.0 version to my travel setup with the lightweight table shown above).
Starting with what I believe is 16 gauge steel sheet metal, I designed and dremel cut off wheel cut the shape I wanted. Initially I found the sheet metal I have on hand wasn’t big enough to make a single piece item so I chose a three piece platform where the left and right pieces were almost mirror shaped (one side with the hole mount on my baseplate the the 1.0 version) with the third smaller part to attach the two in the middle. On day two I decided to downsize the idea to just a smaller left side only platform as I tend to use the left feed when working at my home setup.
I smoothed off all surfaces and had to remove some rust after the sheet metal was accidently stored on our patio (it now lives inside). After a hardware store search for ‘feet’ for this, I then chose to do as I did before and create screw built feet. I drilled four holes for the screws, with each foot built with a single screw, a tension washer and two nuts with end cap style acorn nut ‘feet’. I painted the underside and top with two coats grey primer spray paint and then did the same on the top with my preferred teal paint, finishing with two coats of varnish. I chose to decorate the top with “safety-walk” slip resistant tape cut into hearts with its adhesive back and sandpaper top surface for esthetic appeal over needing to add grip to the top surface. (Photo of the safety-walk is above - this is the same material I use for upgrading your CSM brake on the Yarn Topper see this VIDEO.) I love the result and its gorgeous. :) (I usually use the coned yarn much closer to the machine than shown in these photos). Make something you will use and that will bring you joy. YAY.


This entry will now be the place ALL YARN DYEING will be uploaded.
Yarn used: Lions Brand Sock Ease “marshmellow” colorway
On this particular day - Dec 30 2018 my boyfriend Wyatt and I dyed the red and green yarn (mine was green, his was red/blue/white) at a knit gathering in Burnaby, BC.
Other photos are the results from myself and workshop participants at the Lacey, Washington CSM event in 2019. The 6 yarn balls on one photo are the participants awesome results while the 3 stack are mine. :)


Ribber problems... Legare 400 using 72 cylinder and 36 ribber setup in 1x1 rib. Indiscriminate problems with previous row stitches (noted before but not solved). Machine timed. Yarn carrier correct height. Normal weights. Ribber needles misbehaving swapped out and later in without repeat problems. Same needles not misbehaving predictably.
SOLUTION:
-replaced timing screw with better fitting cylinder screw, nut and tension washer (won’t undo itself with use)
-lowered ribber a little
-re-adjusted yarn carrier to cylinder and ribber ensuring horizontal ribber needles cleared yarn carrier while yarn feeding was correct.
-re-timed machine 2-3 times over all.
-used sock yarn weight scrap for project specific new style of cuff down start
-slow cranked 10 rows to identify final 8 ribber needles trying to pull yarn into ribber slots
Problems noted (hindsight is always 20/20):
-prior ribbed stitches were getting hung up on horizontal latches not clearing off to form new stitch.
-some ribber stitches were being pulled into the machine with open latches staying open
-ribber stitch latch amputations
-dropped cylinder needle stitches, incomplete ribber needle stitches and dropped ribber needle stitches
-timing screw noted loose with securing nut undone
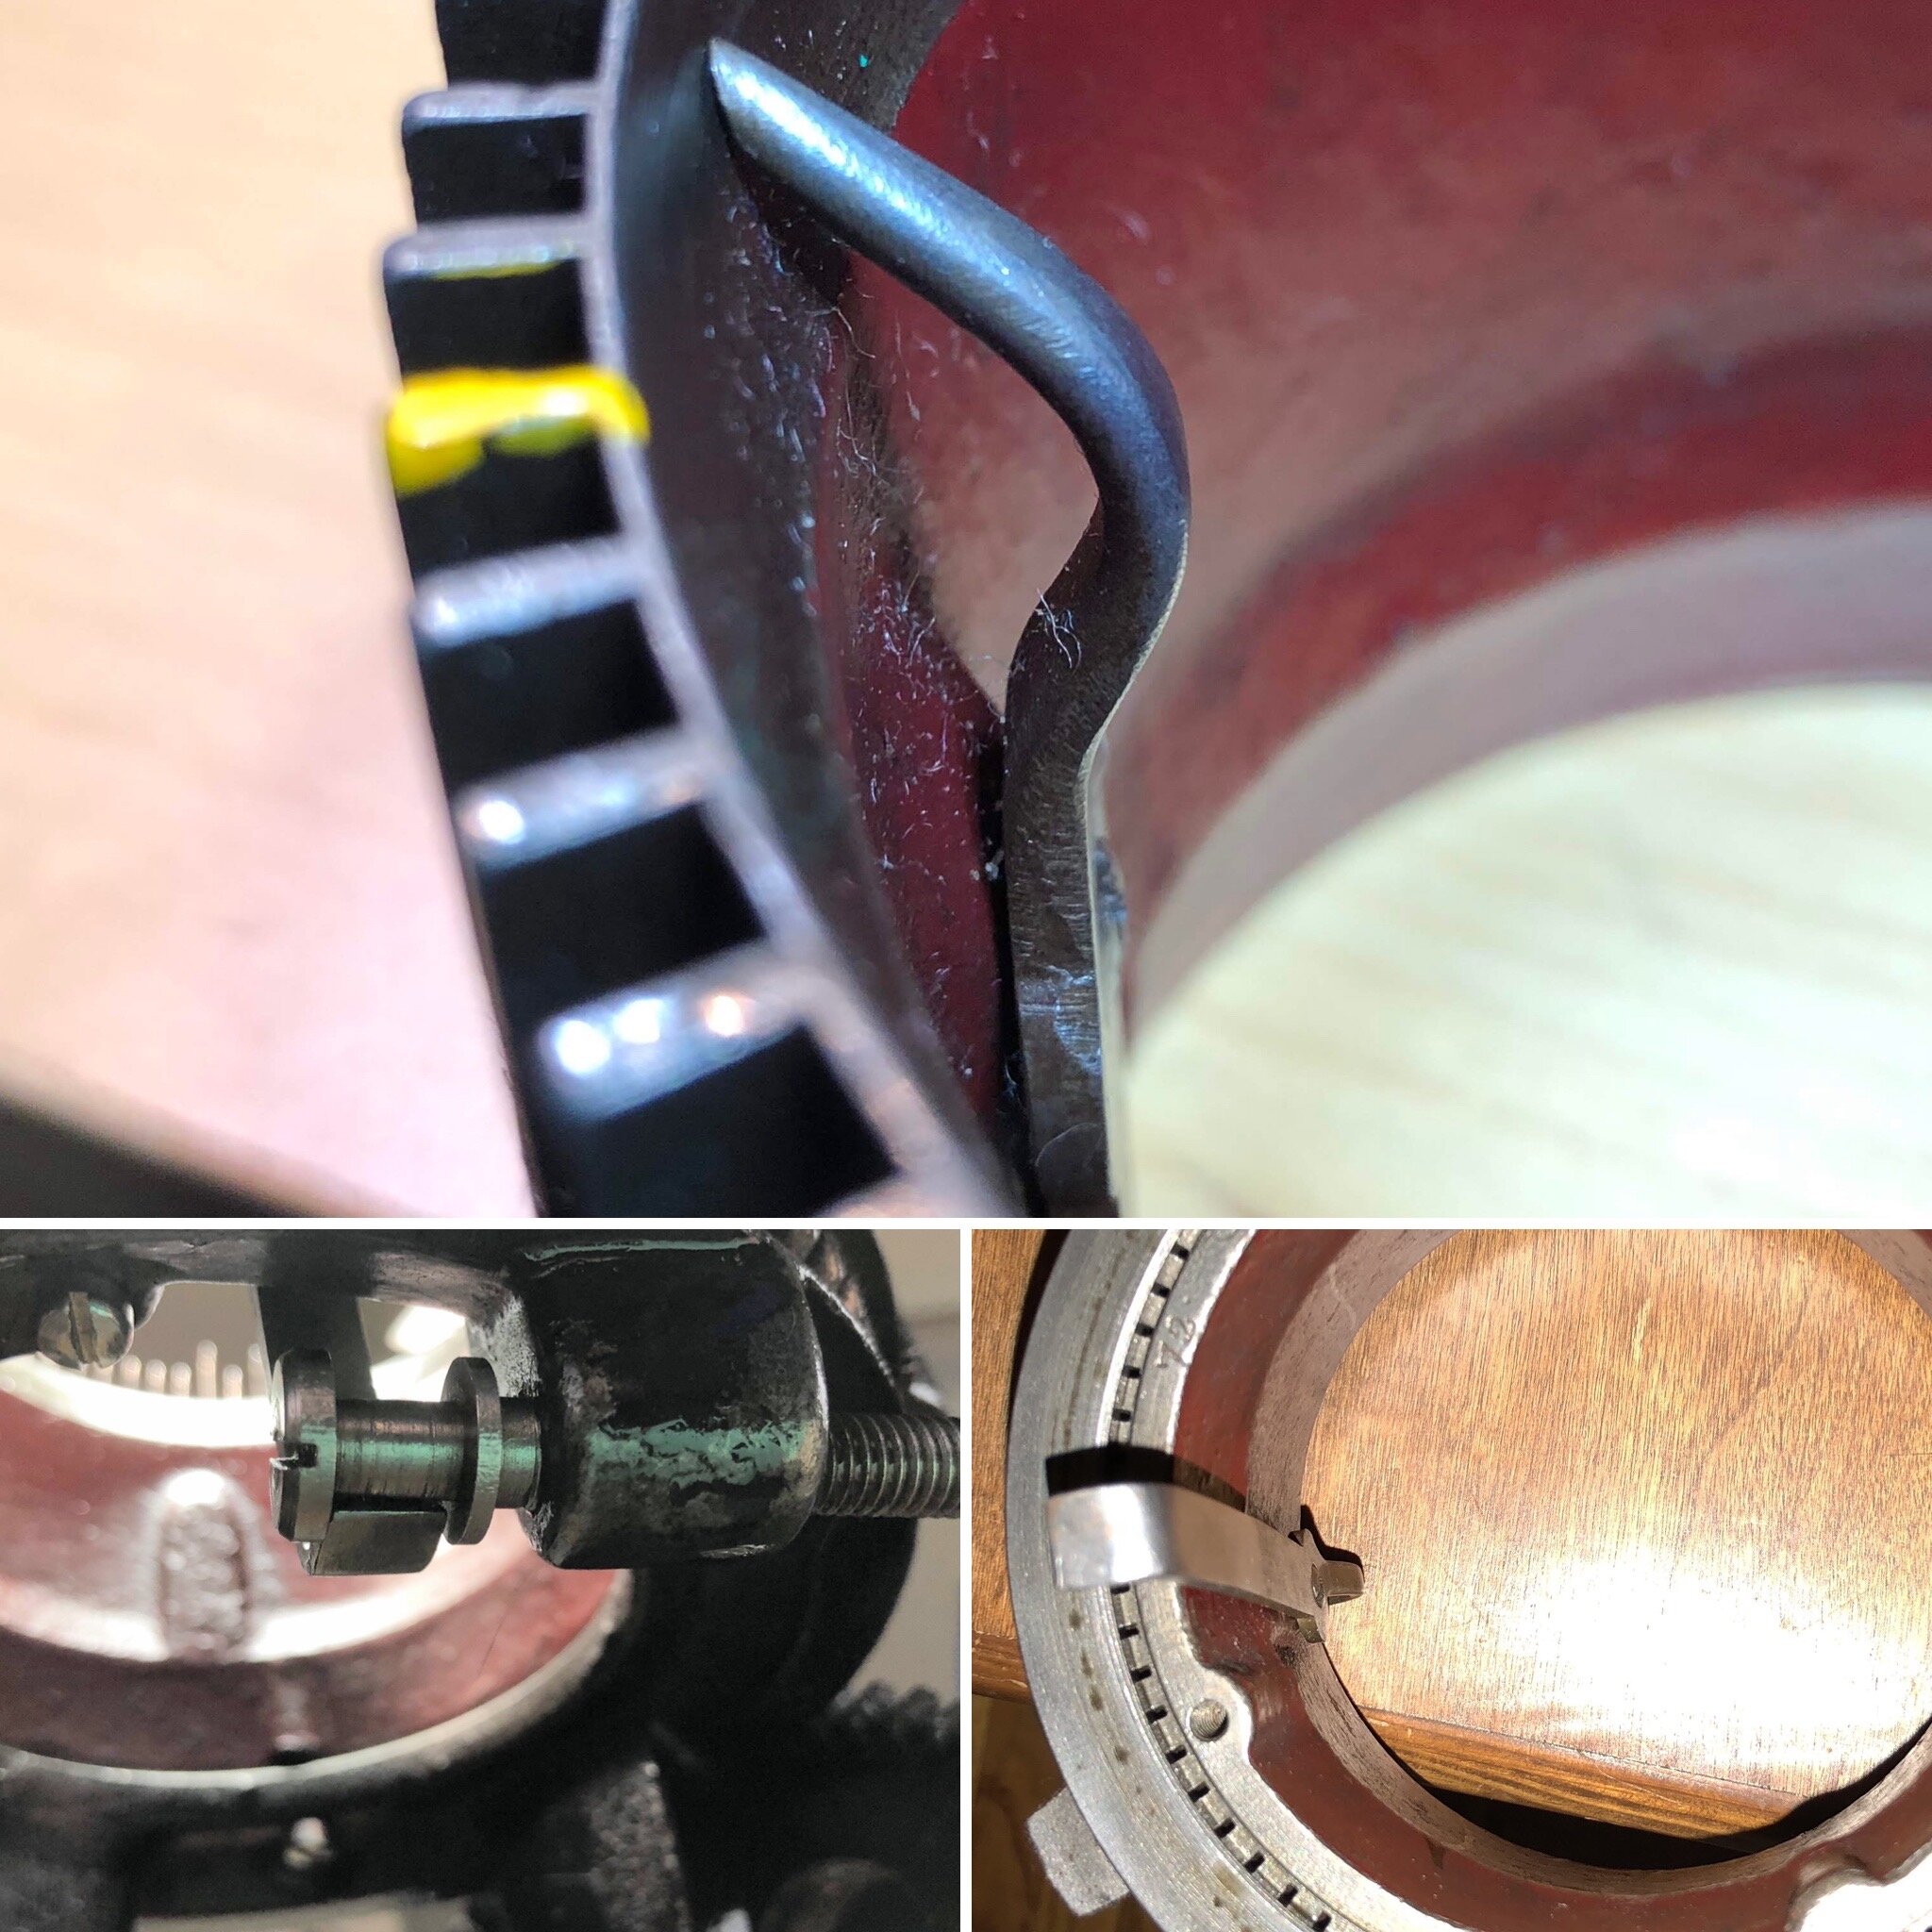
It hadn't occurred to me to use my camera phone and look under the ribber from the floor up to see why a ribber stitch was not completing/coming off the horizontal needle into the worked piece. A couple camera shots at re-start number 8 or 12 (?) noted the worked 'webbing' easily completely disintegrates with dropped stitches causing no material to pull down new stitches. Basically it all came down to timing and naughty needles.
CSM: This is the underside view of the component that rests on the ribber dial. Fascinating
I had been having infrequent issues with ribber needles jamming and beheading themselves on the tappet plate. When I was able to compare my ribber tappet to two others I found an interesting difference in the design (EVEN THOUGH they were all made for the same model Legare). My Tappet as it turns out - appears to have had way more wear than my machine was used - so with Susan Forsyth’s help we determined at some past point this Tappet was introduced to this machine (my ribber alignment/timing issues were not because of the timing!)
After viewing the slight other versions of the same part I determined my Tappet just needed a slight adjustment of the ‘shelf’ where there was slightly not enough room for the workings of the ribber needles.
With my dremel and polishers, I very slightly thinned the slightly thicker ledge, created a tighter curve on the dial needle damage area (allowing clearance) then smoothed prior damage. It worked like a charm!
Thanks to Susan Forsyth for the work-through Jan 19/19 and comparison parts that were essential in determining the tappet to be the issue.


Final view of the Christmas Stocking

Before finishing
Completed a “stocking” in acrylic
See the Toe-Up CSM sock instruction video
Working on a 54 stitch cylinder worsted yarn Split Ring Cast-on Bonnet to match the industrial strength 72 version done a couple months ago.
Also on INSTAGRAM


Container was a little brittle and later replaced.
This container was the very first I found to fit my cylinder. It seemed like a great way to keep a cylinder safe - the product: Party Mix Olives found at the grocery store (Canada Safeway).
Another option to better protect and store your not-in-use cylinder and ribber dials: Sistema 1.5L Klip It Round container with strainer.
This container is WAY more robust than Version 1.0. In addition this is air tight. One can add bubble wrap or create cylinder/ribber dial knitted covers for identification and storage. Sistema container found on Amazon.ca - I note they’ve since discontinued this container.
Info to come.

My vintage Legare 400 came with a 54 and a 72 slot cylinder and a single 36 slot ribber dial.
Obviously when the regular (vintage) approach was to use a ribber with half the slots of the used cylinder, the 36 slot ribber goes with the 72 slot cylinder - HOWEVER - you can ALSO use that same 36 slot ribber dial with the 54 slot cylinder.
Are you as mathematically confused as I am with this? (It’s ok - an easier approach is simply to align the parts and see the common slot alignments - OR review the ribber/cylinder reference chart(s) that sometimes were printed in the manuals)
There was a time I used to worry about exactly which combinations matched mathematically with regards to cylinders and ribbers. Too much thinking!
The photo above shows that indeed they function together. When using a 1x1 rib pattern it mathematically works. However when we go to the 1x3 (1 ribber/3 cylinder) setup you will find that 3 does not divide evenly into 54 - which is OK. Fudge it. I won’t tell and your sock owner won’t know unless they peer way too closely to the sock.
:)
July 27/20 EDIT: See the images below to further demonstrate that you can make any combination (Mock rib or regular) you really don’t have to be mathematically 100% divisible on your sock if there is a needle or two not in the right combination unless you choose to look for it. Click on each image to see a larger version.
Also on INSTAGRAM
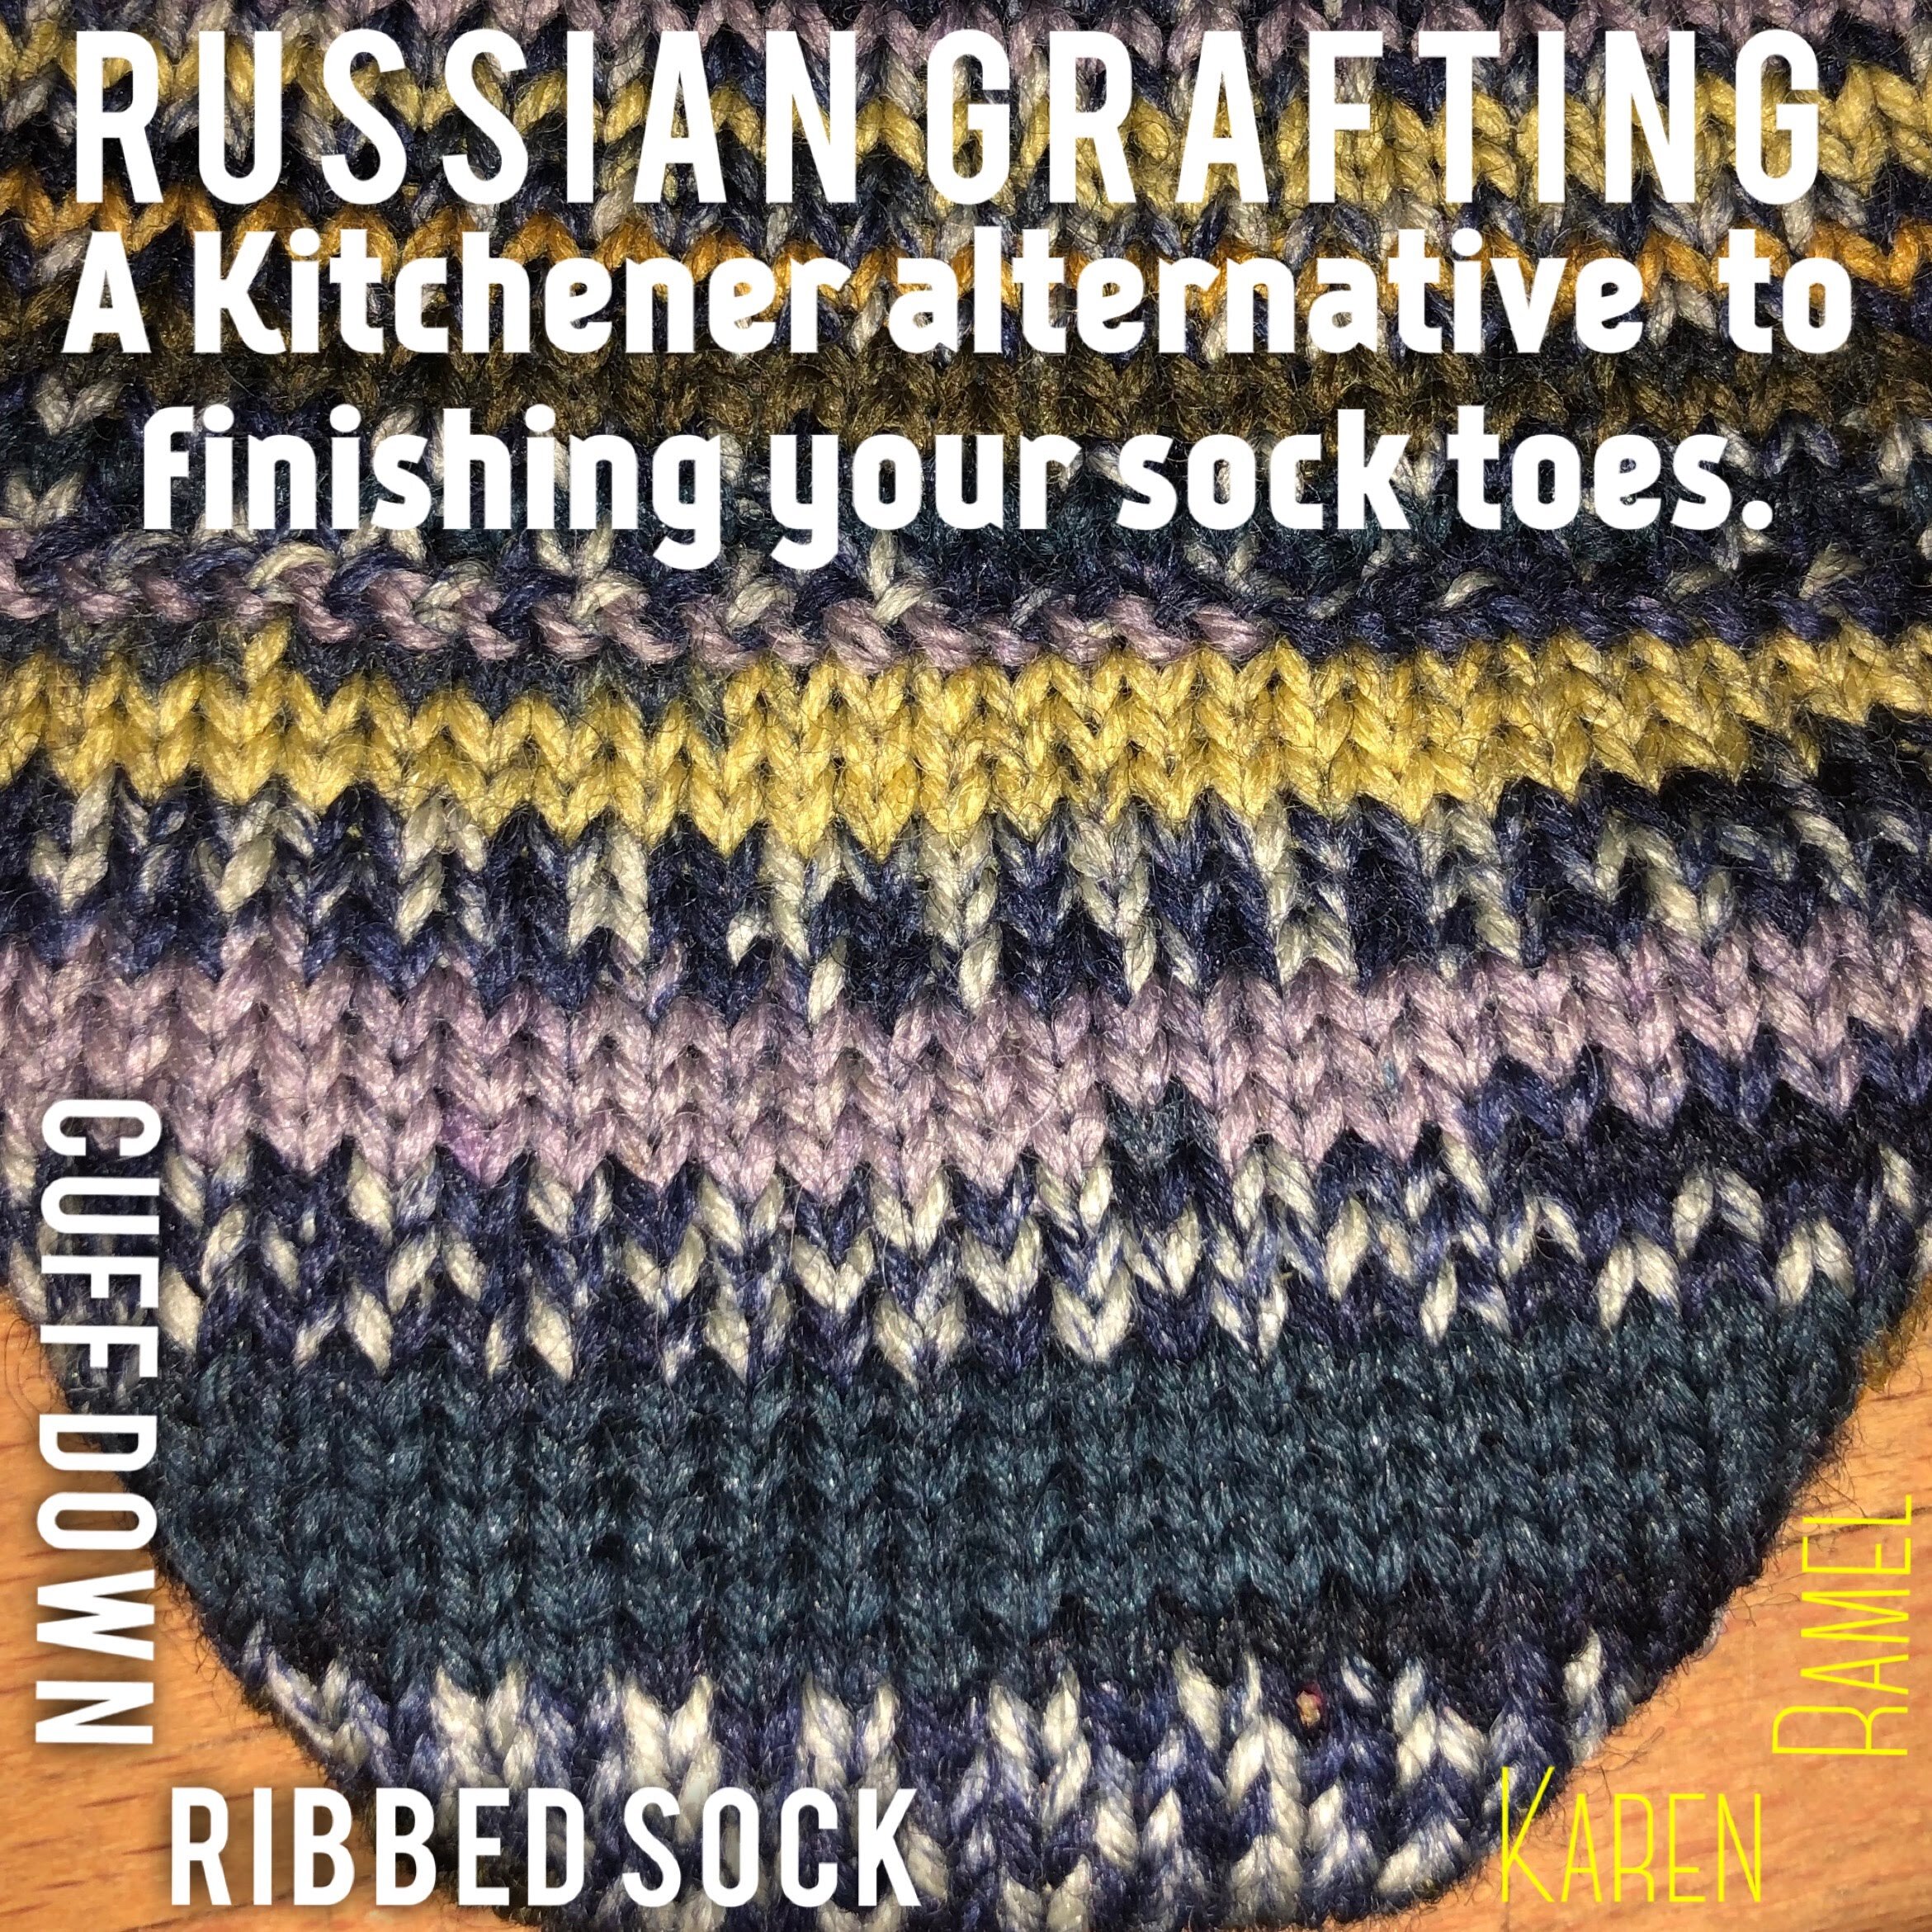
Finding Kitchenering still an uphill battle I decided to see if there were other alternatives. While not “invisible” I found this easy. Russian Grafting reference
Also on INSTAGRAM


How to cat proof your working yarn while stepping away from your CSM
This is my SECOND CSM EVENT!
Fri, Nov 23, 201812:00 PM Sun, Nov 25, 20183:00 PM
Gwinwood Christian Conference Grounds and Retreat Center (map)
This event is held at Grinwood, Lacey, Washington, USA organized by Pat Fly of angoravalley.com
Event name “Sock Machine, Knitting Machine, Quilting and Crafts Retreat”
For more info please contact Pat Fly at pat@angoravalley.com
For more venue info see: https://www.gwinwood.org/ or https://www.facebook.com/GwinwoodCC/

Final Mini-Mast
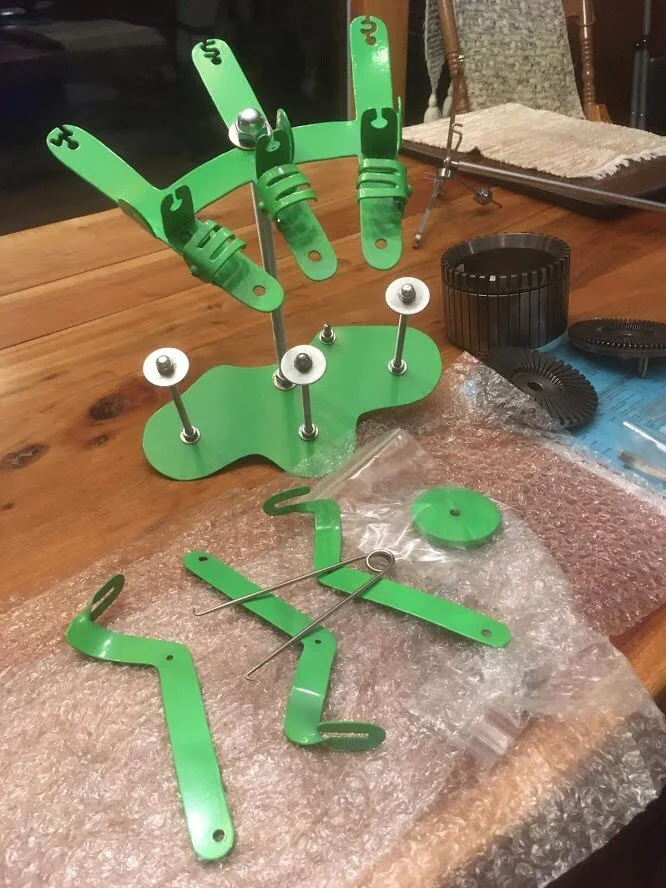
Mini mast planning - I call this my Mini-Mast 3.0
This is not for sale but for my own use. Special thanks and appreciation to Heidi Bears/Heidi Capatos and Egelantier Sokken.

November 2020 My Mini-Mast was sent to Dave Lord / Chambord CSM for Powder Coating!
This began with visual inspiration by seeing Heidi’s and Egelantier’s Mini-Mast versions. Leap frogging with a base outline in paper format, I modified the paper components a few times prior to hand cutting their design out of sheet metal with my dremel. I modified my version so that nothing needed to be soldered and so that my royal cones can be used to hold yarn.
This Mini-Mast can work with three different color and still accommodate a fourth if using the main original machine mast.
WHY THIS IS COOL : All color work is manually done on the CSM - this allows for ease of yarn maintenance while working on the machine.
Also on INSTRAGRAM REF1, REF2, REF3, REF4, REF5, REF6, REF7, REF8, REF9, REF10, REF11, REF12, REF13
AN UPDATE: June 12, 2021 I changed the vertical mast from the 11” from the platform to the top to a new piece now measuring 16.5’ above the platform to better accommodate the Supergarne Aktiv yarn cone and still allow correct tension arm use.