upgrade

2020 Mar 5 - Sock, Block & Size Intro

Introducing the Sock Block & Size!

The minimal upgrade to your Etsy purchased adjustable sock blockers so that NOW they're self stable and size measure confirming. Made a sock and want to confirm it’s the correct size? Adjust the blocker to the foot size and try it on!


IMG_5599.jpg

These wood sock blockers were purchased from the etsy store: WoodenGiftsCreations.

They come in XS, S, M and L sizes.

I personally find the Small and Medium tend to cover all the sizes I seek.

EDIT: October 2021 as I’ve switched completely to the Katrinkles sock blockers I have given these to a friend. :)

THREE SIZES SHOWN AFTER UPGRADE:

SOCK FORM MEASUREMENTS BY POSITION IMAGE: My measurements as noted may vary from yours due to manufacturing so its better that you measure your own for achievable blocker foot lengths - OR JUST USE THE RULE CHARTS ABOVE by placing sock form on ruler to determine size if the applied sock is sitting correctly!


SIZING CHARTS

My currently preferred RULER STYLE charts are freely available at www.blitzresults.com - their exact downloads are MEN US SIZES Chart | WOMEN US SIZES Chart | Kids US SIZES Chart |

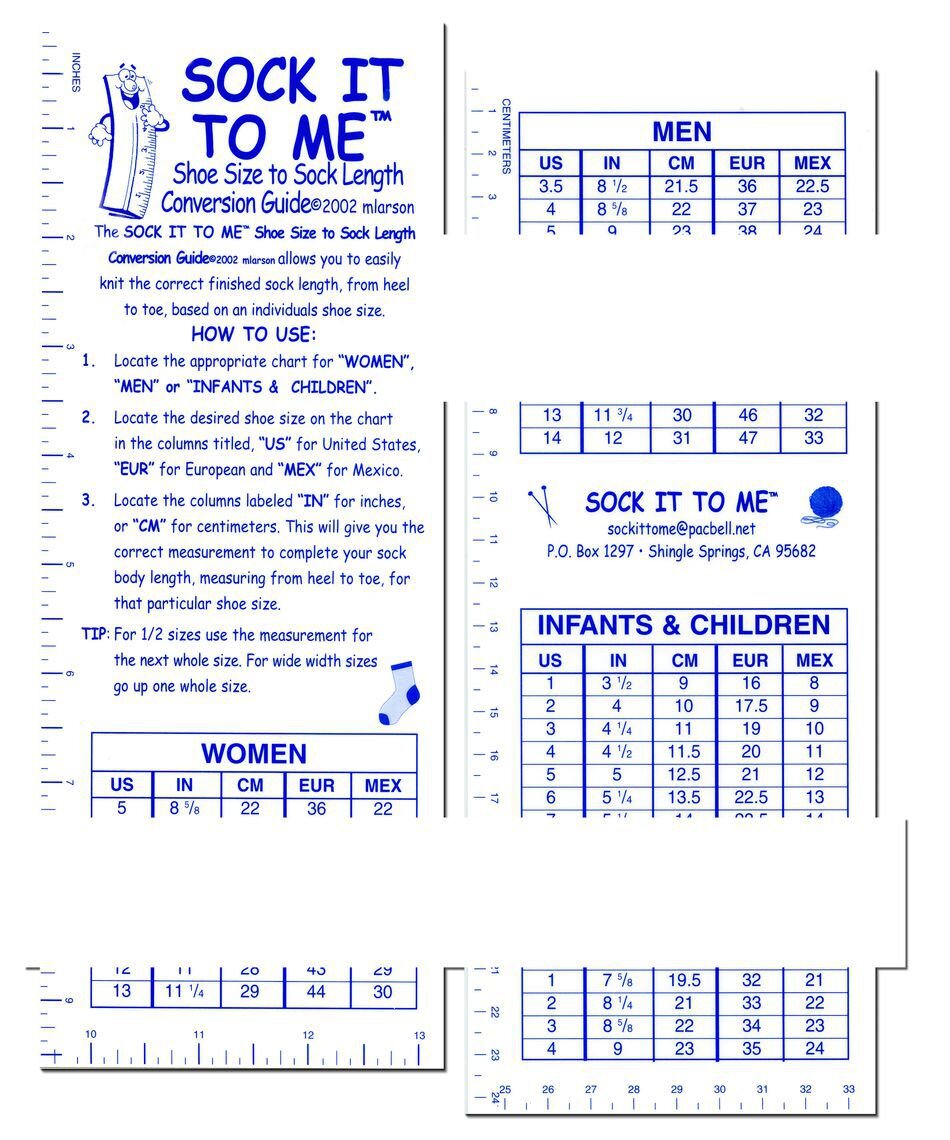
The purchased SOCK-IT-TO-ME chart


SEE ALL BLOG ENTRIES ON THE BLOG INDEX PAGE | Follow us on a variety of social sites see TAPLINK | Interested in Circular Sock Machines? See the CSM START Menu first page. | Seek something specific? Checkout the Index page.


2019 June 23 - Topper Lighting

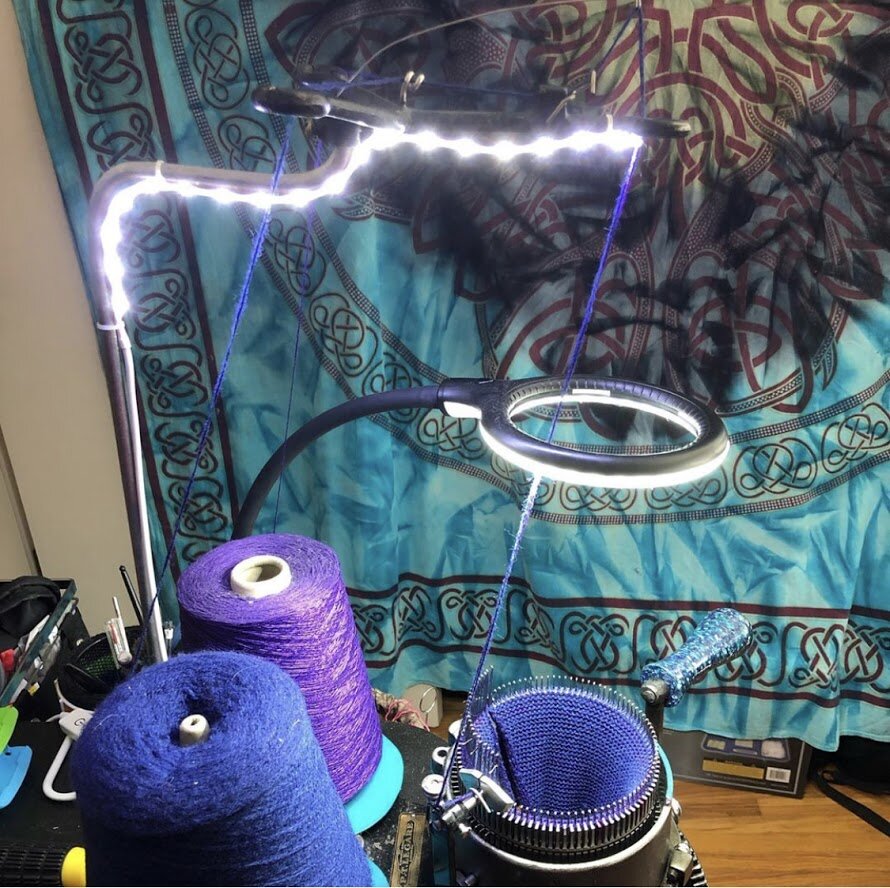
A slight eBay lighting upgrade installed yesterday with plastic zip ties/zap straps. Check it out the actual inexpensive light on second photo.

Also on INSTAGRAM

SEE ALL BLOG ENTRIES ON THE BLOG INDEX PAGE | Follow us on a variety of social sites see TAPLINK | Interested in Circular Sock Machines? See the CSM START Menu first page. | Seek something specific? Checkout the Index page.


2019 June 11 - DIY Yarn Carrier

48171274202_8bc901788e_o.jpg

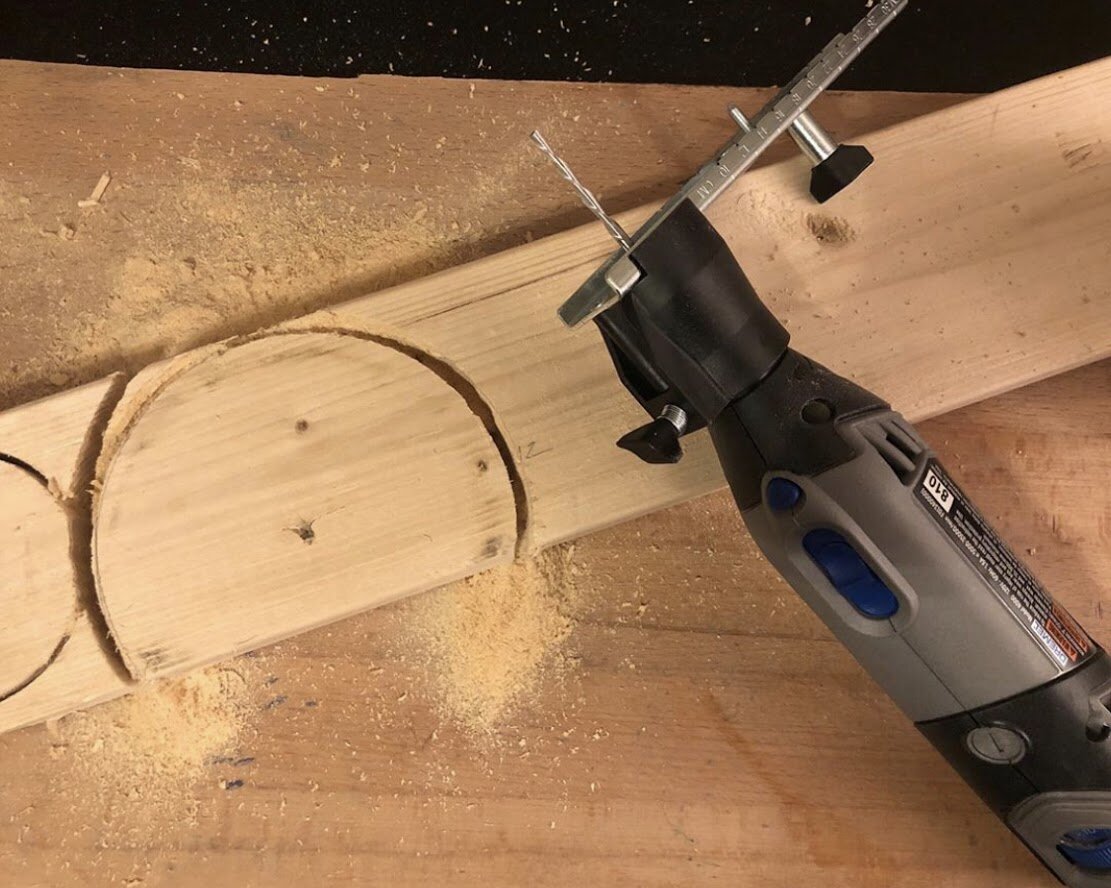
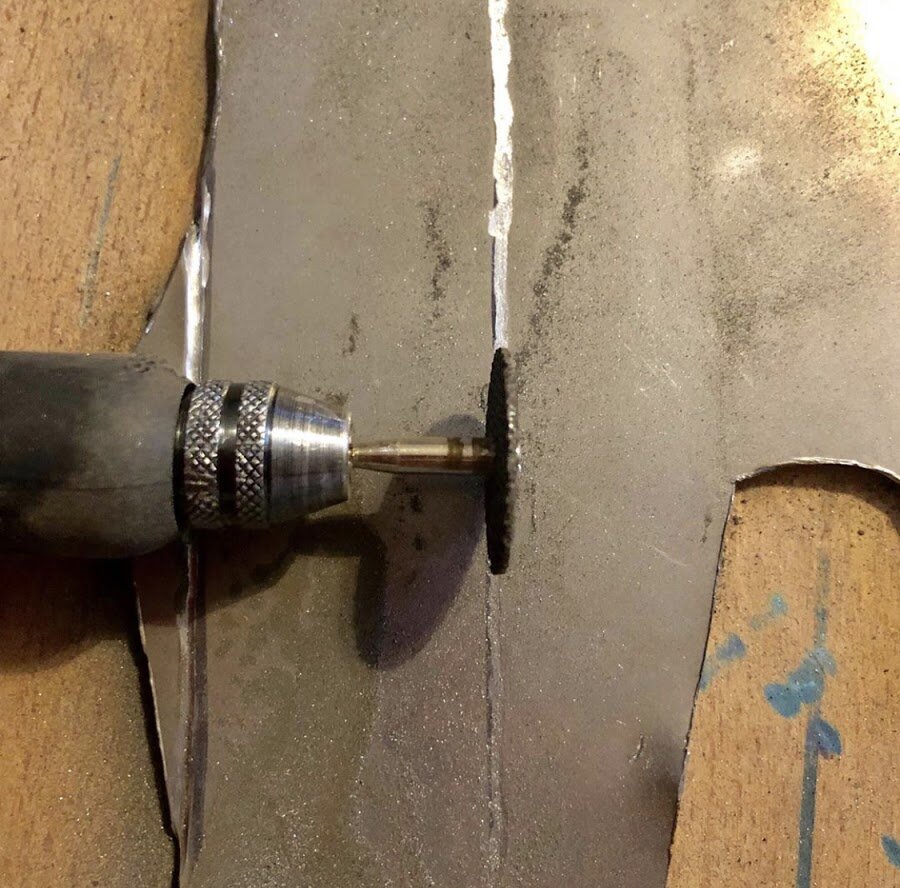
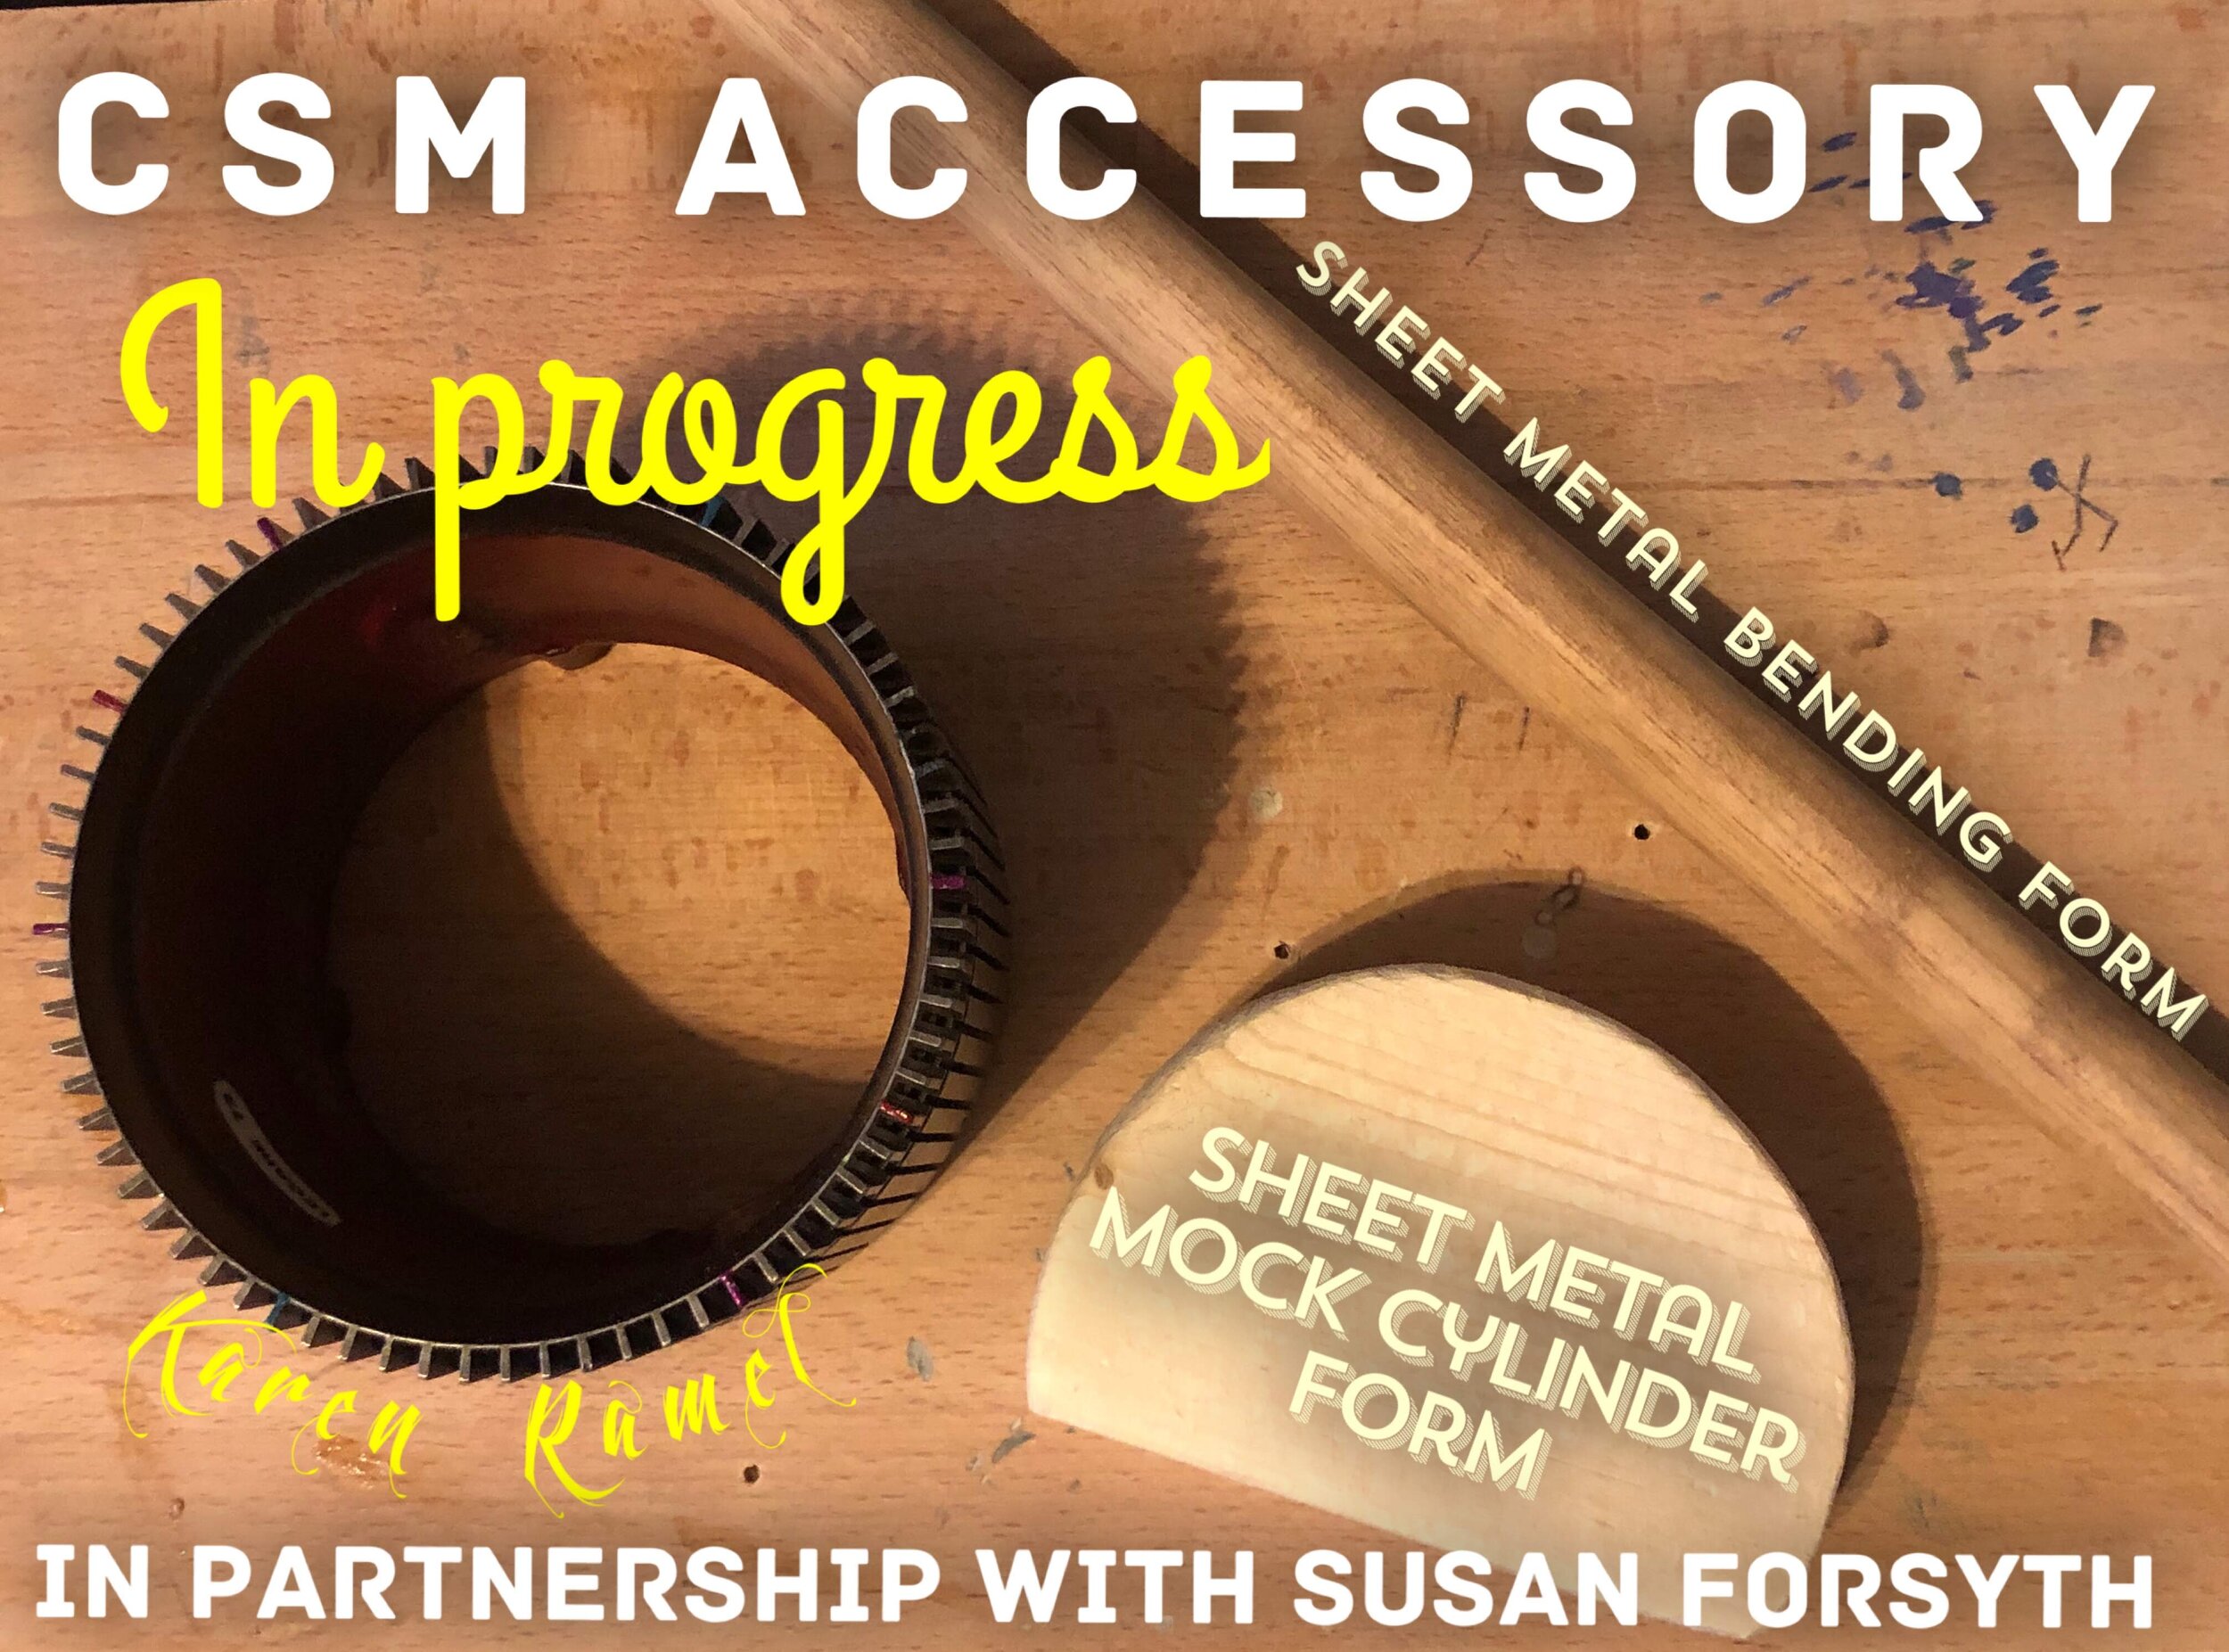
JUNE 11/19 - Working on a new CSM project using the new Dremel I picked up on sale a couple days ago (upgraded from my jobmate Dremel knockoff). Here I’m creating a mock cylinder as a sheet metal bending tool.

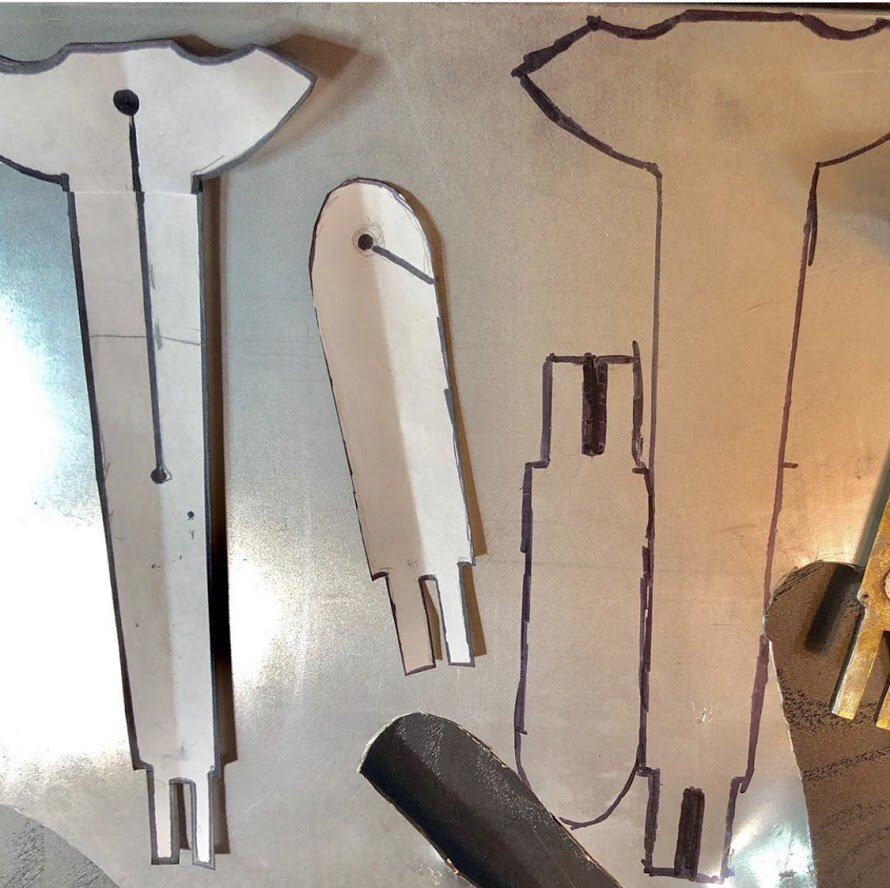
JUNE 18/19 - CSM accessory prototype no.3 being carved out of 16 gauge sheet metal. What it is will be announced once it’s formed and being machine tested. This is *not* a heel hold down gearhart tool.

Slow going with only small windows of making noise available before or after my full time employment at the dental office.

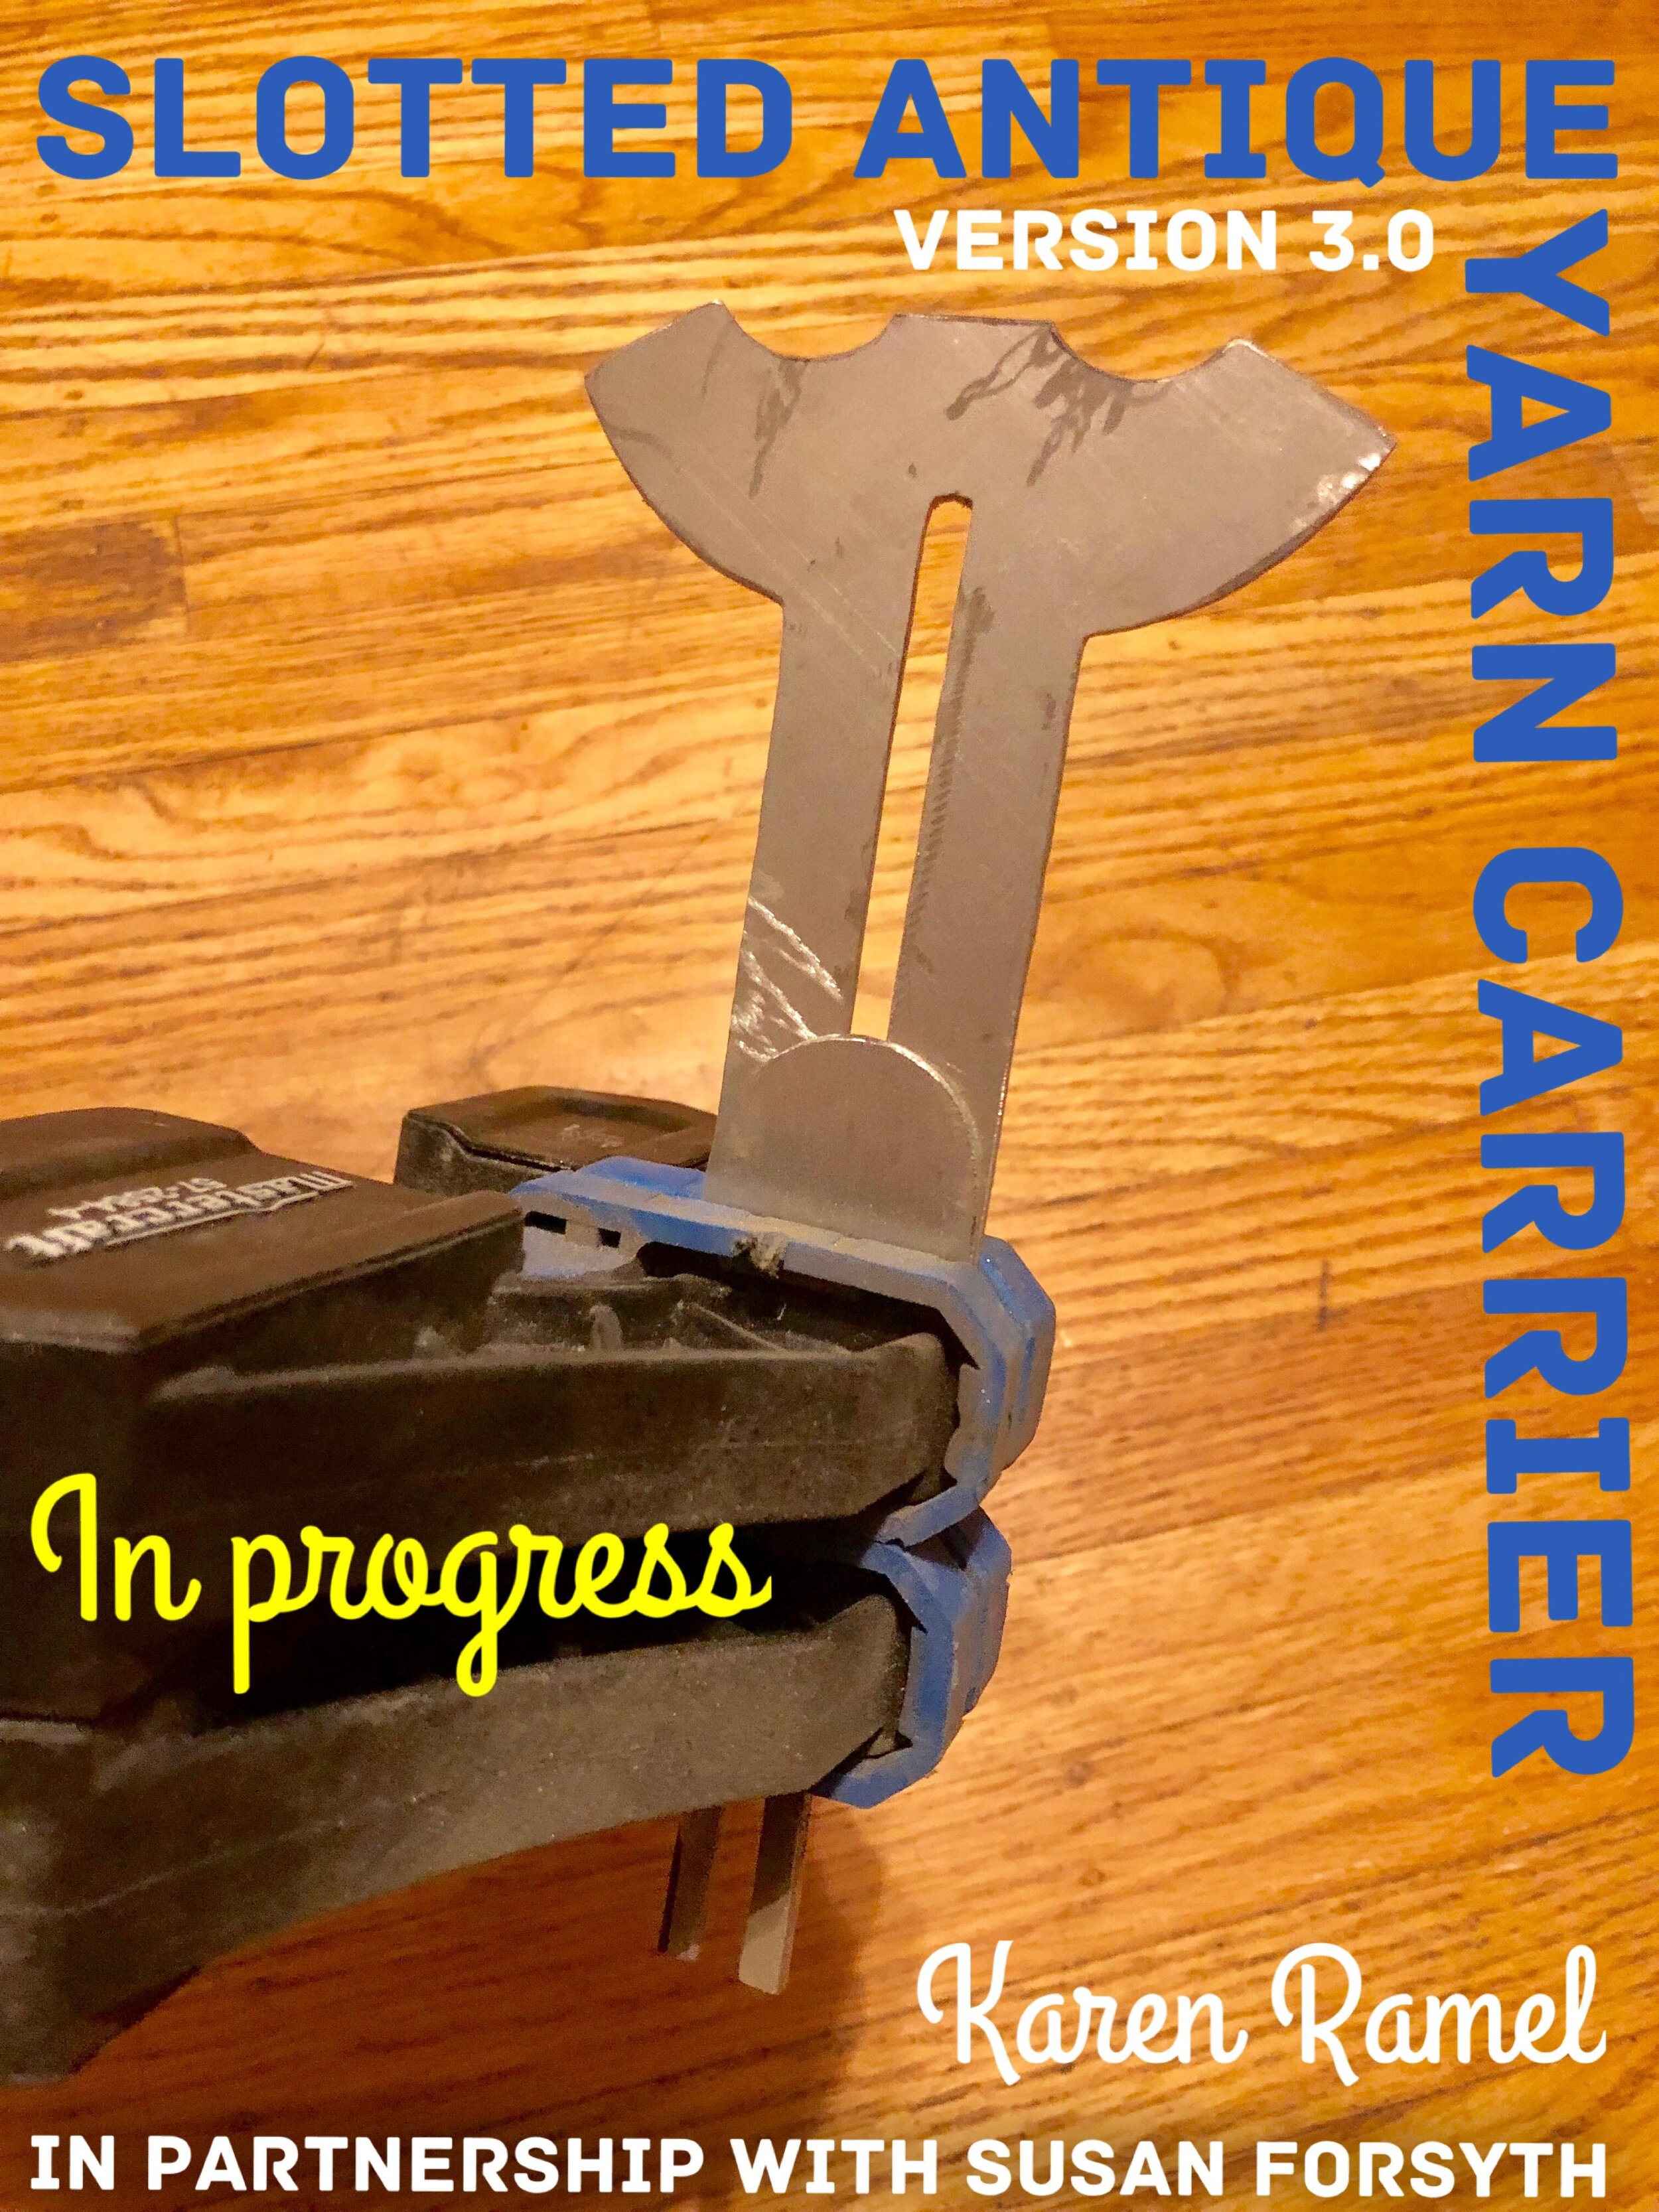
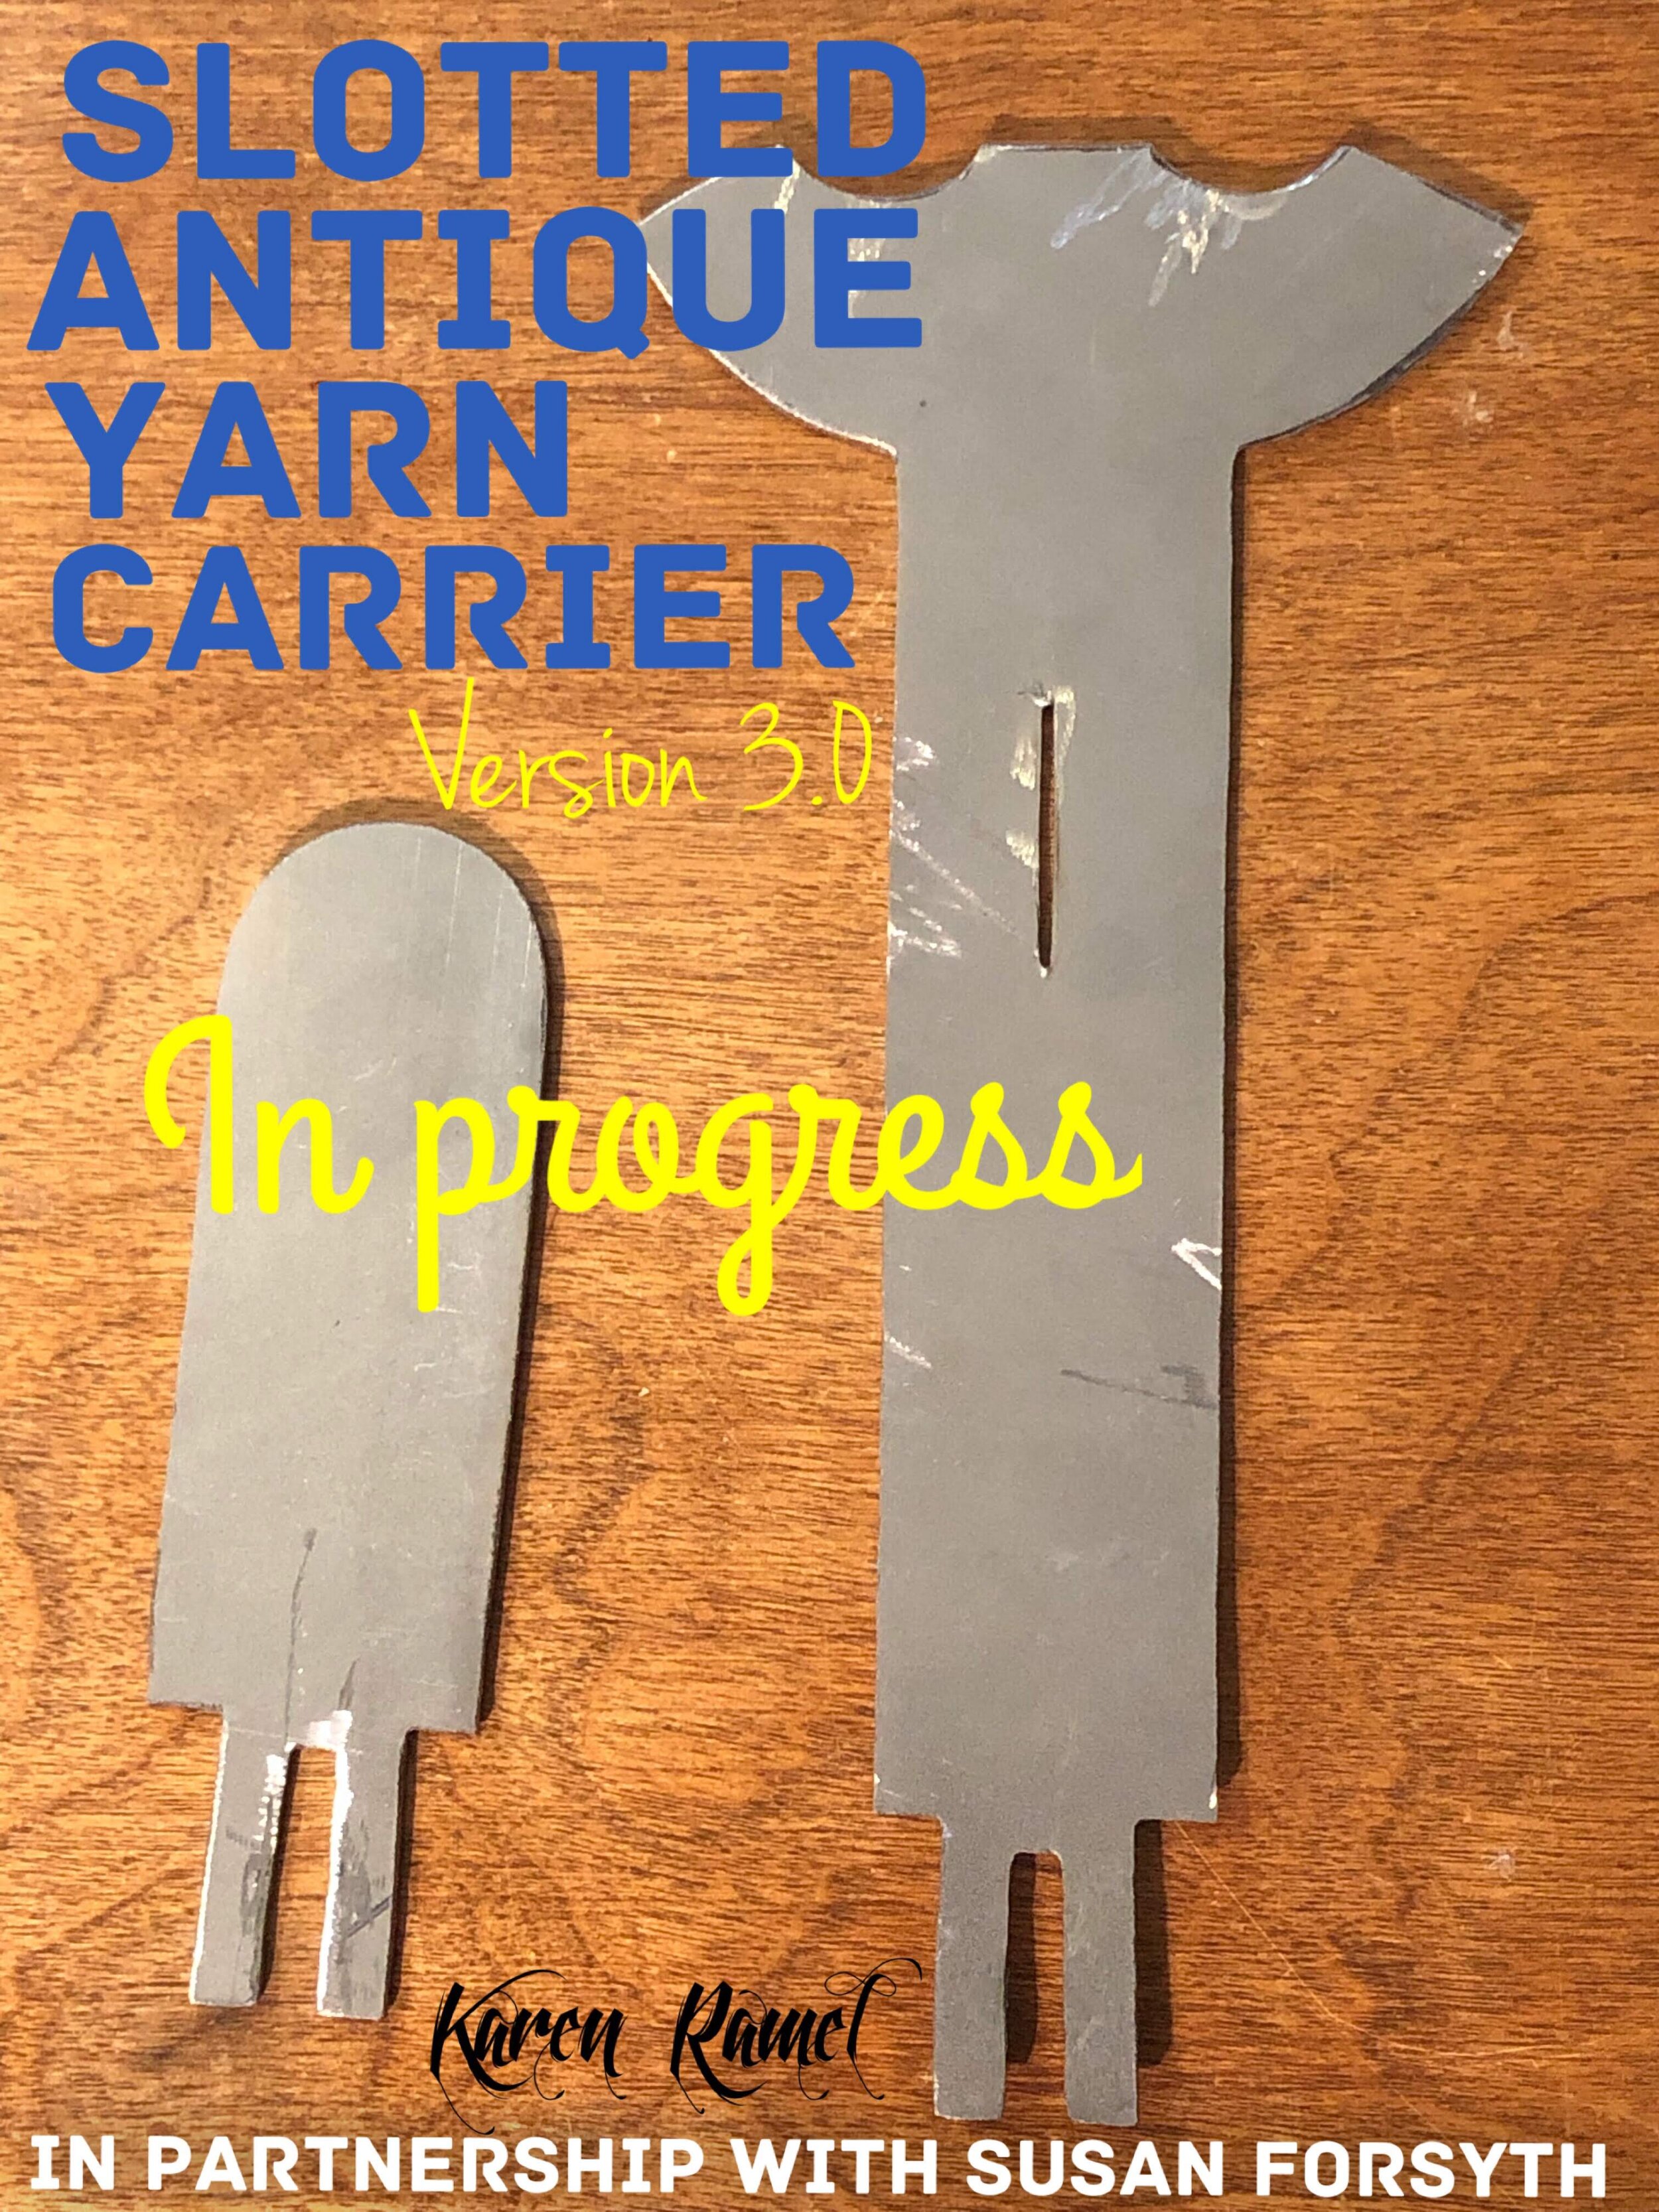
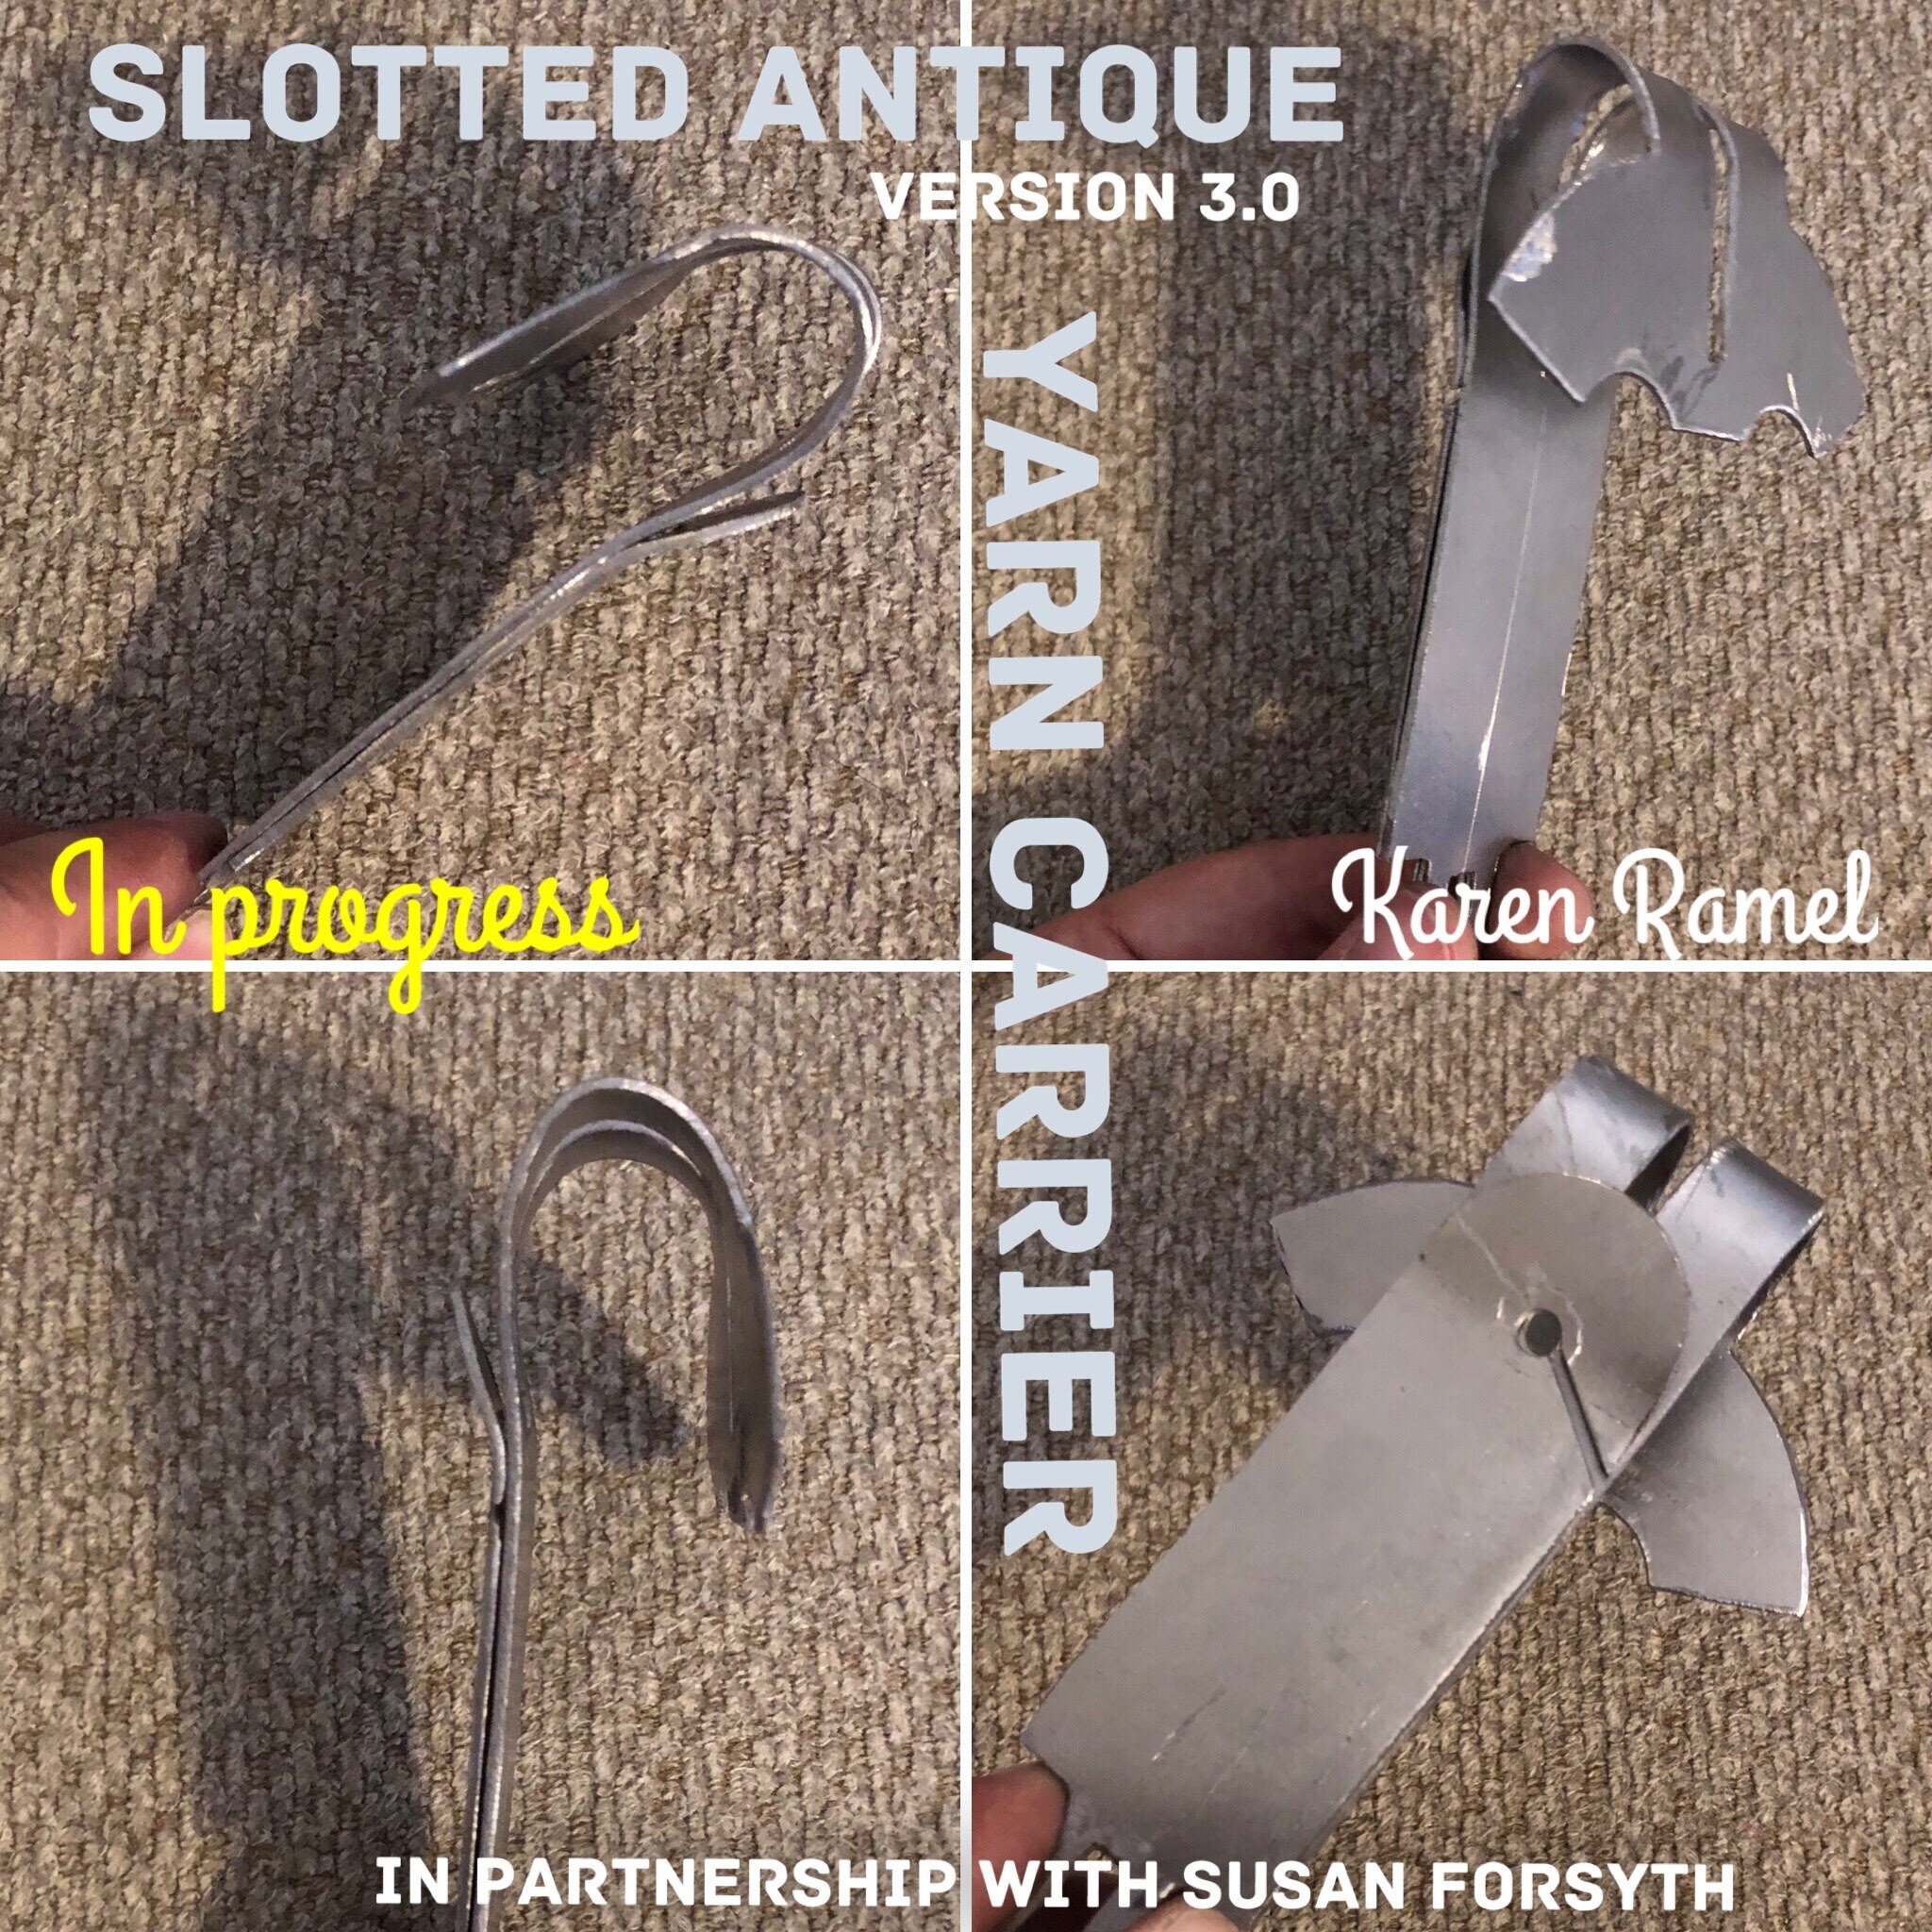
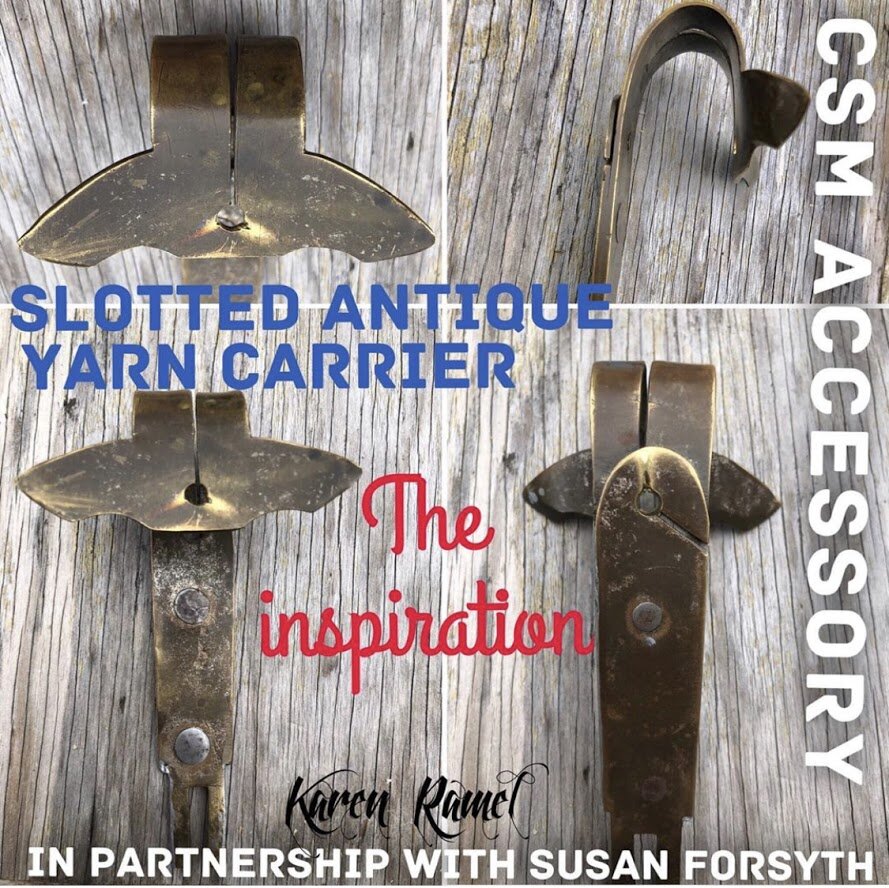
JUNE 29/19 - Progress on the DIY reproduction of a Slotted Antique Yarn Carrier. I then riveted the two parts and reinforced one yarn feeder spot. Testing to resume on machine soon with final adjustment.

JUNE 30/19 -  Introducing the reproduction and modification of a Slotted Antique Yarn Carrier. 

Also on INSTAGRAM - REF1, REF2, REF3, REF4, REF5, REF6, REF7,


SEE ALL BLOG ENTRIES ON THE BLOG INDEX PAGE | Follow us on a variety of social sites see TAPLINK | Interested in Circular Sock Machines? See the CSM START Menu first page. | Seek something specific? Checkout the Index page.


2019 Jan 4 - Legare Platform and the 2.0 Version

This is the design of my Bed Plate - the base of my machine

This is the design of my Bed Plate - the base of my machine

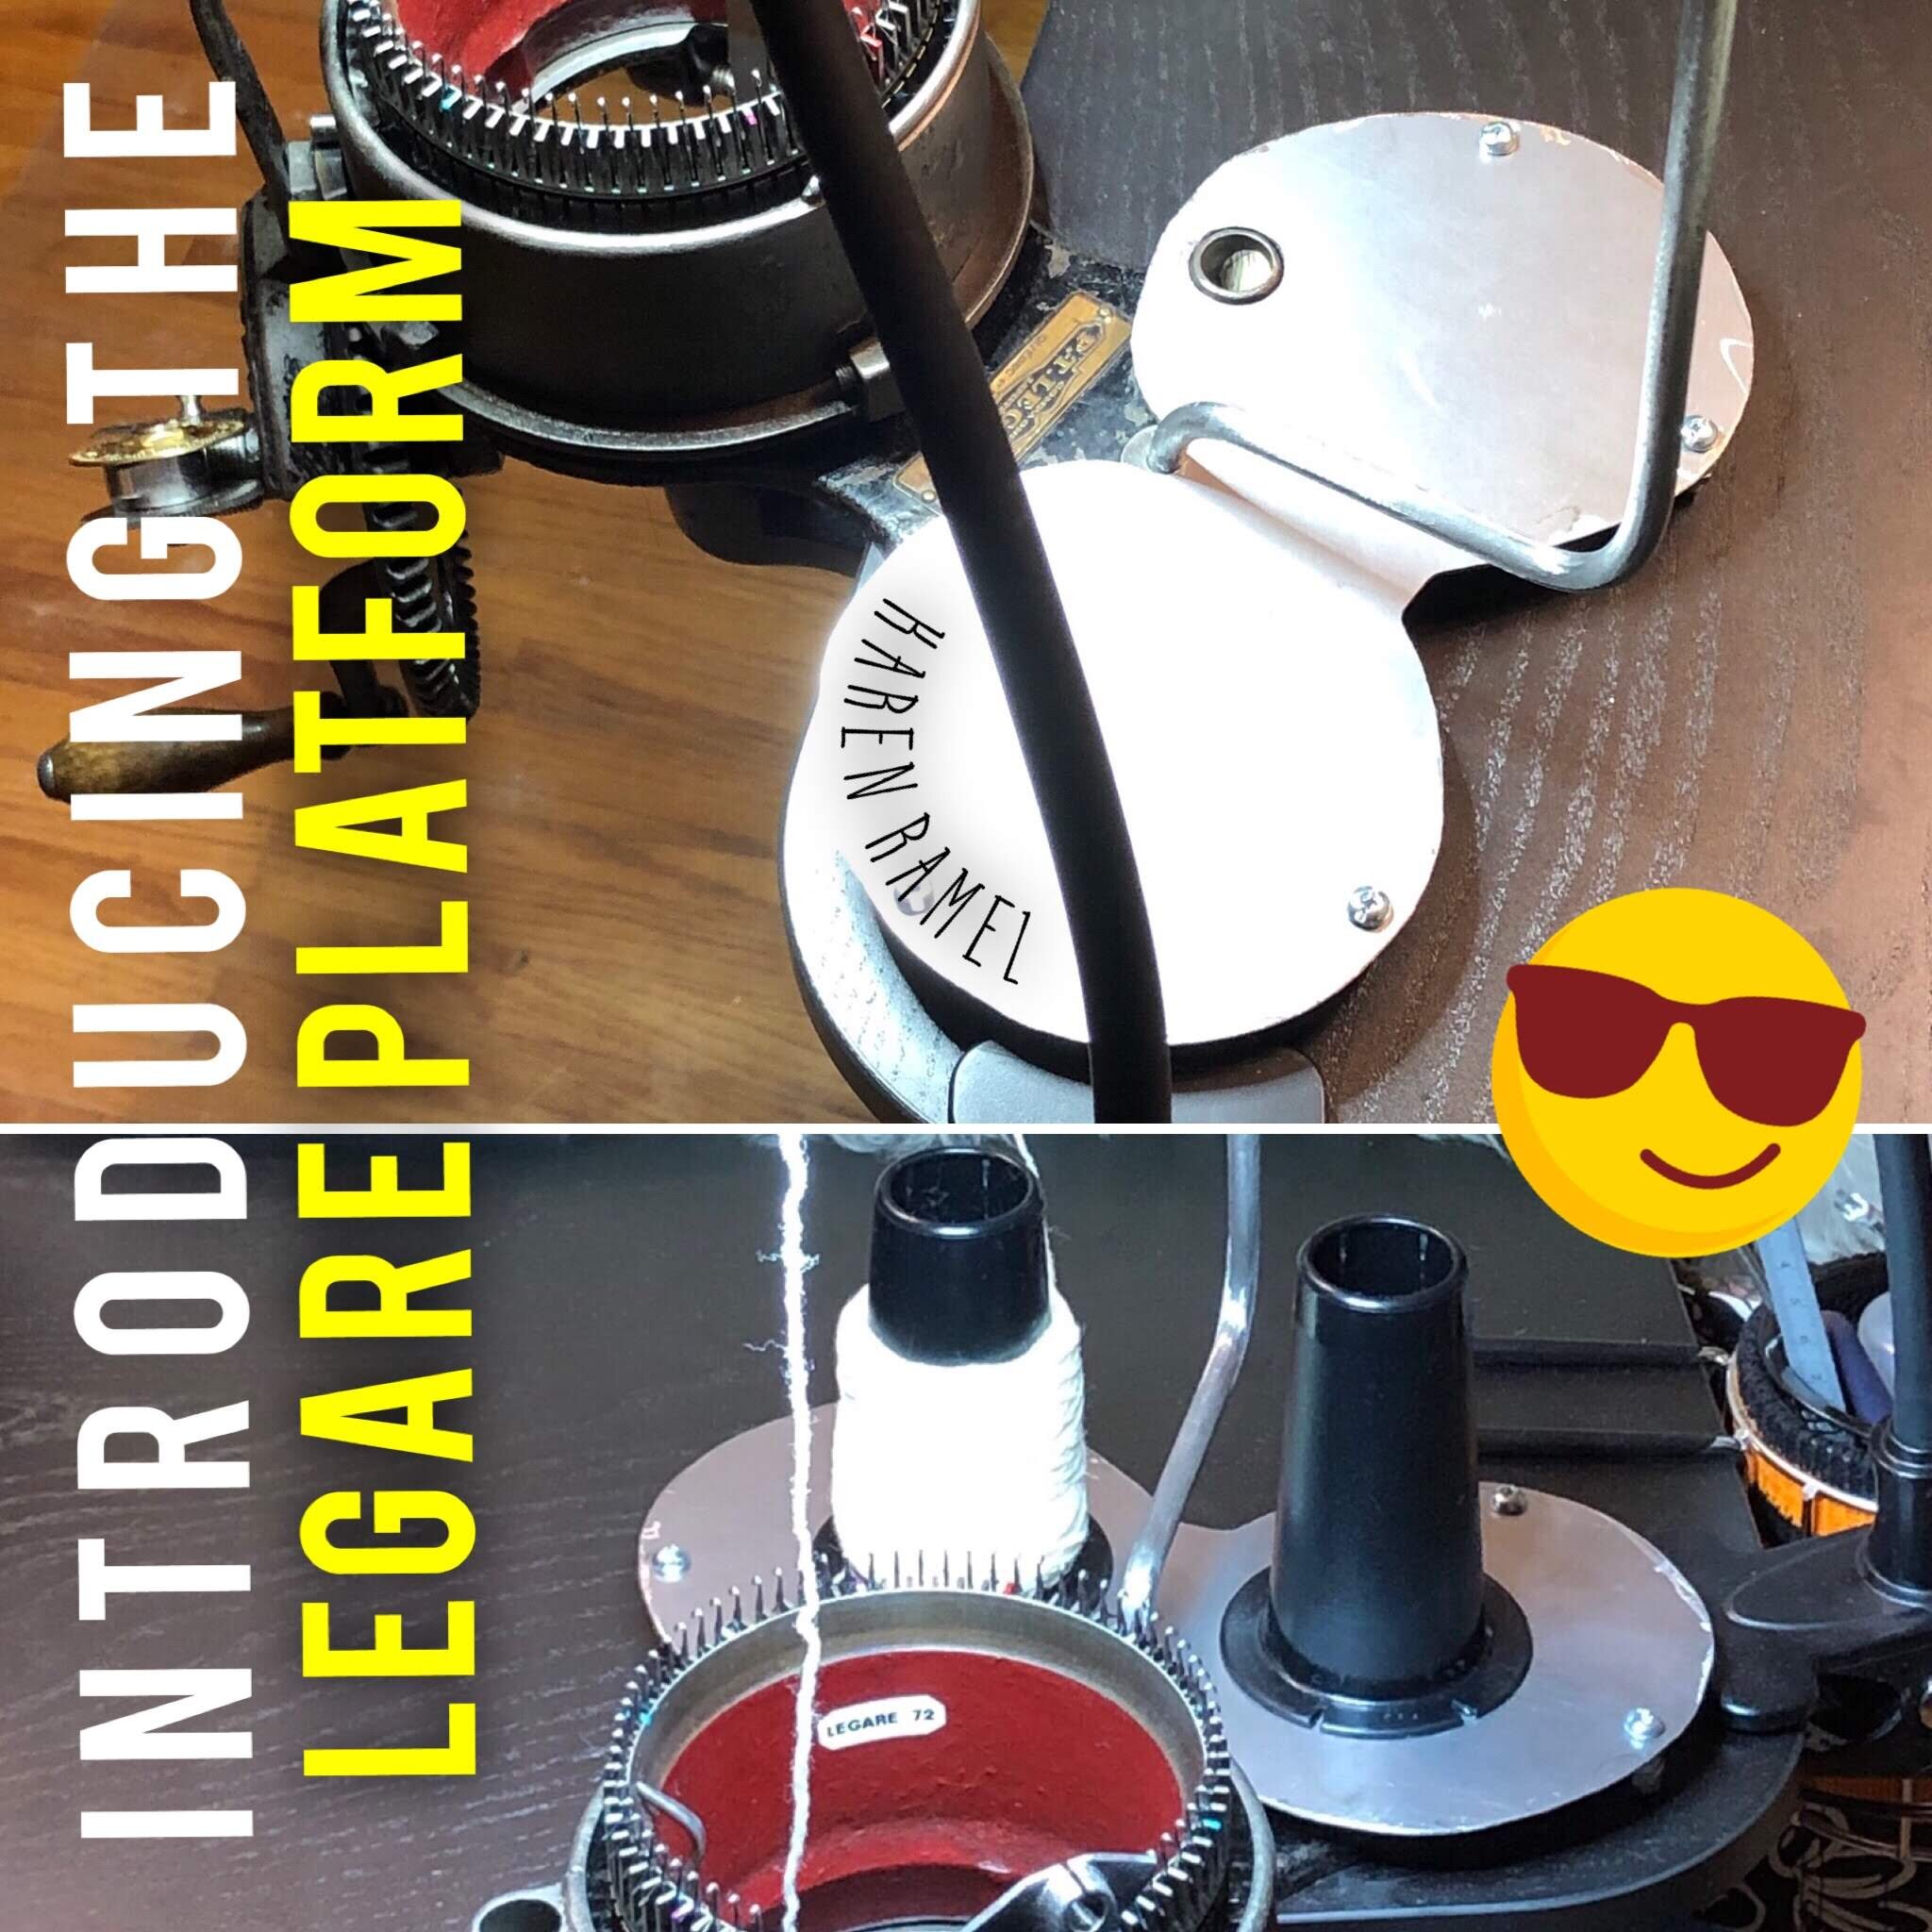
Legare Platform 1.0: Tonight I designed and built a cool new solution for yarn access on my CSM.

I wanted a flat level surface near the yarn mast to place my yarn.

I don’t like to have yarn fed from the floor or under my table and as I am setup at a computer desk, I prefer to have the yarn source where I can see it as close to the center of the pull into the machine.

This platform can also work on my autoknitter.com travel table!

39650791803_b84bc0fd24_o.jpg

NEW Legare Platform 2.0 - Feb 26-28, 2021

I find that the current 1.0 platform isn’t wide enough to accommodate the massive cones of Opal yarn so I designed a single sided platform to use just on my home setup computer desk. (I’ve decided to delegate the 1.0 version to my travel setup with the lightweight table shown above).

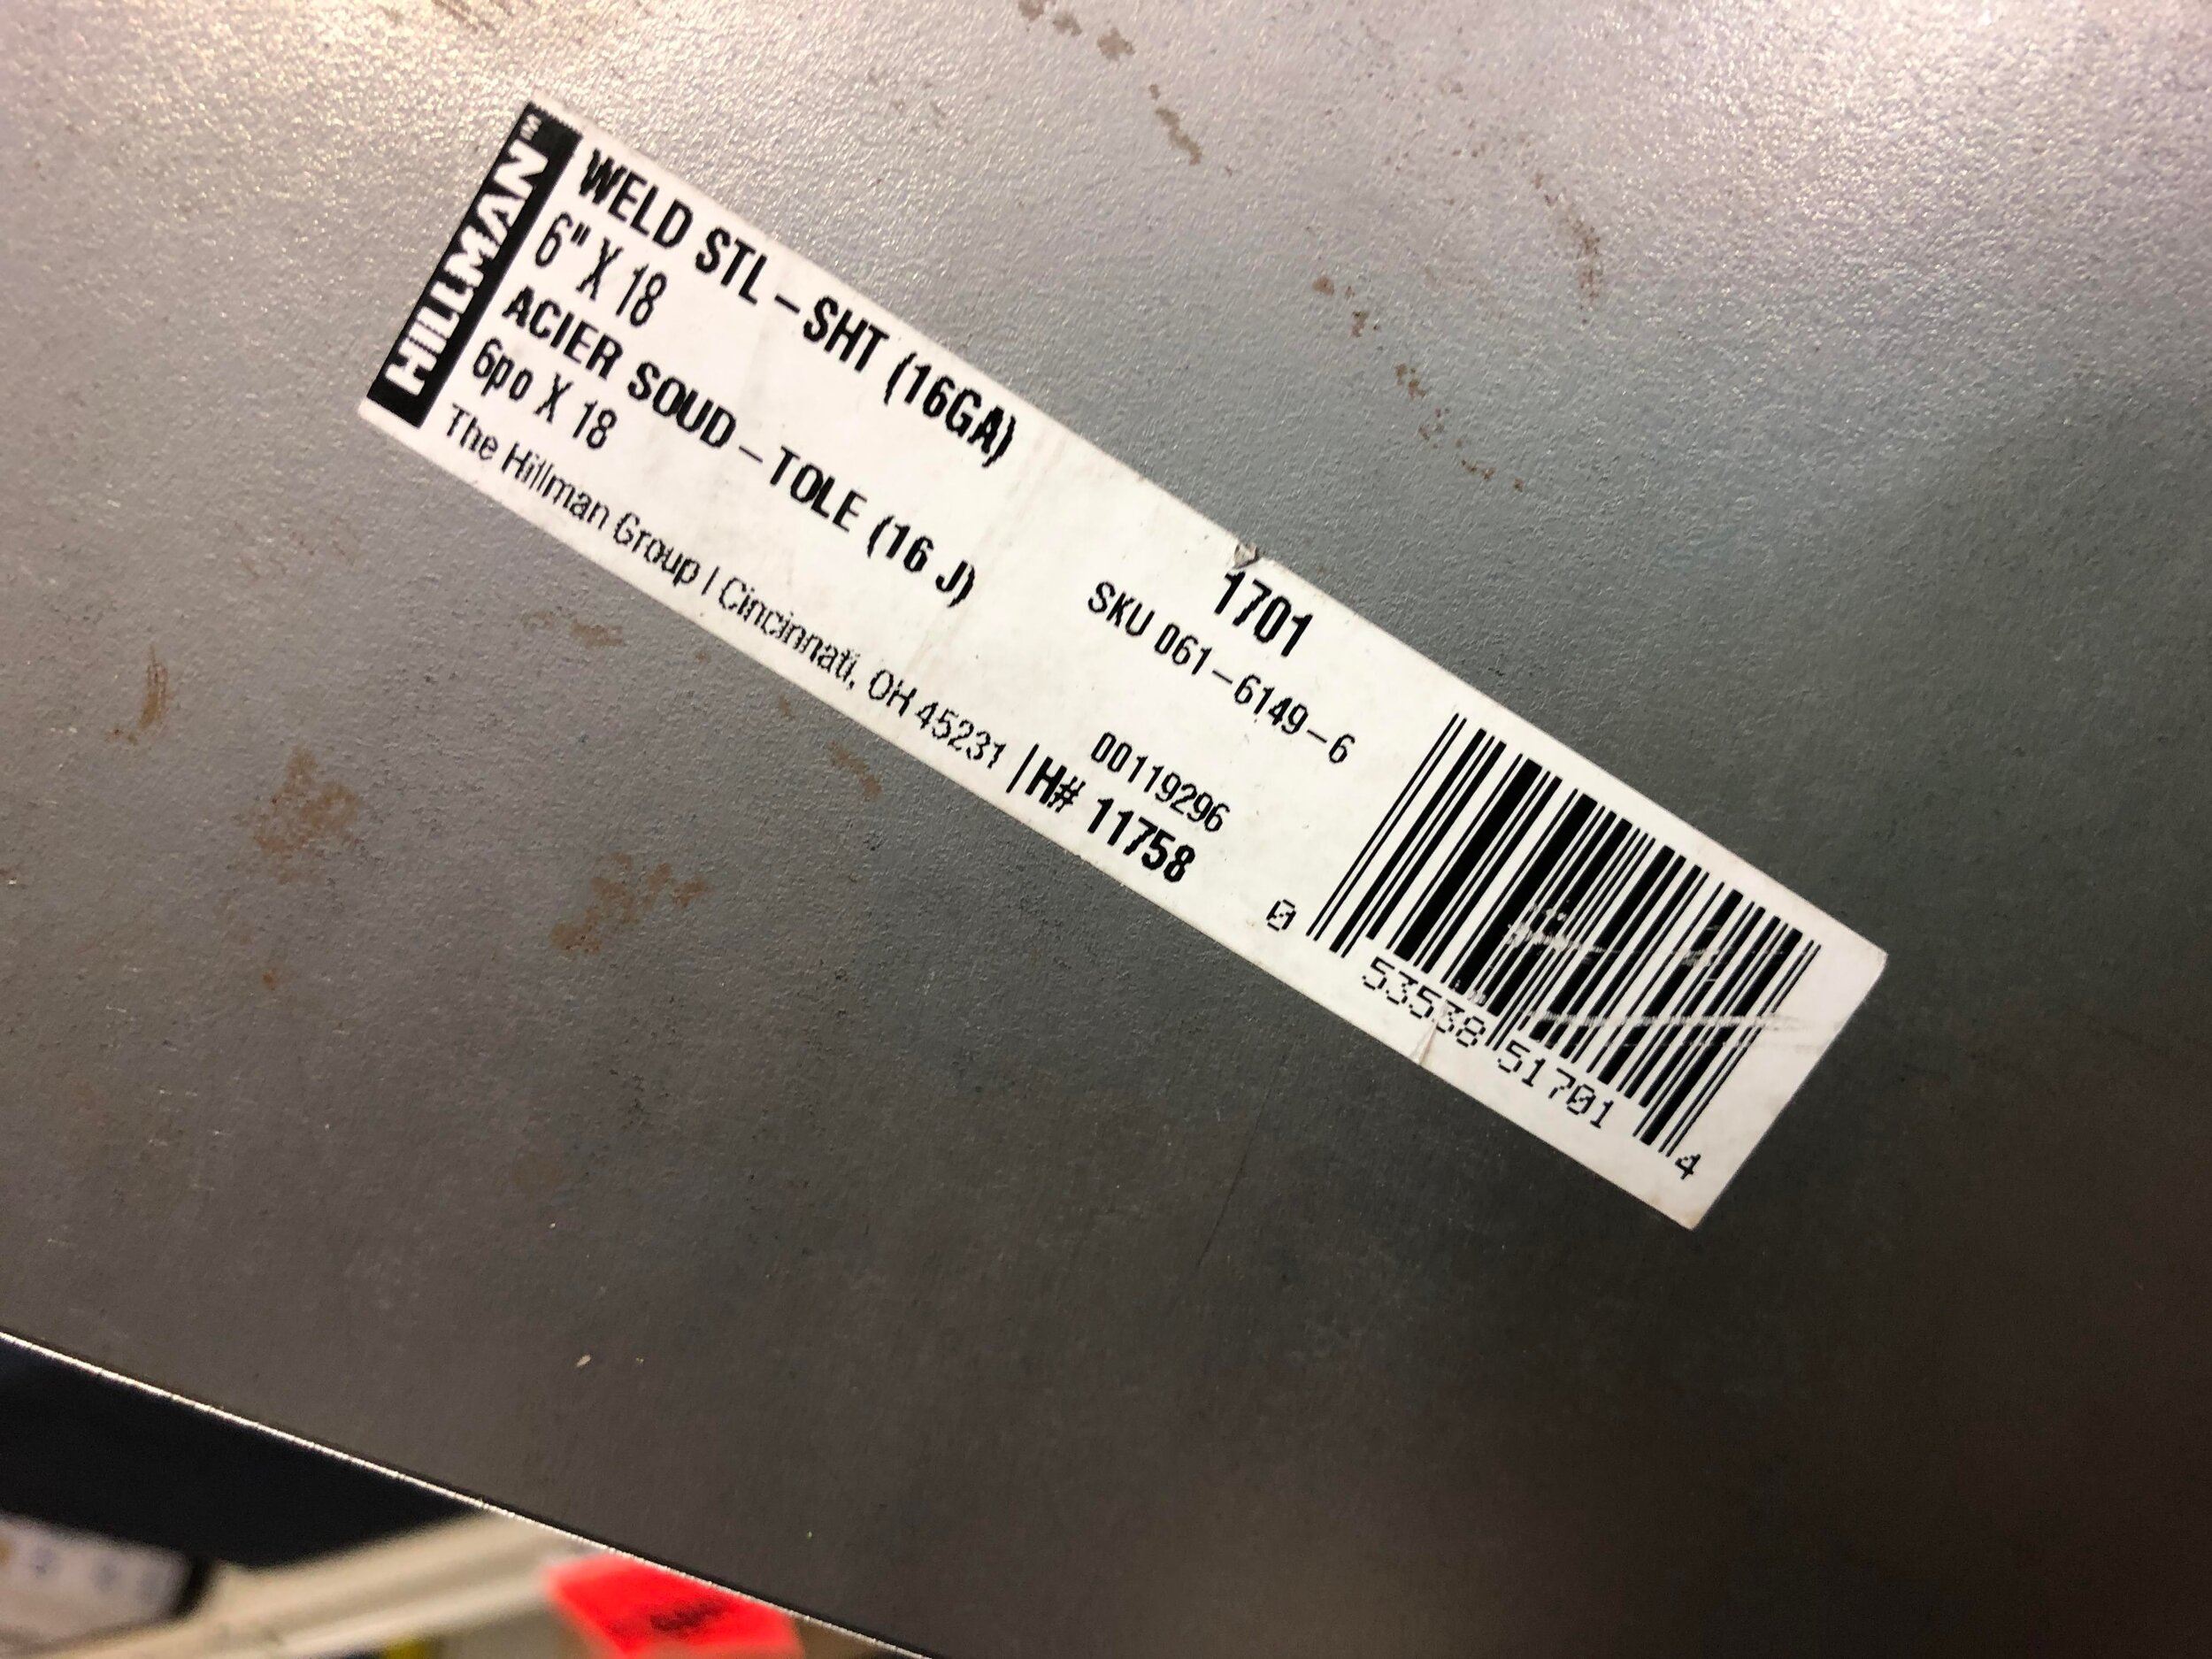
Starting with what I believe is 16 gauge steel sheet metal, I designed and dremel cut off wheel cut the shape I wanted. Initially I found the sheet metal I have on hand wasn’t big enough to make a single piece item so I chose a three piece platform where the left and right pieces were almost mirror shaped (one side with the hole mount on my baseplate the the 1.0 version) with the third smaller part to attach the two in the middle. On day two I decided to downsize the idea to just a smaller left side only platform as I tend to use the left feed when working at my home setup.

I smoothed off all surfaces and had to remove some rust after the sheet metal was accidently stored on our patio (it now lives inside). After a hardware store search for ‘feet’ for this, I then chose to do as I did before and create screw built feet. I drilled four holes for the screws, with each foot built with a single screw, a tension washer and two nuts with end cap style acorn nut ‘feet’. I painted the underside and top with two coats grey primer spray paint and then did the same on the top with my preferred teal paint, finishing with two coats of varnish. I chose to decorate the top with “safety-walk” slip resistant tape cut into hearts with its adhesive back and sandpaper top surface for esthetic appeal over needing to add grip to the top surface. (Photo of the safety-walk is above - this is the same material I use for upgrading your CSM brake on the Yarn Topper see this VIDEO.) I love the result and its gorgeous. :) (I usually use the coned yarn much closer to the machine than shown in these photos). Make something you will use and that will bring you joy. YAY.

Also on INSTAGRAM - REF1, REF2, REF3, REF4
IMG_2365.jpeg

SEE ALL BLOG ENTRIES ON THE BLOG INDEX PAGE | Follow us on a variety of social sites see TAPLINK | Interested in Circular Sock Machines? See the CSM START Menu first page. | Seek something specific? Checkout the Index page.


2018 Oct 15 - Addi-Express Stitch Tool Upgrade

Addi-Express Stitch Tools are AWESOME - they are two ended and oh so useful (although personally it would be nice to use each end as a separate tool in my opinion).

What IS NOT COOL is how easily they break.

The red middle plastic part is a weak point of this tool - I’ve had two break. When my first tool broke I re-purposed both end pieces with WaterPik dental end tips. The bonus to doing this however is that you now have working tools which have specialized brushes to aid in cleaning fiber from the machine.

For more info on supplies I like see here.

43594058210_5411311222_o.jpg

Also on INSTAGRAM


SEE ALL BLOG ENTRIES ON THE BLOG INDEX PAGE | Follow us on a variety of social sites see TAPLINK | Interested in Circular Sock Machines? See the CSM START Menu first page. | Seek something specific? Checkout the Index page.


2018 Sep 25 - Repairing Cylinder Fins

fin_repair.jpg

My cylinder arrived with two broken fins (the top area of two cylinder slots). While the cylinder works without those top parts in place, it will change the tension of the stitches there - which is very evident on the knitting when viewed off the machine.

However working with KwikWeld is an option. Be sure to degrease and roughen the surface where the repair is to happen. The bigger photo shown here is mid-fix.

Also posted on INSTAGRAM

kwikweld_for_fixing-things.png

SEE ALL BLOG ENTRIES ON THE BLOG INDEX PAGE | Follow us on a variety of social sites see TAPLINK | Interested in Circular Sock Machines? See the CSM START Menu first page. | Seek something specific? Checkout the Index page.